Every classroom tells a story through what it keeps within reach. Minimal decor paired with smart storage makes that story calmer and brighter.
When everything has a home, children can feel confident and creative right away.
1. Low-Lid Bins for Quiet Art Supplies
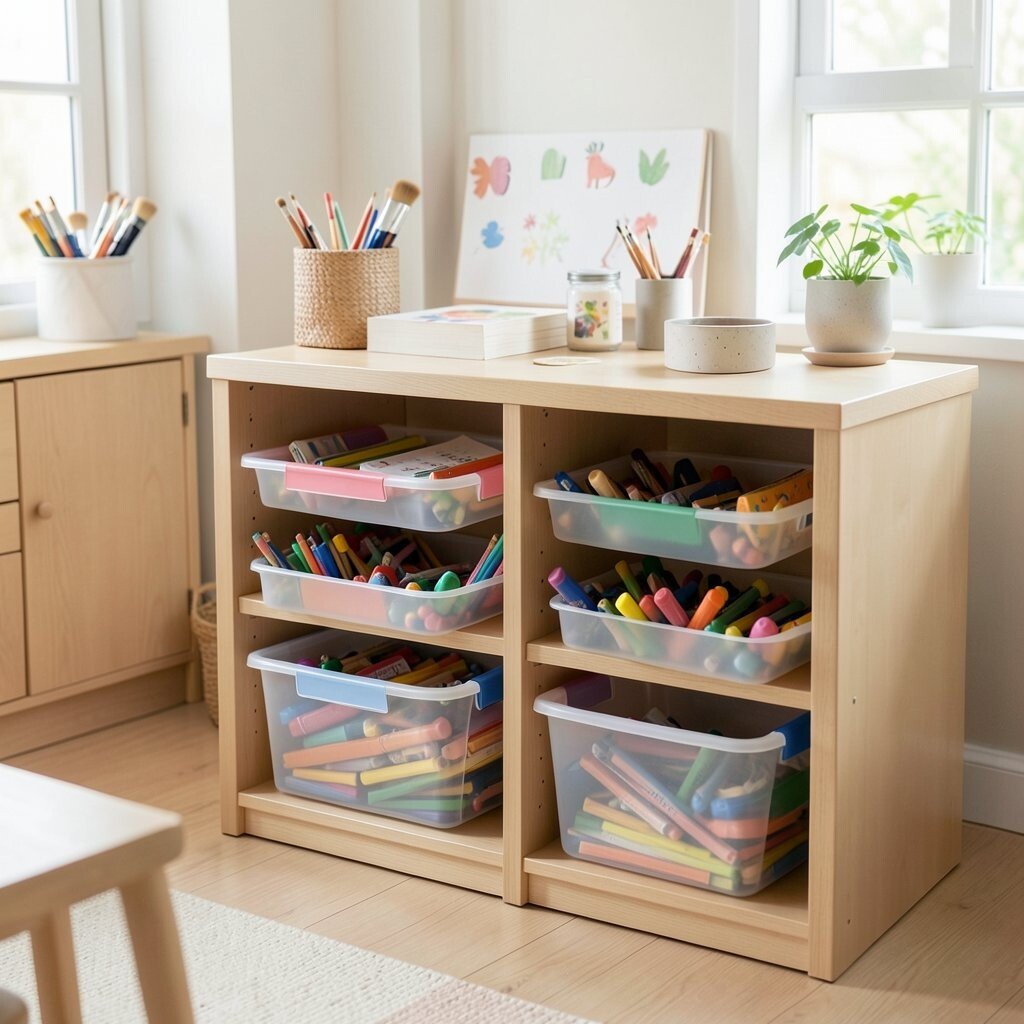
Picture a row of shallow bins lined up like neat little islands for crayons, markers, and paper scraps. A low lid keeps hands focused and reduces clutter on desks.
Choose bin colors that match your walls or rug tones so the room still feels soft and minimal. Add one photo label per bin using a small card and a clear plastic sleeve so kids can recognize supplies quickly. For personalization, swap icons by season, like a leaf for fall or a snowflake for winter, without adding extra visual noise.
2. Wall-Mounted Cubbies With Open Fronts
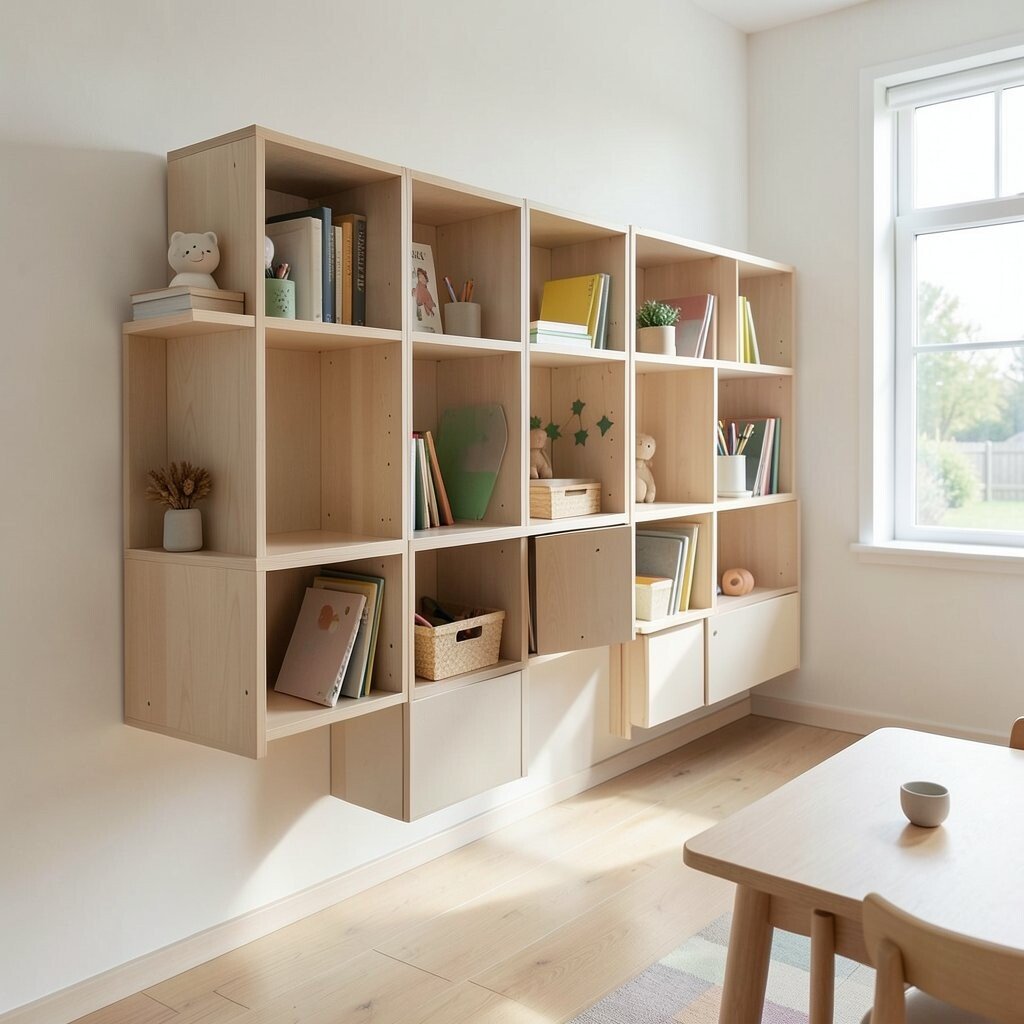
Imagine three to six cubbies mounted at kid height, with open fronts that make supplies visible and easy to grab. Brightness comes from the organization itself, not from lots of extra decor.
Use slim dividers so small items stay separated, like glue sticks in one space and stickers in another. Mounting keeps tables clear, which helps children transition faster between activities. To keep costs friendly, look for secondhand wooden shelves or repurpose a narrow book ledge with brackets.
If you want uniqueness, vary the cubby arrangement by learning area, such as letters, numbers, or building pieces. Add a simple bin inside each cubby and keep everything else plain so the wall stays uncluttered.
3. Clear Tote Stacks for Seasonal Themes

Think of clear totes stacked in a tidy corner, each one holding seasonal materials like felt shapes or holiday props. Seeing contents at a glance helps kids find what they need while staying within a minimalist look.
Stack totes by theme and keep the outside free of extra stickers, so the room stays visually calm. Use washable fabric covers if the totes feel too see-through, especially for craft paper that you do not want exposed. A practical way to manage turnover is to keep only one season at a time out and store the rest behind a curtain.
For personalization, add a small matching color dot on each tote lid, such as blue for ocean week and green for garden week. This keeps organization fun without turning storage into a busy art project.
When you shop, choose sturdy lidded totes that sit flat, since weak lids break and turn into messy habits quickly.
4. A Single Rolling Cart for Whole-Group Materials
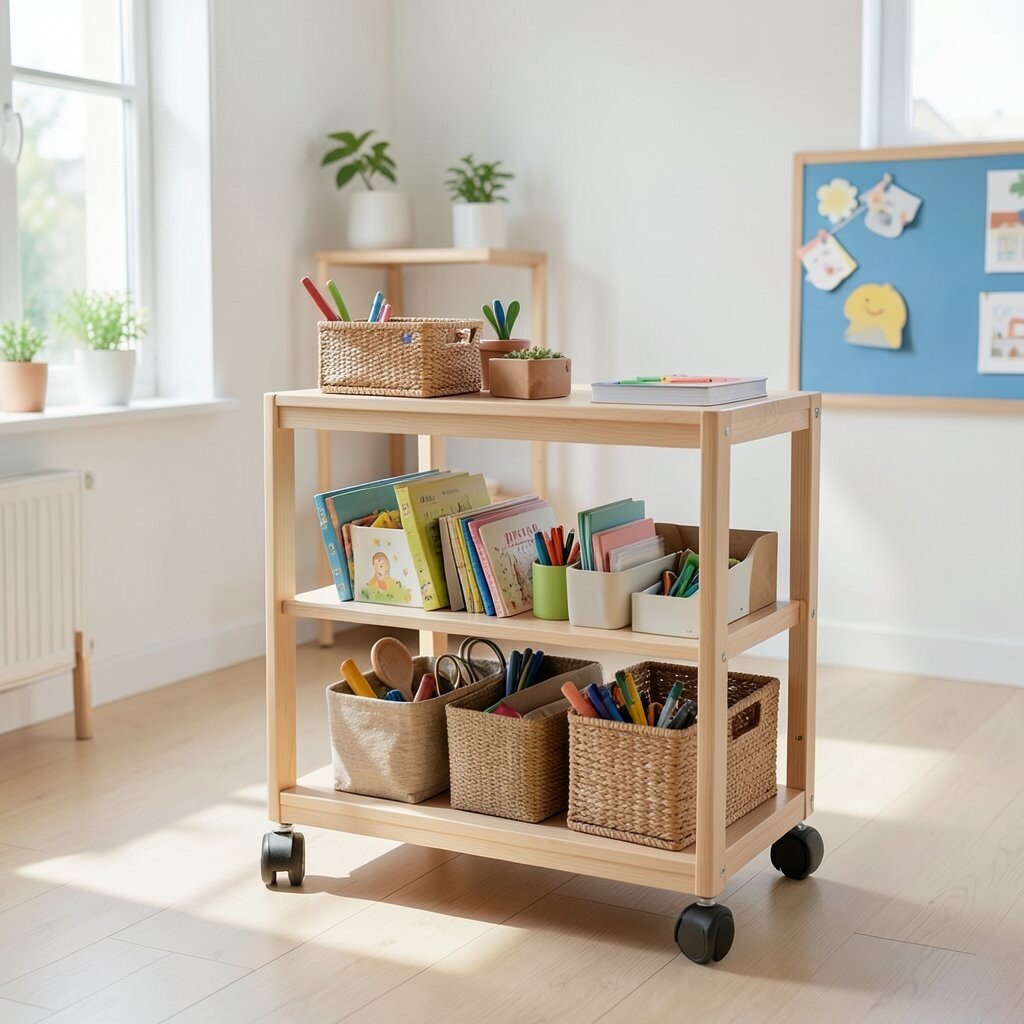
Picture one simple rolling cart tucked along the side of the room, holding posters, manipulatives, and extra supplies. When everything moves together, you spend less time hunting for items and more time teaching.
Pick neutral colors like black, white, or light wood tones so the cart blends into your decor. Put lightweight items on top and heavier items in the lower drawers to prevent topple moments. Add soft foam liners in drawers to keep small pieces from sliding around during movement.
To personalize, label only the most used drawers with simple pictures. Keep the rest unlabeled for you, so the cart stays uncluttered for the kids while still being easy for adults to manage.
5. Fabric Drawers Under the Center Table
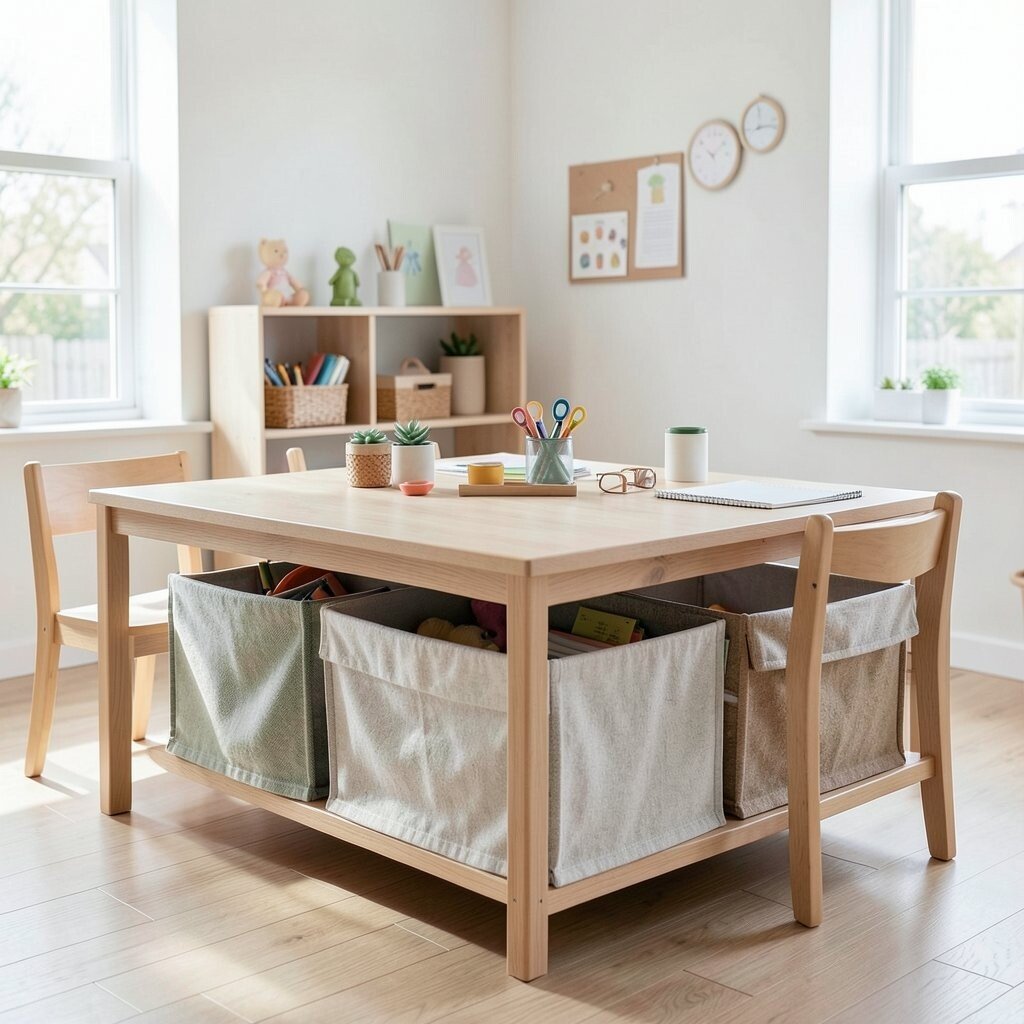
Imagine fabric drawers sliding neatly under a teaching table, like hidden compartments for play dough tools and sensory items. Soft storage keeps the room cozy, even when the design stays minimal.
Choose drawers with sturdy handles and neutral patterns, then rotate what they hold so the classroom never feels overflowing. Store items that are used often near the front, and keep backup supplies deeper in the drawers. This reduces interruptions because kids can reach tools without asking every time.
For cost considerations, measure your space first and look for affordable drawer sets that fit your measurements. If you are handy, sewing simple fabric bands helps create a tighter fit and a smoother look.
6. Pegboard Organizer for Lightweight Craft Tools

Picture a pegboard panel where scissors, rulers, and tape sit neatly in hooks and small trays. The grid layout feels modern and helps supplies stay in the same spots.
Use hooks sized for each tool so everything hangs securely and does not become a pile. Keep the board mostly empty and use open space as part of the minimalist style. For practical tips, add a photo of the “default hang” near the board so children can return items correctly.
To personalize, swap a couple of hooks for themed mini trays during unit weeks, like a star tray for astronomy. If you want uniqueness without extra clutter, use one accent color for the tray handles and keep everything else neutral.
7. Book Storage Ledges With Picture Covers Facing Out
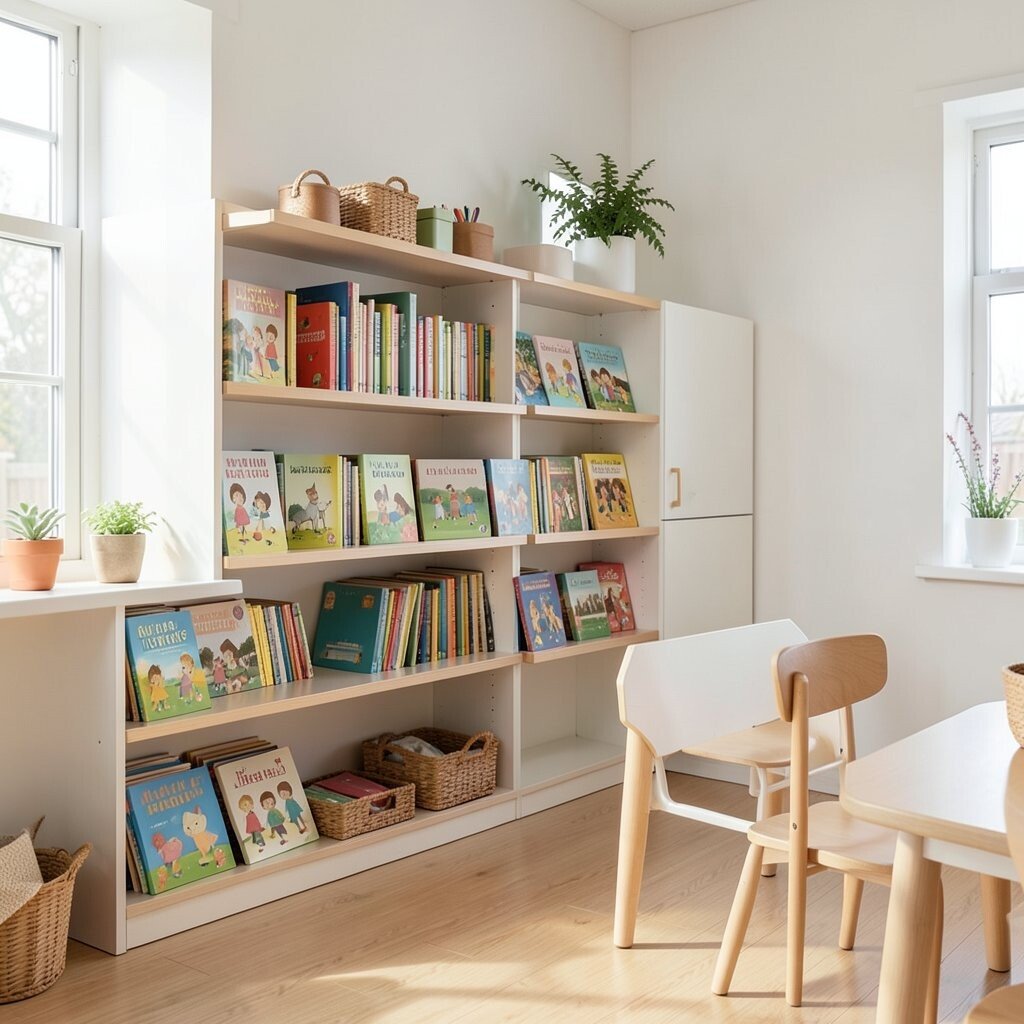
Think of books stacked in a low ledge with covers facing forward, creating a gentle display that does not need extra decorations. This minimalist approach turns the reading area into an inviting “gallery” of stories.
Arrange books by category and rotate them often, so only a small number sit out at one time. Use a simple tray for bookmarks or reading tools to prevent loose items from spreading across the floor. When kids can see choices, you get fewer interruptions and smoother reading transitions.
For cost, you can build a small ledge from basic wood boards and shelf brackets. Personalize with a discreet nameplate in a matching font style on the side, like your classroom name in one clean line.
8. Label Cards on a Neutral Backdrop
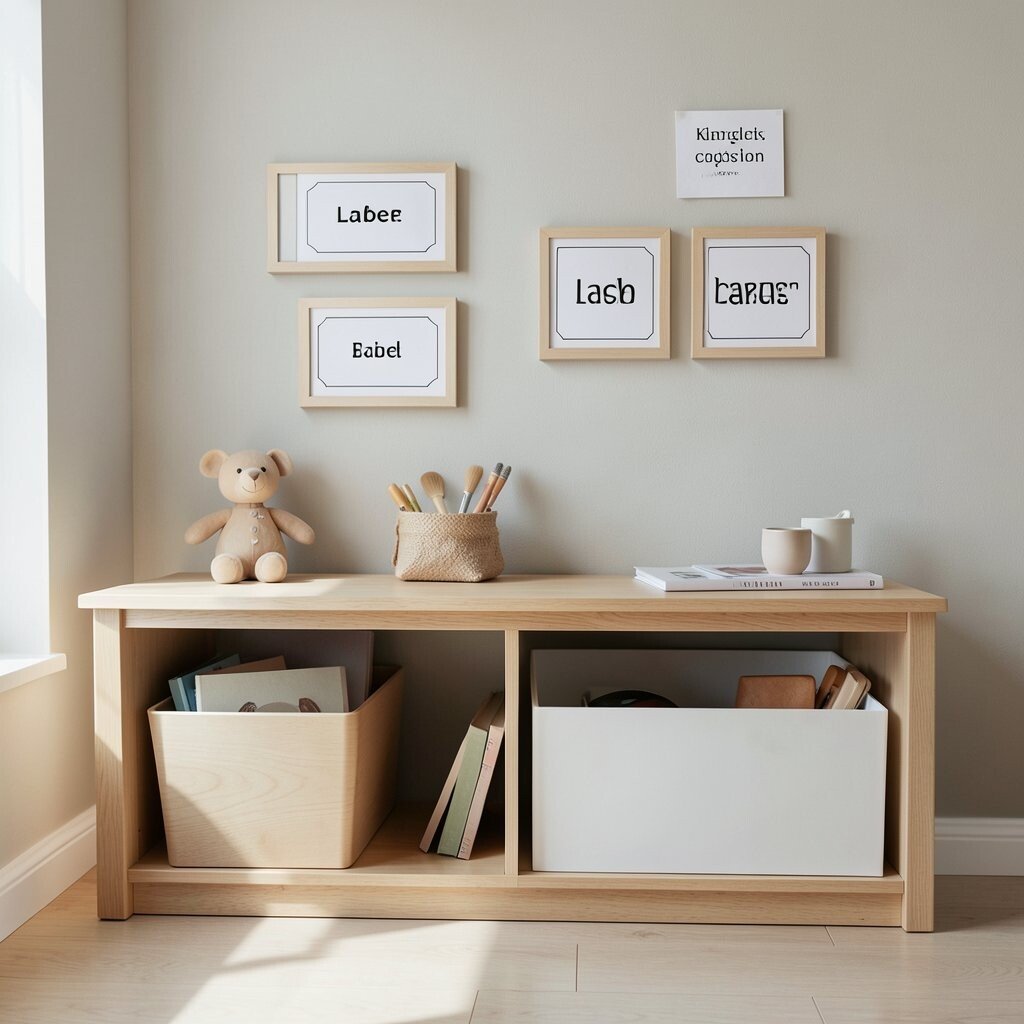
Picture label cards placed on a plain board or clipboard, with crisp text and small icons. Labels help kids learn routines without adding bright, busy visuals.
Use one consistent font style and color family, such as dark lettering on light cardstock. Place labels at the correct height so children can read and return items with less adult help. Keep the number of labels limited so the board stays calm and minimalist.
If you want uniqueness, rotate the icons monthly while keeping the label design the same. This keeps the room feeling fresh without making storage look chaotic.
9. Corner Shelf for Small-Classroom Decor That Stays Minimal
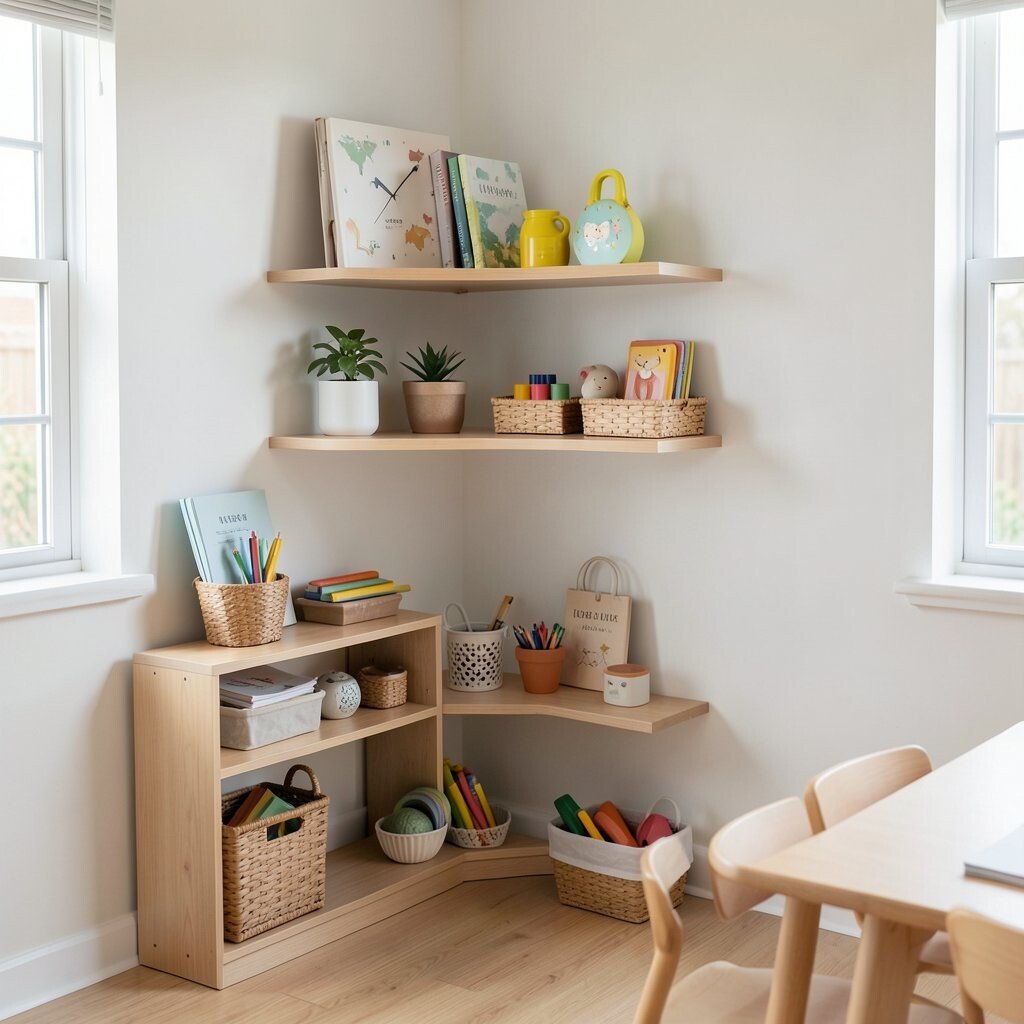
Imagine a corner shelf with just a few items, like a globe, a plant, and one framed seasonal print. When decor is limited, storage becomes the main focus and the room feels organized.
Choose shelf styling that follows a simple rule, such as one taller item, one medium item, and one flat item. Keep baskets under the shelf for extra paper, so nothing spills out. This gives you flexibility since you can swap the top items without changing the storage system.
Cost-wise, thrift stores and yard sales often have simple shelves and frames in great condition. Personalize by using your own art photos printed on matte paper, which adds warmth while keeping the design clean.
10. Lidded Baskets for Building Blocks
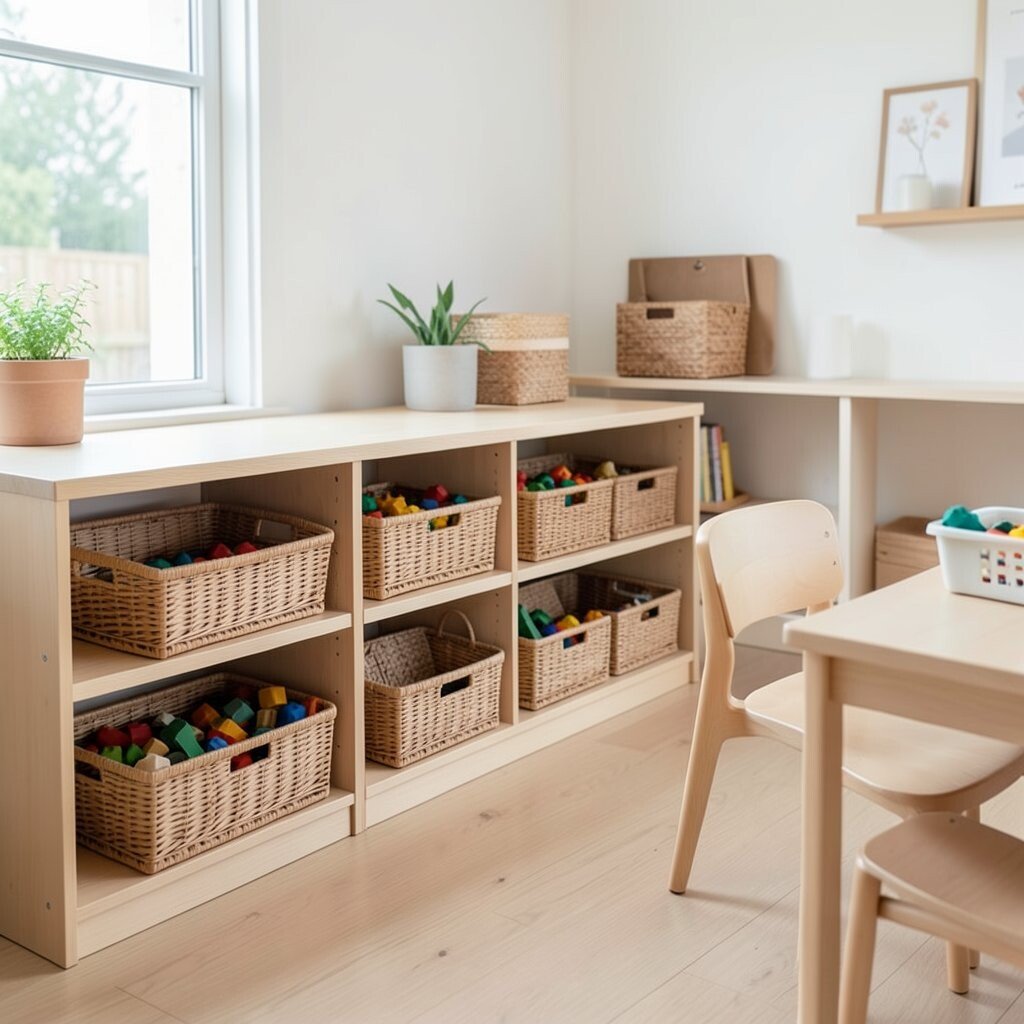
Picture lidded baskets grouped by building type, like blocks in one basket and unit connectors in another. Lids reduce the scatter that happens after busy building time.
Use clear windows on lids if you want visibility, or choose solid neutral colors if your decor is very light. Add a small tray inside for tiny pieces so kids can pour and reset easily. This helps with independence because children can keep the activity contained.
For personalization, put a simple color band on each basket that matches the unit color in your lesson materials. When you shop, select baskets that stack or nest so storage stays tidy even when shelves fill up.
11. Under-Desk Cubes for Backpacks and Extra Supplies
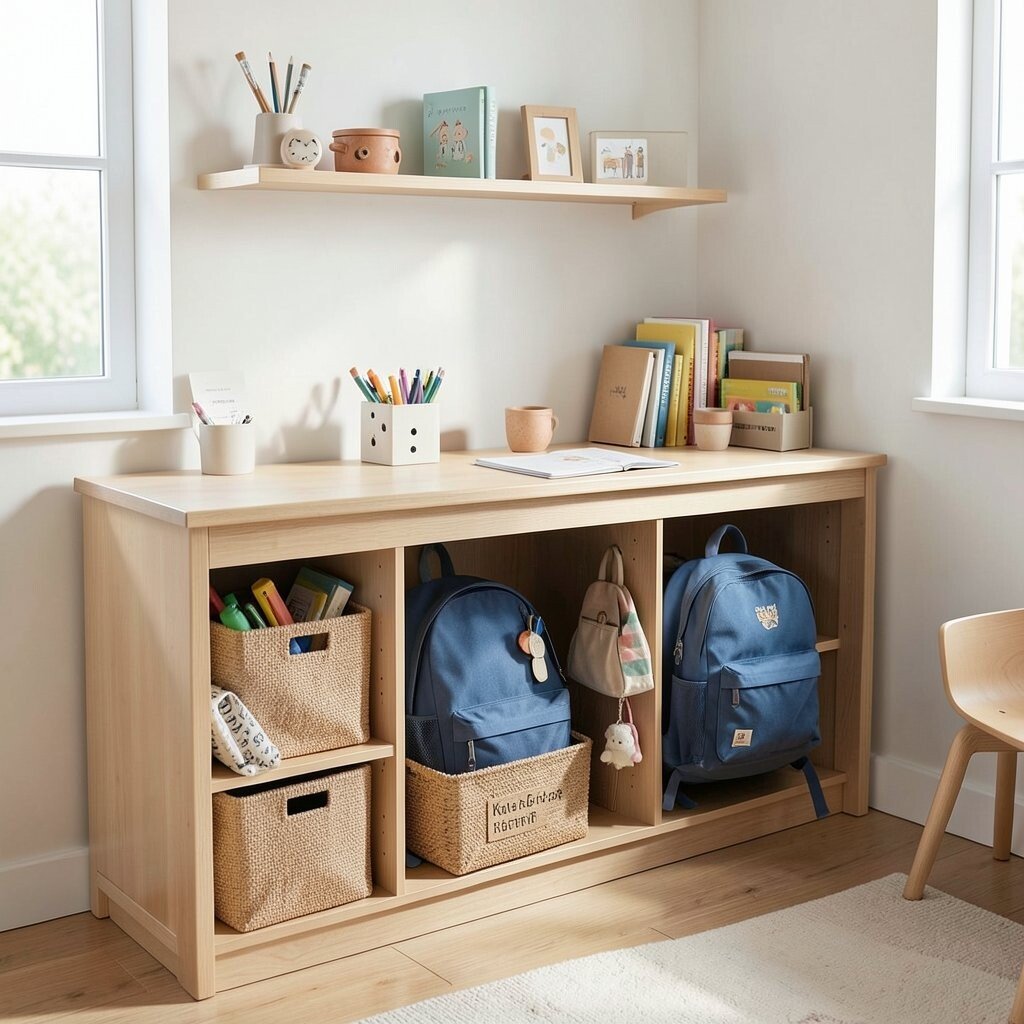
Imagine small cubes under each cubby or desk area where backpacks can sit off the floor. Keeping bags contained supports the minimalist look and makes daily routines smoother.
Use soft bin liners so backpacks do not scrape and so the area stays visually quiet. Assign one cube per child to help with personalization of space while still using the same storage pattern for everyone. A practical tip is to keep a small slot inside each cube for a change of clothes or a take-home folder.
For cost considerations, look for stackable cubes with washable bins that can be replaced easily. This makes repairs less stressful than replacing the whole system.
12. Hanging Mesh Organizers for Art Aprons and Tools

Picture a hanging mesh organizer with small pockets for aprons, paint shirts, and brush cups. It keeps textiles off counters and makes the room look tidy even during messy activities.
Choose neutral mesh or simple solid backing so it blends into your walls. Label pockets with pictures and set a clear rule for return placement so brushes do not end up in the wrong pocket. Mesh is practical because it dries faster, which helps with hygiene after painting sessions.
To personalize, add a tiny colored stitch tag on each pocket that matches each child’s apron color. This is fun for kids and still stays minimalist because the mesh organizer is the main feature.
13. Minimal Storage Shelf With Adjustable Dividers
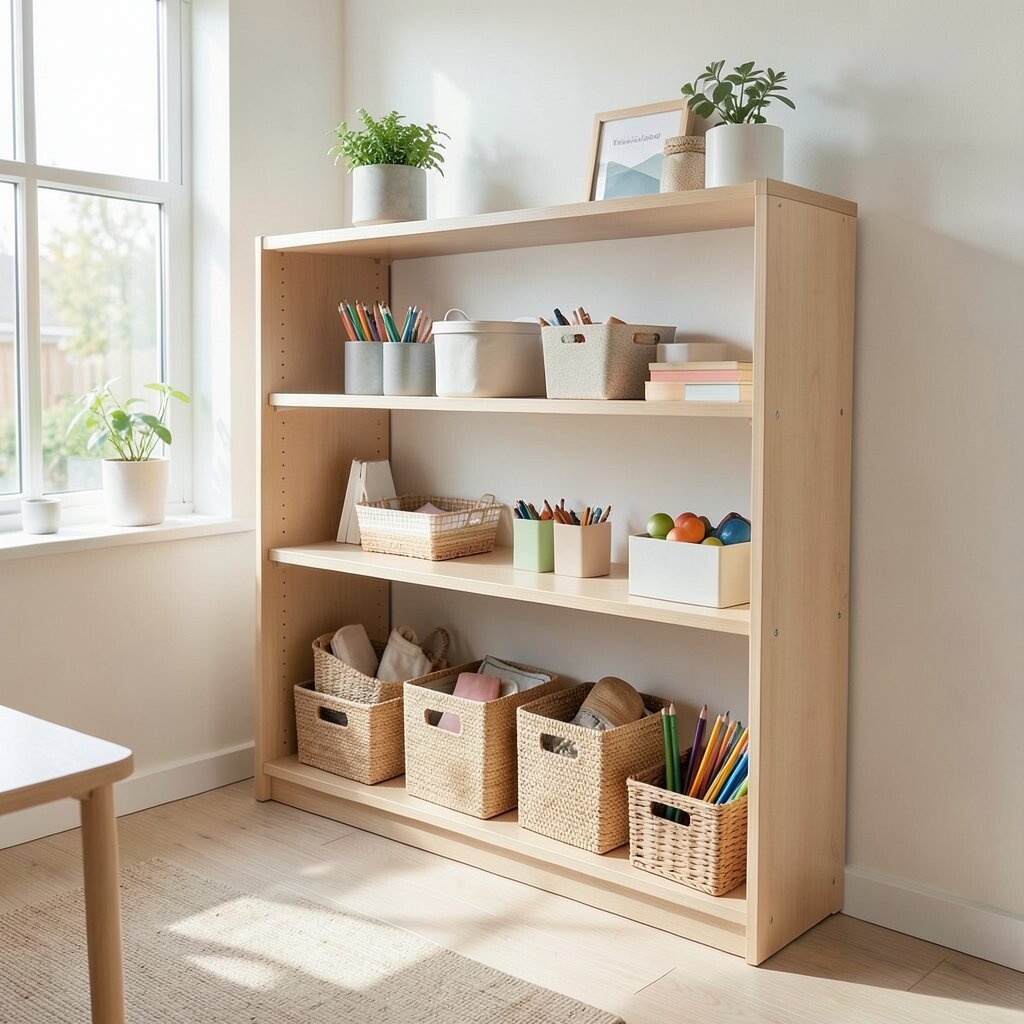
Imagine one clean shelf with adjustable dividers that let you change spacing as classroom needs shift. The shelf looks neat because it can match new activities without adding extra units.
Use dividers to create zones, like one for paper, one for manipulatives, and one for classroom games. Keeping items separated reduces visual clutter on top of shelves. For practical tips, set a “daily max” rule so only the needed items are pulled forward.
Cost-wise, adjustable shelves can feel like an investment, but they last longer than many fixed organizers. For uniqueness, add a single decorative shelf edge strip in a calm color that matches your classroom palette.
14. Transparent Drawers for Markers and Crayons
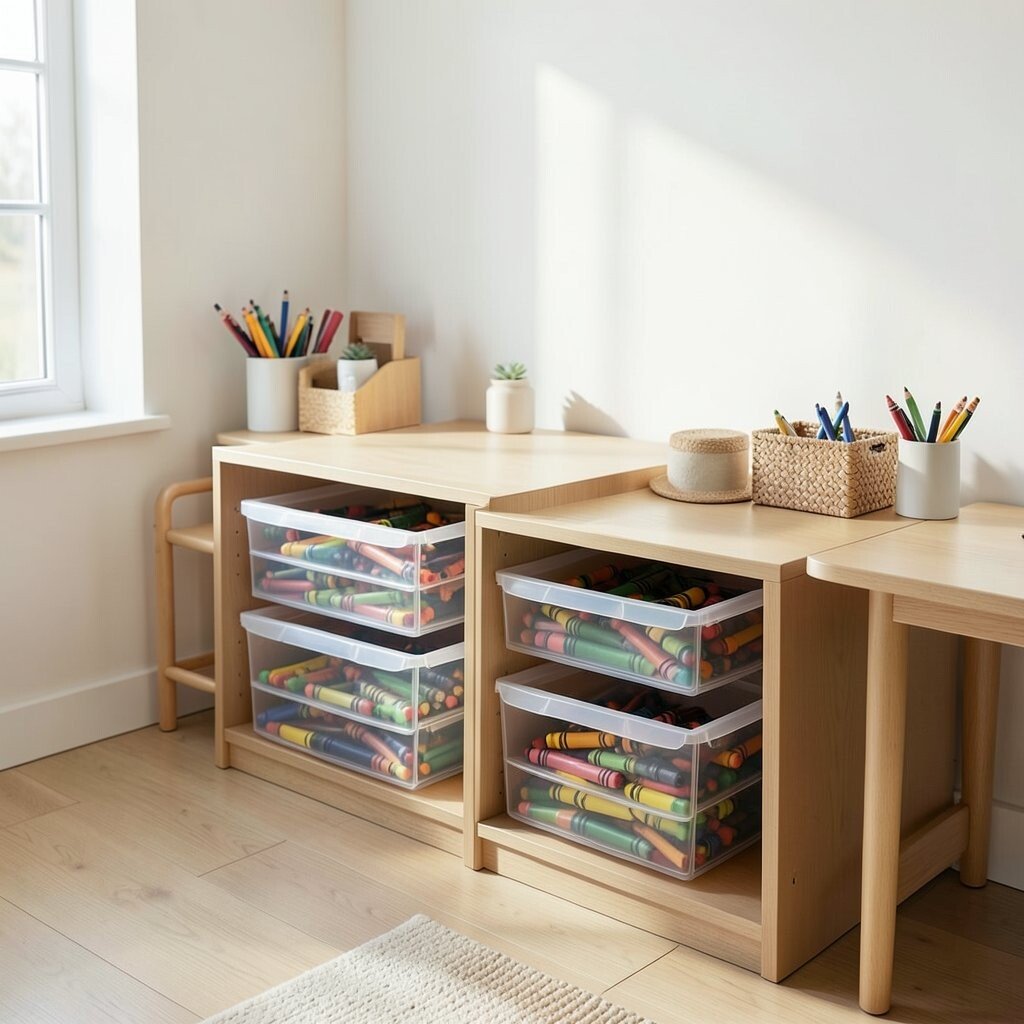
Picture transparent drawers that slide smoothly, with markers and crayons sorted by color family. The clear look feels modern and makes it easy for children to choose what they need.
Keep the drawer height low so kids can reach the top without climbing. Sort by thickness or color, and place the most used items in the front drawer for quick access. This reduces lost time and helps supplies last longer because tools go back where they belong.
To personalize, include a small “return guide” card inside the drawer with simple arrows. When you consider cost, search for small drawer organizers that fit specific cabinet spaces so you do not waste money on units that cannot be used.
15. Paper Trays for Clean Stacking and Display Rotation
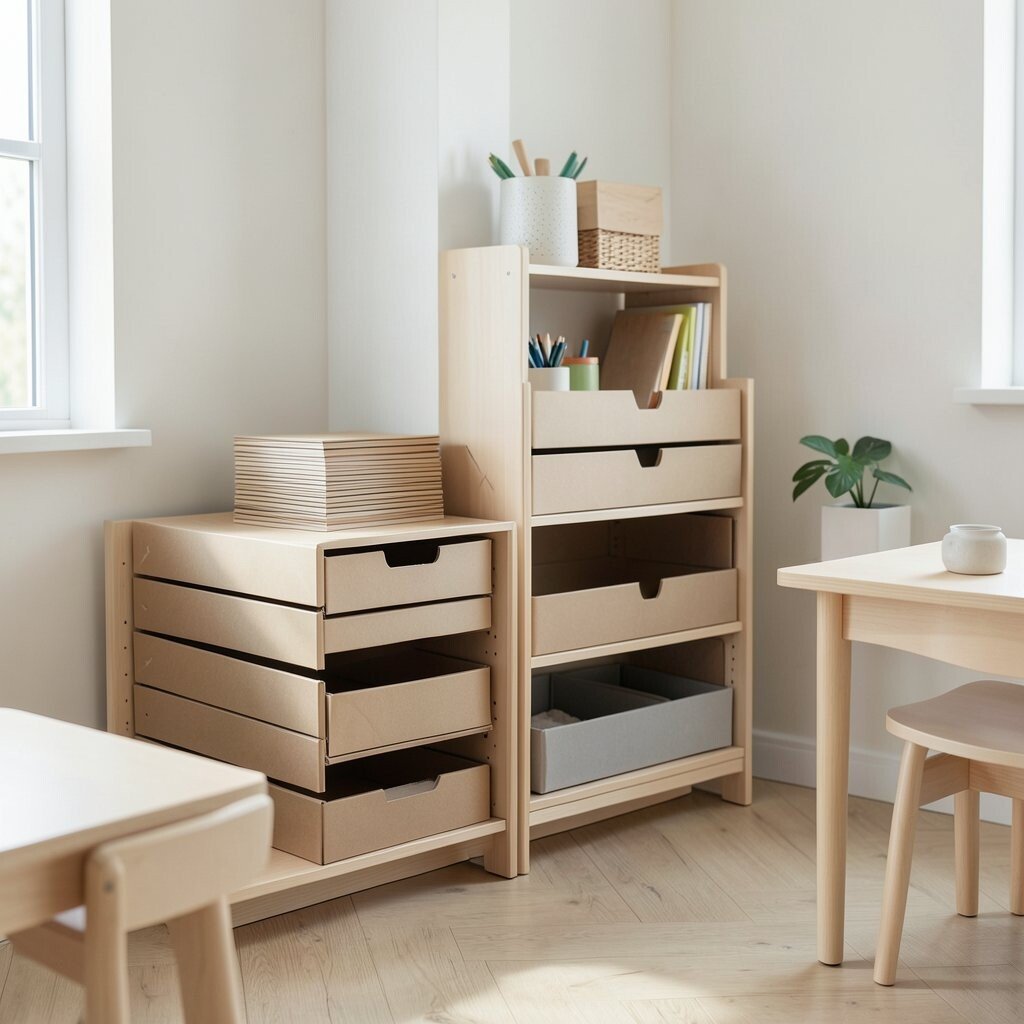
Imagine paper trays lined up neatly beside your art table, holding finished work, in-progress sheets, and blank pages. Clean stacking keeps the room from turning into paper piles.
Use a system that limits the number of displayed pieces at one time, such as a single tray for “today” work and one tray for “ready to take home.” A practical benefit is that you can switch displays fast without digging through mixed stacks. Choose trays in neutral colors like white, beige, or light gray for a calm look.
For personalization, clip a small clothespin line inside the tray area to hang one rotating student banner. It adds personality without covering every surface with decorations.
16. Storage Ottoman With Hidden Compartments
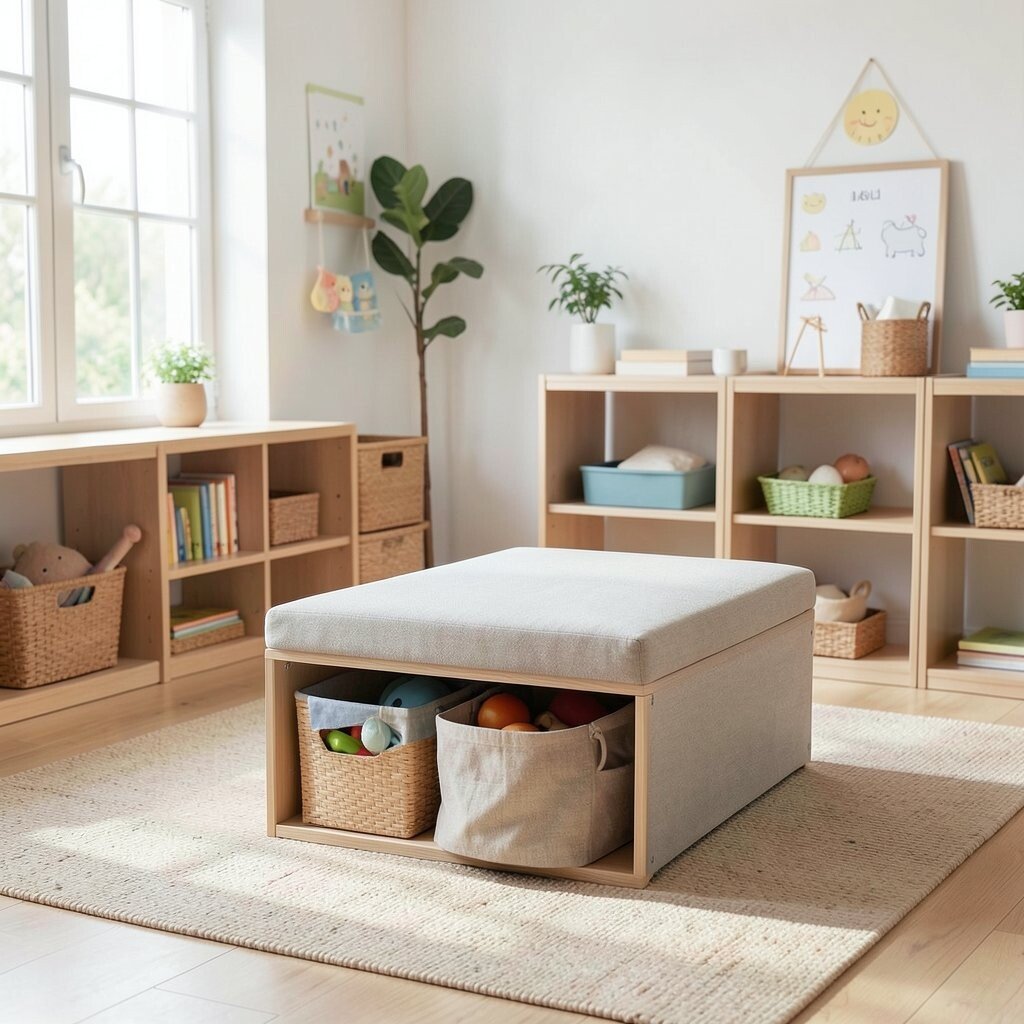
Picture a simple ottoman near the reading corner that holds extra pillows, floor mats, or quiet activity cards inside. It offers storage and seating in one minimalist piece.
Choose an ottoman with a removable lid or easy lift top so you can access items quickly. Keep the outside clean and limit decor on top to one small tray or one tidy book stand. This helps the corner feel inviting without looking crowded.
Cost considerations matter here, so compare prices between fabric ottomans and wooden storage benches. Personalize by selecting a fabric color that matches your rug, then keep the interior organized with matching storage bins.
17. Rolling Magazine Holder for Light Learning Cards
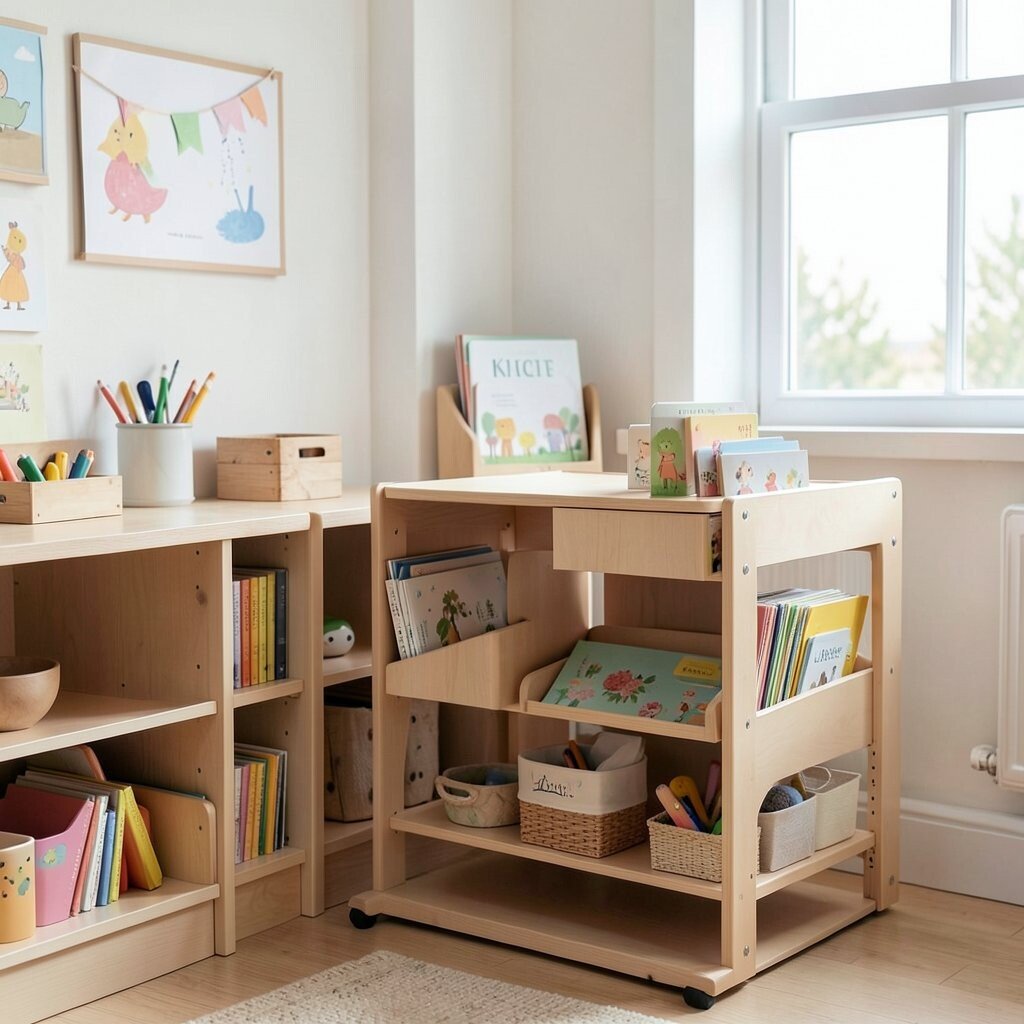
Imagine a slim rolling magazine holder filled with learning cards, picture sets, and phonics strips. It keeps paper items standing up so they do not become a crumpled mess.
Use sections for different activities, like “letters,” “shapes,” and “daily routines,” so kids can pull one set at a time. Rolling storage makes it easy to move materials during group work while keeping your classroom surfaces clear. A helpful trend is the move toward mobile, kid-height learning areas that support quick transitions.
To personalize, add a small color dot to each section that matches the color you use on your lesson materials. For cost, consider lightweight plastic holders, but reinforce shelves with a sturdy base if you expect frequent rolling.
18. Color-Blocked Sorting Bins for Sensory Items
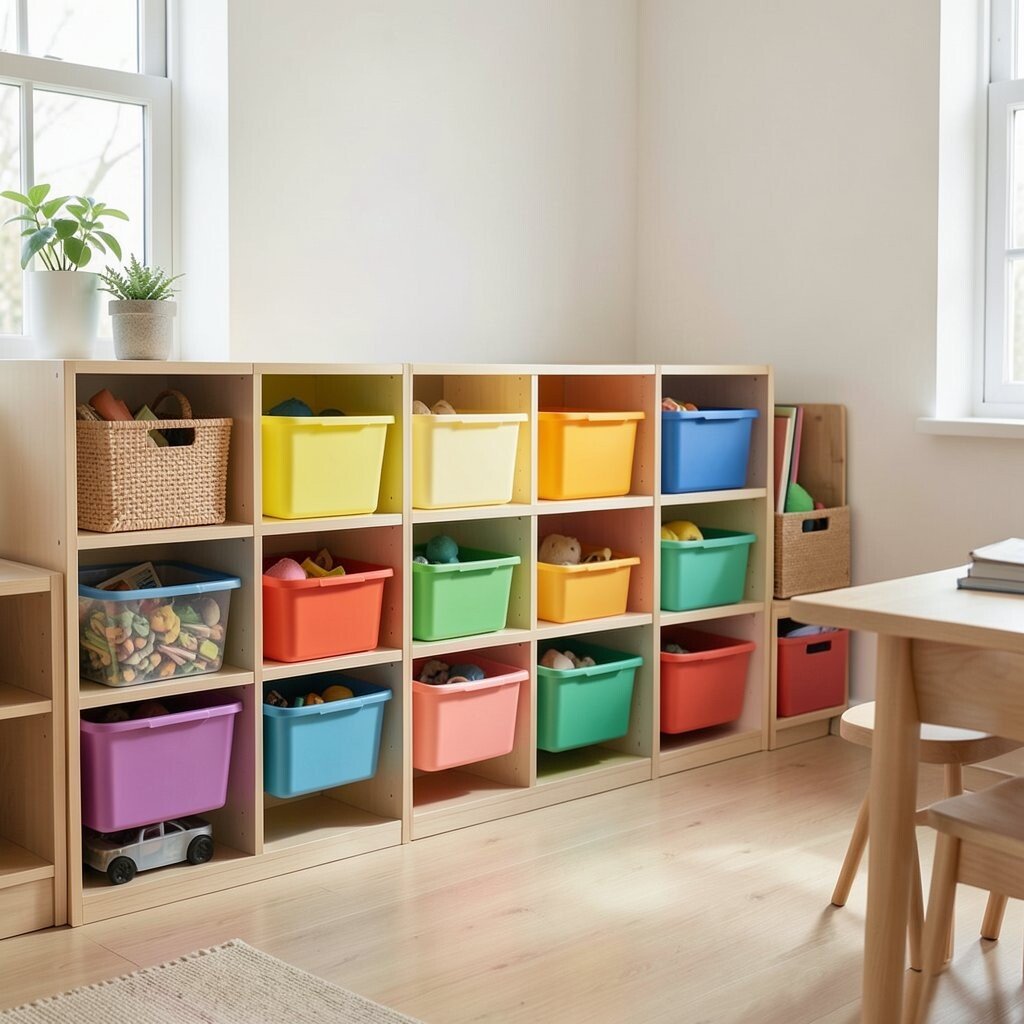
Picture sensory bins grouped by color families, like blue for water play tools and red for textured scoops. Even with minimal decor, color coding makes the space feel organized and predictable.
Keep each bin to one item type so kids do not mix everything together during cleanup. Add a simple photo showing a “full bin” and a “ready bin” so children learn what finished sorting looks like. This reduces cleanup stress because the rule is visual, not complicated.
For personalization, use your students’ favorite two colors as your sorting scheme, staying consistent all year. Cost-wise, start with fewer bins and expand only after you see what kids truly use most.
19. Minimal Curtain Divider With Labeled Behind Storage
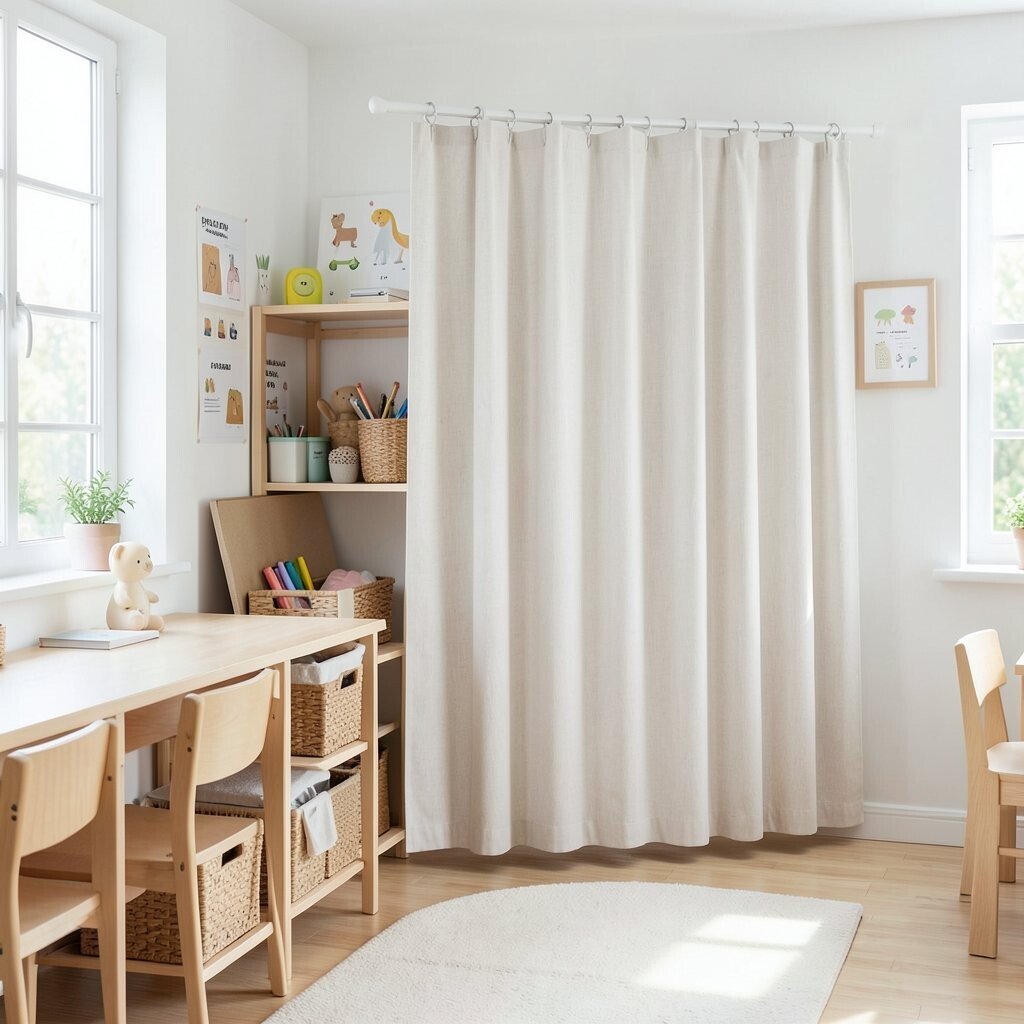
Imagine a light curtain divider that hides storage behind it, keeping the classroom front visually calm. The curtain becomes the boundary, and the items live out of sight until needed.
Use the space behind the curtain for bulk paper, extra manipulatives, and backup sensory items. Label the storage bins clearly inside, so you can return items without opening everything at once. This approach fits current trends that favor flexible learning spaces while still keeping surfaces uncluttered.
To personalize, choose curtain fabric with a subtle pattern like small dots or thin stripes, then keep labels and bins neutral. For cost considerations, look for inexpensive blackout curtains and attach them to a tension rod or simple ceiling track.
20. Shoe-Style Cubby Shelf for Loose Small Items
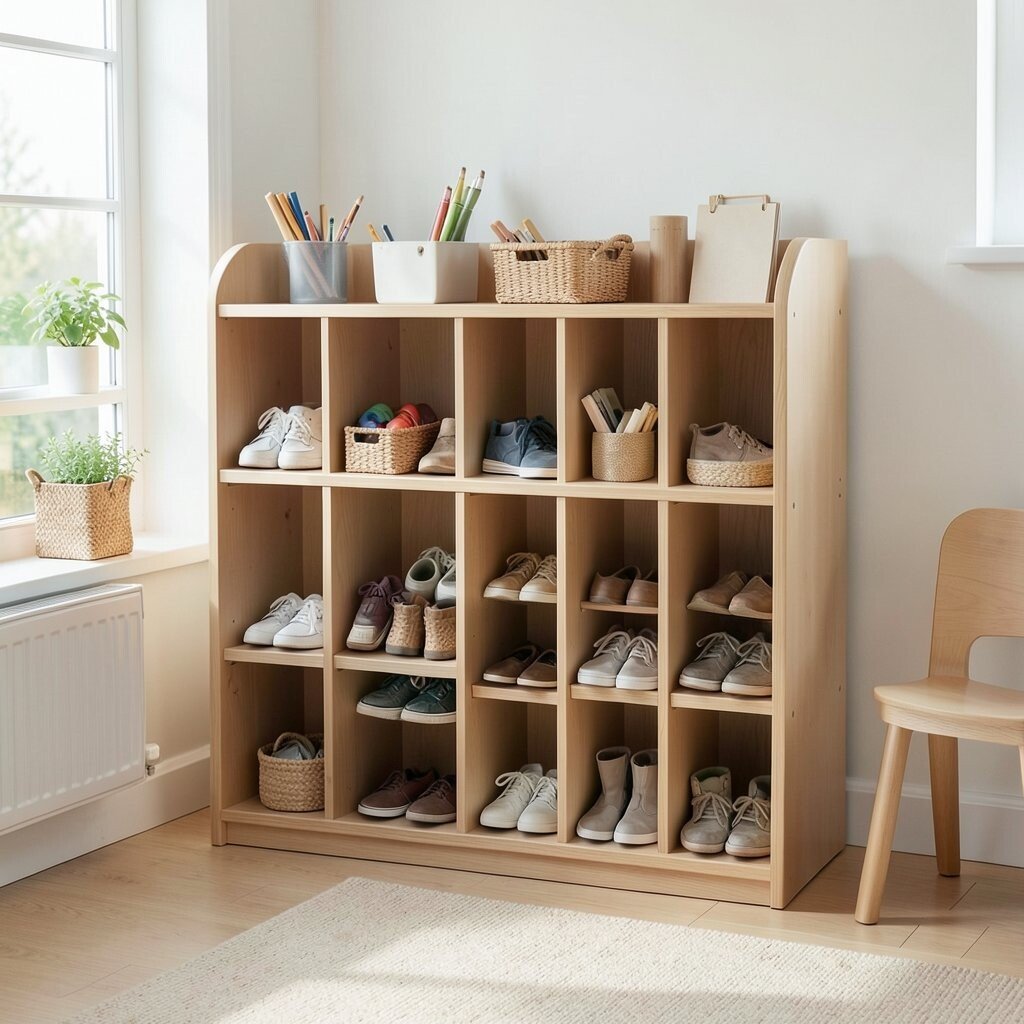
Picture a shoe-style hanging shelf with pockets for small supplies like pom-poms, mini erasers, and craft stickers. It is a great minimalist storage solution because it uses vertical space and keeps items visible.
Place the pocket shelf near the activity area so cleanup is faster and children can return things without wandering. Use breathable pockets or simple inserts so small items do not spill. For practical tips, keep only one type of item per pocket and rotate sets every couple of weeks.
To personalize, add one tiny fabric tag to the top edge with your classroom theme colors. When you think about cost, consider using a hanging shelf organizer that can be removed for washing when needed.
21. Stackable Paper Trays for Teaching Handouts
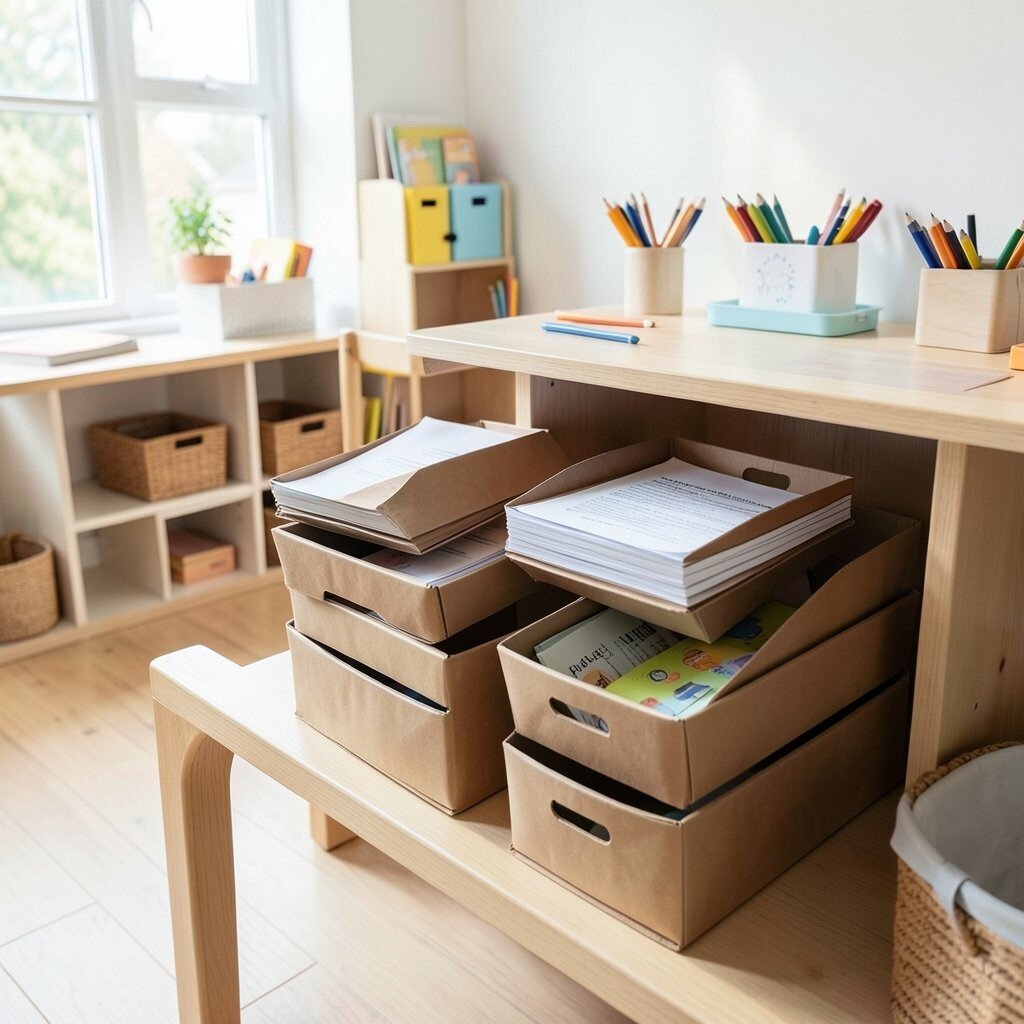
Imagine stackable paper trays with a slim profile, holding permission slips, worksheets, and daily lesson sheets. Everything stays off the table surface, and the room keeps its clean, minimalist lines.
Use trays in a small set, such as “today,” “next,” and “extras,” so you can grab what you need in seconds. Keeping a tight flow reduces the chance that papers pile up and become hard to sort. A practical benefit is that kids see fewer loose sheets, which keeps focus on learning activities.
For cost, you can find stackable acrylic trays or budget-friendly cardboard sets that still look neat. Personalize by adding a small color band to each tray that matches your classroom calendar colors.
22. Simple Storage Bench With Removable Bin Inserts
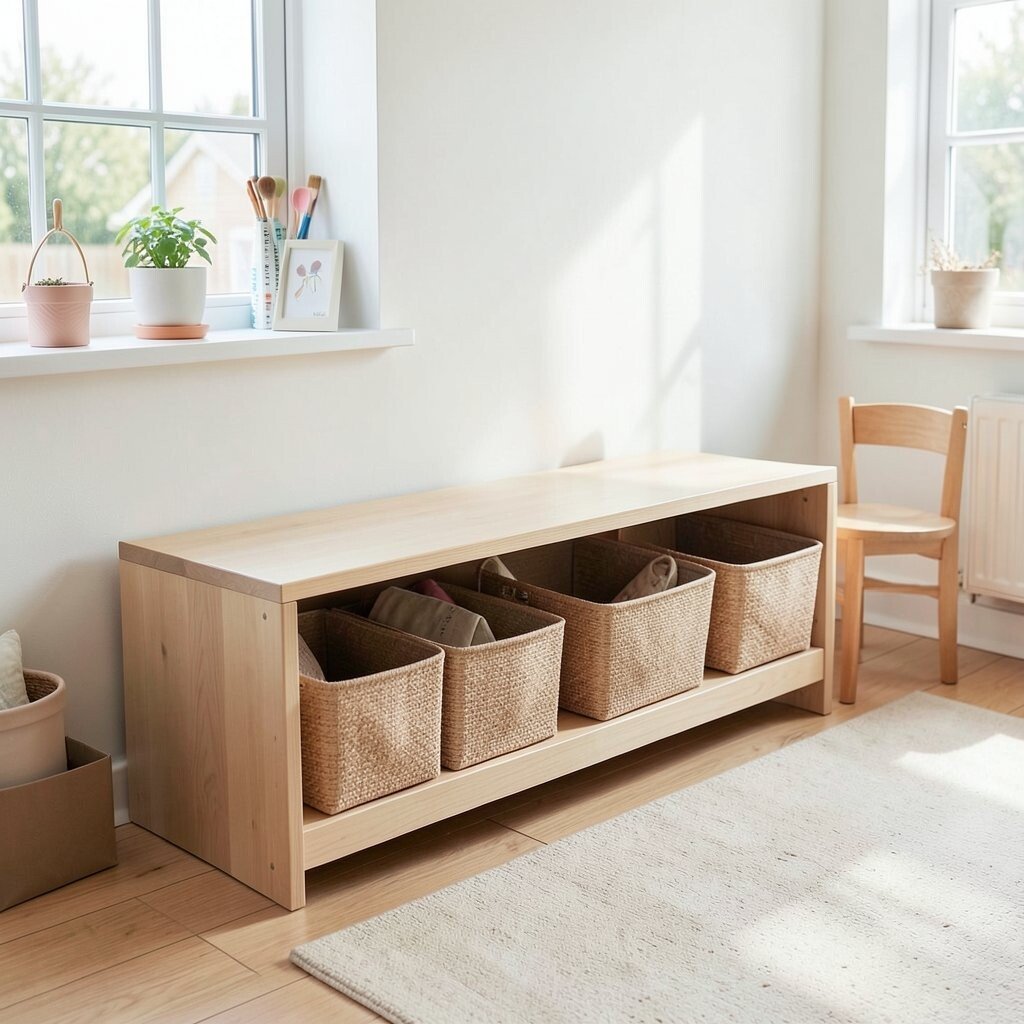
Picture a storage bench in a calm neutral tone with removable bins inside. It supports minimalist decor because the bench looks clean, while the bins do the organizational work.
Choose bins that fit snugly so they slide out easily during cleanup, then stay secure when you put them back. Keep the bench near a learning center to store floor activities, like board games, quiet counting sets, or small rugs. This helps with independence since kids can tidy their area without moving heavy furniture.
To personalize, print or write simple picture labels on the bin fronts, using consistent icon style across all bins. Cost considerations can be gentle here because you can start with a basic bench and then upgrade bins over time as your needs grow.
In a modern classroom, flexible storage like removable inserts is a popular choice because it adapts without adding more items to the room.