The clink of silverware and the hush of candlelight feel extra magical with folded cloth. Small details like napkins can make guests feel like they’ve stepped into a story.
Set the mood, keep everything practical, and let each fold look like it belongs in a glittering kingdom. These playful shapes are friendly to make and fun to personalize for fairy gatherings of any kind.
1. Petal-Point Porcelain
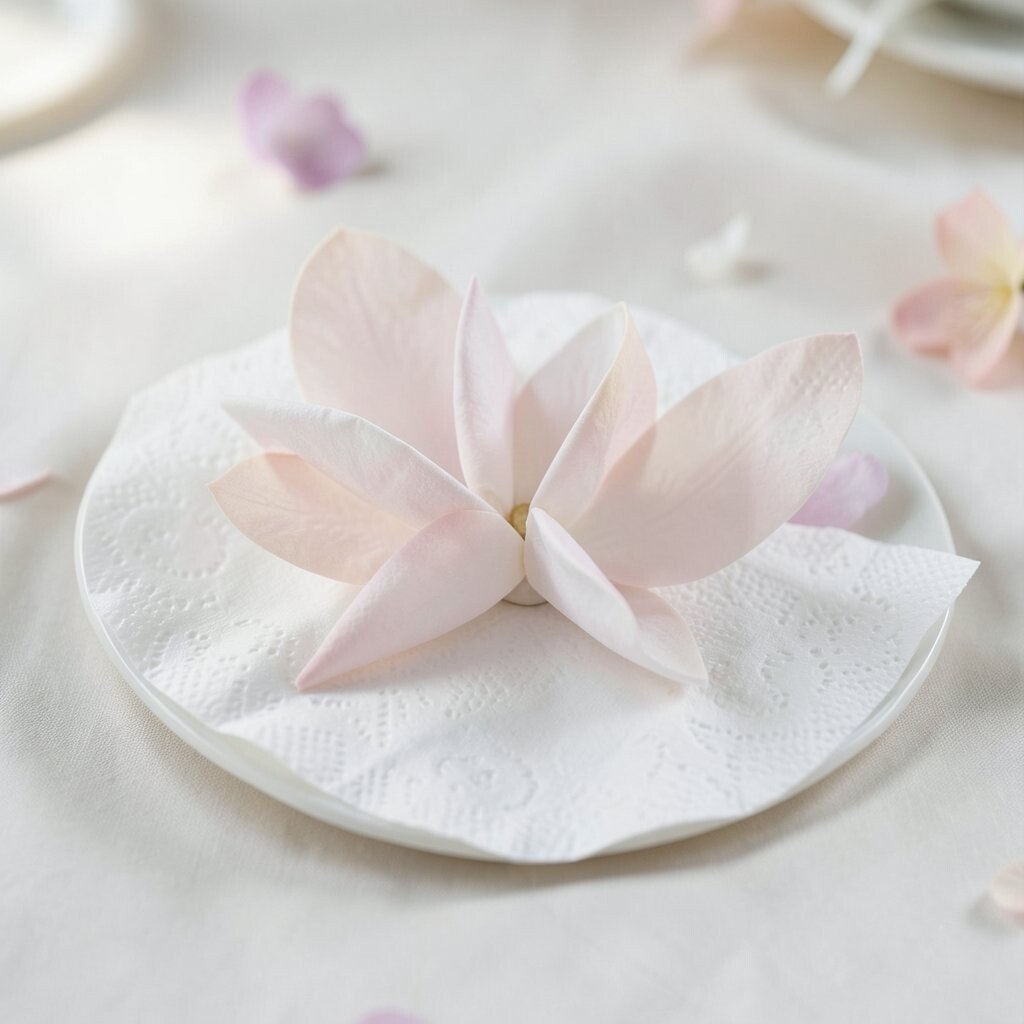
Lay your napkin flat and imagine it as a soft flower before you ever pinch it. Bring corners inward to form gentle points, then tuck the final edge so the shape holds like a bloom in morning dew.
Choose pastel napkins in lilac, peach, or pale green for a dreamy look. This fold adds instant elegance without needing special tools, and it works well for both casual and fancy tables. Use a light starch spray if your fabric is thin so the points stay crisp. Finish by sliding a tiny ribbon loop around the tucked edge for a sweet fairy touch.
2. Dragonfly Double Wings
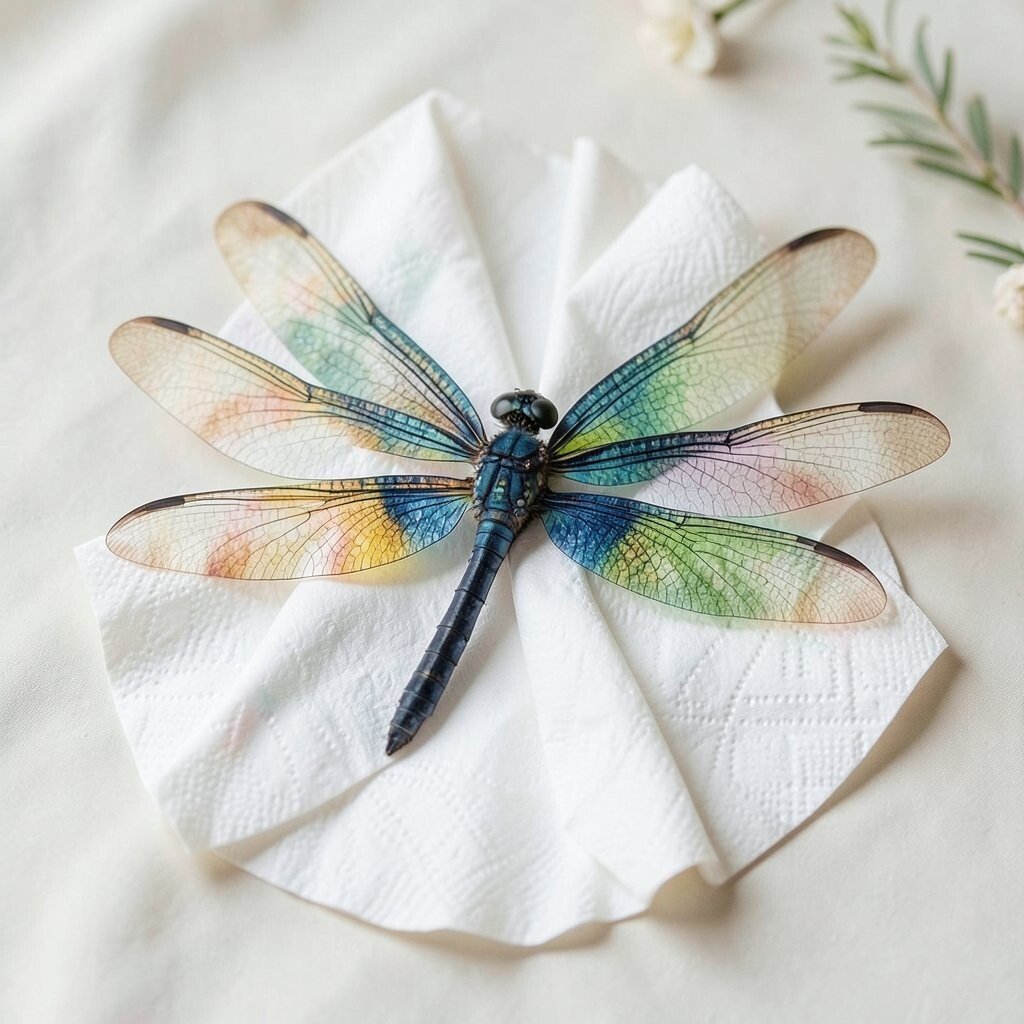
Start with a square napkin, fold it in half, and then fold it again so you have a neat rectangle. Pinch the short ends toward the center, creating two symmetrical wing shapes that flutter even when they’re still.
Fan the outer folds slightly so they look airy, like a dragonfly resting near flowers. This design feels lively on a table because the wings catch candlelight and create soft shadows. For a practical win, keep the tuck tight enough to survive guest handling during dinner. If you’re hosting a theme party, match wing colors to your centerpieces.
Try adding a drop of edible glitter gel to a clear sugar charm placed beside each napkin for extra sparkle. Cotton or linen napkins fold cleanly, while paper napkins can still work if you crease carefully. A simple ribbon tie or a metal napkin ring in gold color also makes the wings feel “royal” without extra cost.
3. Mushroom Cap Tuck
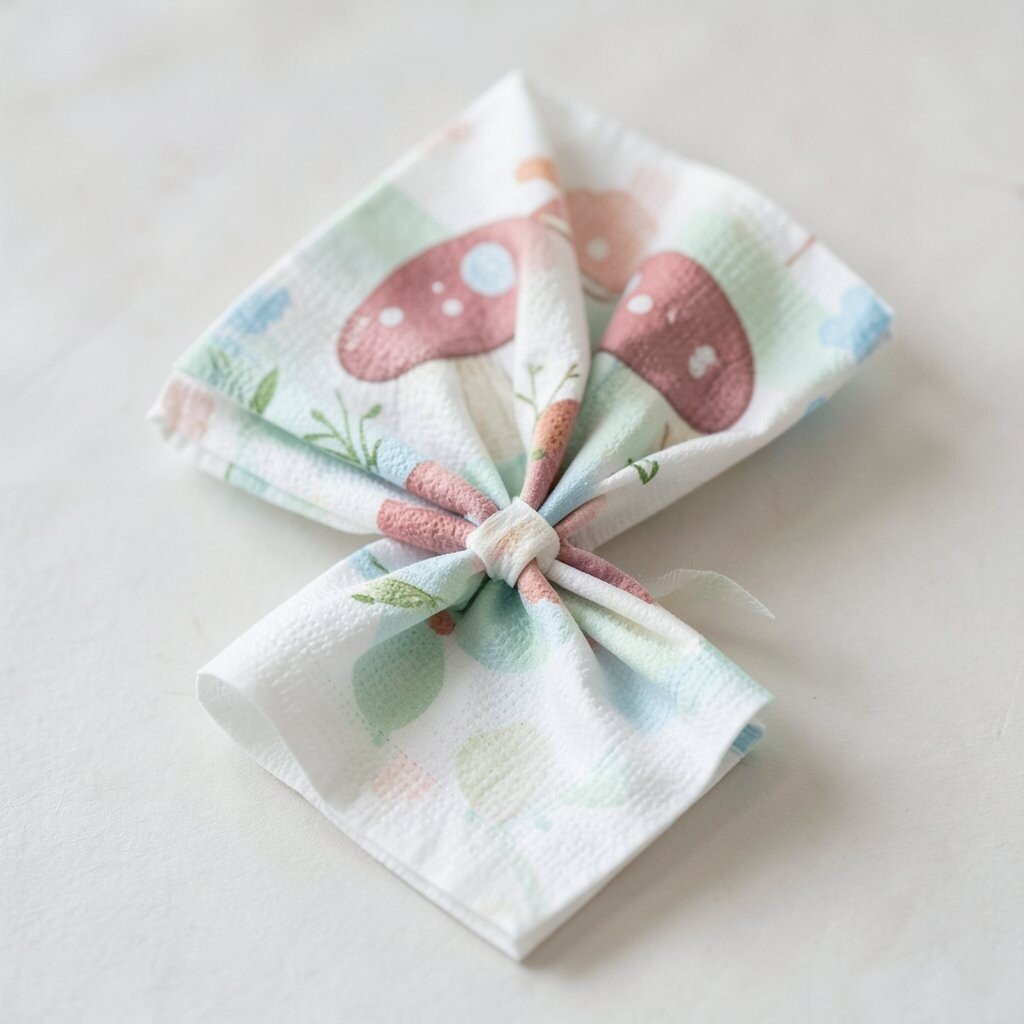
Fold the napkin into a thick square and then angle one corner upward like a tiny mushroom hat. Tuck the edges underneath to create a rounded cap shape that sits proudly at the center of the plate.
Use warm tones such as cream, tan, and soft red to suggest a forest cottage. This fold is unique because it looks cozy rather than stiff, and it pairs beautifully with rustic fairy party decor. Press the fabric flat along the crease so it keeps its cap form.
To personalize, slip a small sprig of rosemary or a faux leaf under the tucked flap so the cap looks “grown.” Guests love it because it feels whimsical but still tidy on the table. For cost considerations, choose one fabric color and repeat it across the table to avoid buying too many styles. Add a name tag on the plate for each guest using a small woodland card to make the setting feel personal.
4. Star Lantern Roll
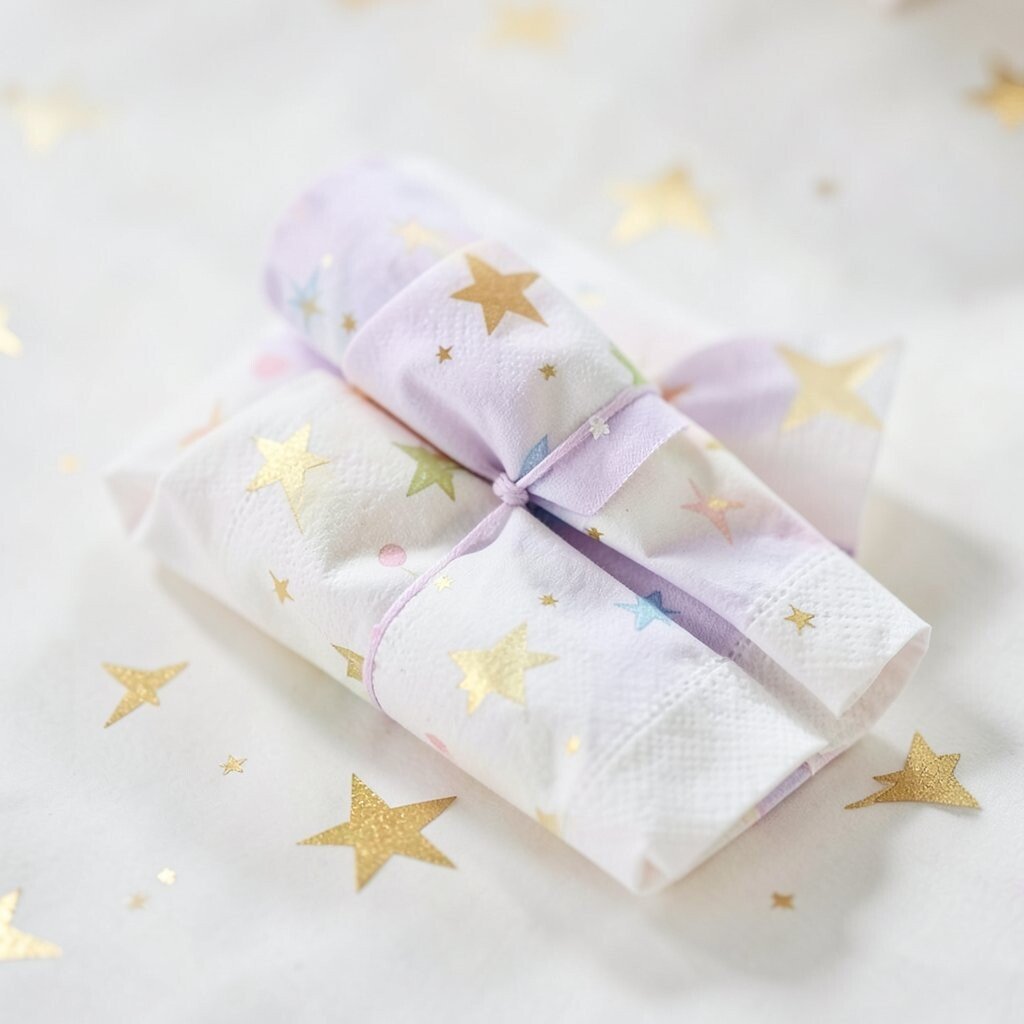
Roll the napkin lengthwise into a long tube, then fold the tube into a loop. Tuck the ends to form a lantern shape, and pinch the top lightly so it resembles a glowing star lantern.
This fold is great for fairy parties because it looks like a light you could carry through a magical path. It also helps organize the table since each napkin sits upright and takes less space than bulkier shapes. Make the roll snug with linen or cotton so it holds through the meal. Use a thin gold twist tie or a ribbon strip as a simple anchor point.
5. Enchanted Envelope Seal
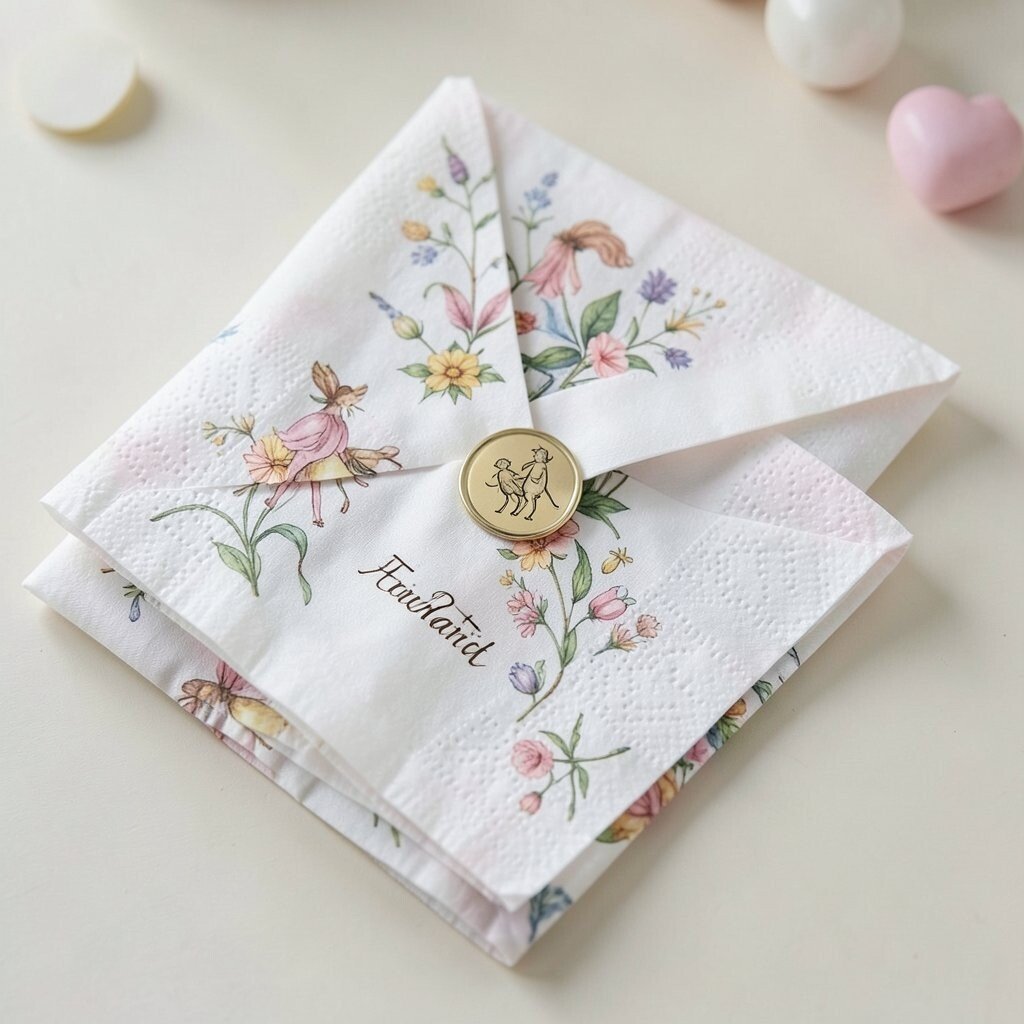
Flatten your napkin and fold it into thirds like you’re preparing a letter. Then fold the bottom up, fold the top down, and press the edges so it creates a neat envelope shape.
Place a small sticker or wax-style seal in the center using a craft dot or a dab of glue to keep it secure. This fold adds a “present for you” vibe, which feels special for guests from the first glance. For practical tips, make sure the napkin is smooth and crease it firmly so it doesn’t spring open.
Try personalizing by writing each guest’s name on a tiny tag attached to the fold with twine. If you want a trendier look, use modern monochrome colors with one contrasting accent like deep emerald. Paper napkins can work if you reinforce the folds with a quick pressing under a heavy book for a minute.
6. Rosebud Crescent
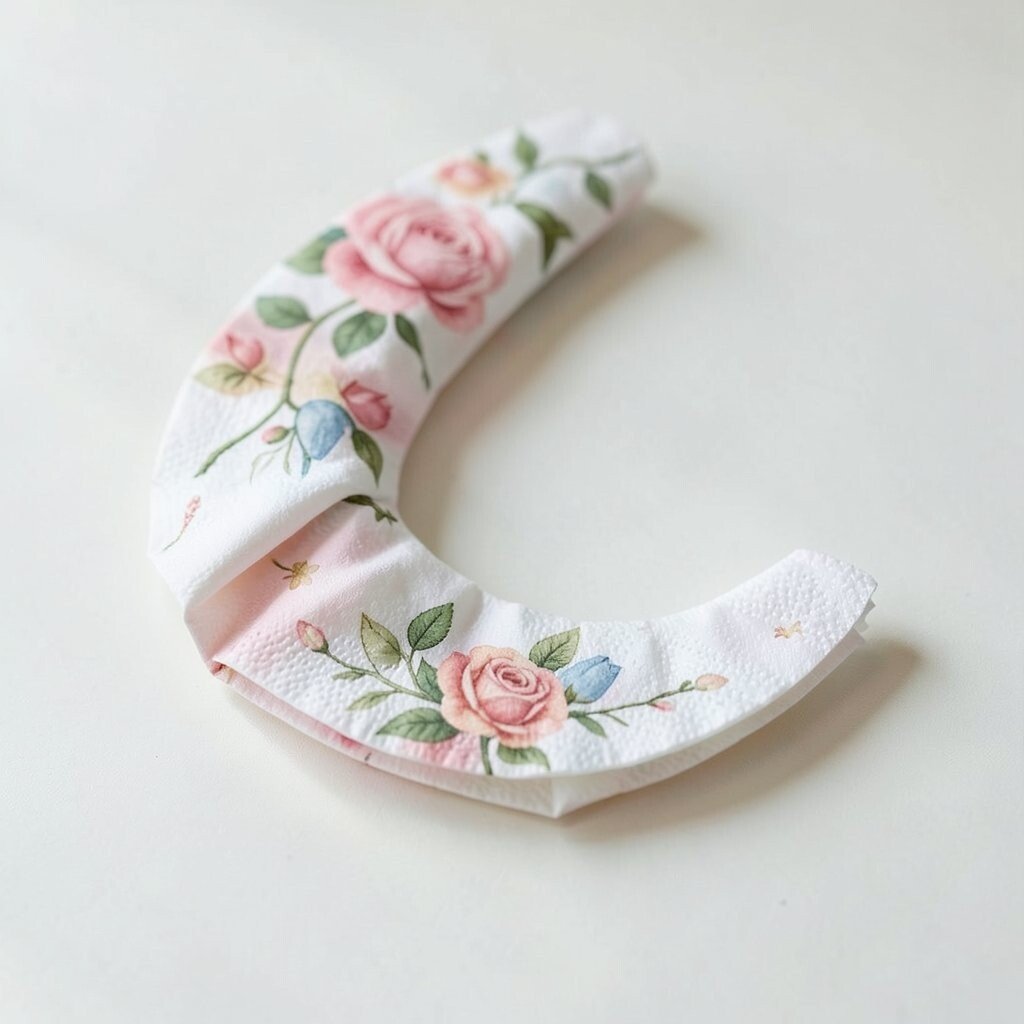
Fold the napkin into a triangle, then roll from the widest side toward the tip. Shape the roll into a crescent and tuck the pointed end underneath so it looks like a rosebud about to bloom.
Rosebud folds feel romantic and gentle, especially when paired with soft floral plates. They benefit your table by adding height without cluttering the center. Use muted rose, dusty pink, or blush tones for a natural, fairy-garden mood.
To personalize, add a tiny fabric flower pin at the back where it won’t poke the guest. If your napkins are slippery, lightly dampen the fabric before rolling and let it dry for better grip. A single roll pattern repeated across the table still looks coordinated, which helps keep costs manageable. Finish with a matching napkin ring for a polished look in minutes.
7. Goblin Grin Fan
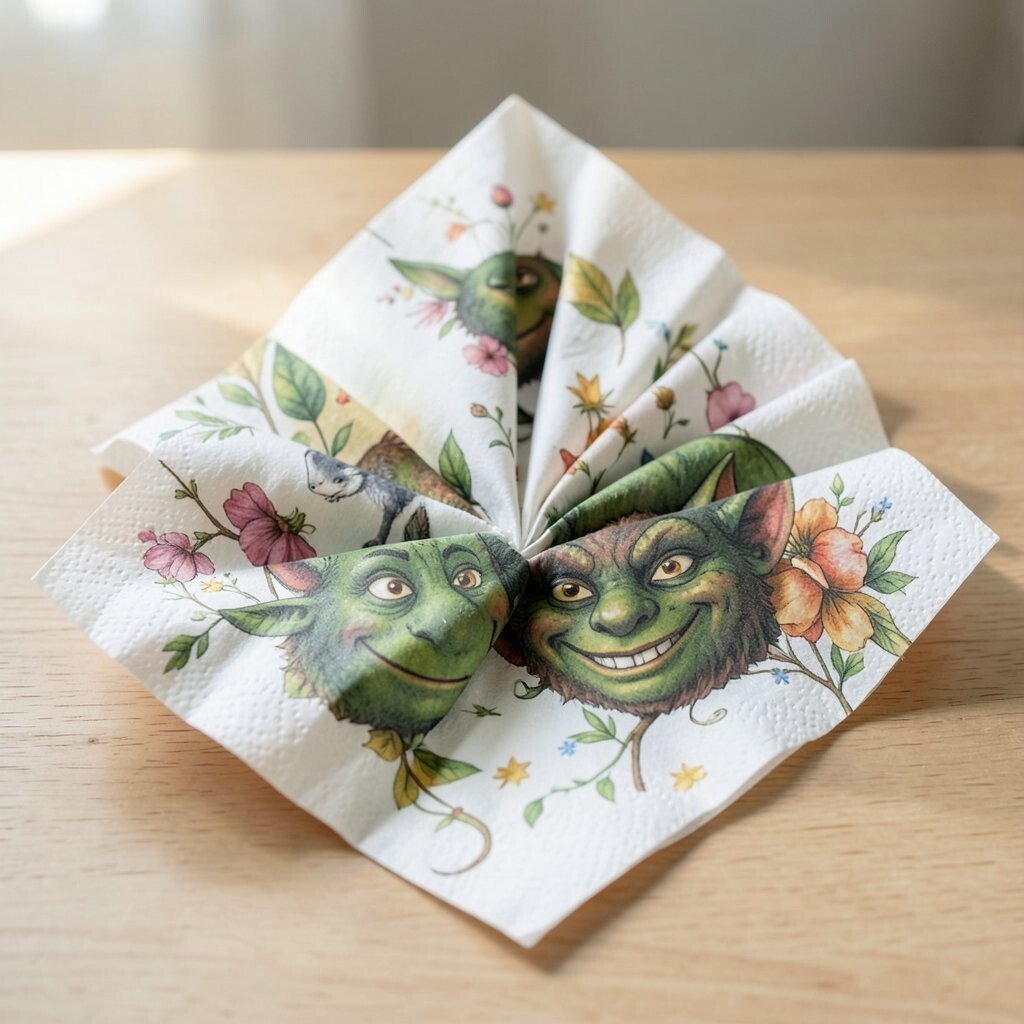
Accordion-fold the napkin from one end to the other, creating many small ridges like a little paper fan. Tie the folded fan in the middle with a ribbon, then fan it slightly so it opens like a smile.
This fold is playful and works well for parties with bolder fairy characters and brighter colors. Guests benefit from the easy shape because it stays compact when they pick it up and unfolds enough to feel special. Use green, teal, or bright gold to make the “grin” stand out against your tablecloth. If you want a practical upgrade, secure the ribbon with a knot that you can tighten beforehand.
For personalization, attach a mini clay charm that fits your theme, like a tiny acorn or moon. Modern trend palettes favor jewel tones, so consider mixing one jewel color with a neutral base. For cost considerations, buy fewer colors and rotate the same napkin color across the table with different ribbon shades.
8. Crown of Twists
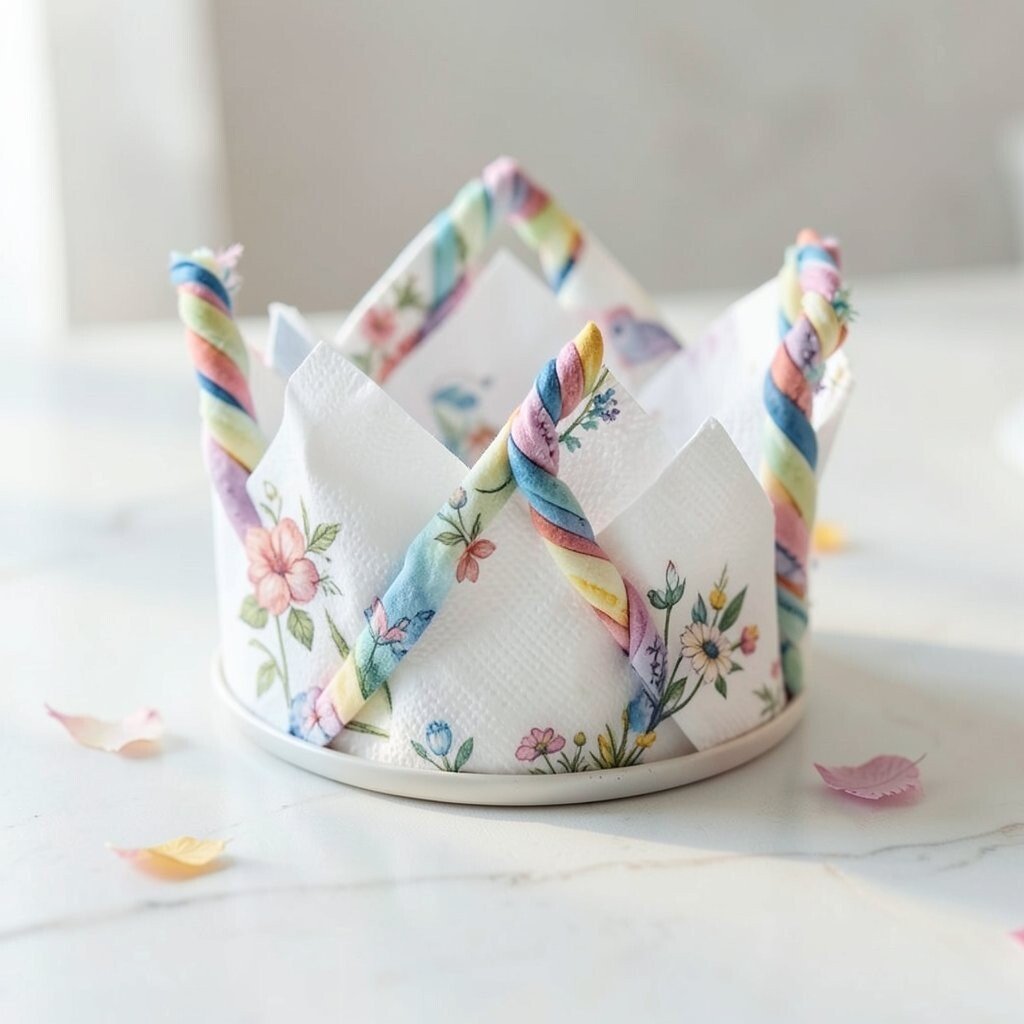
Fold a napkin into a rectangle, then twist each short end inward like curling ribbons. Bring both twisted ends together at the top and tuck them underneath so the center looks like a small crown.
This fold creates a regal silhouette that feels perfect for a fairy queen or king theme. It also offers an easy practical benefit since the twisting helps keep the fabric in place. Use crisp cotton or starch-treated linen so the twists stay defined. Personalize with a tiny gold paper leaf or a gem sticker placed at the front center.
9. Moonlit Bow Knot
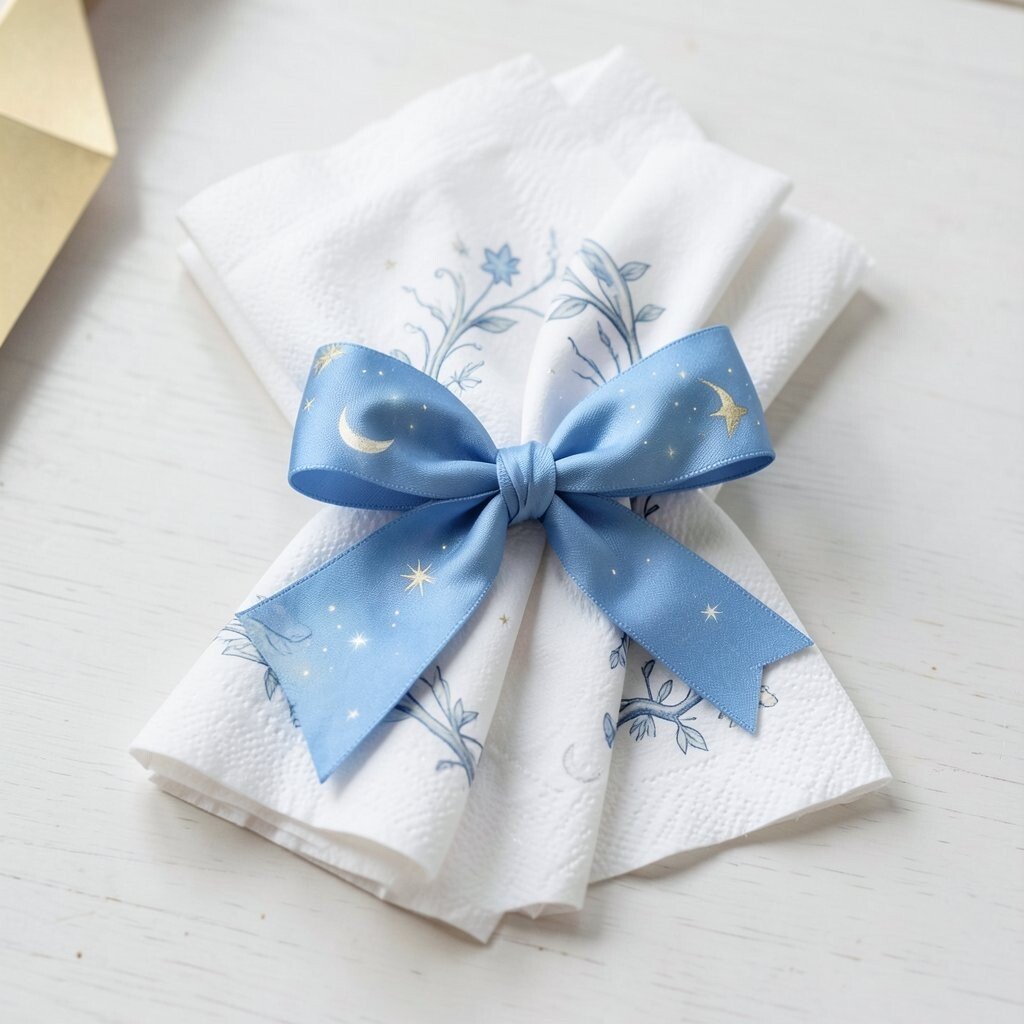
Fold the napkin into a long strip and tie it loosely around a small ring, then pull the ends to form a bow. Slide the knot into position so the bow sits at a slight angle, like it caught a breeze.
This fold looks light and twinkly, especially on tables with moon-themed plates or silverware. It benefits your setup by creating a consistent focal point that’s easy for guests to spot. Choose black-and-white for a trendy look, or go soft with pale blue and pearl accents.
To personalize, add a thin strip of sheer fabric under the bow ends so it “floats” a bit. For cost considerations, you can use thrifted ribbon or craft store ribbon remnants rather than buying matching sets. If you want durability, use a sturdy napkin ring or a hidden pin at the back so the bow doesn’t slip.
10. Fairy Wand Pocket
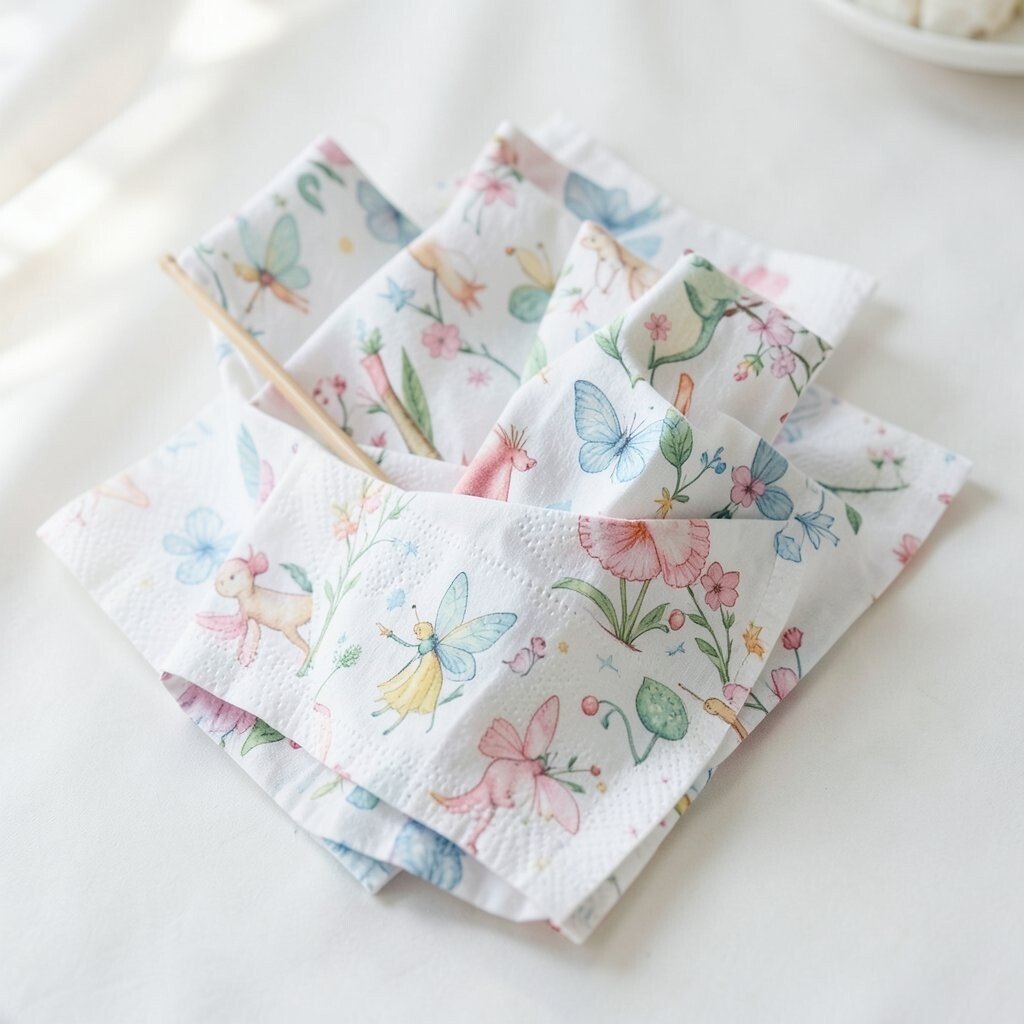
Fold the napkin into a slim rectangle, then roll it around a short wooden skewer or a dowel for shape. Remove the tool carefully and tuck one end under the roll so it forms a pocket like a wand holder.
This fold feels hands-on and magical because it invites the idea of passing out tiny “quests.” It benefits your table by making it easy to attach a small card with a gentle message. Use warm cream napkins for a parchment-like look, or choose bright colors for a playful enchanted vibe.
Personalize by tucking a tiny note inside, such as “Today you sparkle” or a small riddle card. For practicality, keep the roll tight enough that it doesn’t unravel when guests set down their forks. Cost-wise, a single neutral napkin color plus decorative cards and ribbon can create a high-impact look. If you’re following a current trend, use minimal elegant cards with one tiny illustration of a fairy.
11. Willow Whisper Twist
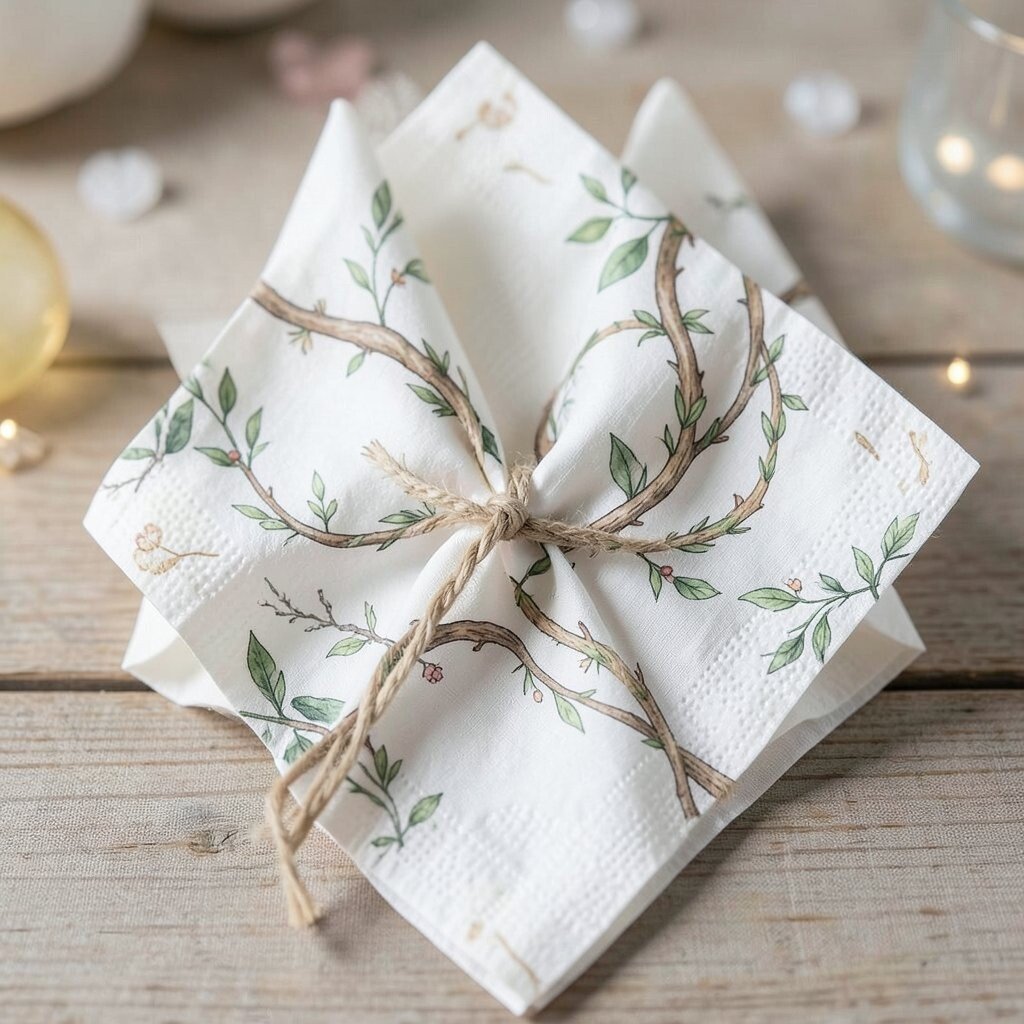
Fold the napkin into a long strip and make a gentle spiral by twisting from one end. Coil it into a small nest shape, then tuck the tail under to secure the spiral.
This fold looks like a vine curled by wind, which makes it feel natural and earthy. It benefits your party setup because it looks good even when slightly imperfect, which is great for busy hosts. Choose sage green, light gray, or soft beige to echo willow branches.
To personalize, add a thread of twine or a small leaf sticker around the outside like a tiny garden wrap. If your napkin frays, use fabric-friendly edges or choose sturdy cotton to keep the spiral neat. For cost considerations, one fabric color can be repeated while you vary the small add-ons like leaves or tags.
12. Mermaid Tail Fold
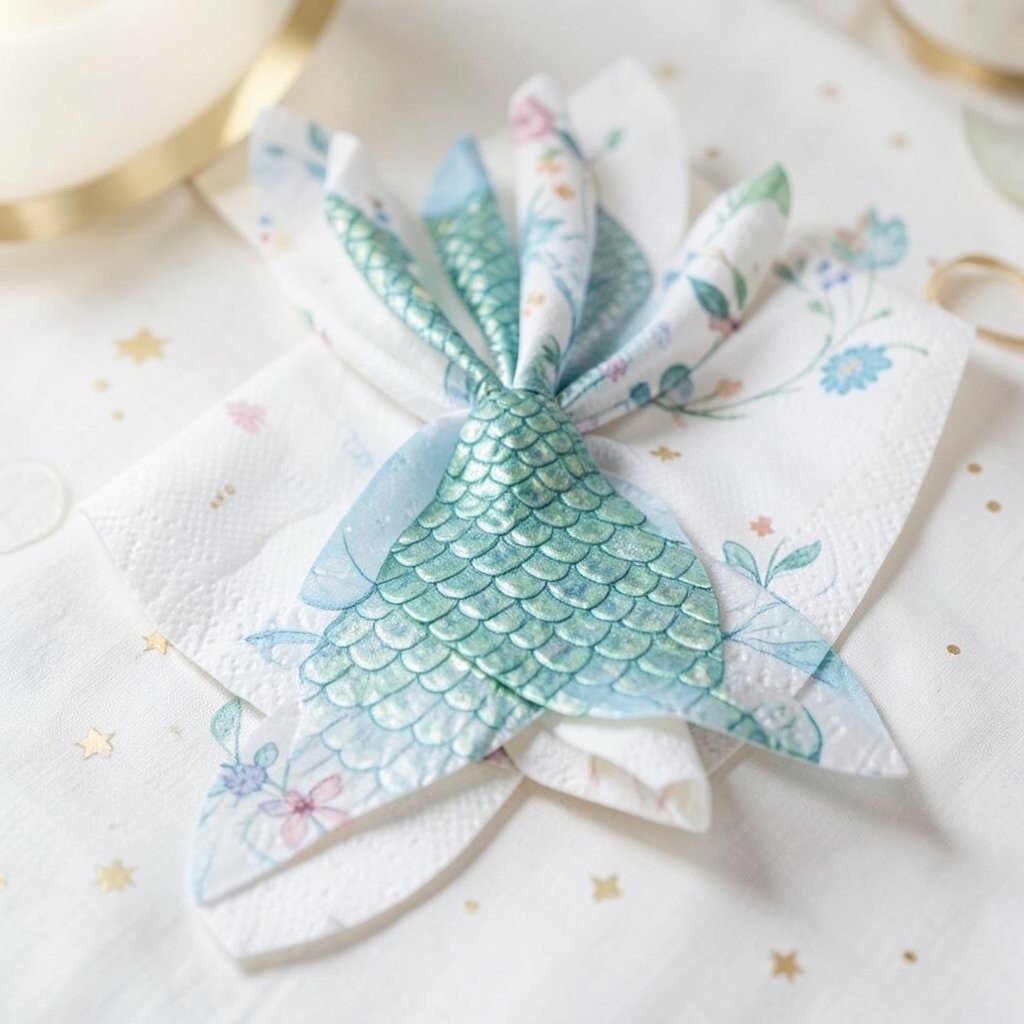
Fold the napkin into a fan shape by making small pleats along the length. Turn the pleated napkin into a curved tail by rolling one end slightly thicker and tucking the other end underneath.
This fold is visually striking, especially for parties with ocean fairy vibes and shimmering table settings. It benefits guests because it presents a clear “front” that makes the napkin easy to grab and carry. Use teal, turquoise, and seafoam shades to bring that underwater mood to life.
Personalize by adding a small scale-shaped sticker or a strip of iridescent ribbon tied near the tuck. For a practical tip, pre-crease each pleat with firm pressure so the tail keeps its curve. Costs can be kept low by using one main napkin color and adding shimmer just on the accents. If you want a trendy touch, choose metallic-looking napkin rings in silver or rose gold.
13. Twig and Berry Knot
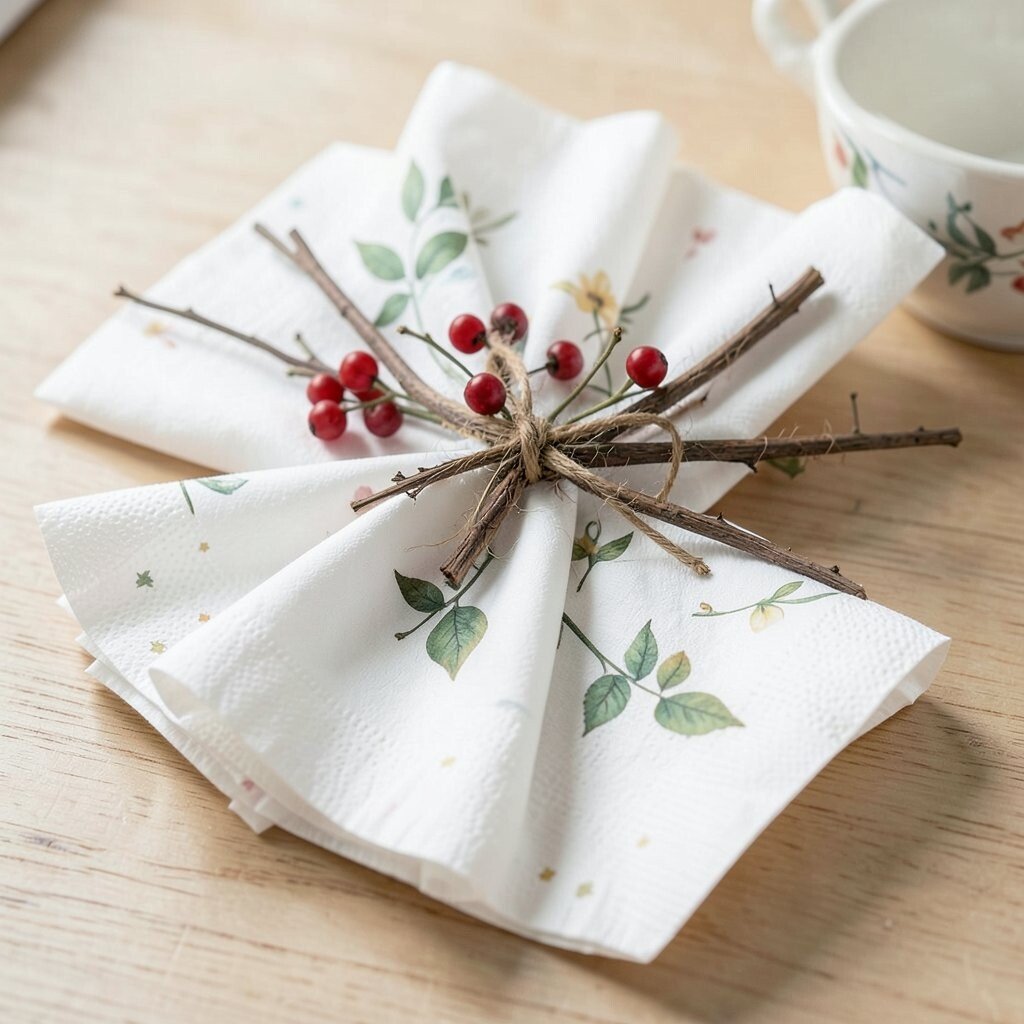
Fold the napkin into a small square, then fold it again to create a compact rectangle. Pinch the center and wrap a thin strip of fabric or ribbon around it, then knot at the back like a berry held on a twig.
This fold feels like woodland art sitting on a plate, which makes it unique for fairy parties. It also benefits your table because it’s secure and doesn’t unravel easily. Use neutral browns and greens, or mix one berry color like cranberry for a pop.
To personalize, attach a tiny faux berry clip or a bead charm under the knot. For cost considerations, you can reuse ribbon from gifts and combine it with napkins you already own. Pre-tie a few ribbons ahead of time so assembly goes fast on party day.
14. Blossom Basket Stack
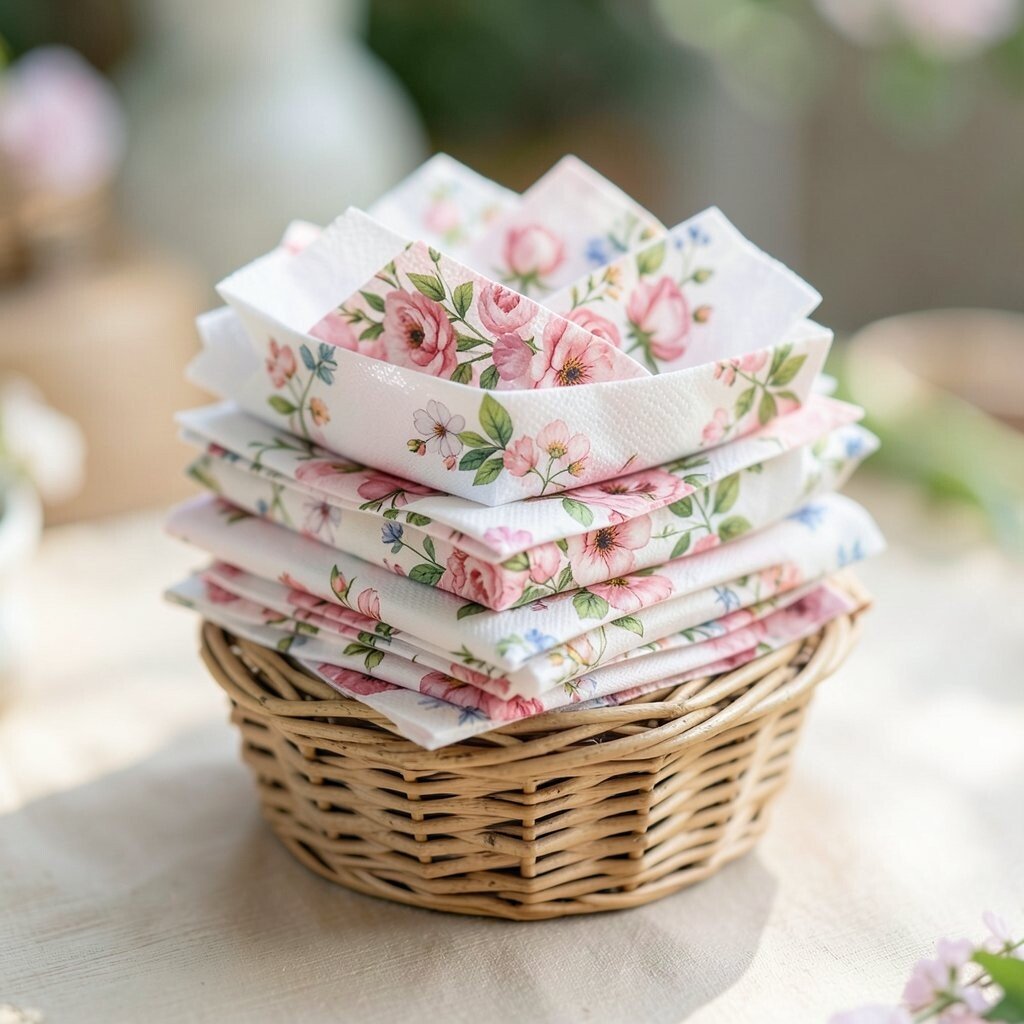
Fold the napkin into a triangle, then roll the base upward to create a small basket-like pouch. Place two or three tiny folds near the top opening so it looks like petal edges framing a basket.
This fold looks sweet and pretty, especially when paired with brunch-style fairy spreads and flower centerpieces. It benefits your hosting because it holds its shape well and offers a clear spot for a guest name card. Choose bright floral patterns if you want a lively look, or choose solid colors for a cleaner, modern feel.
Personalize by tucking a small “flower seed” envelope card inside the basket fold. For practical tips, keep your napkin size consistent so the baskets all look similar. Cost-wise, patterned napkins can be used strategically at each place setting to reduce the need for many extra decorations.
15. Angel Wing Cradle
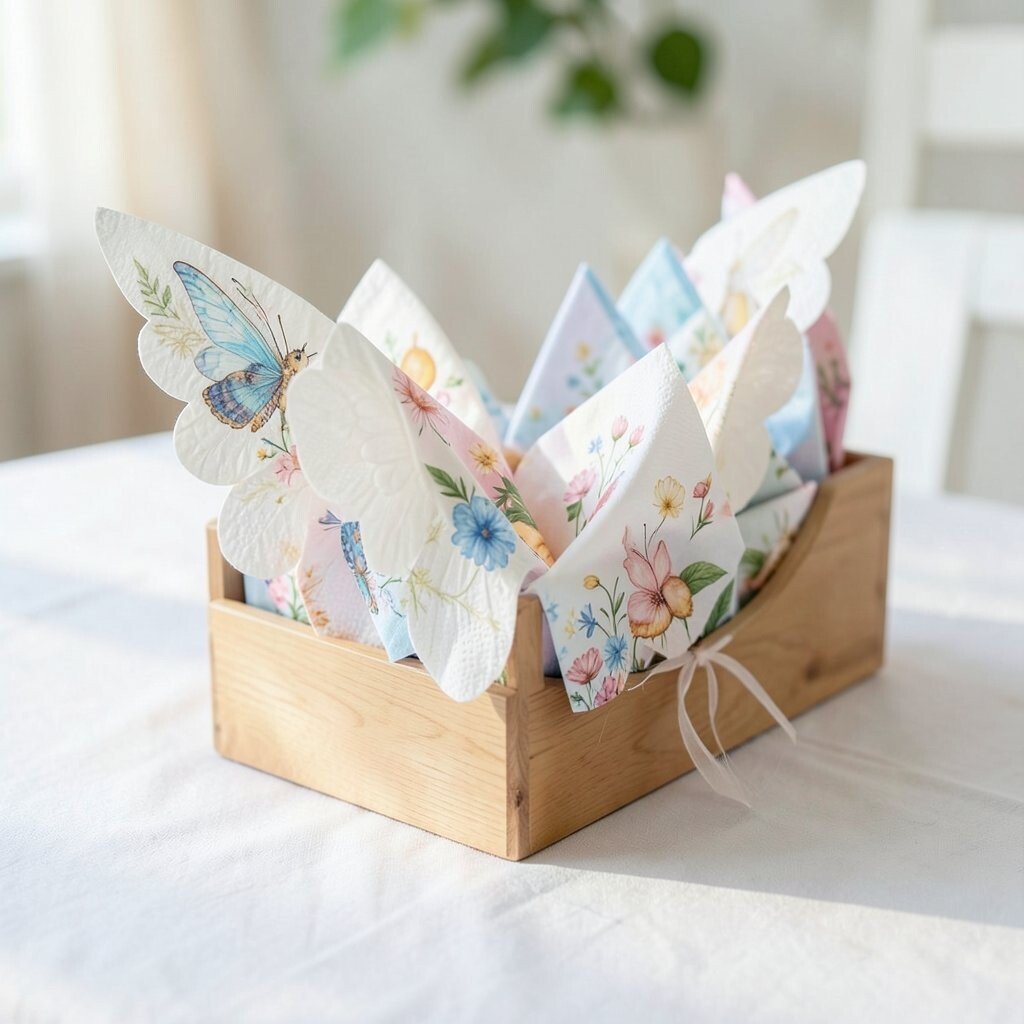
Fold the napkin into a rectangle, then fold both sides inward slightly to make a narrow shape. Crease and then pull the top edge up to create two wing-like curves that sit open on the plate.
This fold feels gentle and celebratory, which suits fairies who bring kindness and light. It benefits your table by providing a stable cradle that holds well during eating. Use white, ivory, or pale gold napkins to lean into a soft glow.
Personalize with a small metallic thread star tucked just under the top curve. If your napkin is too stiff, soften it by pressing lightly with your hands before shaping. For cost considerations, you can skip expensive decor by using one consistent color and adding only small spark accents per place setting.
16. Spellbook Bookmark Fold
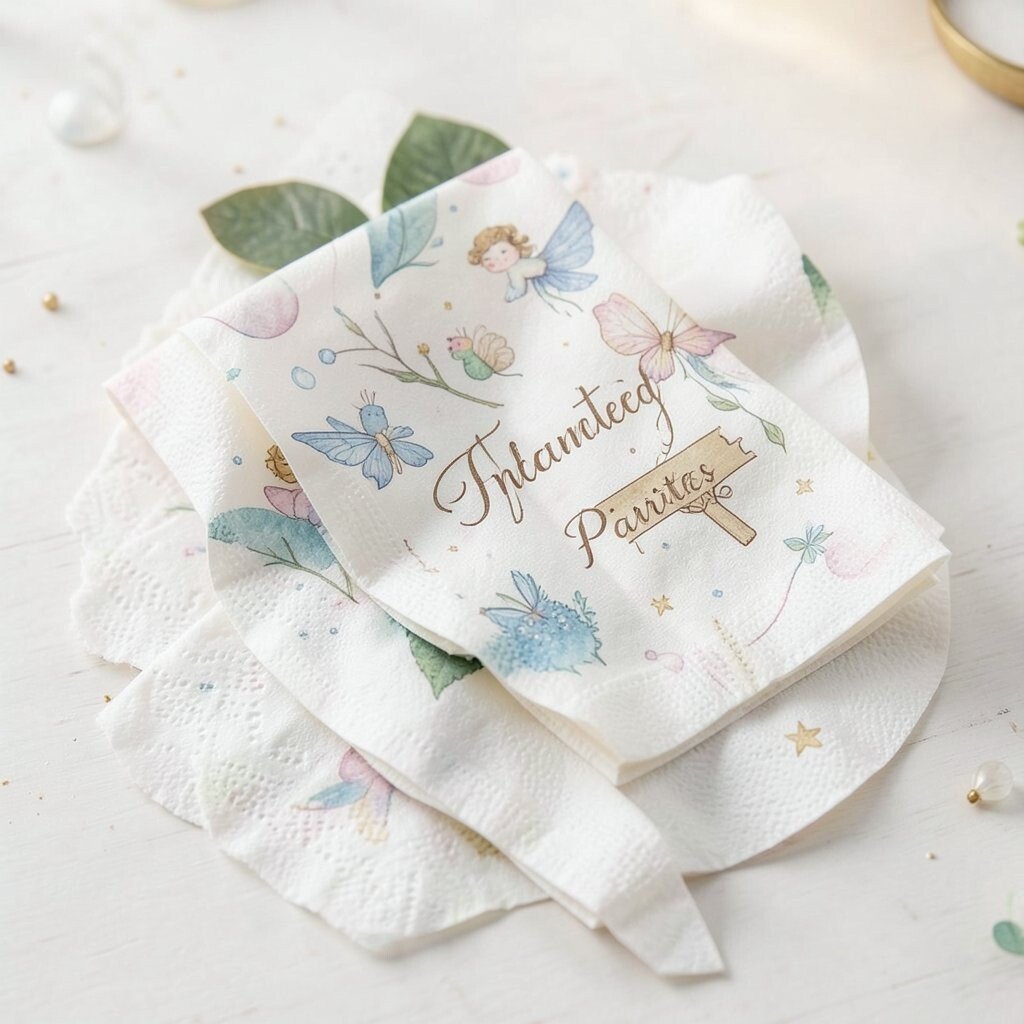
Fold the napkin into a long strip, then fold it into thirds like a compact booklet. Create a small “bookmark” flap by tucking the top edge down and leaving a little tab visible.
This fold feels clever and story-centered, like a spellbook page set at each plate. It benefits your party because it’s neat, easy to do, and looks intentional even with simple napkins. Choose patterned napkins for a magical reading vibe, or choose solid colors for a sleek look.
Personalize by slipping a tiny tag into the visible tab so each guest gets a fun title, like “Moon Muse” or “Forest Friend.” For practical tips, make the tab size consistent so the table looks balanced. Cost-wise, you can use scrap paper tags and simple twine to keep everything budget-friendly.
17. Honeycomb Twist Cage
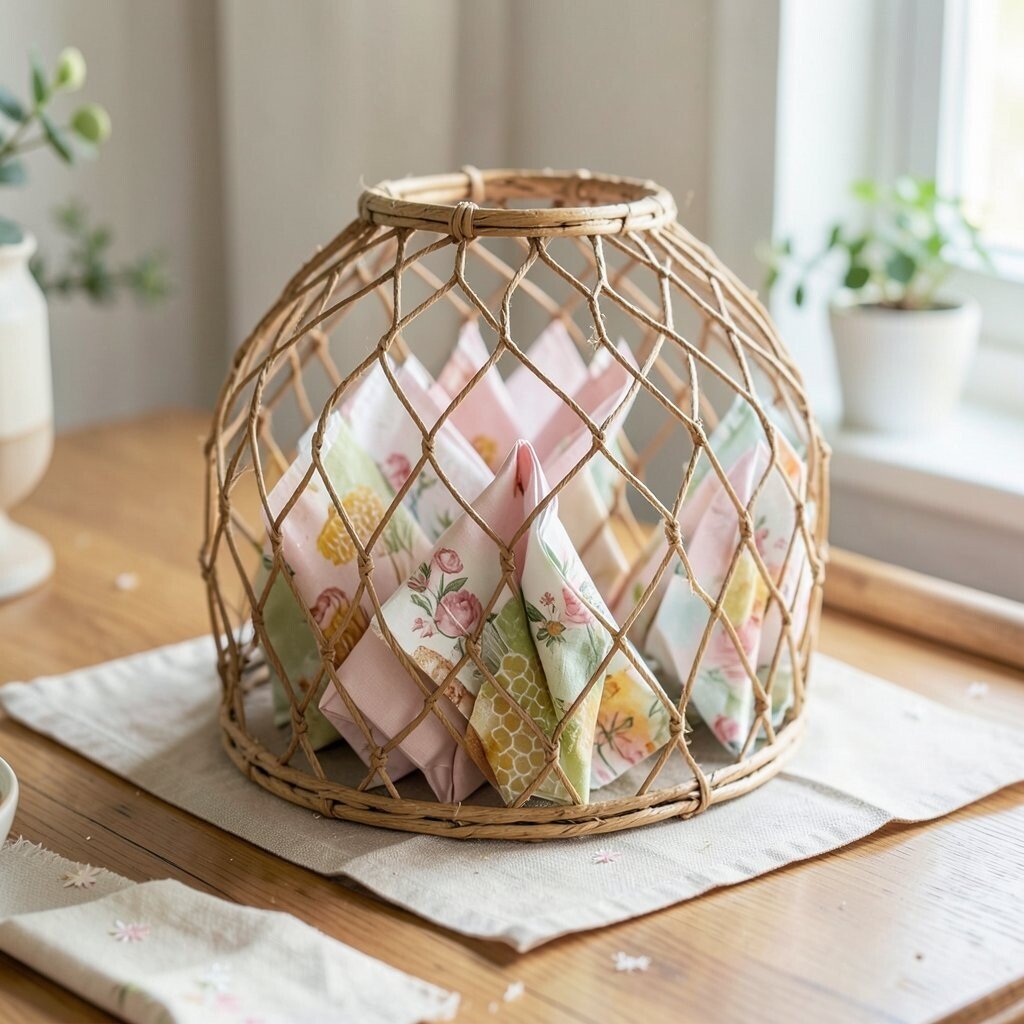
Fold the napkin into a rectangle and accordion-fold it across the width, making small repeating ridges. Shape it into a semicircle and press gently so it looks like honeycomb cells gathered into a small cage.
This fold feels playful and modern, and it looks fantastic when paired with warm lighting. It benefits your table by adding texture and depth without needing extra centerpieces. Use golden yellow, amber, or warm orange to echo honeycomb magic.
Personalize by tying a tiny ribbon around the base and adding a small honey droplet charm if you have one. For practical tips, keep the ridges tight so the shape stays stable while guests move it around. Cost considerations are easy here since the fold itself does most of the work, and minimal add-ons keep spending in check.
18. Enchanted Teacup Sweep
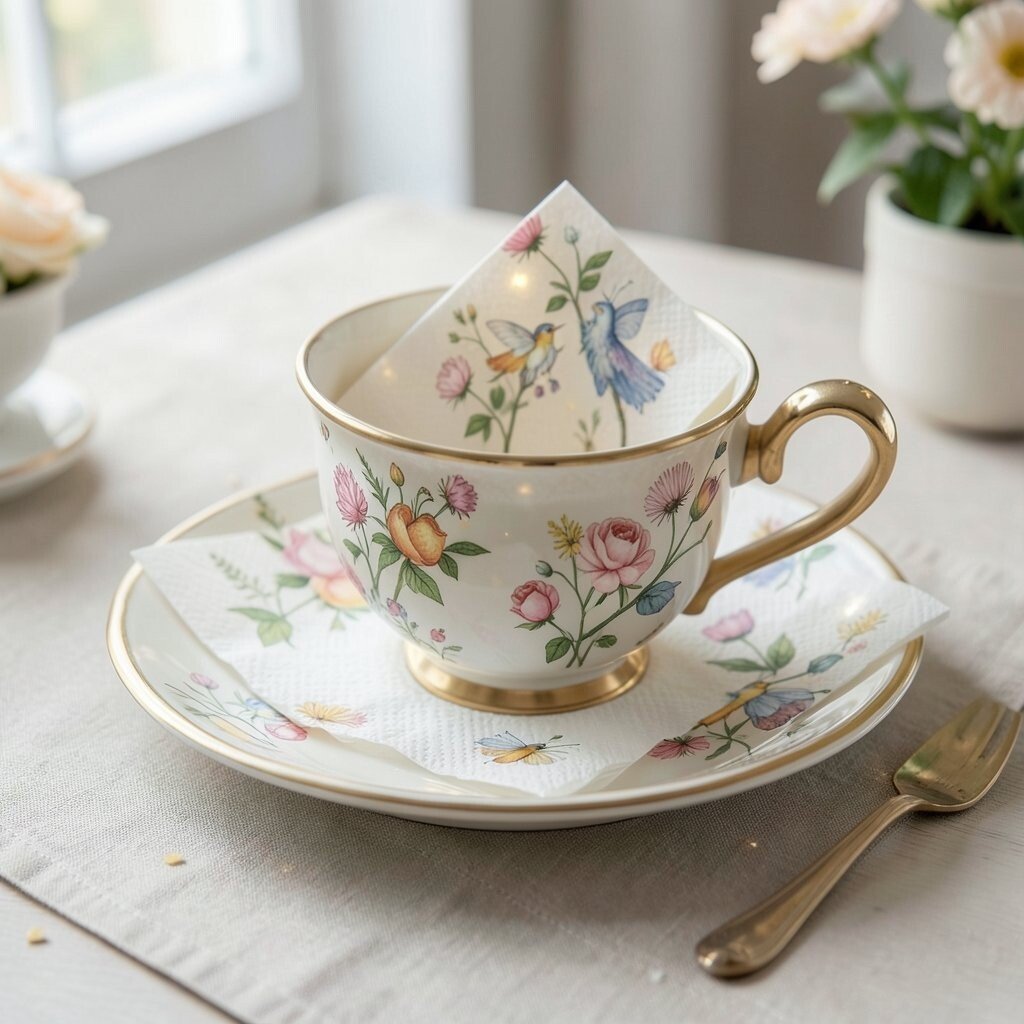
Fold the napkin into a circle-like shape by making small pleats that meet in the center. Tuck the center edge underneath so it forms a little teacup mound, then gently fan the outer pleats outward.
This fold is especially charming for tea party fairy parties and springtime gatherings. It benefits your setup because it looks fancy while still being simple enough to make in batches. Choose delicate colors like pale pink and soft cream for a classic teacup vibe.
Personalize by placing a tiny spoon charm or a tea-themed sticker at the center tuck. For a practical upgrade, lightly press with your palm so pleats don’t shift too much. If you’re watching costs, aim for fewer napkin patterns and rely on the fold’s texture for visual interest.
19. Starfish Side Bow
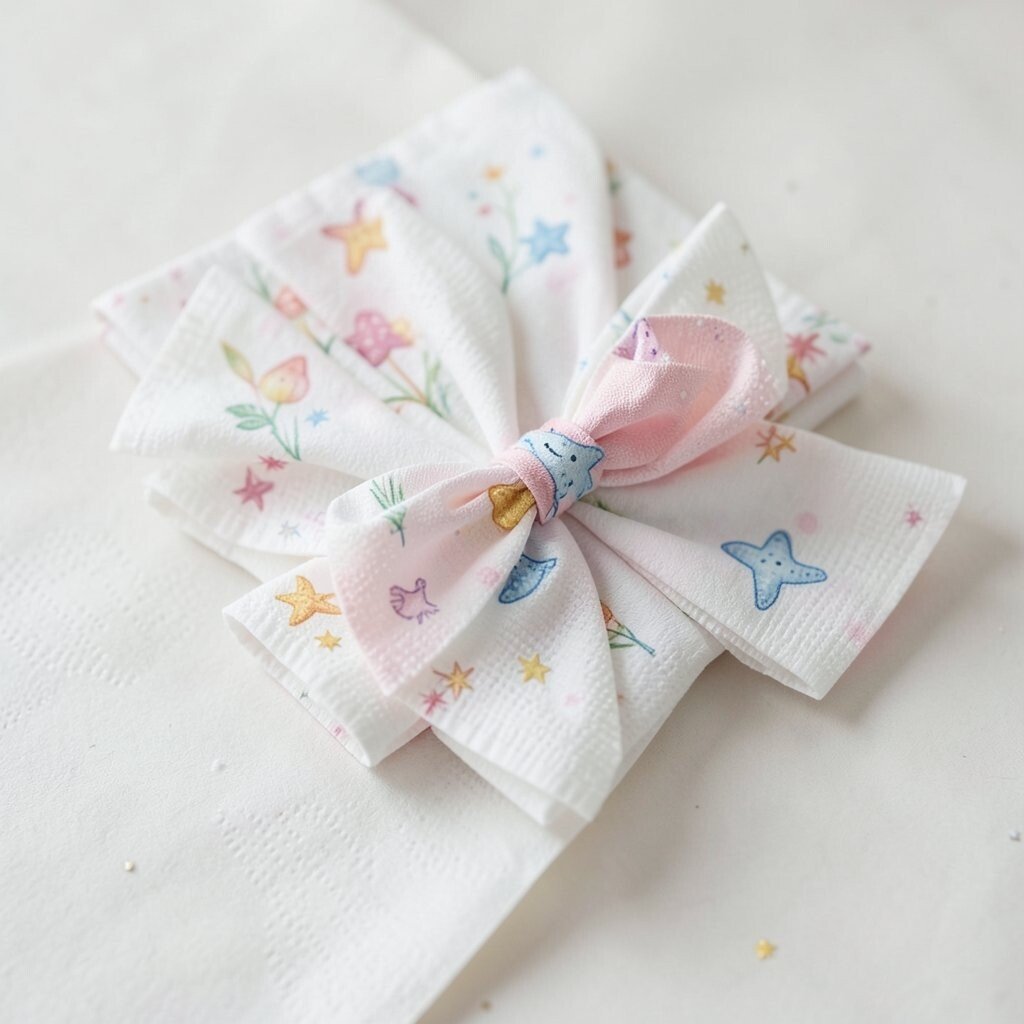
Fold the napkin into a square, then fold diagonally to make a triangle. Roll the wide edge upward and secure with a small tuck, then attach a side bow by looping ribbon around the roll’s side.
This fold looks like a starfish scooting across the table, which feels fun and coastal in a fairy way. It benefits your party because it creates a strong side profile that looks great in photos. Use ocean colors or sunny coral tones depending on your theme.
Personalize by adding a small shell sticker to the ribbon loop or using ribbon that matches your plates. For practical tips, keep the ribbon knot at the back so it won’t scratch delicate hands. Cost considerations are manageable since ribbon is usually inexpensive and you can reuse leftover pieces across the season.
20. Snowglobe Puff Square
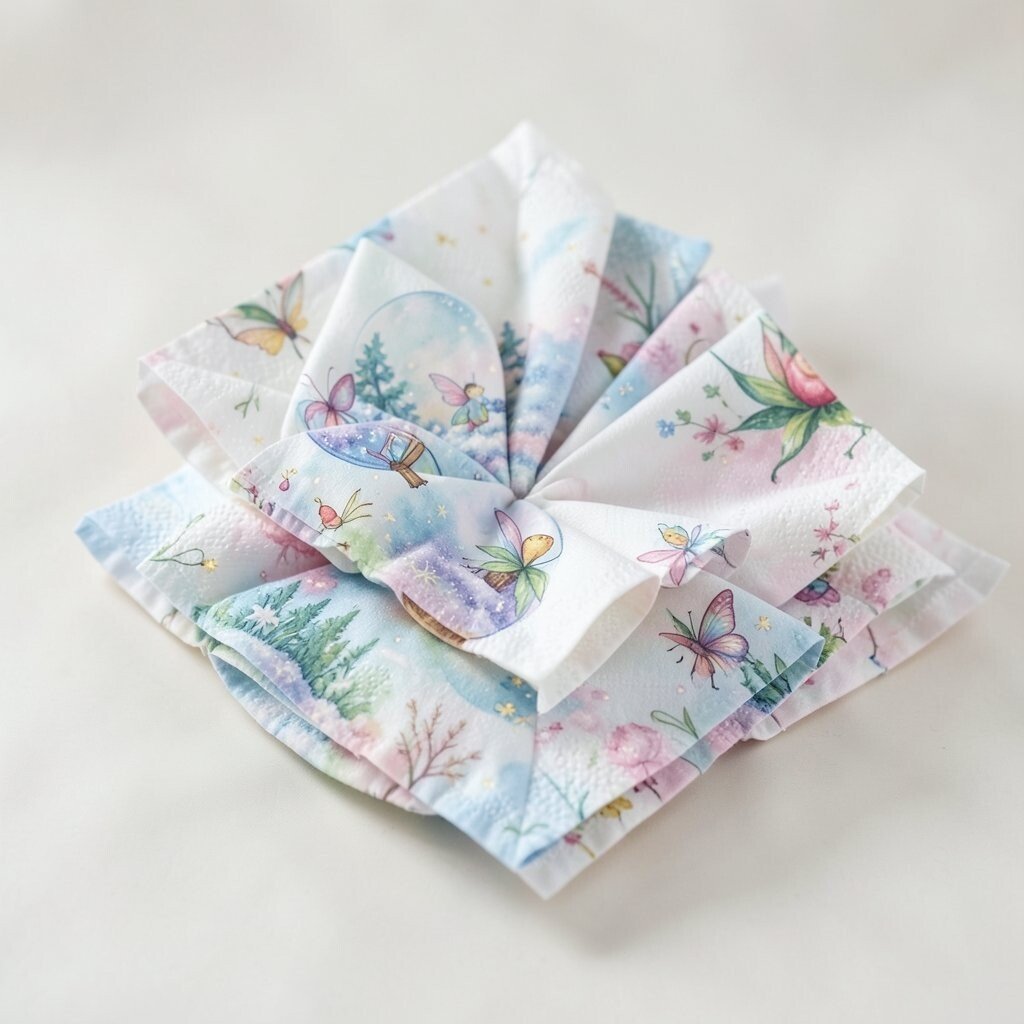
Fold the napkin into a small square, then gather the corners toward the center like you’re making a puff. Twist the gathered center gently and tuck it underneath so the napkin stands like a little globe on the plate.
This fold is whimsical and photo-ready, especially for winter fairy parties or night-sky themes. It benefits guests because it stays compact and looks neat without constant adjustments. Use cool tones like icy blue, silver, or white for a snowglobe feel.
Personalize by placing a tiny glitter ornament charm near the base of the napkin on the plate, only if it’s safe and secure. For practical tips, test the puff height with a couple of settings so it doesn’t look too tall for your plates. Cost-wise, you can keep it affordable by using plain napkins and adding small charms selectively.
21. Forest Gate Bookfold
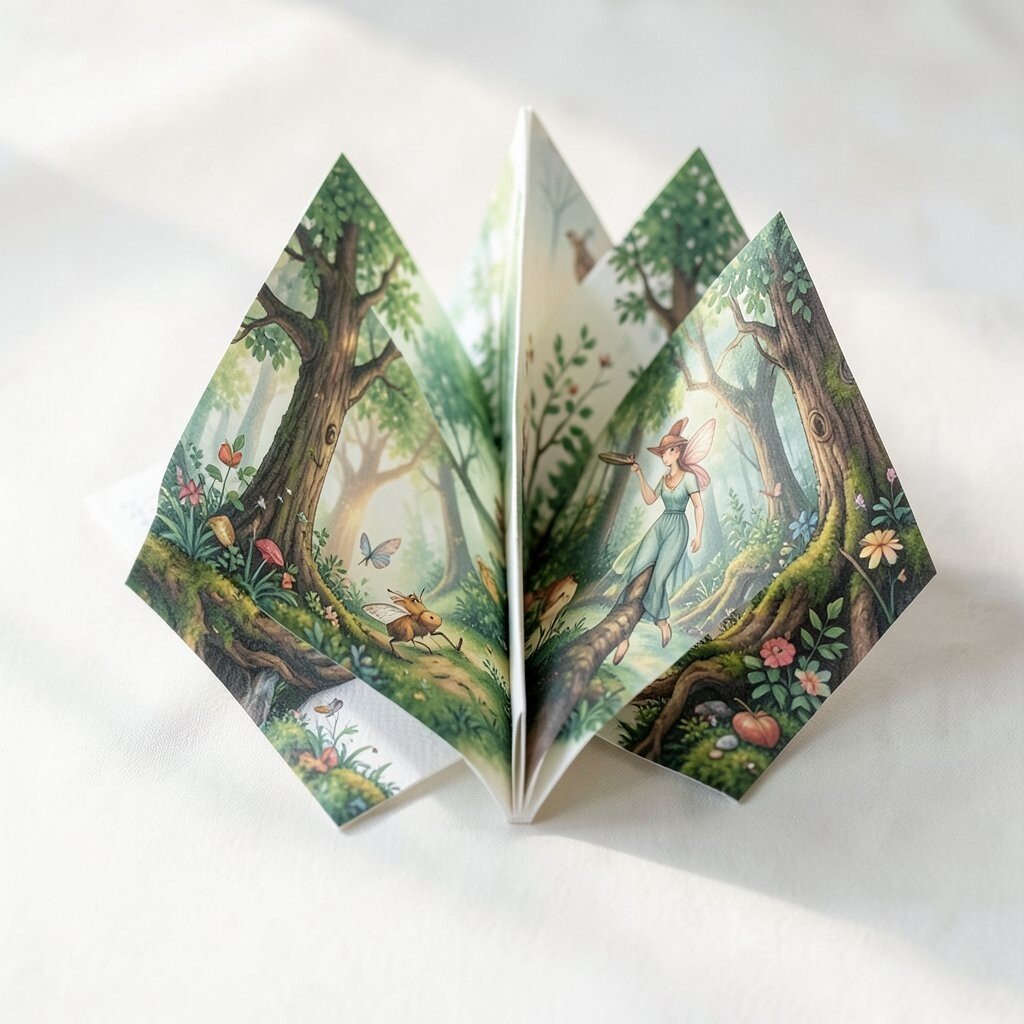
Fold the napkin into a rectangular “gate” by making two vertical folds from the sides toward the center, then fold the top down slightly. Open the center just a bit so it looks like two doors standing at attention.
This fold feels like a little forest entrance, perfect for fairy guests who love story moments. It benefits your table because the structure is strong and helps keep the napkin upright. Choose earthy tones like deep green, moss, and tan to match woodland decor.
Personalize by tying a thin green ribbon around the base and attaching a small tag shaped like a leaf. For practical tips, crease firmly so the “doors” hold their edges during dinner. If you want a trendy approach, pair this fold with simple gold flatware and a minimal tablecloth so the napkin design shines.
22. Magic Carpet Spiral
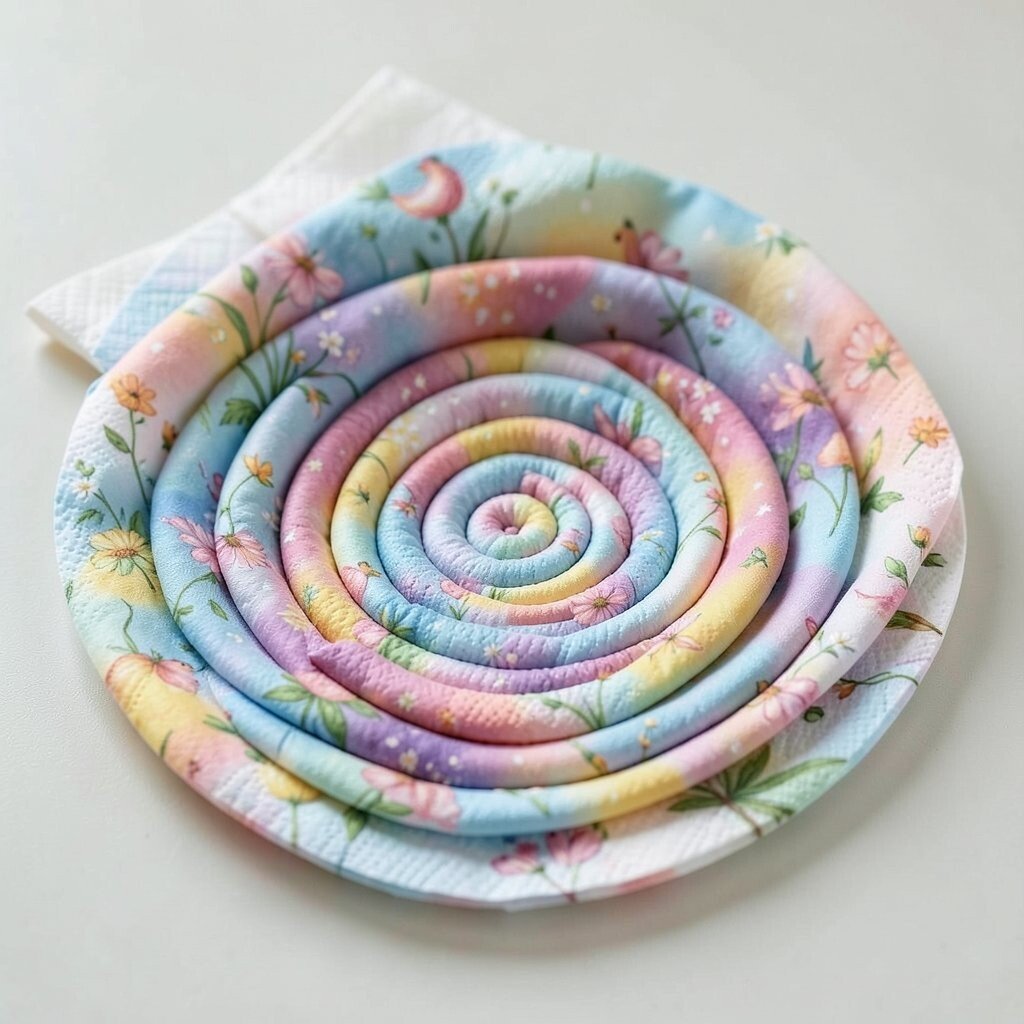
Roll the napkin into a long strip, then coil it into a tight spiral like a rolled-up carpet. Tuck the last end under the coil so the spiral stays in place and looks like it has its own path across the plate.
This fold is bold and celebratory, making it ideal for lively fairy parties where guests want fun visuals. It benefits your setup because it’s consistent from plate to plate and doesn’t require much extra decoration. Use jewel colors like royal purple, bright emerald, or warm sapphire to make the spiral glow under candlelight.
Personalize by wrapping a thin ribbon around the spiral, then adding a tiny paper star or a glitter-free sticker for charm. For practical tips, coil gently and keep the spiral tight so it doesn’t unwind when a fork passes nearby. Cost considerations are friendly here since the fold brings the wow factor, while add-ons can be kept to one small accent per setting.