
The right booth makes people stop, smile, and wander closer. Your budget can still look like a gallery.
When you plan the space like a story, every item feels part of one world.
1. Layered Fabric Backdrop That Hides Costly Fixes

Use soft fabric panels behind your table so the wall of your booth looks full and intentional. Even a simple pattern can look like a designer background when it’s draped with care.
Choose colors that match your product, like warm creams for pottery or deep teals for prints. Hang the fabric with removable hooks or clips so you can reuse it at other fairs. This backdrop also covers small imperfections like outlet covers, tape seams, or uneven table edges.
2. Reclaimed Wood Shelves With Hand-Painted End Caps

Build a shallow display using lightweight reclaimed wood boards and a few sturdy brackets. Add hand-painted end caps so the shelves look custom, not store-bought.
Customers love seeing textures up close, and wood instantly feels warm and familiar. Keep the setup budget-friendly by using scrap lumber and painting only the visible parts. Plan how many items fit per level so your display stays neat even during rush hours.
For personalization, paint each end cap with a small motif that matches your brand story, like leaves for herbal soaps or stars for paper goods. A current trend is mixing natural materials with bold color accents, so your booth can feel modern without expensive upgrades. Bring extra hooks so you can swap shelves when your inventory changes.
3. Modular Pegboard Grid With Swipe-Style Sign Holders
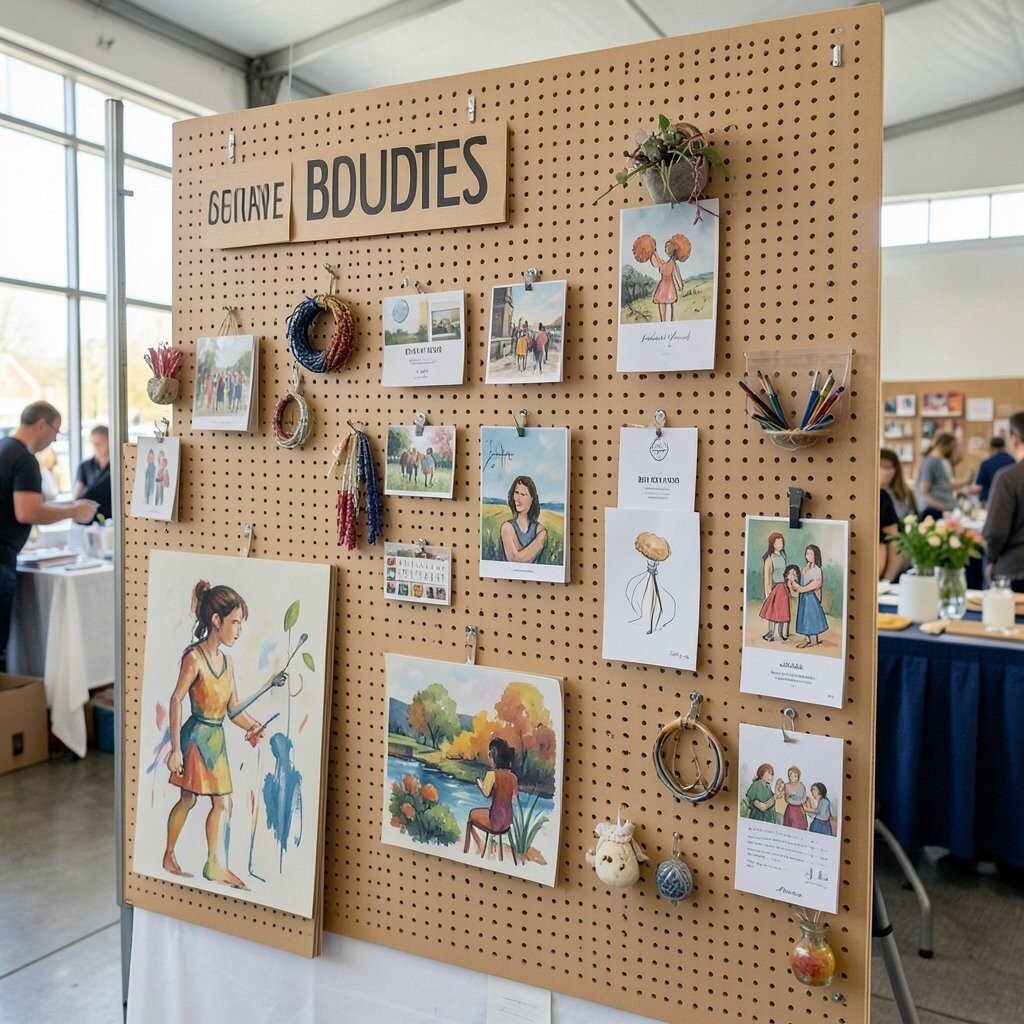
Create a pegboard wall that lets you rearrange your products fast. The visual grid gives people an easy place to look, and it makes your booth feel organized.
Use budget pegboard from a hardware store and paint it in a finish that matches your theme. Slide-in sign holders made from thin acrylic or recycled packaging make price tags and small descriptions easy to update. This setup helps you keep items facing forward, which makes shopping feel calmer.
To personalize, add tiny charms or painted shapes to the pegboard corners. People also notice small details like string lights clipped along the grid, which gives a cozy evening vibe. If you’re selling jewelry or small stationery, plan a height ladder so best sellers sit at eye level.
For cost control, borrow fasteners from your home toolkit and use leftover board offcuts to create extra mounts. When you can adjust quickly, you lose less time between buyers and restock without stress.
4. Photo-Ready Product Tags With Simple Corner Icons

Use small tags that sit neatly on each display item and include a tiny icon in the corner. The icons can be simple shapes like a droplet, leaf, brush, or thread.
Clear tags help buyers understand your work fast, and that makes them more confident. Print labels at home on sturdy paper or use sticker paper to save money. This kind of labeling is a current trend because it feels clean, modern, and easy to photograph.
Personalize tags by using your signature colors and a consistent font style. Add a small note about materials, like handmade ink or locally sourced wax, written in plain language buyers can scan. When you keep the design uniform, your booth looks polished even when you run on a tight budget.
5. Ceiling-Height Paper Lanterns for a Soft Gallery Glow
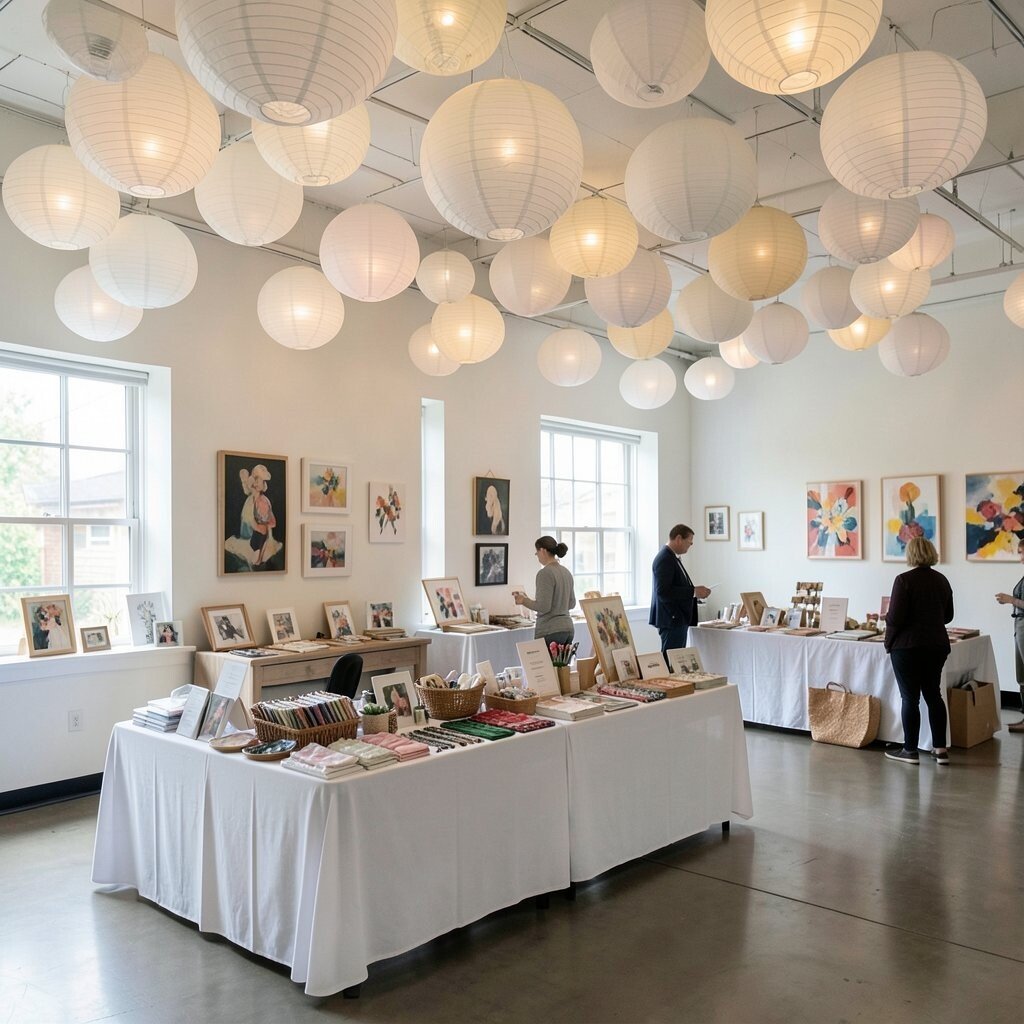
Hang paper lanterns at different heights above your table to create a warm light bubble. Even a small cluster can change how the whole booth feels, like a cozy exhibit.
Because lanterns are lightweight, you can bring them easily and store them flat. Choose neutral lantern colors and add one accent shade that matches your products. This helps you stay within budget while still getting a high-impact look.
For uniqueness, connect lanterns with thin ribbon and knot them so they sway slightly. Use LED tea lights for safety and a gentle glow that works for indoor and evening fairs. Pair the lighting with your best visual items near the light so the camera naturally catches them.
6. Create a “Best Seller” Wall Using Small Frames and Clips

Turn your top items into mini displays by using small frames or clip frames mounted on a backdrop. Each frame can hold one product photo, a sample label, or a short description.
This layout makes it easy for shoppers to decide what to try first. You can keep cost down by using thrift-store frames and cleaning them up, then adding budget-friendly clip attachments. The wall also adds a sense of storytelling, because visitors see your work in a curated way.
Personalization is simple here: swap the frames based on the season, like winter themes or summer colors. A current trend is “small gallery moments,” where booths feel like a series of focused vignettes rather than one crowded table. If you do seasonal drops, keep a set of interchangeable cards so updates take minutes.
7. Table Skirting That Matches Your Color Palette With Fabric Clips
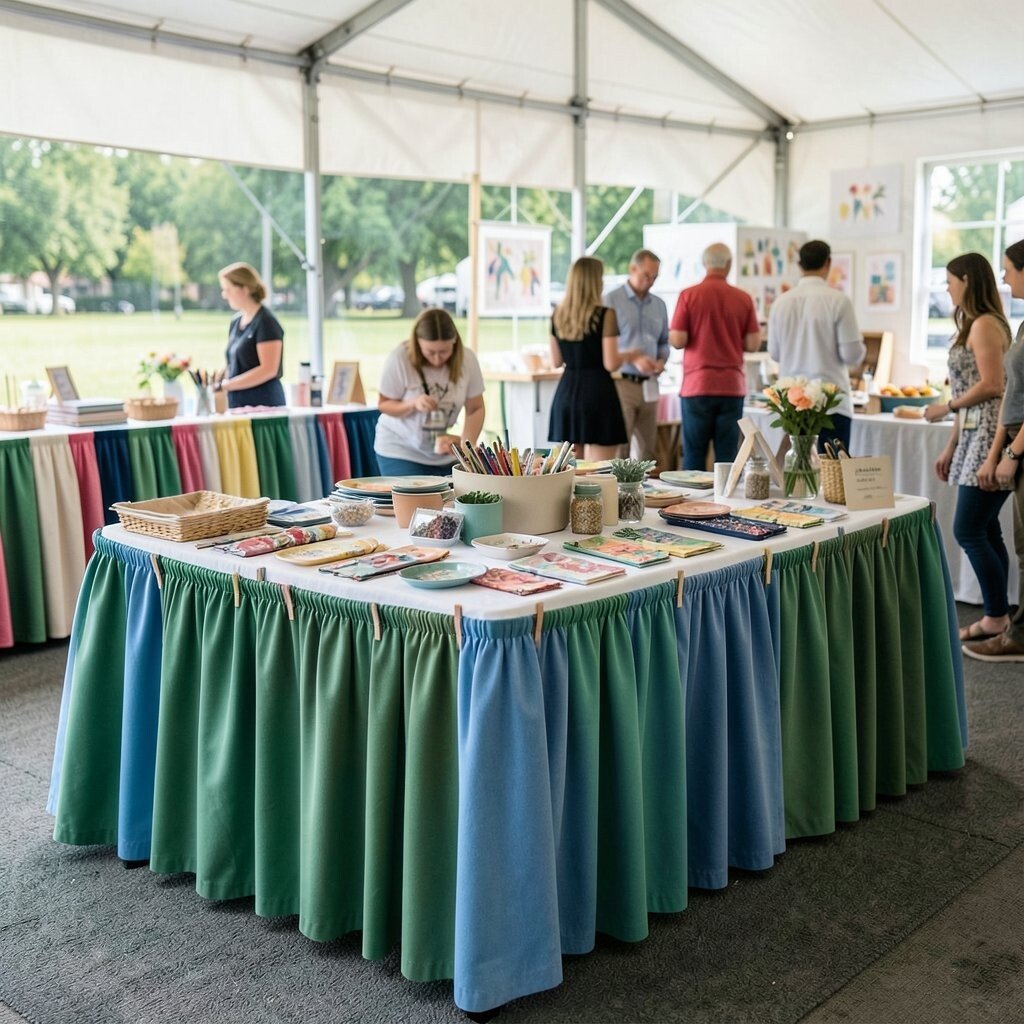
Instead of one plain tablecloth, use layered skirting with two or three fabric bands. Add fabric clips along the bottom edge so you can remove layers fast.
Layering adds depth and makes the table look taller, which boosts your visual presence. Pick fabrics that match your brand colors and keep at least one shade consistent across everything you sell. This is a practical way to look styled without buying expensive custom furniture.
For personalization, add a small embroidered patch or heat-transfer logo on one band. Shoppers remember small marks, and that makes repeat visits more likely. To stay within budget, use fabric scraps or remnants from craft stores and keep the pattern simple so it still looks tidy.
8. Budget “Wall of Samples” With Clear Plastic Pockets
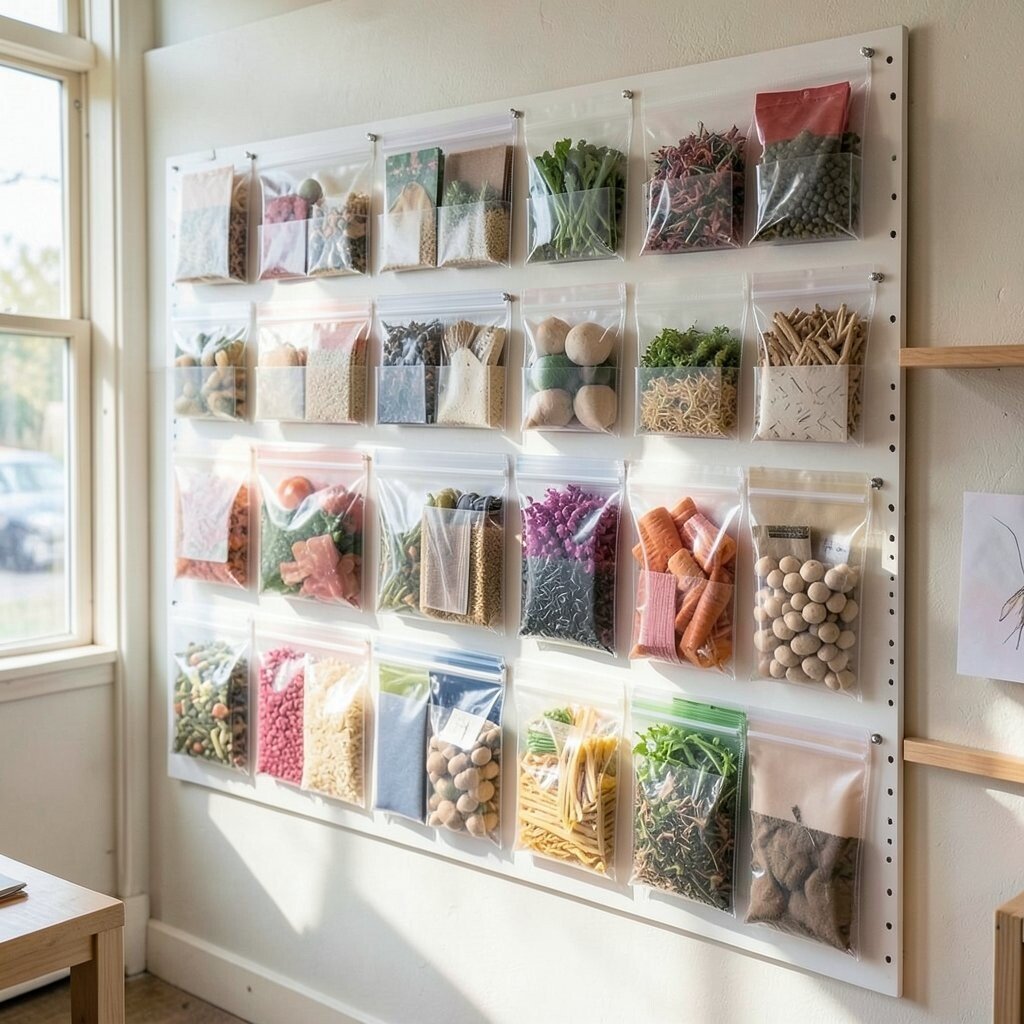
Show samples by using clear plastic pockets mounted on a board or directly on your pegboard. It gives visitors a low-pressure way to browse without touching finished items.
This approach is helpful for products like prints, paper sets, or fabric swatches because people can compare styles quickly. Keep it affordable by using pocket folders and cutting them to fit with a steady hand. Add a quick color code using small dots on the top edge of each pocket.
Uniqueness comes from the selection you curate, so choose a mix of popular favorites and a few surprising styles. A current trend is “taste testing” for makers, where people preview before they commit. When you let samples do the explaining, your conversations feel smoother and you spend less time repeating details.
9. Handmade Sign Stanchion Using a Single Board and Two Hinges
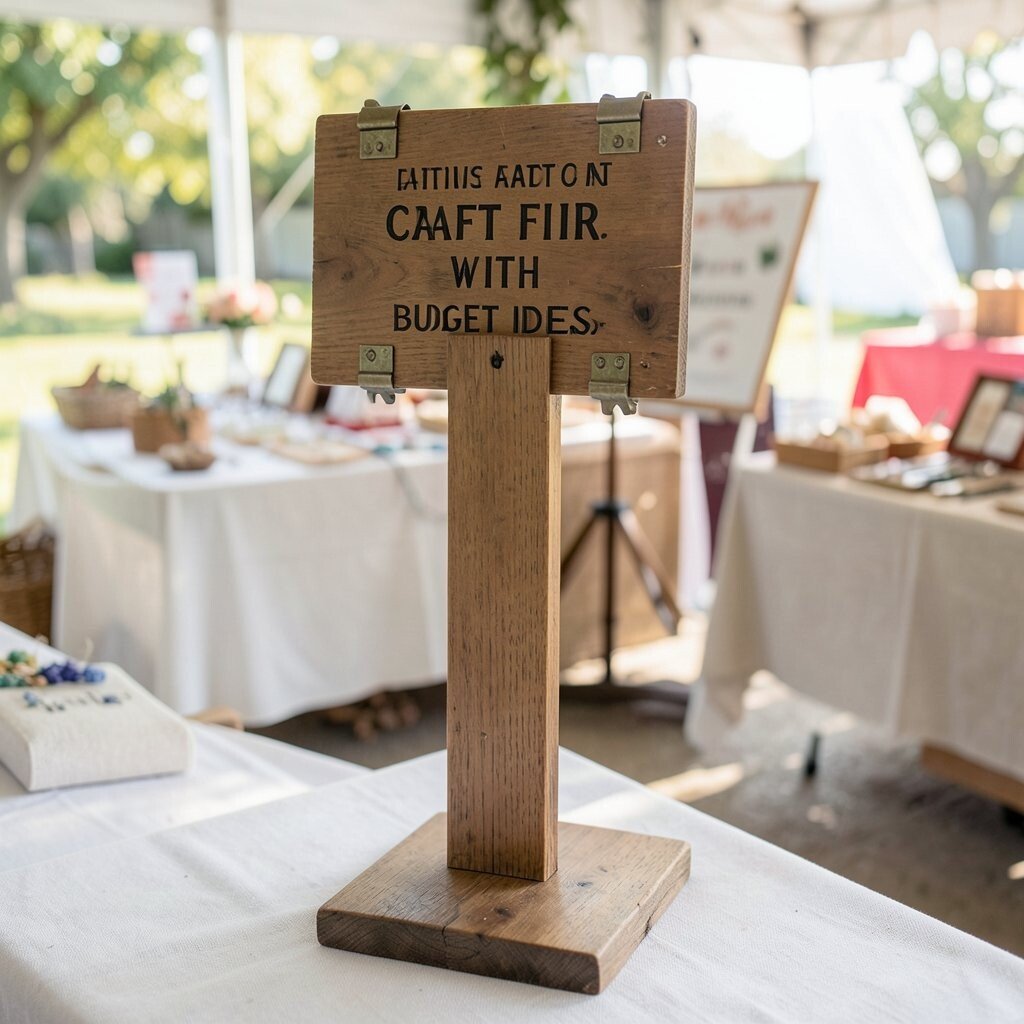
Make a clean sign stand from one board, two hinges, and a sturdy base. Keep it simple so it folds or stands quickly between crowds.
A strong sign helps people find you, and it also makes your booth feel professional. Use chalk paint or spray paint for a budget-friendly finish, and wipeable surfaces help your setup stay neat. Place the sign where shoppers naturally pause, like near the entrance to your booth space.
Personalize it with your logo in one corner and a short message written in plain words. For uniqueness, use a hand-drawn border inspired by your products, like brush strokes for painters or woven lines for fiber artists. This style fits current trends that favor handcrafted typography over mass-produced signage.
To save money, reuse printed inserts and swap only the top card each season. That keeps the sign feeling fresh without repeated spending.
10. Upcycled Drawer Organizer for Small Jewelry and Tools
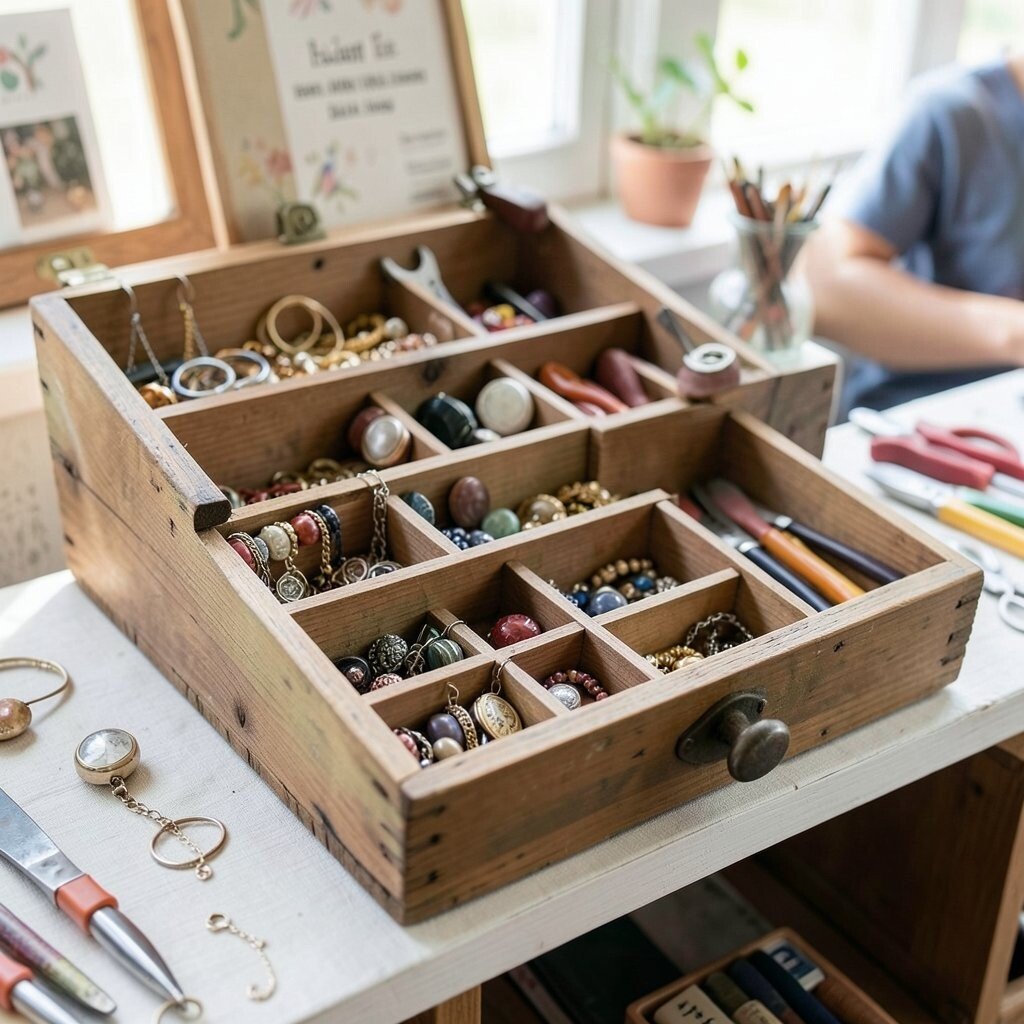
Turn old drawers into an organized display for rings, earrings, charms, and tiny accessories. You can label each drawer with small icons so customers can browse quickly.
This kind of organizer looks unique because it feels like a curated craft cabinet. It also keeps your products safer, since loose items don’t roll around. For practical setup, keep heavier items in lower drawers and set lighter items in the top sections.
To stay within budget, scout for dresser parts at thrift stores or use broken cabinets you can salvage. Sand and seal the wood if needed, then paint only the front faces. Add a foam insert or small grid so each piece sits securely.
Personalization can be as simple as painting a tiny motif inside each drawer, matching the theme of the pieces. Shoppers love displays that feel personal, and it makes your booth stand out in a busy fair layout.
11. Hanging Ribbons and Charms as a “Movement” Display
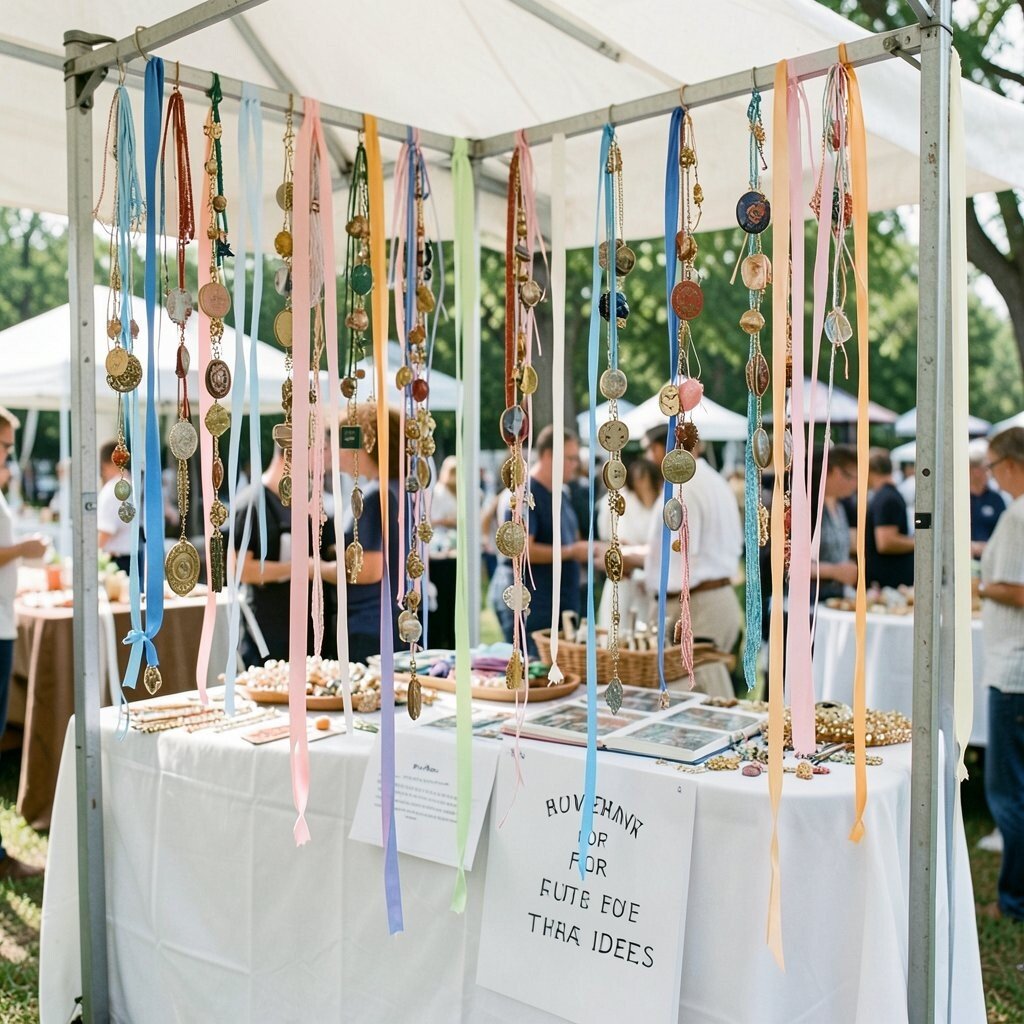
Use ribbon strands or thin cords with lightweight charms to add gentle movement near your display. When there’s motion, people look longer, and your booth feels alive.
This adds visual interest without needing expensive materials. Choose charms that match your products, like mini keys for steampunk items or tiny paintbrush shapes for art prints. For cost considerations, use small findings you already have or buy charm packs on a budget.
Personalize by tying each ribbon to a color that matches a product category. Keep the strings short enough that they don’t tangle, and plan where the movement will be most visible from the walkway. A current trend is adding “playful motion” elements to booths because it reads as joyful and photo-friendly.
12. Patterned Runner With a “Road” for Browsing
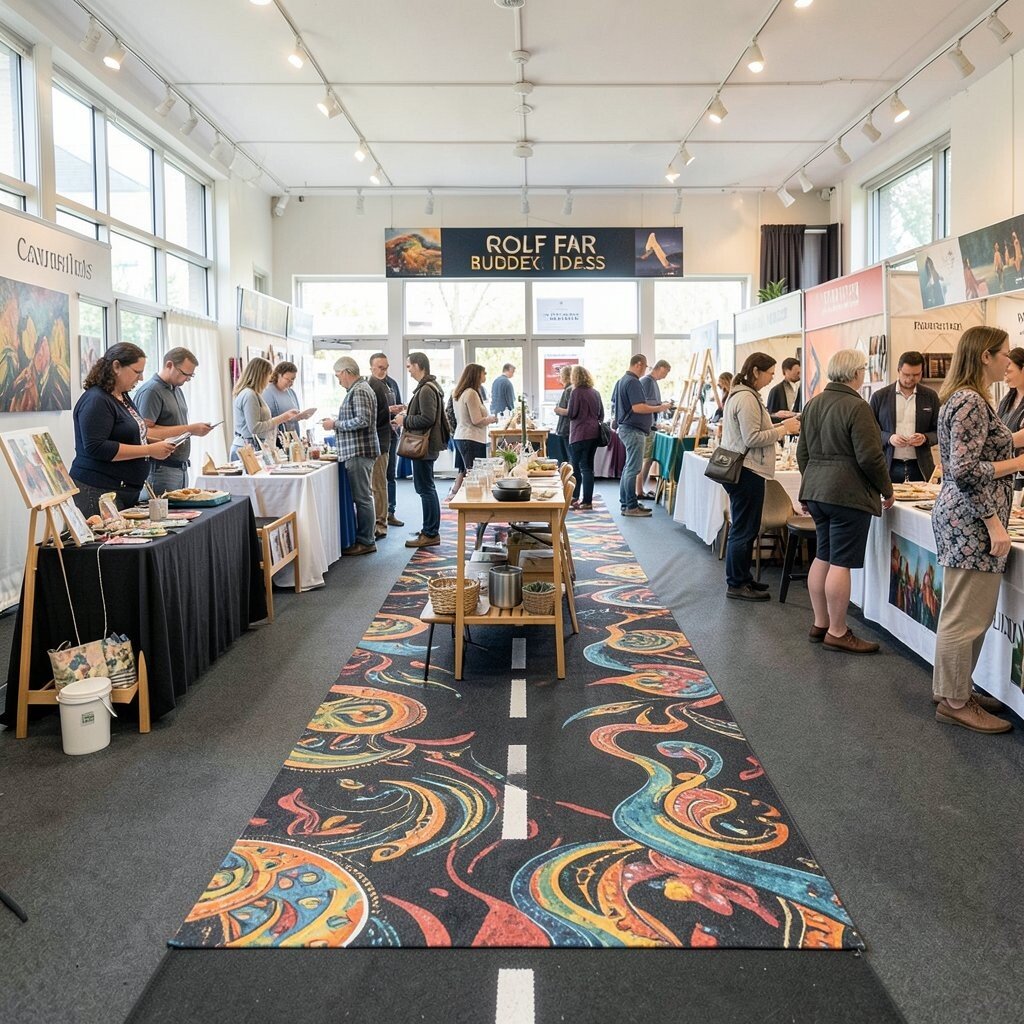
Use a patterned table runner that guides attention from left to right. Think of it like a path, so shoppers naturally move through your items in a planned flow.
This layout helps you organize categories without complicated structures. Pick a runner with a repeat pattern so small stains or marks won’t show as much. If you want budget control, buy one sturdy runner and reuse it at multiple fairs.
Personalization is easy: coordinate the pattern colors with your packaging and tags. You can also place small clusters of products along the runner edges so each group looks intentional. This works well with current trends that favor clean, directional layouts over random piles.
For practical tips, keep your best sellers near the start of the runner where people begin scanning. Place calmer, lower-price items along the path so buyers feel encouraged to keep moving.
13. Corner “Pricing Ladder” Using Tiered Trays

Use tiered trays to create a pricing ladder effect for different product sizes or levels. The visual steps make it feel easy to compare options.
Customers often feel less overwhelmed when prices and sizes are shown clearly. You can build tiers from small wooden boxes, cake stands, or even sturdy stackable plates if your items fit safely. Keep cost low by sourcing one or two good display tiers and adding lightweight risers.
Uniqueness comes from how you style the trays, like using matching tissue paper, fabric swatches, or folded cards. Personalize by putting a distinct color cloth on each tray level so the eye understands categories quickly. A current trend is styling like a home display, where the booth feels like a curated shelf rather than a sales counter.
14. Inventory-Friendly Backstock Shelving With Labeled Bins

Design your booth so storage is part of the look, not hidden clutter. Use labeled bins under the table or in a back corner so you can restock without digging.
This keeps your booth tidy, and it also saves time during busy moments. For budget ideas, repurpose storage boxes you already own and cover them with matching paper or fabric. Use simple labels with icons so you can find items quickly even when you’re busy talking.
Personalization can be subtle, like matching bin colors to your brand palette. Add a small “grab and go” system where the bin nearest your hands contains your most frequent restock items. This supports current trends toward efficient booths that look great while still running smoothly.
If your craft includes many variants, keep one bin for each style group. That way, your display stays fresh and you don’t accidentally run out of popular options.
15. Seasonal Color Swaps With Removable Vinyl or Paper Overlays
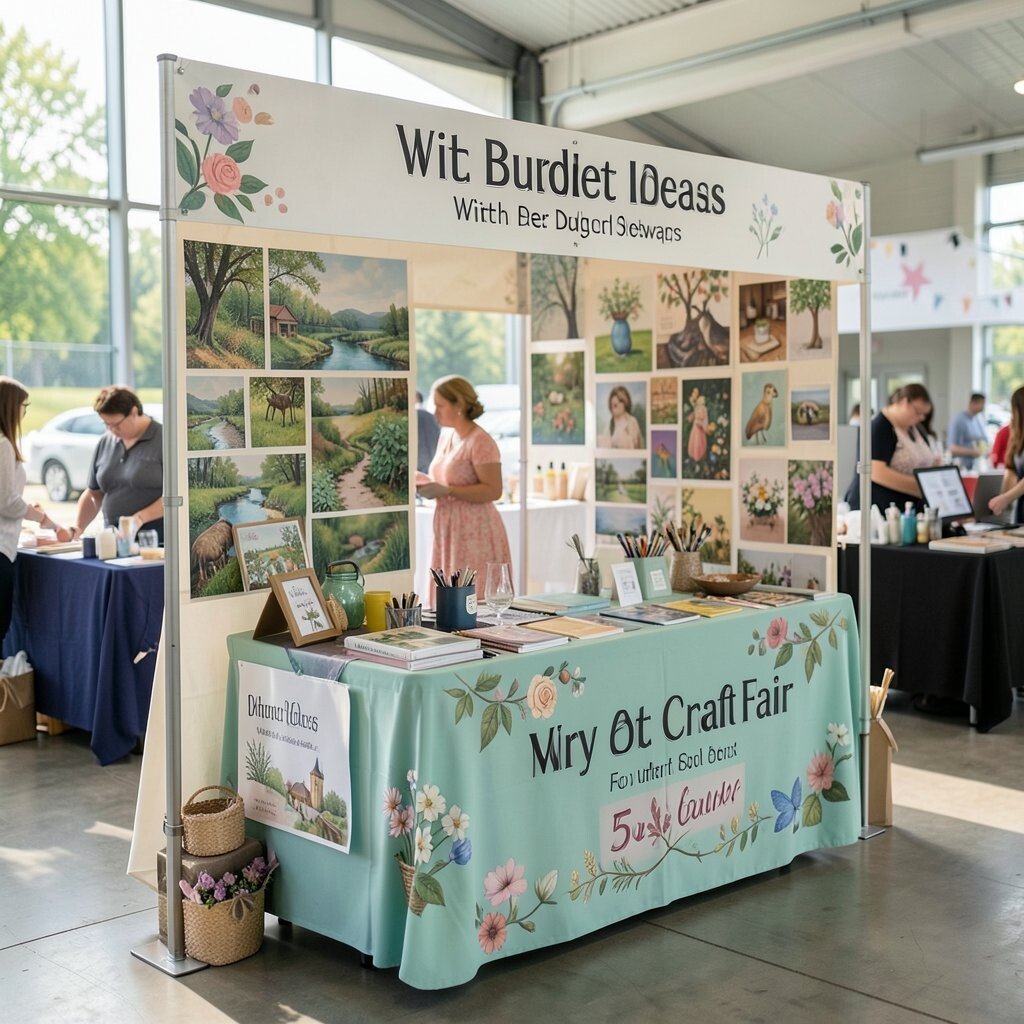
Update your booth look by changing small elements, like overlays on signs or labels, rather than repainting everything. Removable vinyl letters or paper inserts work well and save money.
Seasonal refresh makes your booth feel current, and people enjoy seeing what’s new. Choose one core background color that always stays and swap only the accent details. This keeps your setup consistent while still giving it a fresh vibe.
Uniqueness shows up in your theme choices, like autumn leaf icons or spring pastel patterns. Personalize by matching the swaps to your product lineup, such as new scent notes for soaps or limited edition colors for prints. A current trend is “capsule seasons,” where makers highlight a small seasonal set with clear visual cues.
16. Coherent Packaging Display With Lids, Racks, and Clear Covers
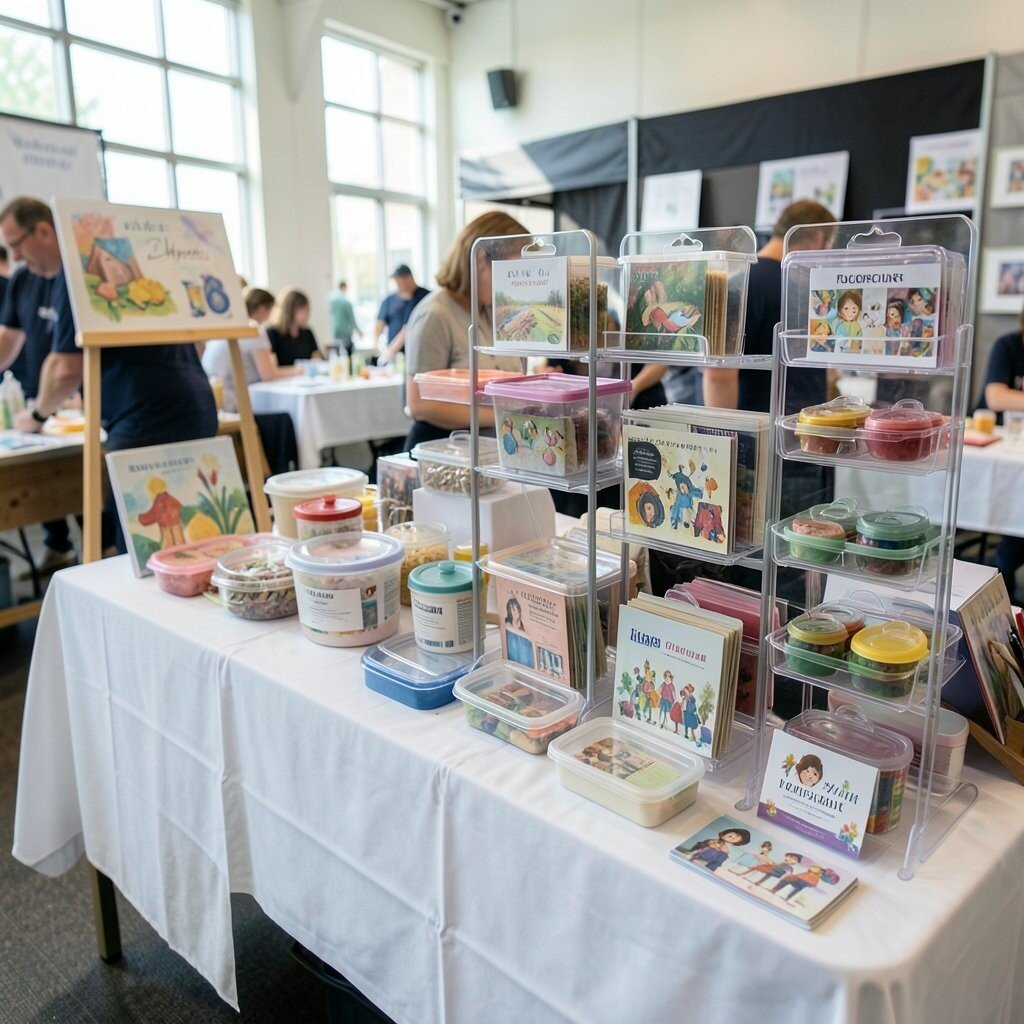
Show your packaging styles as part of the booth, not just behind it. Use a small rack for boxes, a lid stand for tins, and a clear cover for cards and tags.
This helps shoppers understand what they’ll receive and makes your booth feel more trustworthy. It also lets you keep inventory clean and protected from dust at outdoor fairs. For cost considerations, use clear plastic organizers you already have or borrow organizers from home.
Personalization can be as simple as arranging packaging by color or size so it looks like a curated shelf. Add a few finished items resting on top of the packaging so visitors can see the final result. This matches current trends that favor product storytelling through presentation.
Keep the display simple and consistent, and make sure your brand colors show up in at least one visible way. When your packaging looks good, your products look more gift-ready and buyers feel ready to take the next step.
17. Low-Cost Light Up Your Corners With Clip-On LEDs
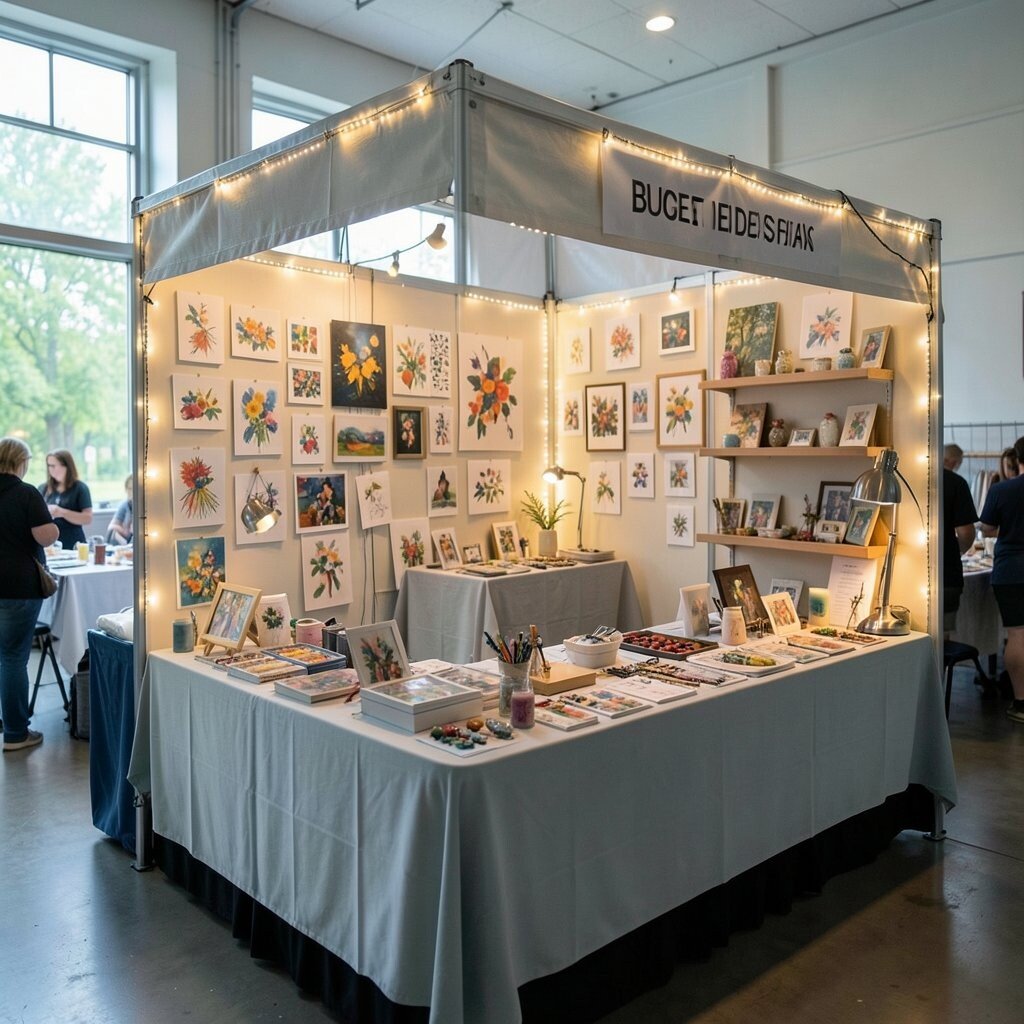
Use clip-on LED lights to brighten the corners of your booth and highlight your most detailed items. Place one light near your display center and another near your best product grouping.
Even basic LEDs make a big difference, because shadows make small items harder to see. Choose warm white LEDs for a cozy look that works well with crafts like paper, candles, and ceramics. Keep it practical by securing cords and using battery packs if outlets are limited.
Uniqueness comes from your choice of where to aim the light, like toward texture areas or color swatches. Personalize the light effect by angling it slightly so your display looks dimensional. This fits current trends where booths feel like mini galleries with intentional spotlighting.
18. Personal Story Shelf With Small Notes and Photo Cards
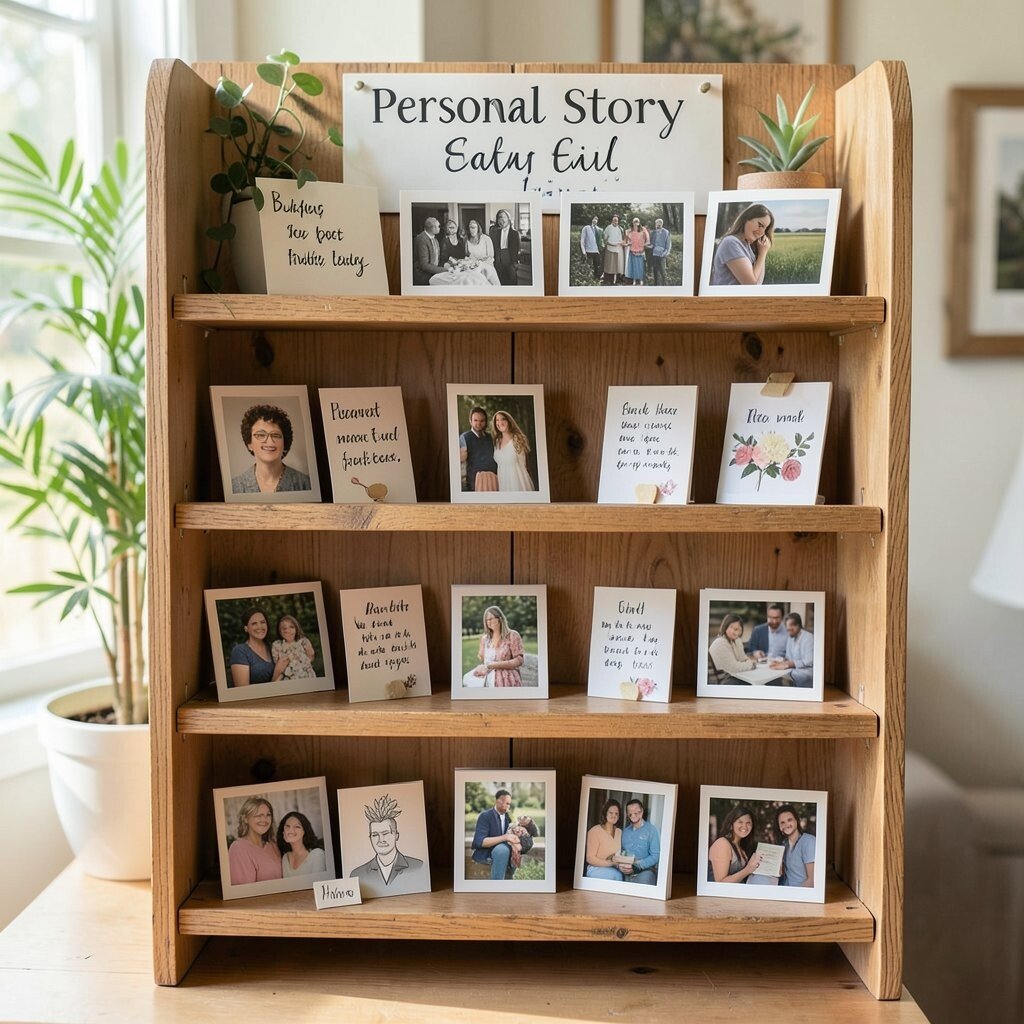
Create a small shelf or stand for photo cards and short notes about your process. Use clear sleeves or clip frames so your information looks neat and easy to swap.
This makes your booth feel human, and buyers love hearing why you make things. Write in simple, friendly language about how you start a piece, what materials you use, and what you hope it means to the person who buys it. It’s a strong uniqueness boost because lots of vendors show products, but fewer share the story behind them.
For personalization, include your maker name, a favorite tool, and one small customer promise like careful wrapping or quick message support. Cost considerations stay low if you print on card stock and laminate with a budget-friendly sheet protector. Keep the notes short so people read them without feeling like it’s a lecture.
To make it actionable, rotate the story cards during the day based on who stops by. When someone asks about a material, pull the matching card from a holder and answer while showing it. This way, your booth feels responsive and thoughtful rather than generic.