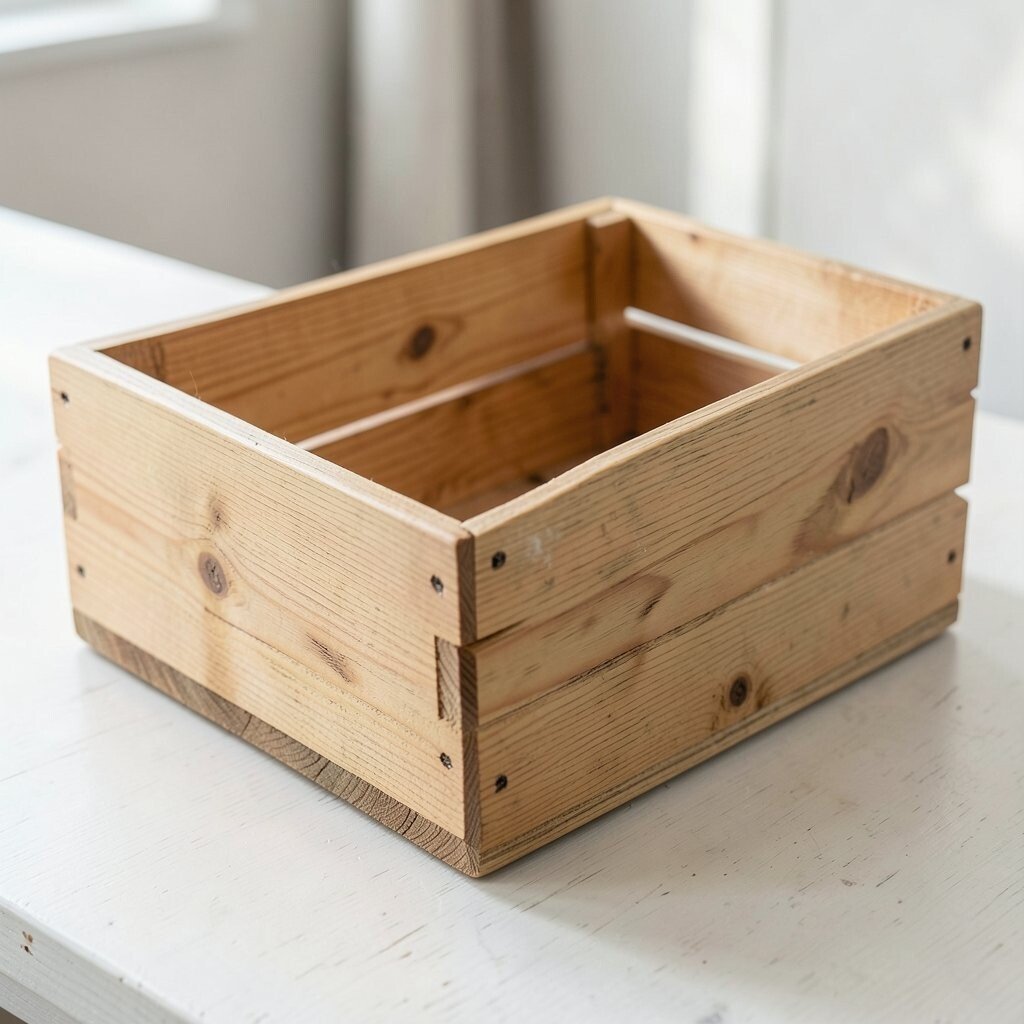
Wooden crates can look charming fast. Small mistakes can ruin the whole project.
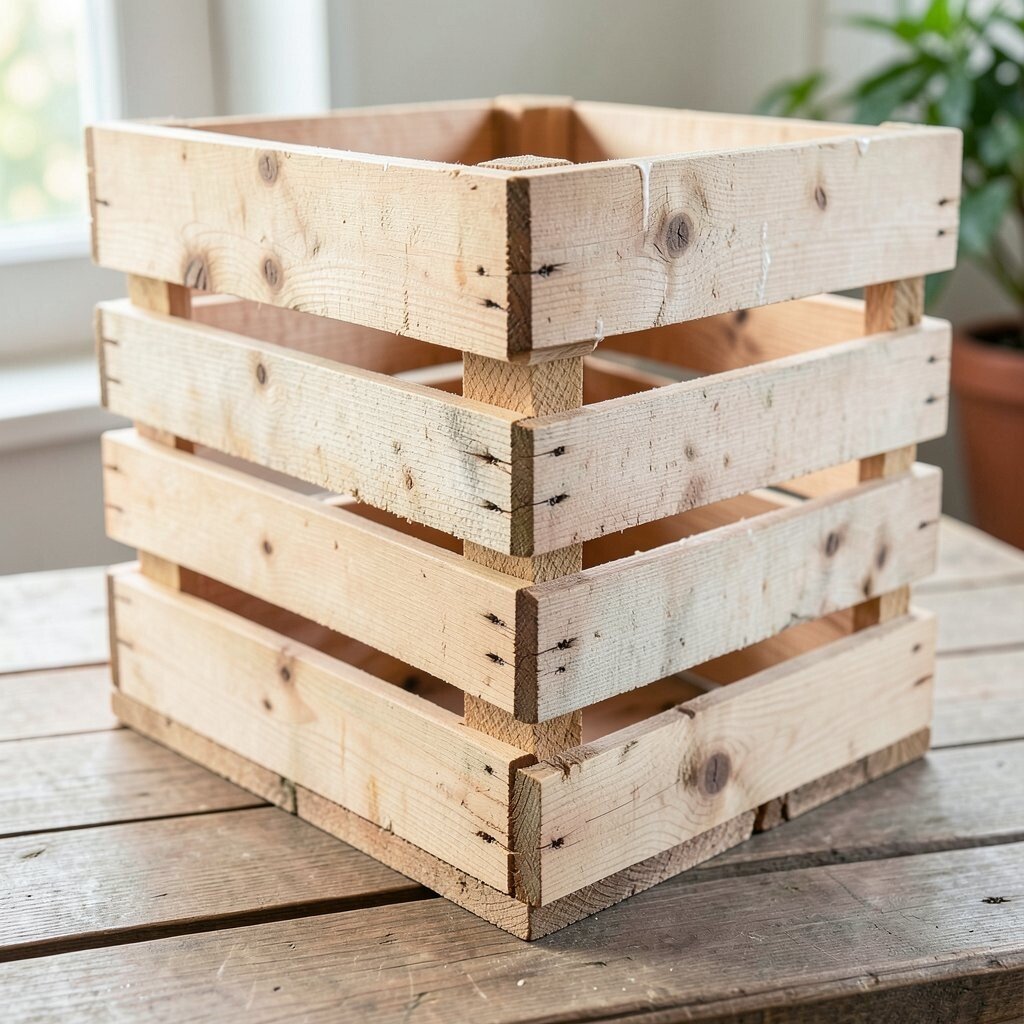
1. Buying Crates Without Checking Their Strength

Many crates look sturdy at first glance, but weak joints can crack under real use. A crate with loose corners may sag, split, or tip when you load it with books, plants, or tools.
Press on the sides and lift the crate before you buy it. Solid wood, tight nails, and even corners usually mean better value, even if the price is a little higher. If you want a custom look, choose a strong base crate and add paint, stain, or labels later.
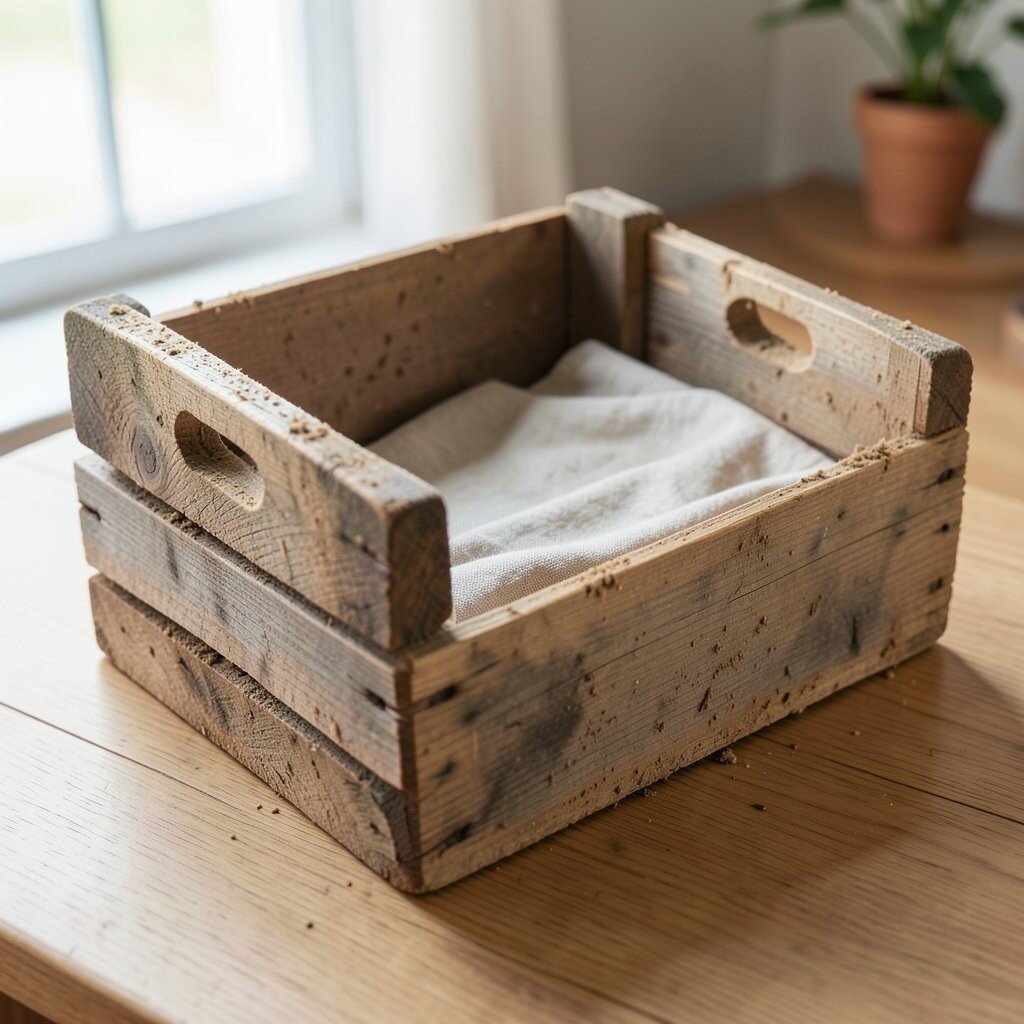
2. Skipping a Good Cleaning Before Use
Dust, dirt, and old warehouse grime can hide in the grooves of a crate. That rough look may seem rustic, but it can also leave your project feeling unfinished and messy.
Wipe each crate with a damp cloth and mild soap, then let it dry fully. This simple step helps paint stick better and keeps indoor projects cleaner. For a fresh style, try a light wash, a soft stain, or a clear coat that still shows the wood grain.
Cleaning also helps you spot bugs, mold, or sticky spots before they become a problem. If you are building home decor, clean crates give a more polished look without losing the handmade charm. That small bit of care makes the whole piece feel more special.
3. Ignoring Splinters and Rough Edges
Sharp splinters can turn a cute crate shelf into a painful project. Rough edges also make the wood look older than it should.
Sand the corners, top rails, and any spots your hands will touch. A smooth finish feels better, looks nicer, and helps the crate fit into modern rooms. If you want a trendy farmhouse style, keep a little texture but make sure the surface is safe.
Pay extra attention if kids will use the crate for toys or books. A quick sanding job costs little and saves time later. You can also round the edges a bit for a softer, friendlier shape.
Some makers skip sanding because they want a raw look, but that can backfire. A crate with a few smooth touches still keeps its rustic charm. It just feels more finished and easier to live with.
4. Using the Wrong Size for the Job
A crate that is too small can look crowded and weak. A crate that is too large may waste space and make the room feel clumsy.
Measure your space before you start cutting or stacking. Think about what will sit inside, on top, or beside the crate, and leave room for easy use. If you like custom projects, mix crate sizes for a layered look that feels playful and fresh.
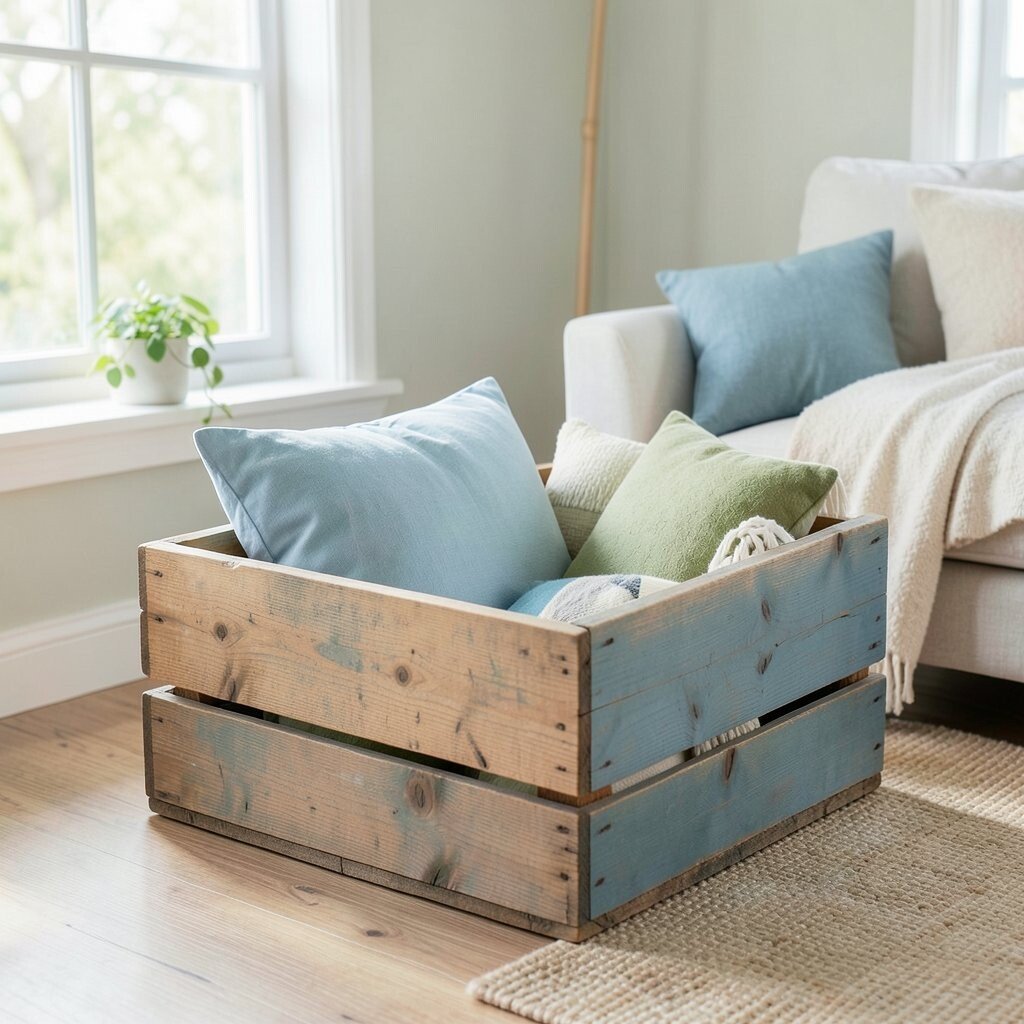
5. Forgetting to Match the Style of the Room
Even a well-made crate can look out of place if the finish does not fit the room. Bright paint in a calm room or dark stain in a sunny space can feel too harsh.
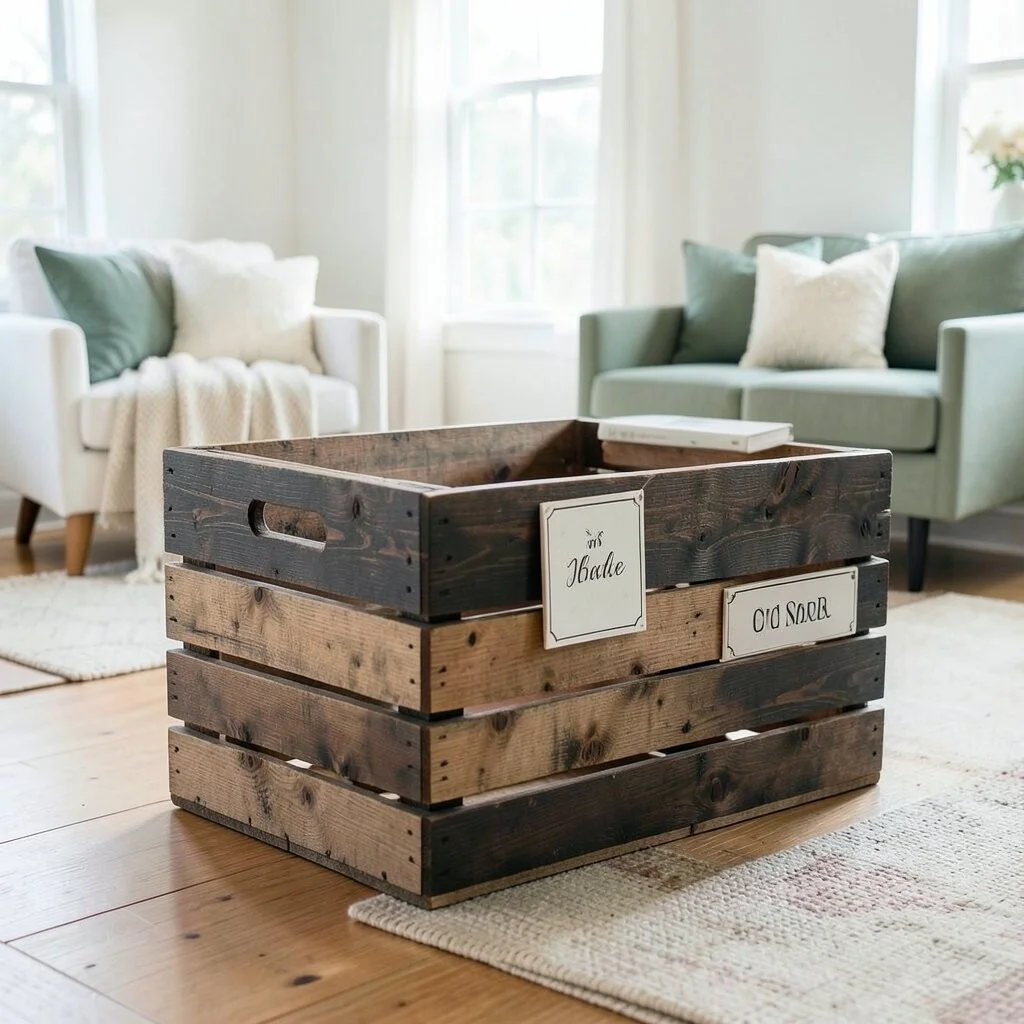
Look at the colors, furniture, and mood around the crate. Soft white, warm brown, black, and muted green are popular choices because they work in many homes. You can also add your own touch with stencils, handles, or a name tag for a more personal feel.
The best crate projects feel like they belong there from the start. A simple style match can make a low-cost crate look much more expensive. That is one reason crates stay popular in modern rustic and cozy home trends.
6. Overloading the Crate With Too Much Weight

It is easy to fill a crate until it looks useful, but too much weight can cause bending or breakage. Heavy items can also make a stacked project unsafe.
Start with light items and test the crate before adding more. If you plan to hold tools, canned food, or thick books, choose thicker wood or reinforce the bottom. A strong crate gives you more ways to use it, from storage to display.
Watch for bowing boards and loose nails as you load it. If the crate shifts, stop and rethink the setup. A safer build always feels better than a pretty one that might fail.
7. Painting Before Fixing Loose Boards
Fresh paint can hide problems for a while, but loose boards will still move underneath. That movement can crack the finish and make the crate look sloppy.
Check every corner and nail before adding color. Tighten, glue, or replace weak parts first, then paint or stain after the wood is stable. This order saves time and gives you a cleaner result.
If you want a bold color, a smooth repair job matters even more. Bright paint shows flaws fast, while a sturdy crate keeps the surface neat. For a custom touch, add a painted stripe or label after the repair work is done.
8. Using Paint That Does Not Fit the Wood
Some paints soak in too fast, while others sit on top and peel later. The wrong choice can make the crate look blotchy or cheap.
Use paint or stain made for wood, and test it on a hidden spot first. A sample patch helps you see the final color and finish before you cover the whole crate. Matte, chalky, and natural wood looks are still popular because they feel soft and homey.
Good paint choices also help your project last longer. If the crate will sit in a kitchen, bathroom, or porch area, choose a finish that can handle moisture. A smart finish keeps the crate looking fresh with less work.
9. Forgetting to Seal Outdoor Crates

Outdoor air can wear down wood fast. Rain, sun, and humidity can turn a nice crate gray, soft, or cracked.
Add a weather-safe sealant if the crate will live on a porch, patio, or garden path. Clear sealers, outdoor stains, and protective waxes can help keep the wood strong. You can still keep a natural look while giving the crate a longer life.
Outdoor crates are great for plants, shoes, and picnic gear, but they need more care than indoor ones. A sealed crate can handle changing weather better and save money over time. That makes it a smart choice for budget-friendly yard projects.
10. Leaving Nails and Staples Exposed
Sharp metal sticking out of a crate can scratch hands, snag fabric, and damage furniture. It also makes the whole piece look unfinished.
Run your hand gently over the crate and check for anything sharp or raised. Tap nails flat, remove loose staples, and cover rough spots with wood filler if needed. If you want a clean, modern look, hidden fasteners work well and feel more polished.
Exposed metal can also stain paint or rust over time. Fixing it early keeps the crate safer and nicer to use. It is a small detail, but it changes the whole feel of the project.
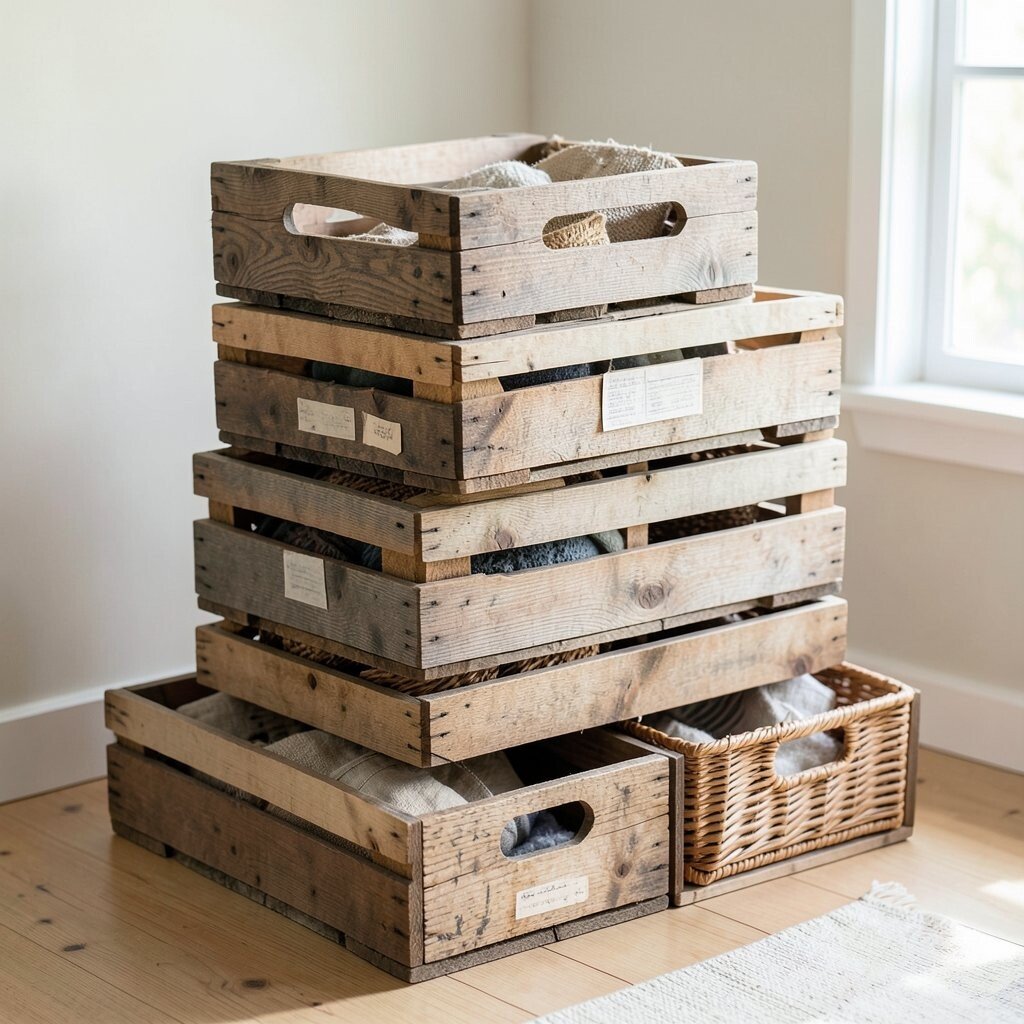
11. Stacking Crates Without Planning the Base
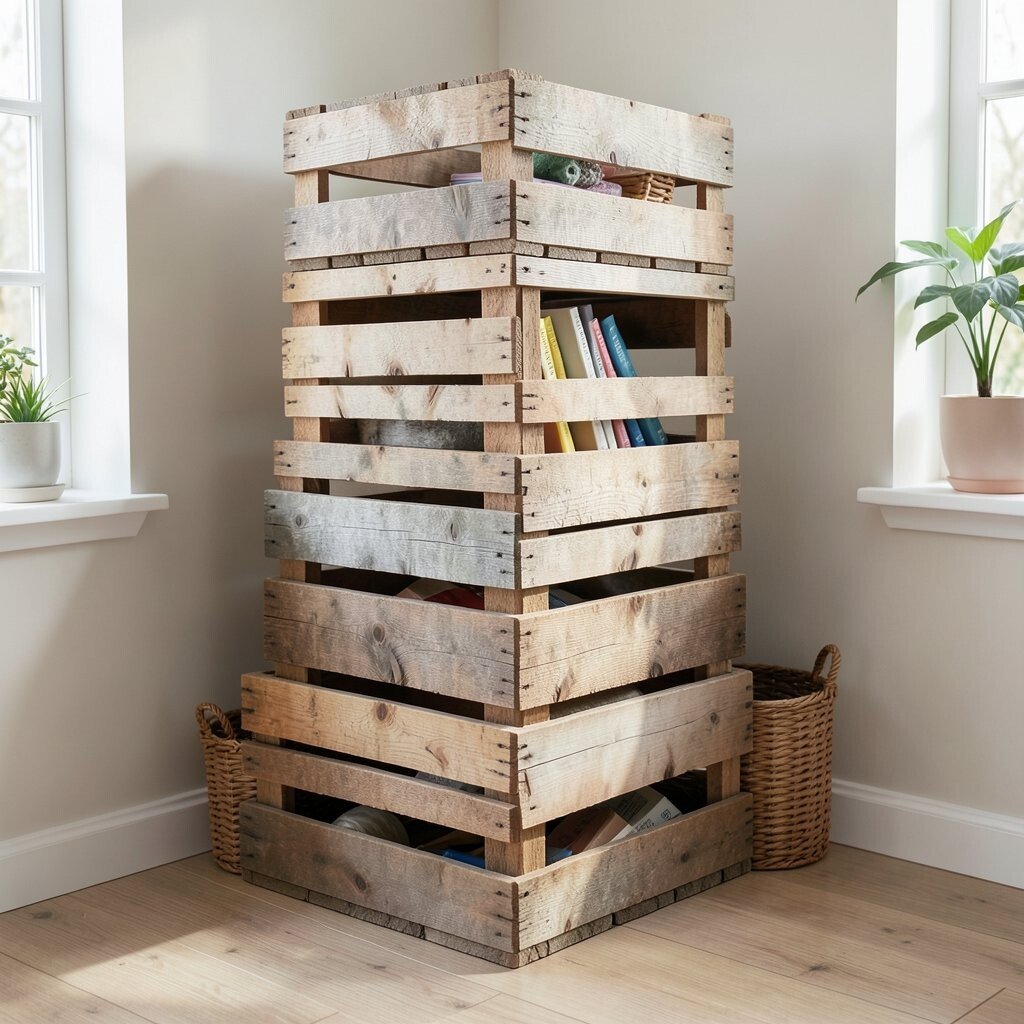
A tall stack of crates can look cool in a room, but a weak base can make the whole thing wobble. One bad shift can send items tumbling.
Put the strongest crate on the bottom and test the stack before loading it up. You can use brackets, screws, or wood glue to help hold the shape in place. A steady stack gives you more storage and a neat display at the same time.
People love stacked crates for entryways, craft rooms, and small apartments. They make a space feel organized without much cost. Add baskets, books, or plants to make the stack feel personal and useful.
12. Ignoring the Wood Grain Direction
Wood grain gives each crate its own look and feel. If you cut or sand the wrong way, the surface can tear and look rough.
Follow the grain when sanding and finishing to keep the wood smooth. This helps the crate show off its natural beauty, which is a big reason many people love wooden crate projects. A little care here can make a plain crate feel rich and handmade.
Grain direction also matters when you add trim or new boards. Matching the grain can make repairs blend in better. That small detail helps your project look custom instead of rushed.
13. Using Crates With Bad Smells
Some crates carry old odors from storage, food, or damp spaces. That smell can spread to your room and ruin the charm.
Air the crate out in a dry place before using it. Baking soda, sunlight, and gentle cleaning can help remove stubborn smells. If the odor stays strong, it may be better to pass on that crate and choose a fresher one.
Fresh-smelling wood feels cleaner and more inviting in bedrooms, kitchens, and living spaces. It also makes the crate easier to personalize with liners, labels, or fabric inserts. A clean scent adds a quiet kind of luxury without extra cost.
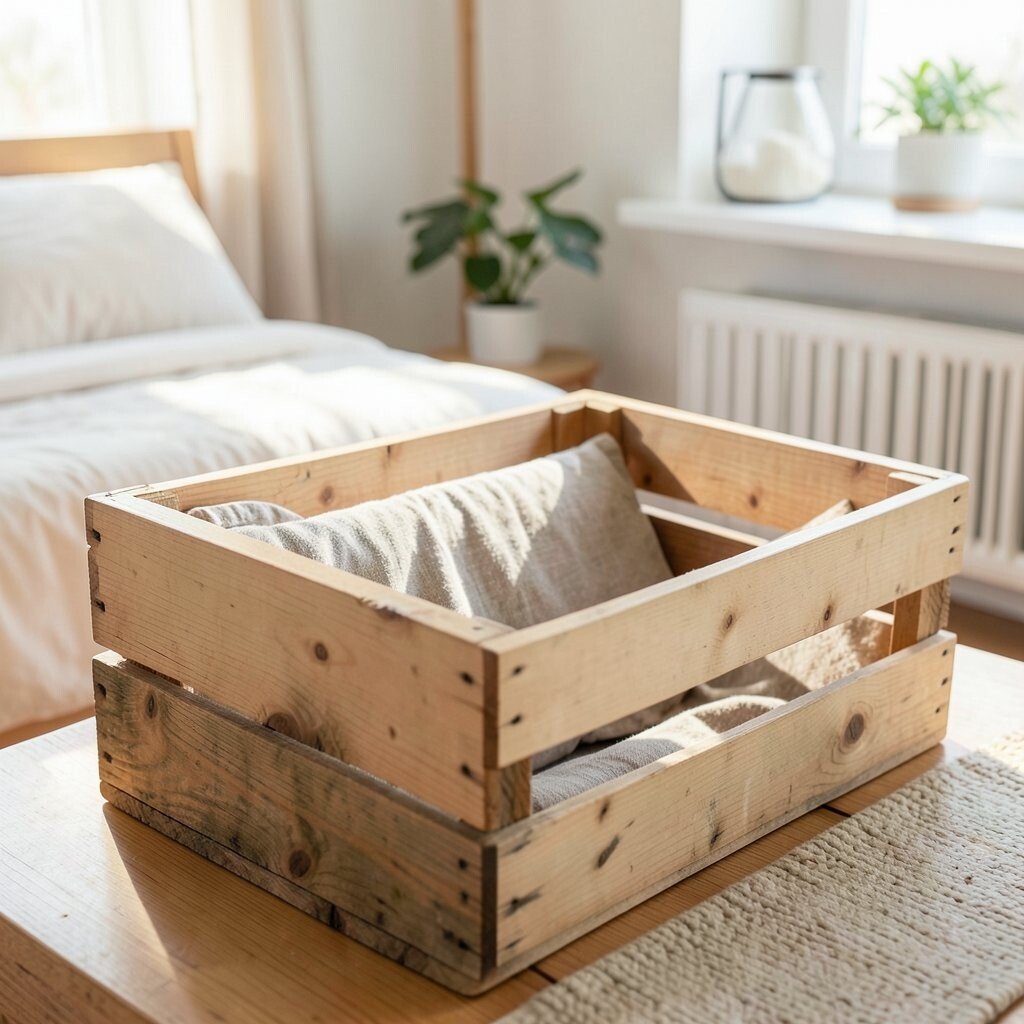
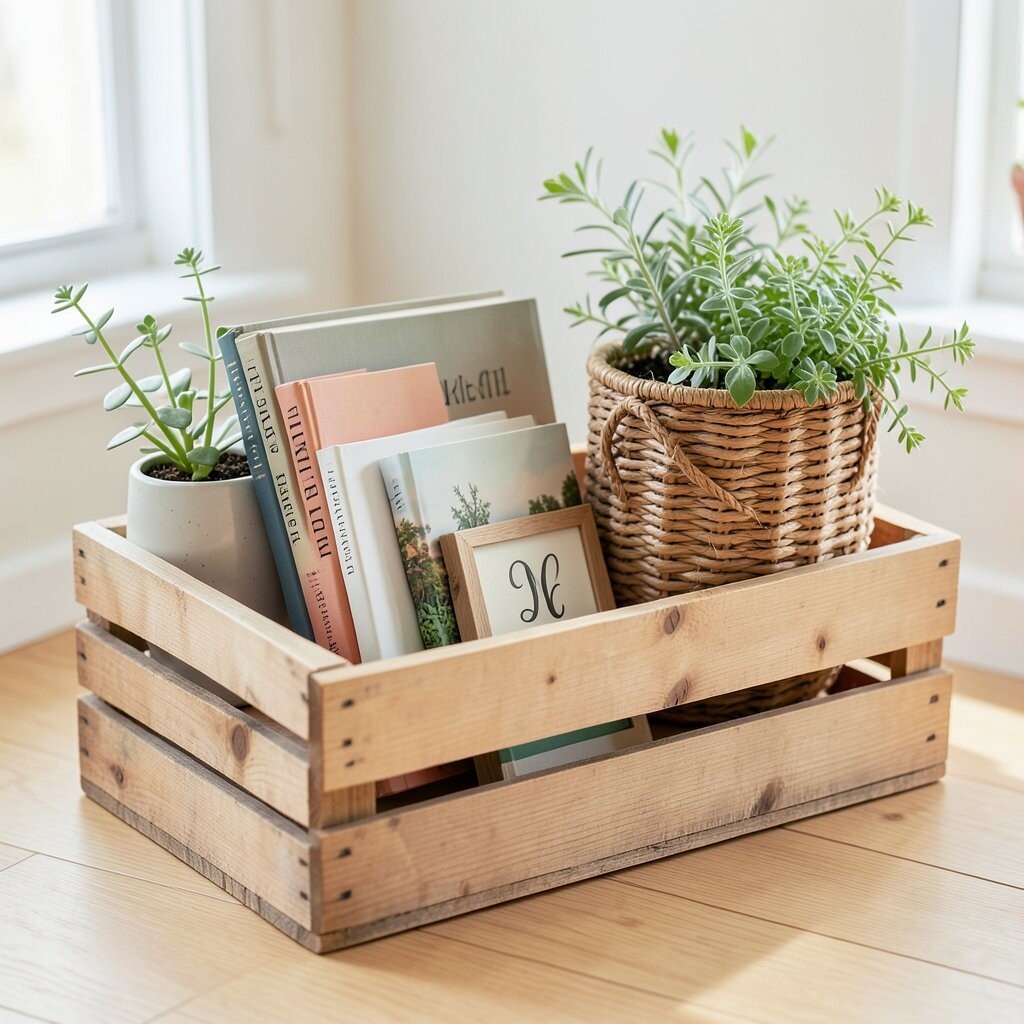
14. Forgetting to Add a Liner for Small Items

Small things can slip through crate gaps and get lost. Keys, craft beads, and tiny toys often fall into the cracks.
Add a fabric liner, thin board, or woven insert to keep little items in place. This also softens the look and gives the crate a cozy feel. Choose a pattern or color that matches your room for a more personal touch.
Liners are a simple way to make crates more useful in busy homes. They can also hide old marks or uneven wood. That means you get better function and a nicer look at the same time.
15. Making Every Crate Look the Same
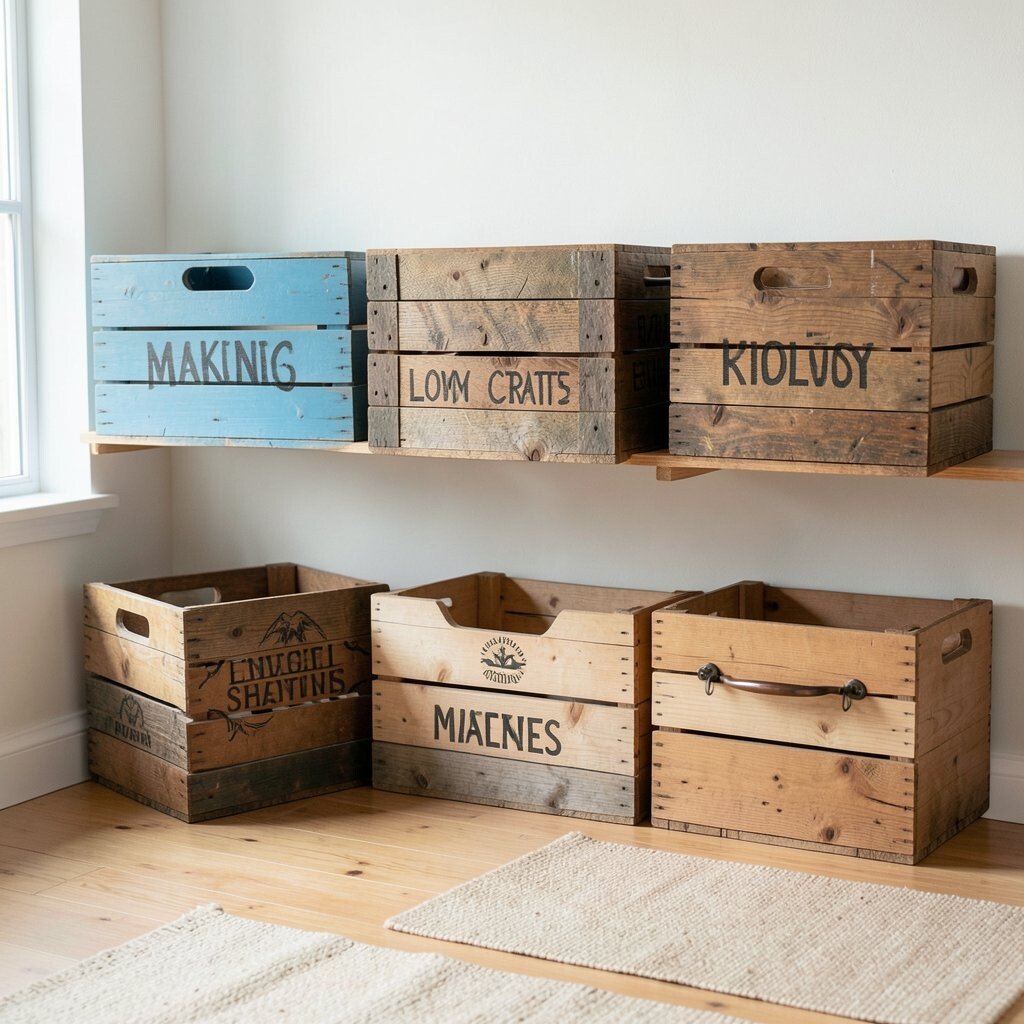
Uniform crates can be neat, but too much sameness can feel boring. A project with no contrast may fade into the background.
Mix finishes, labels, or handle styles to give each crate a little character. You can keep the same color family and still add small changes that make the set feel special. This kind of variety is a big trend in shelves, wall displays, and storage walls.
Personal touches make crate projects feel handmade instead of store-bought. Try one painted crate, one stained crate, and one natural crate in the same room. The mix creates a warm, layered look that feels easy and fun.
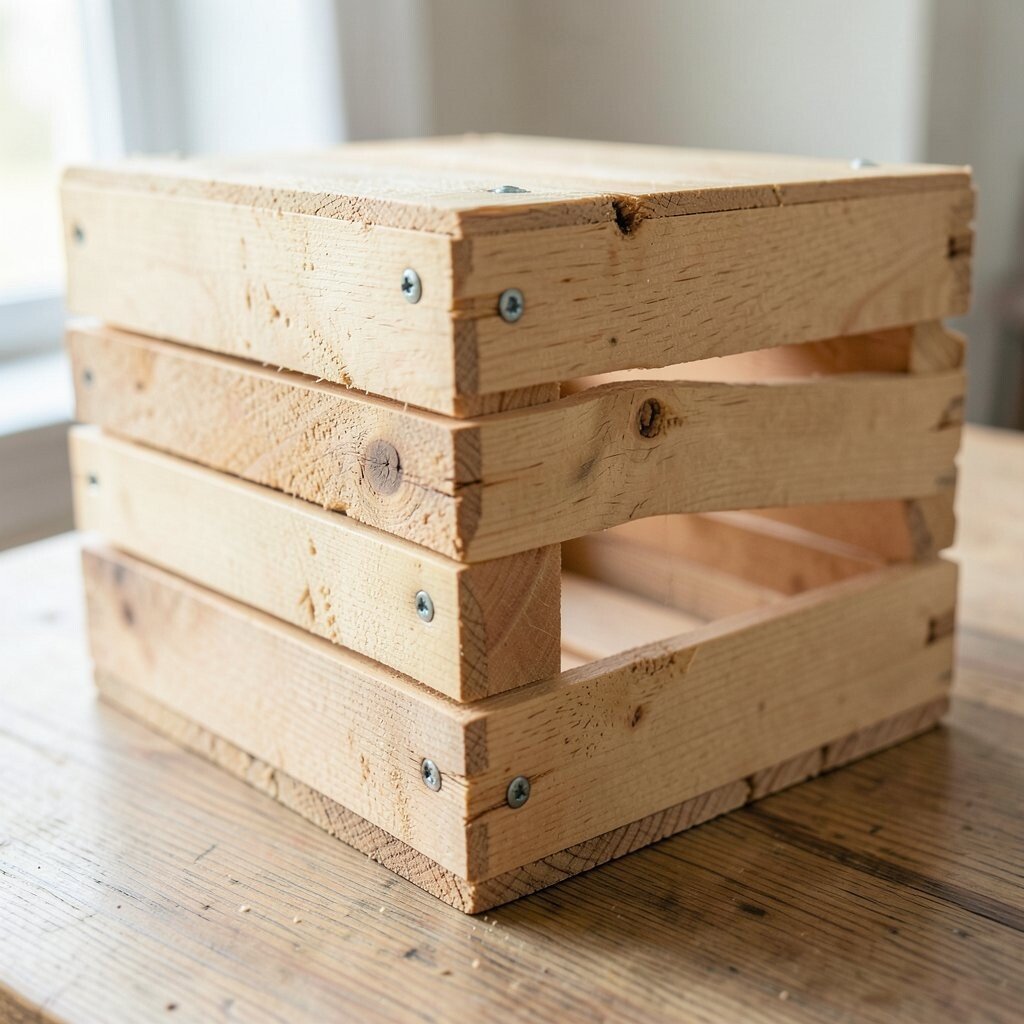
16. Using Cheap Glue Alone for Important Joints
Glue can help, but glue alone may not hold a crate together for long. Heavy use and daily movement can weaken the bond.
Use screws, nails, or corner braces when the crate needs real strength. Glue works best as a helper, not the only support. A stronger joint means the crate can handle more uses, from storage to a small side table.
Good hardware costs a little more, but it protects your time and materials. A sturdy build also gives you confidence when you move or stack the crate. That is worth a lot when you want a project that lasts.
17. Forgetting to Check for Old Labels or Markings
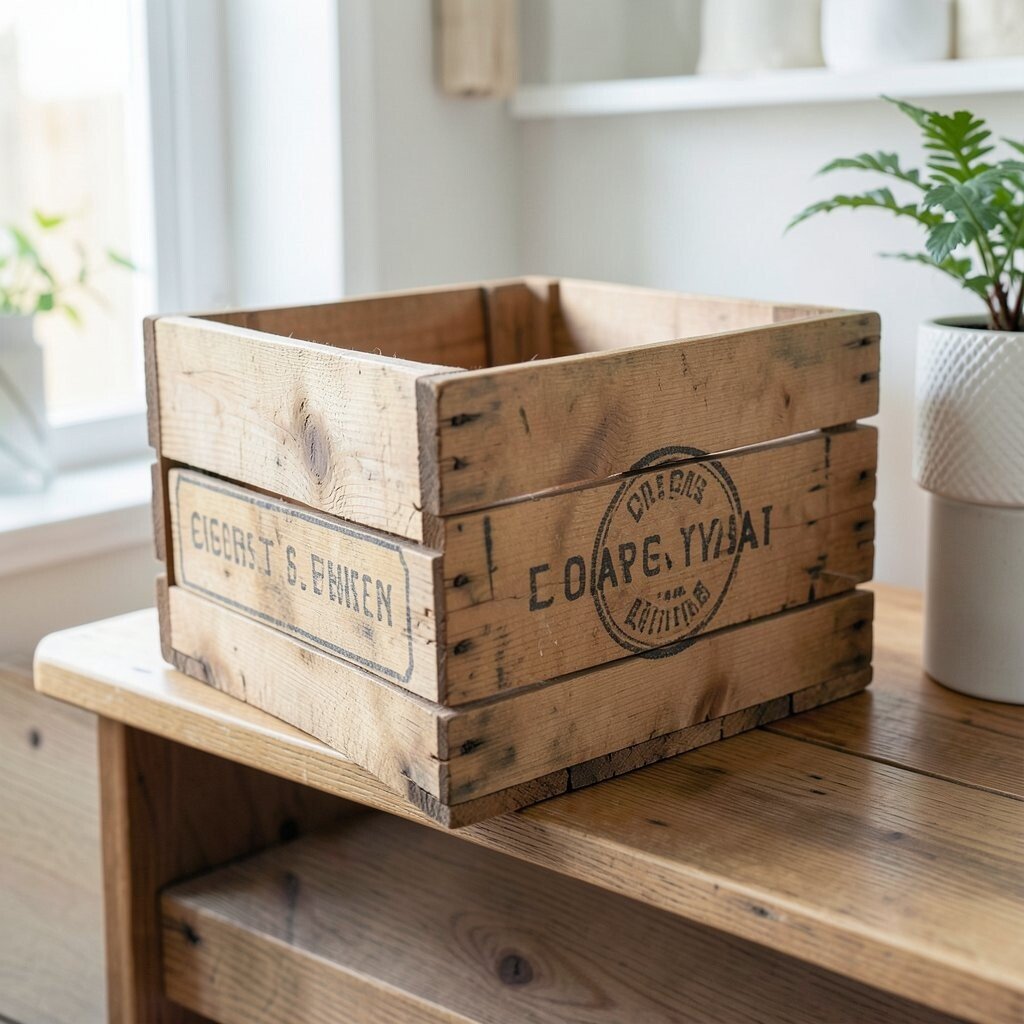
Old shipping marks can be charming, but they can also clash with your design. Some stamps are faded and pretty, while others look messy or distracting.
Decide early if you want to keep the markings or cover them. You can sand lightly, paint over them, or frame them as part of the rustic style. If you like vintage decor, keeping one faded stamp can make the crate feel unique and full of character.
Think about the room where the crate will sit before you choose. A clean bedroom shelf may need a smooth finish, while a garage organizer can keep the old marks. Matching the markings to the setting helps the project feel intentional.
18. Cutting Crates Without Measuring Twice
One wrong cut can ruin a crate fast. Crooked edges and uneven pieces make later steps much harder.
Measure carefully and mark your lines before you cut anything. A simple pencil line can save wood, money, and stress. If you want a custom build, sketch the full project first so each part fits the plan.
Good measuring also helps when you want clean symmetry in shelves or wall displays. Even a small mistake can stand out once the crate is painted. Taking a little extra time now makes the final piece look far more polished.
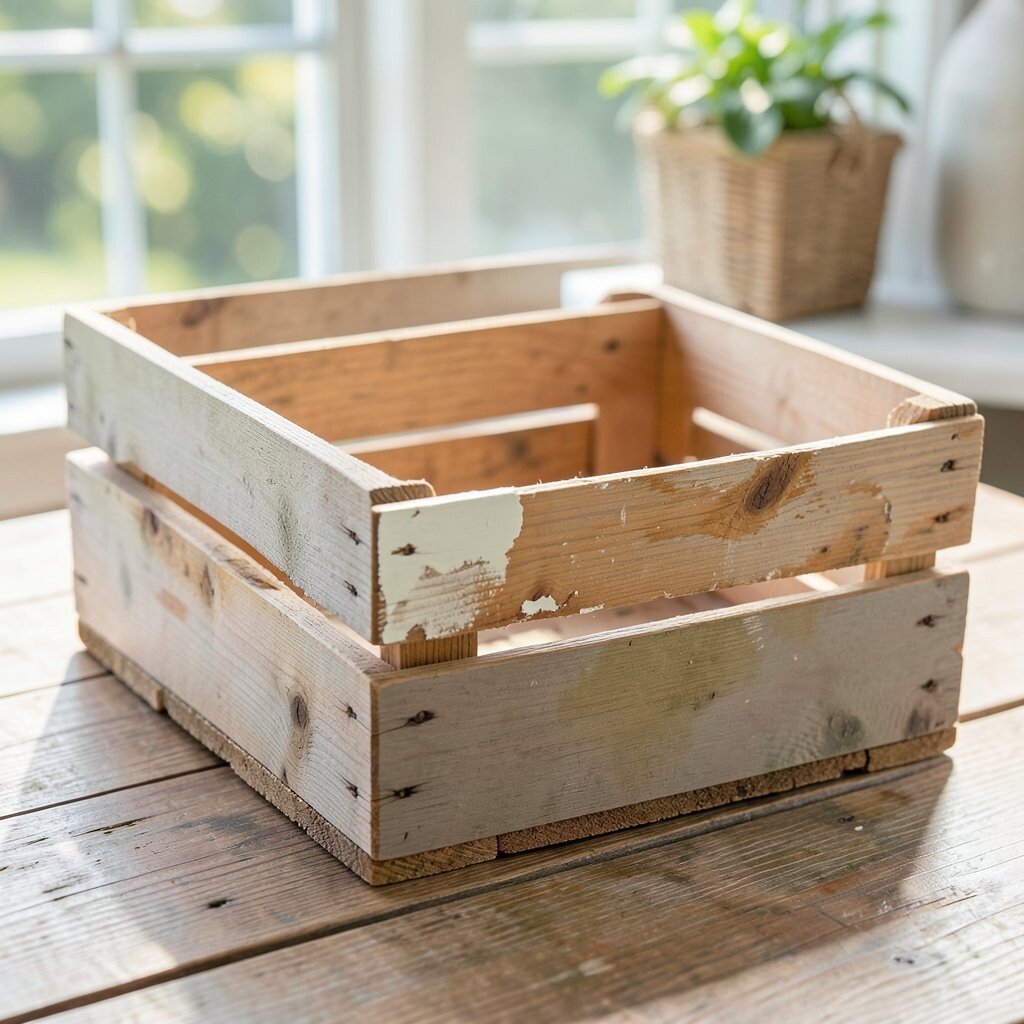
19. Choosing Crates That Are Too Old or Damaged
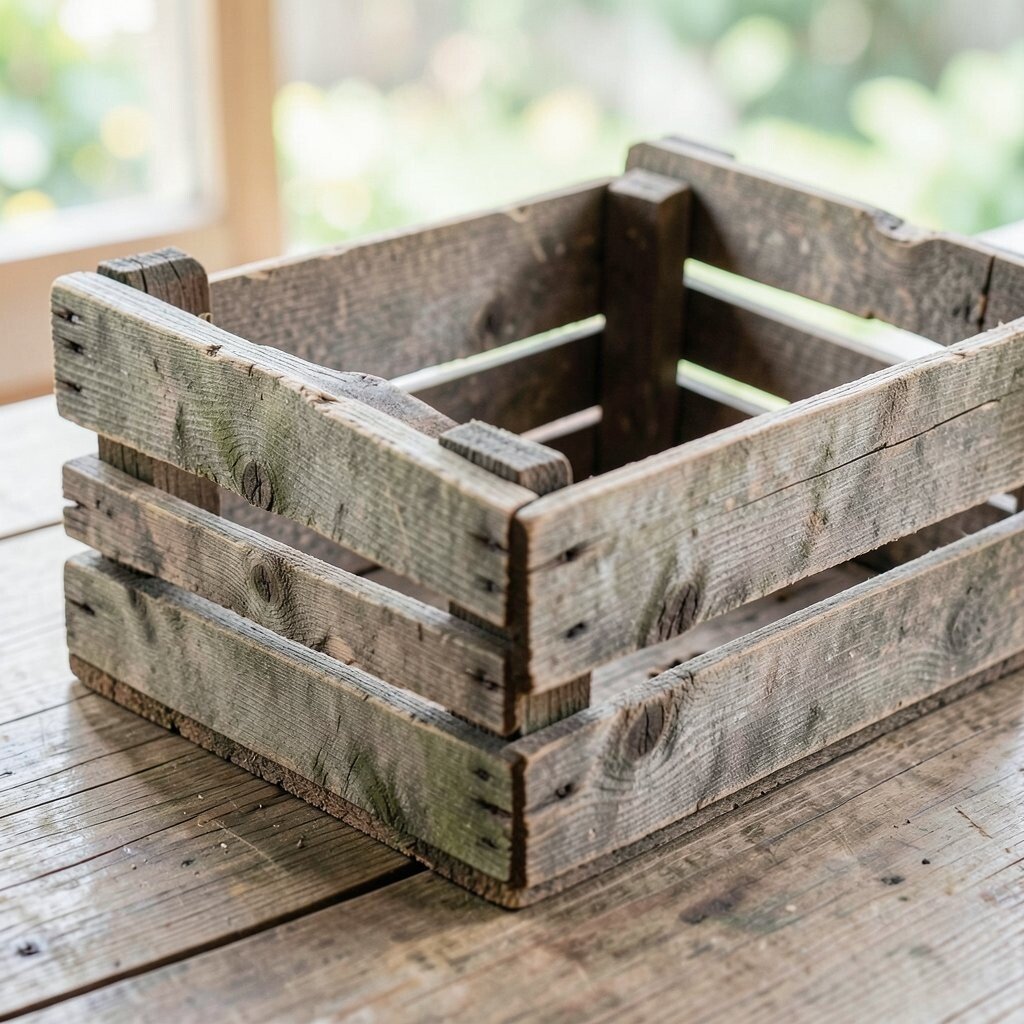
Very old crates can have weak wood, hidden rot, or broken slats. They may look charming in a photo but fail in real use.
Check for soft spots, deep cracks, and musty stains before buying. A crate with too much damage may cost less at first, but repairs can add up fast. Sometimes a newer crate gives you better value and a safer base for your project.
Still, a slightly worn crate can be perfect if you want a vintage feel. The trick is finding the sweet spot between character and strength. That balance is what makes many crate projects feel special and useful.
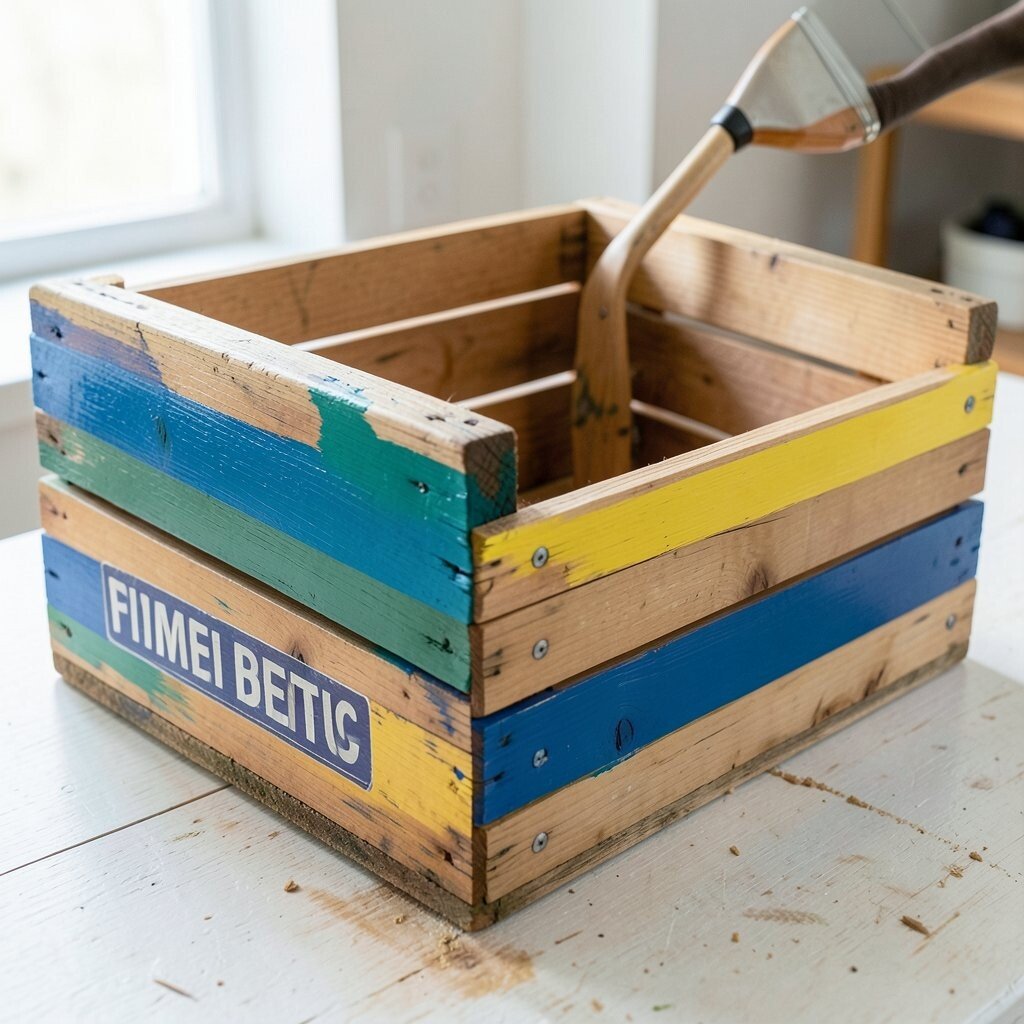
20. Using Harsh Colors Without a Plan
Bright colors can be fun, but they can also take over the whole room. A loud crate may look cute alone and too busy in a full space.
Pick a color that works with the room and with the items inside the crate. Soft blues, warm whites, and earthy greens are easy to live with and still feel fresh. You can add a bold color on the inside or on small accents if you want a playful twist.
Color planning is a simple way to make a crate feel more expensive. It helps the wood stand out instead of fighting the rest of the decor. That kind of balance is a big part of today’s calm, natural home style.
21. Forgetting About Handles and Easy Carrying
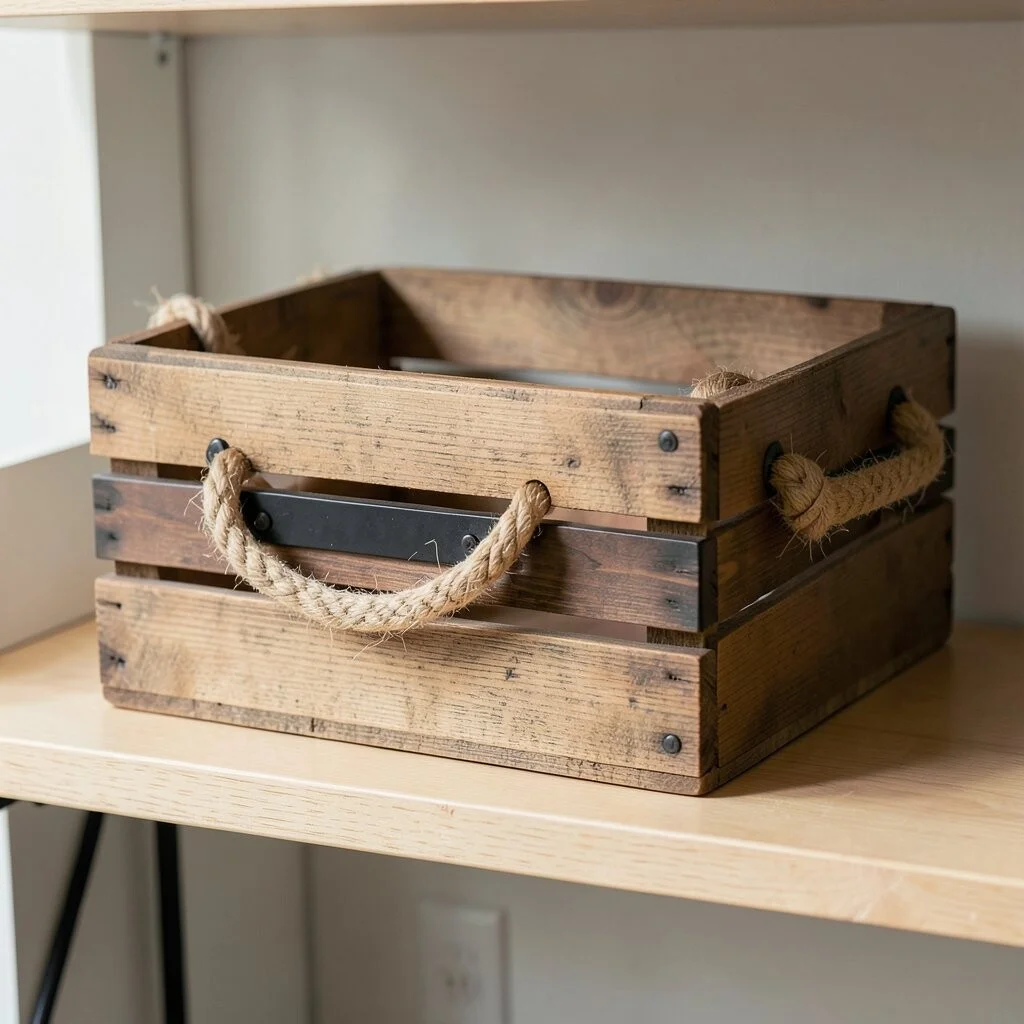
A crate can look great on a shelf but still be hard to move. Without good handles, lifting it may feel awkward or unsafe.
Add rope handles, cut-out grips, or metal pulls if you plan to move the crate often. These small details improve comfort and also add style. A simple handle can make the crate feel more finished and more personal.
Handles are especially helpful for toy bins, picnic boxes, and craft storage. They make the crate more useful in daily life. If you want a trendy touch, mix wood with black metal or natural rope for a warm, modern look.
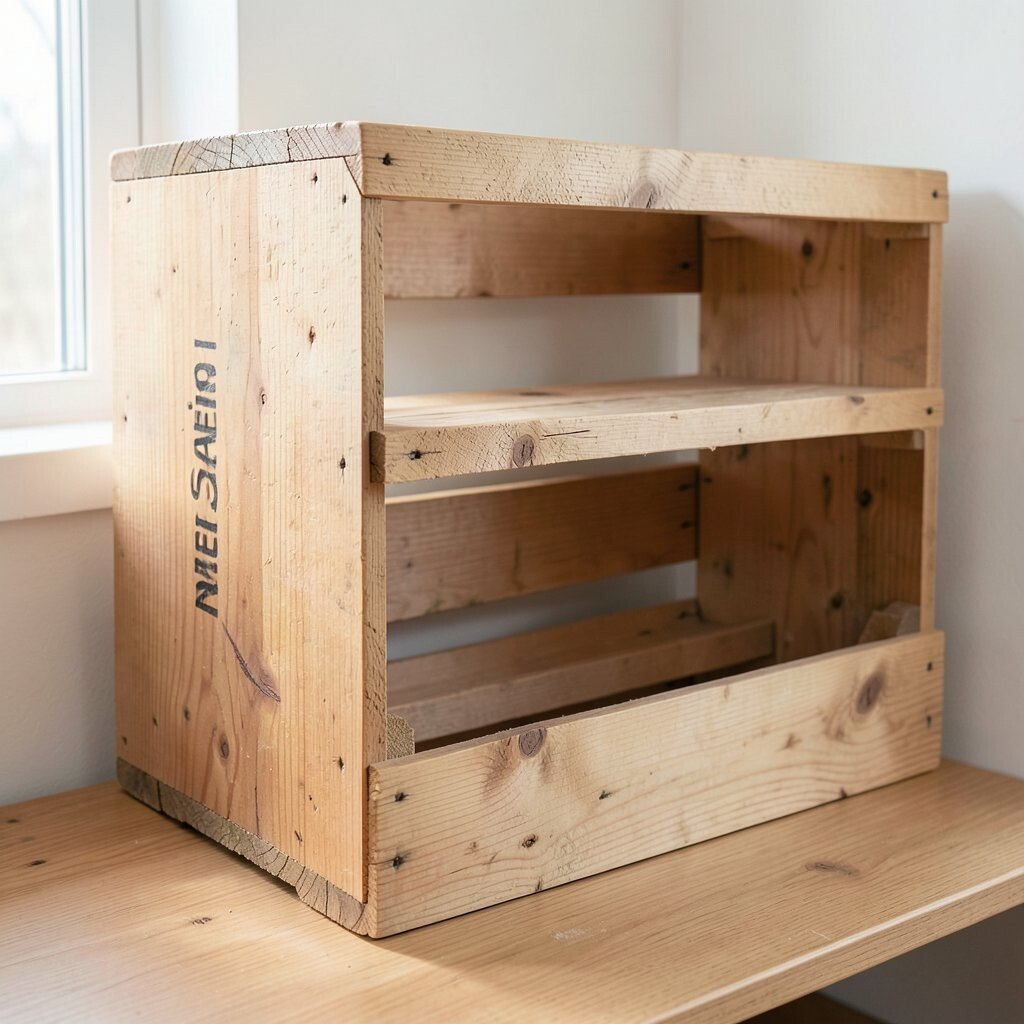
22. Forgetting to Line Up Openings in a Stack
Crates with mismatched openings can look messy when stacked. The whole project may feel off-balance, even if the pieces are strong.
Plan the layout before you join the crates together. Matching openings can create a neat cubby look that works well for books, baskets, and display items. This style is popular because it feels tidy and easy to use.
Alignment also helps when you want to add doors, bins, or labels later. A clean layout gives you more options for future changes. That makes the project more flexible and more worth the effort.
23. Using the Wrong Fasteners for the Wood Type
Some screws split soft wood, while tiny nails may not hold thick boards well. The wrong fastener can weaken the whole crate.
Choose fasteners that fit the wood thickness and the weight of your project. Pre-drilling holes can help prevent cracks and keep the wood neat. If you are building a shelf or table, stronger fasteners can make a big difference in safety and value.
Good hardware may cost a little more, but it often saves the crate from early damage. That means less repair work and a longer life for the project. Smart fastener choices are a quiet secret behind many strong builds.
24. Leaving the Inside as Rough as the Outside
The outside may look beautiful, but the inside can still be rough, dusty, or full of splinters. That makes the crate less pleasant to use every day.
Sand and finish the inside too, especially if you will store clothes, food, or delicate items. A clean inside makes the crate feel more thoughtful and complete. You can even add fabric, paper, or a light stain to give the inside its own style.
People often notice the inside more than they expect, especially in open shelves and display pieces. A neat interior also makes cleaning much easier later. This extra care can turn a simple crate into a favorite home item.
25. Rushing the Final Styling
The last step can be the most fun, but rushing it can make the project feel unfinished. A few small details often decide if a crate looks plain or truly special.
Take time to arrange books, plants, baskets, or labels in a way that feels balanced. Add one personal touch, like a monogram, a favorite color, or a tiny sign, to make the crate yours. The best crate projects feel useful, pretty, and easy to enjoy every day.
Current trends favor natural textures, soft colors, and simple shapes, so keep the styling calm and clean. A few well-chosen items can make the crate feel warm without looking crowded. That final layer is where a basic wooden crate becomes a piece you are proud to show off.