Your table can feel dressed up in minutes. A fancy napkin display is one small change that makes everything look intentional.
Here are lively before and after ideas you can copy, tweak, and enjoy at home or for parties.
1. Stacked Linen “Library” Look
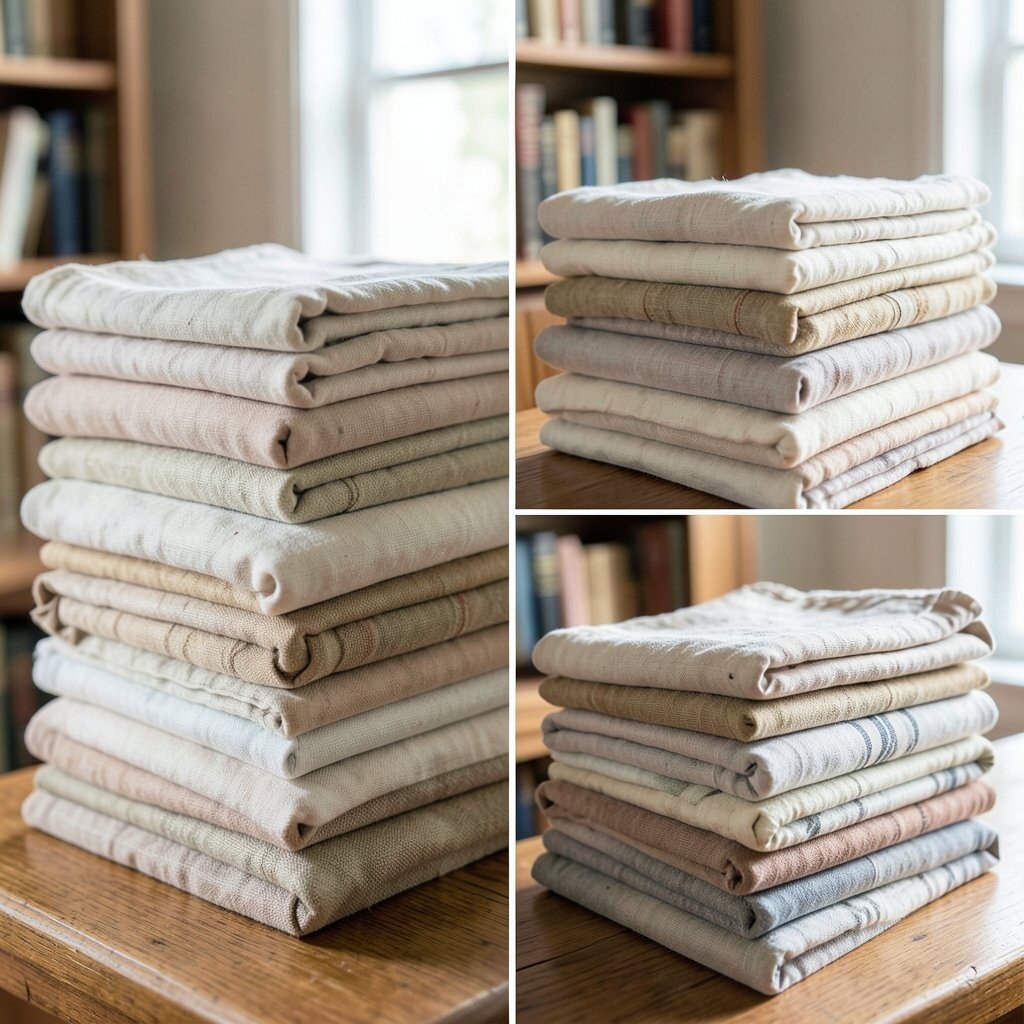
Start by laying plain napkins flat in a drawer or on a shelf where they wrinkle. After, stack them neatly like little books, then fan the top layer so the pattern peeks out at the right angle.
Choose a fabric or paper napkin with a clear print so the “spines” look distinct. Use a gentle fabric starch spray on cloth versions to keep edges crisp for display, and fold consistently so the stacks look tidy.
2. Rolled Napkins in a Clear Cylinder Vase
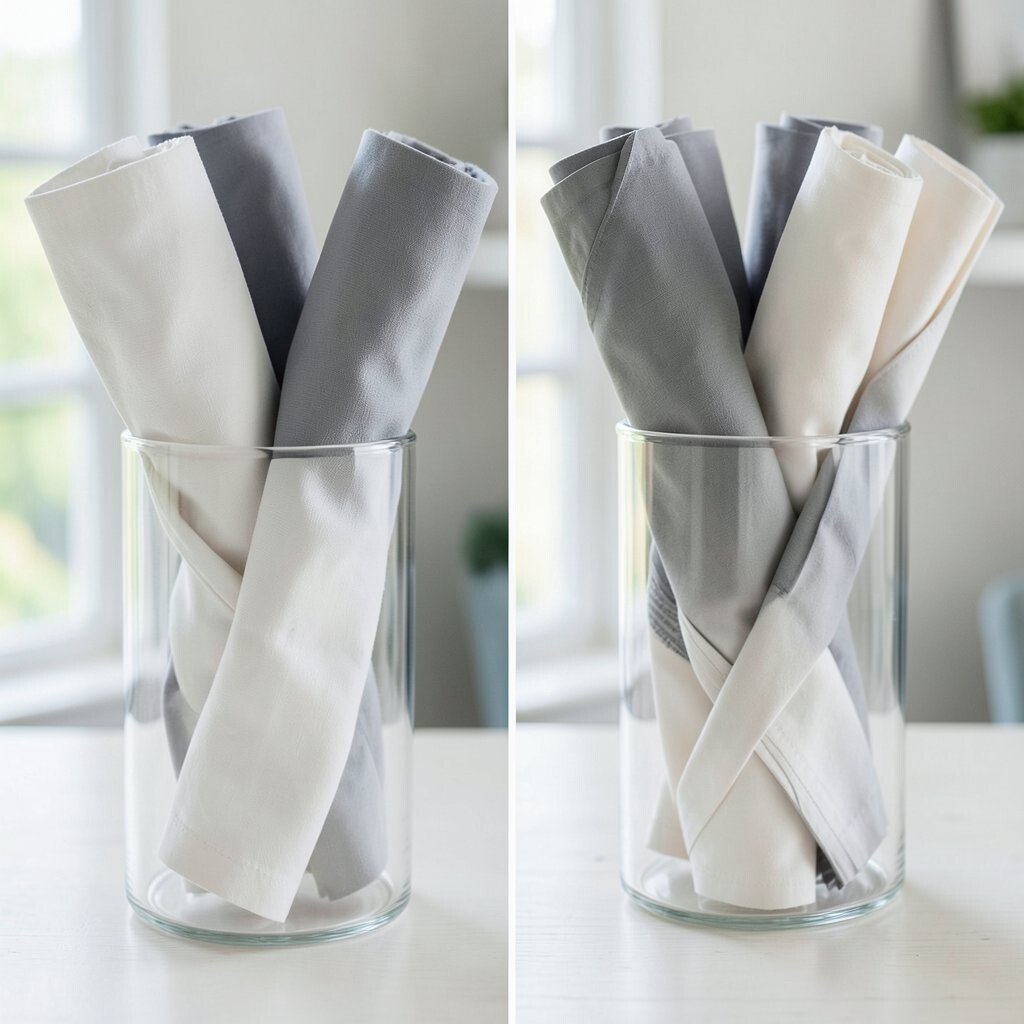
In the before scene, napkins sit loose in a basket and spill out when guests reach for them. In the after scene, roll them tightly and stand them upright in a clear container so the colors become the centerpiece.
Pick a cylinder wide enough for easy sliding so you can refresh the display without redoing everything. This setup saves time because guests can grab a roll without touching the rest.
For personalization, alternate napkin patterns by color family, like warm tones together or cool tones together. If you want a budget-friendly option, use inexpensive clear jars from home goods stores and add a ribbon band around the middle.
3. Tiered Plate Stand for “Wow” Layers
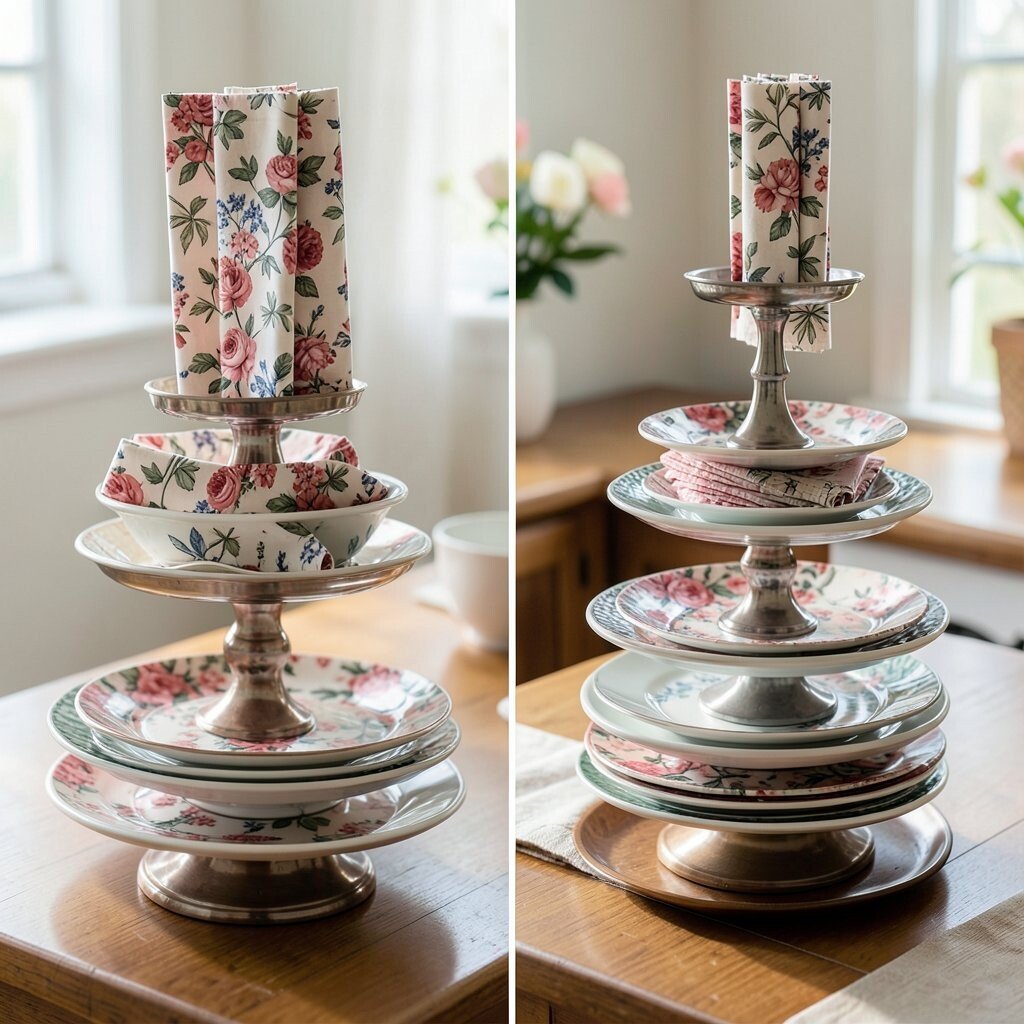
Before, your table might rely on one flat napkin pile that looks functional but not special. After, place folded napkins on a small tiered stand so each layer shows a different fold style and pattern.
This looks fancy because it adds height and sightlines, letting napkins act like mini decor. Try mixing one solid color with one patterned set, then rotate the folds so they do not repeat in the same spot.
To keep it practical, use fewer pieces per tier and refill quickly between courses. If cost is a concern, swap the fancy stand for a saved cake stand, a stack of plates, or even a clean upside-down bowl arrangement.
For current style, aim for neat but not stiff styling, like slightly varied fold angles that still stay controlled.
4. Folding Fans with a Satin Band
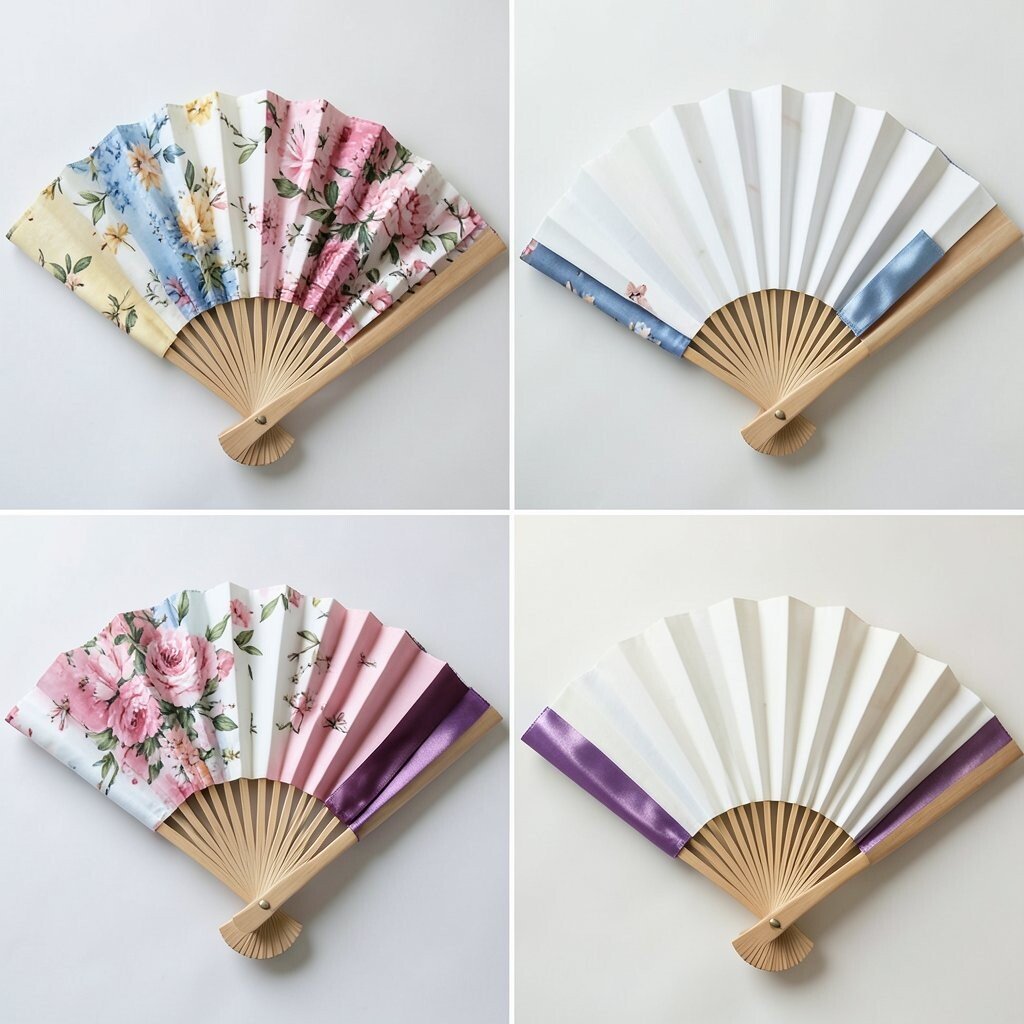
In the before moment, napkins are folded the same way every time, so they look like routine supplies. In the after moment, make a fan fold, then tie it with a narrow satin ribbon or matching twine.
The visual effect is elegant, and the ribbon helps guests see which napkin is meant to be used first. Use a ribbon color that complements your plate design, and keep the knot on the back so it looks clean from every chair.
5. Half-Moon Napkin Bow on Each Place
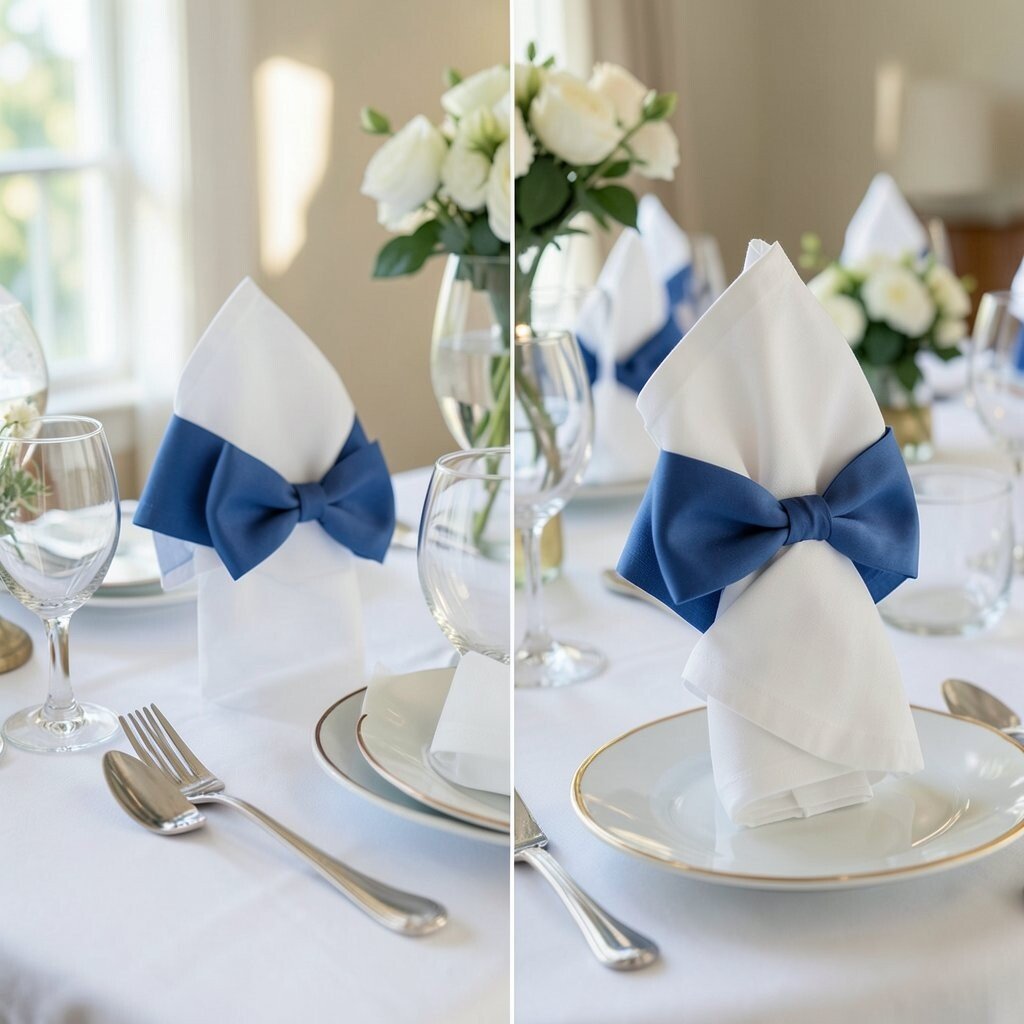
Start with napkins placed off to the side, so they feel separate from the meal. After, create a half-moon fold and fasten it with a small cloth tie or napkin ring so it reads like a bow at each seat.
This instantly personalizes the table, because every guest gets the same polished look. If you want it easier, practice one quick fold that you can repeat without checking every time.
For cost considerations, choose matching napkin rings from a thrift store and refresh with a quick wipe and a dab of matching paint. A trending touch is mixing textures, like a matte napkin with a glossy ring or a textured tie.
6. Napkin “Origami” Corners in a Napkin Tray
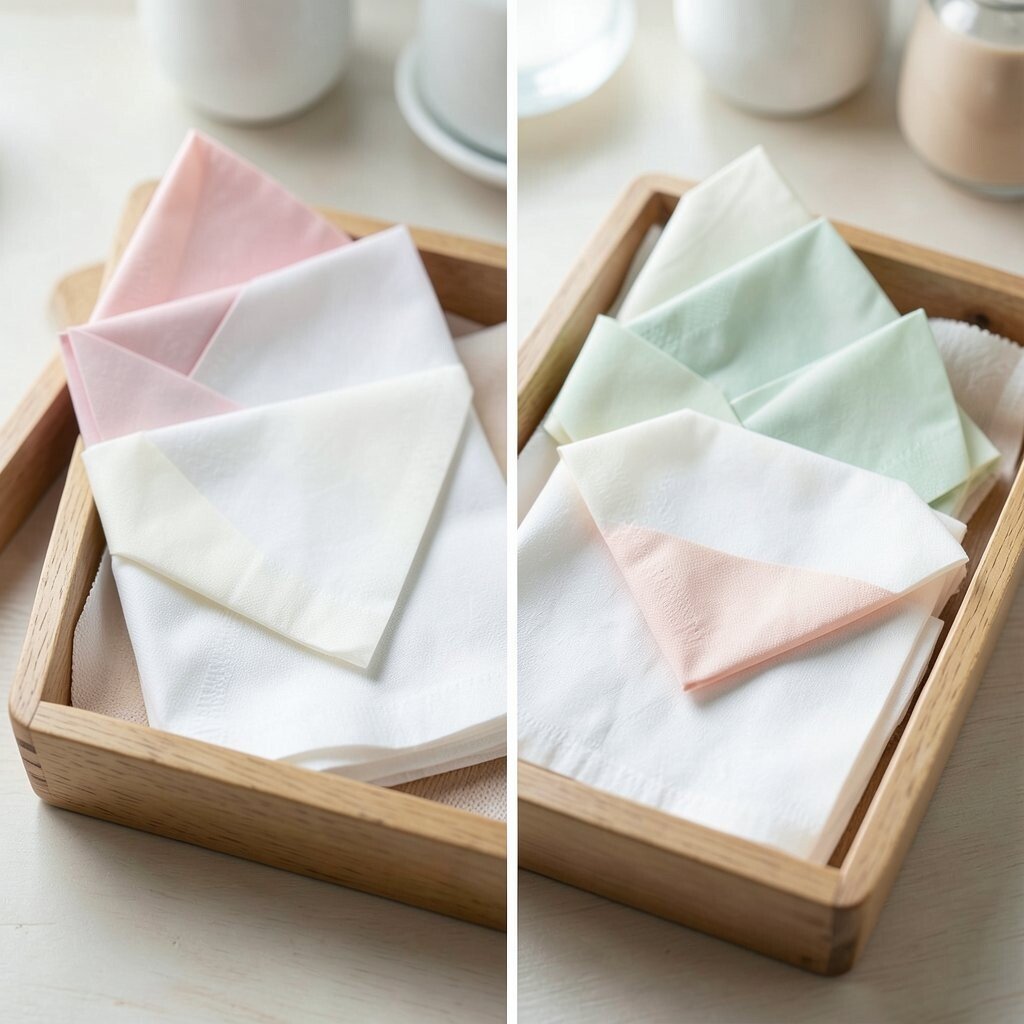
Before, napkins are simply stacked, so only the top piece shows any pattern. After, fold the corners into light geometric shapes and place them in a shallow tray like a display of small sculptures.
This creates a neat, modern look while still being easy to manage on a busy day. Use a tray with raised edges so folded corners stay in place, and choose one main color scheme so it feels intentional.
If you want personalization, add a tiny sprig of greenery into the tray base or tuck in a small card with the guest’s name using string. For practical cleanup, use a removable liner so the tray looks fresh even after a busy event.
7. Hanging Napkin Rings on a Decorative Rail
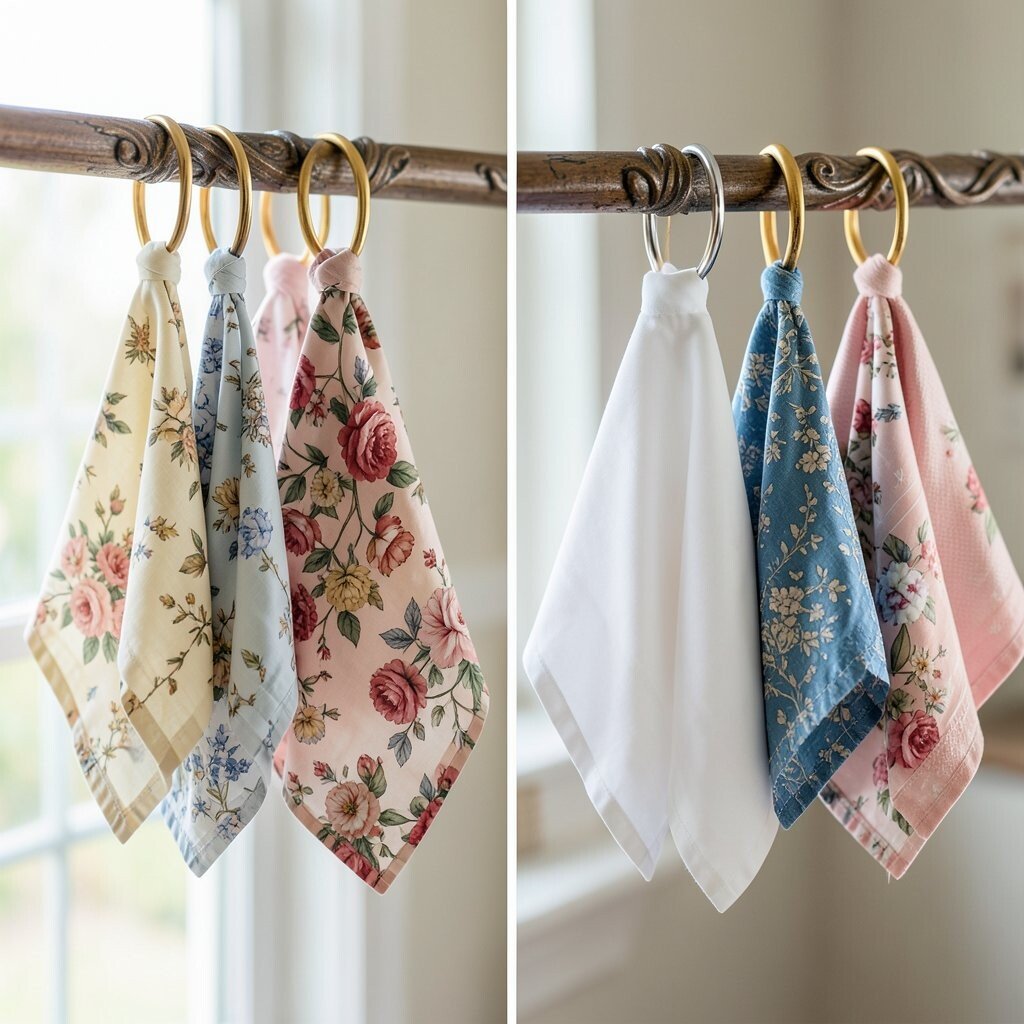
In the before scene, napkins are hidden away, so they do not contribute to the theme. In the after scene, hang folded napkins on decorative rings attached to a rail or wall-mounted hook near the dining area.
Guests love seeing the napkins ahead of time, and it helps you set the mood before anyone sits down. Keep folds uniform and choose ring colors that match your table decor so the rail looks coordinated.
For personalization, add small charms or cloth tags tied to each ring, like a holiday icon or seasonal color. If you are thinking about cost, use a simple tension curtain rod or a lightweight picture frame rod as the rail.
8. Napkins Arranged Like a Rainbow Ladder
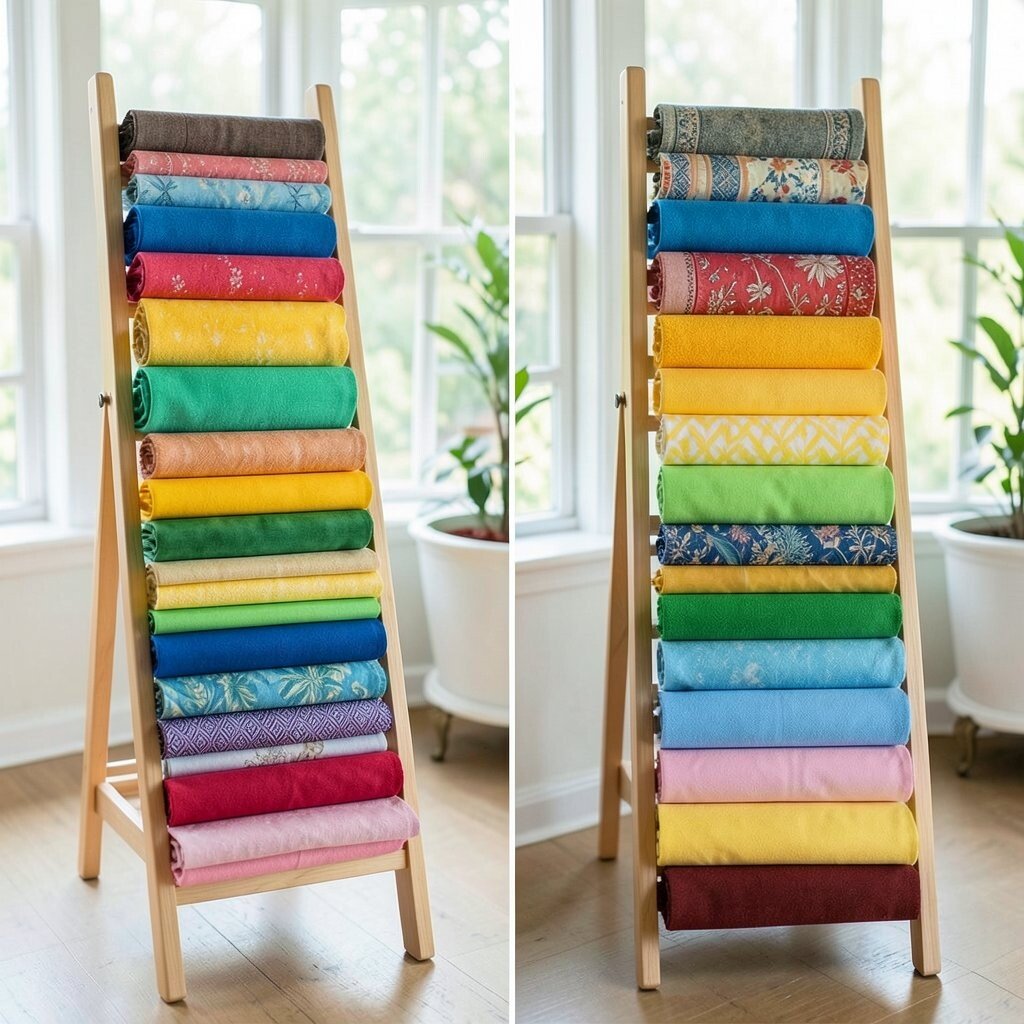
Before, all napkins look the same on the table, so the colors do not guide the eye. After, arrange them in a rainbow ladder by stacking or fanning them in color order from light to deep.
This benefits both looks and function, because you can mix matching napkin colors with different place settings. To keep it from feeling chaotic, keep one fold style consistent, even while the colors change.
Try personalization by using your party theme colors rather than a full rainbow, like blush, cream, and sage. For current trends, color-blocking is still popular, especially when napkins look like part of the art on the table.
If cost is a concern, buy one set of mixed-color napkins and rotate them through seasonal gatherings.
9. “Before and After” Contrast: Neutral Base with One Statement Pattern
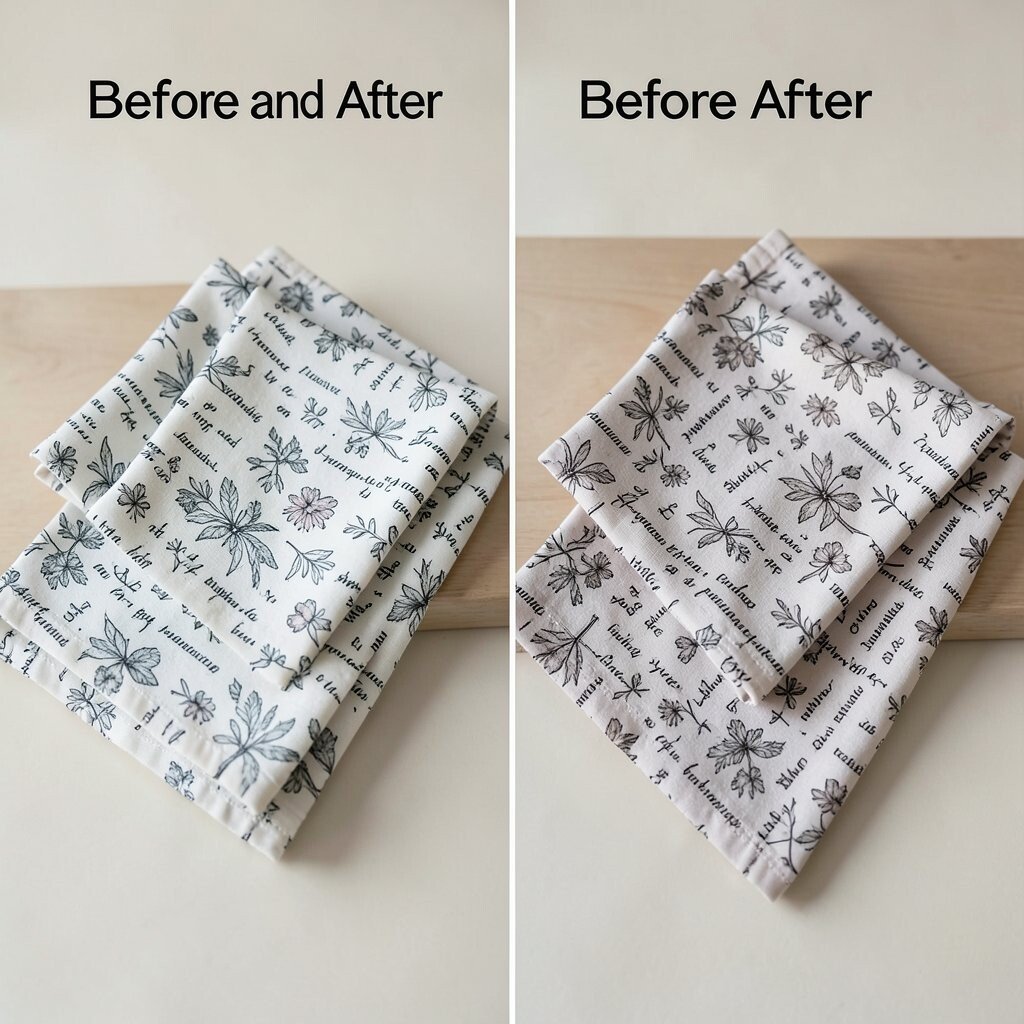
In the before setup, everything is patterned, which can make the table feel busy and messy. In the after setup, choose a neutral napkin as the base, then add just one statement pattern where it matters most.
This creates a clean visual hierarchy, so the meal and table decor look calm. Keep the statement pattern at the focal point, like the center of a plate stand or the top of your main napkin display.
Personalization becomes simple when you can swap that statement pattern based on the season. For cost considerations, you can buy a smaller amount of specialty patterned napkins and mix them with your existing neutrals.
10. Napkin “Bundle” Tied with Twine and Tag
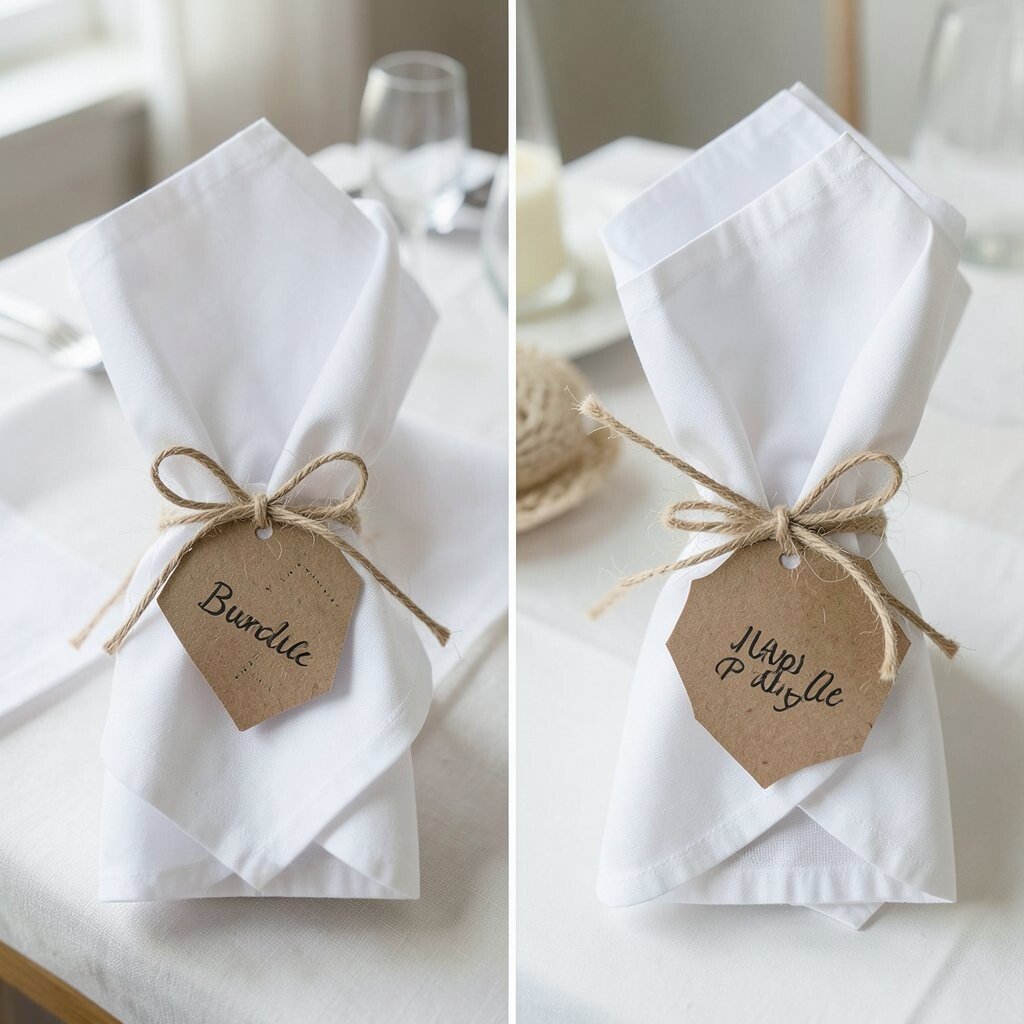
Before, napkins might sit in a basket with no structure, so they look like supplies. After, bundle them in small stacks and tie each bundle with twine, then tuck in a tiny tag for character.
This feels warm and handmade, and it gives guests a clear, easy grab point. Use a tag that matches your event, like a simple circle cut from kraft paper with a stamp or marker drawing.
To personalize, write short messages that fit the vibe, such as a seasonal word or a fun date detail. If cost is a concern, reuse tags from gifts and add them as a cost-friendly finishing touch.
11. Folded Napkins Inside a Vintage Teapot Display
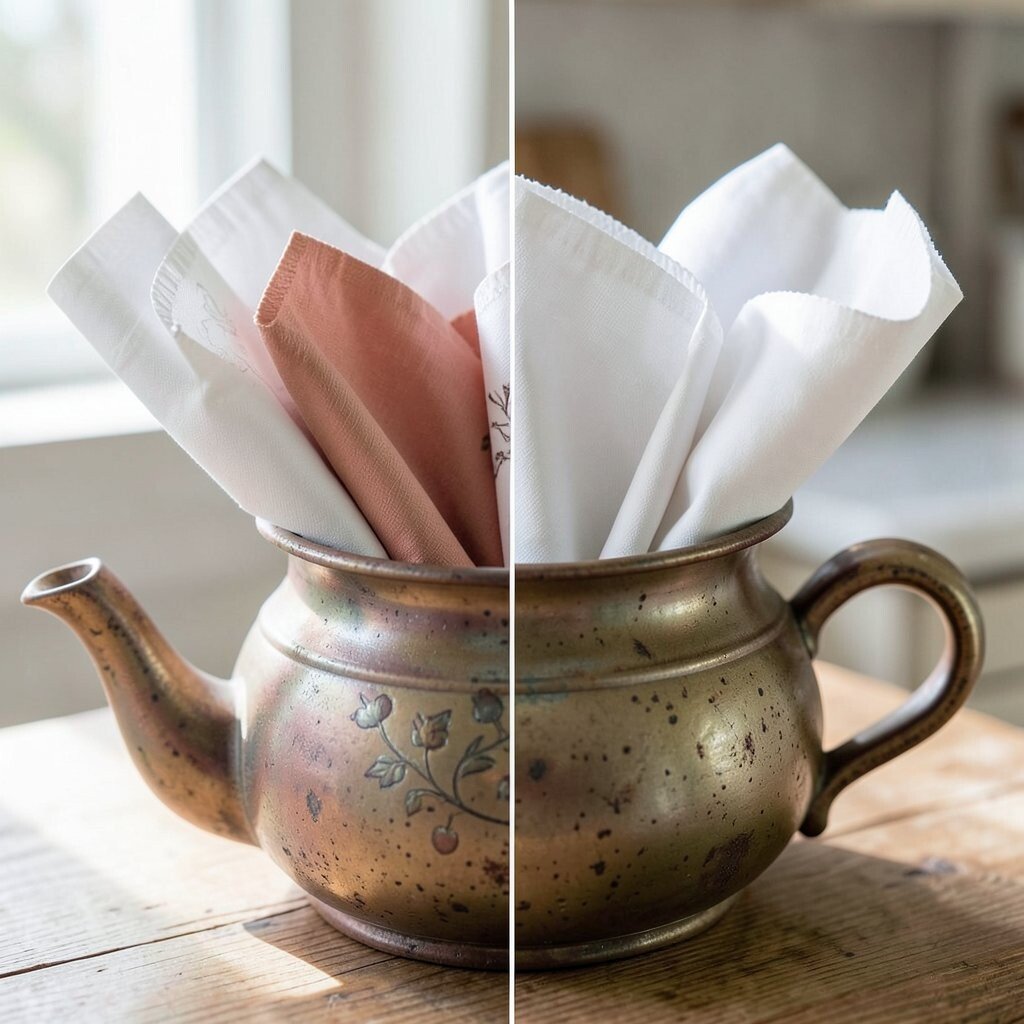
Before, the dining area might look polished but the napkins disappear into storage. After, place folded napkins in a vintage teapot or large pitcher so the display looks quirky and charming.
This is unique because it turns a serving item into a decor moment, and it also keeps napkins contained in one spot. Make the fold easy by using a consistent width, so napkins slip in and out without struggling.
For personalization, coordinate the napkins with the teapot color and add a matching spoon resting across the lid. If cost is a concern, use any clean thrifted container you already own, or even a large ceramic bowl.
Current trends like “found-object” styling make this approach feel modern, not old-fashioned.
12. Napkin Fan Centerpiece with a Faux Candle Core
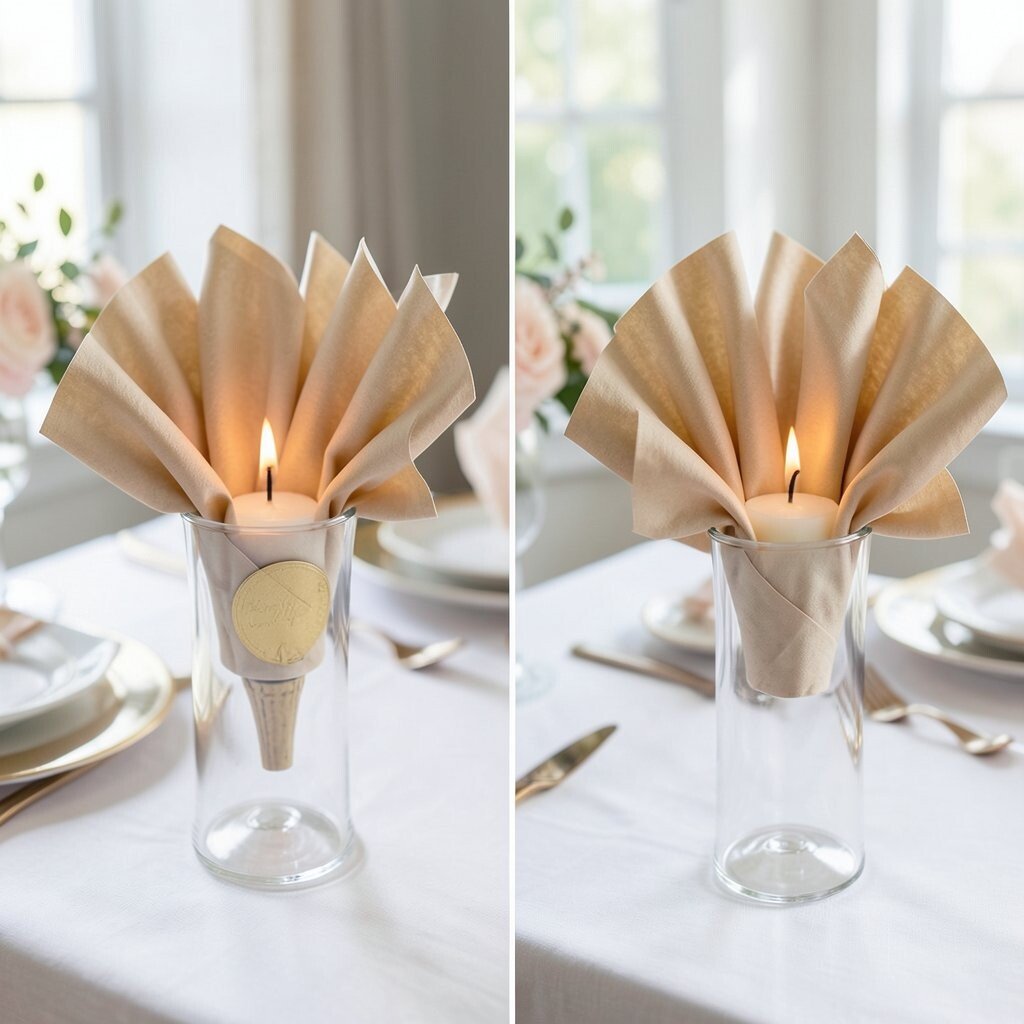
Before, the center of your table might feel incomplete because it has candles but no fabric accents. After, create a napkin fan around a candle core or a decorative jar so the center looks soft and festive.
This benefits the whole table by adding texture and raising visual height without clutter. Choose napkins with a pattern that reads clearly from a distance, since guests will see them at a glance.
Personalization is easy when you match the napkin tones to your candle holders and florals. For cost considerations, you can use battery candles and a basic jar as a core, then focus your spending on napkin quality.
13. Simple Tray with a Rolled Napkin “Ribbon” Accent
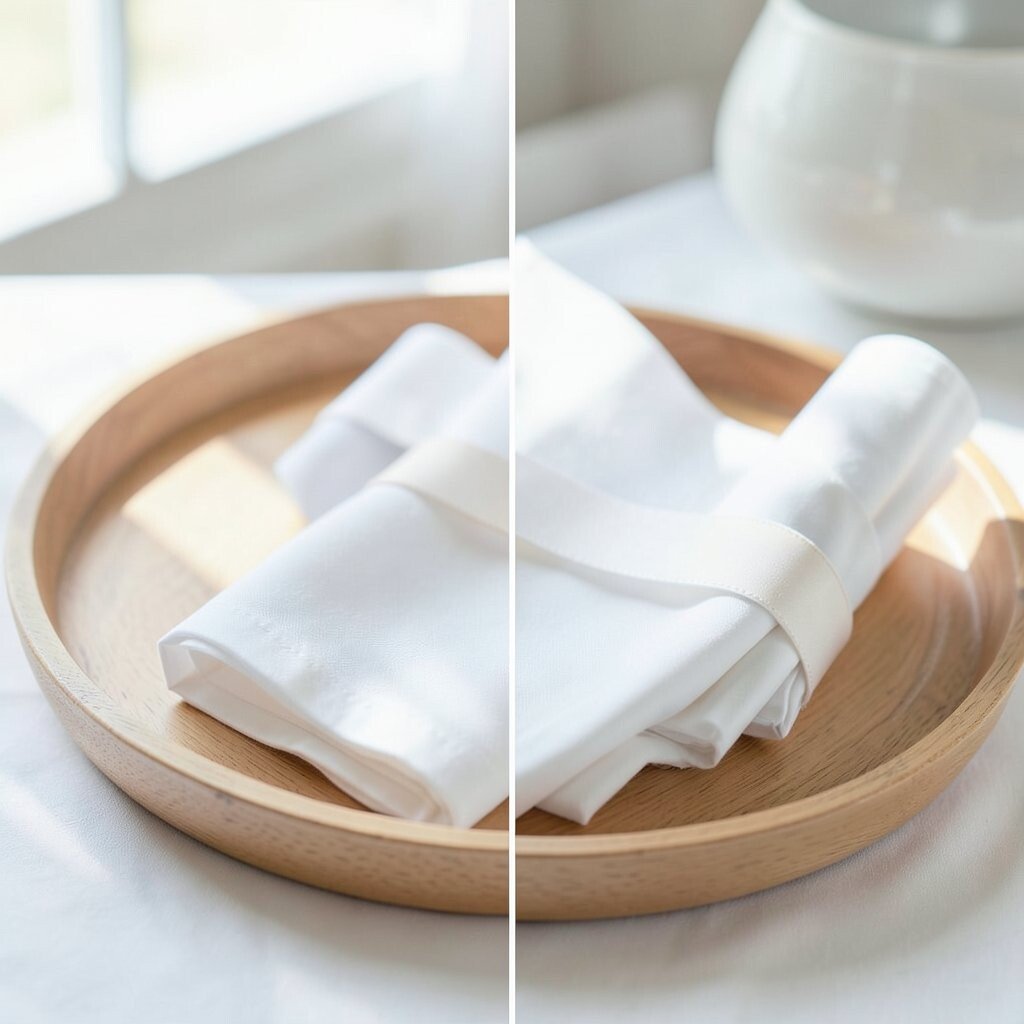
Before, you might use a tray but line it with napkins in a plain stack that looks flat. After, roll two or three napkins and arrange them like a ribbon on the tray, then place a small decorative item beside them.
This creates a cheerful, styled moment without needing complicated folds. Keep the rolled napkins consistent in tightness so they look neat, and use a tray liner for easy cleaning.
To personalize, add a small seasonal fruit bowl look with faux lemons or a tiny cluster of dried herbs. For practical tips, store a spare roll-ready bundle in the kitchen so you can refill quickly if guests use them early.
14. Napkin Display Cards in a Side Stand for Self-Serve
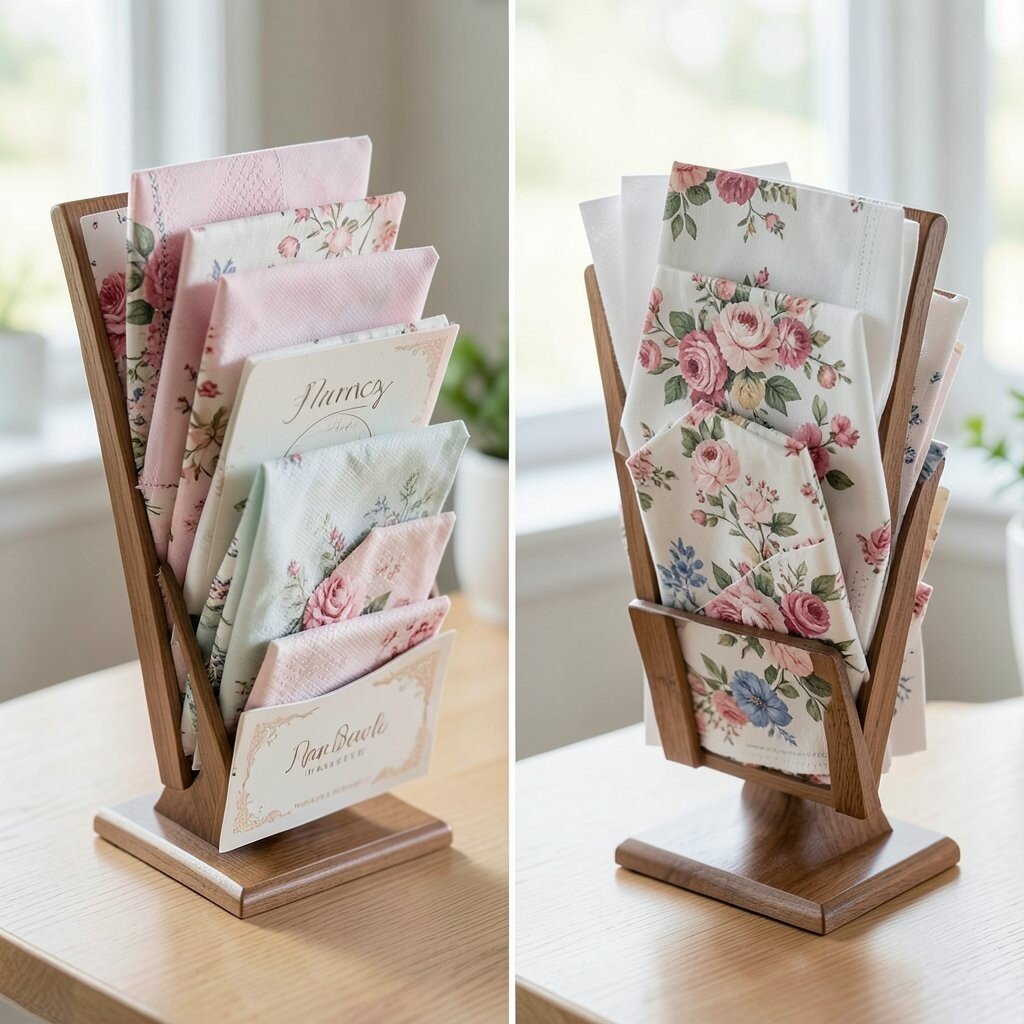
Before, self-serve napkins might be mixed in a pile that guests rummage through. After, place folded napkins in a small stand with display cards that gently point the way to the right napkin style.
This helps guests serve themselves confidently, which is a big benefit when you are hosting. Choose cards that match your table theme, then keep the wording minimal so the display feels airy.
For personalization, add themed symbols like stars, hearts, or tiny leaf icons instead of long text. If cost is a concern, print cards on cardstock you already have and trim with a paper cutter.
15. Before and After with Texture: Quilted Napkins and Layered Folds
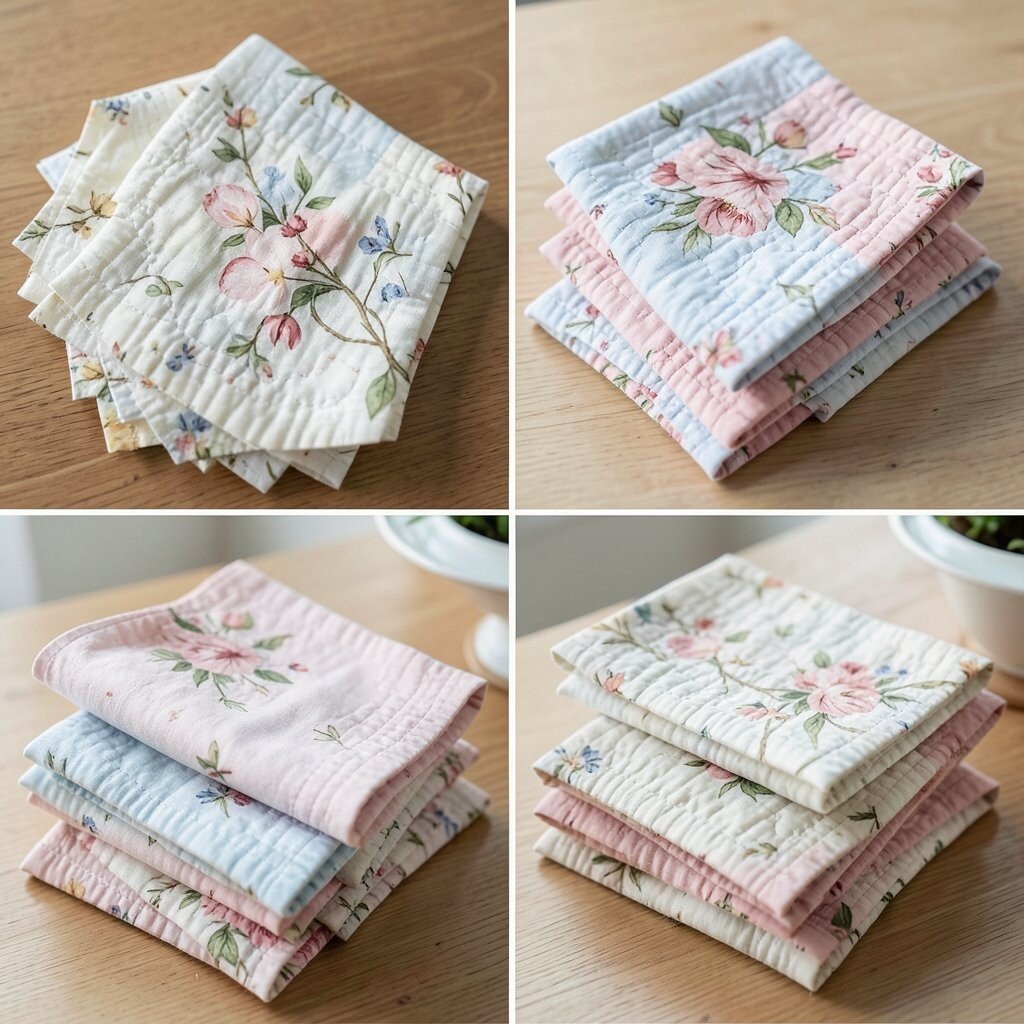
Before, your display might use only smooth napkins, so everything looks flat under warm lighting. After, add texture by using quilted or heavily woven napkins, then layer folds so the fabric shows depth.
The visual benefit is rich and cozy, especially for fall and winter tables. Use layered folds like slight overlaps, then place the display in a spot where overhead lighting can highlight the texture.
Personalization happens naturally because woven fabrics come in many colors and patterns. For cost considerations, you can use one set of textured napkins as the “statement” while keeping the rest simpler for balance.
Current trends favor tactility, so this approach feels fresh even with everyday settings.
16. “One-Fold Spotlight” in a Napkin Ring Garland
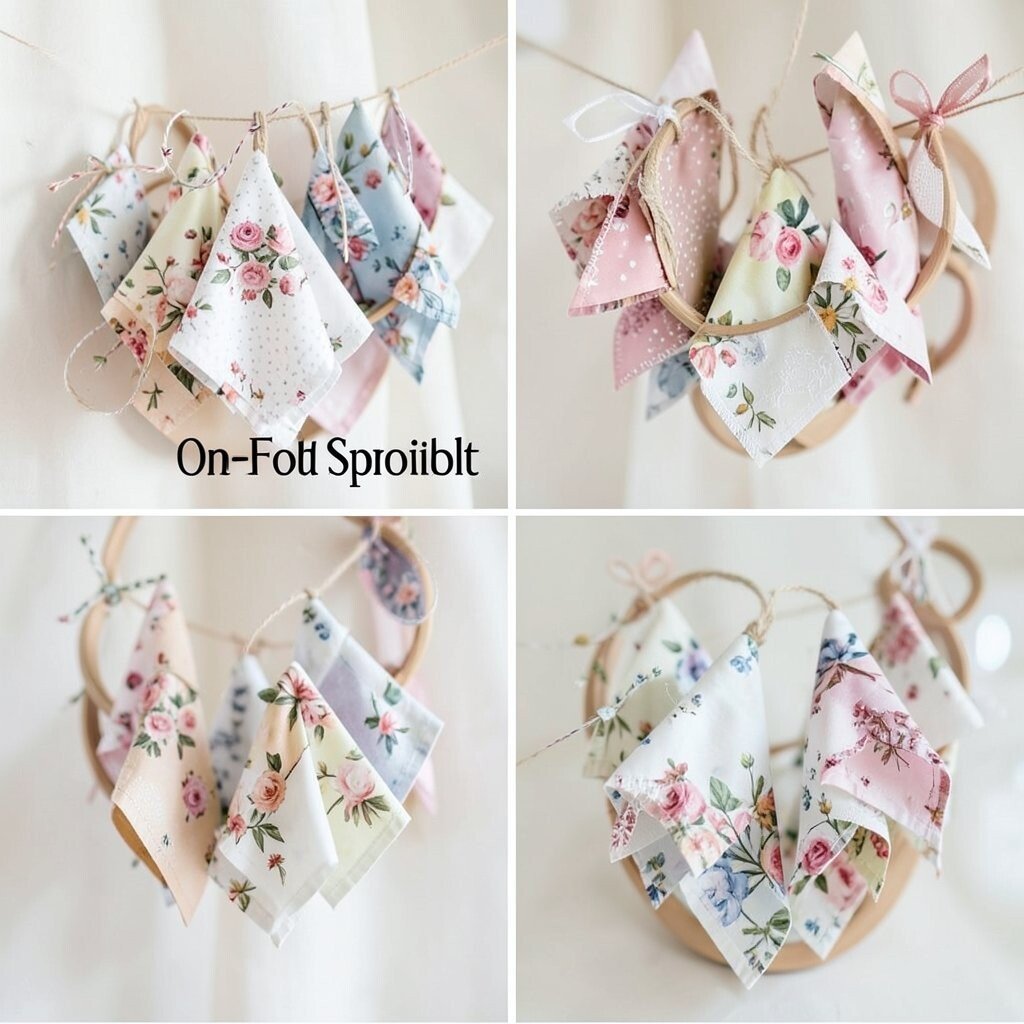
Before, napkins might be spread across multiple places, making the look feel scattered. After, create a garland of napkin rings in a line, then hang evenly folded napkins so one fold style becomes the spotlight.
This gives a unified theme from one view angle to the next, which is a real benefit for photos and for guests moving around. Use rings of one size so napkins slide on smoothly and stay secure.
To personalize, choose napkin rings that match your event colors and tuck in a small sparkle element, like a tiny bead at the end of each segment. If cost is a concern, reuse existing rings from past seasons and refresh with coordinating paint or ribbon.
For a modern finish, keep the garland line straight and simple, then let the napkin prints do the talking.