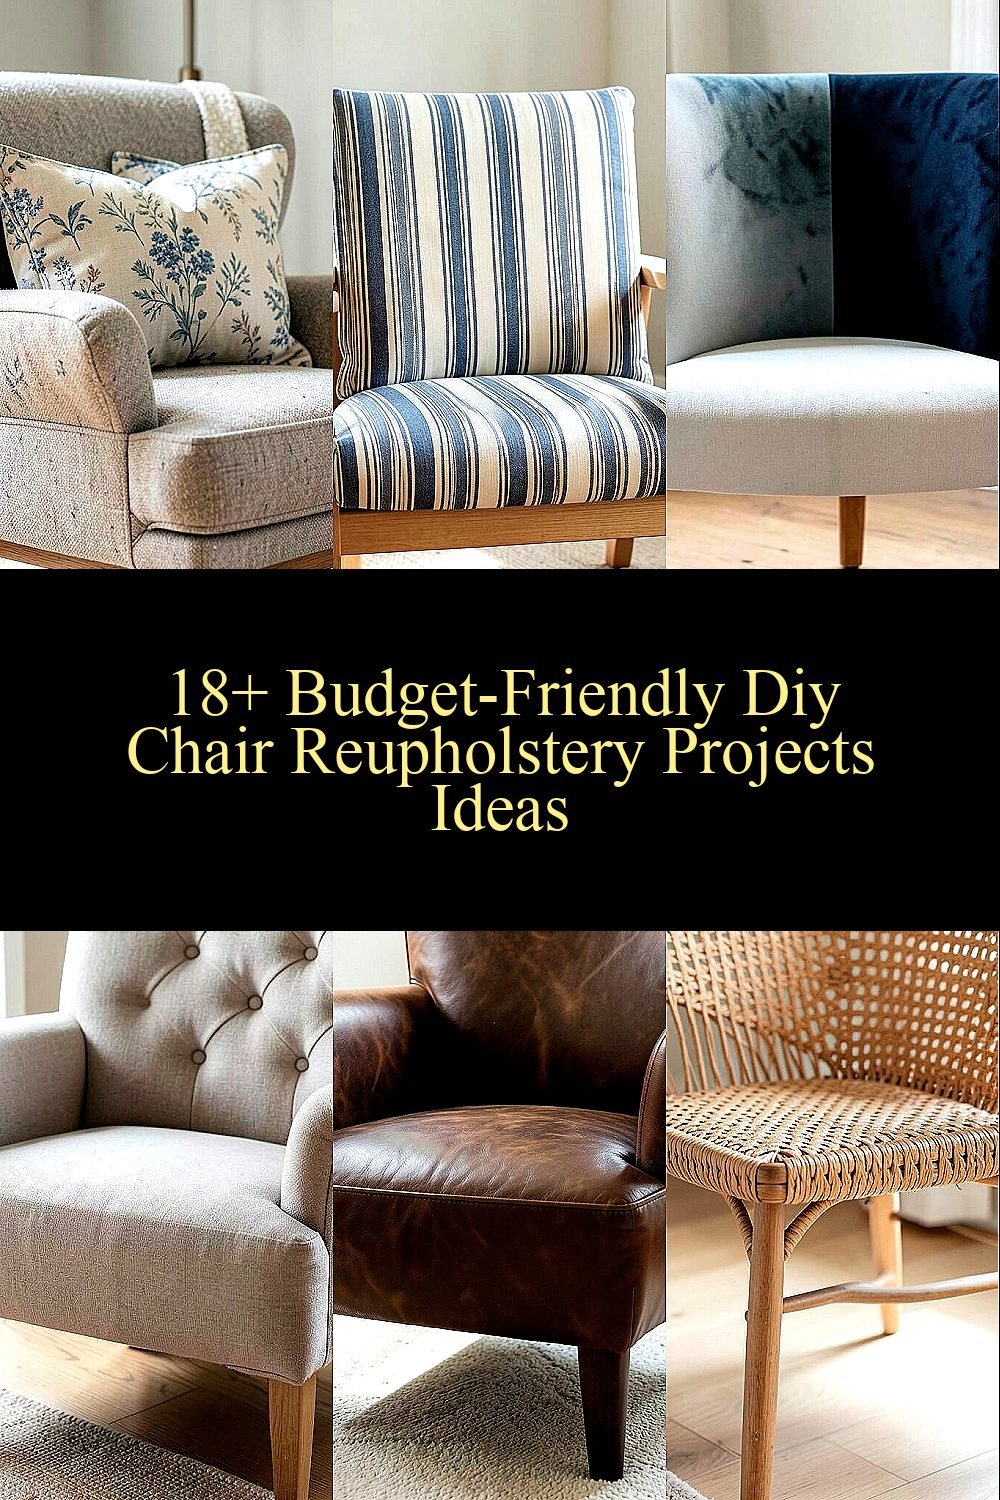
Old chairs can look sad, but they still have good bones. With fresh fabric and a little patience, you can make them feel brand new.
1. Sew-Your-Own Pillow-Back Chair Cover
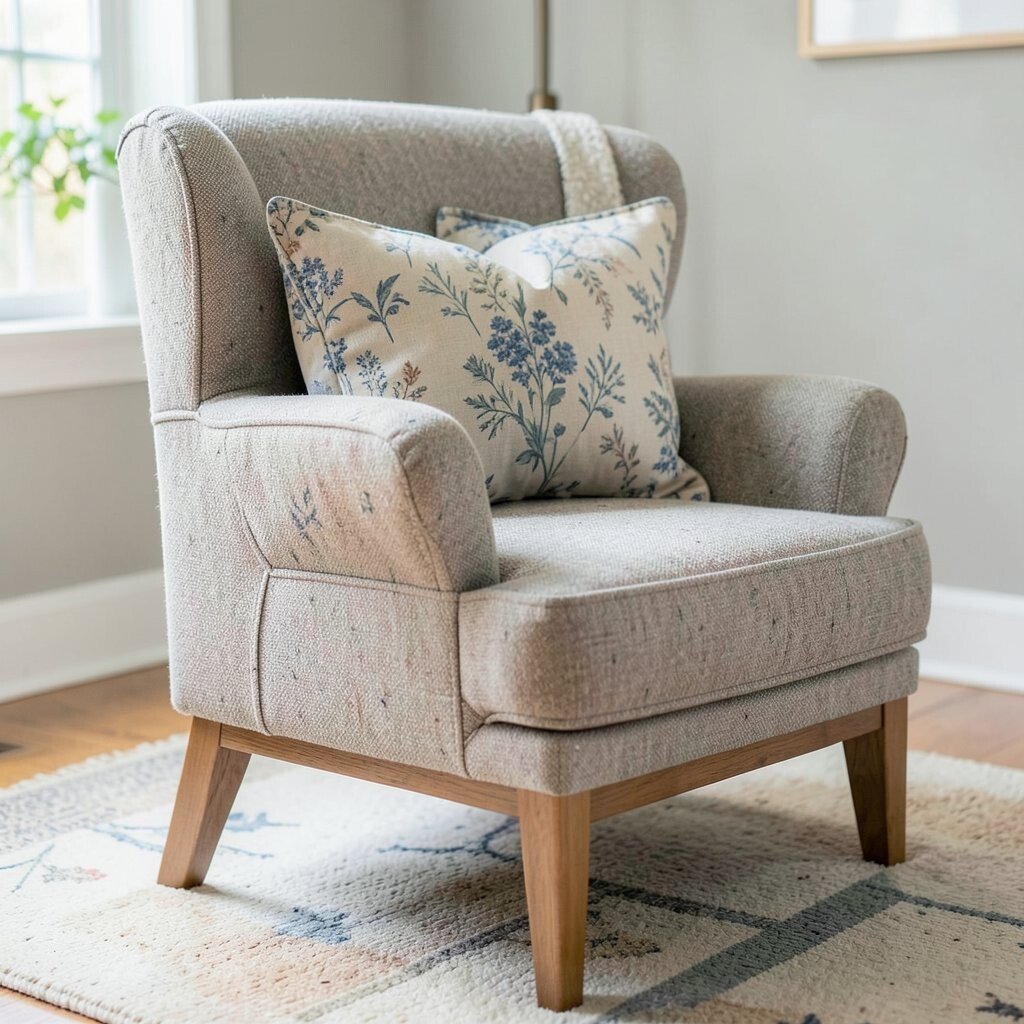
Imagine sitting in a chair that looks soft and cozy from every angle. You can wrap a chair back with a neat pillow-style cover using basic sewing skills and budget-friendly fabric.
Start by measuring the chair back so the cover fits snugly without bunching. Choose a durable cotton canvas or an affordable home decor fabric for everyday use. Finish by trimming the seams and adding ties or hidden fasteners so removal is easier later.
2. No-Sew Ticking Stripe Seat Refresh
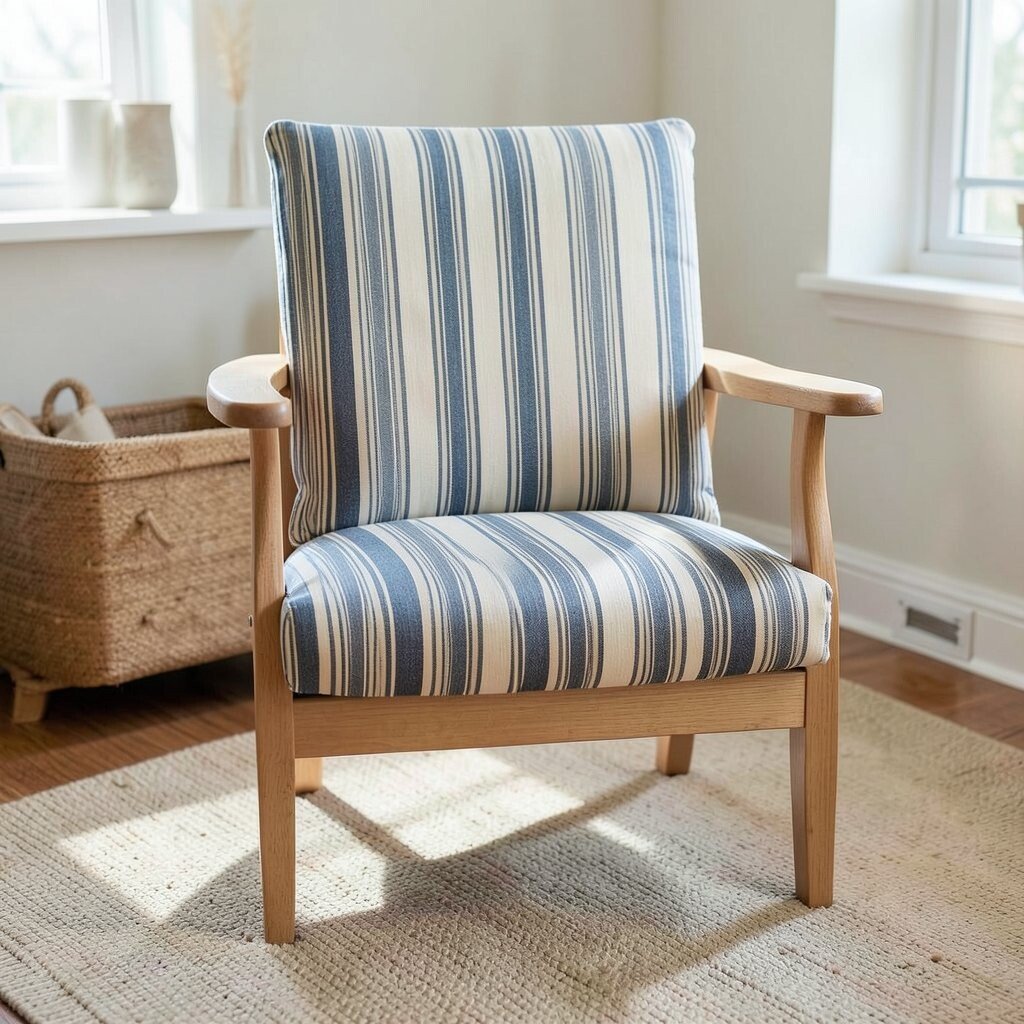
A chair seat can become a clean, confident spot with bold stripes. You can get that look fast using iron-on hem tape or fabric adhesive made for upholstery.
Pick ticking-inspired stripes in cream and blue, then cut a seat-sized panel with a little extra for folding. Press the edges under, apply tape, and smooth everything tight so it looks straight. For extra charm, line the underside with a thrifted scrap so the chair looks good even when you flip it over.
To keep the seat from sliding, add non-slip grip material under the fabric. If you want a trendier feel, match the stripes to your throw pillows so the room looks styled on purpose. This project often costs less than buying a ready-made slipcover, especially when you pull fabric from clearance racks.
3. Velvet Scrap Accent on a Plain Chair Back

Picture a simple chair back wearing a rich splash of velvet in one corner. A small scrap can add drama without the price of a full yardage.
Choose a velvet, velour, or even a faux-suede fabric from a remnant pile, then trace the shape you want. Try a half-moon, a curved pocket panel, or a top-center accent that catches the light. Attach it with a staple gun for sturdy spots or fabric glue for delicate edges.
Use a contrasting thread color so the seams look intentional and stylish. This method feels unique because you’re not covering everything, just adding personality. It’s also practical since you’re using very little material while still getting a high-impact look.
4. Gallery-Style Tufted Seat with Button Buttons
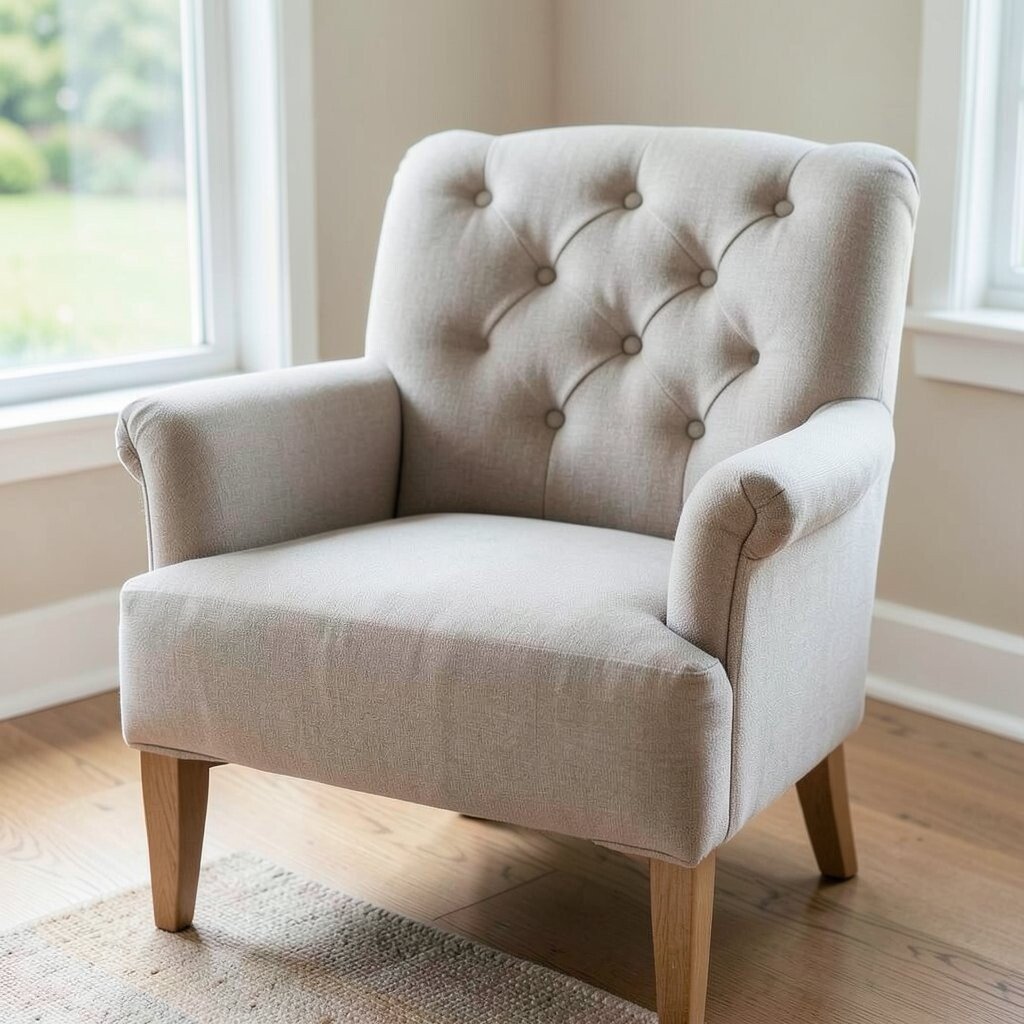
A tufted seat makes even a basic chair look like it belongs in a gallery. The soft dimples feel fancy, and the texture looks great in photos.
Begin by marking the seat foam where the buttons will sit, then cut small holes or channels for the tufting. Wrap the cushion in foam batting, pull fabric tight, and secure staples around the perimeter. Add buttons using a kit or sewing them through the tuft points so the fabric stays pulled and neat.
5. Leather-Look Wrap Using Budget Vinyl Panels
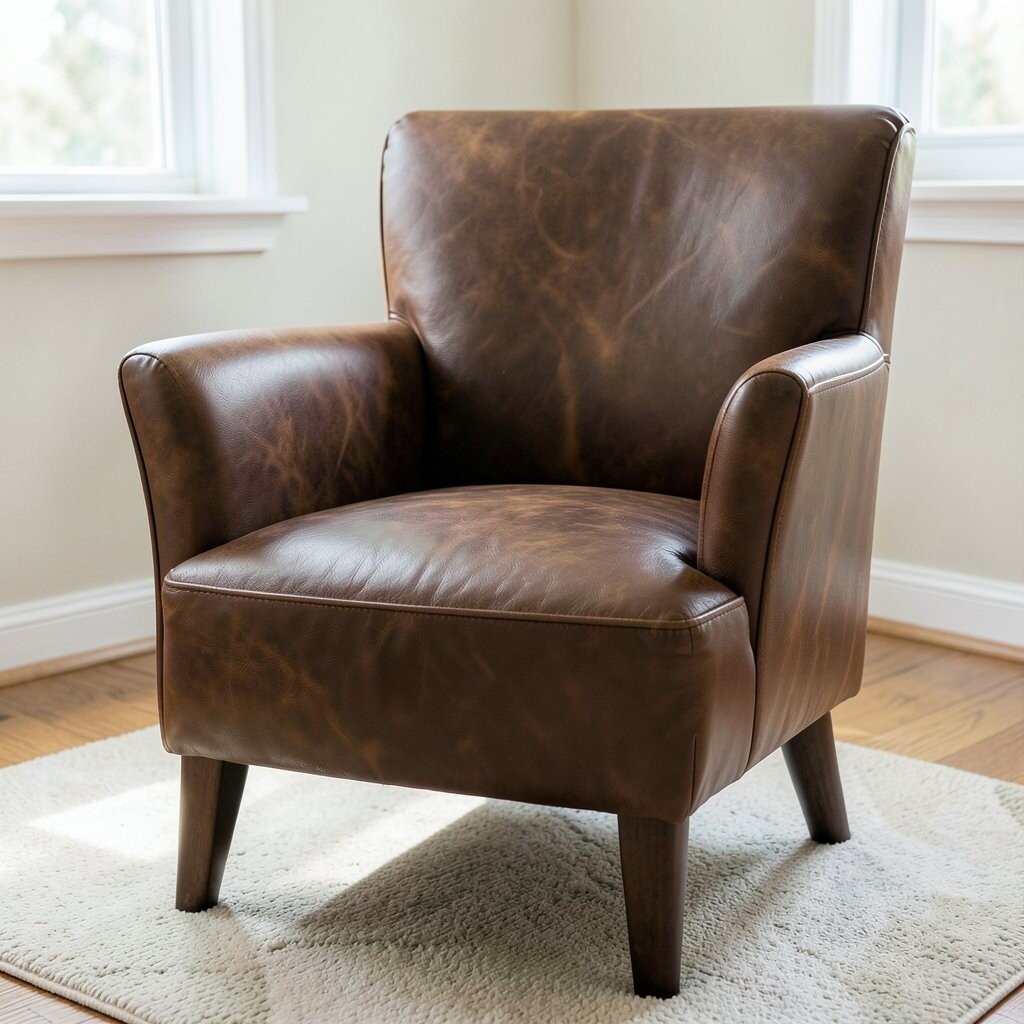
You can get the sleek look of leather without the heavy cost. A leather-look vinyl wrap makes a chair feel modern and easy to wipe clean.
Measure the seat and back, then cut panels so seams land where they won’t rub your body. Secure the vinyl with staples, working slowly to keep tension even. For edges, use a thin trim strip so corners look crisp and finished.
Try a matte black or warm cognac tone that matches today’s popular neutral palettes. If your chair will get daily use, choose a thicker vinyl and avoid overly stretchy types. This project is also practical because vinyl handles spills better than many woven fabrics.
6. Woven Basket Weave Seat from Upholstery Remnants

There’s something satisfying about a chair seat that looks like woven texture. With upholstery remnants, you can create a basket-weave pattern that feels warm and handmade.
Select several coordinating remnant strips in similar colors so they blend naturally. Cut them into equal widths, then weave over and under a base panel or a thin batting layer. When you’re happy with the pattern, tack down the edges and staple the whole assembly to the seat frame.
7. Pattern-Matched Checker Seat for a Playful Pop

A checker pattern can turn a plain chair into a lively centerpiece. The best part is that you can match the pattern exactly if you take a little time to align it.
Pick a bold black and white, or choose muted pastels for a softer vibe. Cut your fabric with the seam lines in mind, then use chalk to mark where squares should land. Pull fabric evenly and staple from the center outward so the pattern stays straight and balanced.
To keep it looking polished, hide staples under a fabric trim strip along the edges. If you like current trends, pair the seat with simple wooden legs and minimal decor so the pattern stands out. Budget-wise, you only need enough fabric for the seat and a bit of trimming, making remnant shopping extra valuable.
8. Painted Furniture Frame with Fabric Caps
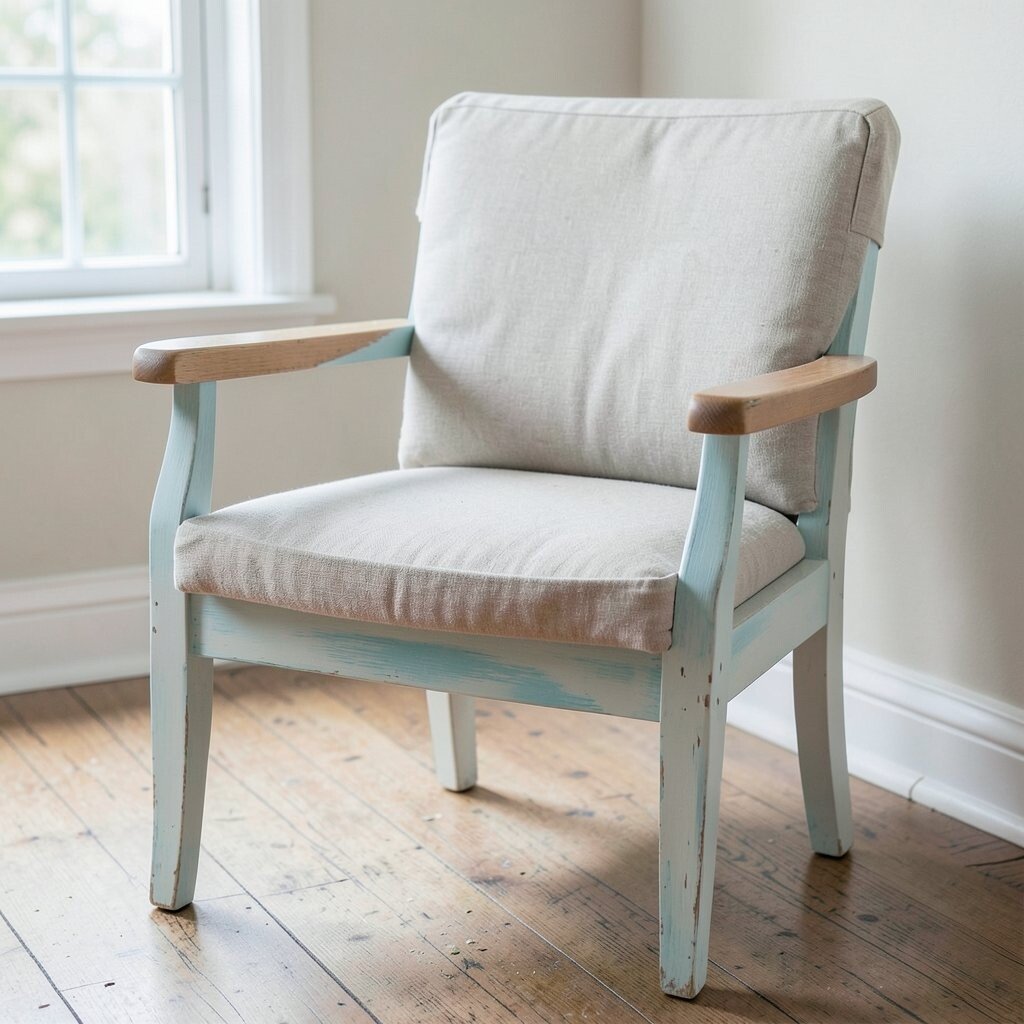
Your chair can look styled in two steps: fresh paint and small fabric touches. Think of a bright frame with neat fabric “caps” on the seat corners.
Sand the chair lightly, prime, and paint with a color that matches your room, like sage, navy, or sunny yellow. Then cut fabric squares or circles for the seat top corners, securing them with staples or strong fabric glue. Add a small border trim around each cap so it looks intentional, not accidental.
9. Micro-Striped Runner Fabric on a Slat-Back Chair
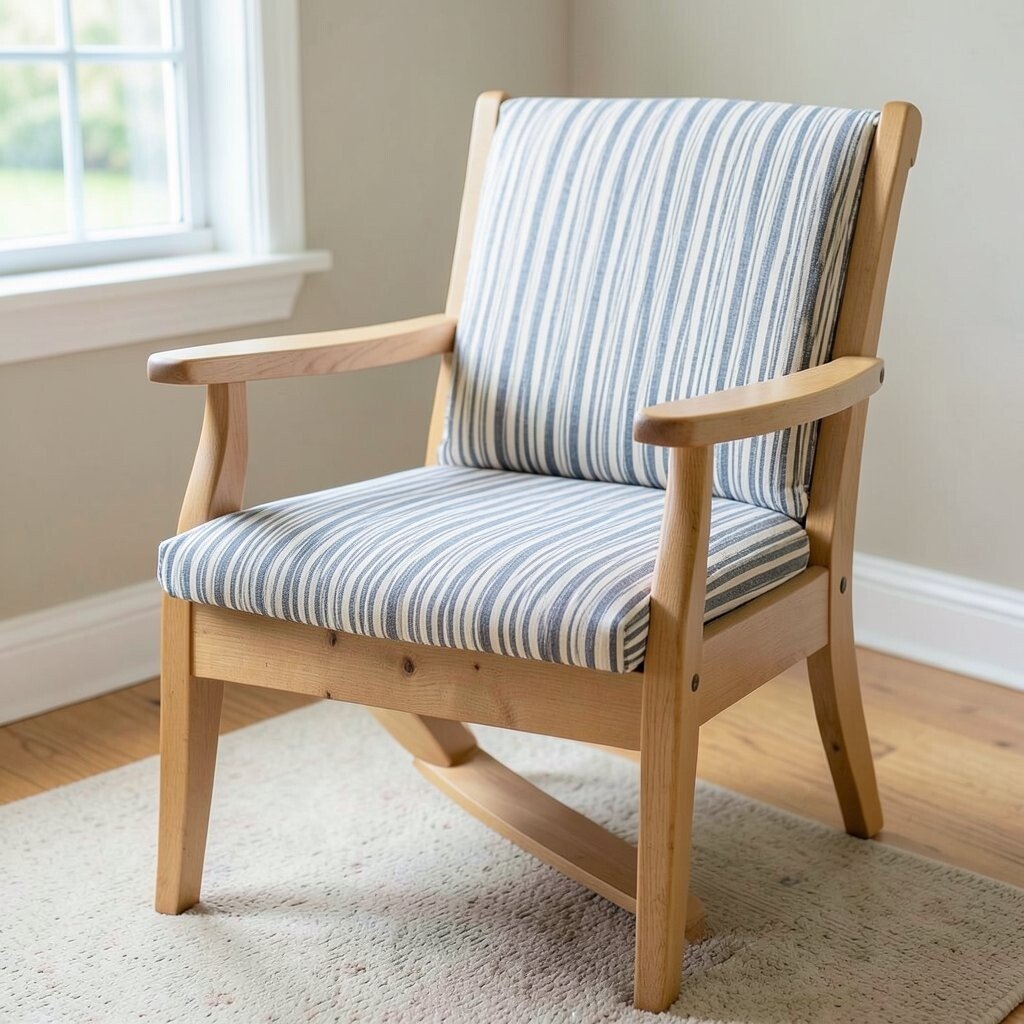
A slat-back chair begs for a fabric treatment that follows the lines. Micro-striped runner fabric can wrap the seat while a simple wrap at the slats adds rhythm.
Choose a runner or curtain panel that already has straight stripes. Cut a seat panel, wrap and staple firmly, then trim the edges for a smooth finish. For the slats, cut narrow fabric strips, wrap them around each slat, and secure behind so the front stays clean.
This look feels unique because the stripes echo the chair’s shape instead of fighting it. Keep the strips even by using a template made from cardboard scrap. Since you’re using fabric that may already be measured for you, costs can stay low and the project feels efficient.
10. Upholstery-Grade Scrap Patchwork Seat
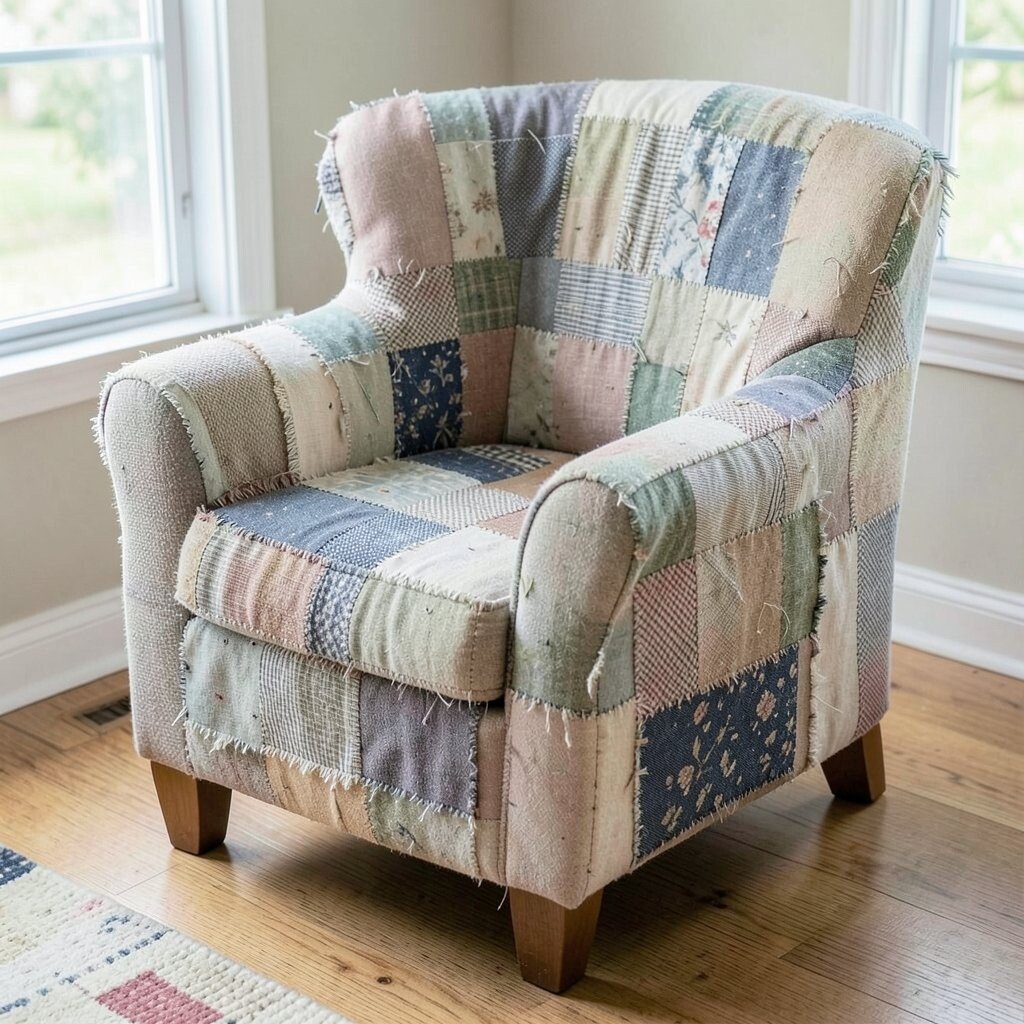
A patchwork seat feels like wearing your favorite old jeans again, but for furniture. You can mix scraps into a confident, colorful design that looks collected over time.
Lay your fabric scraps out first so you can balance dark and light pieces. Cut them into consistent shapes, then arrange them into a seat-sized top. Stitch where needed, or use fusible tape for small patches, then wrap and staple onto the cushion.
For a modern trend, aim for a limited palette like warm neutrals with one bold accent color. Add quilting stitching lines if your fabric allows it, which helps hold the patchwork in place. This is budget-friendly because scraps often cost much less than full upholstery fabric, and you get a one-of-a-kind chair.
11. Reupholster with Outdoor Fabric for Everyday Easy Care
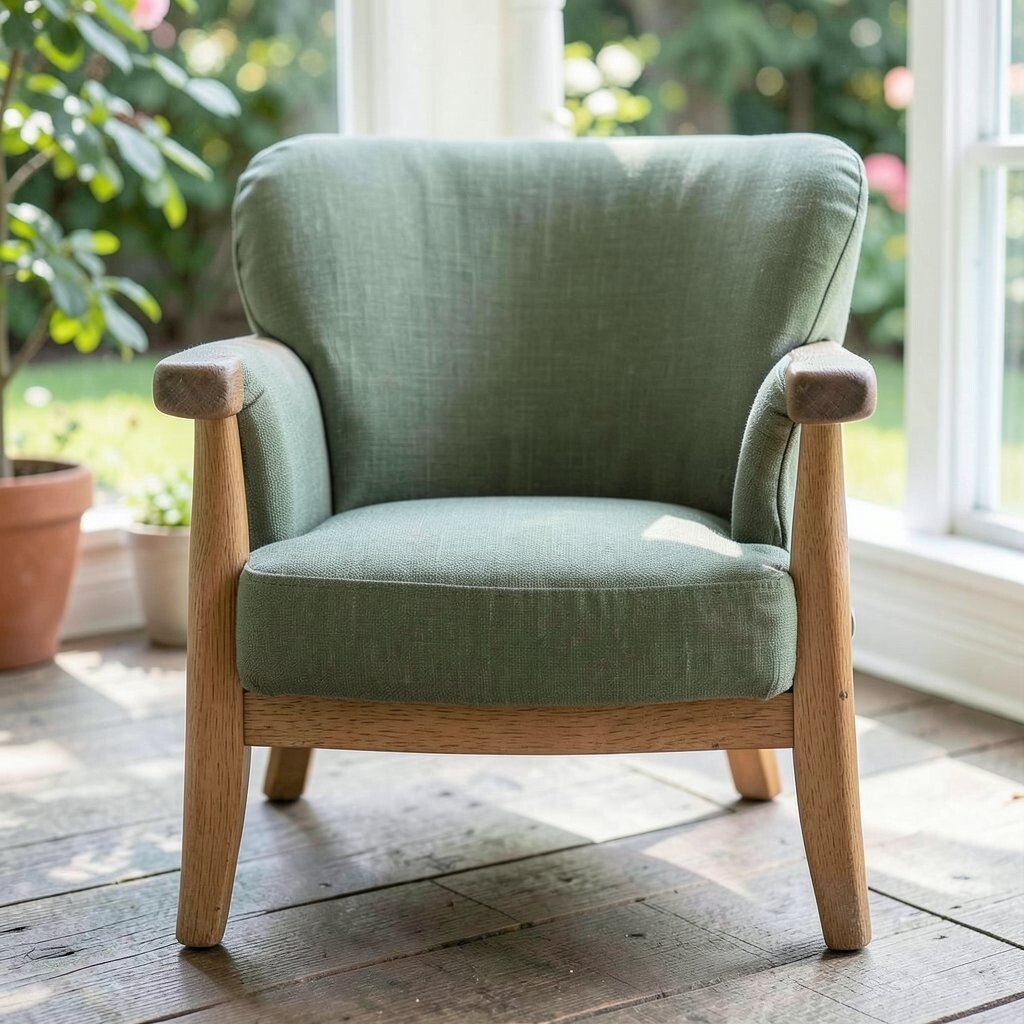
If your chair gets daily use, outdoor fabric can be a game changer. It often resists stains and fading, so the chair stays attractive longer.
Pick an outdoor print that matches your home style, like geometric patterns or solid textures. Wrap the seat cushion tightly with batting for comfort, then cover with the outdoor fabric and staple cleanly. Finish by trimming the corners so everything sits flat and smooth.
This approach is practical because it helps your upholstery look fresh even with spills or pet traffic. It also feels unique when you choose cheerful colors that people usually save for patio furniture. Budget-wise, outdoor fabric can be priced well during sales, and it saves you from frequent replacements.
12. Fringe Edge Upgrade with Drop Cloth and Trim
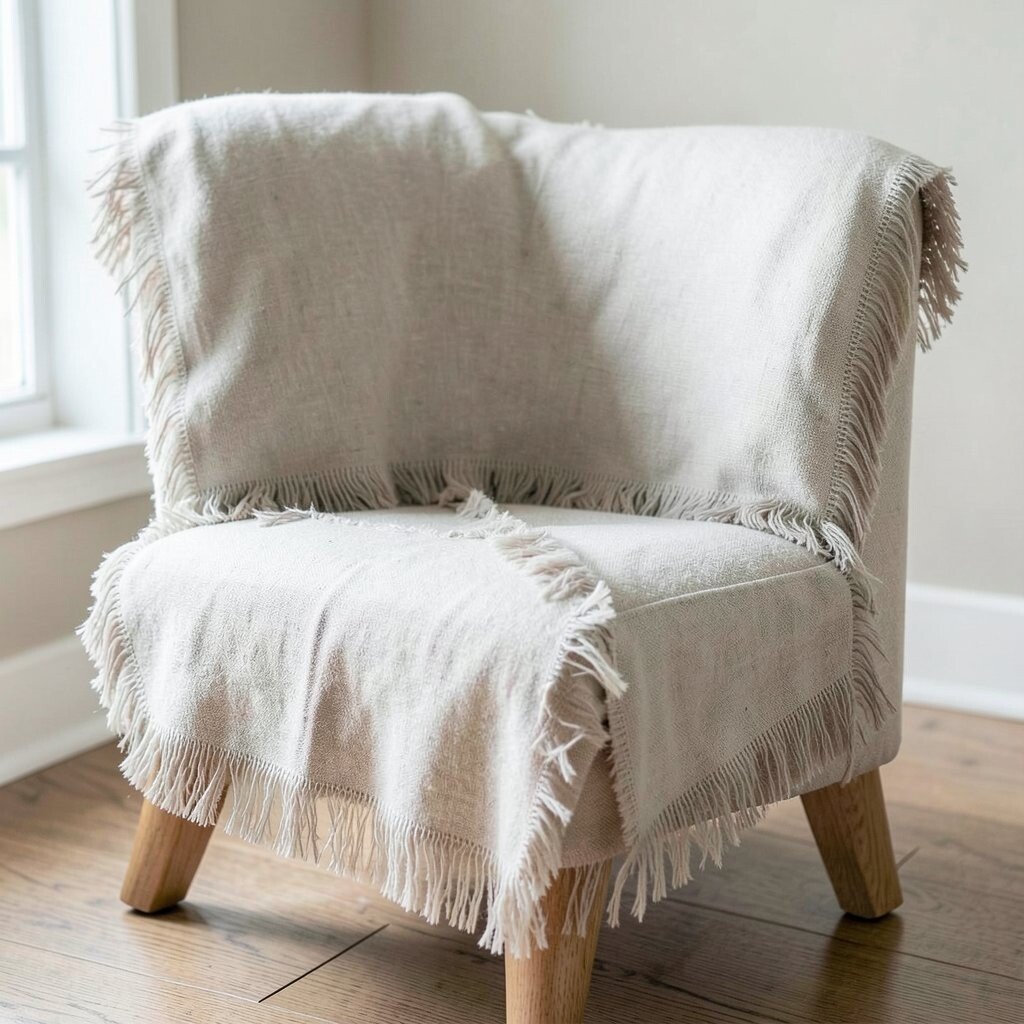
A fringe edge can make a simple chair feel artsy and styled. Using a textured drop cloth for the base gives the fringe a bold, rustic frame.
Wash and dry the drop cloth if it needs shrinkage, then cut a seat-sized cover. Sew or staple the cover tightly, and add fringe trim along the front edge for a dramatic finish. Keep the fringe length consistent by measuring from the top fabric edge before you attach it.
If you want a current look, choose neutral drop cloth tones and pair them with a fringe in black, cream, or natural jute. This project is unique because it adds movement without covering the entire chair in complex patterns. It’s also budget-smart since trim can be found in craft stores and you’ll only need a short amount.
13. Contrast Piping Seat for a Clean, Tailored Look
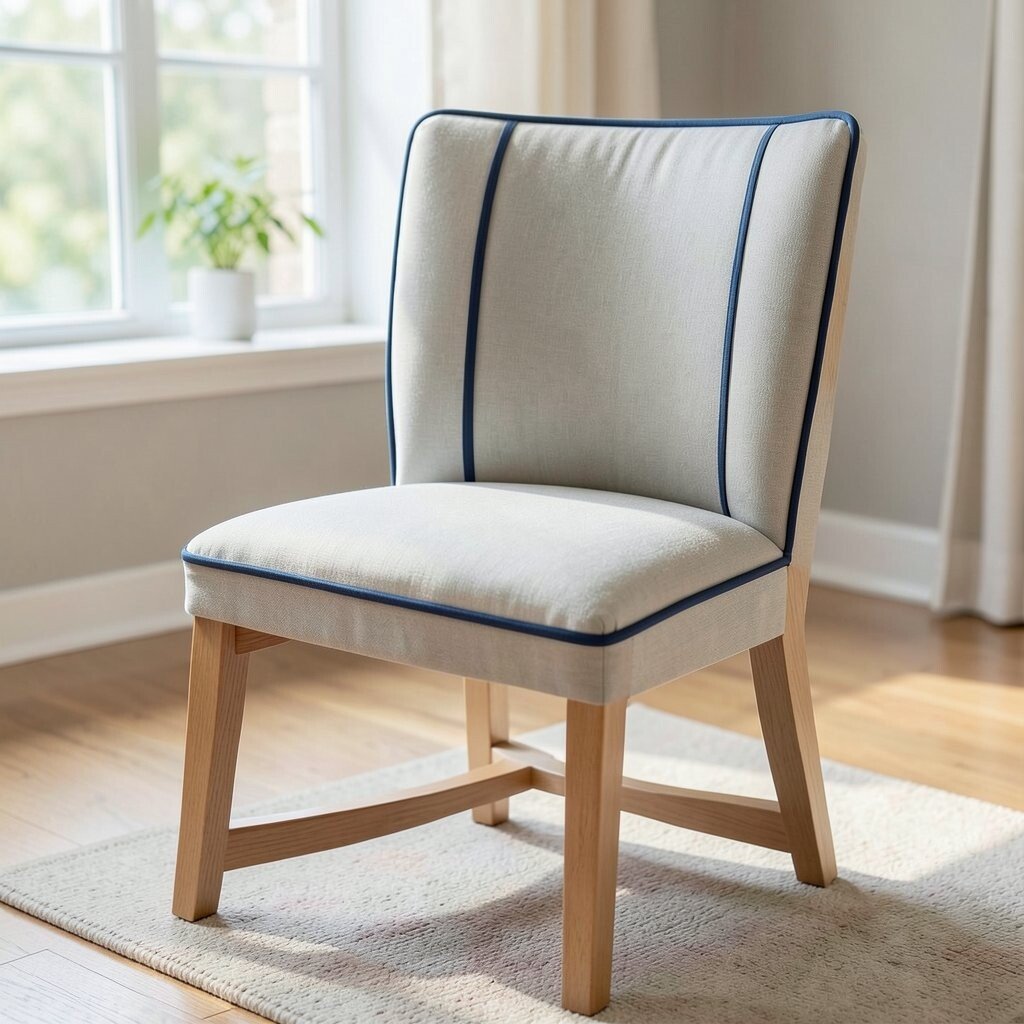
Piping is like the finishing line on a well-tailored outfit. Even a basic seat cover can look expensive when you add a thin contrast edge.
Choose a solid fabric as your main cover and a contrasting color for the piping. You can buy piping cord or make simple piping by wrapping cord with fabric strips. Attach piping while sewing seams if you’re making a new cover, or staple carefully along the edges if you’re rewrapping a cushion.
14. Thrifted Scarf Upholstery Panel for Instant Charm
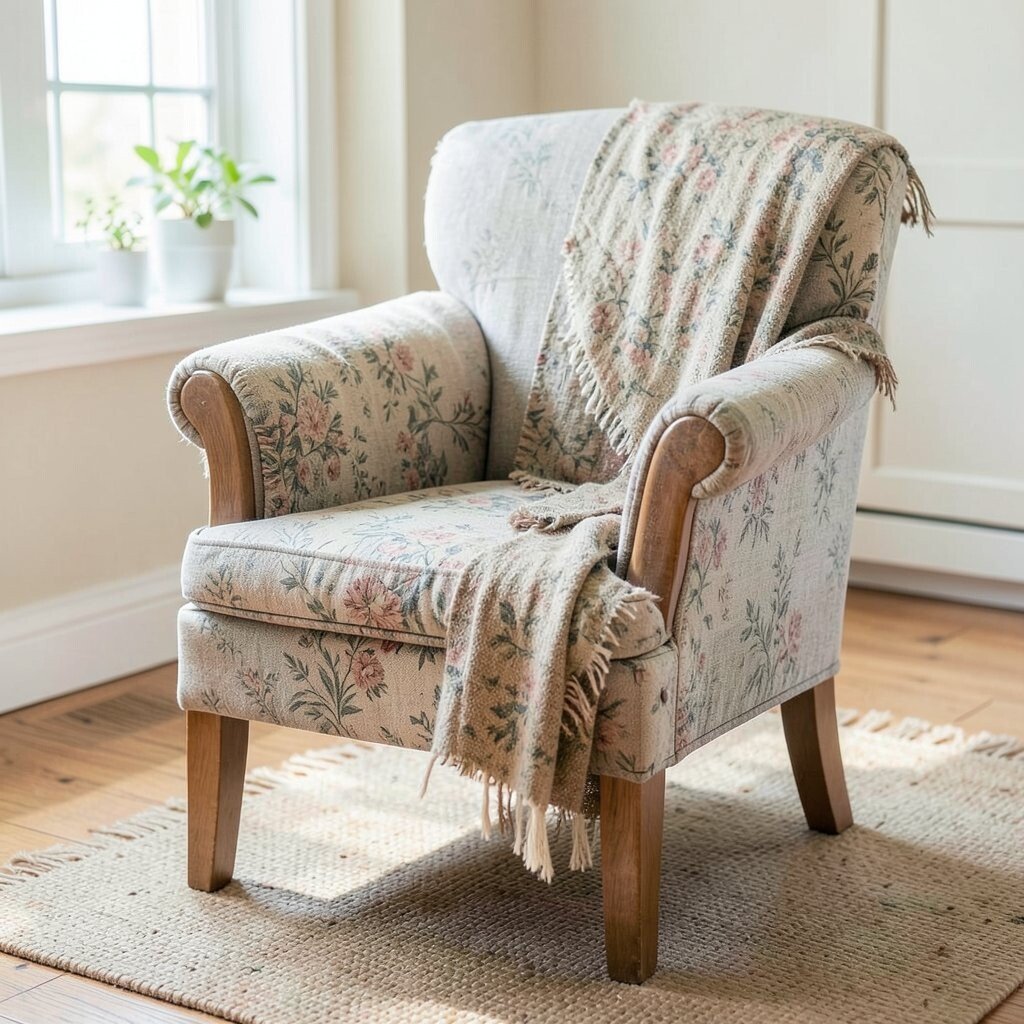
A silk scarf or patterned headscarf can turn your chair into a wearable piece of art. The fabric feels special, and the chair gets a story you can see every day.
Pick a scarf with a bold print that includes colors you already use in your room. Cut a panel for the seat top, then back it with thin padding so it doesn’t wrinkle. Staple the edges down smoothly, and tuck any extra fabric under the seat frame.
This is unique because no two scarves are alike, so the final chair will be one of a kind. It’s practical too since scarves are often lightweight, making them easy to handle and trim. For cost considerations, shop clearance racks or thrift stores and you’ll usually get great quality for less.
15. Reupholster with Quilted Layers for Extra Comfort
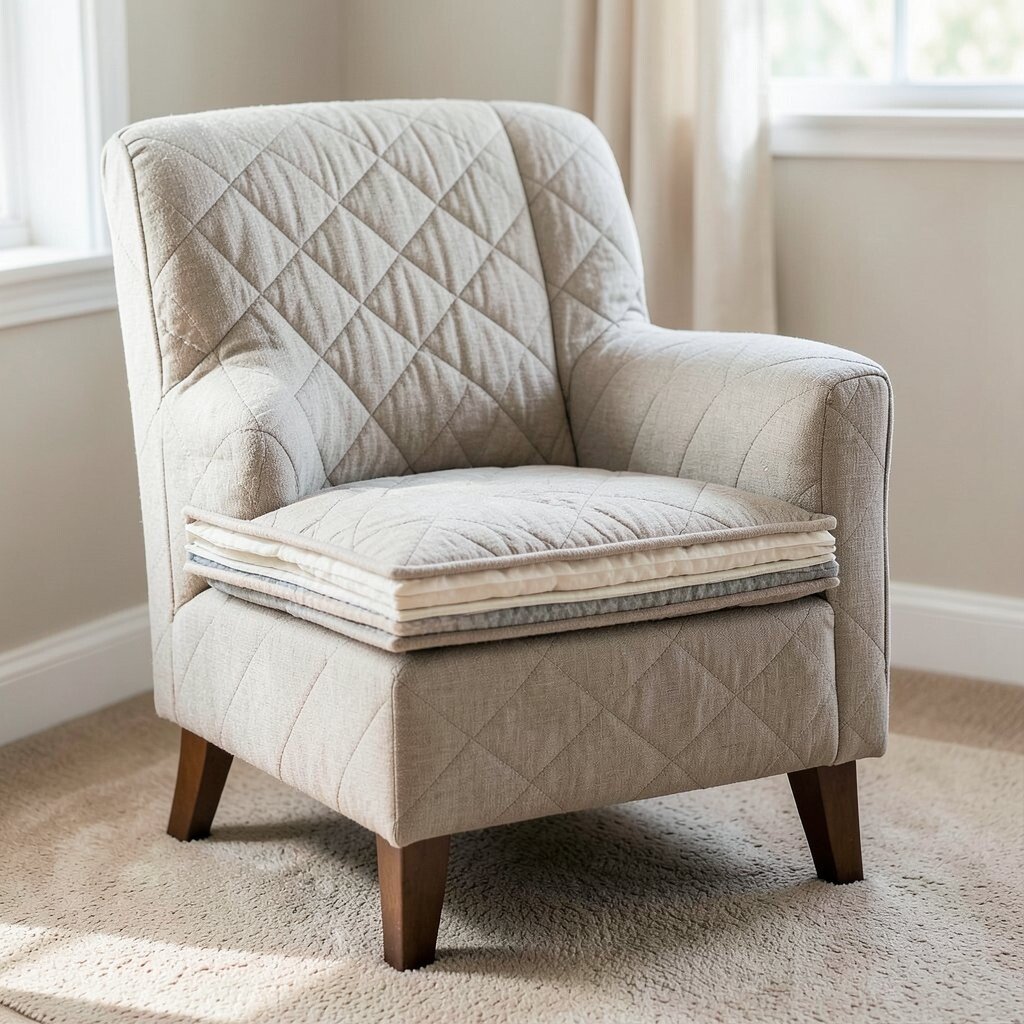
Some chairs look fine but feel uncomfortable, and reupholstery can fix that. Quilted layers add softness while still looking neat and intentional.
Start with foam or thick batting, then add a quilted top layer using simple stitch lines. Cover the cushion with a sturdy fabric and staple it down, keeping the quilting flat and wrinkle-free. If you want a cozy vibe, pick warm flannel, linen blends, or soft canvas.
This upgrade feels beneficial because you’re not only changing the look, you’re improving comfort for long sit times. For personalization, choose stitch patterns like straight lines, squares, or soft curves. Budget-wise, using batting and simple fabric makes it easier to stay within a comfortable spend.
16. Upholster a Cane-Back Chair with Fabric Lacing
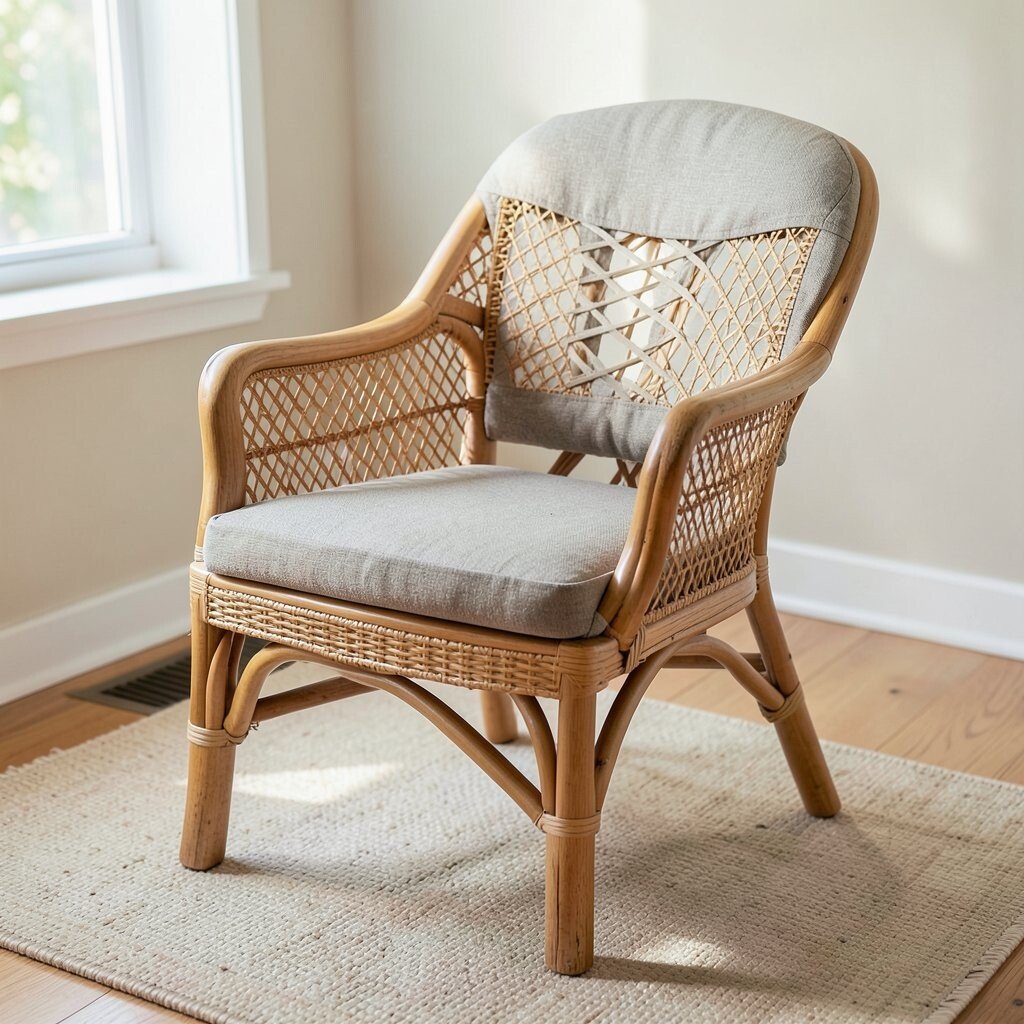
When a chair has a cane back, it already has character. Fabric lacing can add an extra layer of texture without hiding the cane entirely.
Cut fabric strips and weave or tie them through the cane openings in a simple repeating pattern. Keep the strips taut but not overly tight so you don’t distort the cane. Finish by tying knots neatly on the back side or securing with tiny staples where they won’t show.
Pair the fabric color with your cushions for a coordinated look that feels trendy and fresh. This project is unique because it turns a common chair shape into something personalized and visually interesting. It’s also budget-friendly since strips can come from old sheets, curtains, or fabric scraps.
17. Monochrome Suede-Look Seat with Minimal Seams
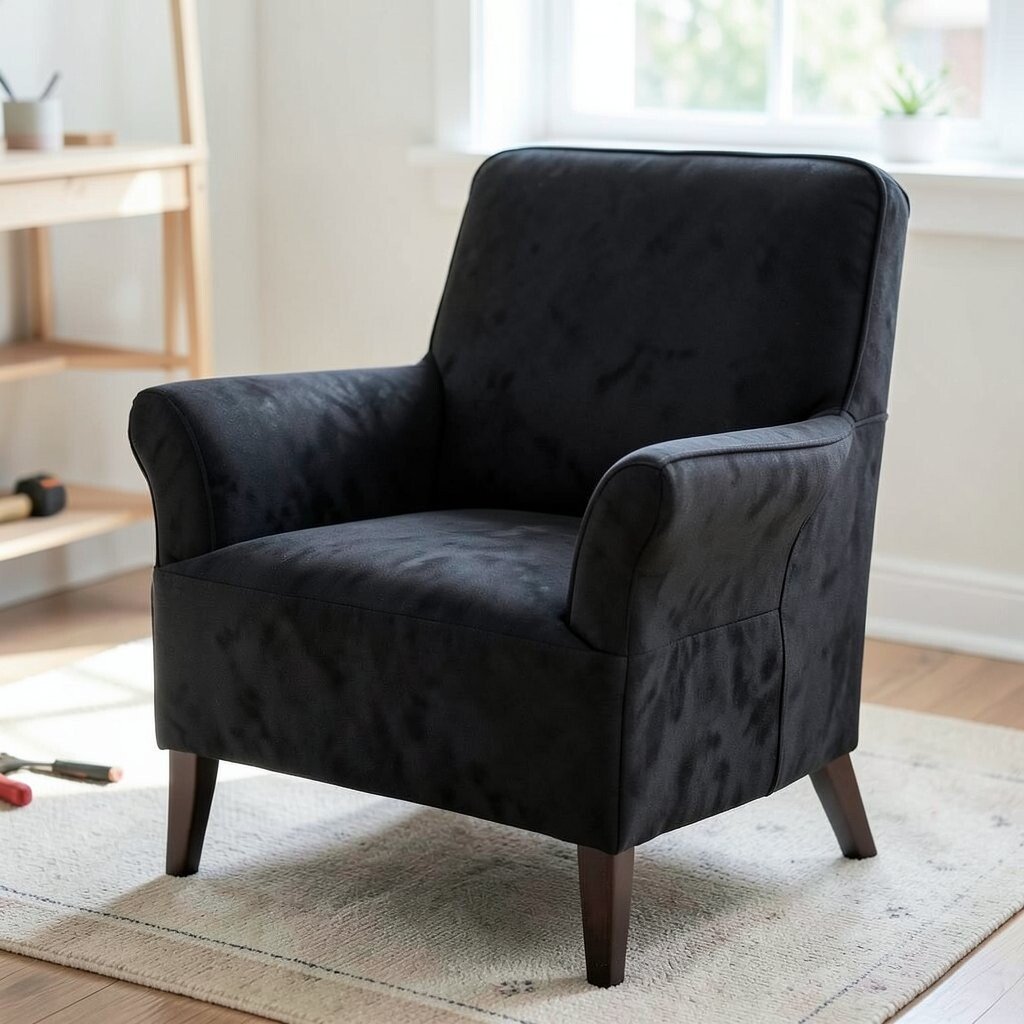
Monochrome upholstery looks calm, modern, and high-end. A suede-look fabric in one color can make your chair feel sleek without loud prints.
Choose one shade like taupe, charcoal, or deep green that fits your space. Cut fabric large enough to reduce seams, then wrap and staple with careful tension. Keep seams minimal so the nap or texture stays consistent and smooth.
This method feels beneficial because fewer seams can mean fewer weak spots and cleaner wear. For personalization, add a matching fabric band around the edges or a small corner detail using the same fabric. Since you only need one main fabric color, shopping during sales becomes easier and cost planning feels simpler.
18. Reupholster with IKEA-Style Modular Panels Using Velcro
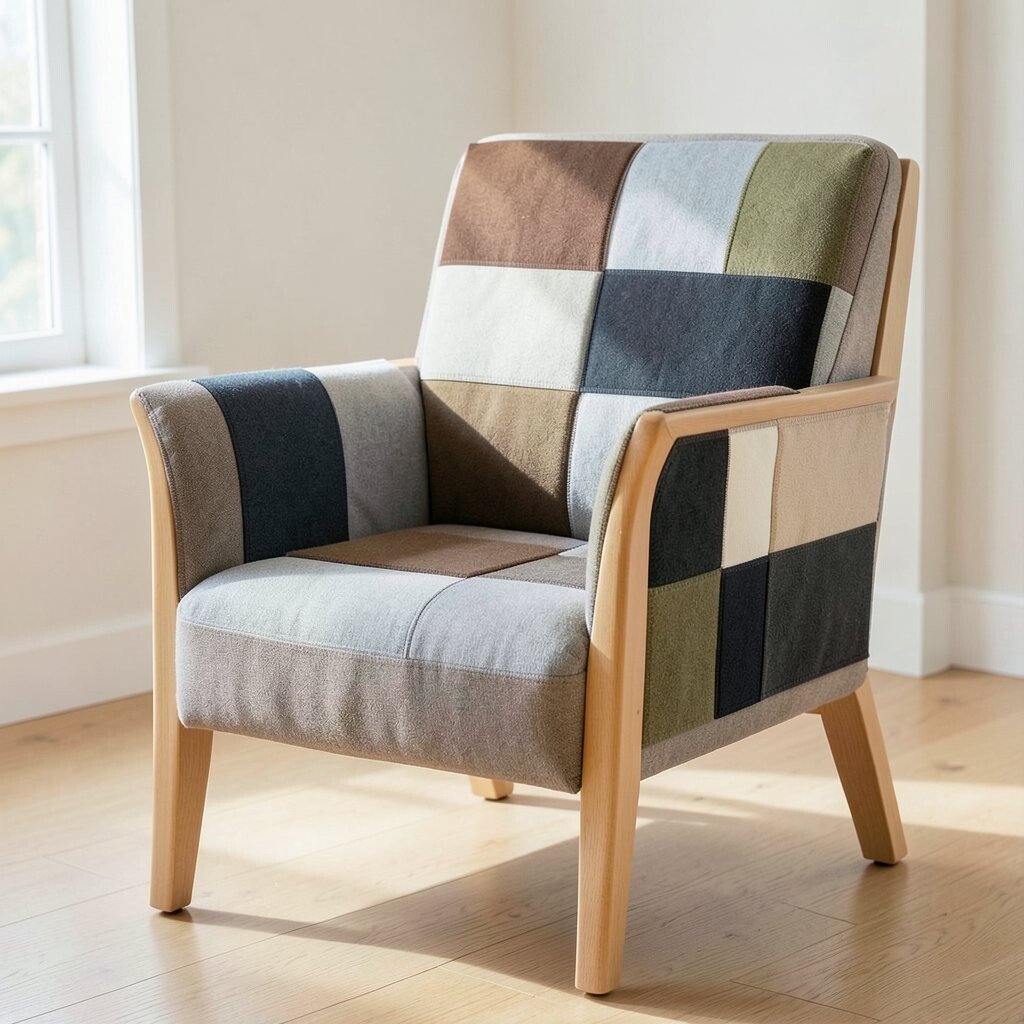
Sometimes you want the look to change with the season. Modular upholstery panels let you swap covers without restapling every time.
Cut panels sized to fit your chair seat and back sections, then attach hook-and-loop fasteners so pieces stay aligned. Use a strong velcro strip on the chair frame and a matching soft side on the fabric. Add padding under the panels so they sit comfortably and don’t sag.
This project is practical for renters and for anyone who likes updating decor often. It’s unique because the chair becomes a flexible design system instead of a one-time project. If you shop by color themes, you can keep costs low by building a small stash of matching fabrics over time.
19. Final Finish with Reupholstered Armrests and Edge Binding
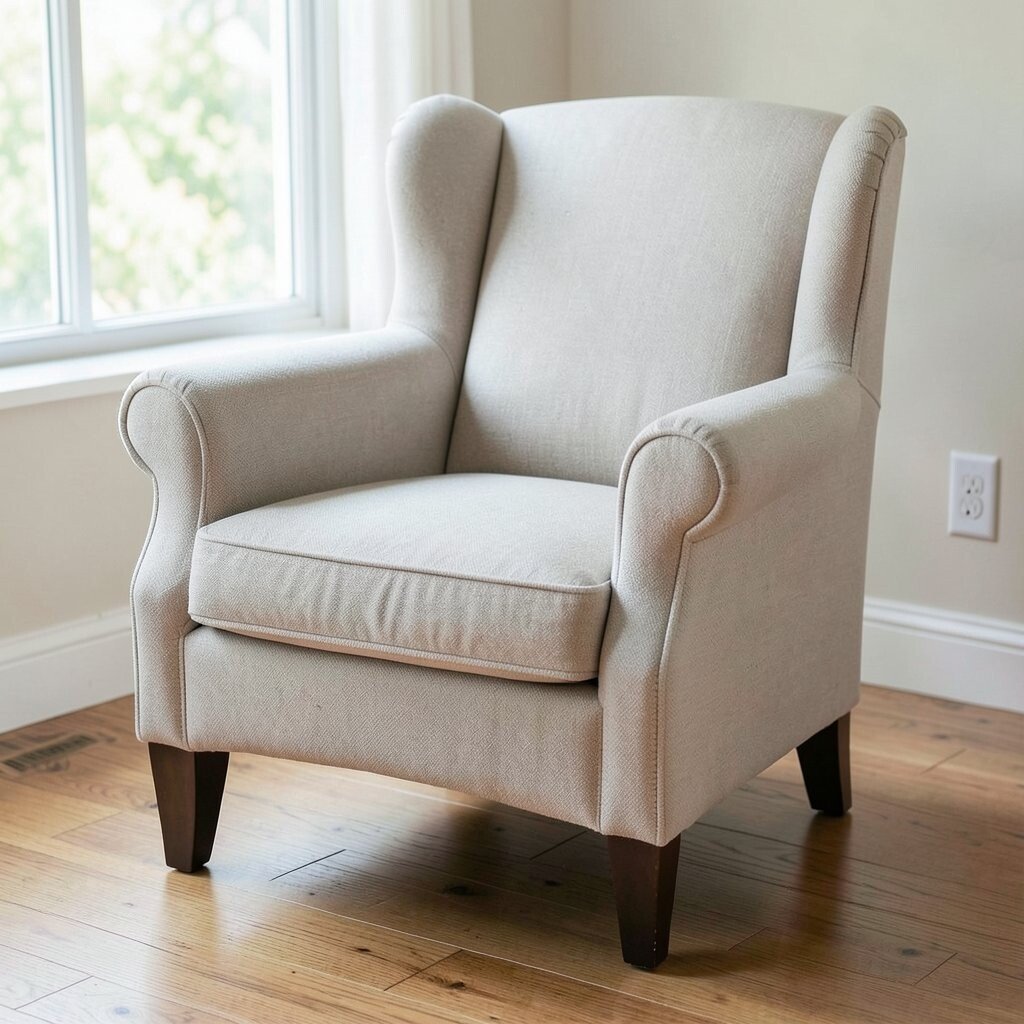
Armrests can be the first thing people notice, so they deserve a clean finish. Reupholstering the armrest pads and adding edge binding creates a fully refreshed look.
Remove the old fabric carefully, then cut new padding and covering pieces for each armrest. Wrap and staple in layers so the shape stays smooth, then add binding to cover raw edges and hide staples. Choose binding in a matching color for a tailored style or a contrasting shade for a bold accent.
This approach is beneficial because the chair feels complete, not half-done. For personalization, match the binding to your curtains or throw blanket so the chair looks like part of the overall design. Budget-wise, you can use inexpensive binding and save on fabric by focusing only on the most visible surfaces.