
Your chairs can look brand new with a few smart choices. Small decisions about fabric, foam, and finishing can change everything in the room.
1. Pick a Fabric That Matches Your Daily Life

Start by picturing how the chair actually gets used. If it sees pets, kids, or daily spills, choose a fabric with a tight weave and stain-friendly finish. This keeps the surface looking clean and helps you avoid frequent redoing.
Feel the fabric in your hands and check how it drapes. A heavier fabric often looks richer and holds its shape, while a lighter one can feel airy but may need extra support. Choose a color that works with your existing walls and floor so the chair feels planned, not random.
2. Use the Right Cushioning for Comfort and Shape
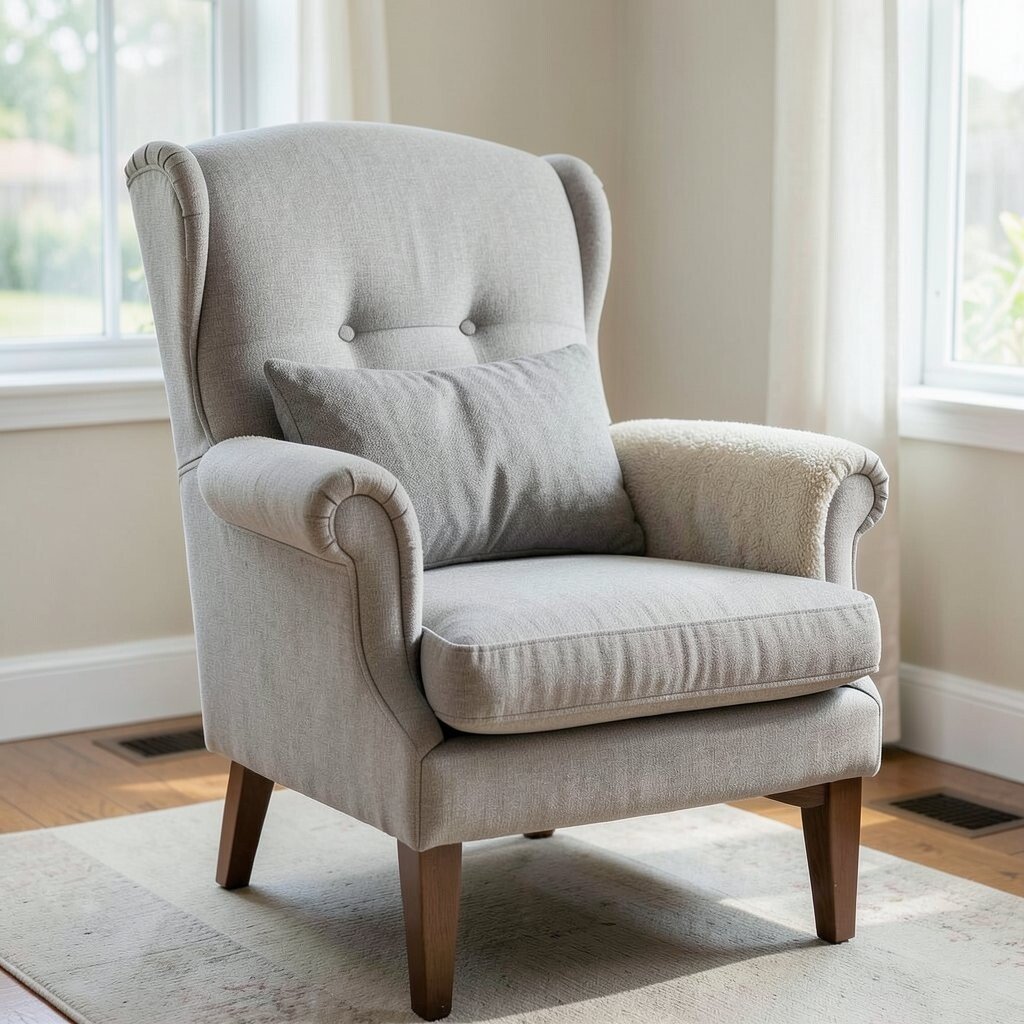
Before you cut fabric, judge the cushion by sitting and pressing the foam with your palm. If it feels flat, uneven, or too soft, you will likely see the problem show through new upholstery. Rebuilding the cushion gives you a smoother seat line and more even comfort.
Consider adding a new layer of foam or batting for a plumper look. Hybrid foam types can balance support and softness, so the chair stays comfortable longer. When you match thickness to the chair’s frame, the chair looks tidy and more expensive.
If you want a quick upgrade, add a thin comfort layer on top while keeping the original seat height. That small change can fix sagging without making the chair too tall. Measure carefully so the covers still fit and the seams land correctly.
3. Take Photos Before You Remove Anything

Before you unscrew anything, take clear photos from several angles. Write down how the old fabric was wrapped and where it was stapled so you can copy the exact path. This saves time when you put everything back together.
Lay the removed fabric pieces on a flat surface and note which side faced outward. Many chairs have slight differences between left and right arm covers, even when they look similar. Keeping track helps you avoid misalignment.
When you reuse parts like dust covers, the photos help you keep the order right. You’ll see how the chair’s shape is created by tension and placement. That careful record makes your new upholstery look neat and intentional.
4. Choose a Pattern Orientation That Flatters the Chair
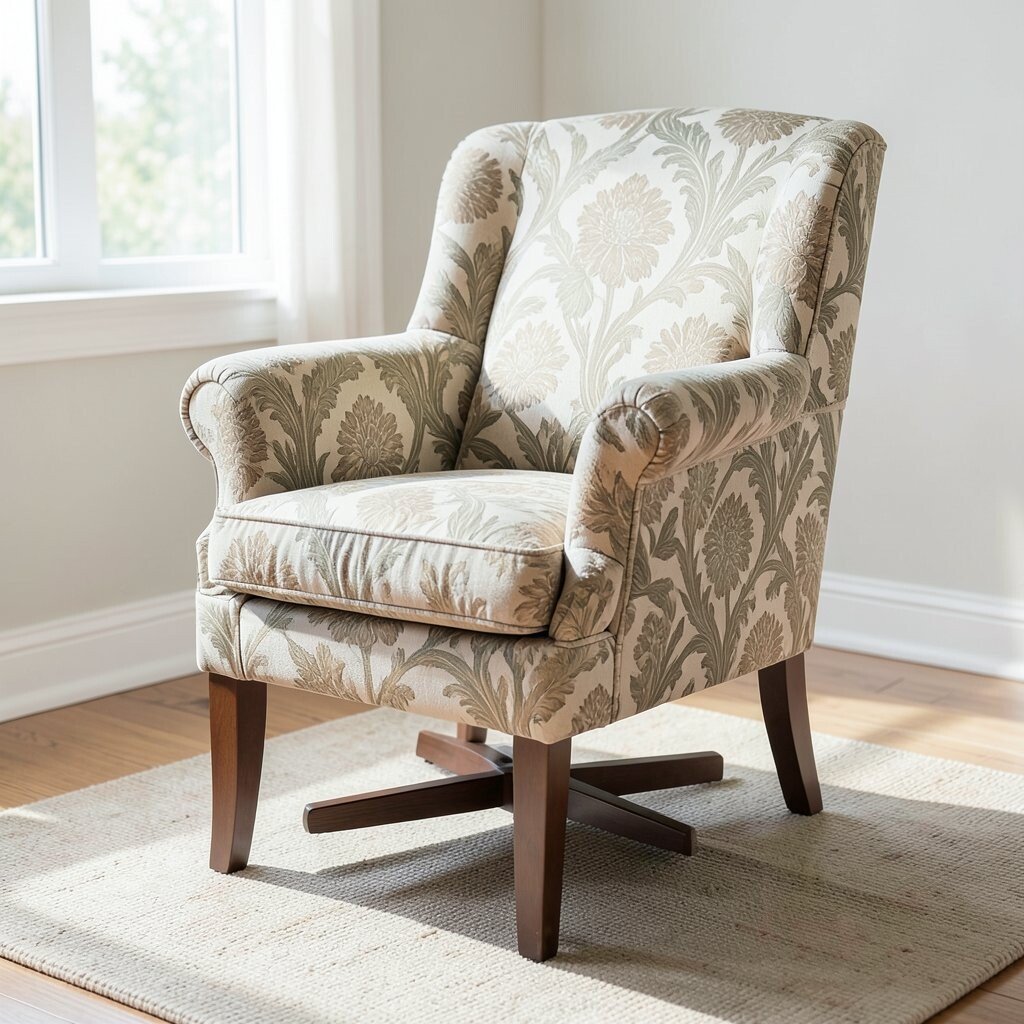
Patterns can make a chair feel lively or calm, but only if they line up well. Ask yourself whether you want stripes to run straight or want the design to wrap softly around curves. Visual balance matters most on visible seat and back areas.
Pin and test the fabric placement before you start stapling. Rotate the fabric so the motif sits centered on the backrest and the busiest lines do not twist. When stripes or florals meet in the right spots, the chair looks professionally aligned.
5. Replace Worn Webbing and Springs Early

Check the chair’s inside support before you spend money on new fabric. If the webbing is sagging or broken, the seat will feel unstable even after reupholstery. Strong support keeps the chair comfortable and helps fabric stay smooth.
Gentle bounce tests can reveal weak areas, so press down and feel for give. When you reinforce the structure, the seat surface looks straighter and lasts longer. That extra step also improves the look of seams over time.
Use proper fasteners and tension based on the chair’s design, not guesswork. If repairs feel too heavy, you can take the frame to a local upholsterer for a quick fix. This can reduce future repairs and protect your new upholstery investment.
6. Label Small Parts and Keep Screws Together

When you remove hardware, set screws and brackets into labeled small bags. Tiny items vanish fast, and missing one can delay your whole project. Keeping order makes reassembly smoother and less stressful.
Even if the chair seems simple, there are often hidden pieces under dust covers. Bagging them keeps the original layout so your chair stays aligned. This also helps if you need to pause and return later.
Use a soft tray to hold parts and keep them away from pets and curious hands. A clean workspace lets you measure accurately and staple without rushing. The payoff is a chair that goes back together in the right way.
7. Plan Your Seam Placement for a Clean Look
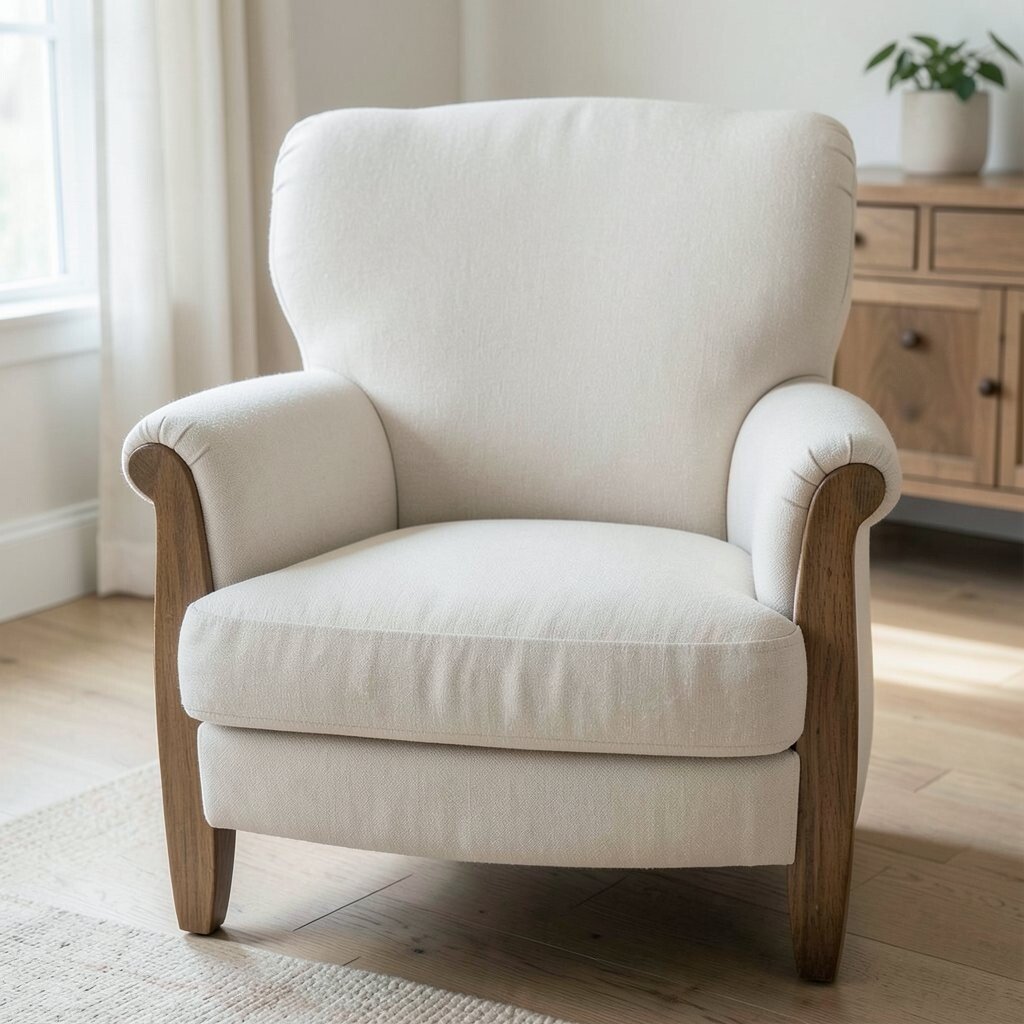
Seams tell the eye where to go, so you want them placed on less noticeable areas when possible. Try to align seams with the chair’s natural folds and edges. That makes the chair look tailored rather than stitched in place.
On curved backs, fewer seams often look more elegant. If your pattern needs matching, plan seam lines so the design stays consistent. When seams look intentional, the whole chair feels more high-end.
8. Upgrade Zippers or Buttons for Easy Finishing
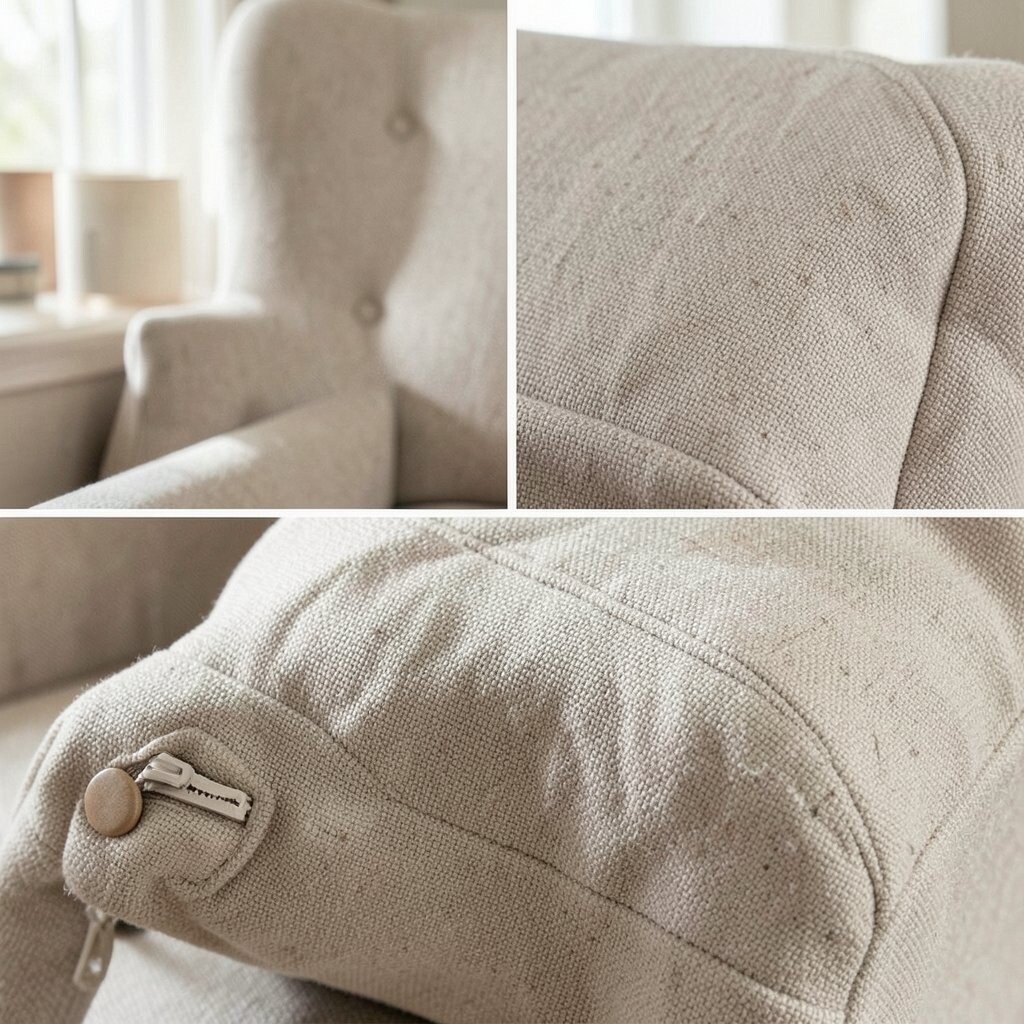
If your chair has removable covers or decorative closures, consider updating them. A modern zipper can make future cleaning easier and reduce stress when you remove fabric later. Buttons can also add charm, especially on traditional styles.
Choose closures that match the chair’s vibe and wear level. Metal zippers resist damage, while fabric-covered zippers blend softly into upholstery. Thoughtful hardware can quietly elevate the chair without changing its structure.
9. Add or Replace Batting for a Smoother Surface

Batting is the layer that helps fabric look smooth instead of wrinkled. When the seat or arms feel lumpy, new batting often evens everything out. This creates a crisp, rounded look that photographs beautifully.
Use batting that matches the foam thickness and the chair’s curve. Too much batting can cause bulging, and too little can show foam edges. A careful fit keeps the upholstery looking neat from every angle.
If you want a plush feel, add an extra batting layer on the backrest only. That gives comfort without making the seat too thick. It also helps the back look fuller and more inviting.
10. Choose Stapling Tension for Sharp Corners
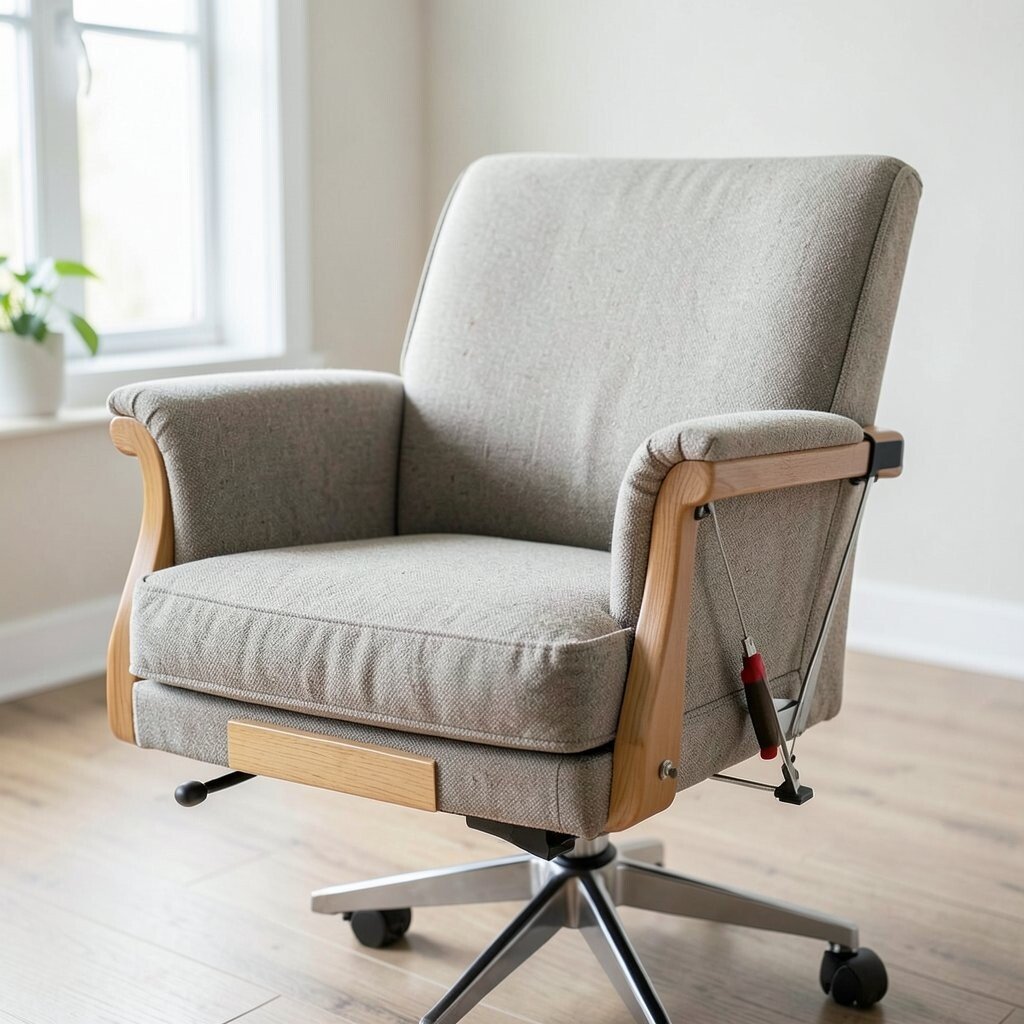
Stitches and staples are what shape the chair, so tension should be consistent. Pull the fabric evenly and stop when it starts to warp, then adjust before fastening. Uneven tension makes corners look twisted even if your fabric is beautiful.
Test with scrap fabric if you’re unsure how your chair will respond. When the fabric sits flat at the corners, you’ll see clean edges and straight seams. That careful tension is one of the biggest secrets of expert work.
11. Keep Fabric Direction Consistent on Arms and Back
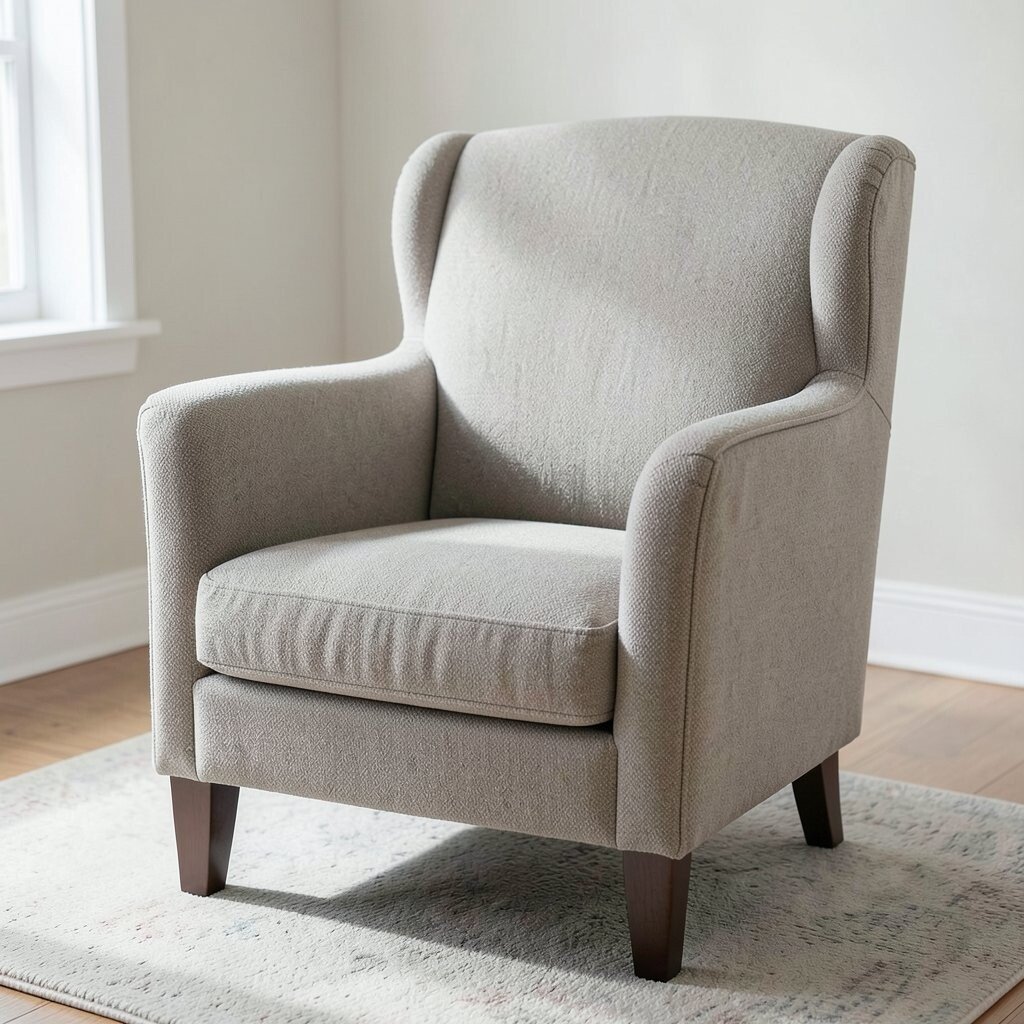
Upholstery looks best when fabric direction stays uniform. Decide how the pile, nap, or sheen should face, and then keep that direction the same across all panels. If it changes direction, the chair can look patchy even when the colors match.
Hold the fabric up to light and check how it reflects. Some fabrics show dramatic differences from angle to angle, so direction matters more than you think. When you keep it consistent, your chair looks balanced and refined.
Mark the “front” side on your fabric with a small note on the underside. This prevents accidental flipping while you’re working fast. Small habits like this reduce mistakes and make the final look calmer.
12. Use the Original Templates When Possible
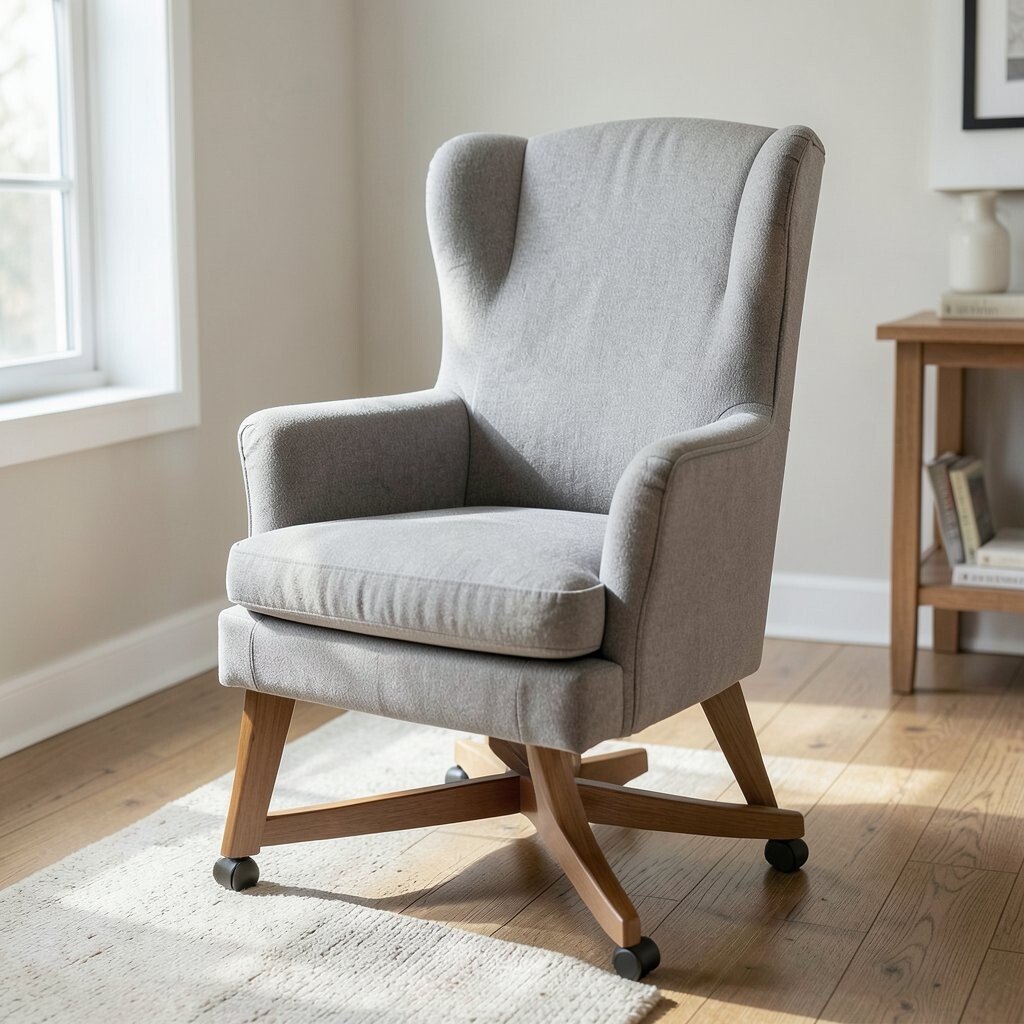
Original panels and pattern pieces are golden because they already match your chair. If the chair was built well, the existing pieces show the correct fit and seam allowances. Reusing templates keeps your upholstery from looking stretched or baggy.
Trace around old fabric carefully and add extra space only if needed. If the original pieces are worn, create a new template from the chair’s frame instead. That keeps the new fabric accurate and helps the chair look custom.
13. Consider Performance Fabrics for Real-World Durability

Performance fabrics are made to handle everyday mess, and they often look great too. They resist stains and can hold color better than many standard textiles. That means your chair stays fresh even when life gets messy.
Look for fabrics that breathe so the seat does not feel hot and sticky. A comfortable chair is a chair you will actually enjoy using. When you choose durability without sacrificing feel, reupholstery lasts longer and feels worth it.
You can also find performance velvet and performance linen blends that look stylish. The texture can add depth, making a simple frame look special. Pair these fabrics with clean-lined trims for a modern, polished look.
14. Match Thread Color to Reduce Visual Noise
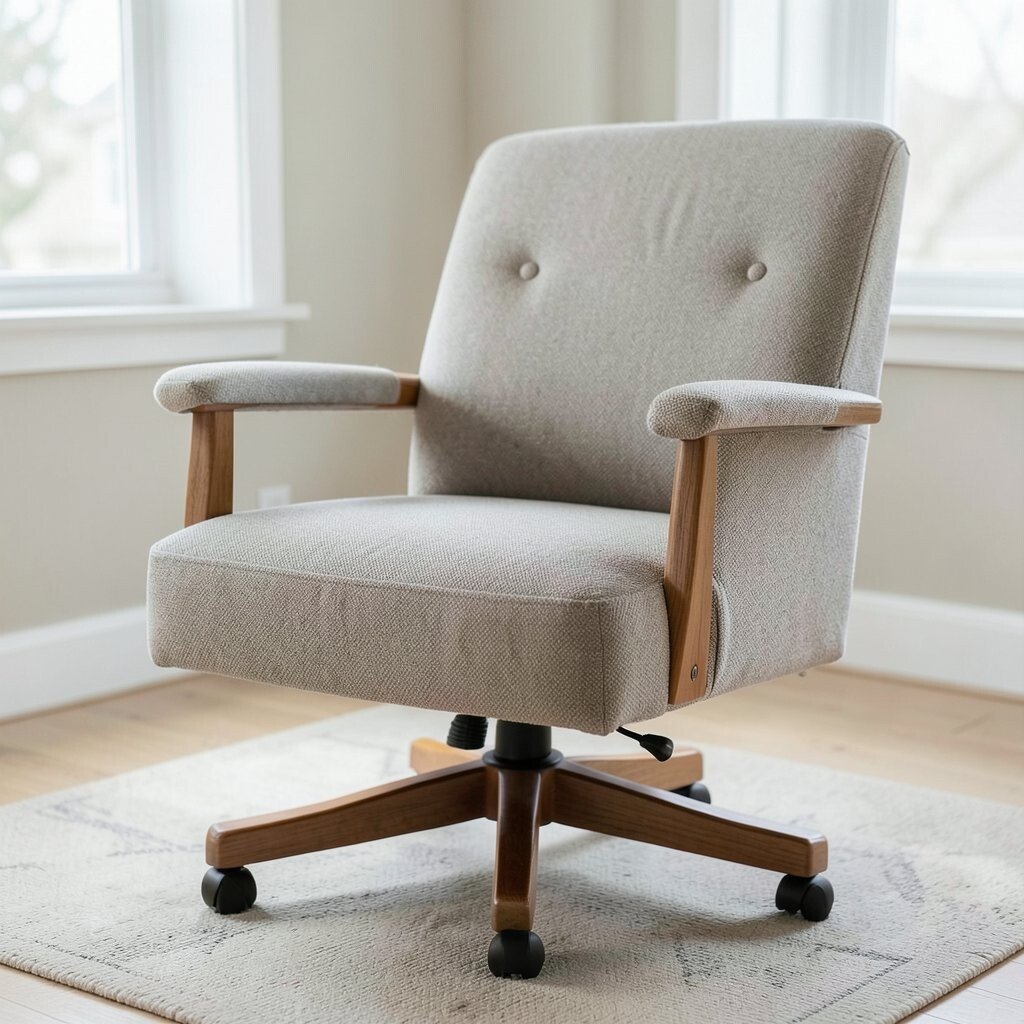
Thread might seem small, but it can change how seams blend into fabric. Choose a thread color close to the fabric so stitches fade into the background. This makes seams look neat rather than obvious.
For patterns, thread matching can be tricky, so aim for a color that appears across the design. If you use contrasting thread, keep it intentional and consistent. That contrast can look trendy when applied carefully.
15. Add Welt or Piping for a Crisp Border

Welt and piping create a defined edge that makes chairs look tailored. Even a simple chair can look more designer when the seams have a clean border. The effect is especially strong on armrests and around the seat perimeter.
Pick piping that matches or slightly contrasts the fabric for depth. A subtle contrast can make the chair look intentional without being loud. If you love bold styles, use a brighter piping tone that ties into pillows or curtains.
Test piping placement on a scrap panel first so curves land smoothly. Piping that twists on corners can look bumpy, so careful fitting matters. When it sits evenly, the chair looks sharp and ready for compliments.
16. Don’t Forget the Underside Finishing

The underside is where the work either looks tidy or messy, even if it’s not always seen. A clean dust cover and neatly trimmed fabric help your chair stay protected from dust. It also makes future repairs easier because layers do not tangle.
Use fabric or paper dust covers that fit tightly without bulging. When edges are straight and corners are tucked, the chair feels well cared for. This small detail is a hallmark of expert reupholstery.
17. Plan for Budget by Prioritizing Visible Areas

Reupholstery can get expensive, so plan your budget with smart priorities. Spend first on the fabric that people actually see, like the seat, back, and arms. Saving on hidden layers while upgrading the main panels keeps the chair looking great.
Consider buying fabric on sale or using a blend that still performs well. You can also reduce waste by choosing fabric widths that match your panel sizes. Careful measuring helps you avoid buying extra that you do not end up using.
If you feel torn between quality and cost, choose a mid-range fabric and invest in good foam and batting. Comfort and structure make a big difference in how the chair feels daily. When the foundation is solid, the fabric looks even better for longer.
18. Personalize with Removable Slip Covers or Accent Panels
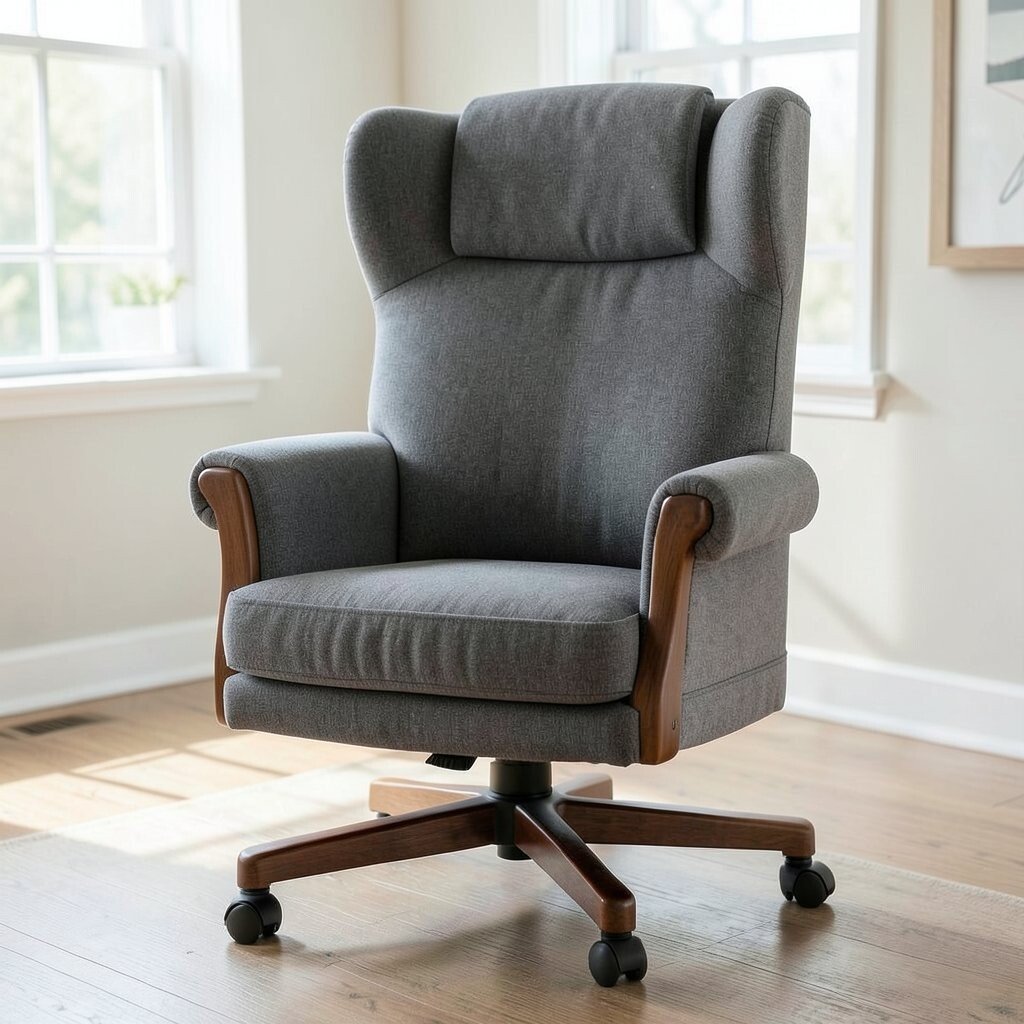
Personalization can be as simple as adding a removable accent panel to the back or seat. Slip covers let you refresh the look without fully reupholstering every time. This is a great option if you love seasonal colors or changing styles.
Consider adding a contrast stripe along the edges for a quick modern vibe. Accent panels can also hide small wear spots and uneven wear from daily use. Choose a fabric that complements your room while still feeling like you.
If you add removable parts, make sure closures are secure and aligned with the chair’s shape. Neat closures keep the cover from shifting and preserve a crisp look. A chair that stays smooth looks better longer and feels more comfortable.
19. Follow Current Trends with Textures, Not Just Colors
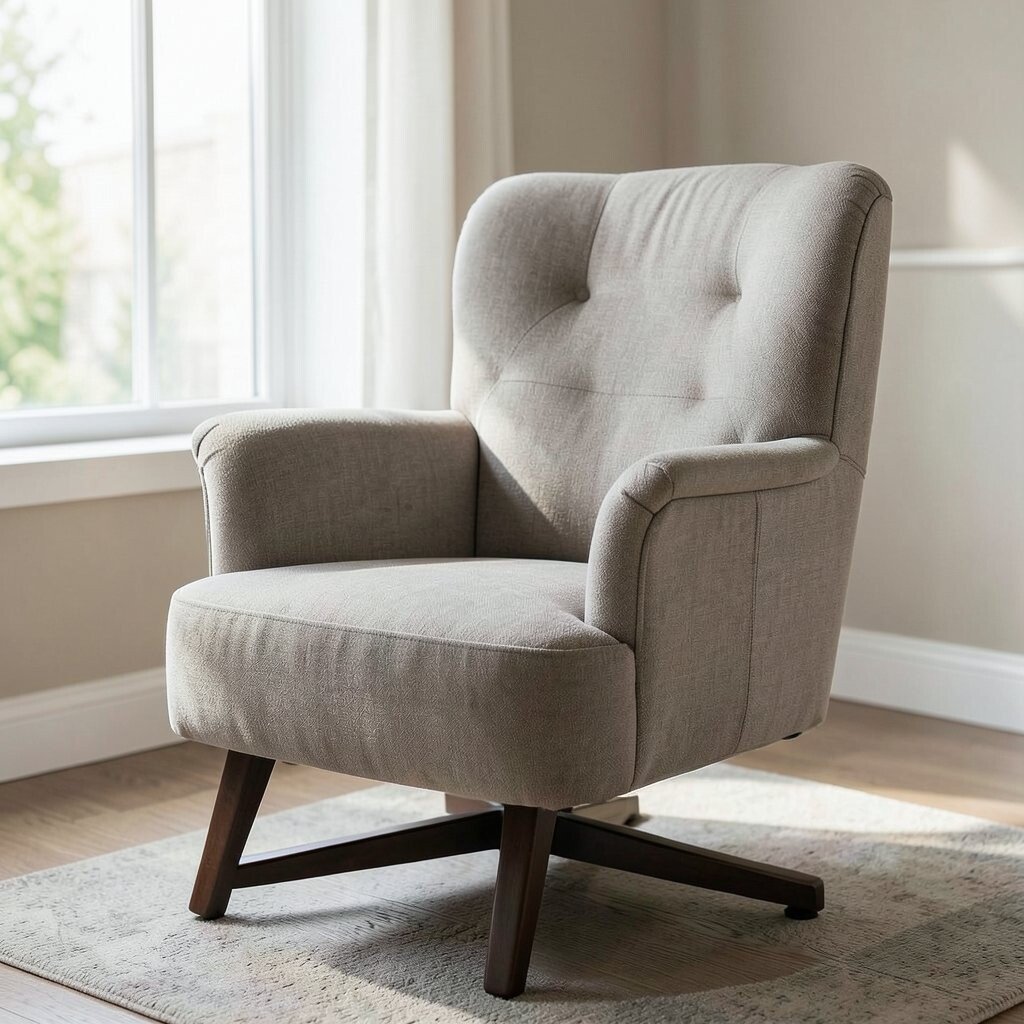
Right now, many styles feel fresh because of texture instead of only color. Boucle, textured weaves, and subtle jacquards add depth that looks rich in natural light. Even if you keep the chair’s shape classic, texture can make it feel modern.
Look at how the fabric reflects light at different angles, especially for upholstery with a looped or raised surface. A textured fabric can hide small imperfections and seams, which helps when you want a clean look. Pair texture with simple piping for a tidy, current finish.
If you want a trend-forward look without high risk, choose a neutral fabric with an interesting weave. Then add color through cushions or a throw. This keeps the chair wearable while still feeling stylish.
20. Use Professional Tools for Cleaner, Safer Work

Quality tools make upholstery feel easier and help you avoid mistakes. A sharp staple gun with the right staple size helps fabric sit tight without tearing. Good scissors and a reliable seam ripper keep cuts clean and control precise.
Use a ruler and chalk or fabric marker to measure panels so edges stay straight. A tack hammer or upholstery pliers can adjust staples without damaging the frame. When your tools fit the job, your work looks smoother and more confident.
21. Test Fabric Samples on the Chair Before Cutting
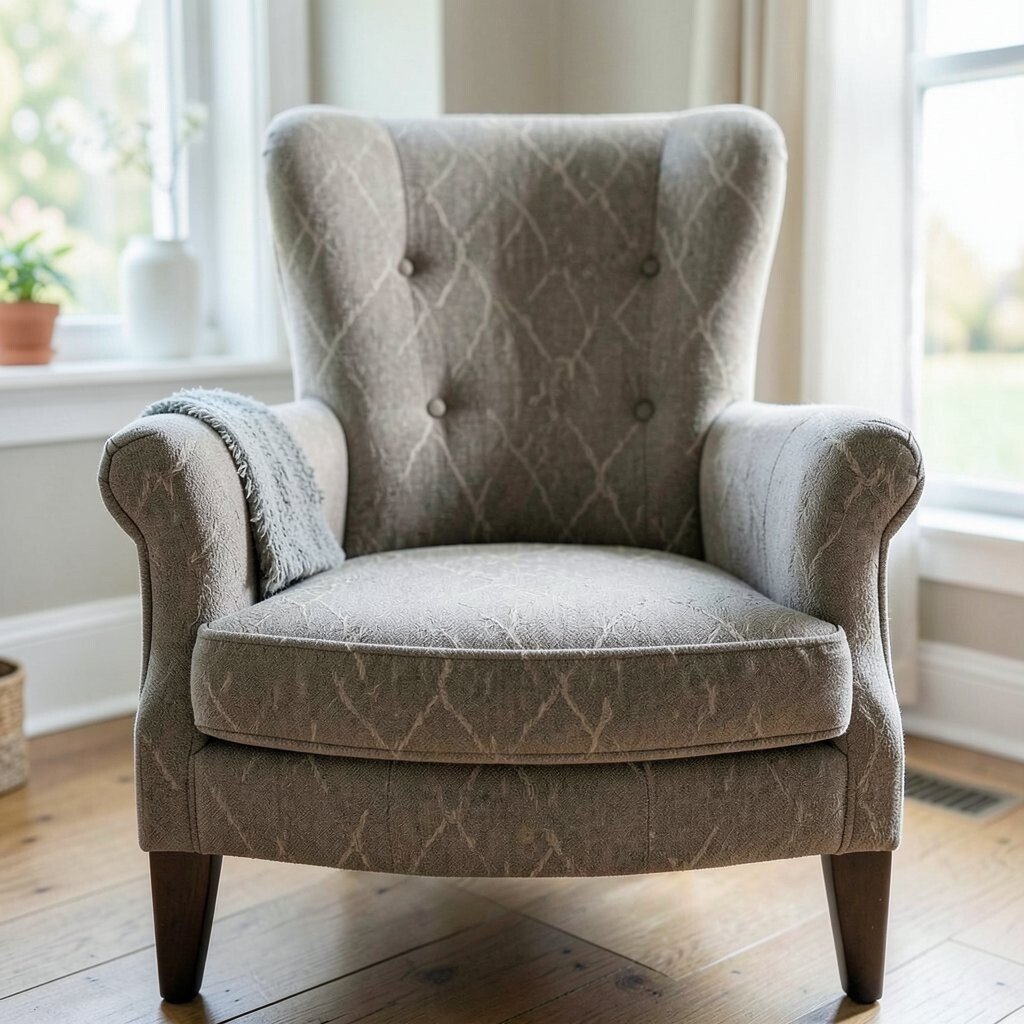
Before you commit, test small fabric samples on the chair frame to see how the drape works. Hold the sample where the back and seat will be, then step back and look from a distance. What looks perfect in a store may behave differently under your room’s lighting.
Check how the fabric looks with your curtains and floor during the day. Colors can shift, especially with patterns and fabrics that have sheen. Testing early prevents regret and helps you choose something that truly fits your space.
If possible, look at the chair with the cushions placed as you plan to set them. Seat depth and back height change how upholstery reads visually. When the sample looks right in real context, the cut feels safer and smarter.
22. Document Your Process for Future Repairs and Upgrades

Keep notes and take photos as you reupholster, including fabric yardage and foam thickness. If you plan to redo other chairs later, your records will save time and help you repeat what worked. Documentation also helps if a seam needs fixing after a few months.
Save any receipts, staple counts, and closure types you used. When you know what materials you picked, future repairs become easier. This kind of record keeping helps your chair stay in good shape and keeps your style consistent.
After the chair is finished, check for loose edges, uneven corners, and tension issues. A quick adjustment now prevents bigger problems later. When you refine the final details, the chair looks fresh and feels truly finished.