The room starts to feel alive when children can see their ideas. Bright visuals turn quiet moments into hands-on learning.
Use these classroom-friendly project sparks to shape activities that look great and work well. Each one focuses on simple materials, big results, and room to make it your own.
1. Color-Word Treasure Hunt Cards
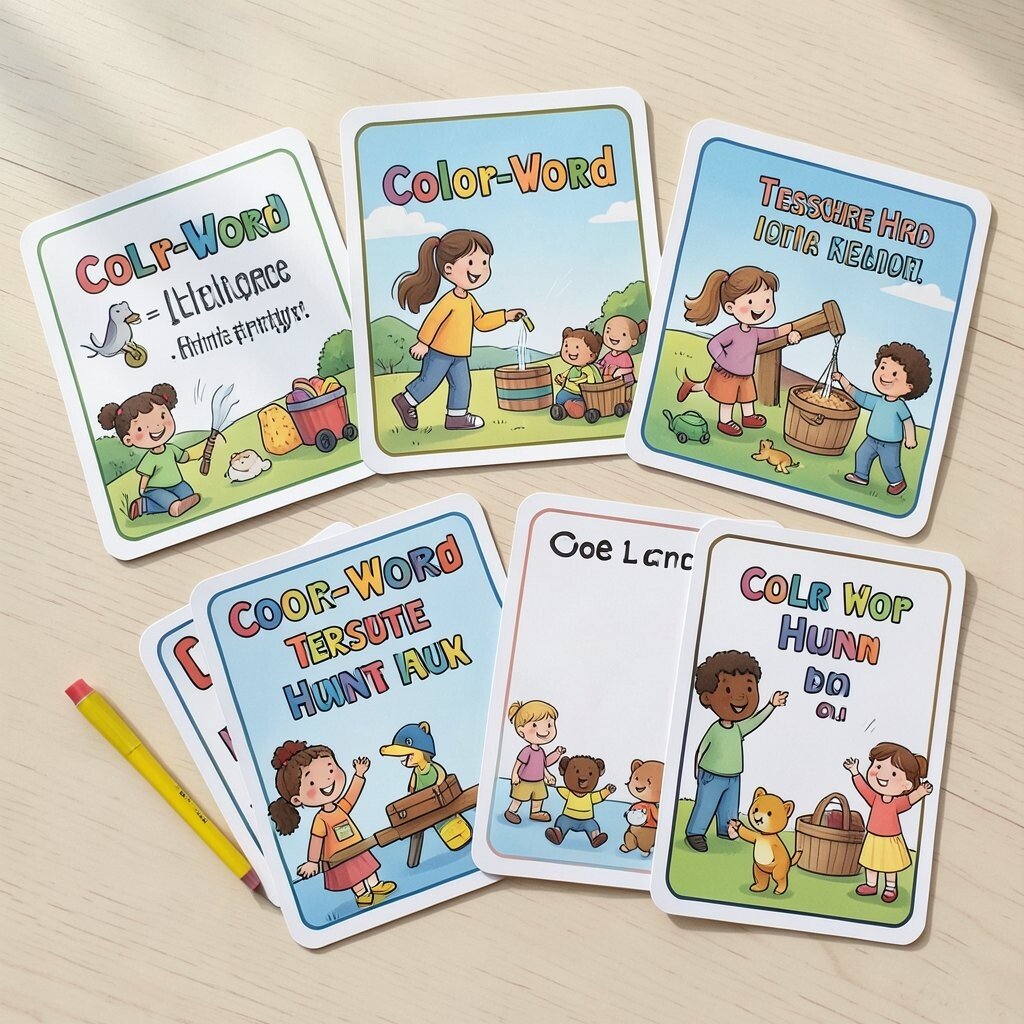
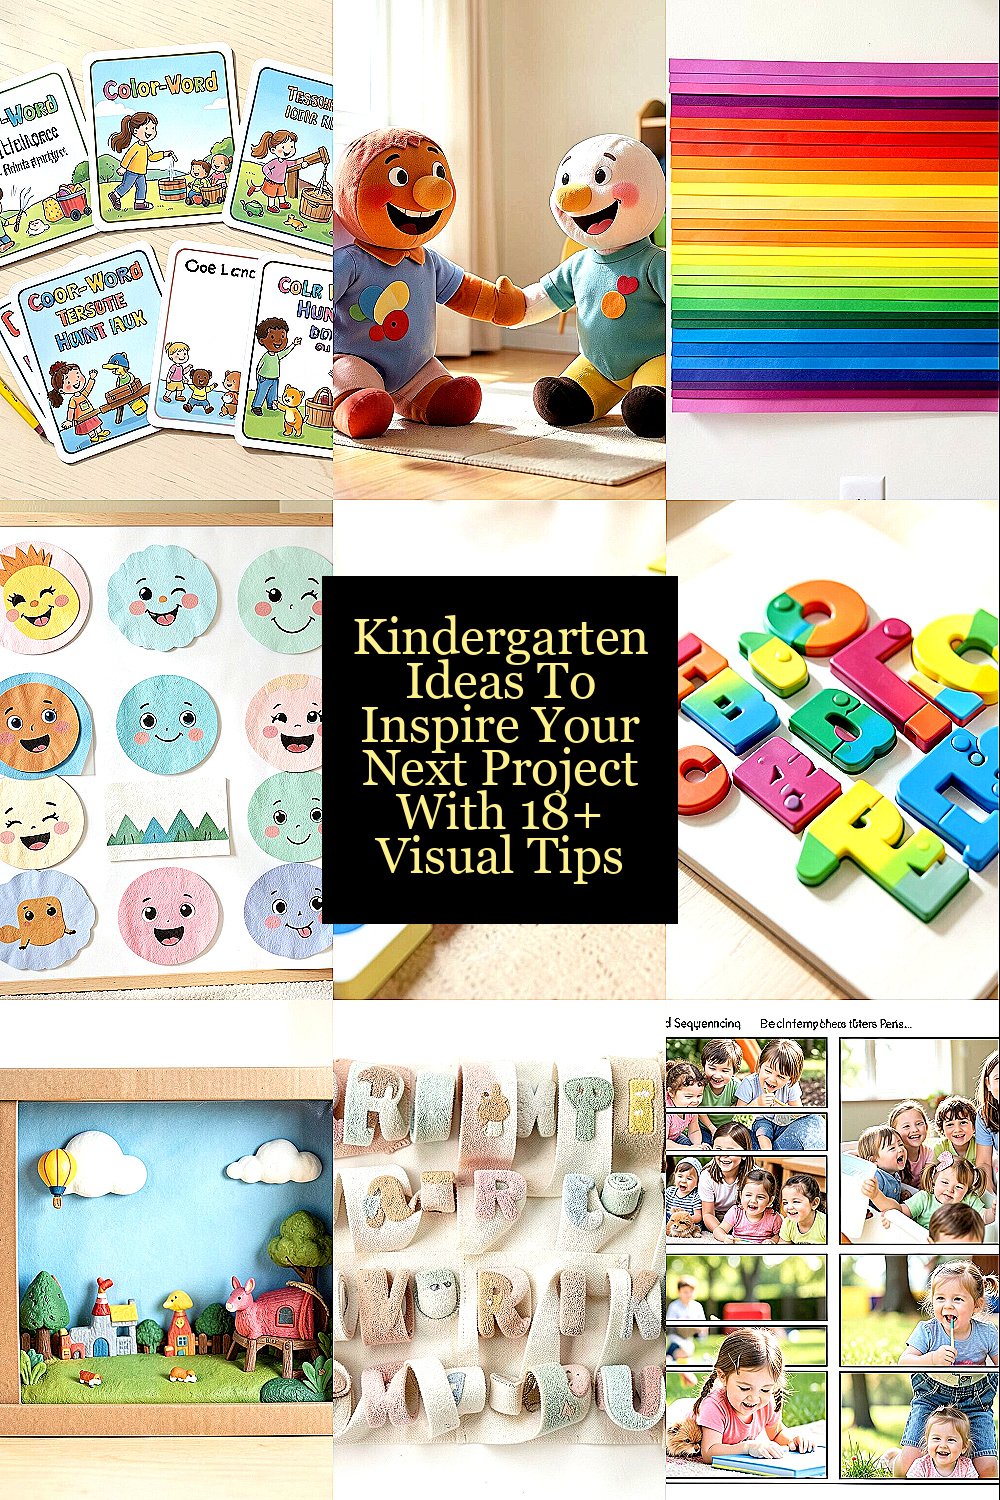
Picture a set of cards scattered like little maps across the floor. Each card shows a color word next to a matching shape, so kids can spot patterns quickly.
Have children search for the cards that match objects in the room, like red crayons or blue paper. They pick one card, read it with help, and place it into a “treasure” basket for that color.
2. Shape Stories With Giant Cutout Puppets
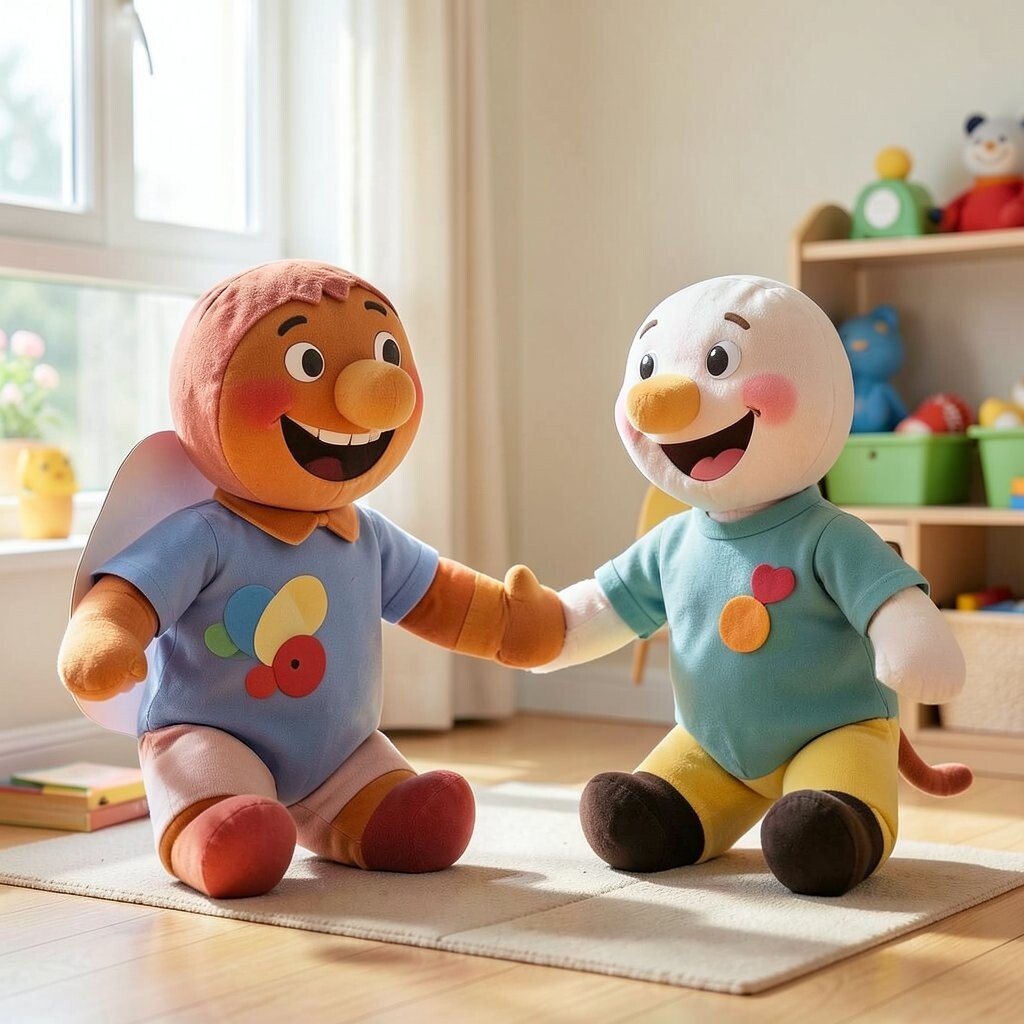
Create oversized shapes from sturdy paper, then glue on simple puppet handles. A triangle can become a “corner hero,” and a circle can be the “rolling friend” that visits each learning area.
During story time, hold up the puppet and ask kids to point to the same shape in books, posters, or classroom labels. They can also move the puppet to show how the shape changes when it stands, slides, or spins.
This visual role-play builds vocabulary while supporting fine-motor practice. Keep shapes colorful and easy to grip, and use foam shapes or laminated paper for longer use.
3. Rainbow Paper Strip Weaving Wall
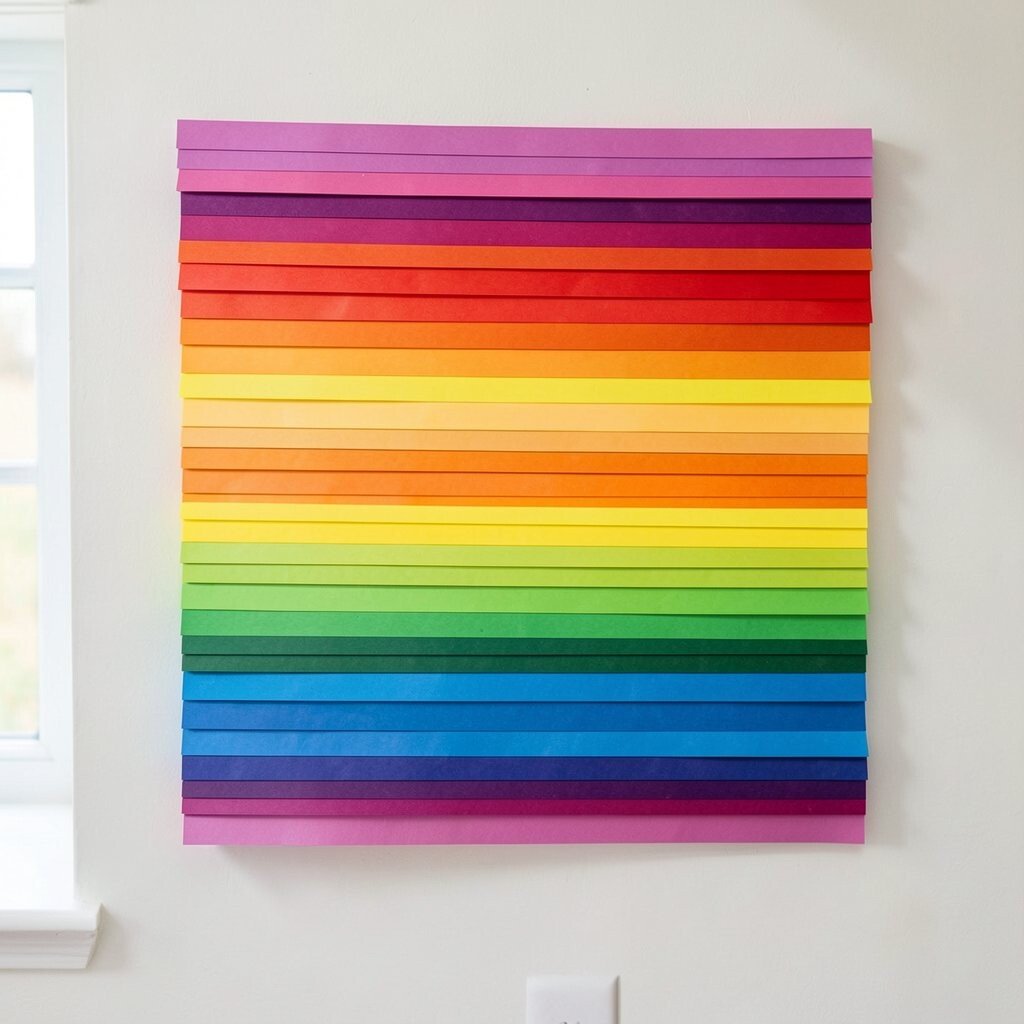
Think of a vertical weaving wall made from wide paper strips in rainbow order. The strips look like ribbons, and the crossed lines create a satisfying grid.
Invite kids to weave new strips through the opening spaces so the design grows over time. They can choose colors, decide where to add a strip, and help press each one flat for a neat finish.
Weaving strengthens hand control and helps children notice patterns. For cost, cut scrap paper into strips or use colorful flyers, then laminate the pieces if you want them to last longer.
To personalize, add a name strip at the bottom so each child can claim a “weaving spot” on the wall.
4. Feelings Faces Gallery With Texture Swatches
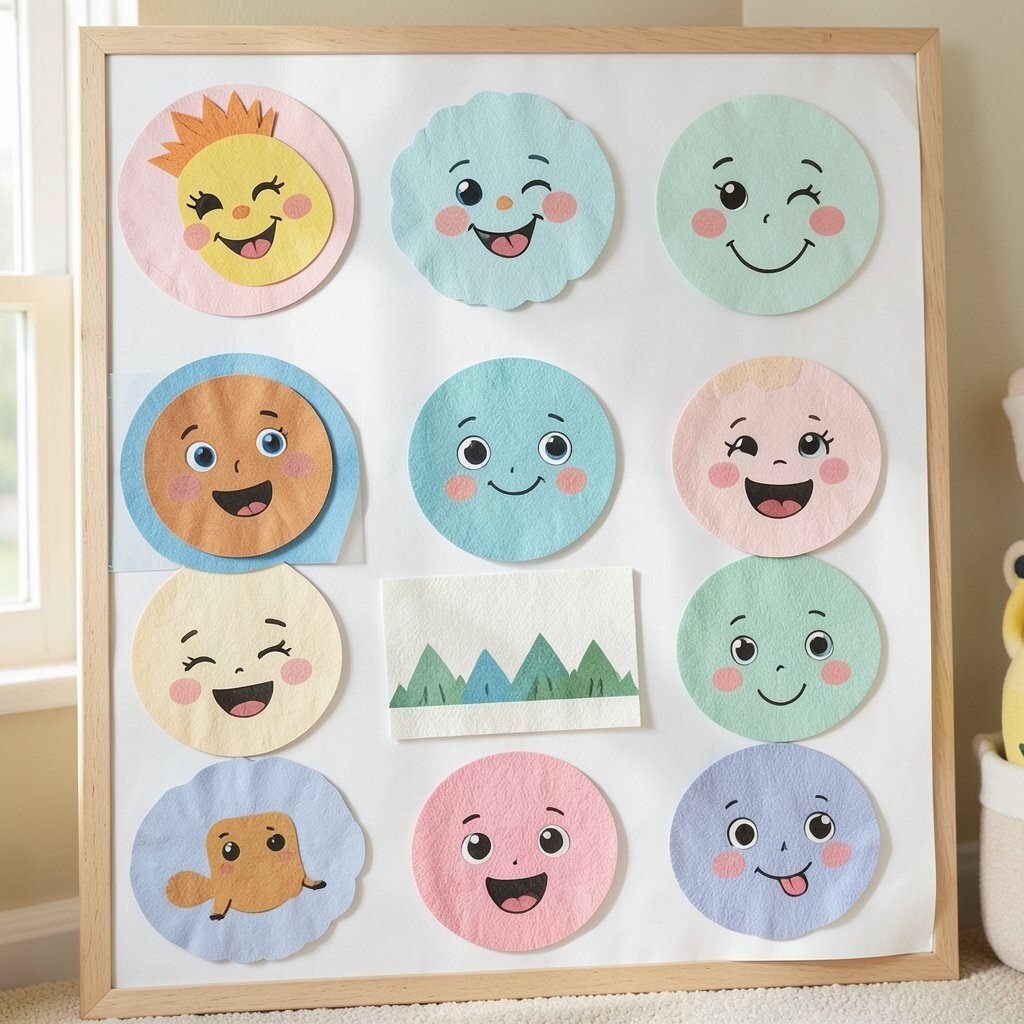
Make a feelings display where each emotion gets a face plus a matching texture sample. Soft cotton can mean “calm,” bumpy felt can mean “excited,” and smooth satin can mean “okay.”
Children touch the swatch while looking at the face so the connection sticks. They can also match a texture to a story character’s mood during read-aloud time.
5. Number-Line Path With Sticky Steps
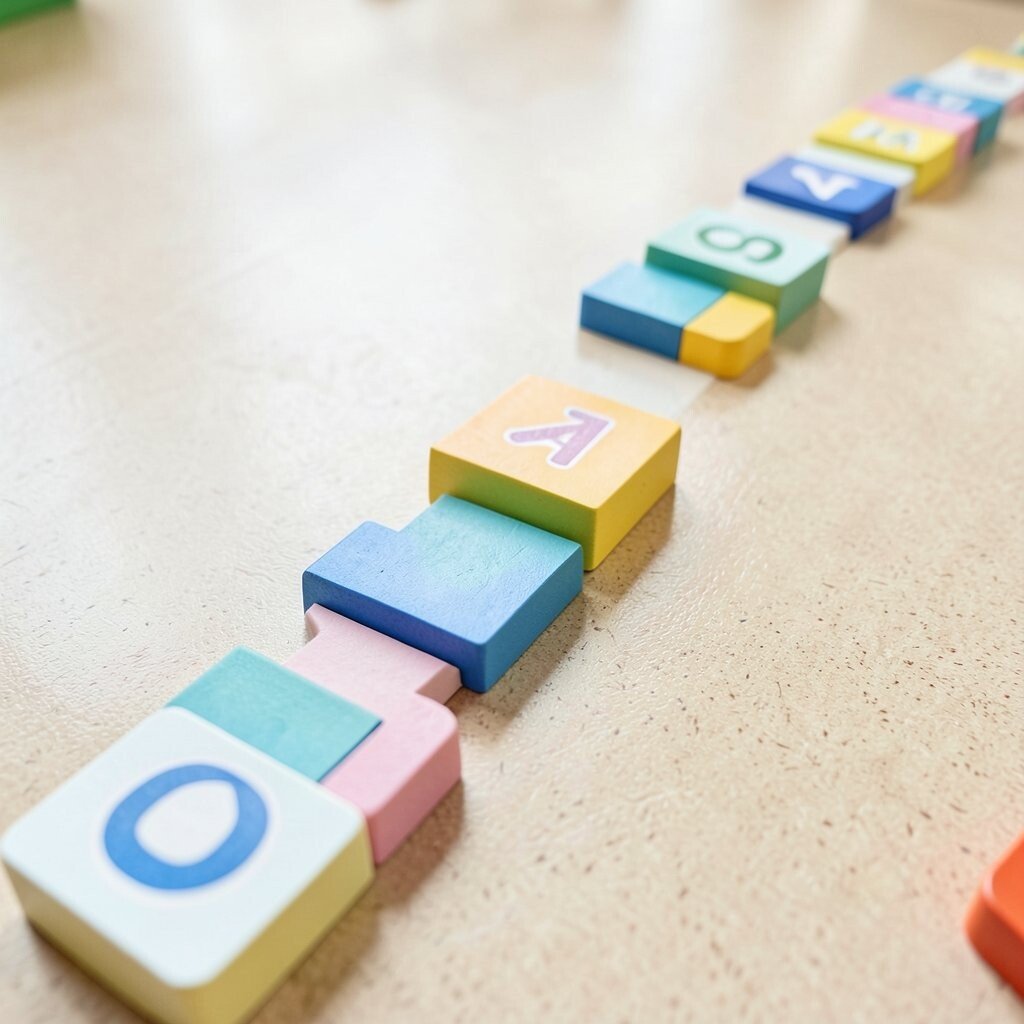
Build a floor path using removable tape lines that form a big number line. Add sticky dot “steps” that kids can press down and move around like game pieces.
As you call out a number, children place a dot at the right spot and hop to it. This gives a clear visual guide for counting and sequencing without needing fancy tools.
For classroom budgets, use painter’s tape, paper dots, and leftover cardstock for the numbers. Personalize the path by switching themes, like adding a space station theme for counting practice.
6. Letter-Shape Matching With Magnet Tiles
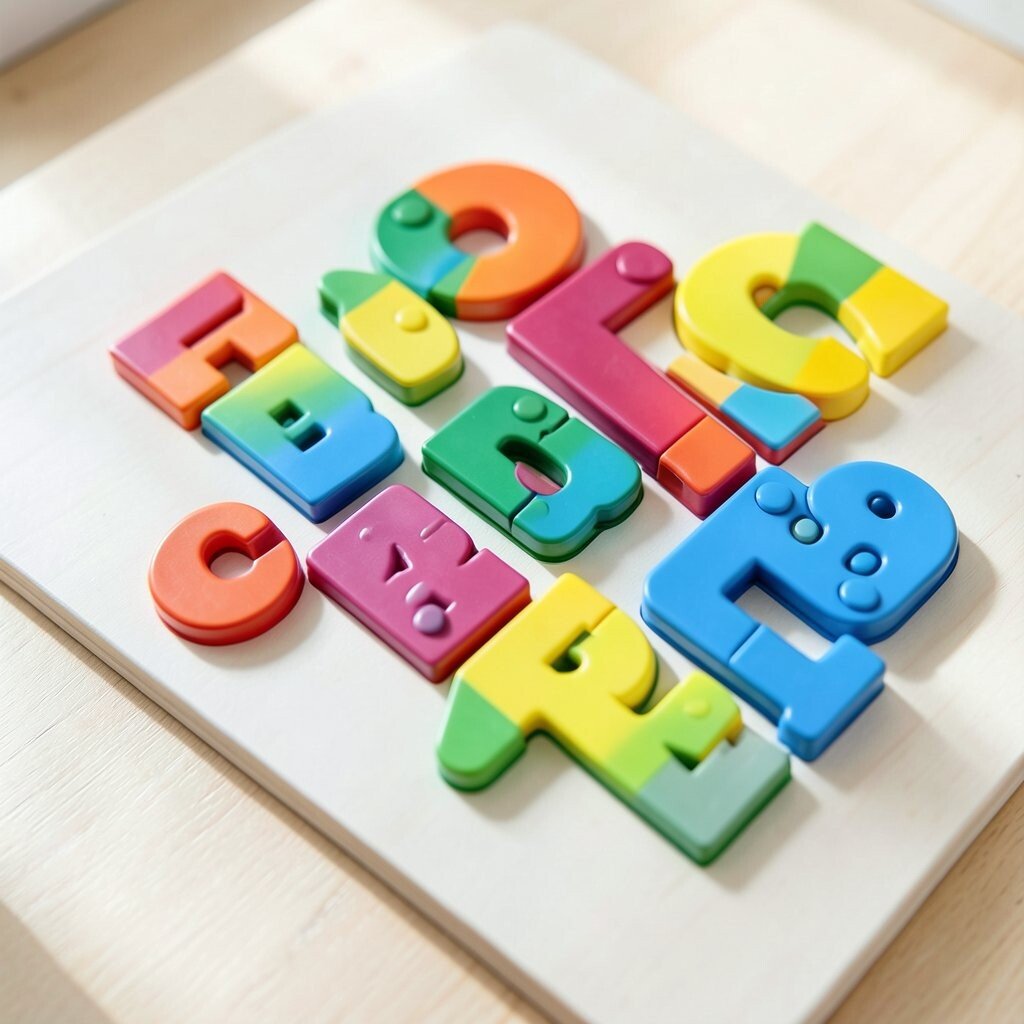
Set up magnetic tiles where each letter is paired with a simple picture that begins with its sound. A bright “B” tile with a balloon drawing helps children connect shapes to language.
Kids can work in small groups by choosing a picture tile, then finding the letter that matches it. The instant visual match makes it easier for beginners to feel confident.
To keep it flexible, use magnetic backing on scrap metal or buy a small magnet sheet and cut it into tiles. You can also rotate picture choices by season, like pumpkins in fall or snowflakes in winter.
7. Weather Window Dioramas in Shoebox Frames
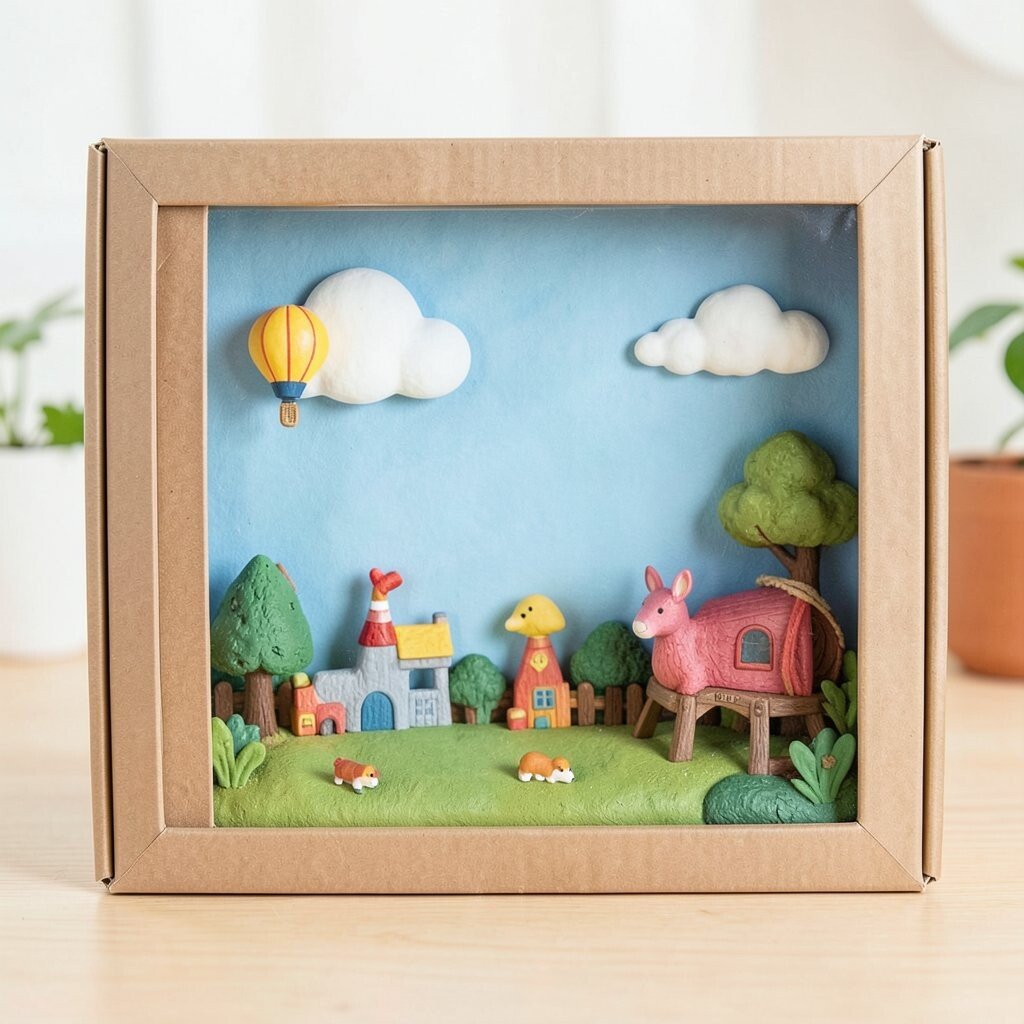
Frame a small window scene inside a shoebox lid so kids can peek into different weather worlds. A sunny scene can glow with yellow tissue paper, while rainy scenes can use blue strips for falling lines.
Let each child build one weather window, then share how it looks and what they might wear. The visual scenes become a calm talking space for morning check-ins and storytelling.
8. Texture Alphabet Scrolls
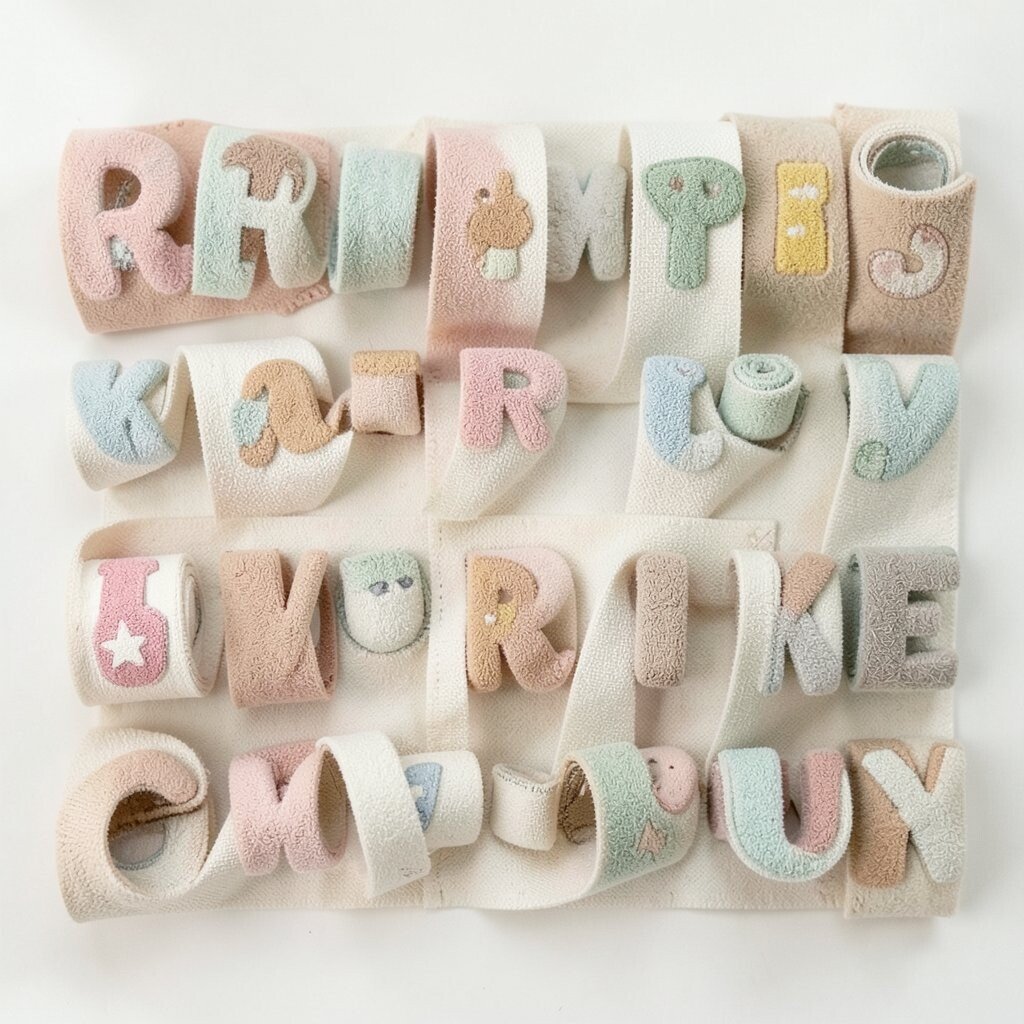
Create alphabet scrolls using strips of paper with different textures for each letter. Raised glue dots, sandpaper scraps, or fabric bits make each letter feel distinct under fingertips.
Children trace a letter with their finger while saying the sound, then match it to an object you show. This supports sensory learning and helps kids remember letters through touch.
9. Storyboard Sequencing With Photo Strip Panels
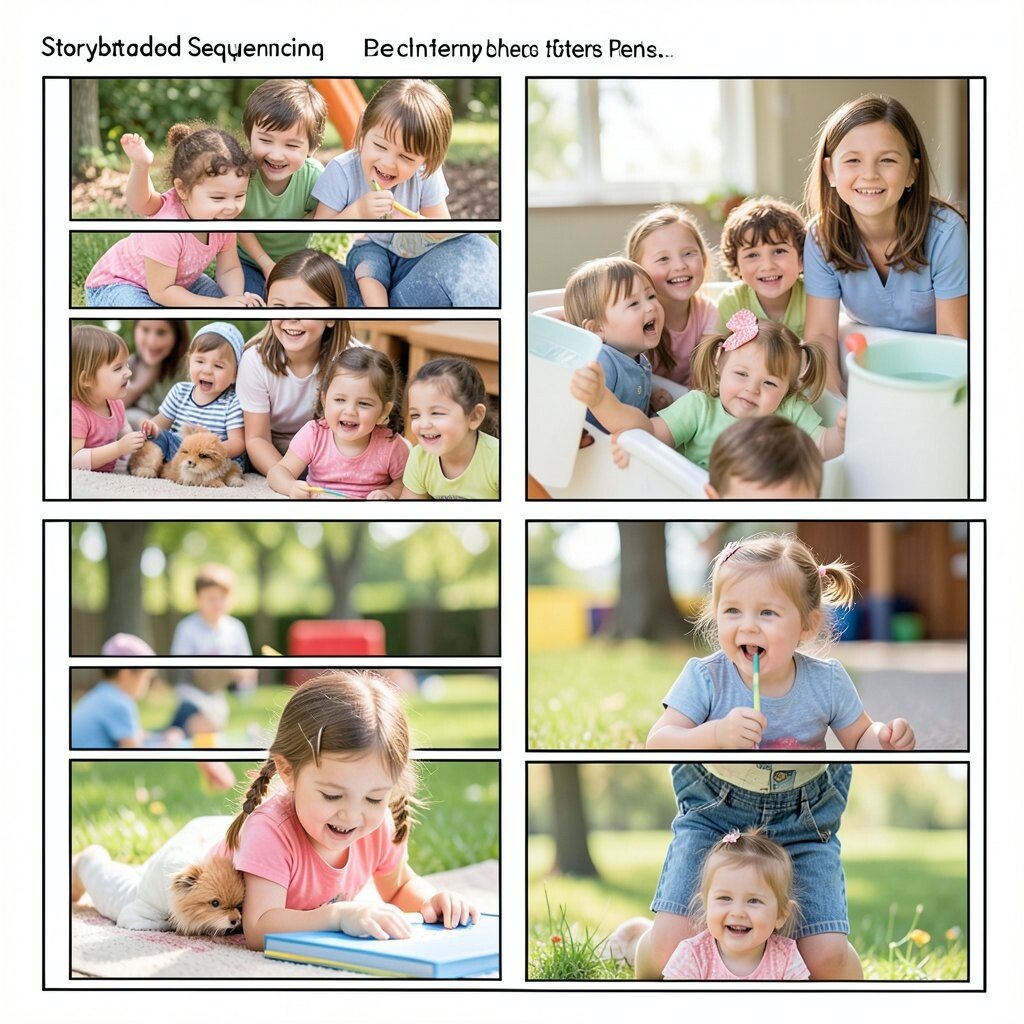
Use a strip of paper with several panels so children can arrange story events in order. Add simple drawings or printed photos of classroom moments, like washing hands, building blocks, or lining up.
Children move panels around until the story “makes sense” visually from start to finish. The activity builds sequencing skills and also strengthens listening as they explain their choices.
Make it budget-friendly by taking quick phone photos, printing them cheaply, and reusing the paper panels with magnets. Personalize each strip with a child’s name or a favorite character from a class book.
10. Classroom Map With Tape Borders and Landmarks
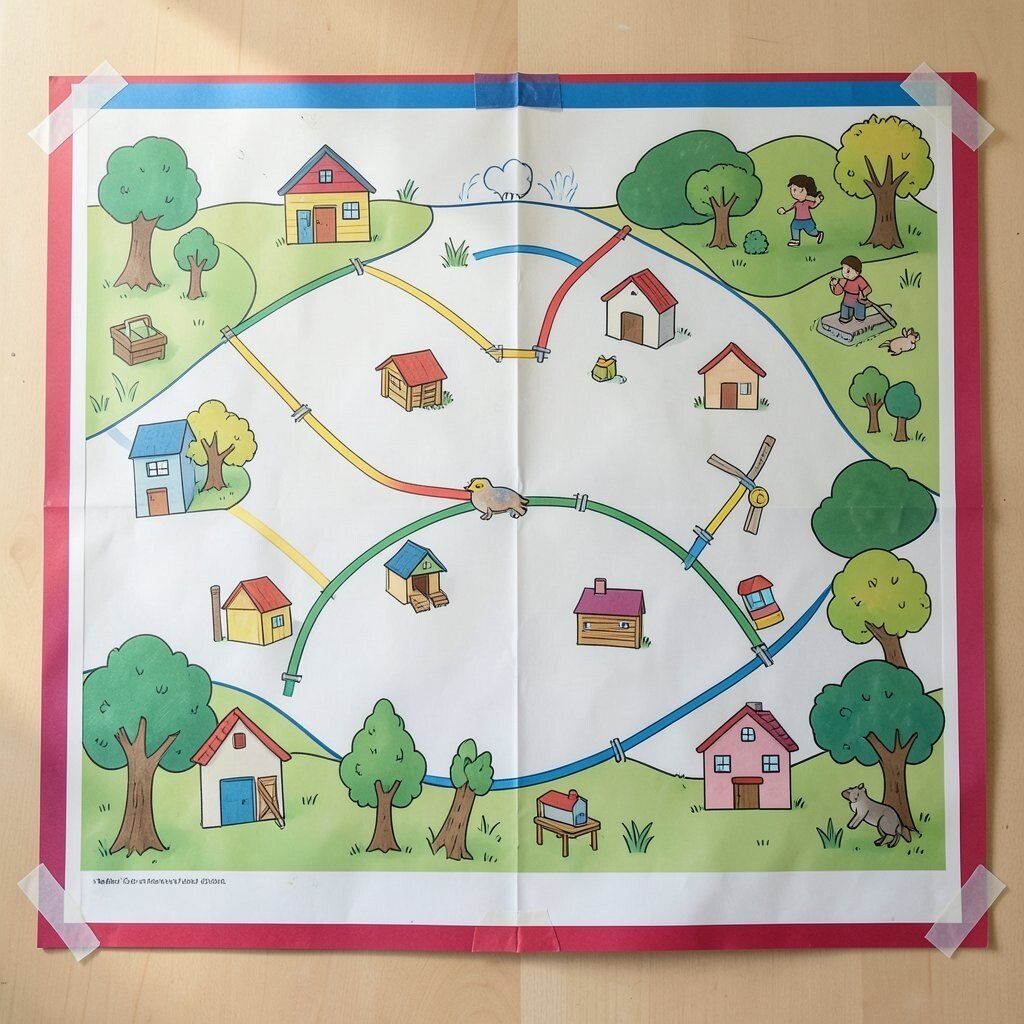
Lay out a simple classroom map on a poster board using tape borders. Draw landmarks like the reading corner, art table, and block area as bright picture icons.
Children help you place magnetic or Velcro “visitor” pieces on the map as you talk about where things are. This makes directions feel real and helps early navigation skills.
11. Name Art With Rainbow Crayon Rubbing Tiles
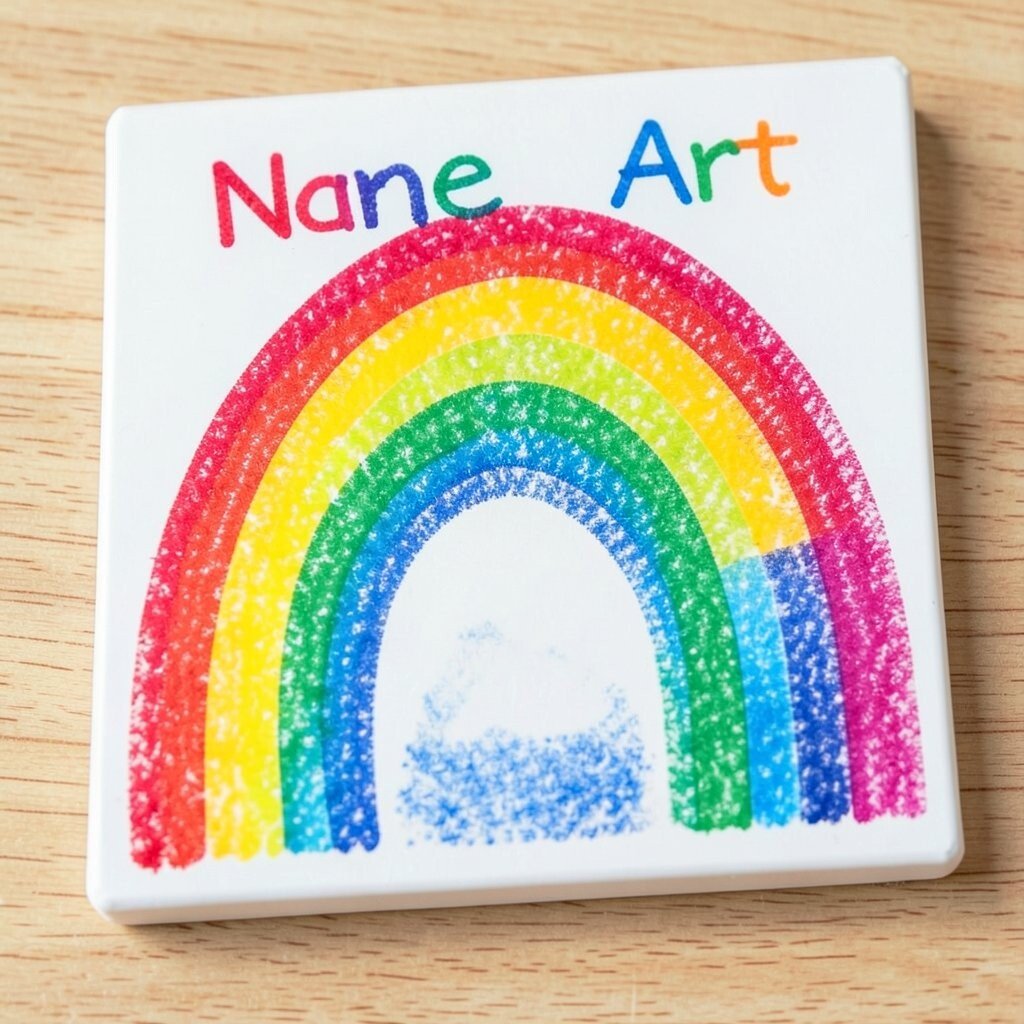
Turn name practice into a colorful activity by using crayon rubbings on textured paper. Place a cutout stencil of a child’s name over textured cardboard, then rub with bright crayons to reveal the letters.
The letters appear like magic stripes, and that visual excitement keeps kids trying even when it feels tricky. Afterward, they can add dots, stars, or tiny drawings near each letter for extra personality.
Use cheap materials by saving cardboard from cereal boxes and using old crayon stubs or washable markers. To personalize, let kids choose a theme, like dinosaurs, trains, or flowers, and add matching icons around the name.
12. Shadow Play Wall With Flashlight Silhouettes
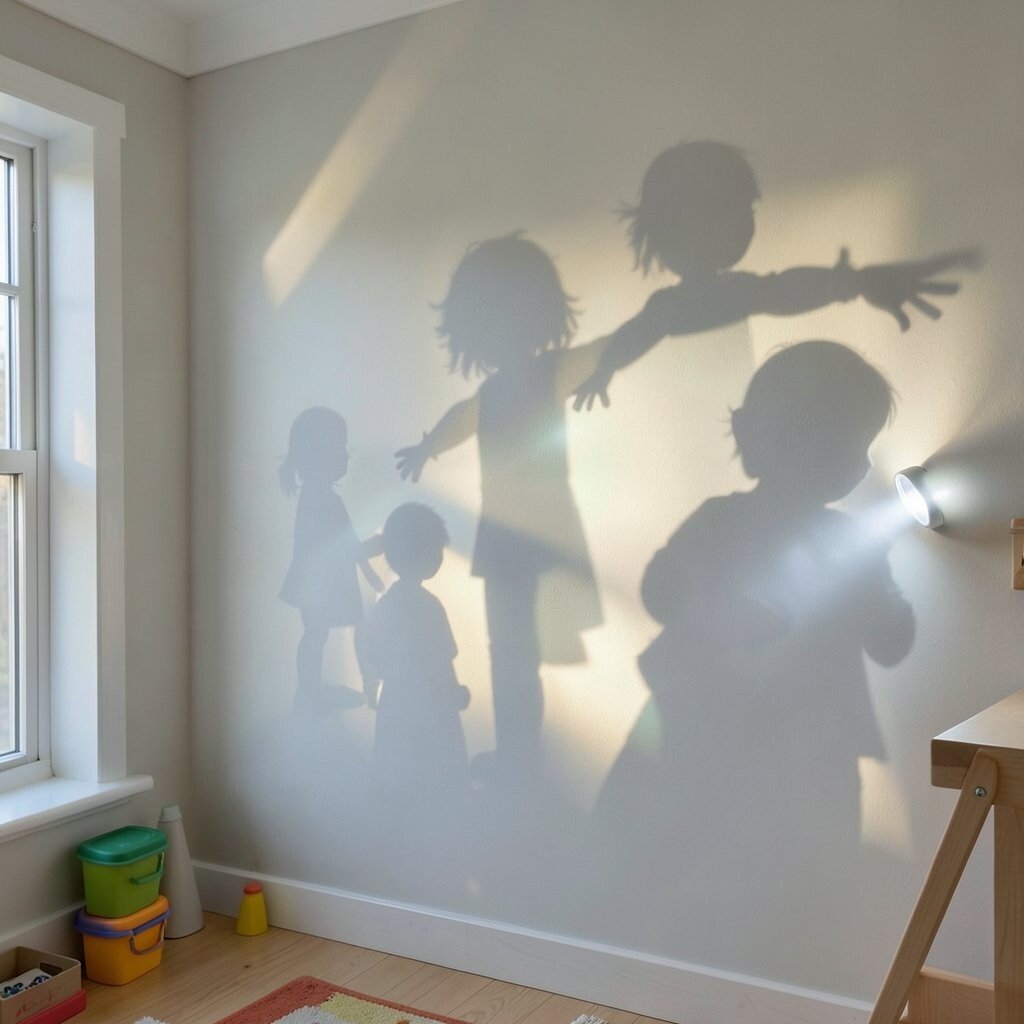
Set up a shadow play wall using a dark poster board and a small flashlight. Cut simple shapes out of black cardstock and slide them into the board so shadows pop on the wall.
Kids move the flashlight angles and watch how the shadow grows, shrinks, and changes direction. It supports spatial thinking while giving a fun, visual “wow” moment that feels like a science show.
13. Sorting Centers With Color-Coded Tray Lids
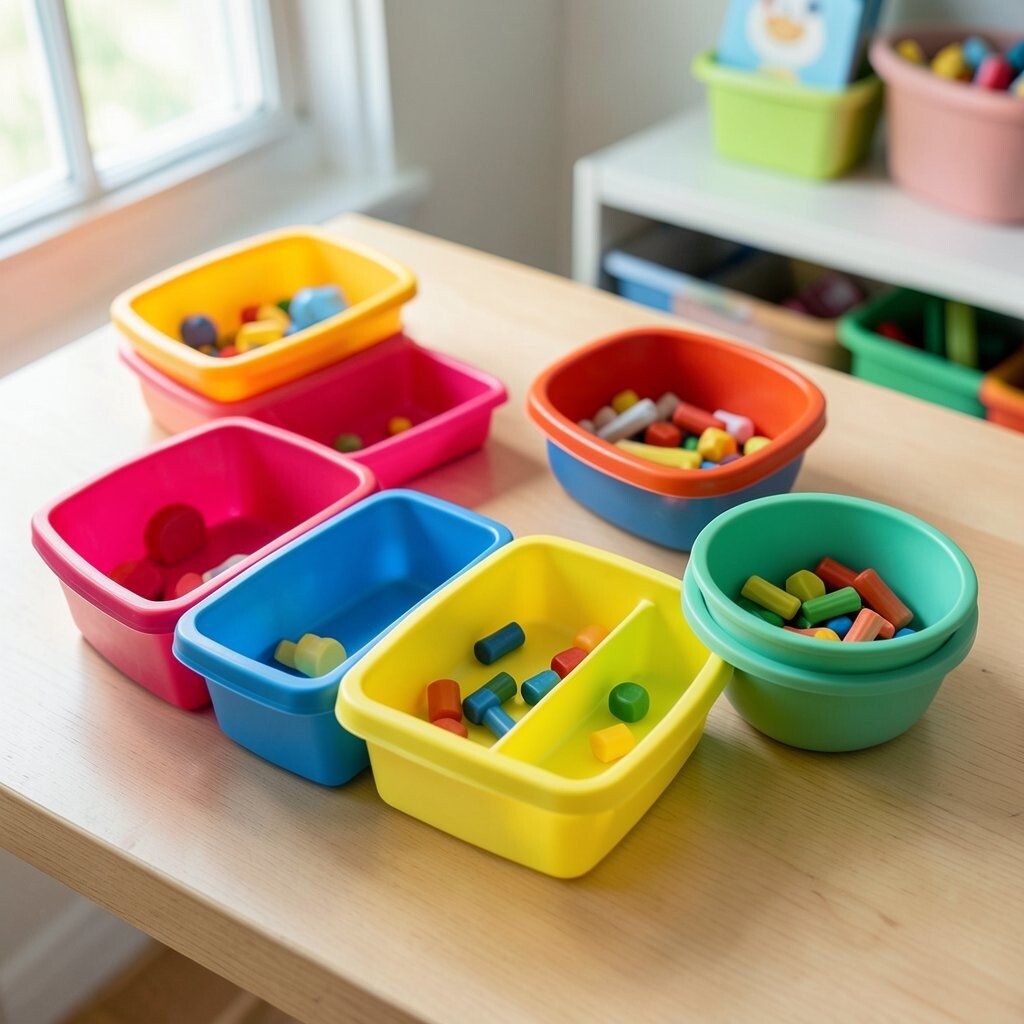
Use old container lids as visual guides for sorting, labeling each lid with a clear color cue. A red lid might hold objects that are red, and a blue lid might hold items that are blue.
Kids drop small items in the right lid, then check their work by comparing to picture cards. This builds early classification skills and helps reduce confusion during center time.
For cost and sustainability, use lids you already have and gather natural objects like leaves, stones, and buttons. Personalize the set by matching classroom themes, such as sea creatures with ocean colors.
14. Build-a-Bridge With Pattern Blocks on Planks
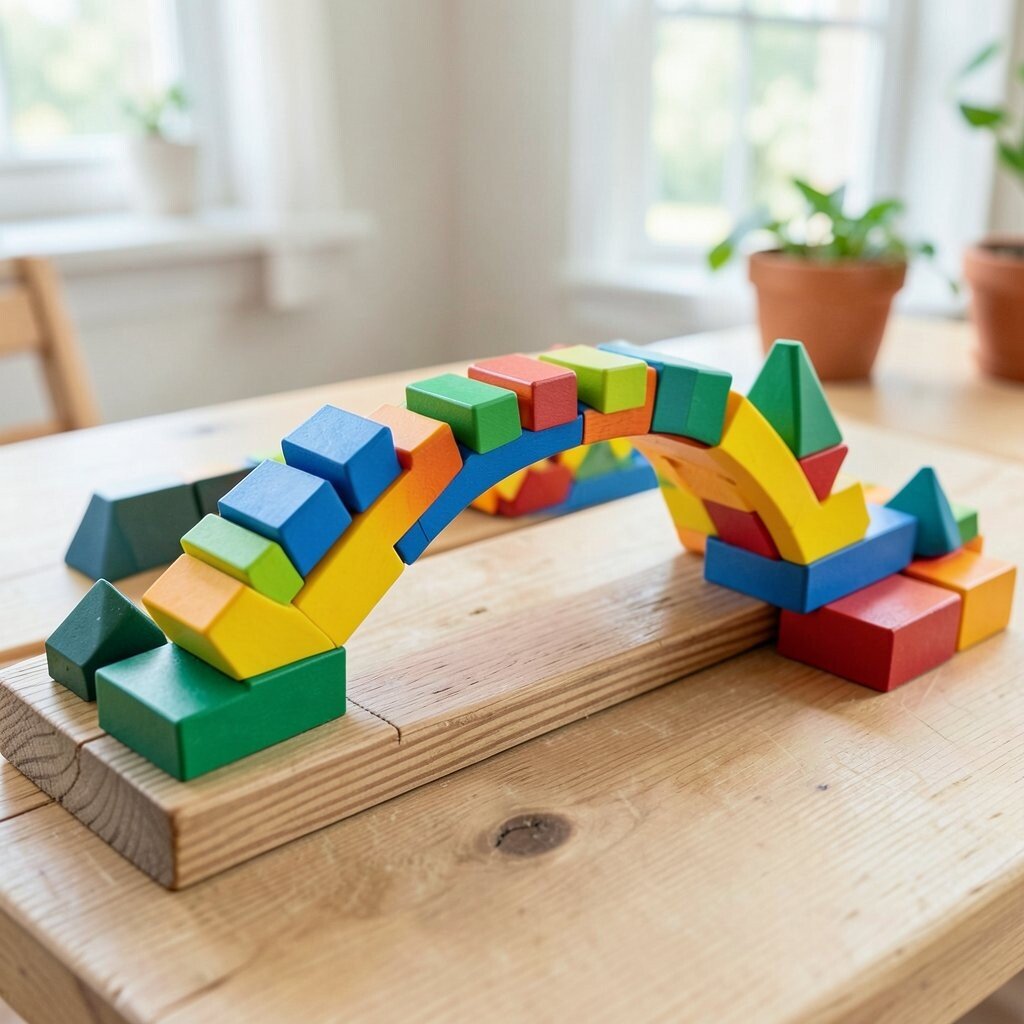
Give children plank boards with grooves where pattern blocks fit snugly. Their bridges look neat and sturdy, with repeating shapes that form strong visual patterns.
Ask them to create a bridge that supports a small paper “car,” like a toy figure or a folded note. The visual structure helps kids notice shapes and patterns while building problem-solving skills.
15. Seasons Pocket Chart With Flap Pictures
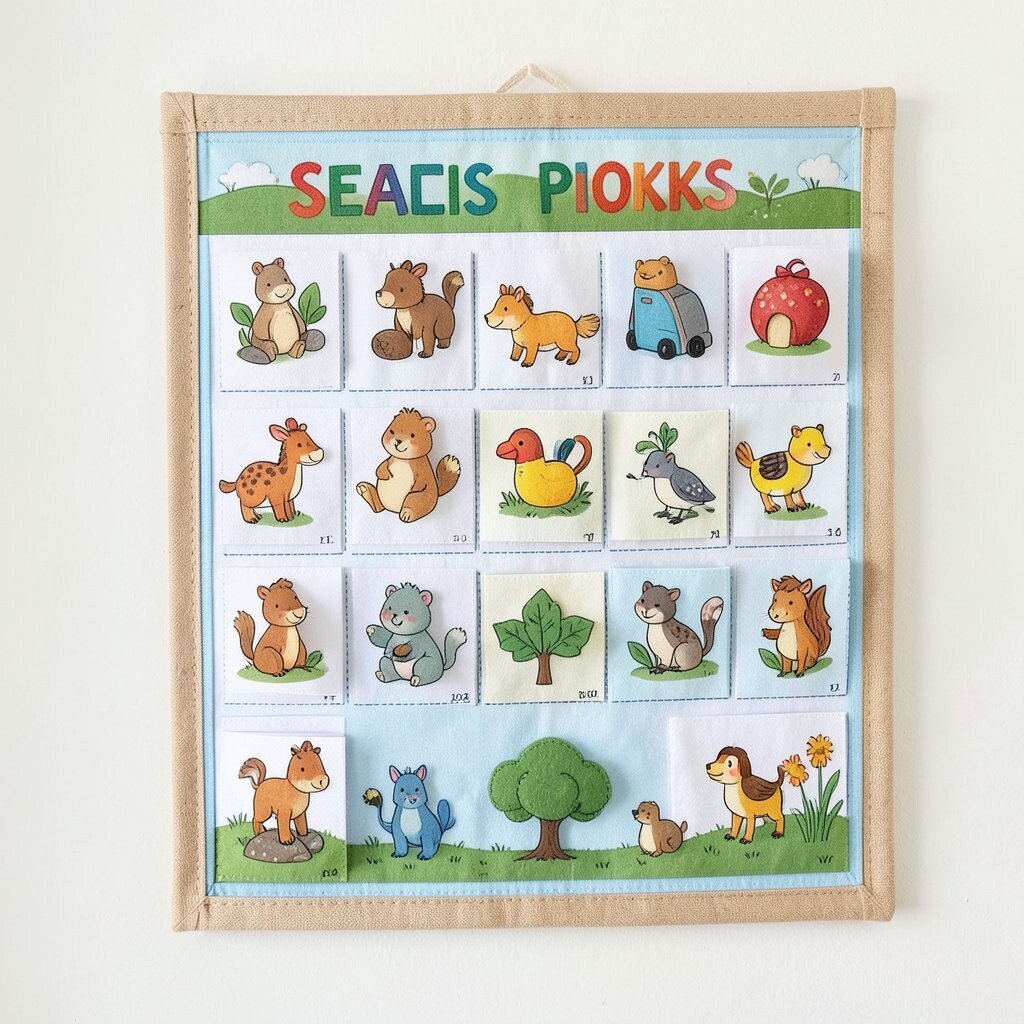
Make a pocket chart where each season has a flap with a picture set inside. Spring can show bright flowers and green grass, summer can show sunny skies, and fall can show colorful leaves.
As you talk about the year, children open flaps to match the season with what they see in stories or nature walks. The moving flaps create a clear visual routine that supports comprehension and engagement.
Keep it budget-friendly by using paper pockets and cardstock flaps, then adding Velcro for easy reuse. Personalize by letting kids add a “favorite weather” drawing to each season pocket.
16. Sight Word Postcards With Clipline Display
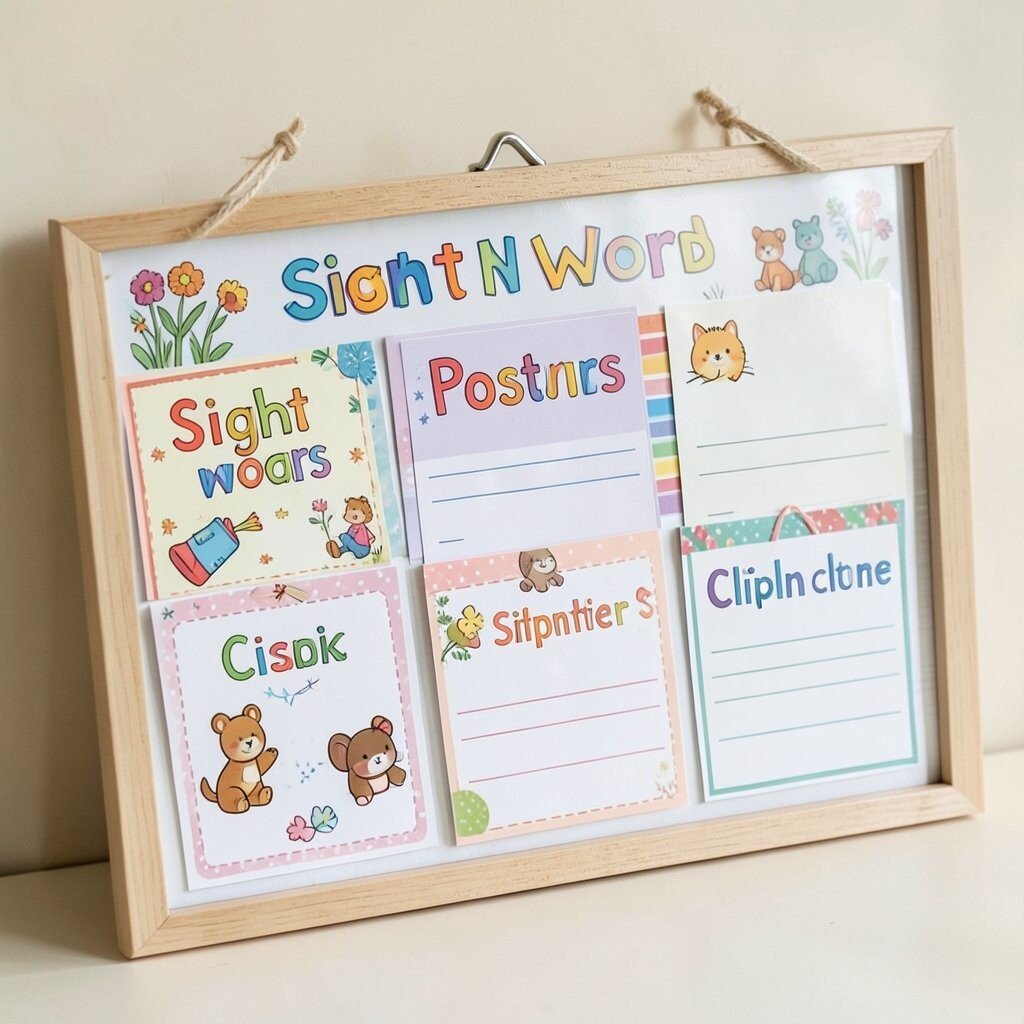
Create sight word postcards on small cardstock rectangles and clip them to a string line like a mini gallery. Each postcard can feature a word plus a tiny picture that helps memory, like “cat” with a simple cat drawing.
Children swap postcards they can read for postcards they want to practice next. The display gives a constant visual reminder and makes practice feel like collecting art.
17. Recycling Rhythm With Music Cards and Bin Icons
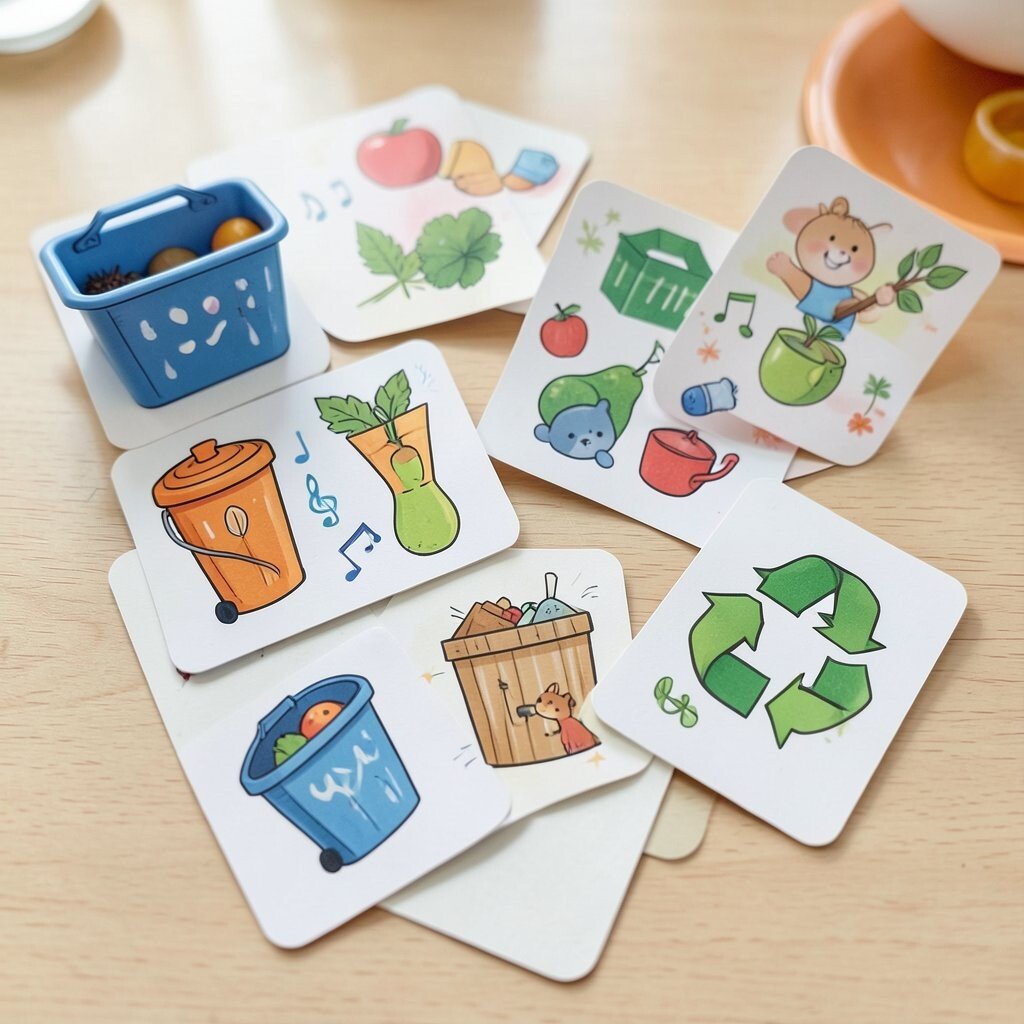
Design a set of music cards where each card has a recycling symbol and an easy rhythm pattern. One card can mean clap-clap, another can mean tap-tap, and each symbol helps children know where it belongs.
When the music plays, children hold up the card and then drop the matching item into the correct bin icon area. This ties movement to meaning and keeps the routine lively without long explanations.
For cost, draw recycling symbols yourself and reuse small containers for bins. Personalize by adding local recycling rules as picture reminders, so kids practice habits that fit your community.
18. Cloud Letters With Cotton Ball Puffs
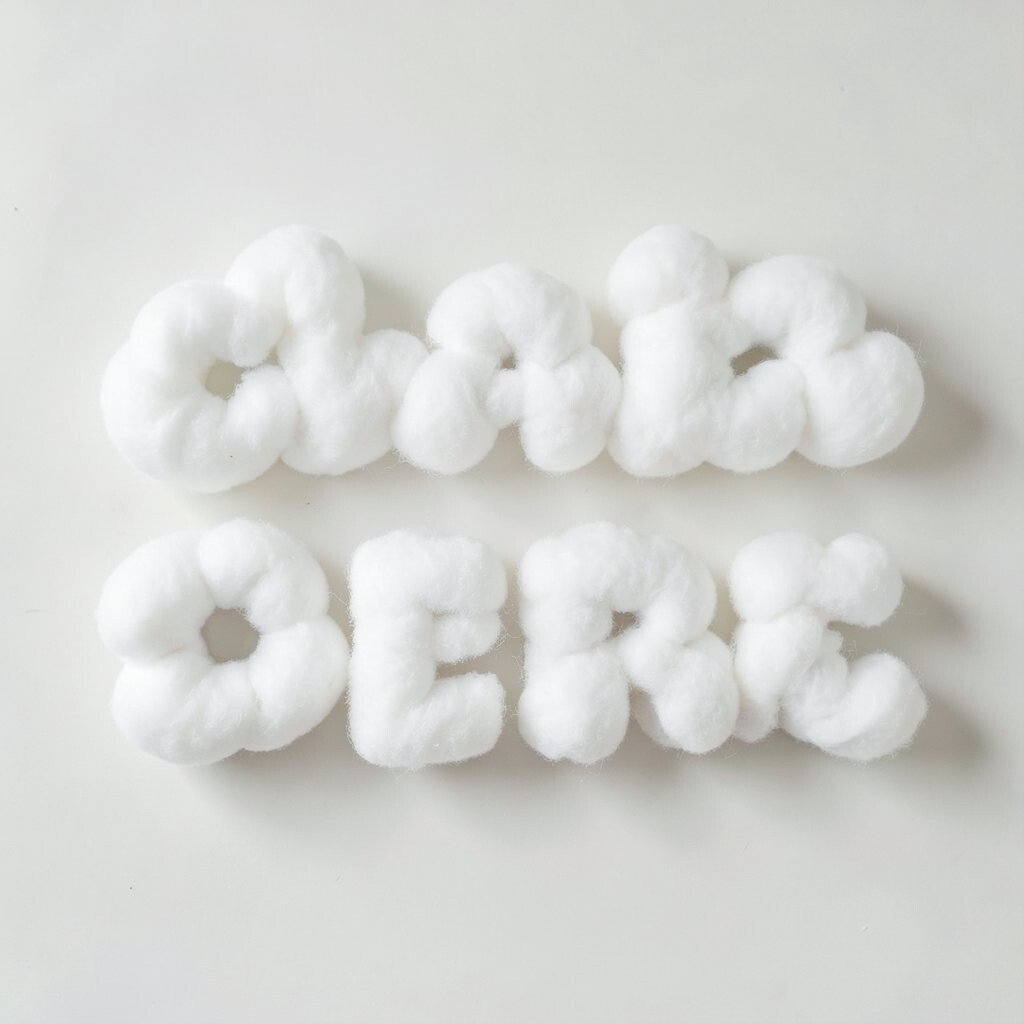
Draw simple letter shapes on thick paper, then outline them with glue lines that are easy for kids to follow. Add cotton balls as puffy “cloud filling” so each letter looks soft and rounded.
This visual makes writing feel gentle instead of stressful, especially for kids who are still building control. After they finish, children can name the letter sound and spot matching letters on classroom signs.
19. Community Helpers Mural With Layered Paper Windows
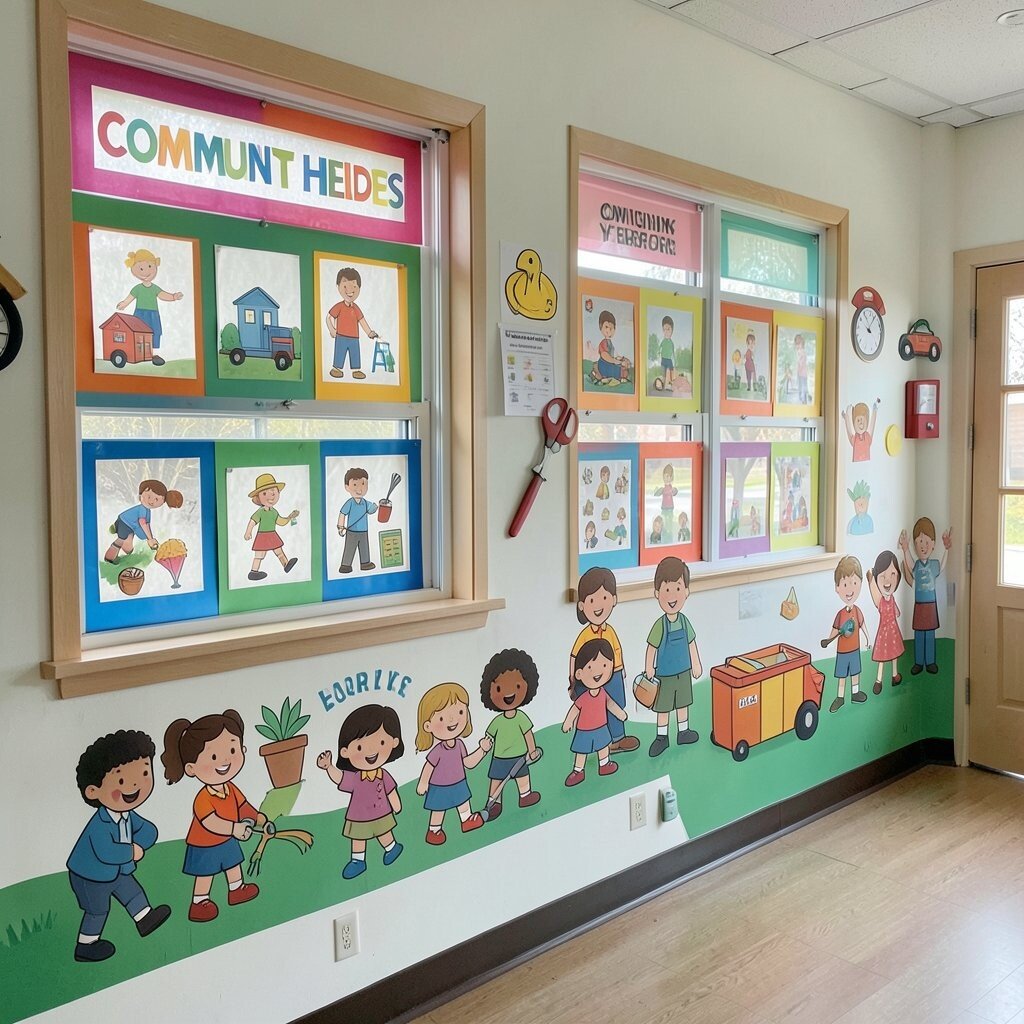
Create a mural scene with layered paper windows that reveal different community helpers. A mail carrier window can show a tiny envelope drawing, a firefighter window can show a red truck icon, and a teacher window can show a book and apple.
Children add their own window layer by layer, then share a short “helper story” about what the helper does. The layered look feels unique and bright, and it creates a classroom memory that stays interesting long after it’s made.
For practical building, use craft paper, glue sticks, and scissors with supervision, then save cut shapes for future projects. Personalize by connecting to your school routines, like adding windows for the roles kids see every day, such as cafeteria staff or bus drivers.
To manage costs, reuse window frames from older art pieces and use scraps for the helper images. Keep the design aligned with current classroom themes, like kindness or safety, so the mural supports what you already teach.