
Quiet spaces help little minds feel safe and ready to learn. When everything has a home, your room starts working like a team.
Minimal decor doesn’t mean boring or cold, it means calm, clear, and easy for kids to use. The right organization choices can make your classroom look lovely and feel practical every single day.
1. Use a Calm Color Plan With Open Storage
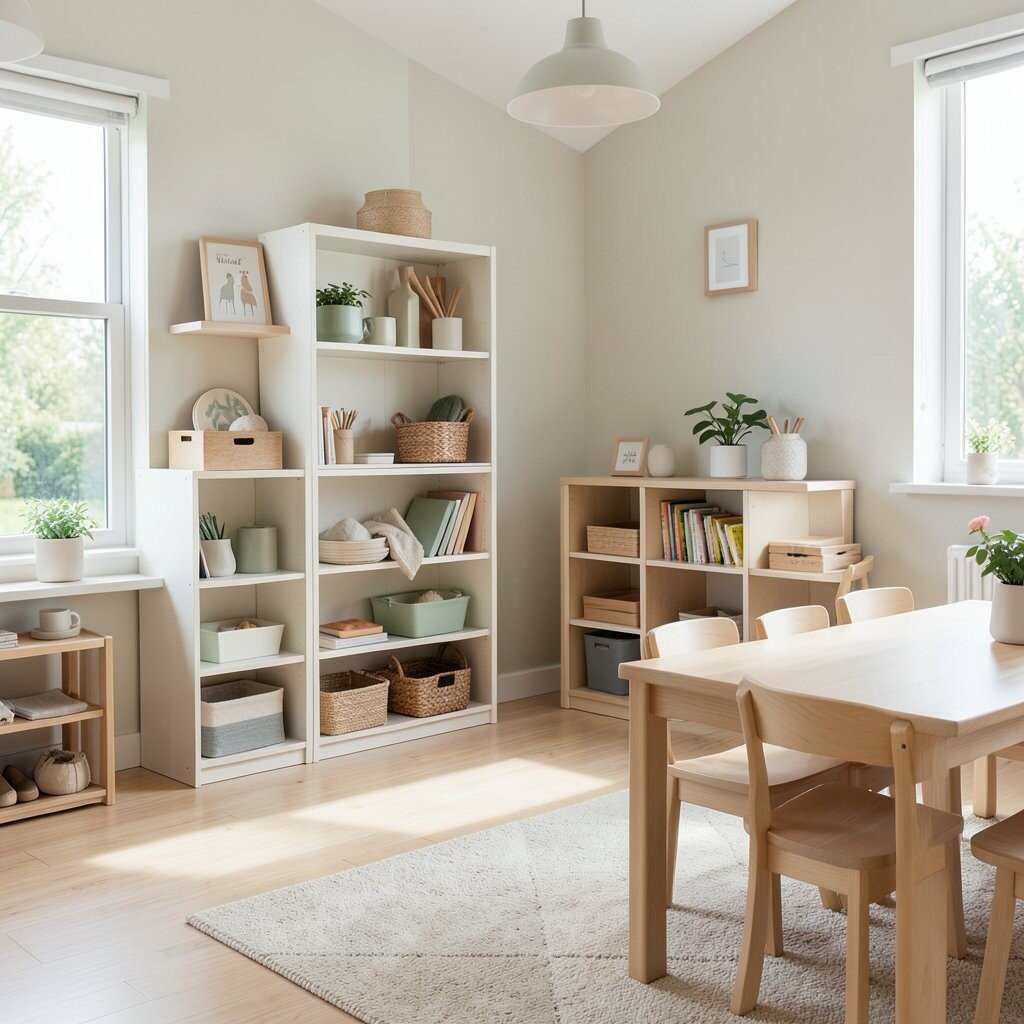
Start by picking a soft color plan that repeats across shelves, bins, and wall labels. Think pale blue, warm white, and a gentle wood tone that looks tidy even when backpacks pile up.
Use open shelving with matching storage bins so kids can quickly see what goes where. This reduces clutter and helps routines feel natural, because children can find supplies without lots of adult help. You can keep it unique by adding one small pop color, like a sunny yellow bin for art crayons, while the rest stays calm.
2. Label Everything With Picture-Friendly Systems
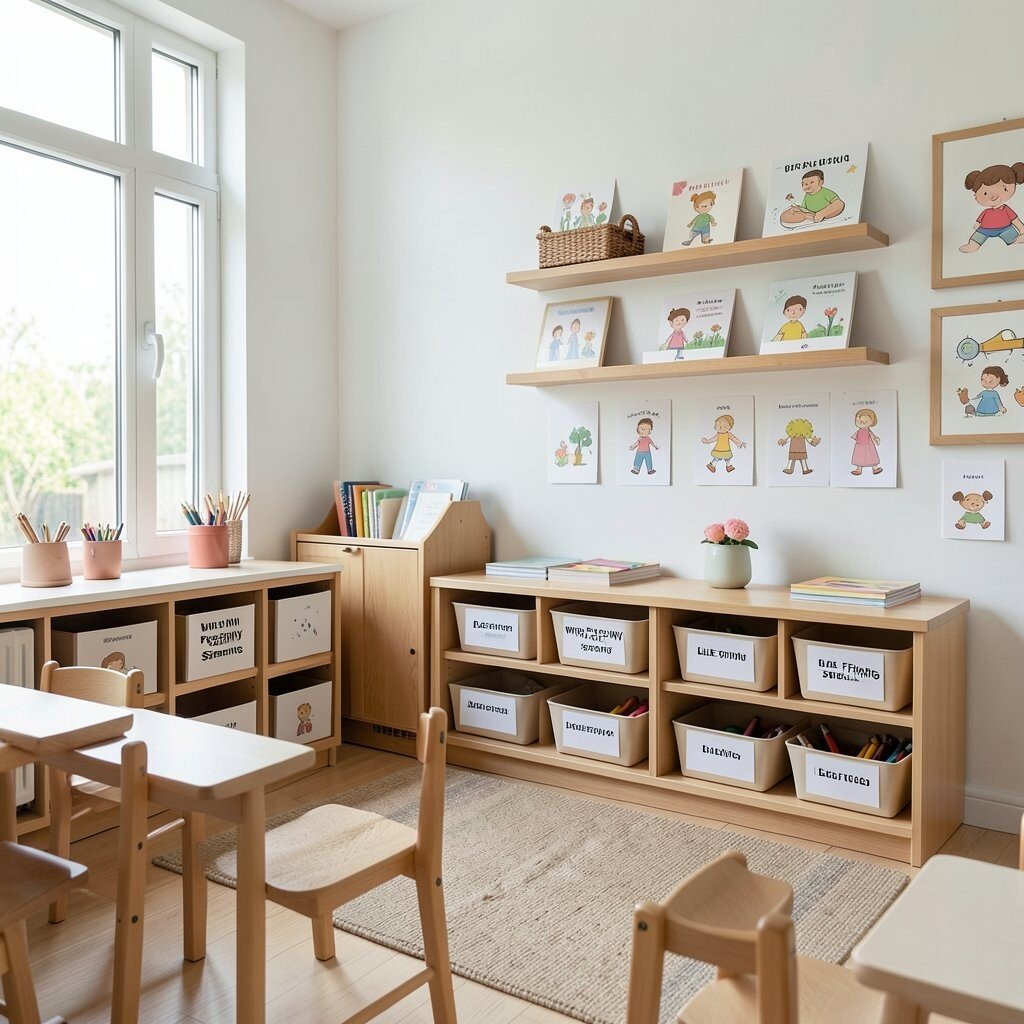
Choose simple labels that use big pictures and short words. A drawing of a paintbrush or a tiny shoe can guide kids even before they fully read.
Place labels at kid height and keep the font style easy to spot from across the room. When bins are clearly marked, transitions get smoother, and you spend less time searching for missing items.
To personalize, let each group add a small seasonal icon, like a leaf for fall or a heart for kindness week. This keeps the system consistent while still making your space feel like it belongs to your class.
3. Create a Single Art Zone With Rotating Supplies
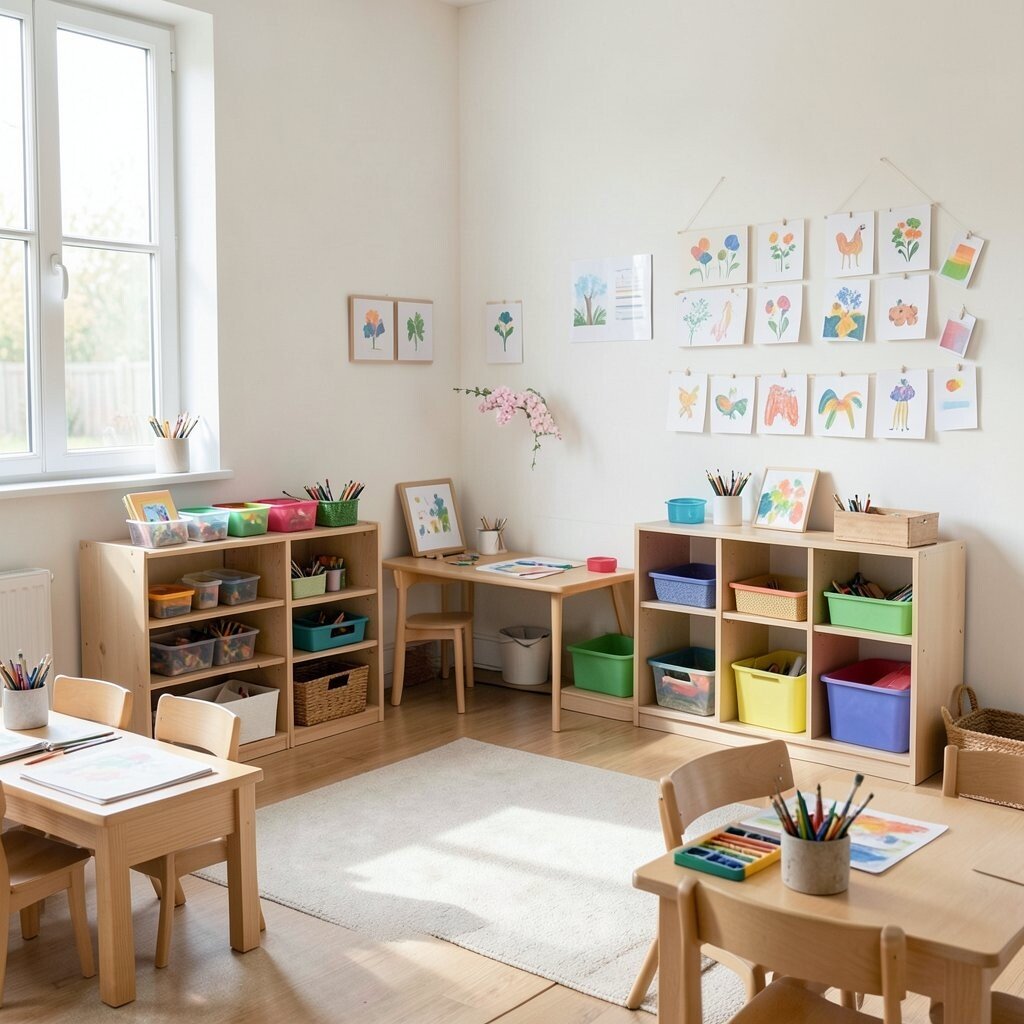
Designate one art zone with a flat surface and a few slim trays for daily materials. Use a color-matched cart or shelf so paints, paper, and tools look organized at a glance.
Keep most supplies in closed containers and rotate only what kids need for the week. This creates a clean, minimalist look while reducing the temptation to dump everything out at once.
For practical tips, store smocks and wipes near the art area so the workflow stays simple. You can add uniqueness by changing the art tray colors by theme, like cool grays for winter crafts and bright coral for spring.
When it comes to cost, start with what you already have, then upgrade one area at a time. Even using recycled jars for brushes can look polished when grouped neatly.
4. Hang Lightweight Wall Pockets for Small Treasures
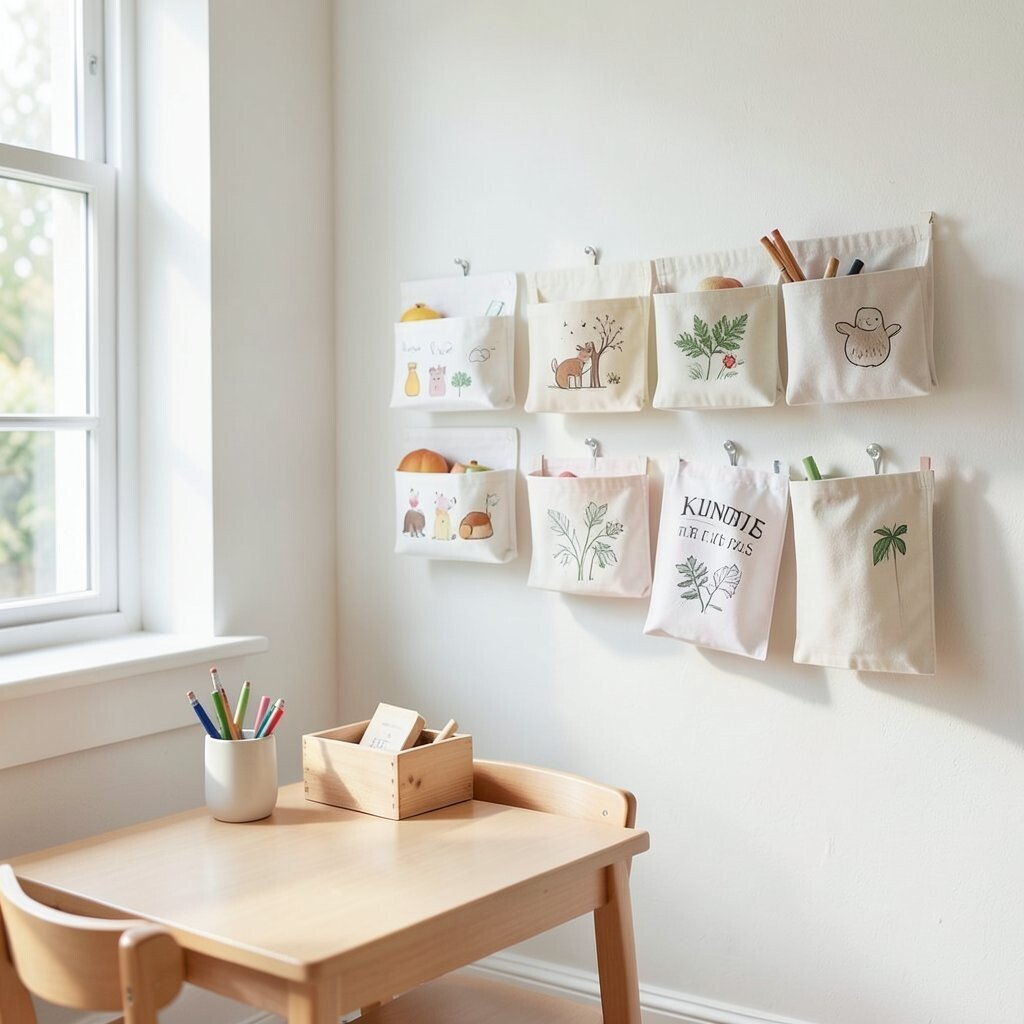
Use wall pockets for items like handouts, take-home crafts, and calming tools such as sensory cards. Pick pockets in the same color family as your shelves so the whole room feels calm and coordinated.
When kids can grab their materials from the wall, it cuts down on reaching, wandering, and waiting. This makes your classroom feel both inviting and organized, because the space supports what children are trying to do.
5. Build a Mini Reading Nook With Baskets, Not Cabinets
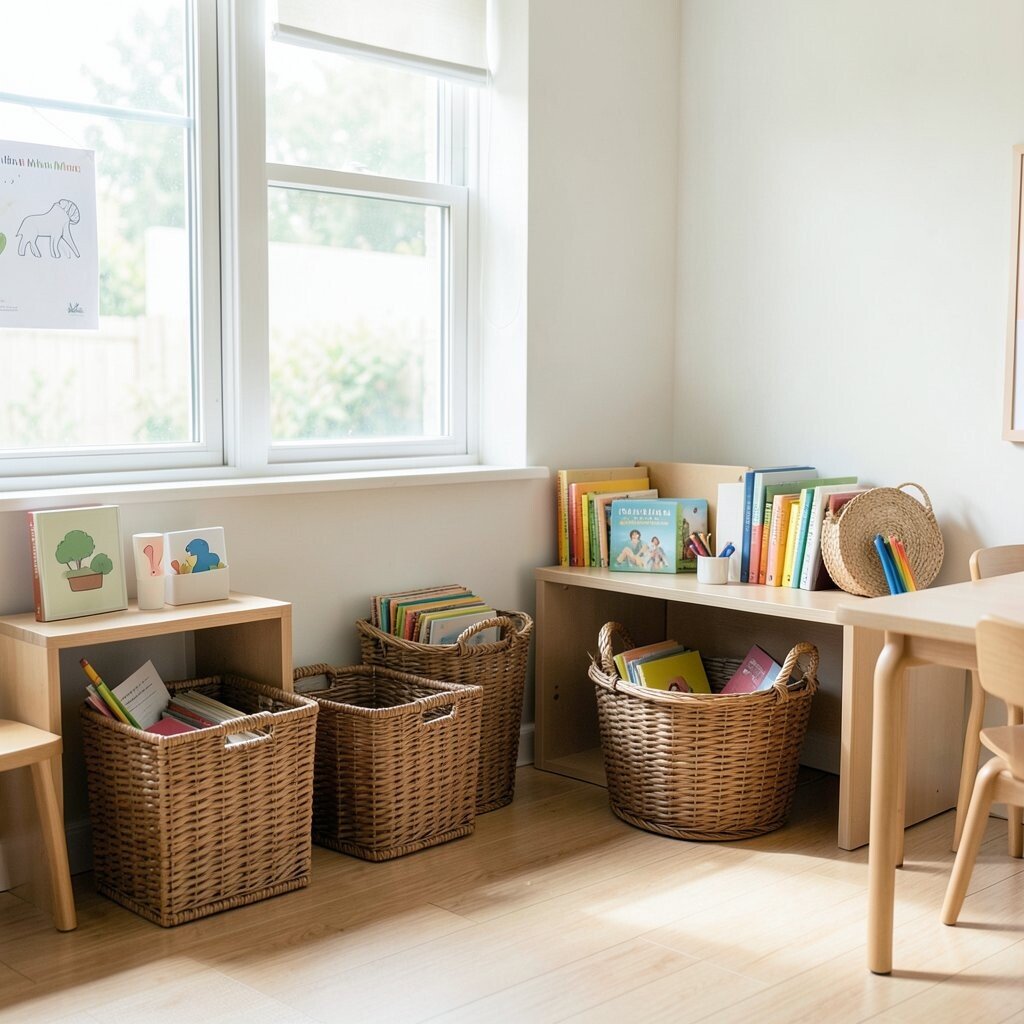
Choose a reading corner with a soft rug and a low shelf that holds books upright. Use a few baskets for picture books and quiet activities so the nook stays tidy between story times.
Minimal decor looks best when you limit the display to what you can actually rotate. Keep a small selection visible and store extras in a plain bin, so the corner never feels crowded.
To personalize, add one fabric banner or a simple star garland that matches your color plan. Current trends in early learning often favor cozy, light-filled corners, and this setup feels modern without being flashy.
6. Organize Math and Counting Tools in Clear Lidded Trays
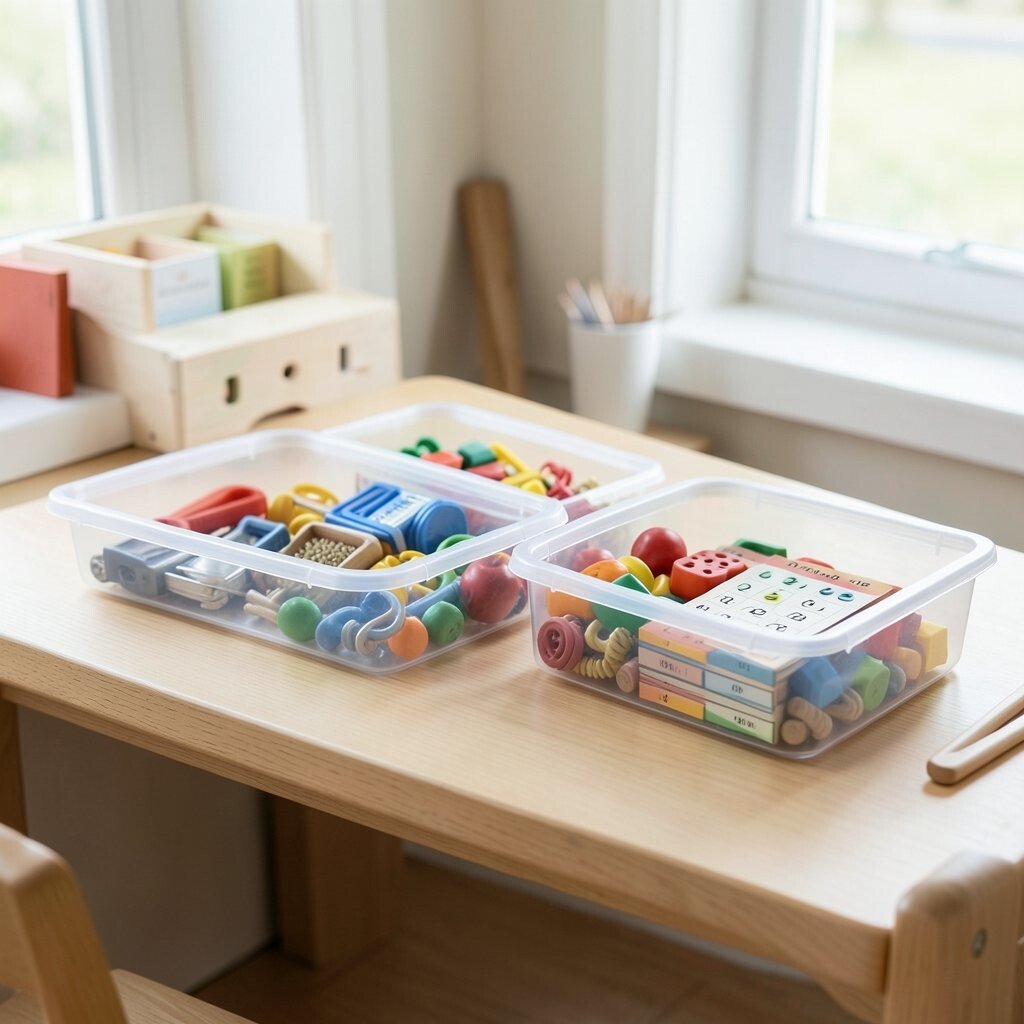
Use clear lidded trays for counting pieces like linking cubes, number cards, and small manipulatives. Visible storage makes it easy for kids to choose tools without rummaging through piles.
Place trays in a row by skill level or type, such as shapes in one set and counters in another. This helps learning run smoothly because everyone knows exactly what belongs in each space.
Add uniqueness by using subtle tray colors that match your classroom theme. For cost considerations, you can repurpose food storage containers and add simple labels, which gives the same clean look for less money.
7. Make Name Tags and Papers Easy to Return
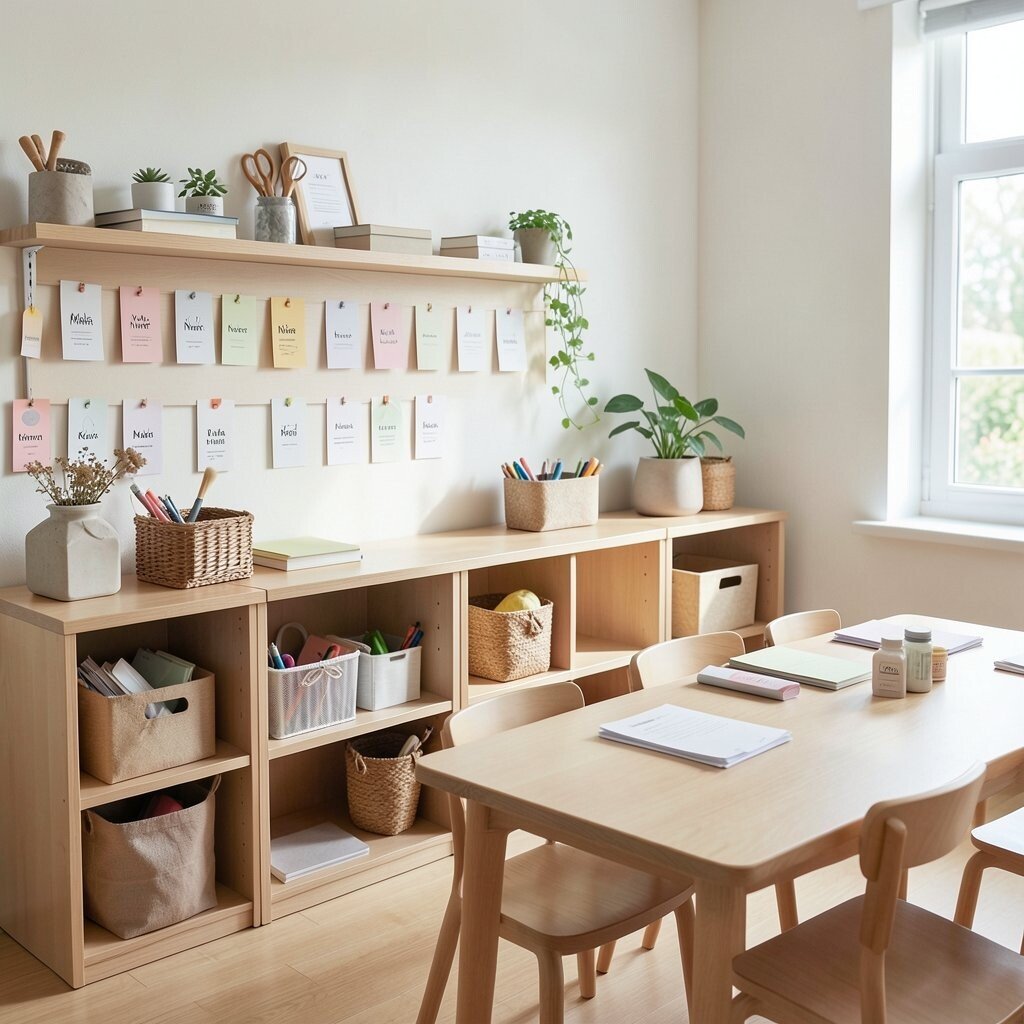
Set up a simple spot for completed work using a small wall rail or a tray system with compartments. Keep it near the workspace so children can return papers without walking across the room.
Use name cards with large letters and matching pictures so kids feel confident placing their work. When papers have a clear home, you’ll spend less time untangling stacks later.
8. Use One Entryway Drop Zone With Matching Bins
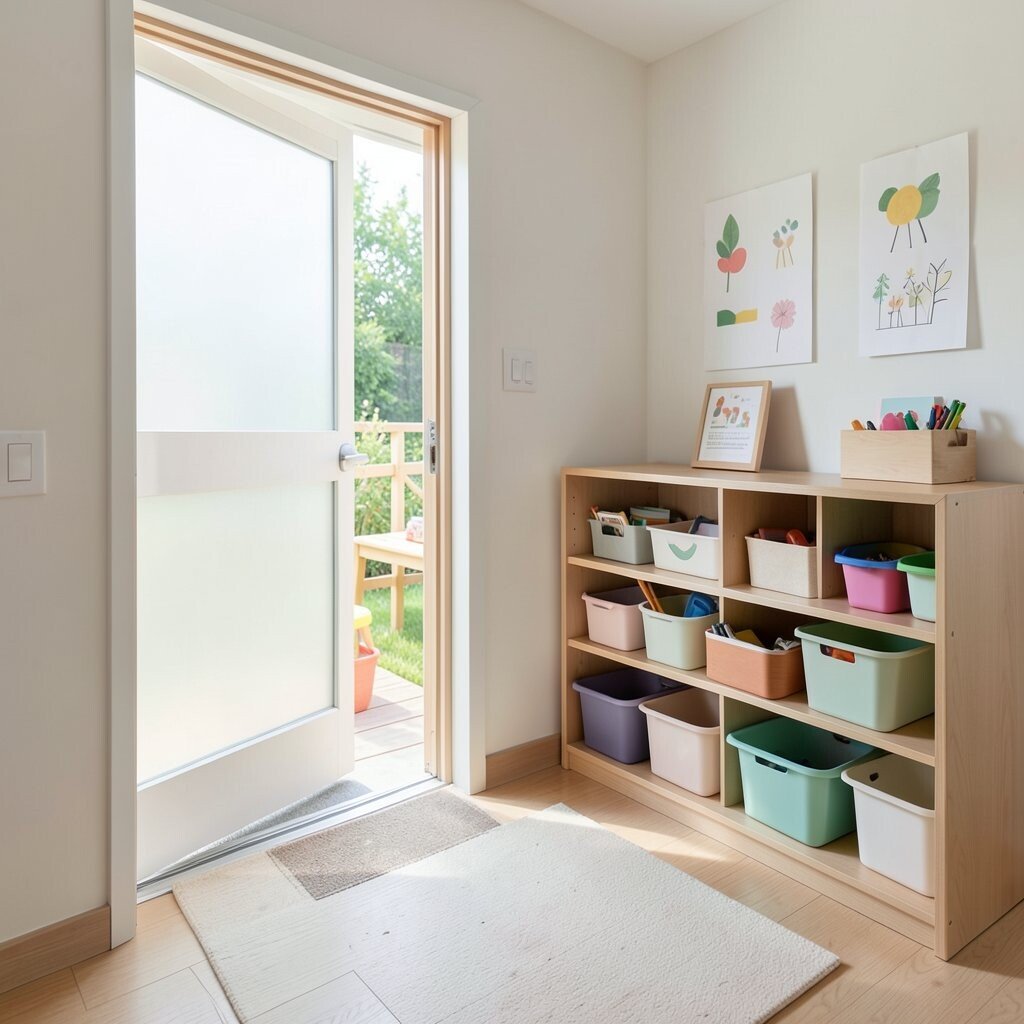
Place a small set of bins near the door for backpacks, hats, and extra clothing. Keep them matching in size and style so the entry area stays neat even on busy days.
Use hooks for items that need hanging and a bin for items that should stay flat. This creates a practical flow and reduces mess because kids can follow the same steps every morning.
To make it unique, add a small fabric label or stitched patch for each child’s bin color. This also supports personalization, because families can enjoy the visual of “their spot” in a friendly way.
9. Keep Teaching Supplies in a Single Mobile Cart
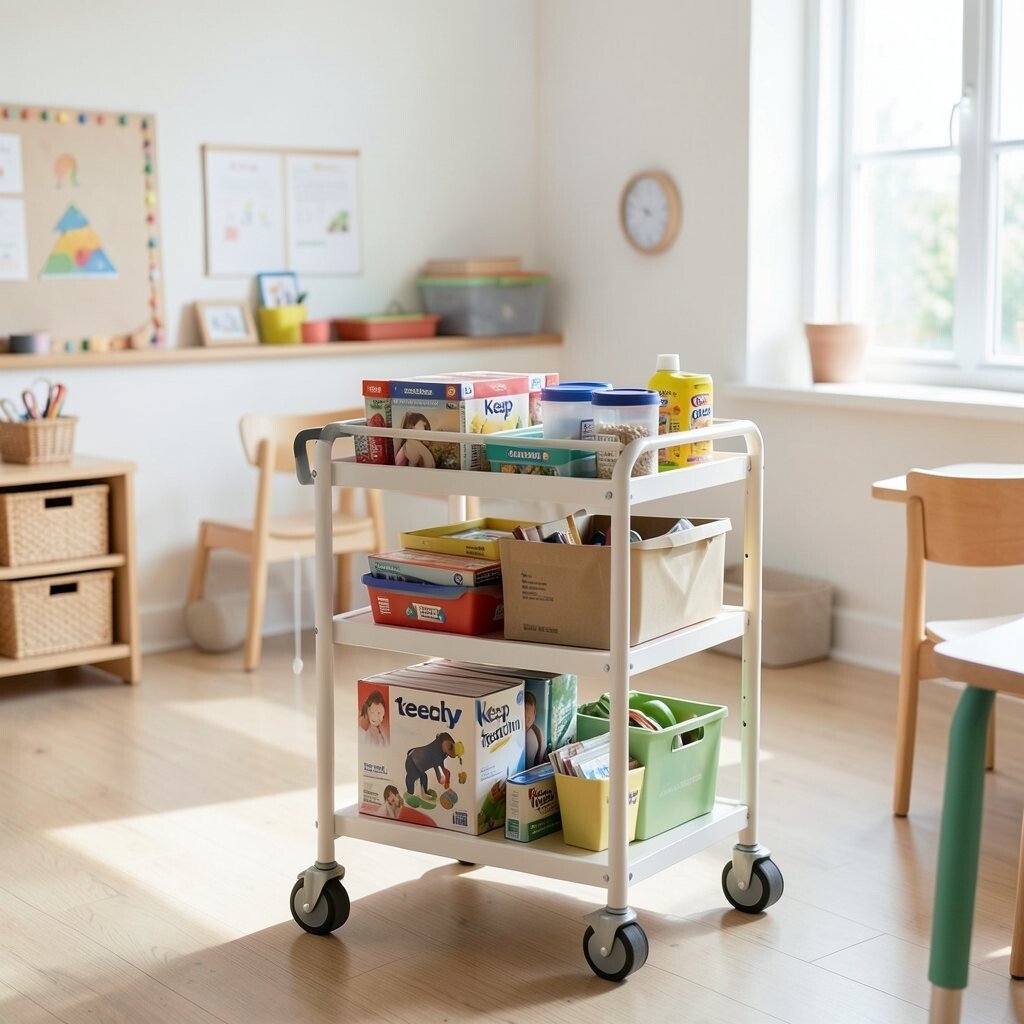
Choose one mobile cart for markers, tape, extra paper, and teacher-only items. When supplies live in one place, the rest of the room can stay mostly open and airy.
Store the most-used items on the top shelf and keep backups in drawers or closed bins. This supports minimal organization that still feels accessible during the day.
For practical tips, use drawer dividers so small pieces do not mix together. You can also personalize the cart by adding a small sign with your class theme colors, then swap it out each season.
10. Add a Calm Sensory Corner With Simple Storage
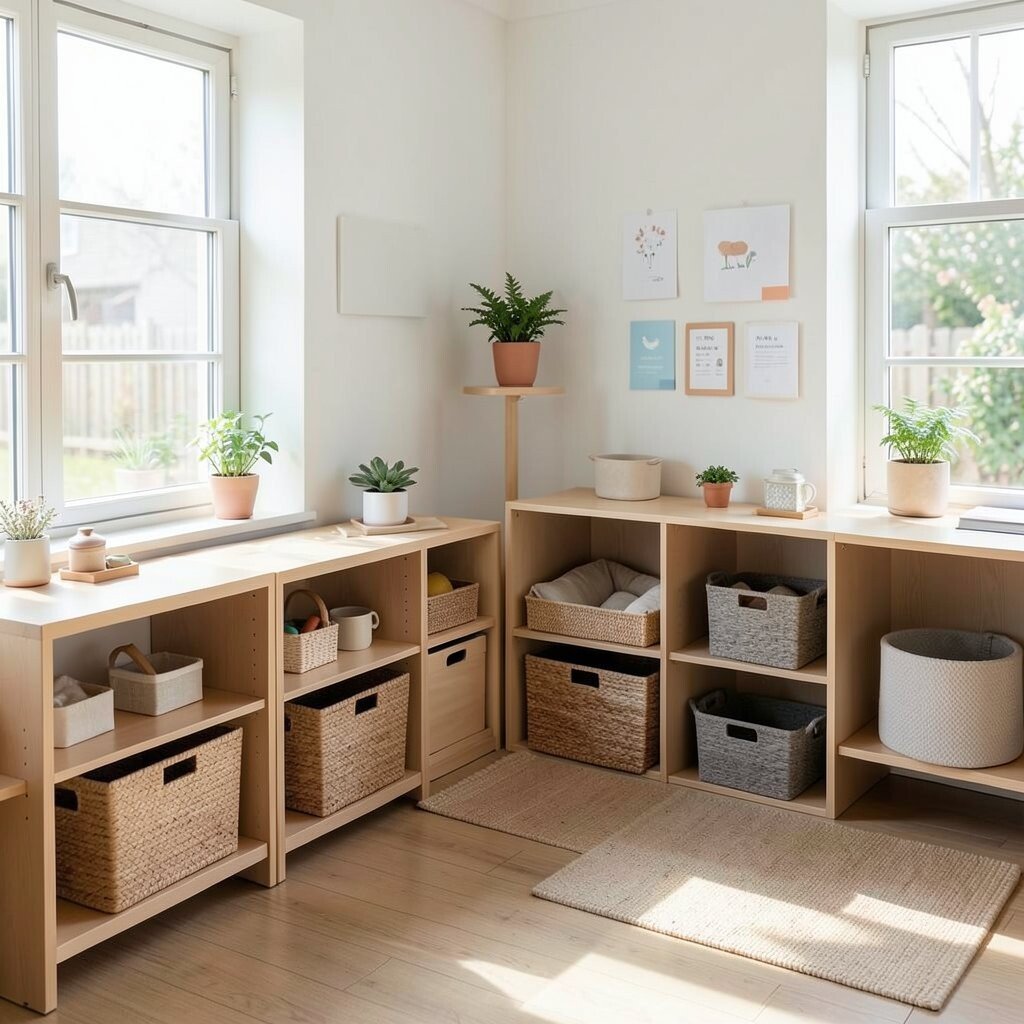
Create a sensory corner using a small mat and a few neatly stored tools. Keep tools in labeled bins so the area looks calm rather than chaotic.
Minimal decor works well here because soft lighting, a quiet chair, and a short list of tools help children self-regulate. When kids know where to find and return items, they can use the corner more independently.
Make the setup unique by choosing one signature texture, like a smooth fidget pouch or a fabric sensory strip. For cost considerations, many sensory tools can be made from simple materials you already own, like zip pouches and patterned felt, when organized neatly.
Current trends often focus on flexible calming spaces instead of heavy equipment, and a small organized corner fits that idea perfectly.
11. Display Learning Posters in Rotating Frames
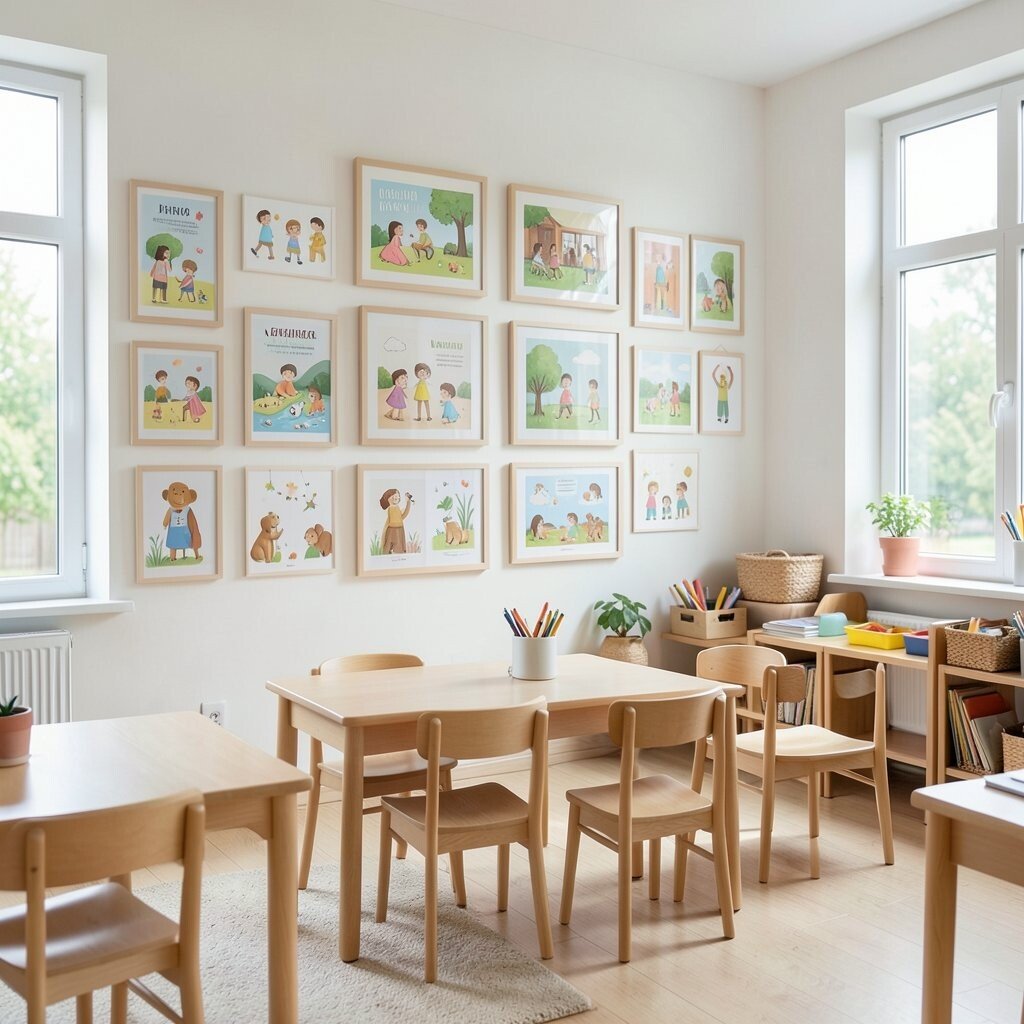
Use simple frames or clip boards to show letters, numbers, and seasonal learning visuals. Rotate content weekly so the display stays fresh and the room never looks cluttered.
Pick frames that match your shelves, then use one consistent layout for each subject area. This keeps the visual style minimalist and makes it easier for children to notice what matters.
To personalize, add a small student-made page in each frame, like a photo of a class learning moment. It feels meaningful without adding piles of extra decor around the room.
12. Use Under-Storage and Clear Bins for Easy Cleanup

Put clear bins under tables or in low spaces where kids can’t easily knock things over. Choose bins with lids so items stay dust-free and the classroom looks clean even when children leave the area.
Label the bins by activity, like “block pieces,” “science cards,” or “quiet games,” so cleanup takes only a few minutes. Clear organization helps build independence because children can return items right after using them.
For a unique touch, use different lid colors that match the room’s theme while keeping the overall look simple. If you want to control cost, start with a few bins that cover the biggest mess zones first, then expand as your needs grow.
Minimal classrooms often use the “everything has a home” mindset, and under-storage is a strong way to make that true.