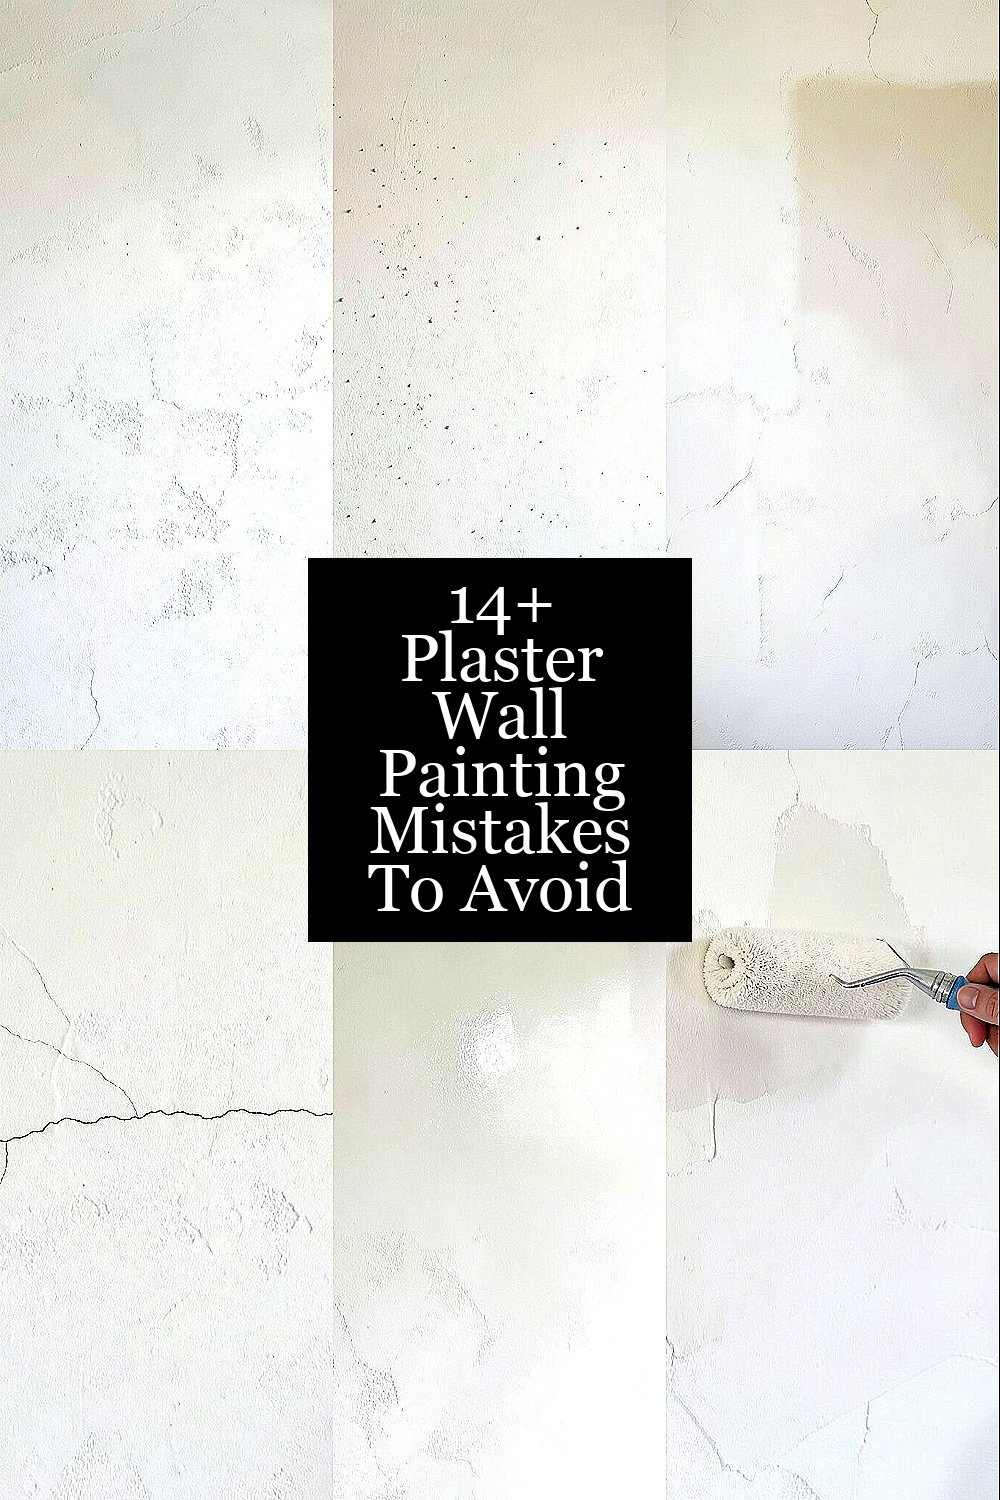
Plaster walls can look rich, soft, and timeless. They can also turn patchy fast if the paint job goes wrong.
Small choices can make a big difference on plaster. A careful plan helps the finish look smooth, bright, and made for your space.
1. Painting Before the Plaster Is Fully Dry
Fresh plaster may look ready, but hidden moisture can still be inside. If paint goes on too soon, the wall can blotch, peel, or stay damp under the surface.
A dry wall gives a cleaner look and a longer-lasting finish. It also helps the color stay even instead of showing dull spots. Many homeowners wait a little longer than they think they need to, and that patience often saves money on repairs.
2. Skipping Surface Cleaning
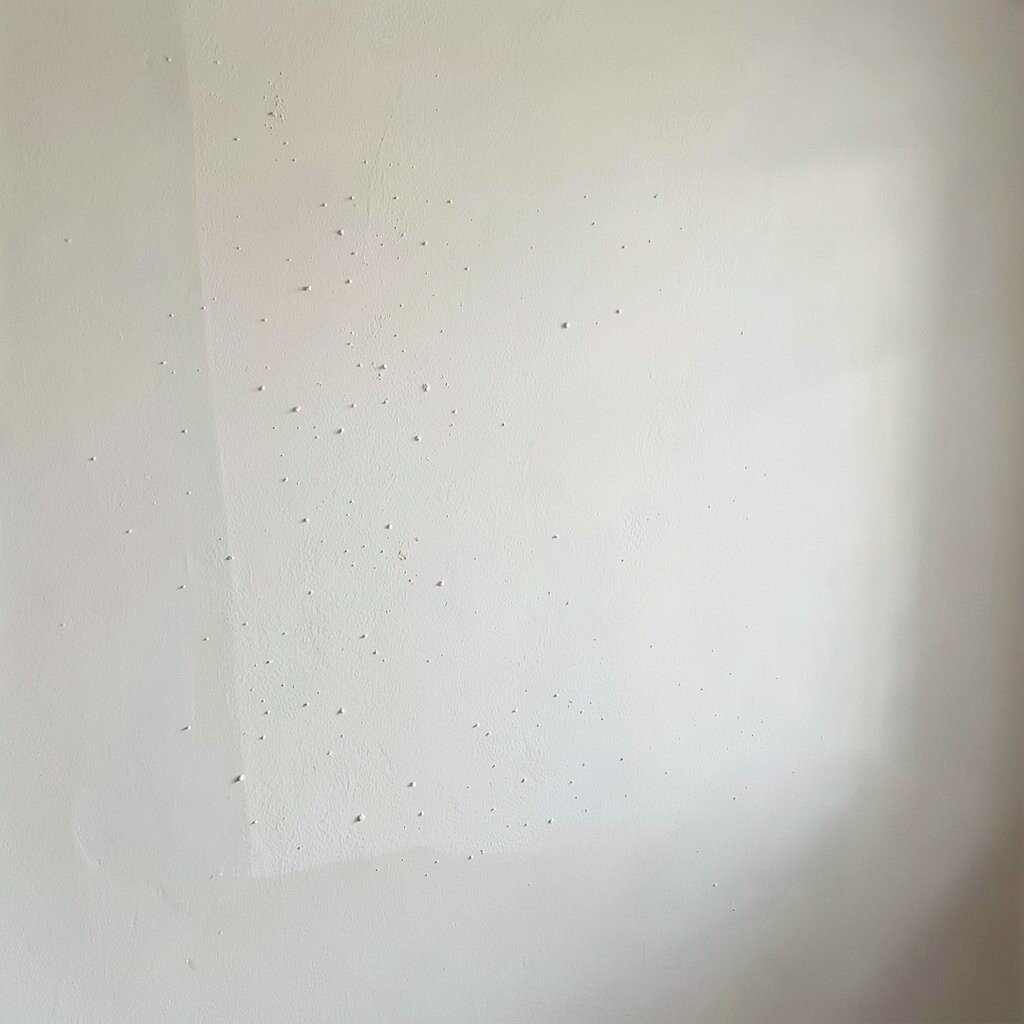
Dust, chalk, and tiny bits of plaster can sit on the wall like a weak skin. Paint sticks better when the surface is clean and smooth.
Wipe the wall gently before you start, and pay attention to corners and edges. A soft brush or cloth can help without scratching the plaster. This simple step can make a room look fresher and more polished, and it costs very little.
Clean walls also help special finishes stand out, like matte clay paint or soft limewash. If you want a more personal look, cleaning first gives you a better base for accent colors or hand-painted details.
3. Using the Wrong Primer
Plaster is thirsty, so it needs a primer that fits the job. Without the right base, paint can soak in unevenly and leave a cloudy look.
Choose a primer made for plaster or mineral surfaces. It can help the topcoat spread better and use less paint overall. That can save money, especially on large walls or older homes with rough spots.
Primer also helps modern finishes look sharp, from warm neutrals to bold accent walls. If you want a custom feel, test primer and paint together on a small area first.
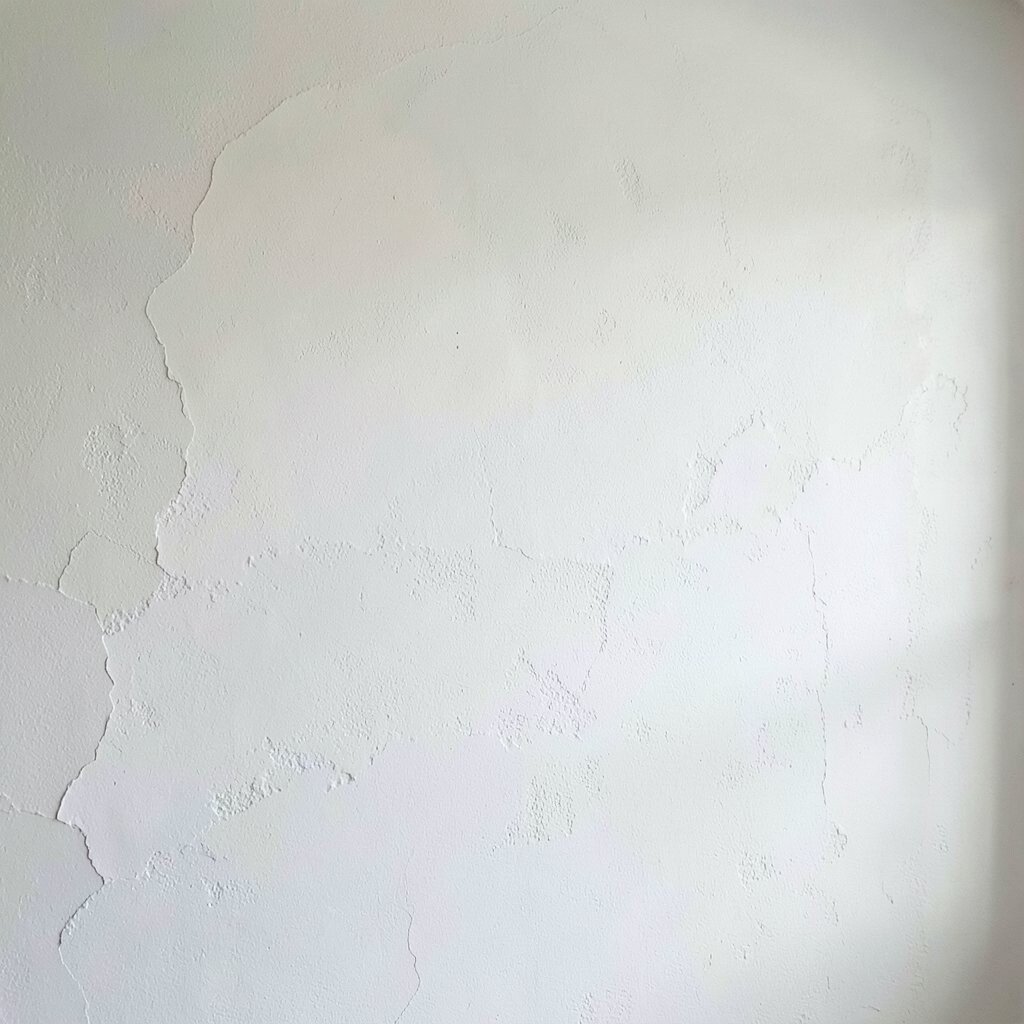
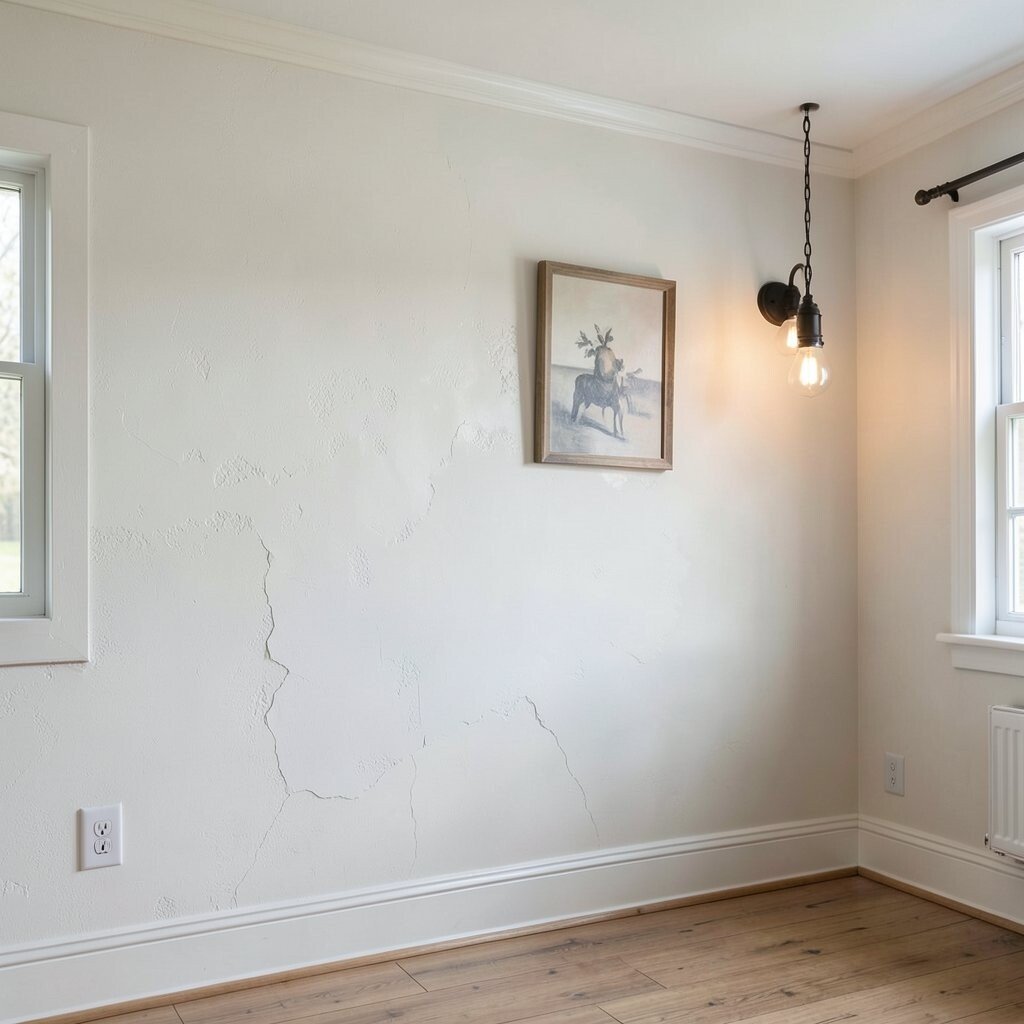
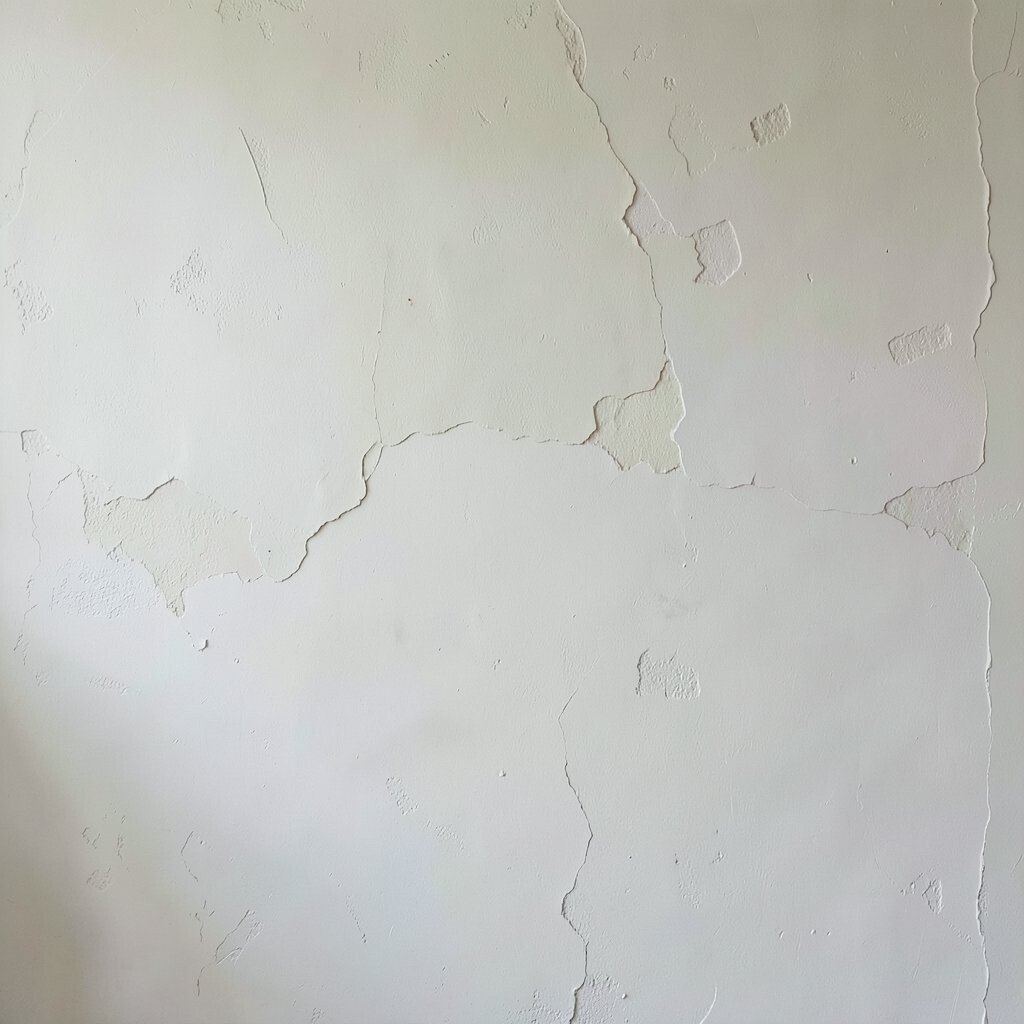
4. Ignoring Hairline Cracks
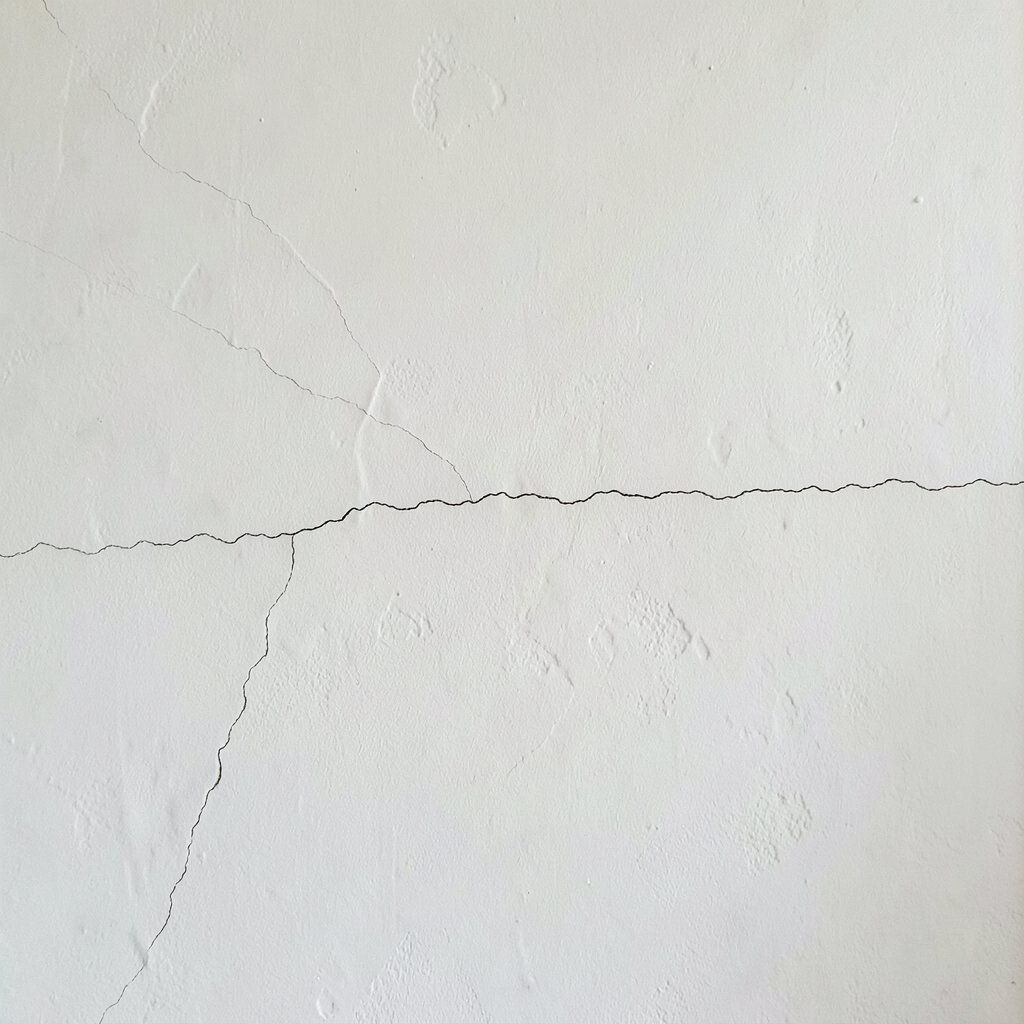
Small cracks may seem harmless, but paint can make them easier to see. Once the wall is painted, those lines may stand out like dark pencil marks.
Fill and smooth the cracks before painting. A little patching now can stop bigger touch-ups later. This matters even more in older homes, where plaster often has its own unique texture and story.
5. Choosing the Wrong Finish
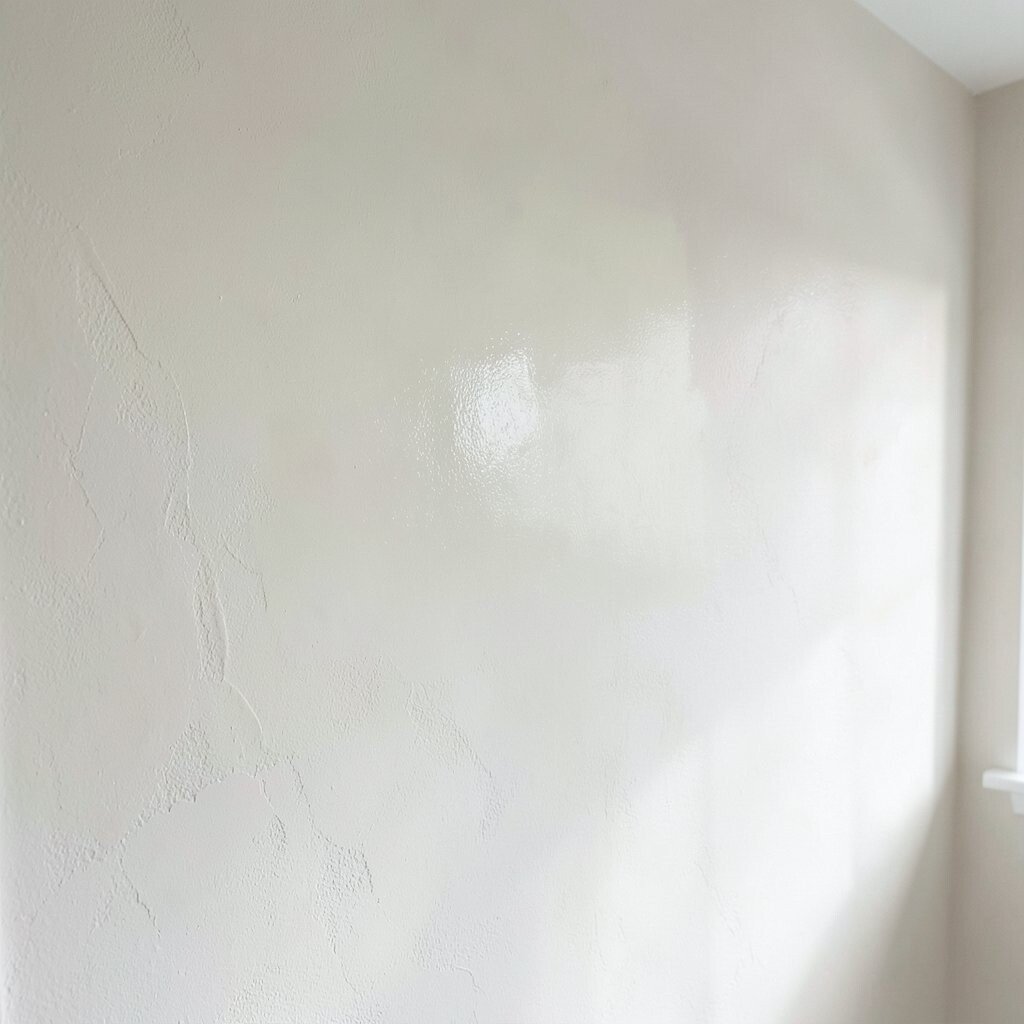
Shiny paint can show every bump, while very flat paint may be harder to wipe clean. The wrong sheen can make a plaster wall look tired instead of elegant.
Matte and eggshell finishes are popular because they hide small flaws well. They also give plaster a soft, cozy look that feels calm in bedrooms and living rooms. If you want a more personal style, try a low-sheen finish in one room and a flatter one in another.
Think about how the room is used before you buy paint. A busy hallway may need a tougher finish than a quiet reading nook. That choice can affect both the look and the long-term cost.
6. Applying Paint Too Thickly
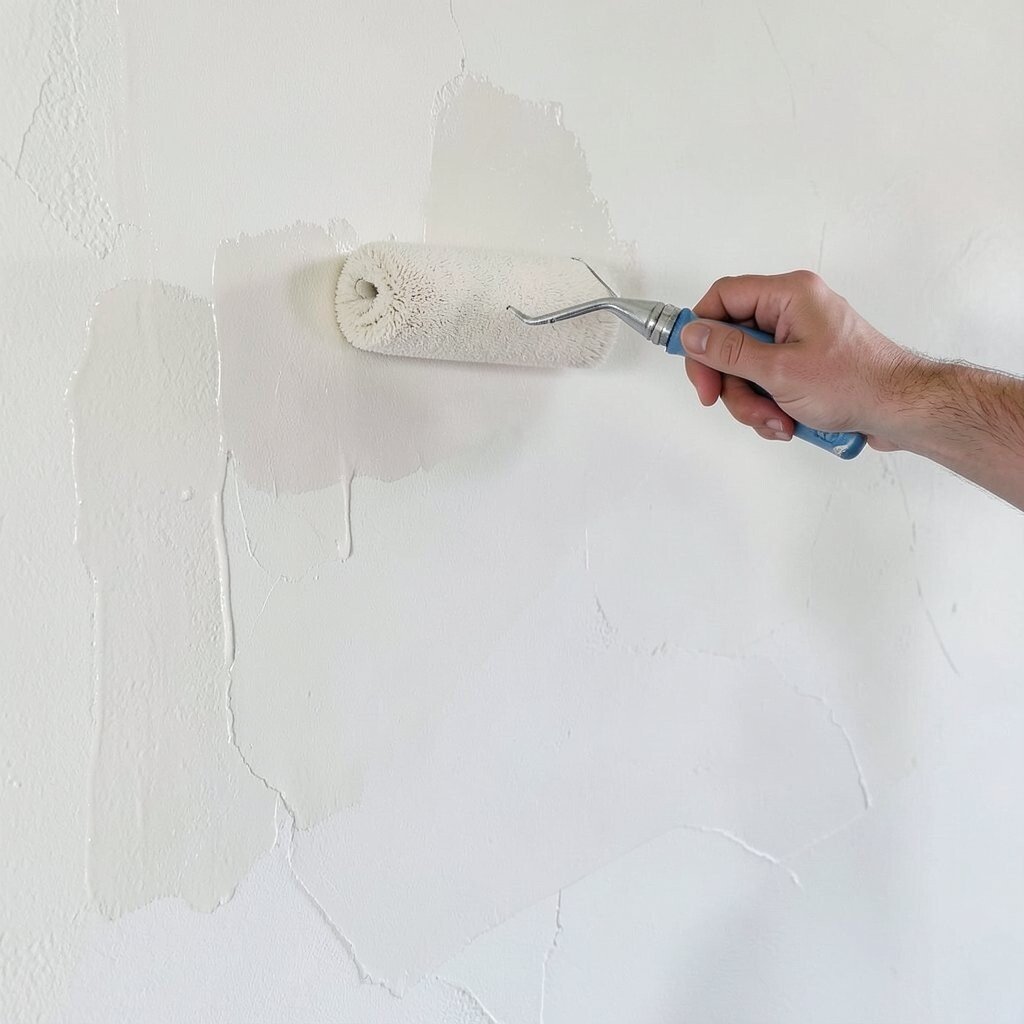
Heavy paint can sag, drip, and dry unevenly. Thick coats may seem like a shortcut, but they often make plaster walls look messy.
Thin, even coats usually work better. They dry more smoothly and keep the wall’s natural charm visible. This is a smart way to save paint, too, since thick layers can waste material fast.
Use a steady hand and check the wall from different angles as you work. Soft natural light can show wet spots, streaks, or roller lines before they become a bigger problem.
If you like a more artistic finish, build color slowly instead of forcing it all at once. That approach can create depth and make the wall feel more custom.
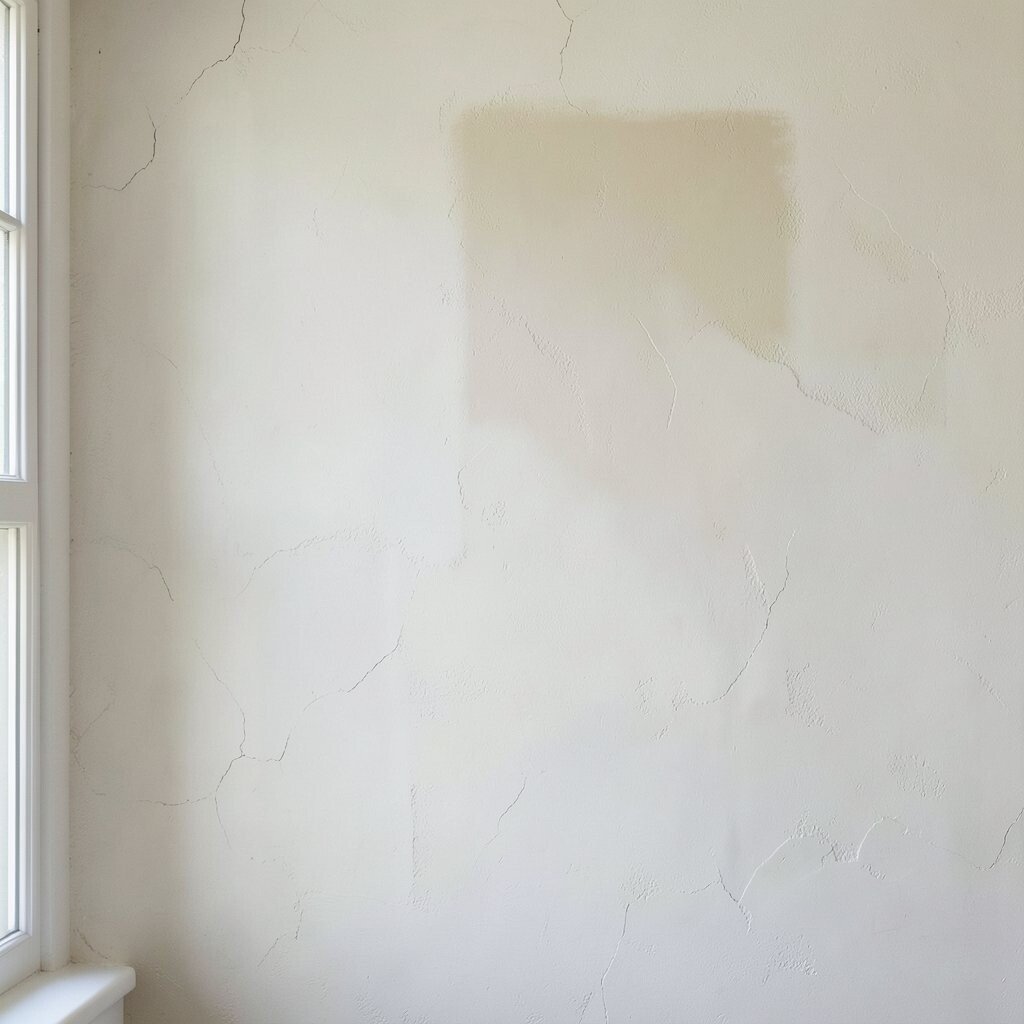
7. Forgetting to Test the Color First
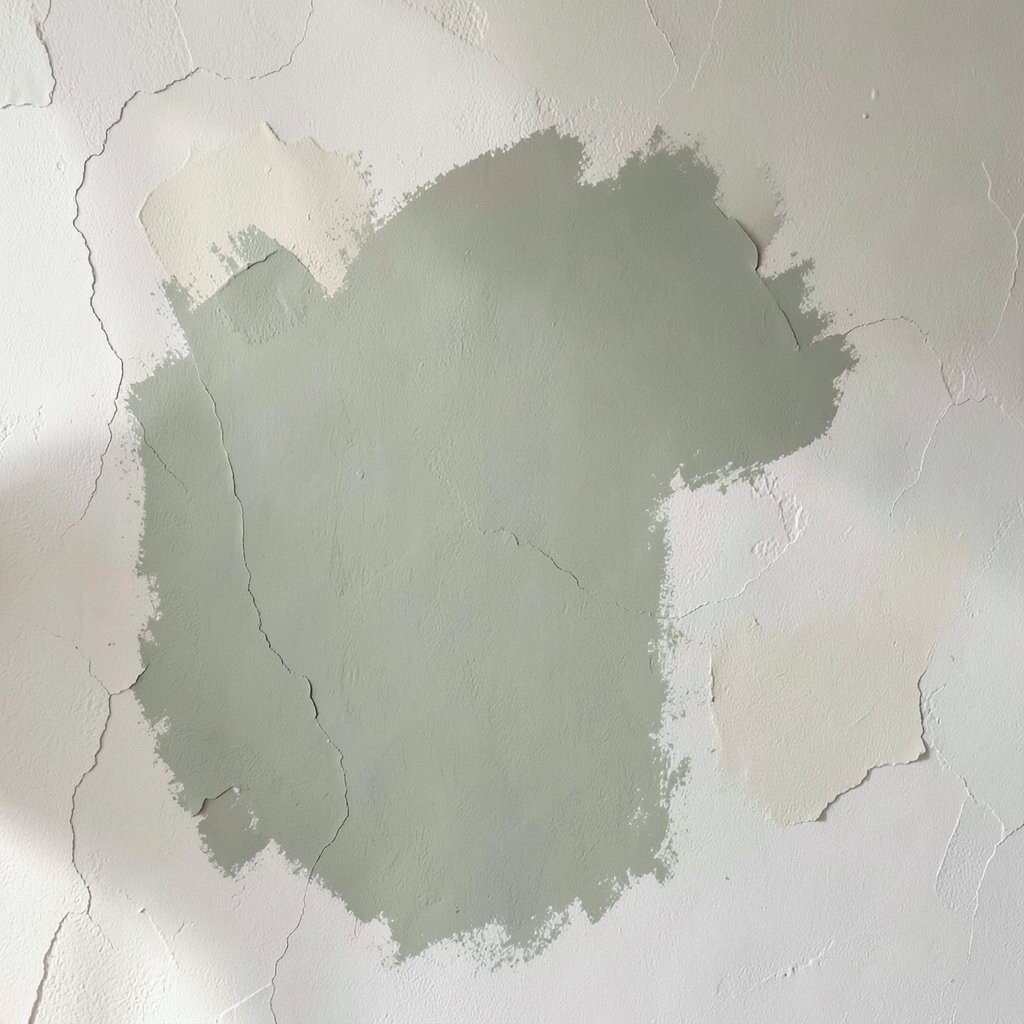
Paint chips can look very different once they meet plaster. The wall texture, room light, and primer can all change the final color.
Test the paint in a few spots before covering the whole wall. Morning light, afternoon light, and lamp light may each make the shade look new. A small test patch can prevent expensive color regret later.
This step is especially helpful with current trend colors like soft clay, dusty green, and warm beige. If you want a unique feel, compare two close shades side by side and see which one feels more like home.
8. Using Dirty or Worn Tools
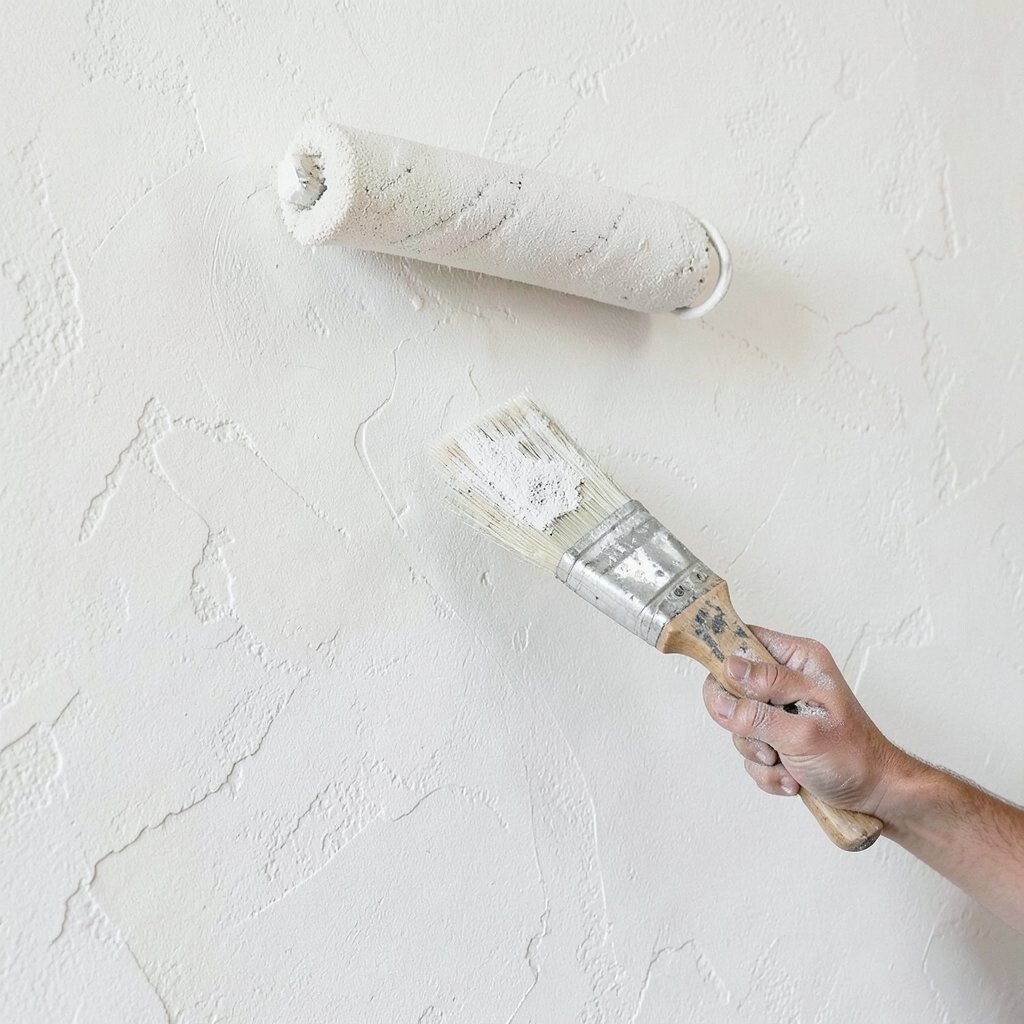
Old rollers and dusty brushes can leave lint, streaks, and rough marks. Even good paint can look cheap when the tools are in bad shape.
Fresh tools help the finish look smooth and neat. They also make the work easier, which is nice if you are painting a large room by yourself. Good tools may cost more at first, but they can save time and reduce frustration.
Clean tools are extra useful for special plaster styles, like textured walls or decorative skim coats. If you want a neat edge or a hand-finished look, the right brush can make all the difference.
9. Painting Over Moisture Problems
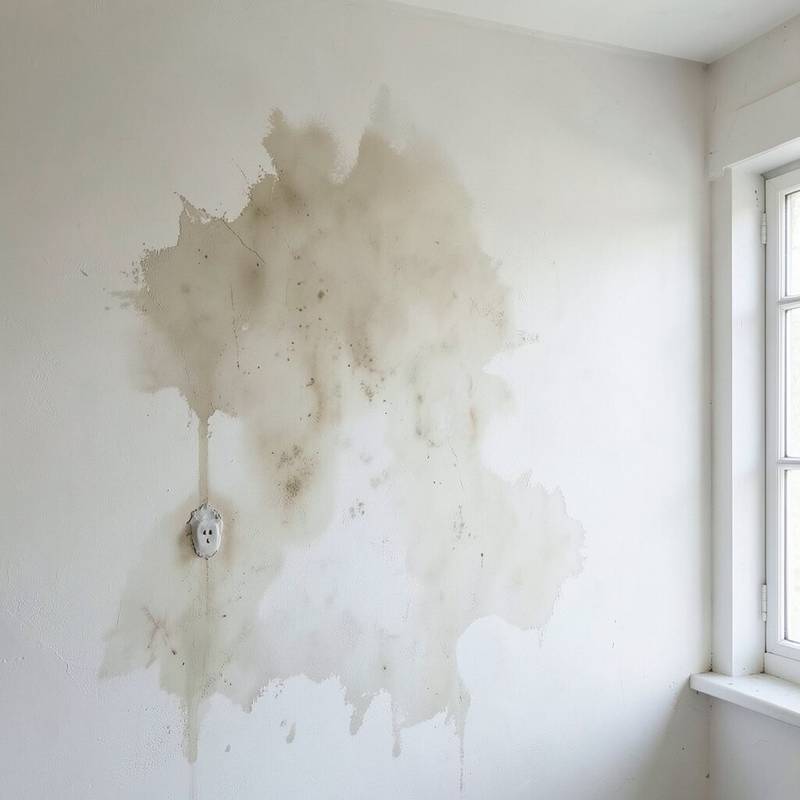
Stains, soft spots, and musty smells can point to hidden water trouble. Paint cannot fix moisture, and it may fail fast if the wall is still wet inside.
Find the source before you paint. Check for leaks, roof issues, or damp spots near windows and pipes. Fixing the problem first can protect your wall and stop repeated repair costs.
Moisture-safe products may help in some rooms, but they are not a cure for a leaking wall. If you want a lasting finish, the wall must be sound before color goes on.
10. Rushing the Drying Time Between Coats
Each coat needs time to set, even when it feels dry to the touch. If you hurry, the next layer can pull up the one below and leave a rough look.
Waiting between coats helps the color stay even and strong. It also makes the final surface feel more finished and less sticky. A little patience can save you from repainting the same wall again.
Use the waiting time to check your room style and plan small details. You might choose new trim color, wall art, or a cozy light fixture that matches the fresh paint.
11. Forgetting to Protect Trim and Floors
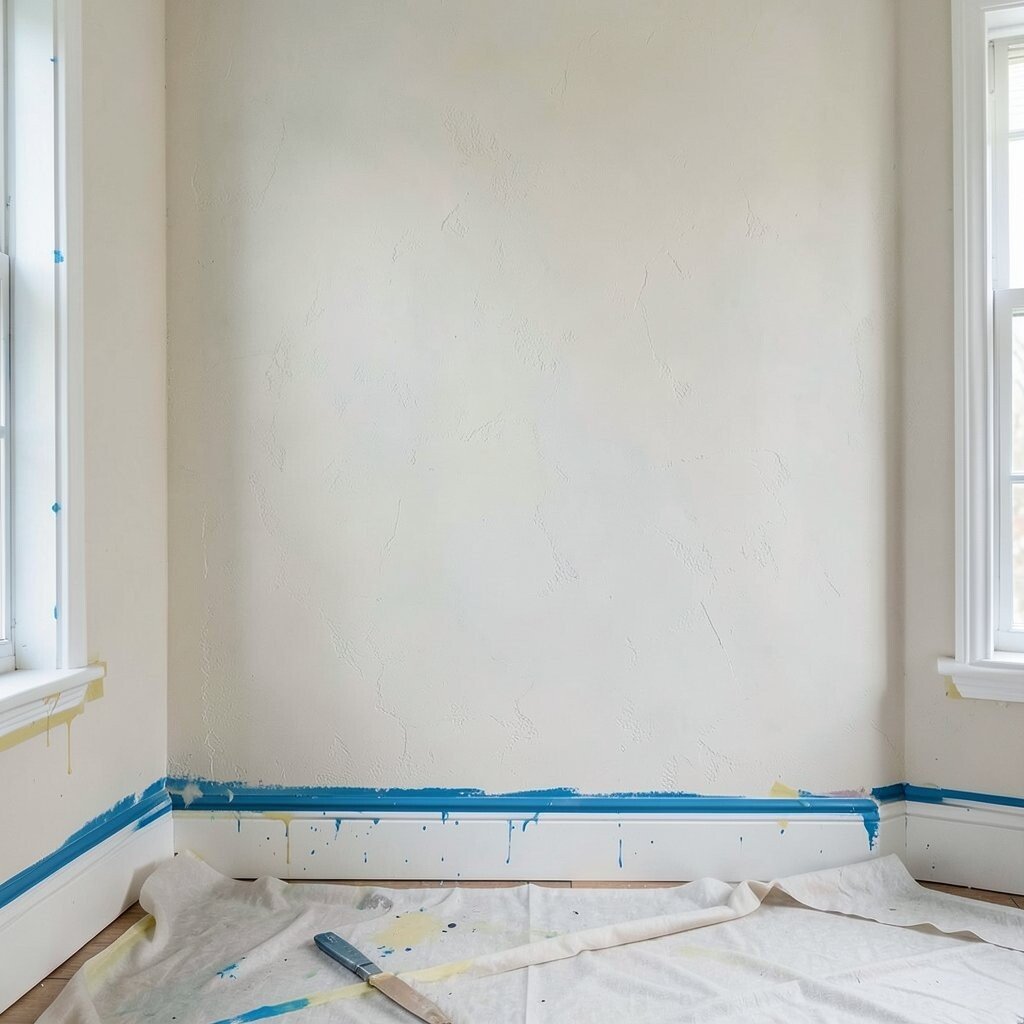
Paint splashes on trim, baseboards, and floors can be hard to hide. One small drip can pull attention away from a beautiful plaster wall.
Use tape, drop cloths, and careful masking before you start. This keeps the room neat and can save money on cleanup or touch-up work later. It also helps the plaster wall stand out as the main feature instead of the mess around it.
For a more personal style, protect the edges well so you can paint crisp lines or try a contrasting trim color. Clean borders make even simple rooms feel more planned and stylish.
12. Picking Paint That Is Too Cheap for the Job
Very low-cost paint may cover poorly or wear out fast on plaster. That can mean extra coats now and another repaint sooner than you wanted.
Good paint often spreads more evenly and gives better color depth. It can also handle small wall movement better, which matters on older plaster. Spending a bit more at the start may lower the total cost over time.
If your budget is tight, choose quality paint for the main walls and keep the accent areas simple. That way you still get a nice look without spending too much.
13. Ignoring the Wall’s Natural Texture
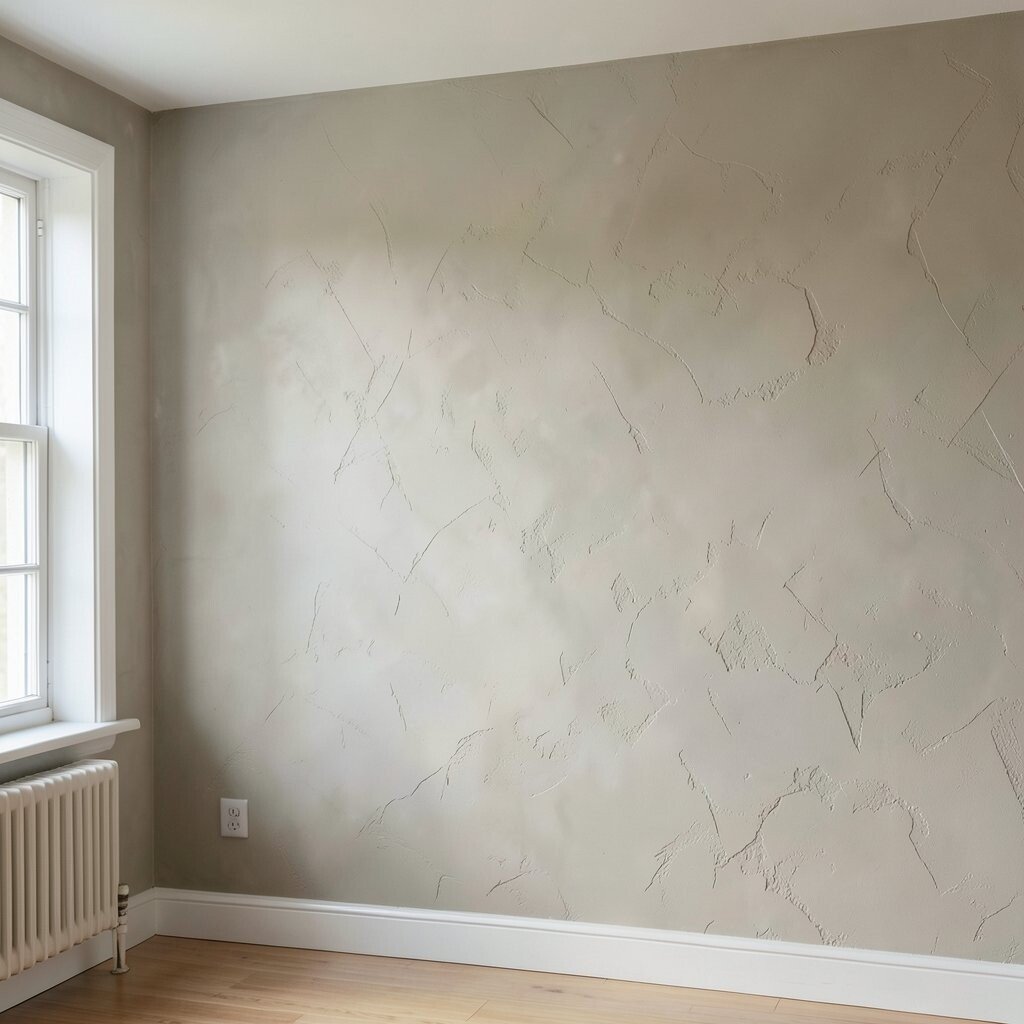
Plaster walls have charm because they are not flat like factory panels. Painting them as if they were perfect, smooth boards can make them look dull.
Use the texture to your advantage with soft colors and gentle light. A matte finish can make curves, trowel marks, and old-house character look beautiful. This gives the room a unique feel that plain walls often cannot match.
Current style trends often favor natural-looking surfaces and calm, earthy shades. If you want a more personal room, let the plaster’s texture stay visible instead of trying to hide every trace of it.
14. Using the Wrong Brush or Roller Size
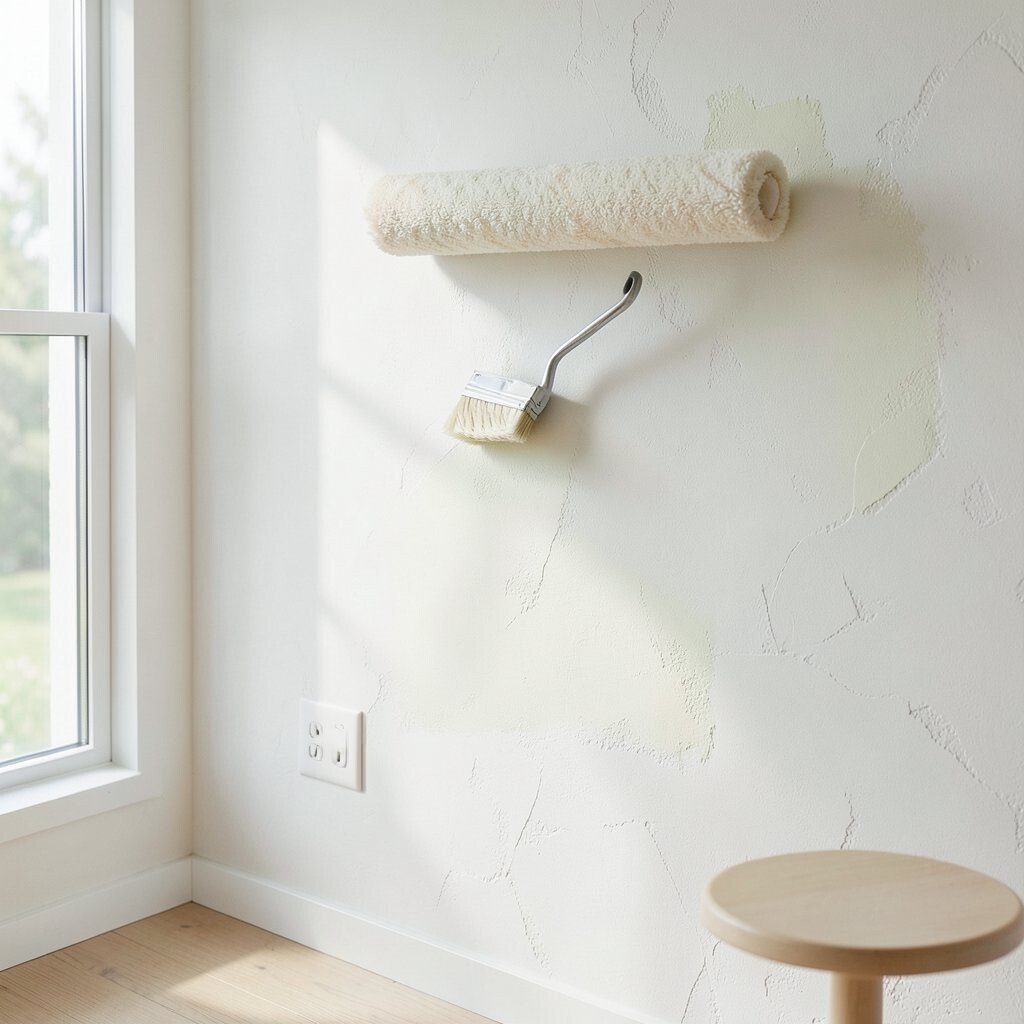
Big tools can miss corners, and tiny tools can make the job slow and uneven. The wrong size can leave stripes, thin spots, or awkward edges.
Match the tool to the wall and the room. A medium roller may work well for broad areas, while a smaller brush helps near trim and corners. The right choice can improve speed, control, and the final look.
Tool size also affects cost in a simple way, since a better fit means less wasted paint and less rework. If you enjoy a custom style, try different brush widths on a sample area to see which one feels best in your hand.
15. Painting Without a Plan for the Whole Room
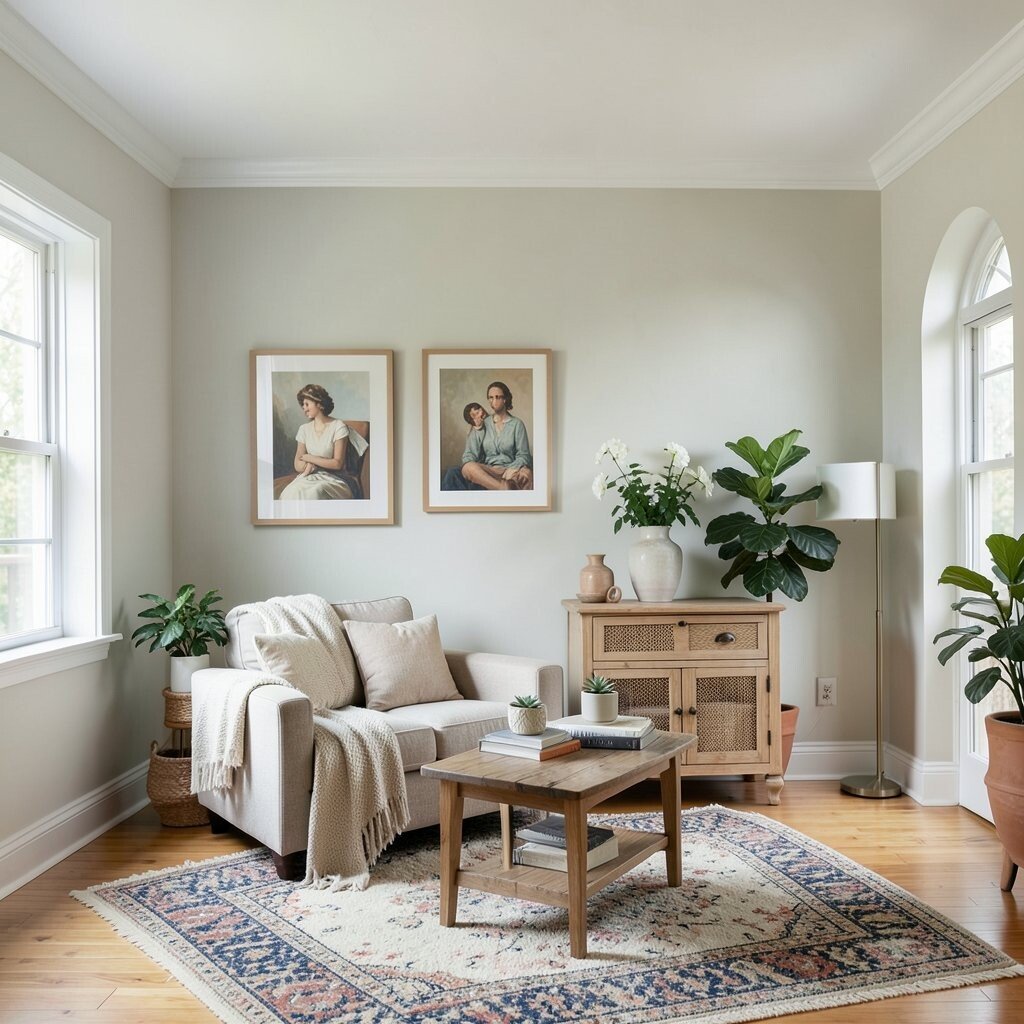
A wall color can look great alone and still feel wrong next to furniture, rugs, or lighting. Without a plan, the room may end up looking busy or unfinished.
Think about the full space before you open the can. Look at the ceiling, trim, floor, and decor so the plaster wall color supports the whole room. This helps the room feel balanced and can keep you from buying extra paint in the wrong shade.
Plan for the mood you want, too, since color can make a room feel calm, bright, warm, or bold. A little planning gives you more freedom to add personal touches later, like framed art, plants, or a painted arch that feels fresh and current.