Fabric decoupage can look magical. A plain surface can suddenly feel charming and full of life.
The trick is not mystery. It is patience, smart choices, and a few simple habits that make every layer look neat and bright.
1. Start With A Clean, Smooth Base
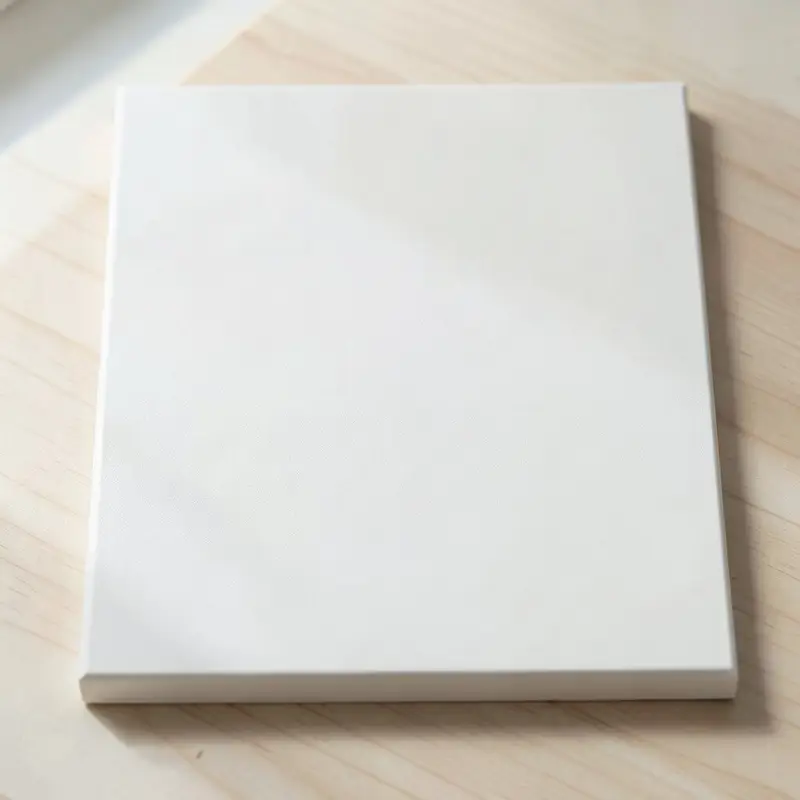
A clean base helps the fabric sit flat and look crisp. Dust, lint, and sticky spots can show through in a way that makes the whole piece look messy.
Wipe the surface well before you begin, and let it dry fully. If the base feels rough, a light sanding can help, and that can make the finished design look more polished. This step costs very little, yet it gives your project a much nicer feel.
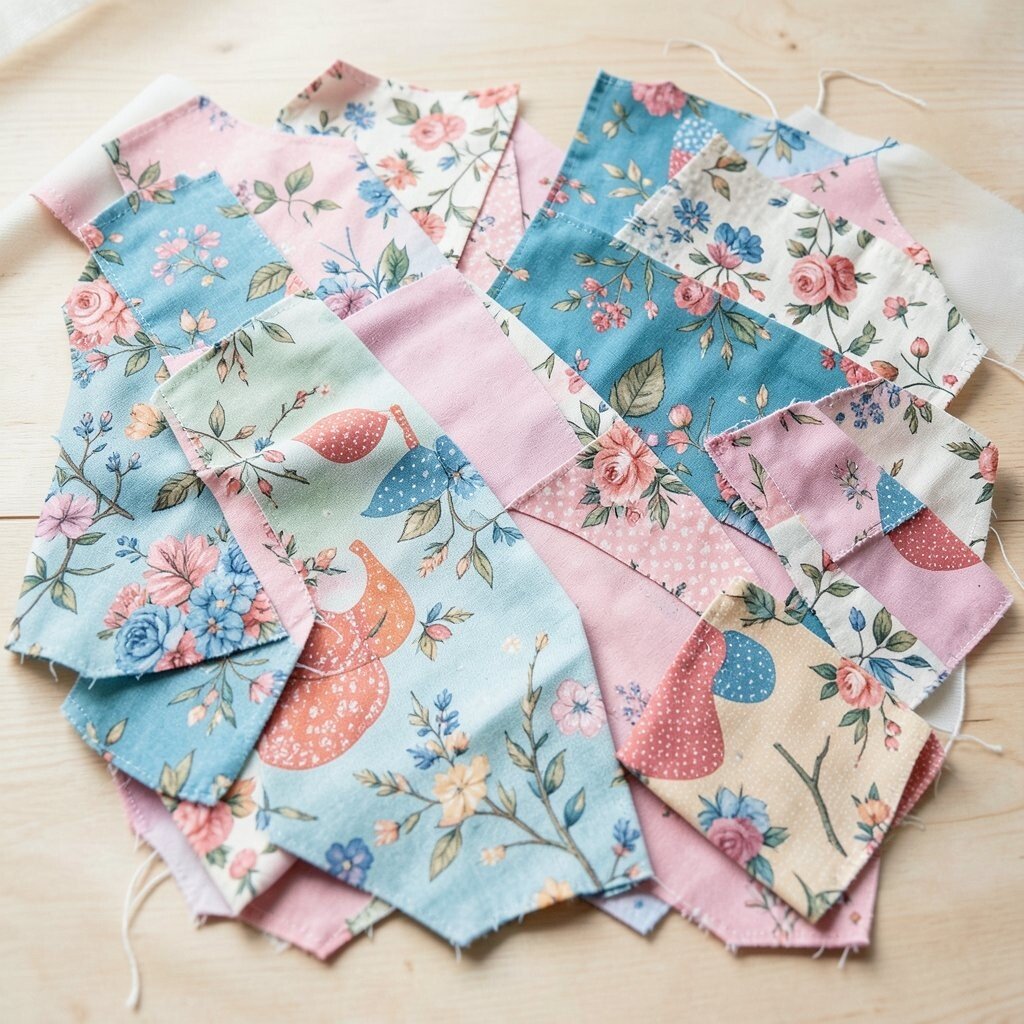
2. Pick Fabric With A Clear Pattern
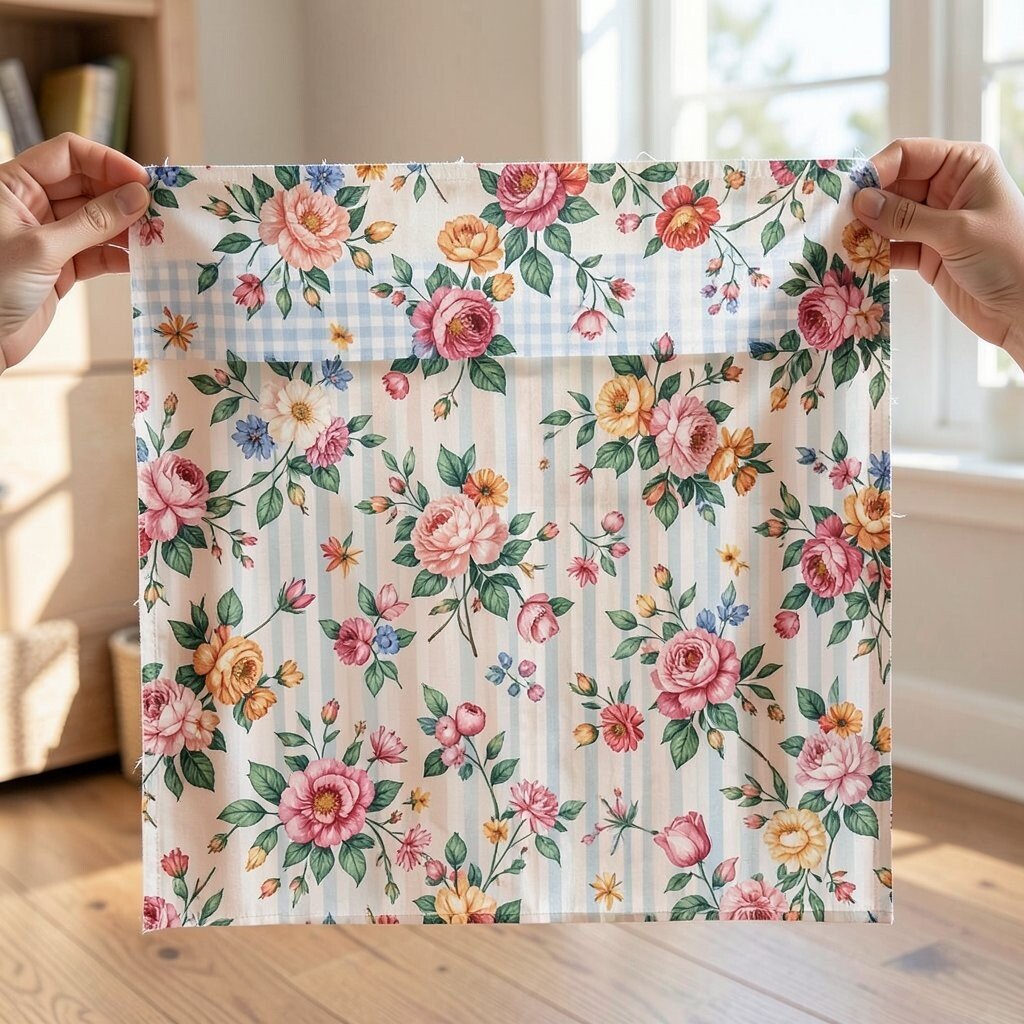
Bold prints often work best because they stay easy to see after glue and sealing. Tiny busy patterns can blend together and lose their charm.
Think about flowers, checks, vintage florals, or soft stripes for a pretty look. You can match the fabric to a room, a season, or your own style, which makes the piece feel personal. Fabric scraps from old clothes or home goods can also keep costs low while adding unique character.
Try holding the fabric up in good light before you cut it. If the colors still feel cheerful and strong from far away, it will likely look lovely on the finished item.
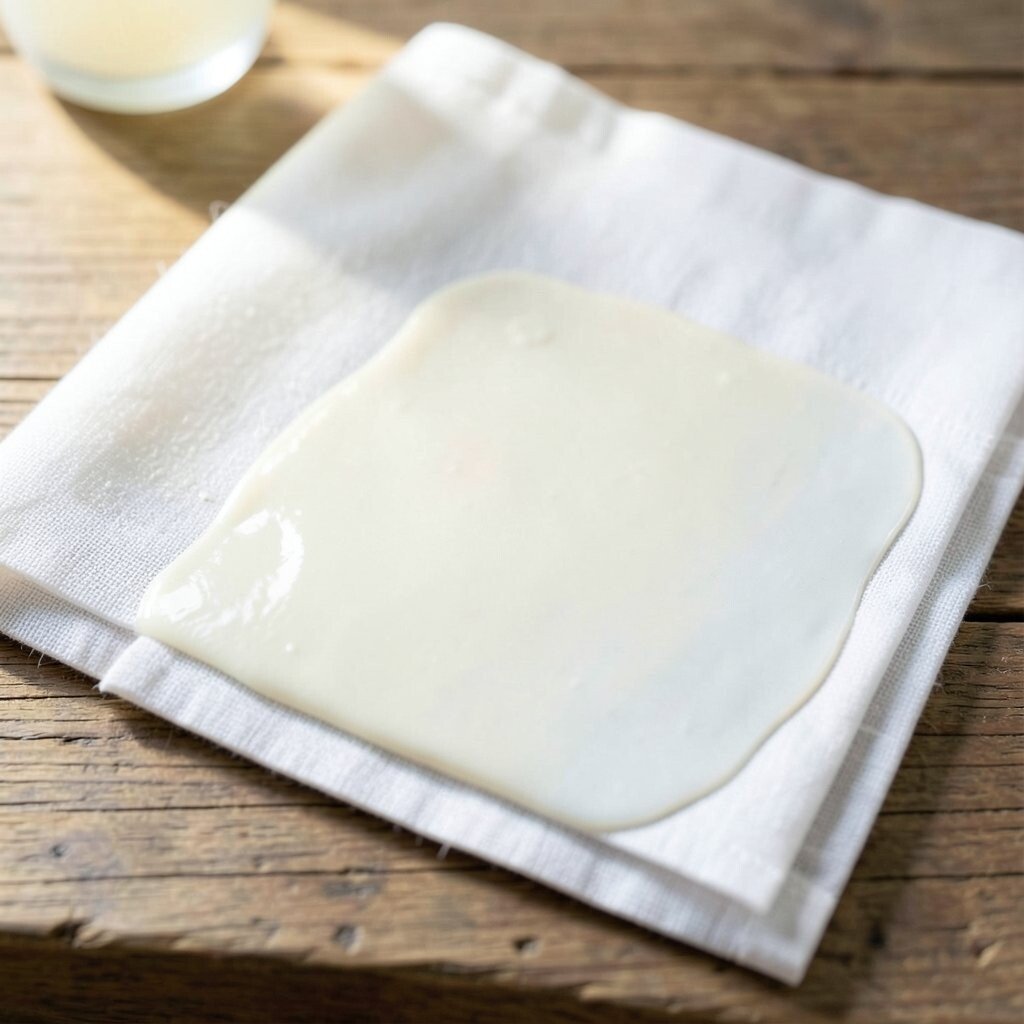
3. Test The Glue Before You Commit

Not every glue works the same on fabric. Some dry too fast, some leave marks, and some make the cloth wrinkle in odd ways.
Test a small scrap first so you can see how it behaves. A good fabric decoupage project often needs a glue that dries clear and gives enough time to smooth the piece. This small test can save money because it helps you avoid wasting a full bottle on the wrong product.
Watch for current trends like matte finishes and soft, natural textures. These looks feel fresh and can make even a simple project seem stylish and handmade.
4. Cut Shapes With Care
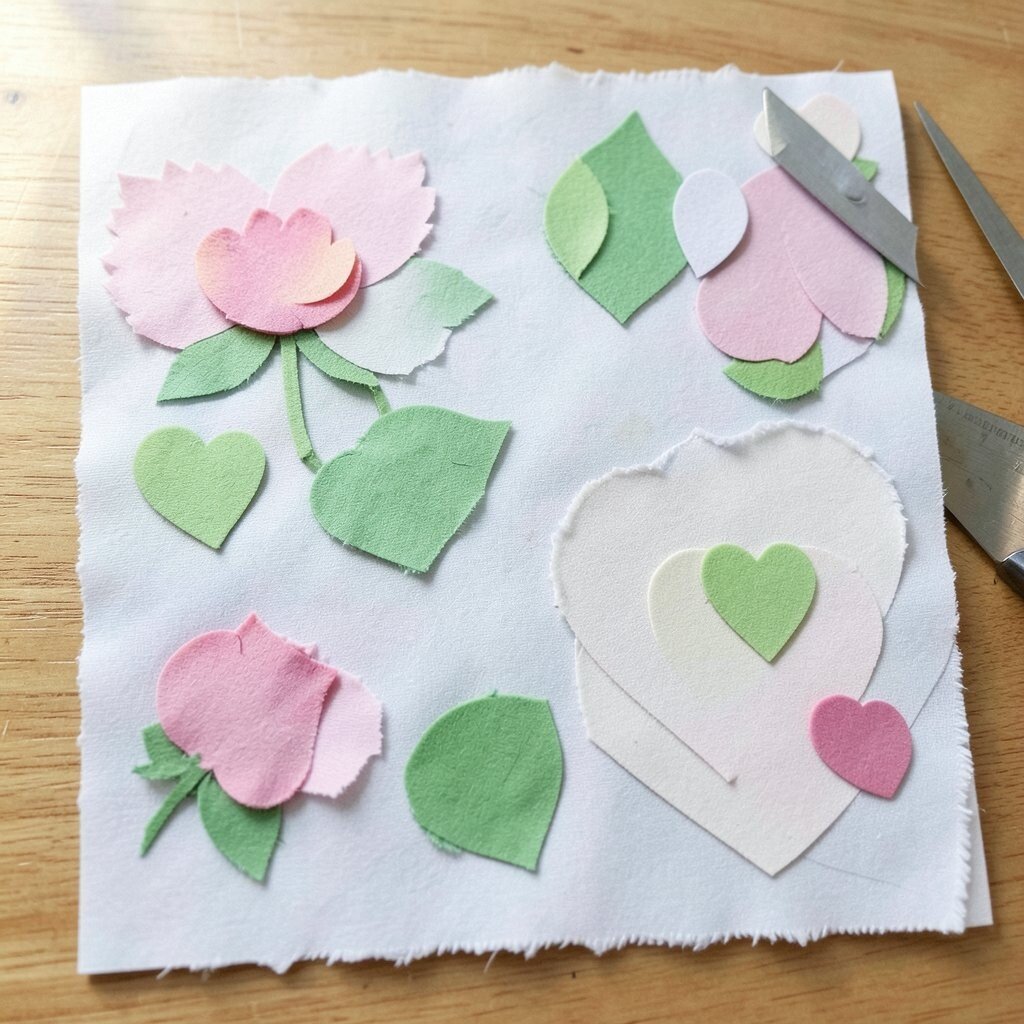
Neat cuts make the whole design look more finished. Jagged edges can stand out once glue dries and light hits the surface.
Sharp scissors or a craft blade can help you shape flowers, leaves, hearts, or simple panels. You can also tear fabric for a softer, more relaxed edge that feels artsy and unique. If you want a custom look, mix clean cuts with torn edges for a more playful style.
5. Plan Your Layout Before Gluing
Laying pieces out first helps you see the full picture. It also keeps you from placing a favorite print in the wrong spot.
Move the fabric around until the colors feel balanced and the shapes flow well. A dry layout can show where a bright area needs a calm one, or where a large print needs a small accent. This step is free, and it often makes the final piece look far more thoughtful.
Take a quick photo of your layout if you need to step away. That simple habit makes it easier to return to the same design without guessing.
6. Use Thin Layers Of Glue
Thin glue layers help the fabric stay smooth and neat. Thick glue can soak through too much and create bumps or shiny patches.
Brush on a light coat, press the fabric down, and then add another light coat on top if needed. This method gives a cleaner finish and helps the cloth bond better without heavy buildup. It also keeps the project more affordable because you use less glue overall.
For a trendy look, many makers now aim for a soft hand-feel rather than a stiff, glossy one. Thin layers support that style and keep the piece looking gentle and elegant.
7. Smooth From The Center Out
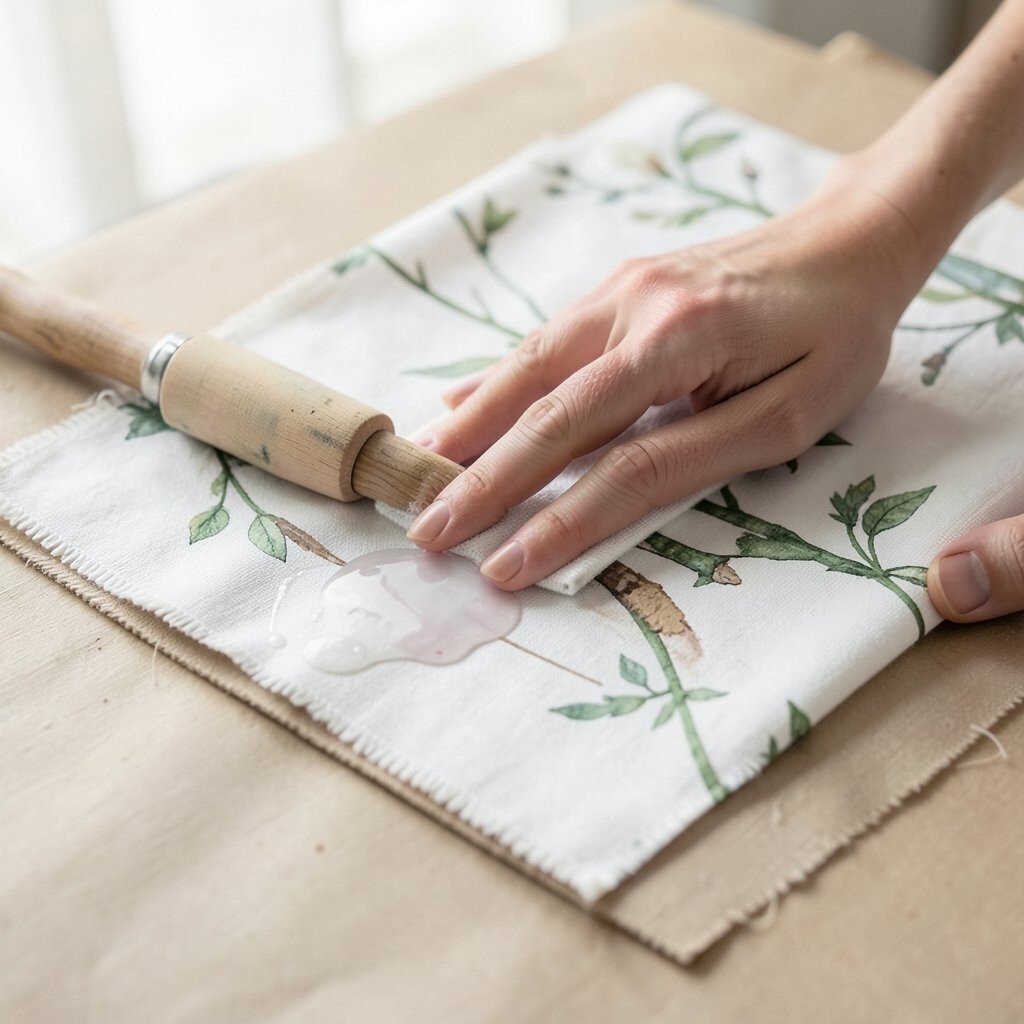
Air bubbles can make fabric decoupage look uneven. A simple smoothing motion can fix most of that before the glue sets.
Press from the middle outward with your fingers, a soft cloth, or a brayer. Work slowly so the fabric stays in place and the pattern does not twist. If you enjoy a neat, tailored style, this step is one of the best ways to get it.
Small wrinkles can sometimes add charm on rustic pieces, but too many can distract from the design. Aim for a look that feels relaxed yet tidy.
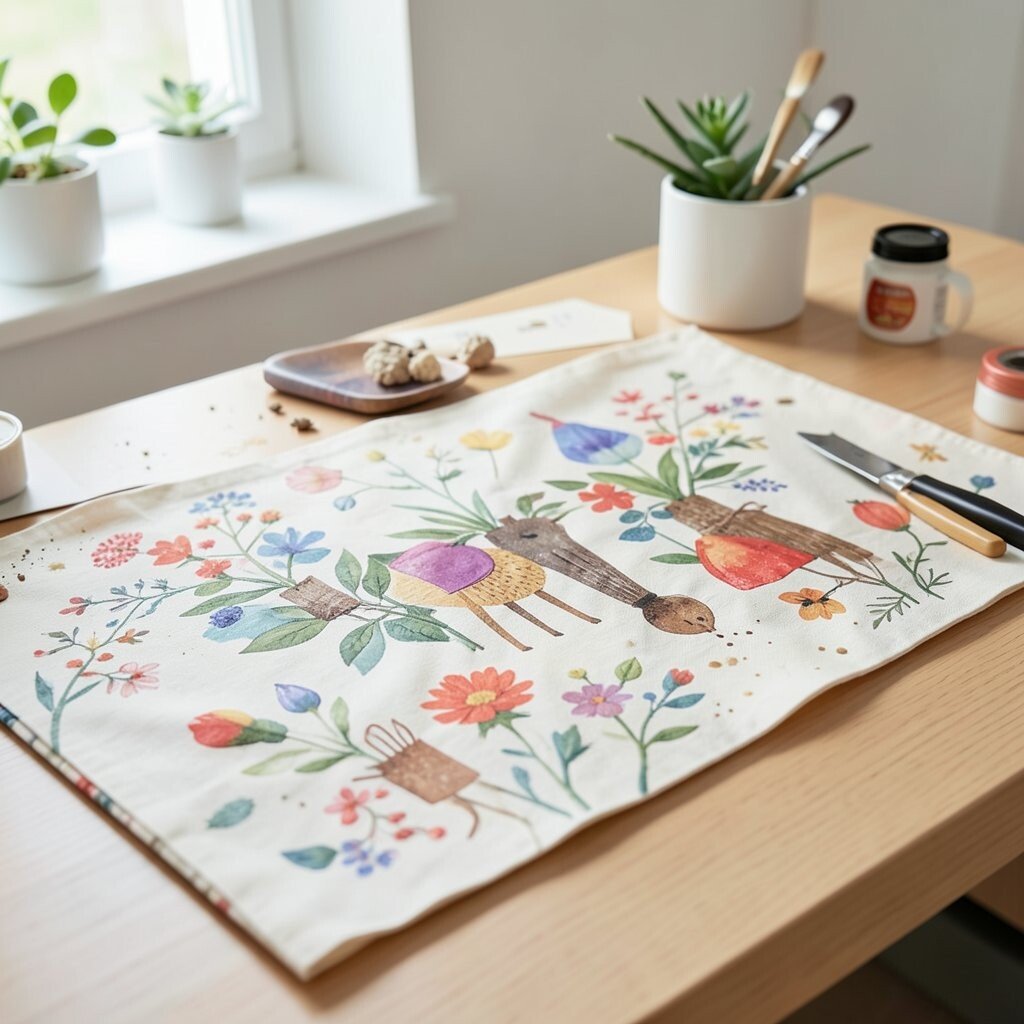
8. Choose Colors That Match The Mood
Color is one of the biggest secrets behind a beautiful result. Soft blues can feel calm, while bright reds and yellows can feel lively and cheerful.
Think about where the finished piece will live and how you want it to feel. A nursery, kitchen, craft room, or gift box may each call for a different color story. You can personalize the project by using colors tied to a favorite season, memory, or person.
Thrifted fabric can be a smart budget choice when the colors are right. A small piece with the perfect shade can look more special than an expensive print that does not fit the mood.
9. Seal The Edges Well
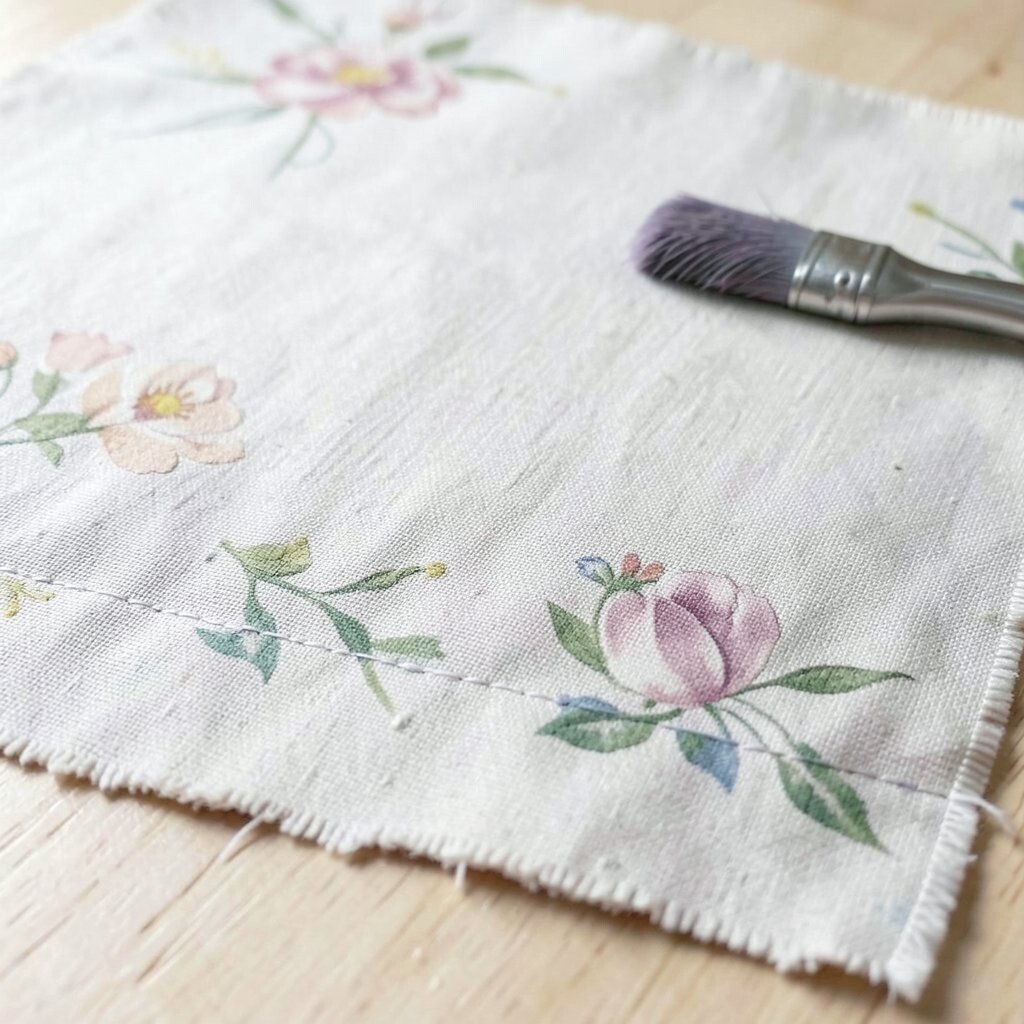
Loose edges can lift later and spoil the neat look. A careful seal helps the fabric stay down and keeps the design looking clean.
Brush glue right along the edges and press gently so the border lies flat. If the fabric frays, trim tiny threads before sealing to keep the edge sharp. This is a simple habit, but it gives the project a more finished and durable feel.
Many crafters like the look of hidden edges, while others enjoy a soft, layered border. Both styles can work well as long as they are done on purpose.
10. Mix Fabrics For Depth
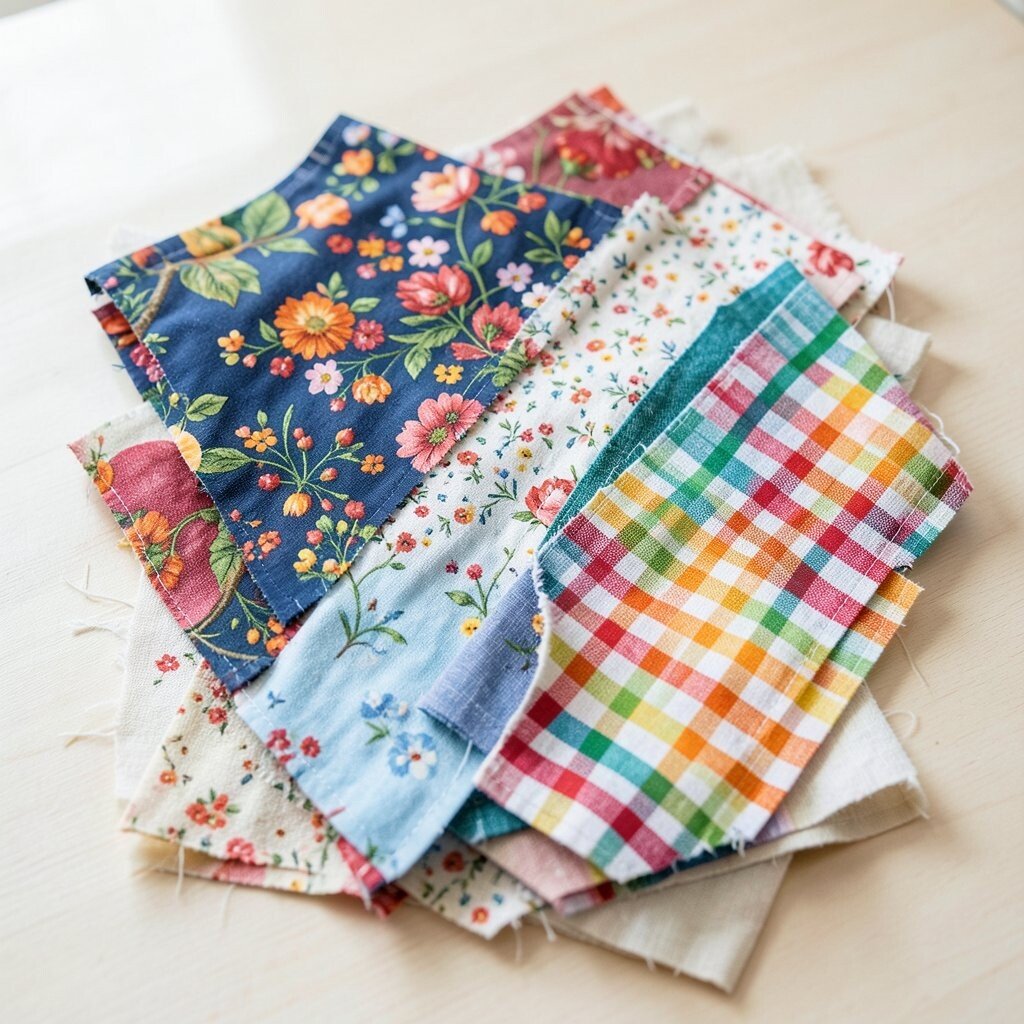
Using more than one fabric can make the project feel rich and lively. Different prints and textures can give the eye more to enjoy.
Try pairing a bold main fabric with a quieter accent piece. A smooth cotton beside a tiny floral or a soft linen beside a bright check can create a lovely contrast. This also helps personalize the piece so it feels made just for you.
Mixing leftovers from other projects is a great way to keep costs down. It also gives older scraps a fresh purpose, which feels creative and smart.
11. Work In Good Light
Good light helps you see wrinkles, glue spots, and color changes before they become problems. It can make the whole process easier and more pleasant.
Natural daylight is wonderful, but a bright lamp can help when the room is dim. Place your project where shadows are small and the fabric colors look true. This simple setup can help you get cleaner results without spending much at all.
If you like modern craft trends, you may notice many makers sharing bright, airy workspaces online. That style is popular because it helps the craft look calm, fresh, and easy to manage.
12. Protect The Surface Underneath
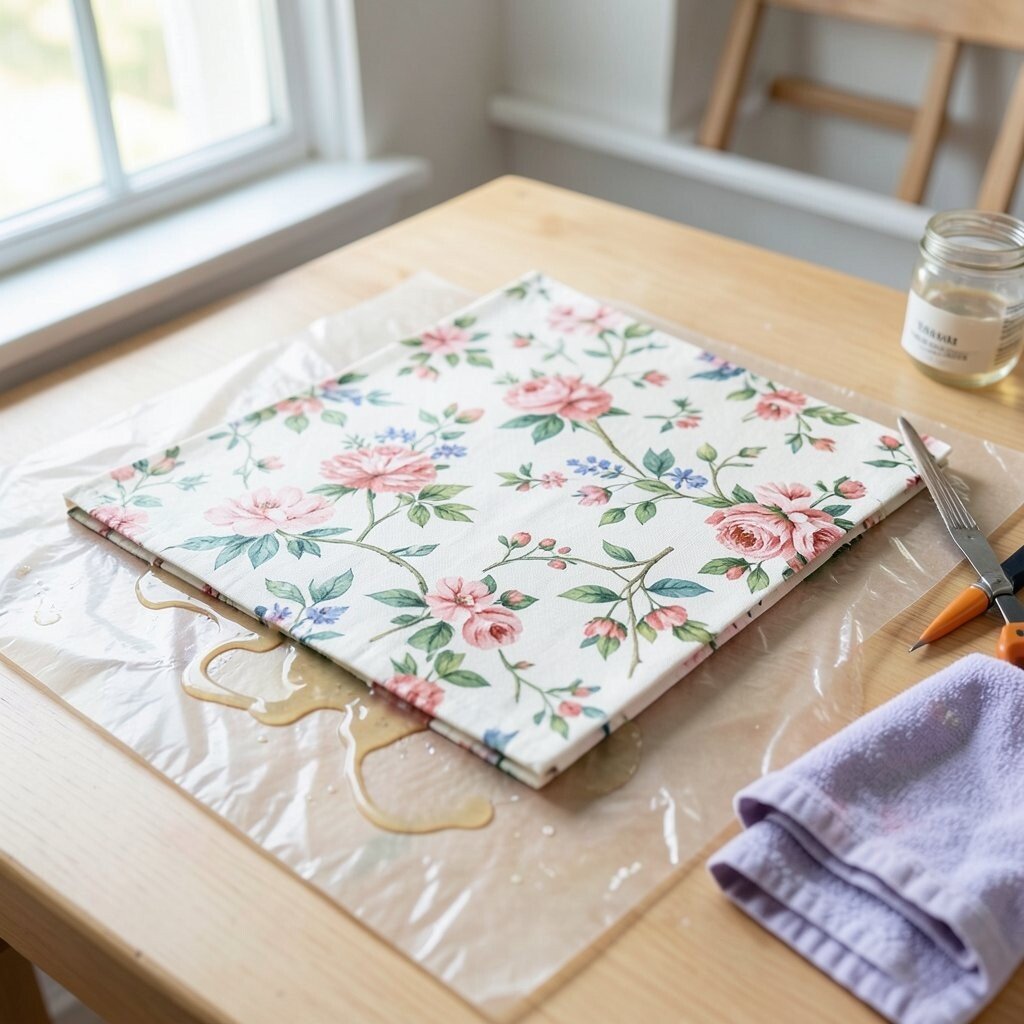
Glue can drip, and fabric can shift, so a protected work area matters. A safe workspace keeps the project neat and saves cleanup time.
Use paper, plastic, or an old mat under your piece so spills do not cause trouble. Keep a damp cloth nearby for quick fixes, and place tools where they are easy to reach. These small habits cost very little and make the whole craft session smoother.
A tidy setup also helps you focus on the pretty parts, like pattern placement and edge work. When the space feels calm, the craft often looks calmer too.
13. Add Personal Details
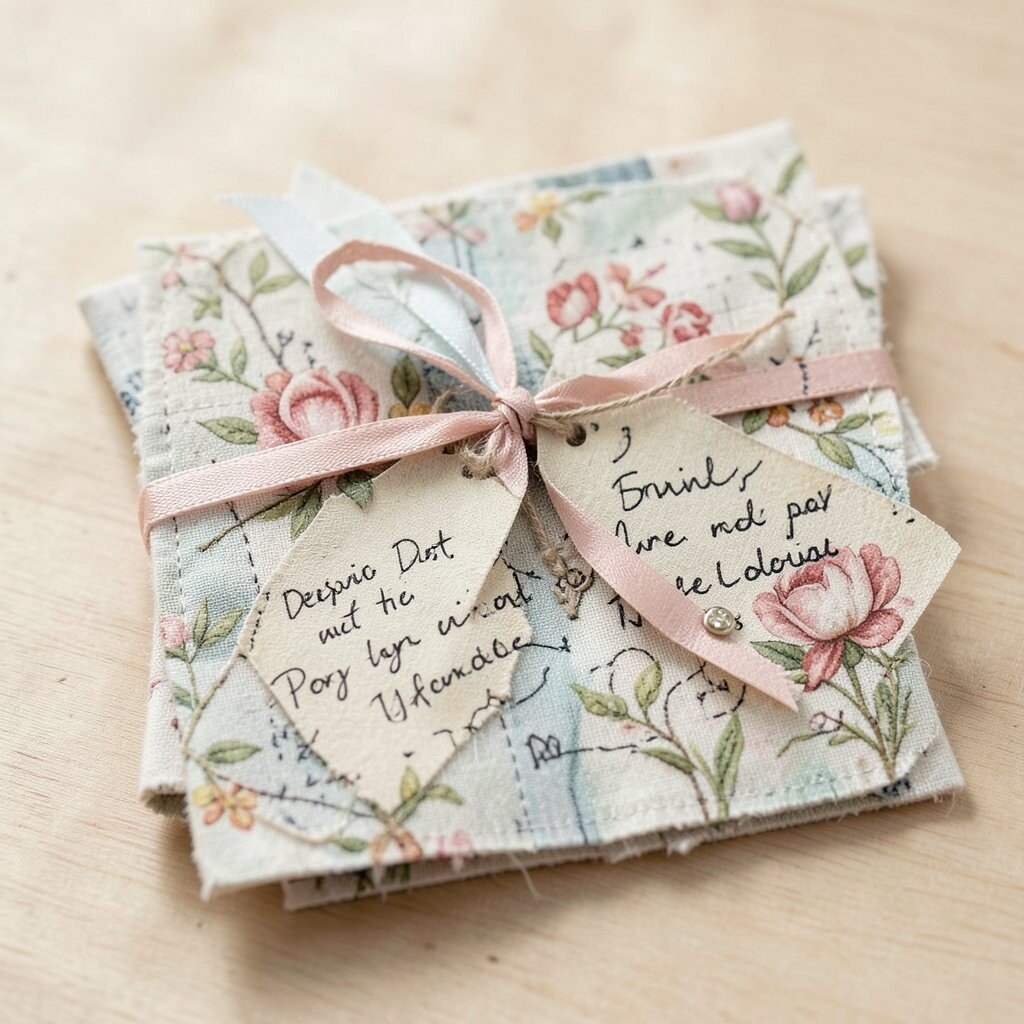
Personal touches make fabric decoupage feel special instead of generic. A favorite ribbon, a handwritten tag, or a small charm can add warmth.
You can also choose fabric that reminds you of a trip, a family home, or a beloved outfit. That kind of meaning gives the project a story, and stories make handmade pieces more lovable. Personalized details are often the part people remember most.
If you are making a gift, think about the other person’s favorite colors or hobbies. A thoughtful match can make a simple craft feel far more expensive and heartfelt than it really was.
14. Let Each Layer Dry Fully

Patience is a secret skill in fabric decoupage. If you rush, the fabric may shift, wrinkle, or cloud the finish.
Allow enough drying time between steps so each layer can settle properly. This helps the surface stay smooth and keeps the colors looking clear. It may take longer, but the better finish is worth it.
Many current makers prefer a slower, more careful process because it leads to a cleaner handmade look. That kind of result feels calm, polished, and much more satisfying.
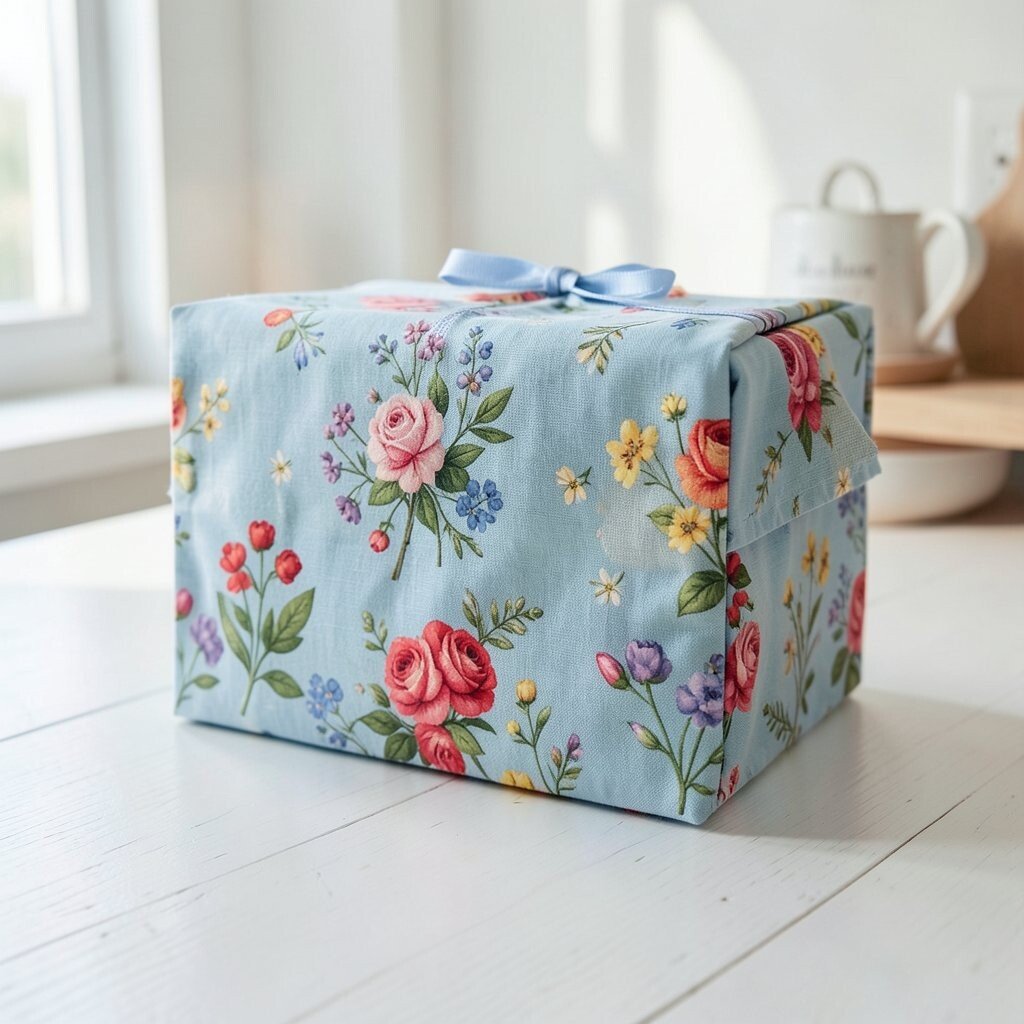
15. Finish With A Style That Fits The Piece
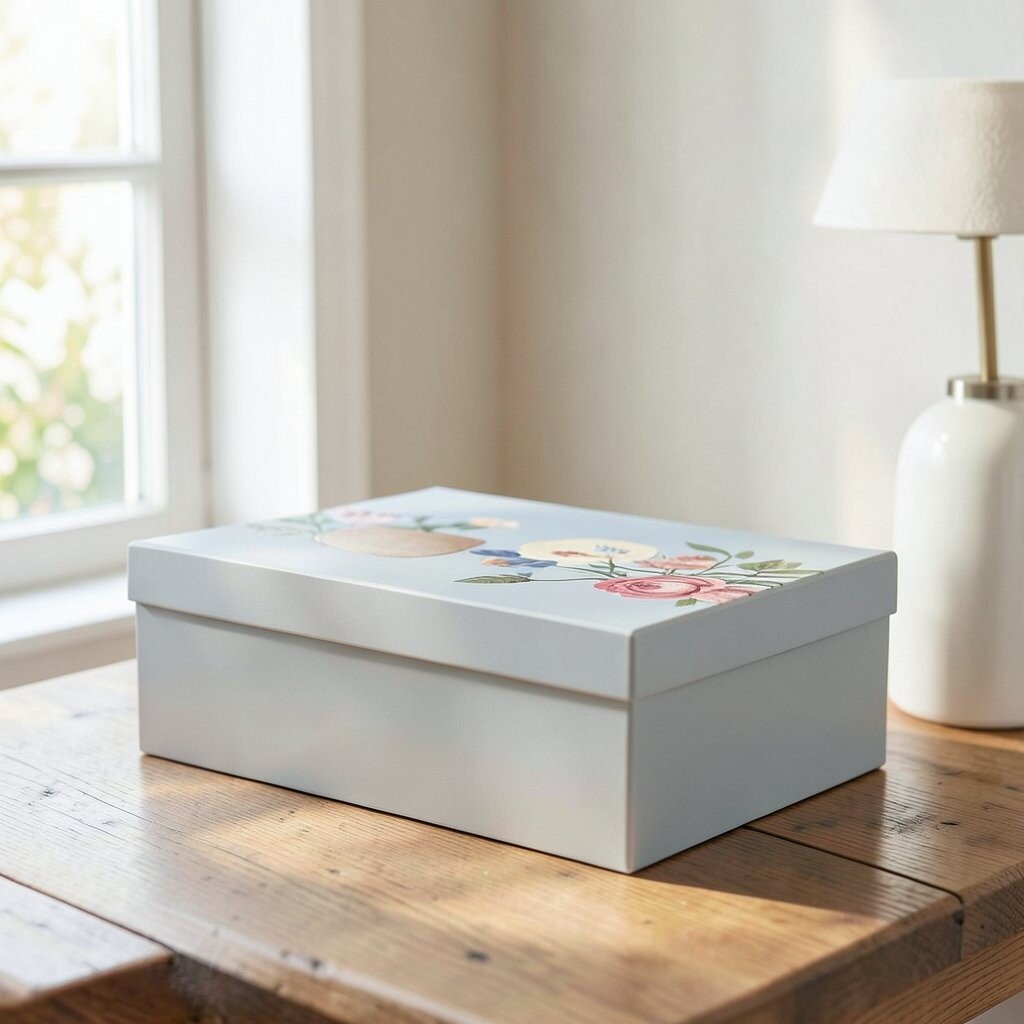
The final finish can change the whole mood of the project. A soft matte coat feels gentle, while a light sheen can feel bright and lively.
Choose a finish that matches the fabric and the item itself. A decorative box may look lovely with a smooth protective coat, while a wall piece may shine with a softer touch. This final choice can also affect cost, since different sealers come in different price ranges.
For a unique result, think about the room, the season, and your own taste before you seal it. The best fabric decoupage pieces feel balanced, useful, and a little bit one of a kind.