
The perfect skate park area can feel like a creative neighborhood. A graffiti wall and skateboard art can turn every session into a visual story.
1. Graffiti Wall at the Entry With a Welcoming Tagline
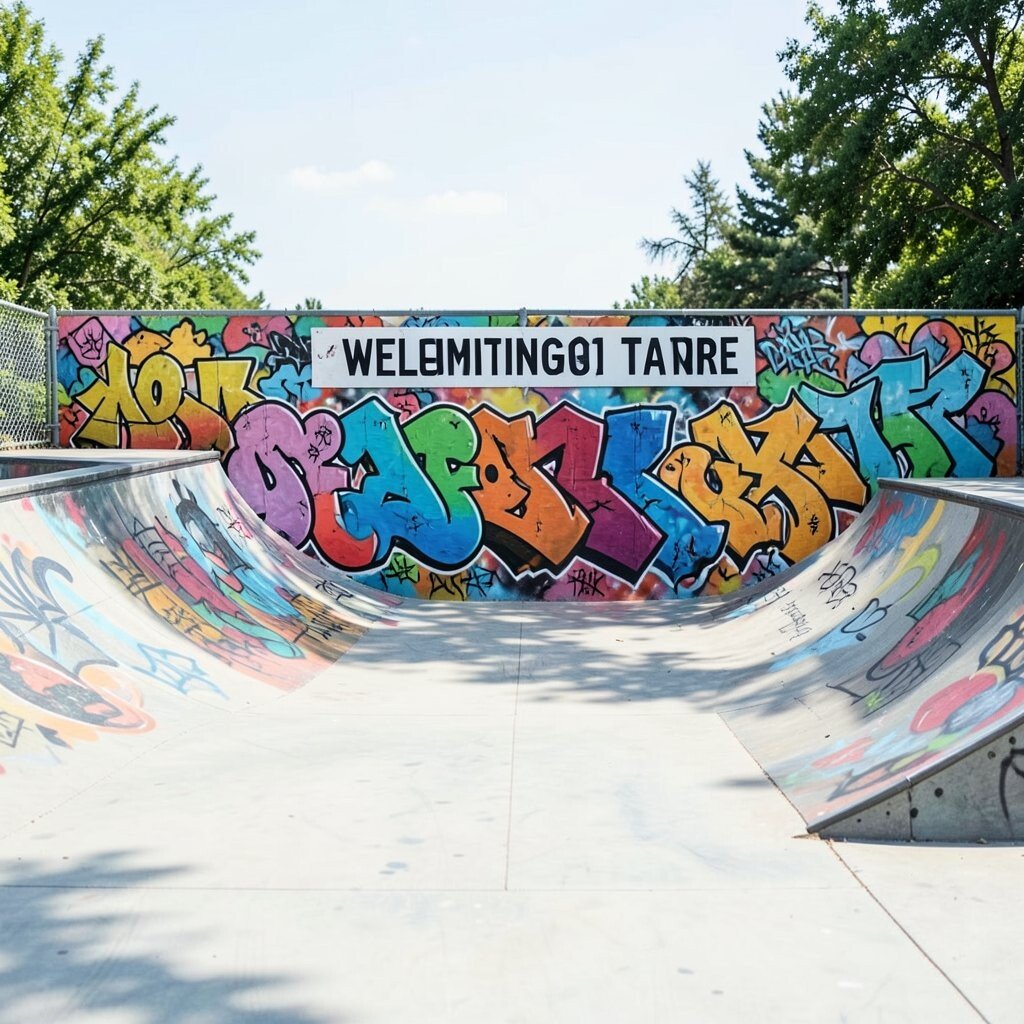
Put the graffiti wall where skaters first arrive so it becomes the park’s first photo moment. Choose a wide, wall-high panel in a bright background color like teal, warm yellow, or soft cream.
Have an artist paint a big central design, then leave a few “practice zones” where crews can add smaller pieces with removable panels or paint pens. This setup makes the wall feel alive instead of finished forever. You’ll also make it easier for newcomers to feel comfortable because there’s something friendly to look at before they roll in.
2. DIY Spray-Paint Mural With Safe Zones and Masking Tape Borders

Set up a mural plan that uses masking tape to create clean sections for different artists and different colors. When tape lines are clear, people can make bolder designs without worrying about messy edges.
To keep it fun and safe, create boundaries on the ground with chalk or short stencils so overspray stays mostly controlled. Skaters and parents get the satisfaction of watching fresh art appear while still keeping the space neat.
After the mural, use a clear protective top coat rated for outdoor walls, especially if your park gets lots of sun or rain. This helps the artwork last longer and reduces repainting costs over time. If your budget is tight, use a smaller “starter mural” and expand it each season.
3. Skateboard Silhouette Wall Art Mounted Behind the Bowls

Hang or mount a series of skateboard silhouettes on the wall behind bowls or near bank ramps. Use different sizes, and layer them like a stack of boards to create depth.
This kind of art looks dramatic because it frames the motion of skating and gives photographers a clear backdrop. You can paint silhouettes in matte black, then add bright highlights in neon colors for a modern look.
For practicality, ensure there is enough clearance from where boards roll so nothing catches wheels. Consider using weather-resistant paint and sealing the surface, especially for windy locations. Personalize the silhouettes with local skate brands, crew names, or animal shapes that match your town’s vibe.
If you want to keep costs down, start with vinyl cutouts on plywood panels and later replace them with full wall sections. That staged approach lets you upgrade without doing everything at once.
4. Color-Blocked Under-Ramp Panels With a Cool Motion Feel

Use color-blocked art under ramps to create a “speed” look that feels like you’re moving even while standing still. Long rectangles in repeating stripes can echo skate tracks and make the whole area feel organized.
Add subtle patterns like tiny tire marks, star bursts, or ripple lines so the wall matches the energy of tricks. This gives every corner a visual purpose and keeps the park from looking bare.
5. Community Mural Day With Rotating Artists and Theme Weeks
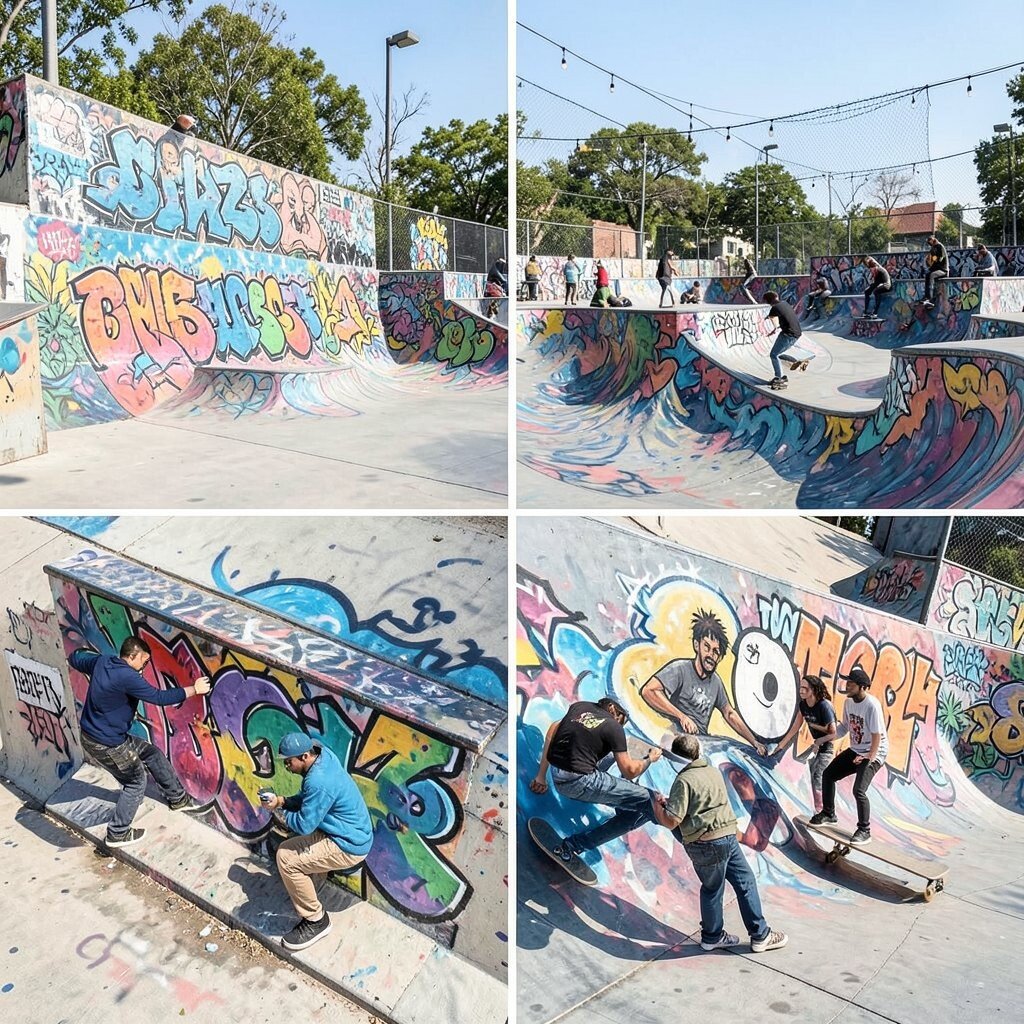
Host a community mural day where local skaters, art students, and nearby artists can paint together. Pick a theme like summer waves, city skyline, or skate legends so everyone has a direction.
Run short art “time blocks” so each person contributes and the mural keeps moving. You’ll build pride because people feel ownership, and the park becomes a social meeting spot as much as a practice place.
To keep it manageable, use pre-drawn outlines on the wall so people can focus on filling color and adding details. It lowers the stress for first-time painters and speeds up setup. Budget wise, you can reuse stencils and paint supplies from week to week, then plan one “bigger” purchase per theme.
6. Hand-Drawn Skateboard Deck Map Showing Local Spots
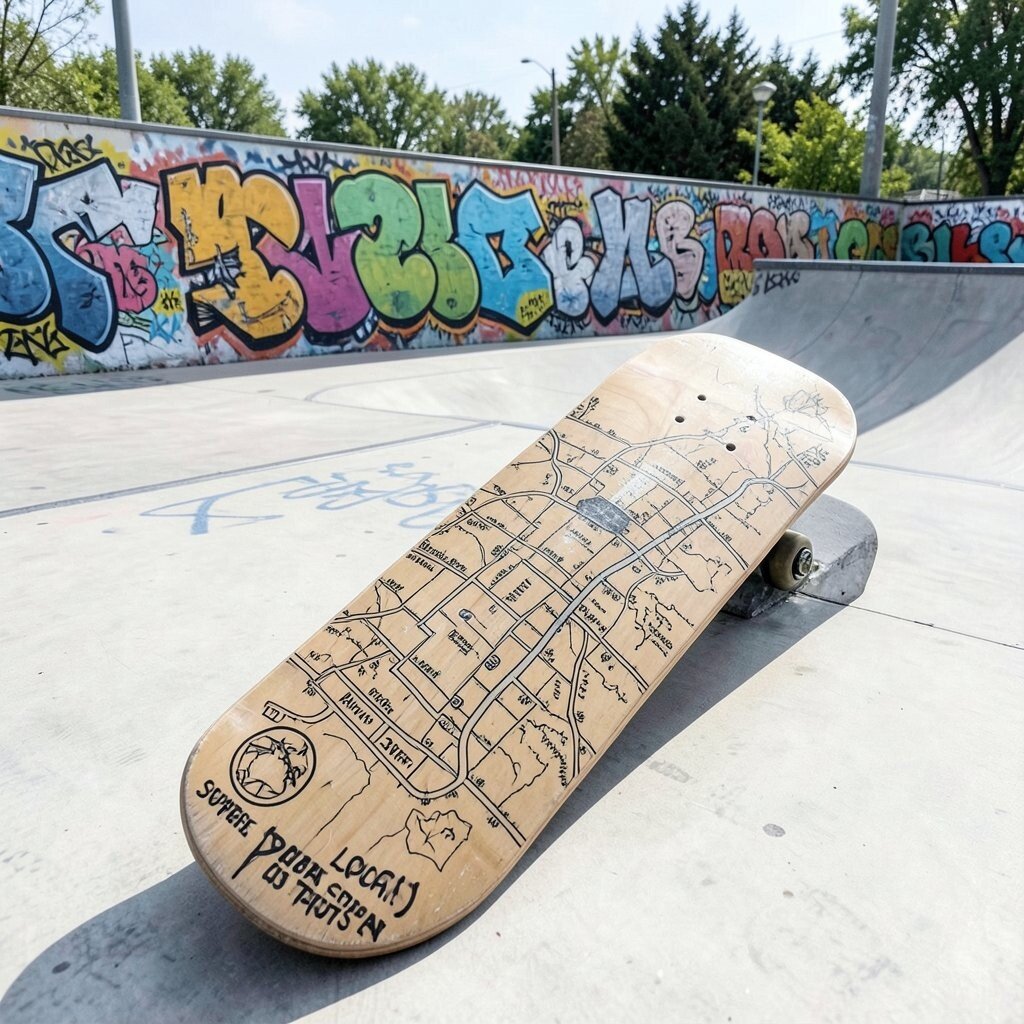
Make a deck-shaped mural that looks like a map of your local skate spots. Draw streets, landmarks, and mini skate icons, then surround it with playful doodles.
This creates uniqueness because it’s tied to real memories, not just generic graphics. When skaters see their favorite hills or parks referenced, they feel seen and the art becomes more than decoration.
For practical steps, keep the map simplified so it remains readable from a distance. Choose weatherproof markers for the final lines and seal afterward. Personalize it by adding names of sponsors, school teams, or community groups that helped build the park.
7. Sticker Collage Wall Inspired by Skate Culture Batches

Create a sticker-style graffiti wall where different “paper labels” overlap like real skate stickers. Use bold outlines, slightly tilted shapes, and layered backgrounds to mimic a lived-in look.
You’ll get a trendy vibe because many parks are using collage art to make walls feel collected and real. It also makes maintenance easier since you can replace a section without repainting the entire wall.
Use a grid of removable panels so sections can be swapped as new crews show up. This is a smart cost consideration because it spreads spending over time. Personalize the collage with favorite grip brands, local slang phrases, and tiny art signatures.
Keep it clean by using consistent fonts for the “fake sticker” text, so it reads like a coordinated design instead of random clutter.
8. Mini Graffiti Training Zone With Beginner-Friendly Practice Blocks
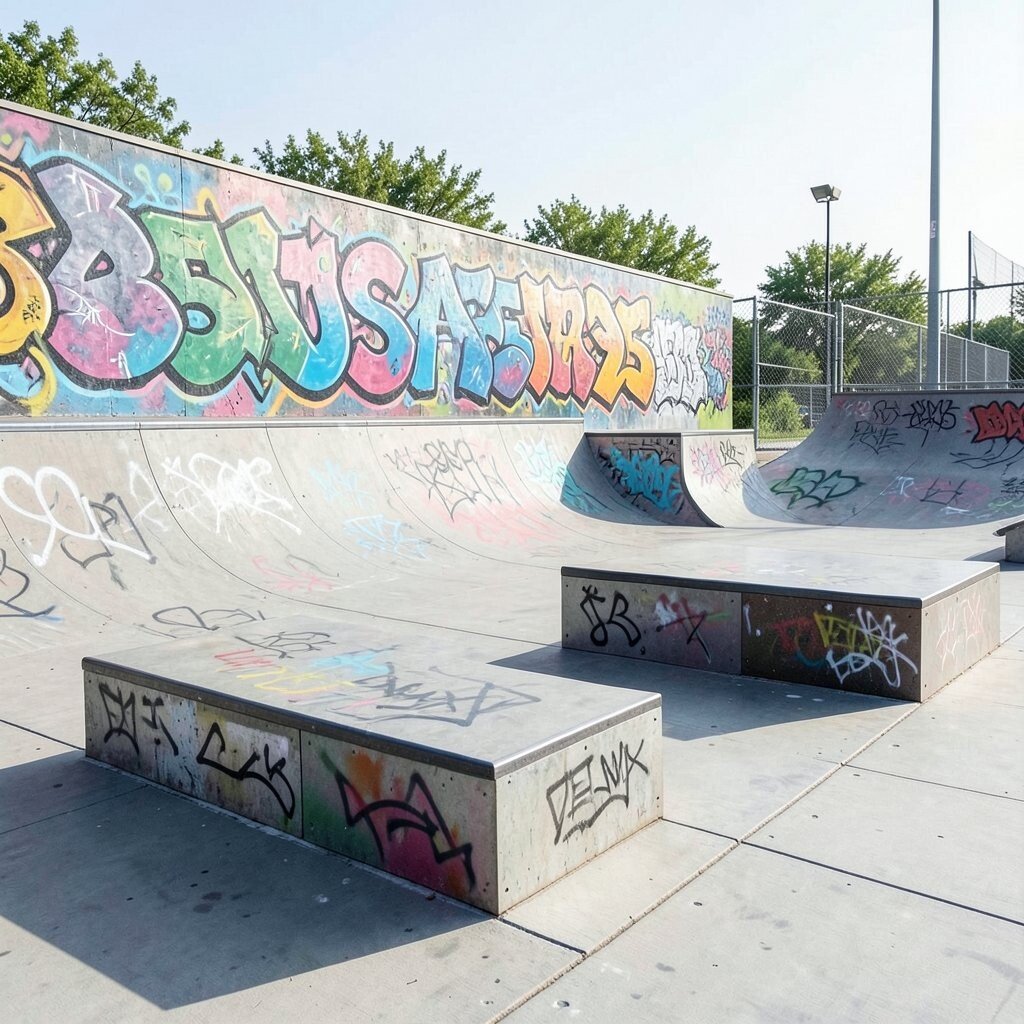
Set aside a section of the graffiti wall as a practice zone with smaller rectangles. Place it at a height that’s comfortable for most people, and add a simple theme so beginners can aim for an easy win.
This helps the park feel inclusive because new artists can try techniques without ruining a main piece. It also encourages skaters to stop and watch, since the practice zone works like a living classroom.
9. Vertical Tag Ladder on a Narrow Wall for Daily Growth

Install a vertical ladder-style mural where each rung holds a different tag, symbol, or short message. Keep the lines straight so the design stays sharp even when many hands contribute.
Vertical art is visually bold because it climbs the eye, and it helps the wall feel taller than it really is. It’s also practical since narrow walls can be hard to decorate, and a ladder layout uses space efficiently.
To keep things organized, limit the size of each “rung” and rotate artists monthly. That makes the wall a timeline, which is a big uniqueness boost. For personalization, use a color theme that matches your park’s colors and let each new contributor add one highlight color.
If costs are a concern, use painted boards mounted to the wall so you can swap rungs without repainting the whole structure.
10. Skateboard Art Border Around the Seating Area
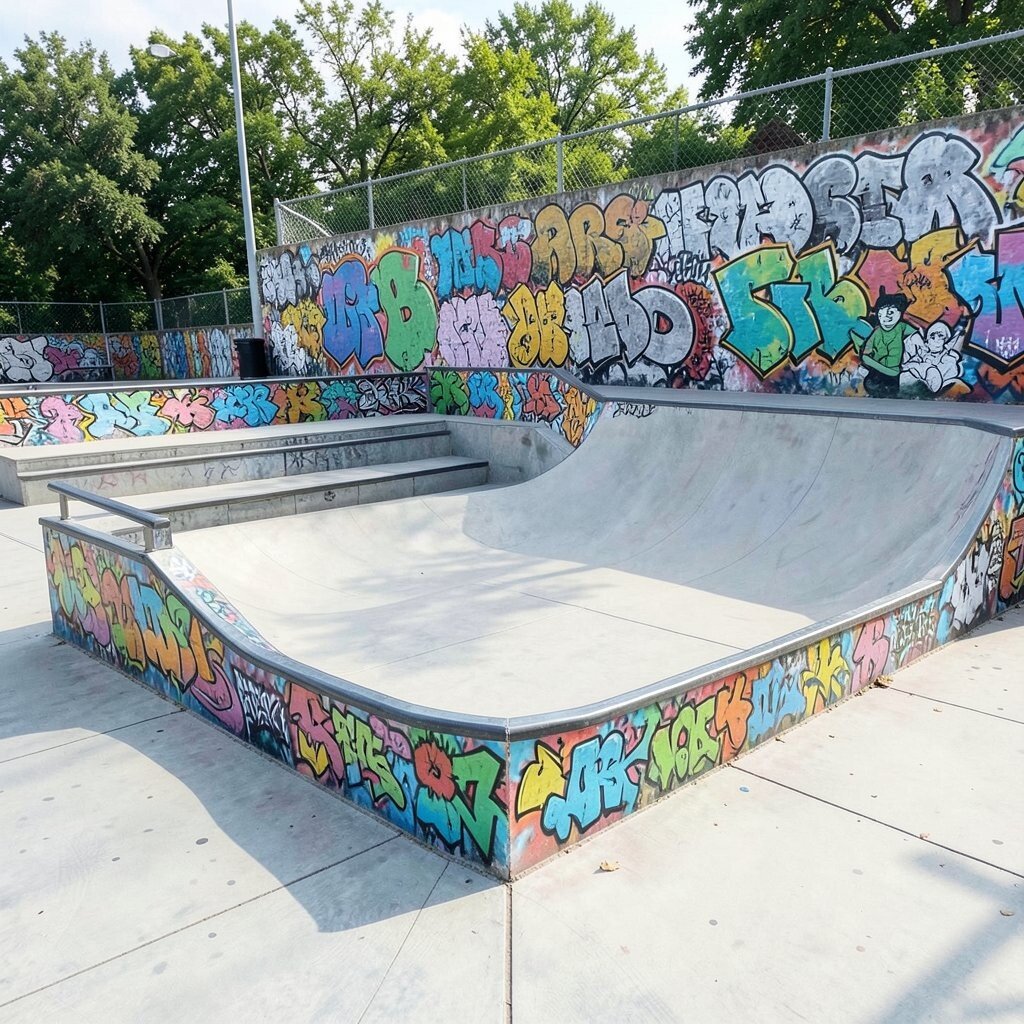
Decorate the border around benches and small seating with skateboard-themed art like wheels, board shapes, and simple icon trails. This makes the resting area feel like part of the same story as the ramps.
Because seating is where people watch, the art becomes a background for conversations and photos. It also gives parents and younger siblings a safe place to gather while still staying engaged with the park vibe.
11. Large Wall Mural With a City Skyline and Rolling Perspective Lines

Paint a skyline mural on the main wall and add perspective lines that curve like a rolling road. The visual effect helps tricks look more dramatic because it visually pulls movement toward the ramps.
For benefits, this style makes the park feel bigger and more cinematic, even if the space is limited. It’s also a strong fit for current trends that mix street art with clean graphic design.
Keep it practical by choosing a reference photo for the skyline shape so the mural stays consistent. Use painter’s tape for straight edges, then freehand the details once the base lines are done. Personalize the skyline with a local building, a school sign, or a landmark sketched in a simplified way.
If you’re working with a tight budget, paint the skyline in two or three layers rather than dozens of colors. You’ll still get depth, and you’ll spend less on paint while keeping the look polished.
12. Giant Wheel Pattern Wall to Frame the Most Photogenic Ramp
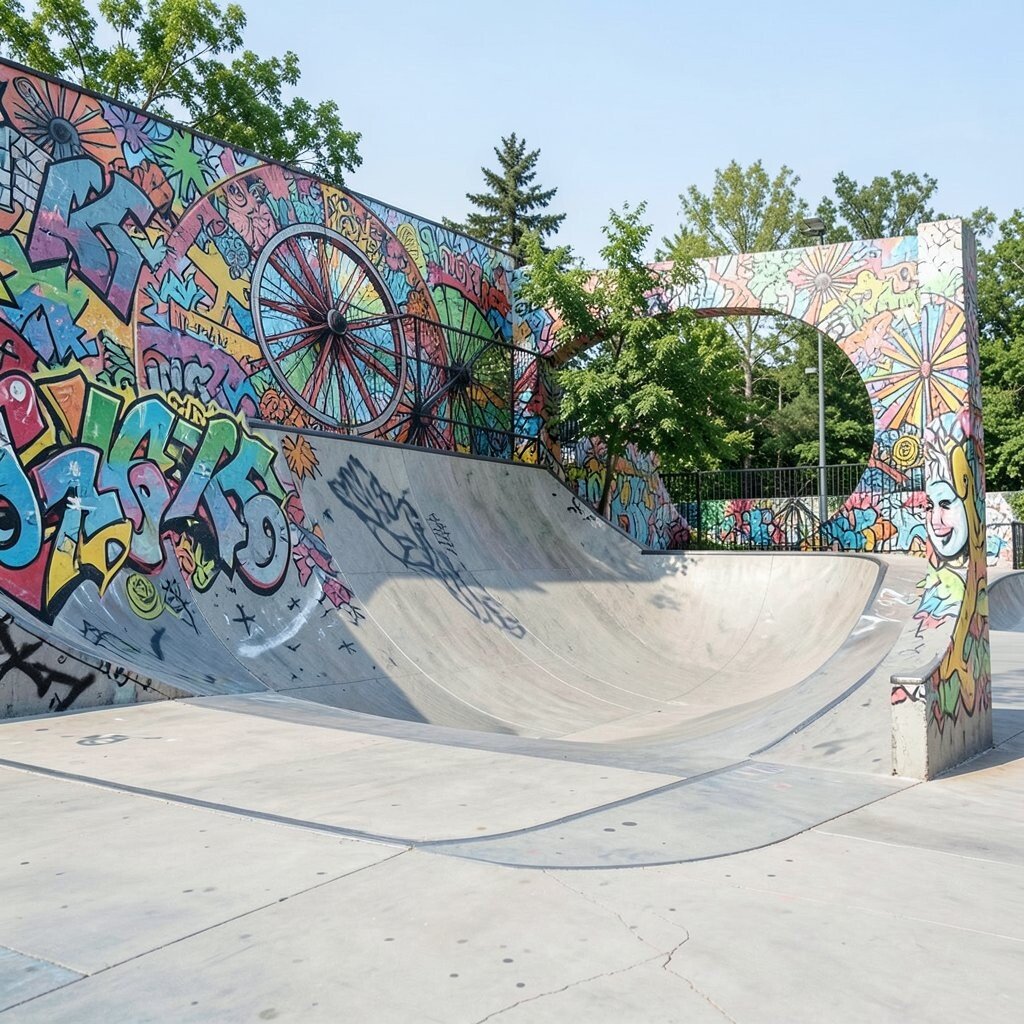
Choose the ramp that gets the most action and build a giant wheel pattern behind it. Draw repeating circles like tire tracks, then place the biggest “hub” circle right behind the landing zone.
This creates instant focus because photographers and skaters naturally aim toward the center. The repeating pattern also feels timeless while still looking fresh when you add modern colors.
Use practical materials like outdoor mural paint and a protective seal so the circles don’t fade quickly. Consider a high-contrast palette like black, white, and electric green so details stay visible. Personalize the hub with a local symbol, a park nickname, or a small skateboard icon that represents your community.
13. Glow-In-The-Dark Accent Details on Key Graffiti Highlights
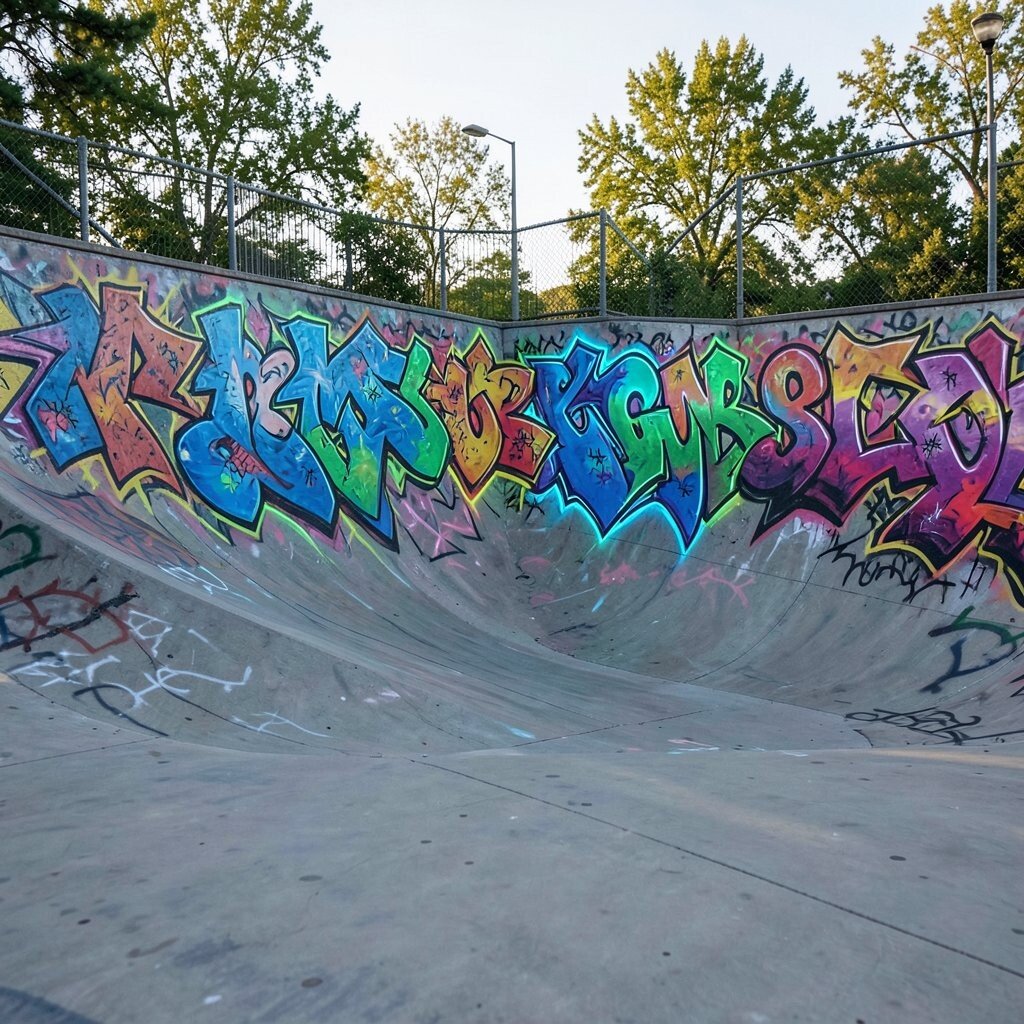
Add glow-in-the-dark accents to your graffiti mural by highlighting edges of lettering, wheels, and stars. It’s a simple trick that makes the art feel magical during evening sessions.
This can be a big benefit for safety too, because glowing lines gently guide eyes toward important areas. It also matches current trends in night skating culture, where parks become more vibrant after dark.
For practical steps, test the glow product on a small patch first to confirm how bright it gets. Apply it over a compatible base paint so it bonds well, then protect it with an outdoor top coat if the product requires it. Cost-wise, you don’t need to glow everything, so limit it to accents to stretch your budget.
14. Stencil-Based “Board Ghosts” That Look Like They’re Flying

Use stencils to create “board ghosts,” where skateboard shapes appear partially transparent and seem to float across the wall. Layer them with different opacity levels so the effect looks like motion in a still image.
This kind of art feels unique because it balances clean stencil lines with a playful, dreamy vibe. Skaters often enjoy it because it looks like tricks captured in paint.
To keep the stencil work practical, secure stencils flat and spray slowly to avoid overspray blobs. Choose a limited color palette, such as silver gray with neon accents, so it looks intentional. Personalize the ghosts with tiny marks like dates, initials, or short crew icons inside the board outline.
If you want to minimize cost, create reusable stencils from sturdy plastic sheets and store them carefully between art days.
15. Paint-Around Graffiti Frame With a Real “No-Walls” Feel

Build a frame around a graffiti section so it feels like an art window into the skate world. Use thick painted borders, then fill the inside with swirling lines, spray splatters, and board graphics.
The frame gives structure, which helps the mural look neat even with busy designs. It also makes the space feel intentional, and skaters like walls that look curated rather than chaotic.
For practical personalization, include a signature banner space where each season’s artists can add a small mark. Consider using removable vinyl letters for fast updates, which helps cost considerations because you’re not repainting every time. A clean frame can also protect parts of the wall from frequent contact.
16. Wall-Safe Lettering Practice With Magnetic or Chalk Panels

If you want flexibility, use magnetic panels or chalkboard sections near the graffiti wall. People can practice shapes, lettering style, and basic layout before using spray paint.
This is helpful because it keeps the main mural cleaner while still letting creativity happen daily. It also supports personalization, since each person can try different names and symbols without making permanent changes.
For practical tips, mount panels securely and choose surfaces designed for repeated use. If chalk gets messy, you can switch to erasable marker panels, which make cleanup easier. Budget wise, start small with a couple of practice panels and expand when you see how much people use them.
17. Wraparound Side-Wall Storytelling With Panels for Each Skate Style
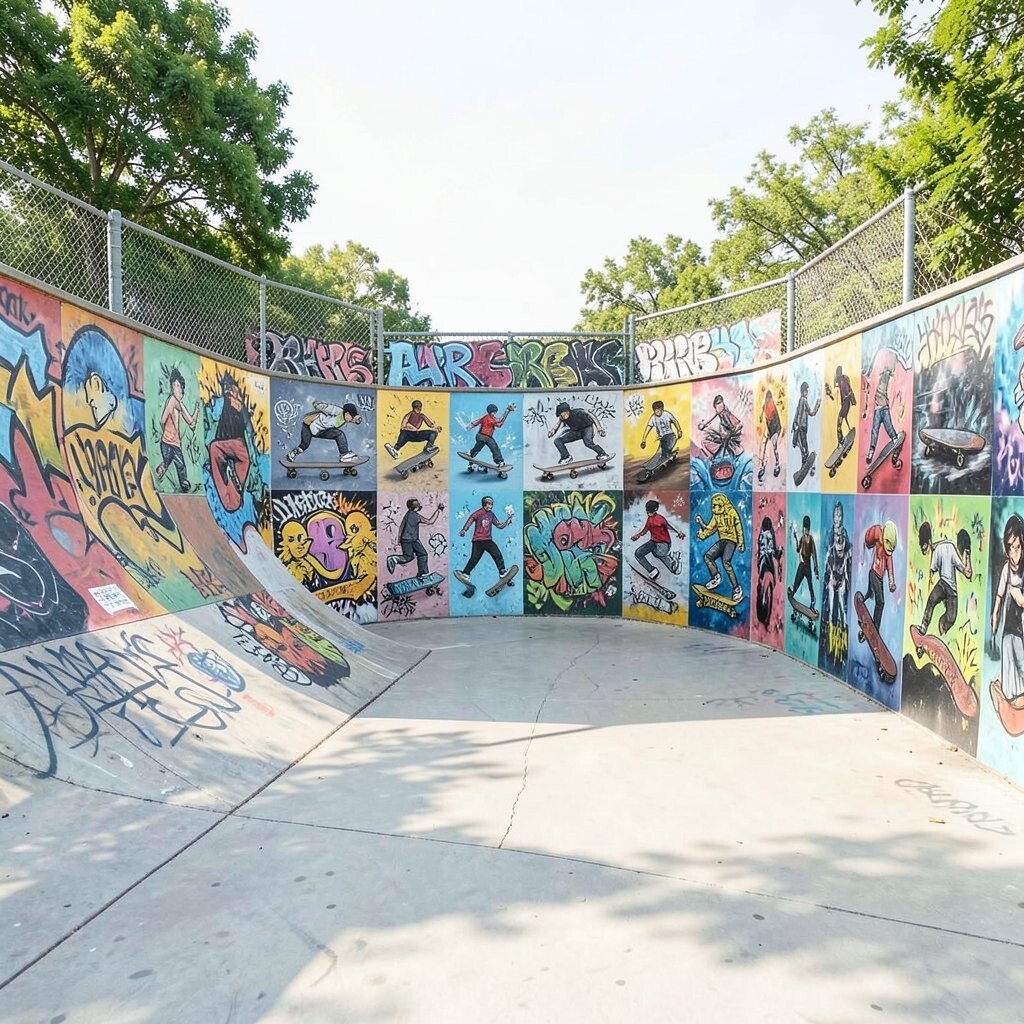
Plan a wraparound side-wall design where different panels represent different skate styles like street, vert, park, or longboard vibes. Each panel can include a short visual story using icons, characters, or symbolic landmarks.
This makes the entire park feel connected because the art travels with you along the path. It’s also a uniqueness win since most graffiti walls focus on one big piece instead of a whole set of scenes.
To keep it practical, measure the wall sections and sketch each panel on paper before paint day. Use consistent spacing and line thickness so the panels feel like a single artwork. Personalize it by featuring local skaters in silhouette, or adding a small badge for each neighborhood crew involved in the park.
For cost considerations, you can start with one wraparound strip and add the next section each season. That staged approach keeps spending steady and still delivers fresh visuals for skaters every few months.