Spring makes a classroom feel lighter, brighter, and full of new beginnings. Hallway art is the easiest way to share that feeling with families walking by.
When kids see their work on the walls, they practice pride, patience, and creativity every single day. Below are practical decor ideas that fit real classroom schedules and real classroom budgets.
1. Hanging Garden Paper Planters
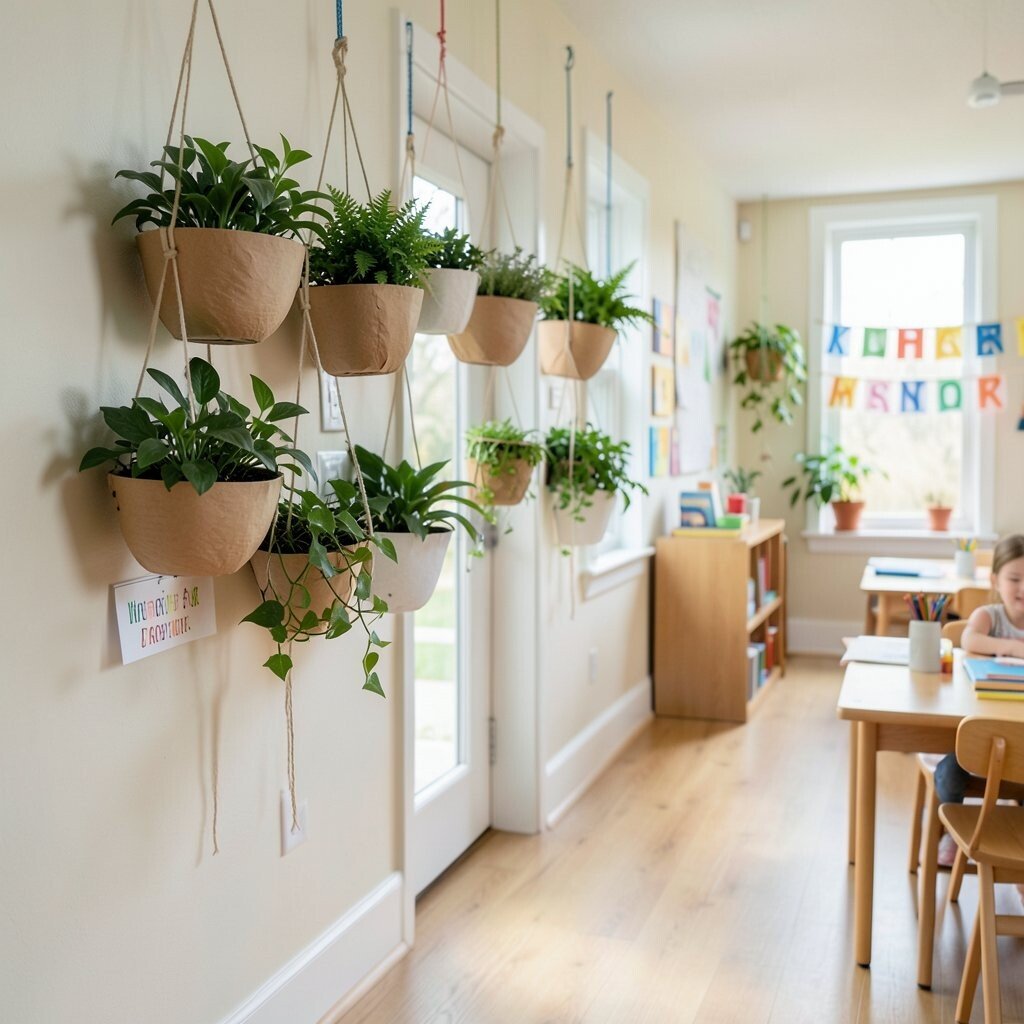
Picture colorful paper planters swinging from the hallway ceiling like tiny gardens in motion. Kids add handprints or cut-out petals, and the display makes the space feel alive right away.
Use light cardstock so the art hangs safely and stays flat. For a quick plan, pre-cut planter shapes ahead of time and let children decorate with spring colors like mint, coral, and sunny yellow. Add a simple label card with each child’s name so every planter feels personal and meaningful.
2. Rainbow Handprint Flower Wall
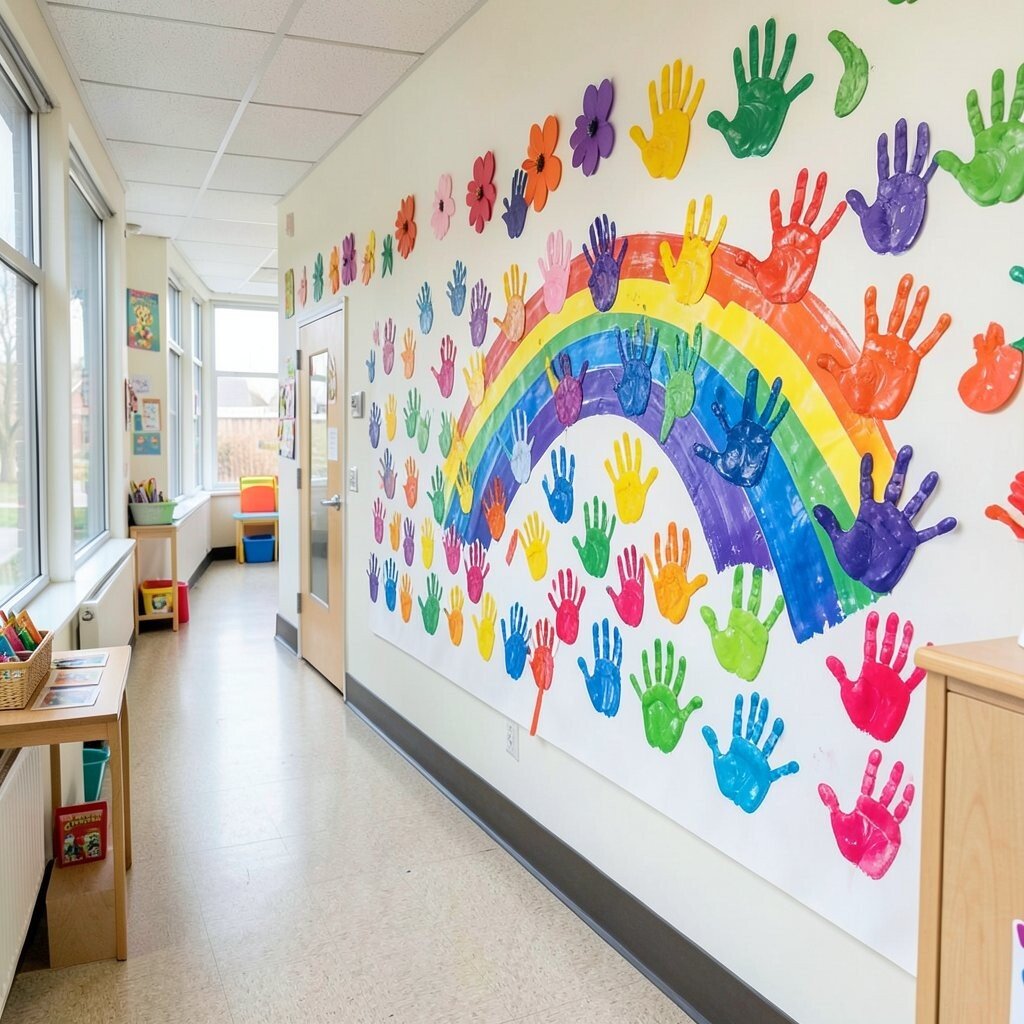
Turn a long hallway wall into a cheerful rainbow by arranging handprints into flower petals. Each handprint becomes part of a big bloom, and the whole hallway starts to look like spring sunshine.
Mount the art on butcher paper or poster board to keep it easy to swap later. This kind of hallway display supports fine-motor confidence and gives kids a clear sense of belonging as they look down the line.
Try choosing one flower style per class theme, like daisies or tulips, so the layout stays organized. If you want to save money, use washable paint pads and reuse sturdy frames or boards from year to year.
3. Storybook Character Spring Silhouette Tiles
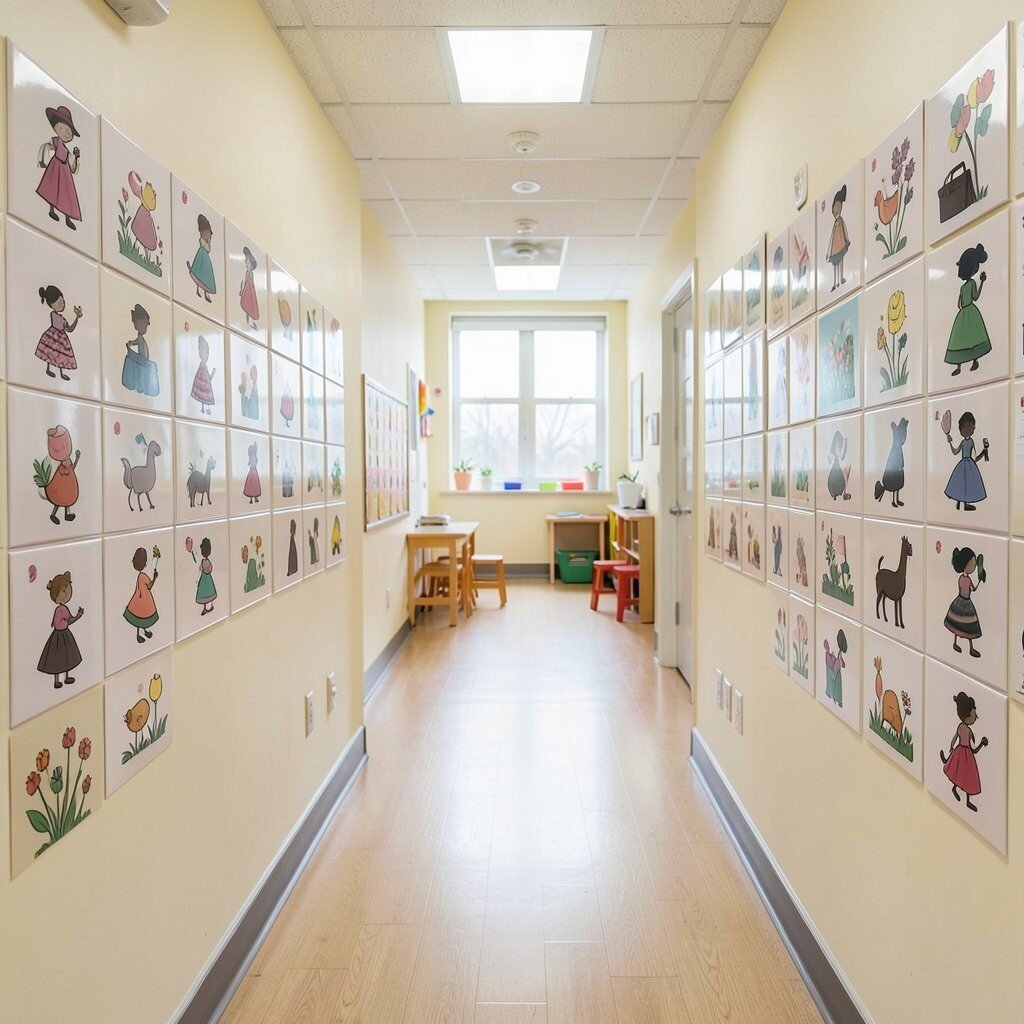
Craft spring-themed silhouette tiles that match your classroom story favorites. Think of simple shapes like blossoms, kites, and butterflies layered behind black or deep brown outlines.
Place the tiles along the hallway at child eye level so families can follow along too. This helps kids connect art with reading and makes the hallway feel like an extended part of the classroom world.
Use a mix of glossy and matte paper for a fun look without buying special tools. For personalization, let each child choose one silhouette that fits the season and glue it onto a tile that includes their name.
4. DIY Weather Chart With Kid-Made Clouds
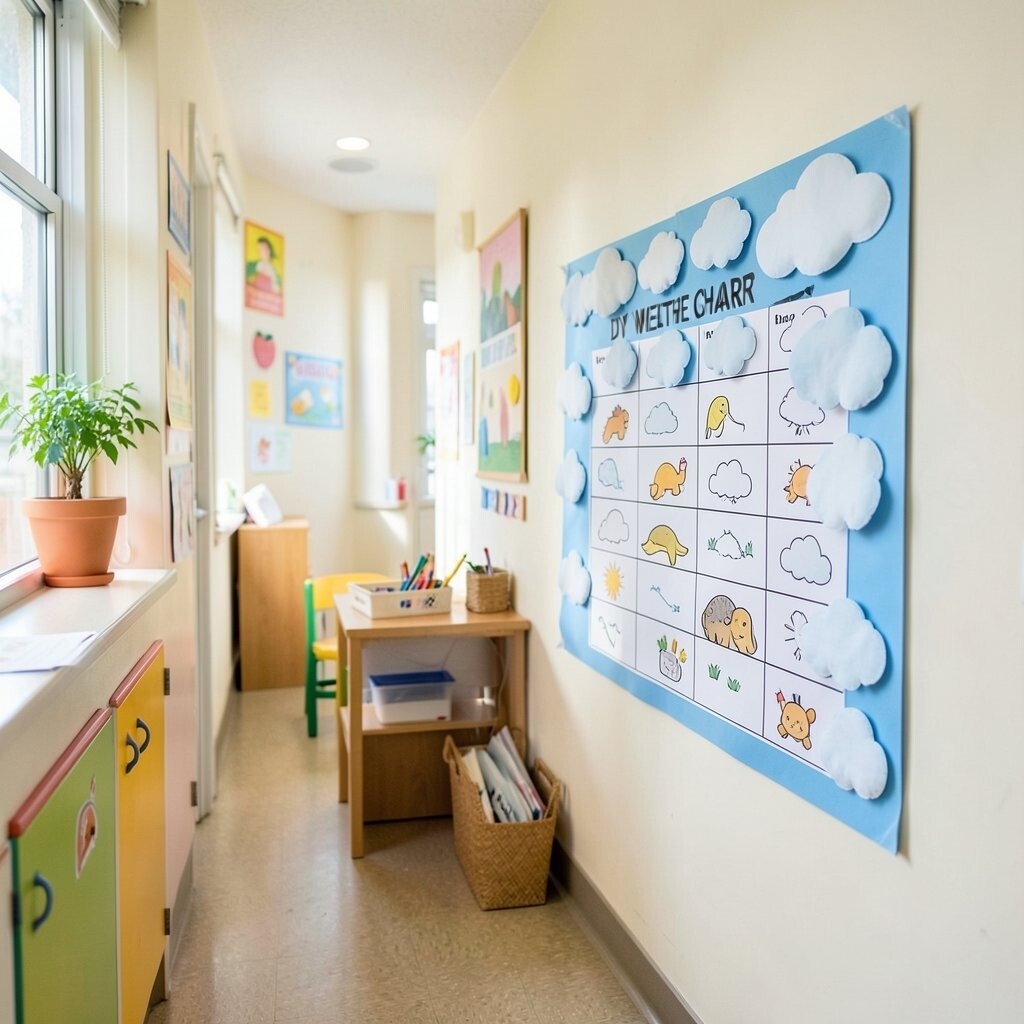
Create a weather chart that pairs movement with calm routine. Soft paper clouds and sun shapes hang in pockets so kids can swap them after each observation.
It’s a smart way to bring learning into hallway decor while still keeping the display bright. Use Velcro dots so children can change the sky themselves, and use laminated pieces for easy cleanup.
5. Butterfly Migration Timeline on a String
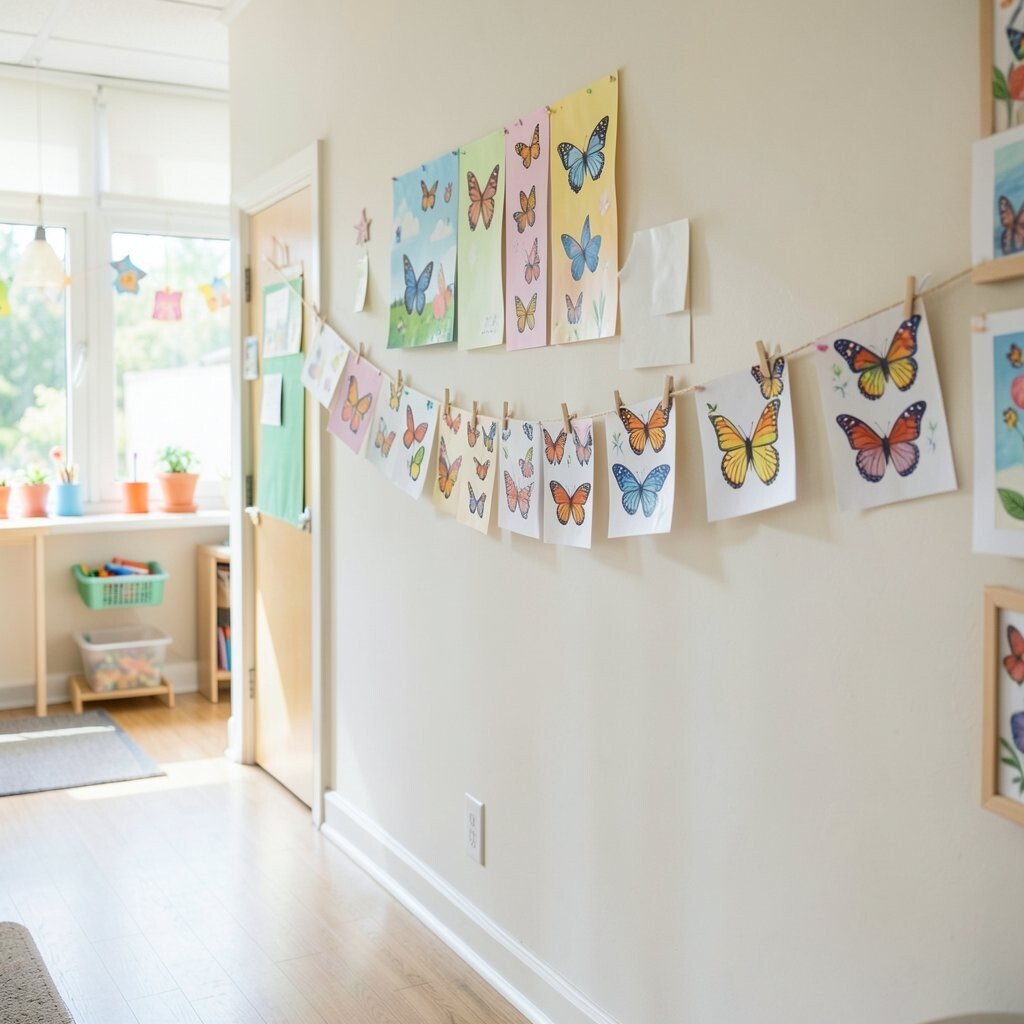
Make a “migration” line that runs along the hallway using string and clothespins. Kids add butterflies at different sizes, and the line looks like the whole wall is buzzing.
This display feels unique because it’s interactive, not just taped up and forgotten. Use light brown string or twine so it looks natural and springy.
For personalization, have each student add a tiny “wing” that includes a short drawing like a leaf, a cloud, or a garden. To keep costs low, use recycled cardboard for wing bases and decorate with crayons or markers.
6. Blooming Branches With Tissue Paper Blossoms
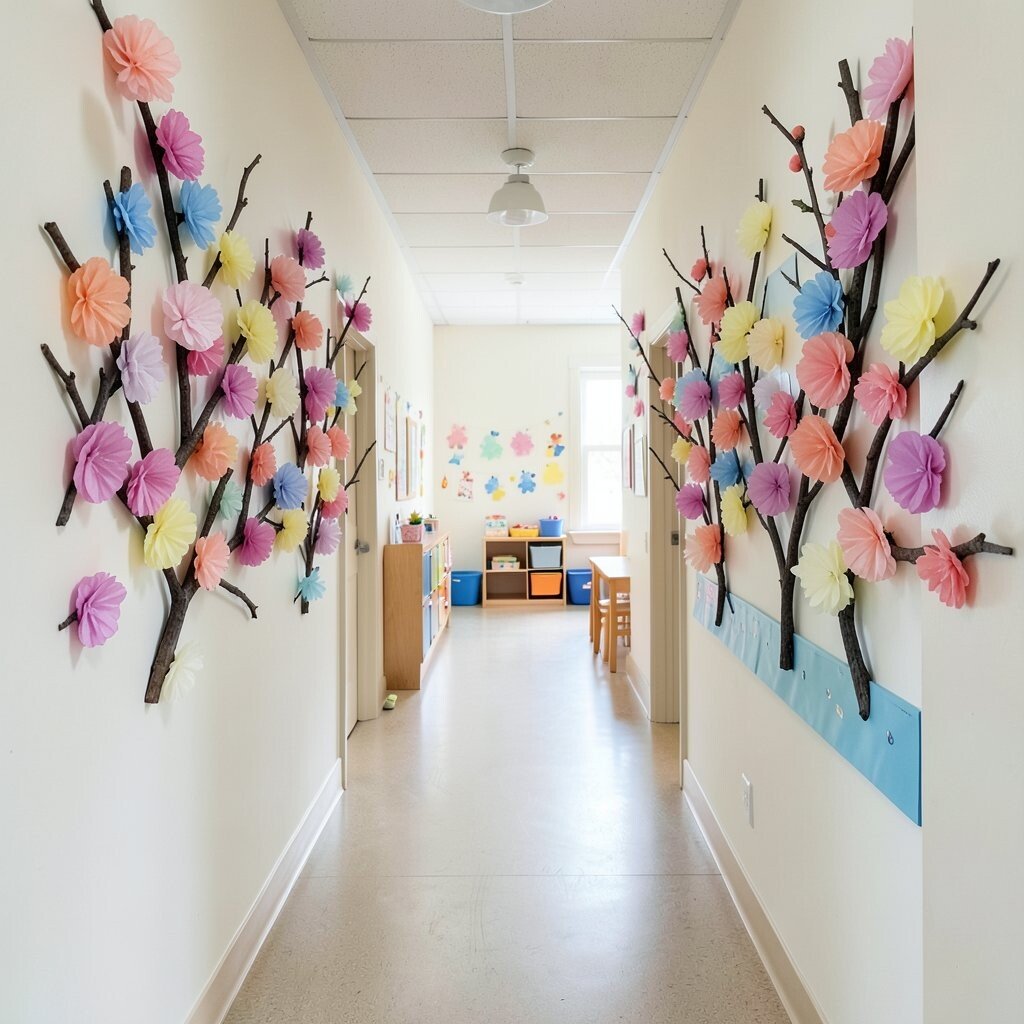
Visualize hallway branches made from painted cardboard strips and capped with tissue paper blossoms. The hallway takes on a gentle spring mood, especially when the colors are grouped by shade.
This decor is great for kids because tissue paper adds texture they love to touch and point to. It also helps children practice patience as they layer petals carefully.
To make it practical, use pre-drawn branch templates and provide glue sticks instead of messy glue. If you want a quick setup, you can create a shared branch by letting children place blossoms only, while adults handle the sturdy mounting.
7. Kids’ “Seed of Kindness” Wall Labels
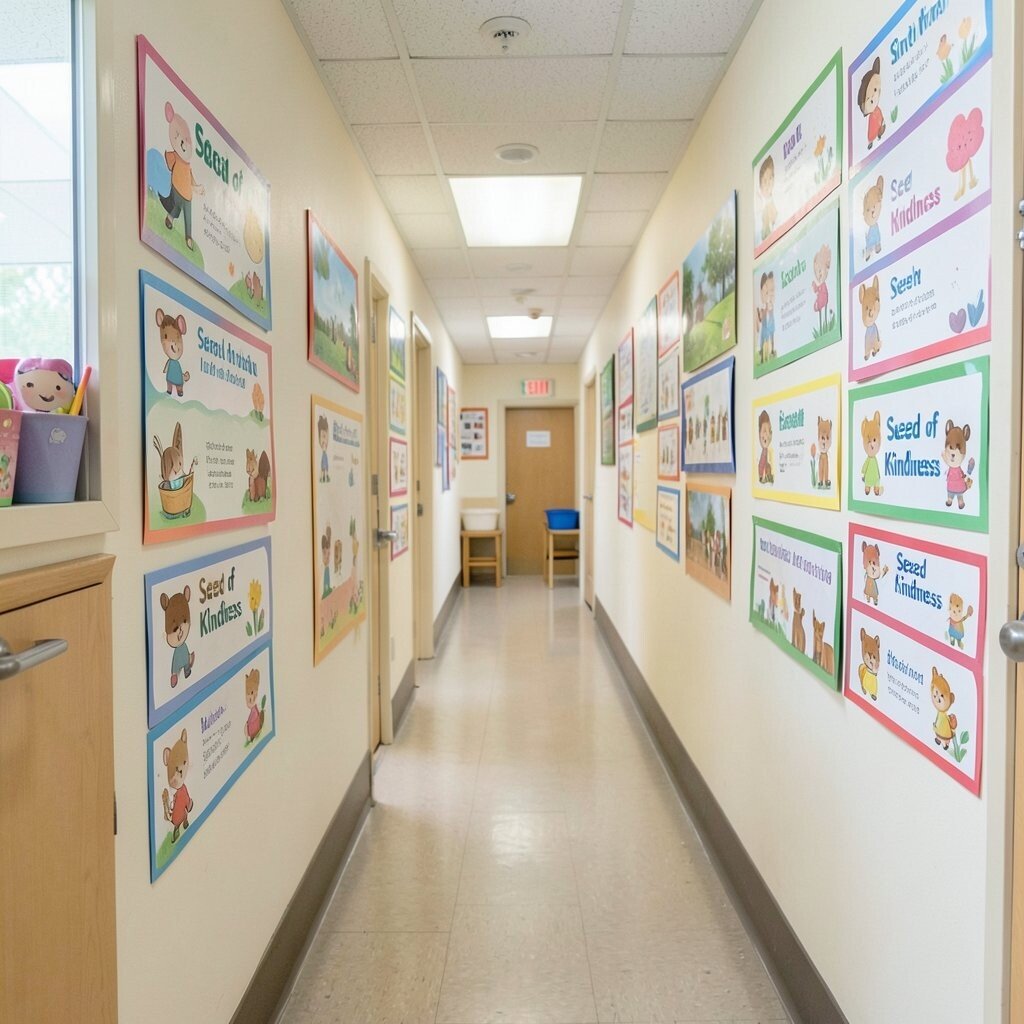
Turn simple hallway signage into a kindness garden by adding “seed” cutouts with children’s drawings. Each seed shows a small idea like sharing, helping, or using kind words.
This is a sweet way to build community, because the hallway becomes a friendly reminder instead of just decoration. Make the seeds from cardstock and add a bright border so they stand out even from far away.
For personalization, let kids draw one picture and one letter in their own style. Keep costs reasonable by cutting many seeds from a single sheet and using markers you already have.
8. Spring Color Ombré Paper Streamer Steps
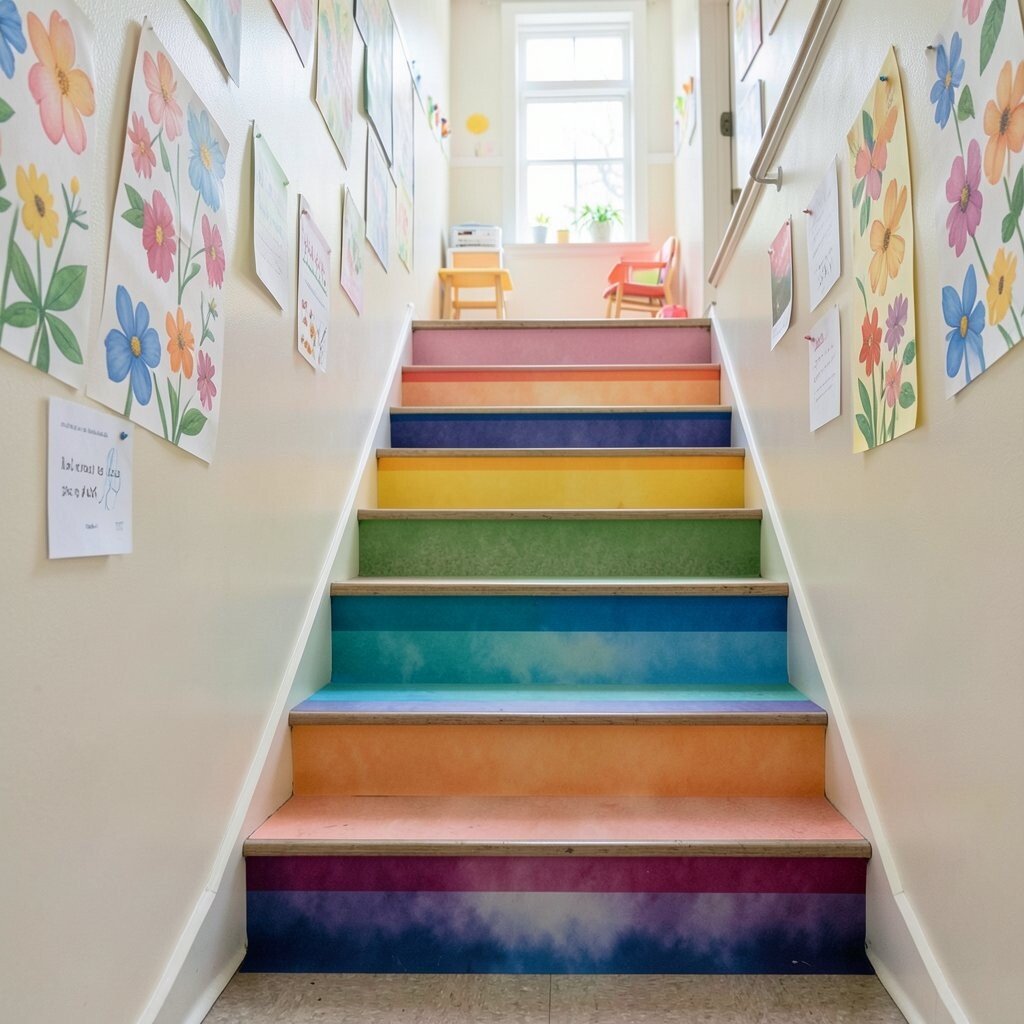
Design a hallway “step” effect using paper streamers in an ombré color pattern. When the streamers line up diagonally, they create a soft wave that looks like the season is flowing.
Families walking by will notice it quickly, and kids love watching their eyes travel down the hallway. Use pre-cut strips so assembly stays fast, and attach them with gentle tape that won’t damage walls.
9. DIY Kite Festival Banner With Moving Tails
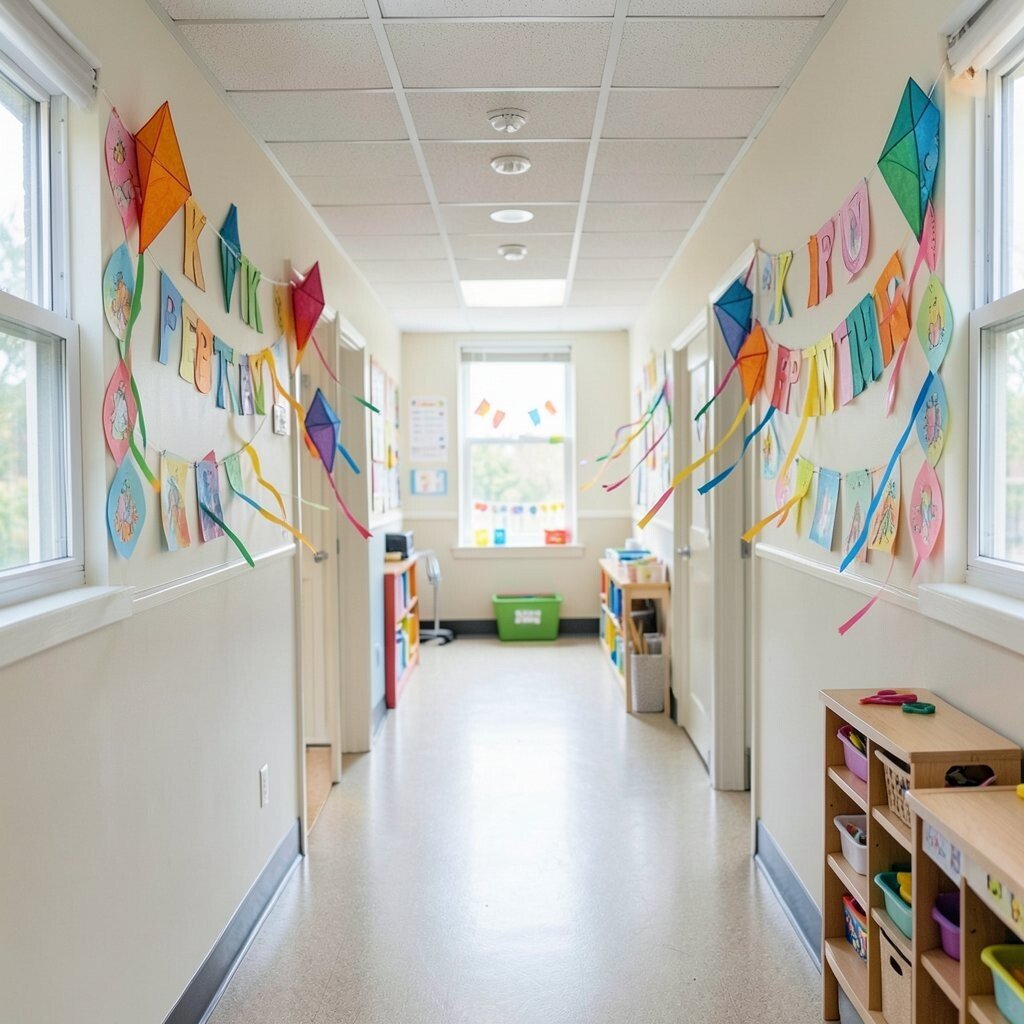
Imagine kites lined up along the hallway, each with a long tail made from curling paper ribbons. The display feels celebratory, and it makes the space feel like a spring festival even on a regular school day.
Use sturdy paper for kite bodies and lightweight streamers for tails so the whole banner stays manageable. This idea supports creative expression because children can pick patterns, dots, and stripes for their kite.
For a practical twist, hang the kites from a single rod or string and let kids help add their tails. If budgets are tight, reuse ribbon scraps and ask families for gently used wrapping paper or end-of-roll fabric.
To personalize further, include each child’s name on a small tail tag so the banner feels like a group achievement.
10. Flower Pot Photo Frame With Faux Blooms
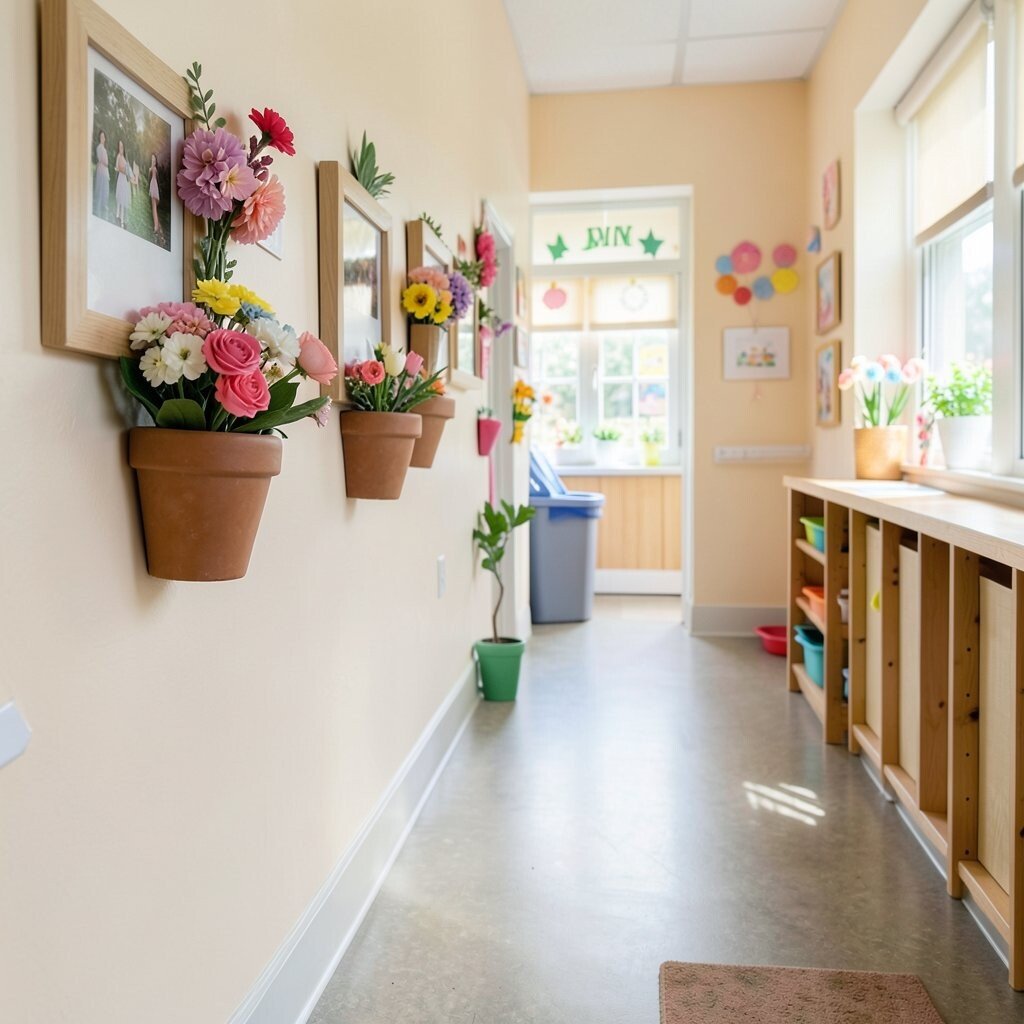
Set up a photo-friendly flower pot frame that kids can stand behind during art time. The pot shape can stay on the wall, while children add faux blooms made from paper.
This brings a fresh photo moment to the hallway, which families love. It also encourages kids to take pride in how their work looks when it’s displayed at “gallery level.”
Keep it practical by using pre-cut pot outlines and simple bloom shapes that children can glue quickly. Consider using reusable magnetic dots or Velcro so you can swap blooms for new classes without starting over.
11. Tissue Paper Waterfall Raindrops and Sunbeam Collage
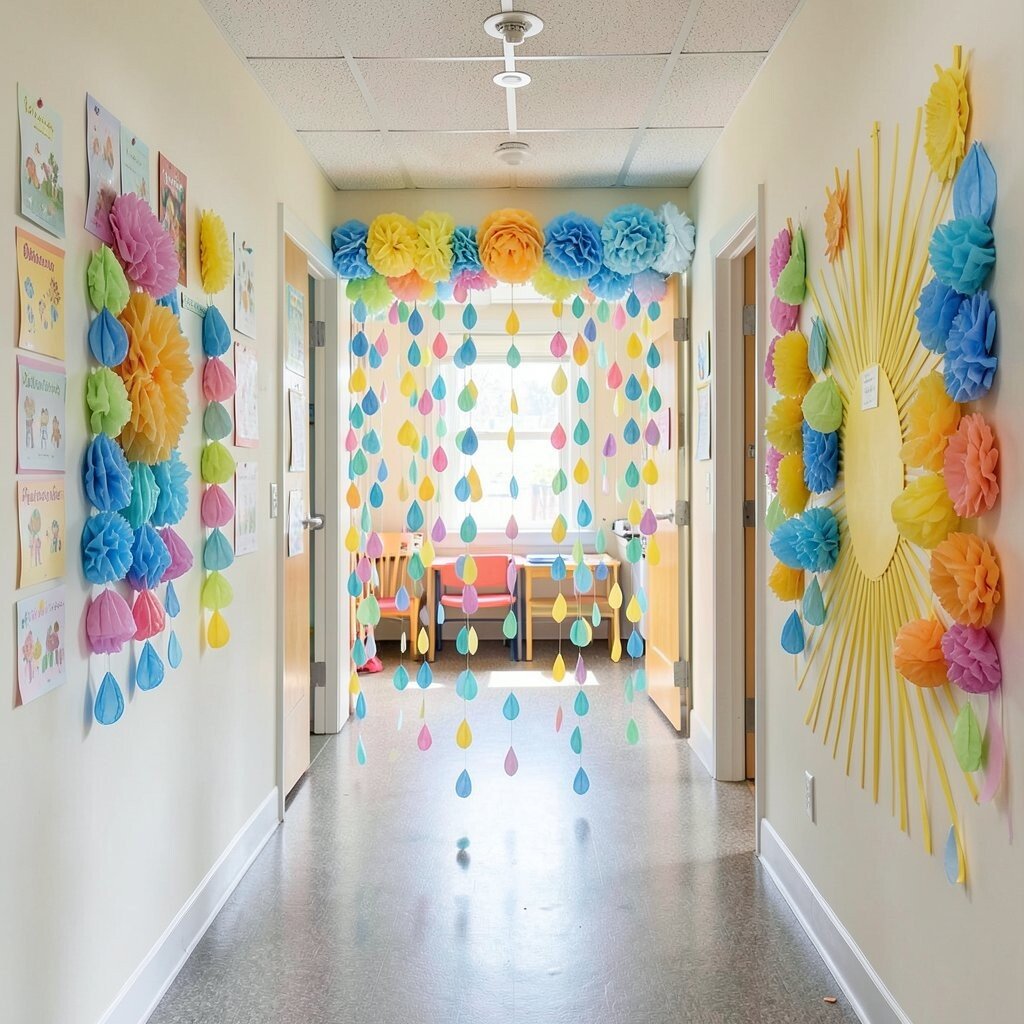
Create a collage that mixes raindrops and sunbeams to show spring weather in a cheerful way. Kids layer blue and white tissue paper strips for the rain and bright yellow for the light.
This style looks amazing from a distance, and it also helps children practice making careful layers. The texture makes the hallway feel more like a real art studio.
For personalization, let each child choose one rain shape, like a teardrop or a circle raindrop, and one sun shape, like rays or a halo. Keep costs down by using leftover tissue paper from craft bins or community donations.
When you mount the art, use thicker backing so the tissue stays flat and doesn’t sag over time.
12. Hand-Drawn Pollinator Street Signs
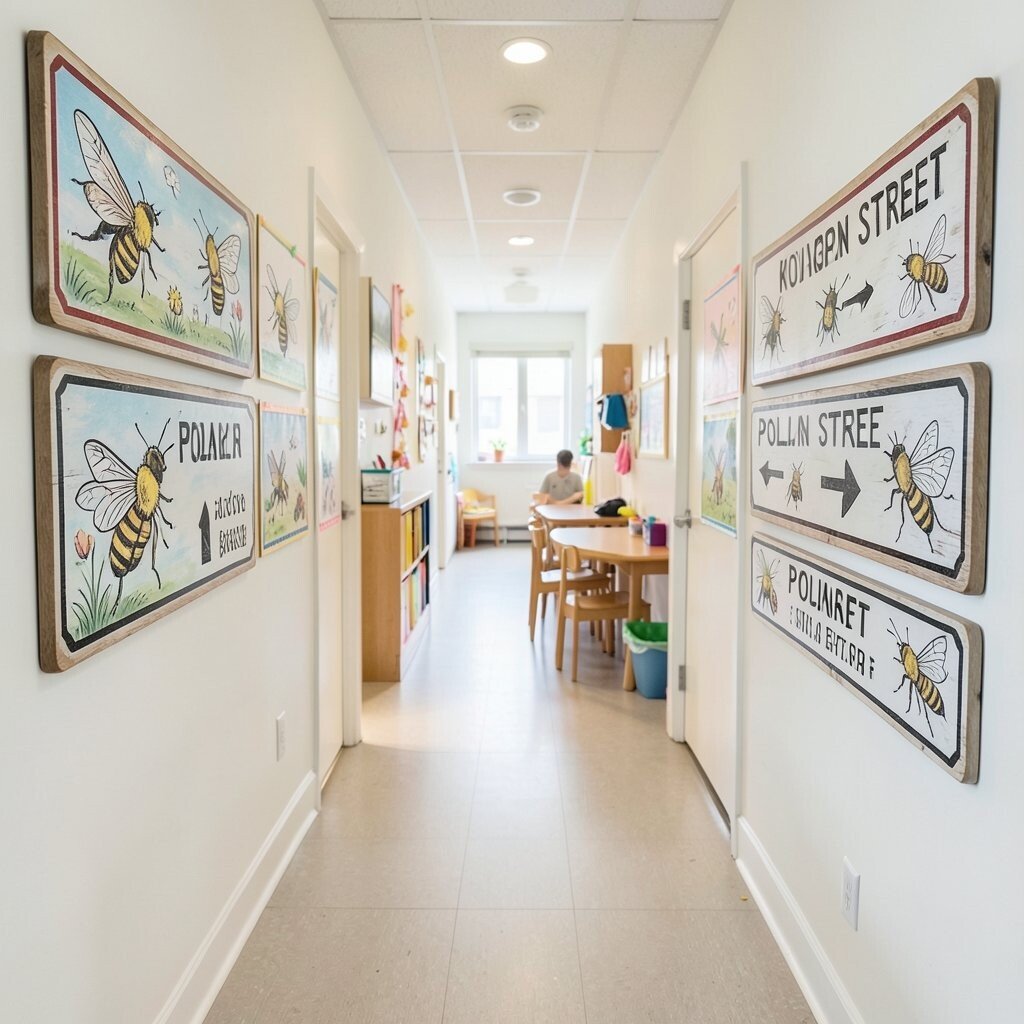
Design spring “street signs” that point the way to pollinators. Each sign can feature an arrow, a bee or butterfly drawing, and a short message in the child’s own words.
This feels playful and educational because it turns hallway decor into a tiny map of the classroom’s spring theme. It also helps kids practice language skills through their drawings and letter choices.
Make it practical by using templates for arrows and simple frames so children spend more time decorating and less time measuring. For cost, use cardstock and print-friendly fonts if you want consistent sign shapes.
13. Paper Blossom Wreaths in Rotating Frames
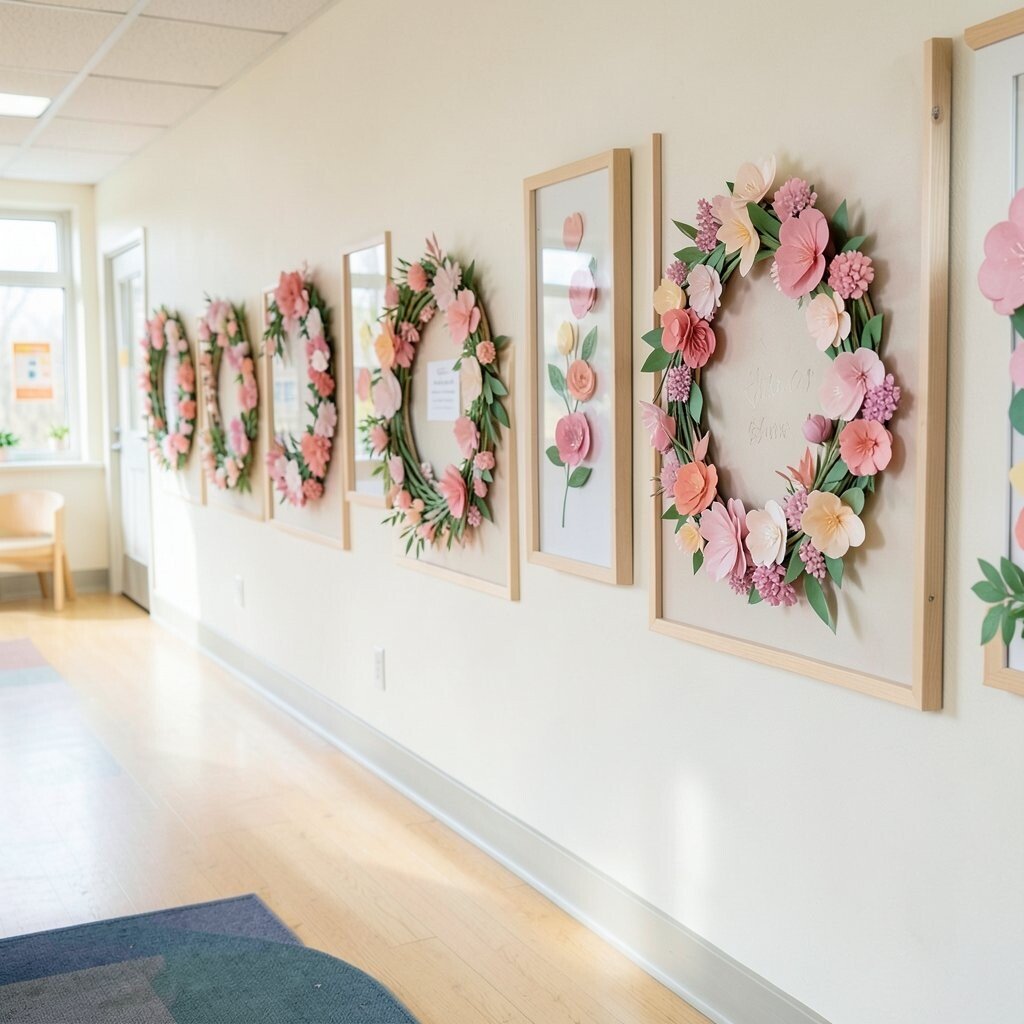
Create wreaths using paper blossoms and leaves, then mount them inside simple frames along the hallway. When you swap wreaths monthly, the hallway never looks finished, which keeps it interesting.
This approach is unique because it creates a “seasonal gallery” feeling with minimal new materials each time. It also gives families a reason to notice changes throughout the year.
For practical setup, create a small set of reusable wreath bases and let children add blossoms to different sections. If you want budget-friendly frames, check thrift stores for old frames and clean them before use.
Personalize by having kids sign the back or add their name under their section so they feel ownership.
14. Easter Egg Patterns With Washi Tape Lines
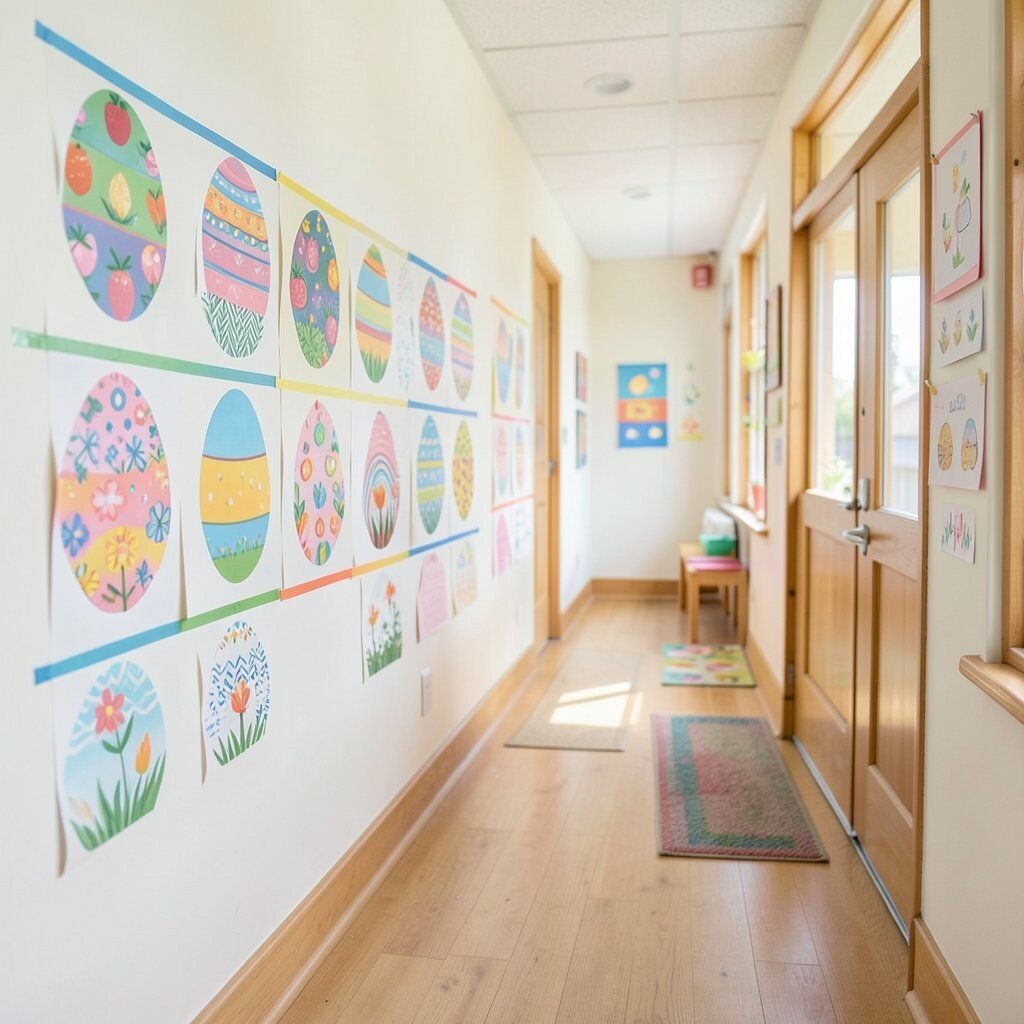
Use egg cutouts decorated with simple pattern lines made from washi tape. The hallway turns into a colorful pattern gallery, and washi tape adds a neat, tidy finish kids love.
Kids stay engaged because they can peel and place tape with supervision. It’s also a smart choice for fine-motor practice since it involves careful alignment without heavy cutting.
To keep costs low, select a small set of tape colors and reuse partial rolls across classes. For personalization, add each child’s favorite shape, like dots, zigzags, or hearts, using markers along the tape lines.
15. Cloud and Rainbow Window Silhouette Display
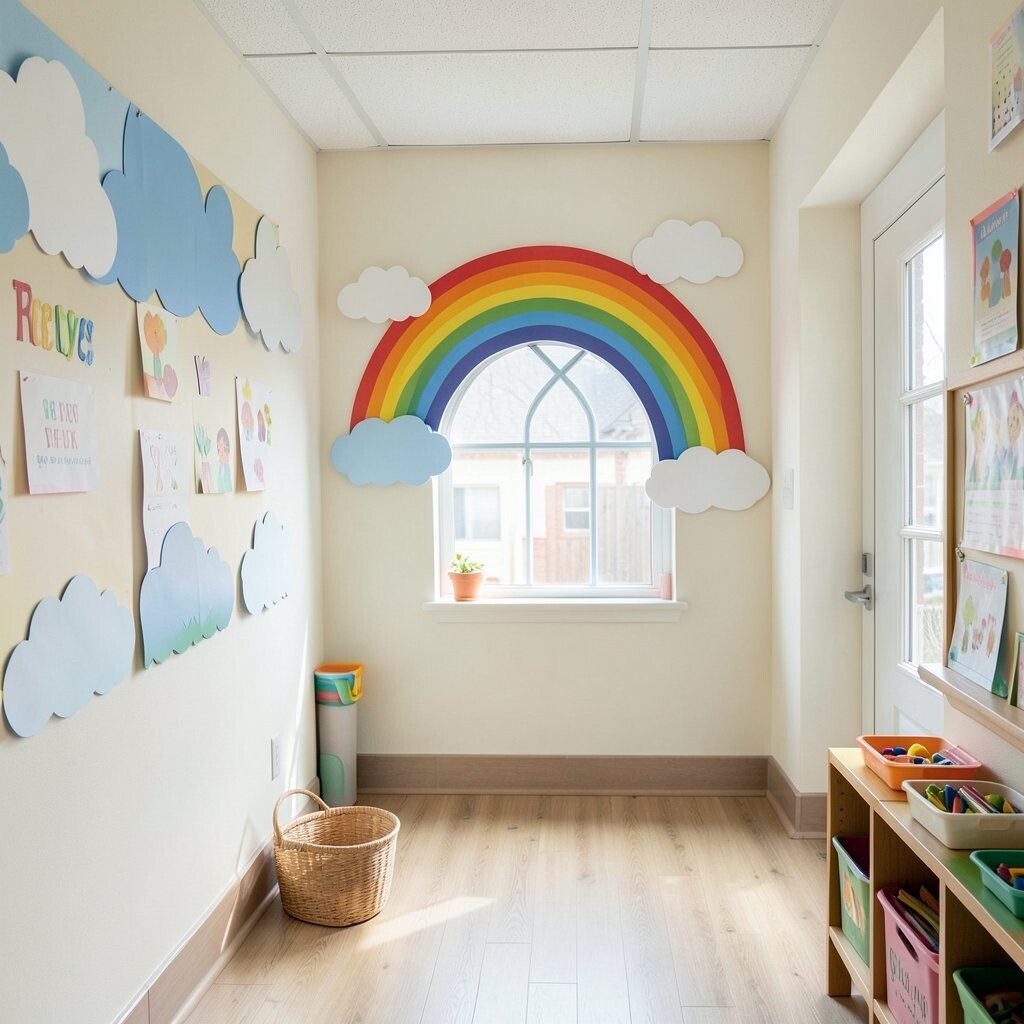
Make window silhouettes with clouds and rainbows that frame the hallway view. Even without direct wall space, window art can brighten the hallway and create a soft spring glow.
This decor is beneficial because it changes how light enters the space, making everything feel more cheerful. Use translucent paper or contact paper with tissue behind it for a lightweight, springy look.
Keep it practical by using simple shapes and pre-stenciled outlines. For personalization, invite kids to add one small “rainbow stripe” color that matches their personality.
When you mount, choose clear tape or reusable adhesive so the display can come down cleanly at any time.
16. “Fresh Fruits” Collage With Yarn Stitch Details
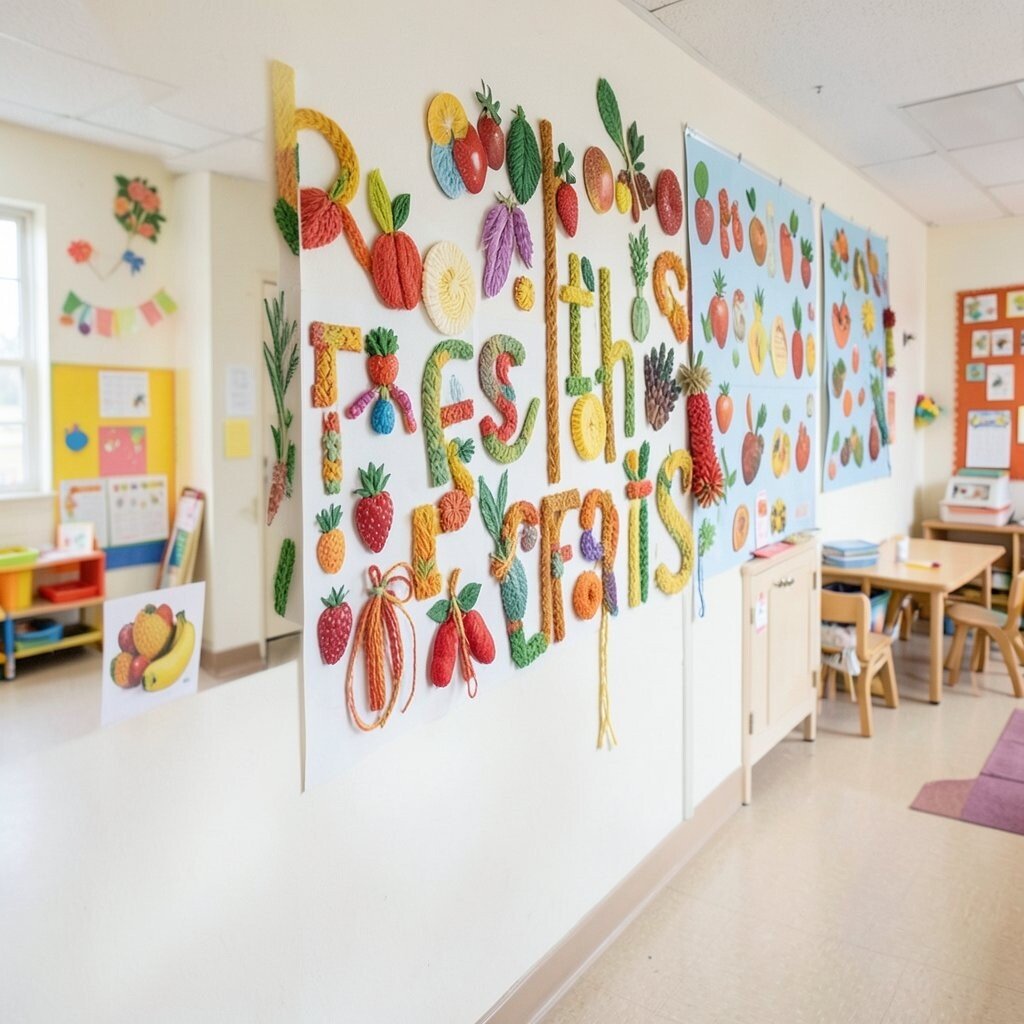
Build a hallway collage inspired by spring fruits like strawberries, peaches, and citrus. Kids draw fruit shapes, then add yarn stitching lines as details for seeds, textures, or outlines.
This is unique because it adds a craft element that looks more advanced than plain paper art. It also helps kids slow down and focus while they trace the path with yarn.
For practical tips, punch holes along the outline first and let children weave yarn through safely. Keep costs reasonable by using leftover yarn scraps and reusing paper scraps from past projects.
17. Butterfly Wings Made From Crayon Resist Backgrounds
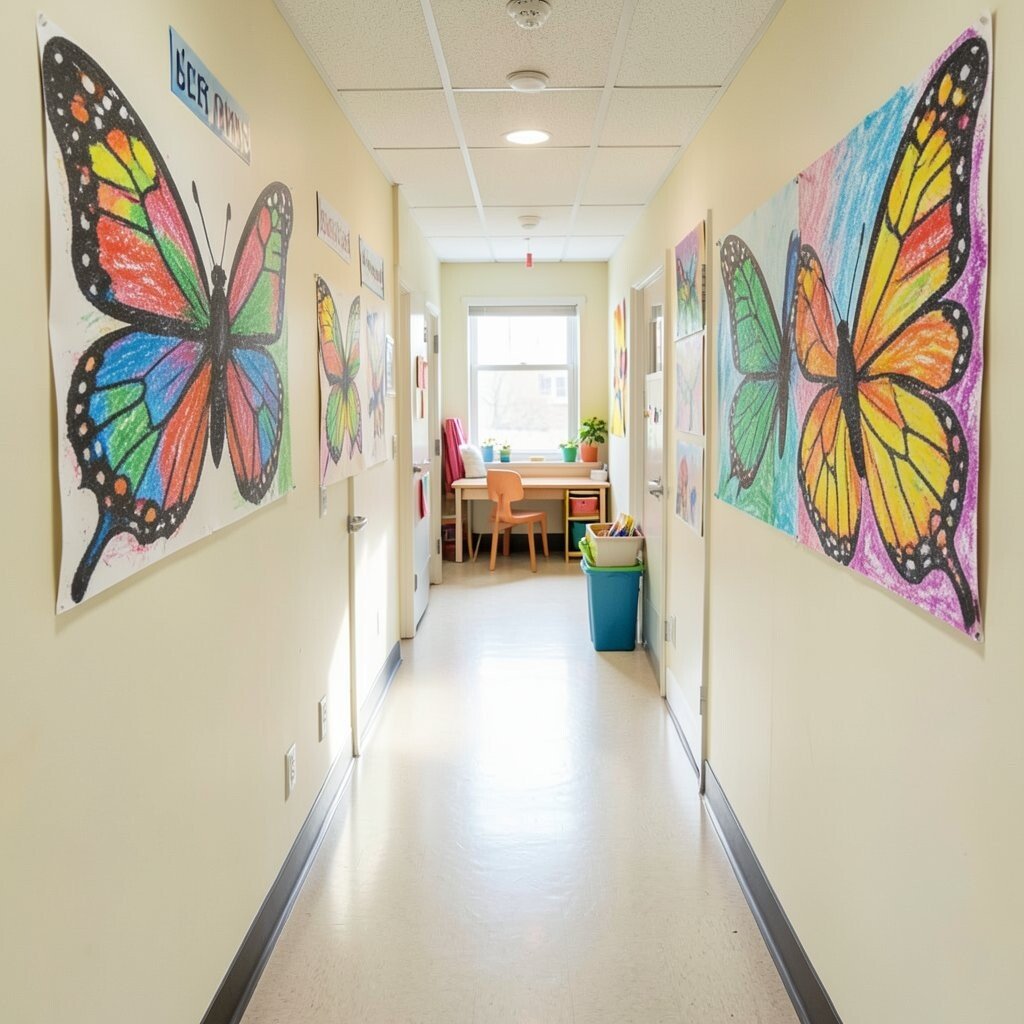
Create a striking display by drawing butterfly wing patterns with white or light crayon on colored paper, then painting over it. When the paint dries, the wings appear with a magical, secret pattern effect.
This makes the hallway feel like a gallery of surprises, and kids love seeing the reveal. It also teaches that art can have unexpected results, which builds confidence.
To make it classroom-friendly, use thick paper and provide paint brushes with gentle pressure. Personalize by letting kids choose their butterfly theme, like “garden,” “ocean,” or “sunshine,” and add a small background element like a leaf or star.
If you need budget help, use tempera paint and cut paper into smaller sizes so you get more finished pieces from the same supplies.
18. Spring Sound Scavenger Wall With Picture Clues
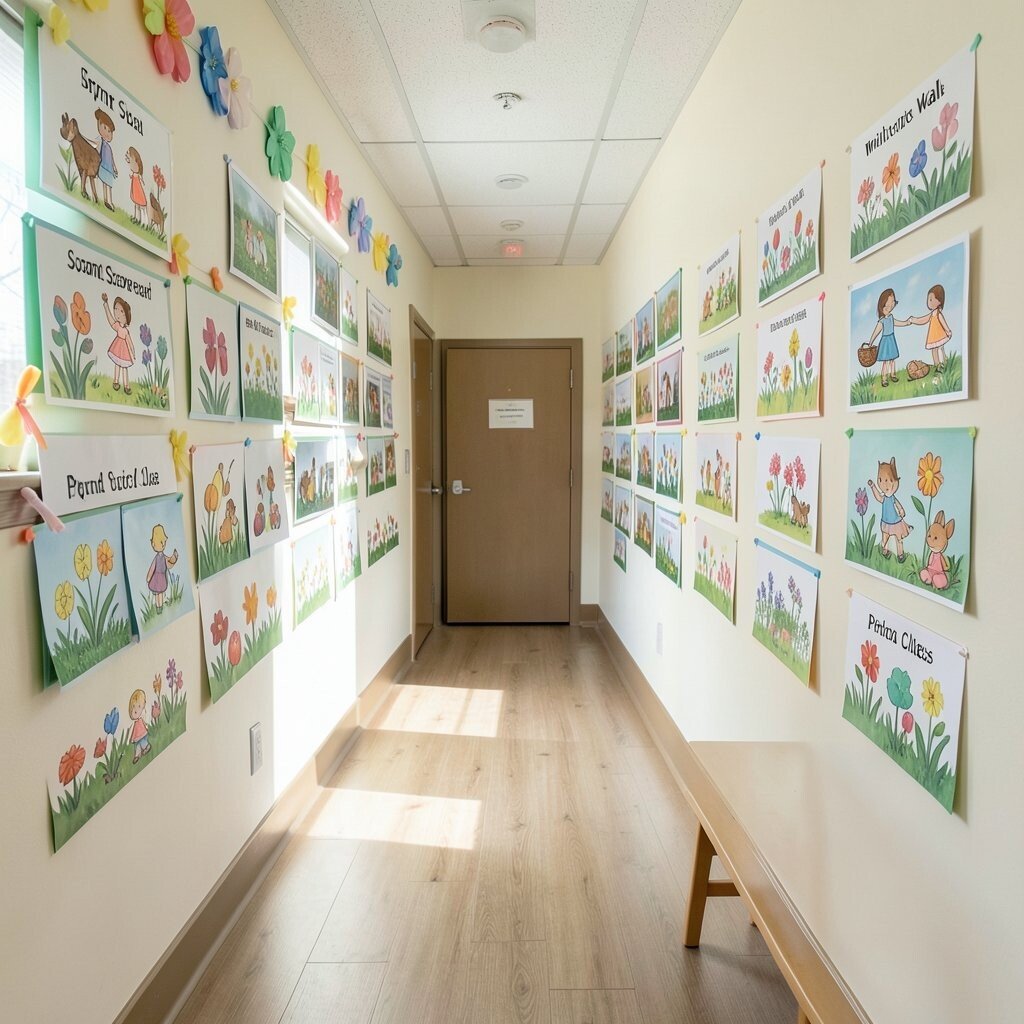
Make a hallway sound scavenger display using spring picture clues like birds, wind, and raindrops. Kids can look for the pictures during quiet movement times and talk about what they notice.
This decor benefits learning because it turns the hallway into a gentle listening game. It also supports language growth when children describe sounds using simple words.
For practical organization, place the pictures in a clear line so kids can move from one to the next. Personalize by letting each child add one small drawing that matches a clue, such as a “chirp” bird or a “drip” droplet.
19. Mini Garden Terrariums With Reusable Clear Cups
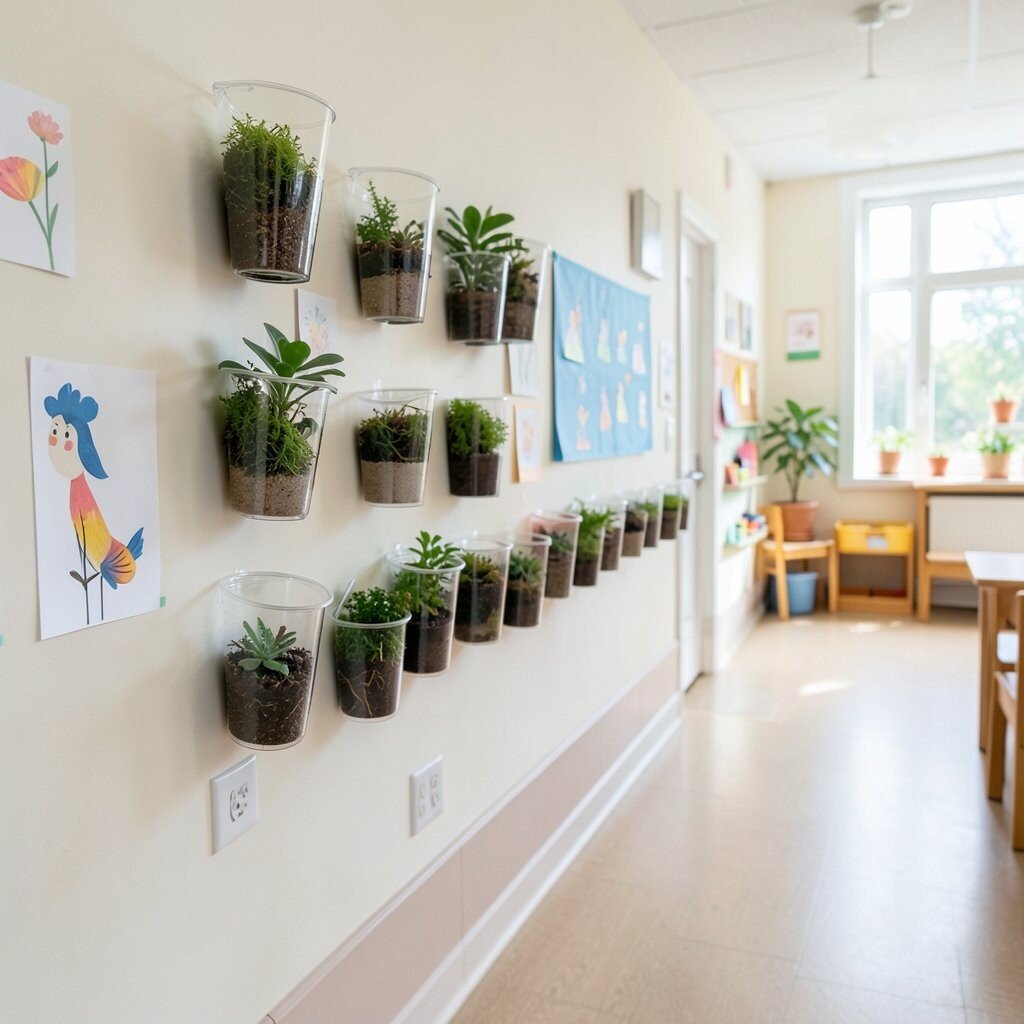
Design small terrarium scenes using clear cups filled with layered paper “soil,” tiny leaves, and cut-out flowers. The art looks like miniature worlds, and each cup catches light along the hallway.
This is a wonderful way to add uniqueness because it feels like a real science display, even though it’s made from craft materials. It also gives kids a chance to practice careful placement and tidy glue habits.
For practical tips, use cups that you can reuse each year and mount them on a backing board with labels. Keep costs under control by using construction paper for layers and saving flower cutouts from previous crafts.
Personalize by letting each child add a tiny “water drop” tag with their name or a favorite spring word.
20. Spring Art Gallery Rail With Clothespin Sorting Pockets
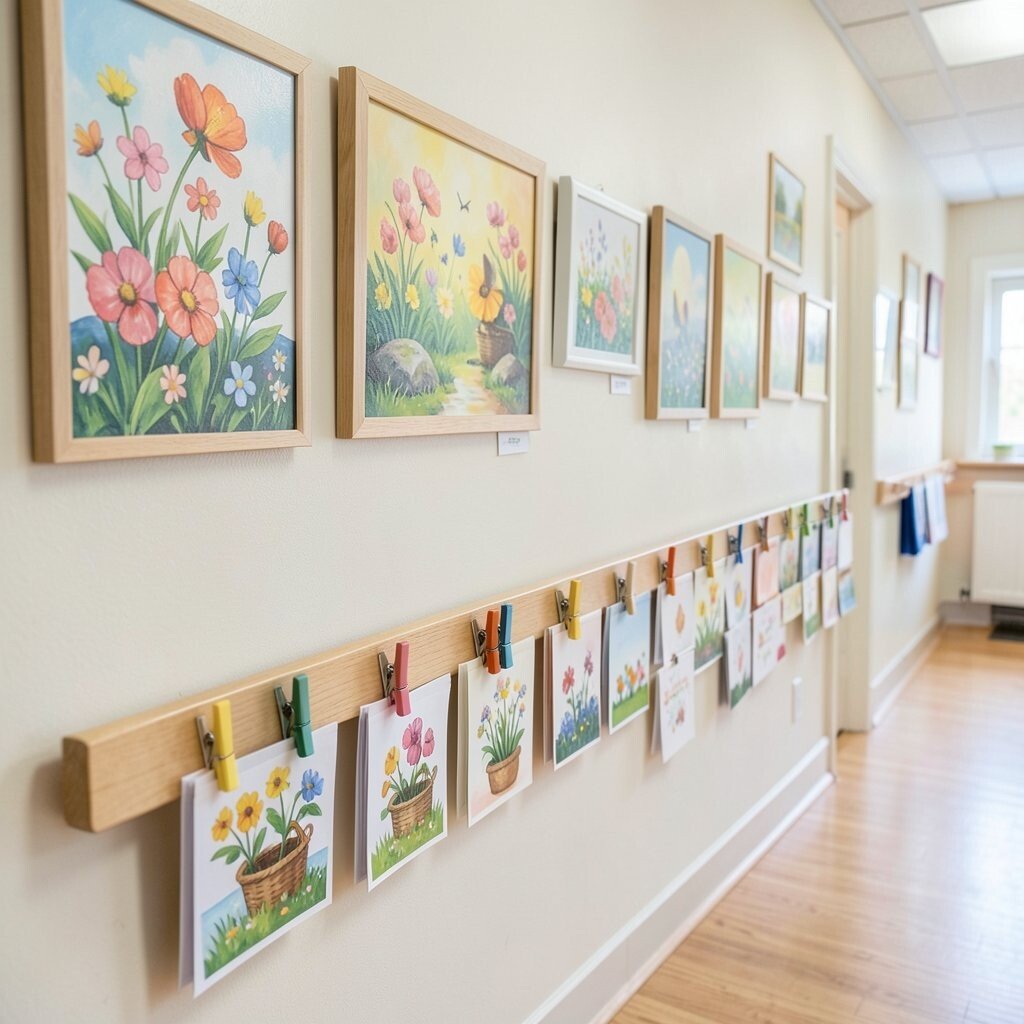
Build a hallway art gallery rail where children’s spring pieces hang in sorting pockets. Clothespins make swapping art quick, and the hallway always looks fresh and cared for.
This setup is beneficial because it reduces the stress of taking down old pieces and limits wall damage. It also keeps kids excited, since their work can change frequently as the class creates more art.
For personalization, hang pieces by student name or by color families so kids can find their own. If you want to save money, use scrap wood or inexpensive rails and recycle old poster frames for the backing.
To keep everything practical, choose lightweight art sizes and add a protective backing so materials don’t curl in hall air.