Summer makes even ordinary places look like a movie set. Your camera can help you notice light, color, and mood in a brand-new way.
Plan your days around what you want to feel later, not just what you want to photograph today. With a few smart habits, every frame can tell a small story that feels personal and alive.
1. Morning Light Walks
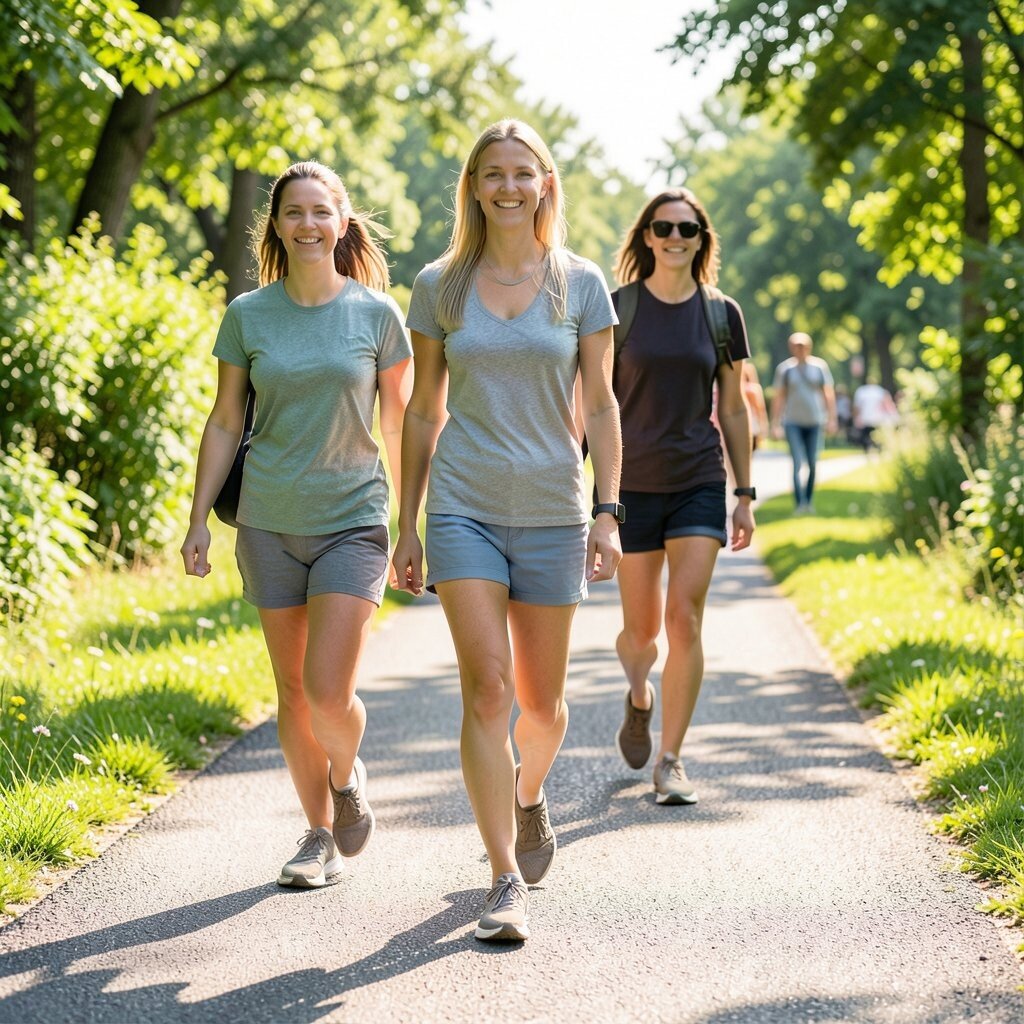
Start your day outside while the world is still quiet. Capture the long shadows, soft skies, and sleepy storefronts as the sun climbs higher.
Morning light often gives skin tones a gentle glow and makes textures look richer, especially on brick, sand, and leaves. Try setting your camera to a simple auto mode and focus on one thing each time, like doorways or tree trunks, so your photos look intentional. If you visit parks or town centers, keep it close and pack a light lens for easy walking.
2. Watercolor Skies and Cloud Studies
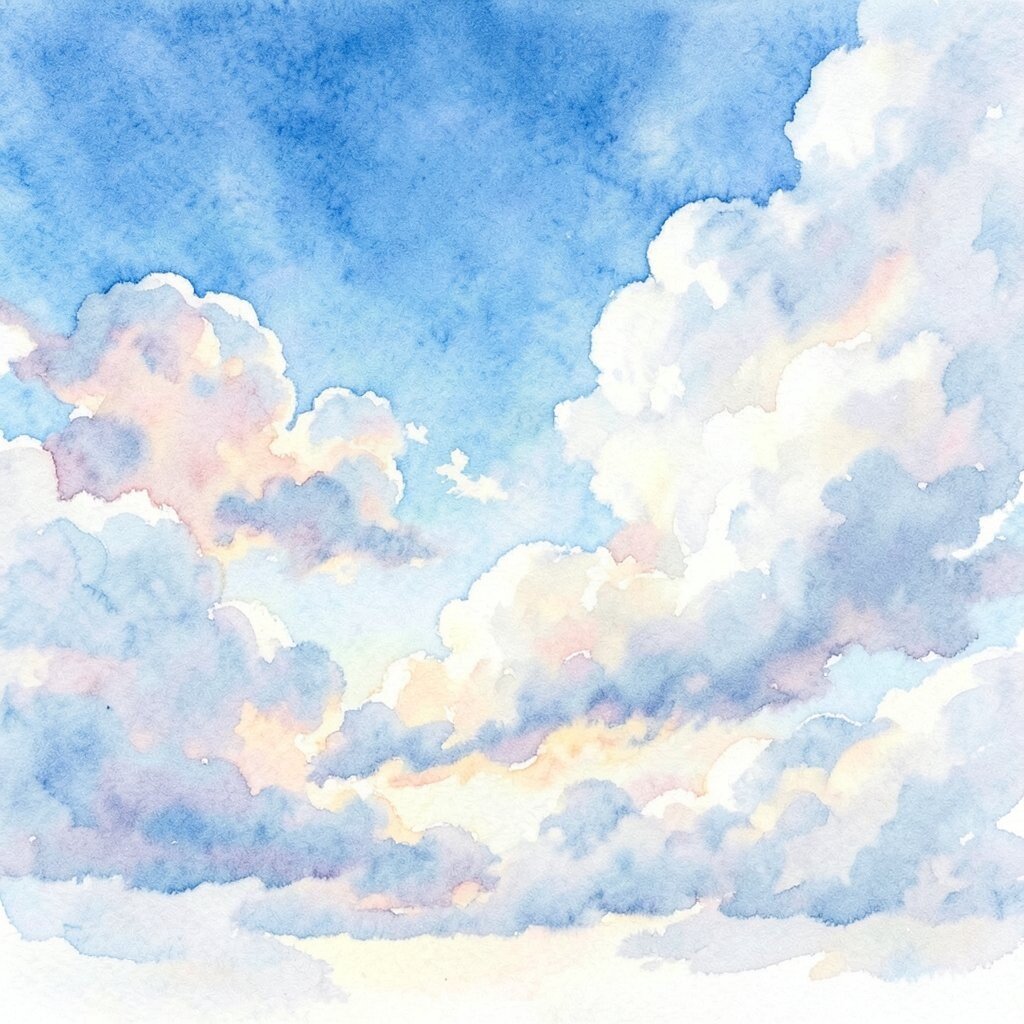
Find a spot with open sky and watch the shapes change every few minutes. Photograph the clouds from the same angle each time so the sequence feels like a living painting.
This kind of series is great for building confidence because you learn how to handle exposure as brightness shifts. Use a low ISO, keep the horizon steady, and try framing with a small tree or roof edge for a clean foreground. You can keep costs near zero by using daylight only and shooting from places you can reach on foot.
To personalize, choose a color mood for each session, like warm peach mornings or cool gray afternoons, then match your editing style to that feeling.
3. Night Market Color Stories
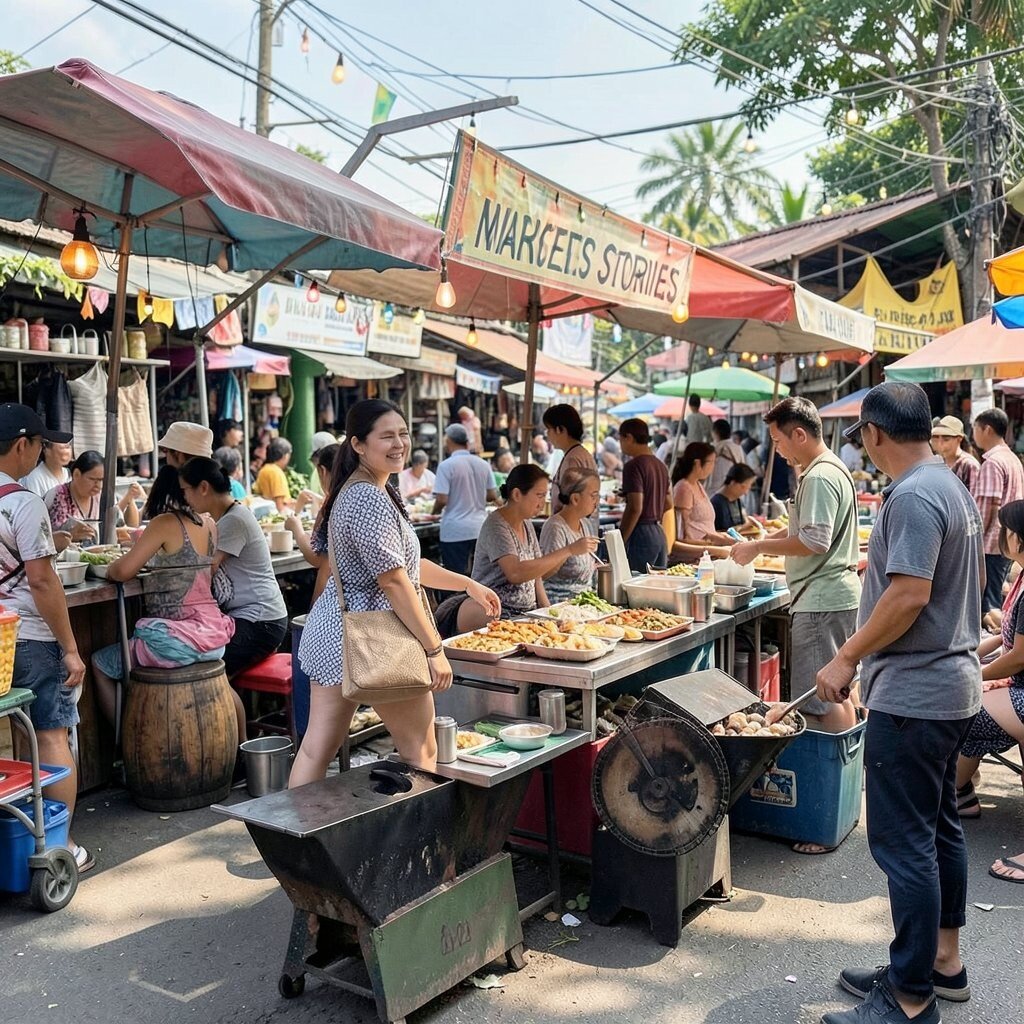
When the sun drops, head to a night market or any street with warm lights. Photograph steam from food stands, glowing signs, and hands carrying tiny treasures.
Night scenes can feel unique because reflections and motion add energy to the frame. Set your camera to a higher ISO and use burst mode for quick moments, then slow down later to pick your favorites. Even without special gear, a phone camera with a steady grip can capture vibrant street scenes.
For practical personalization, decide in advance what you want to honor, like local snacks, crafts, or street art, and zoom in on just that theme.
4. Road Trip Sticker Map Photos

Turn your trip into a visual route by photographing a sign, a landmark, or a roadside object at each stop. Add a small “memory marker” like a postcard, ticket stub, or receipt into the shot so the image feels anchored.
This approach builds a clear story and helps you keep photos organized later. Keep a simple habit of taking one wide shot for context and one close shot for detail each time you arrive, even if the place is small. It can stay budget-friendly because you rely on public viewpoints and short stops instead of paid attractions.
5. Heritage Details Close-Ups

Look for old buildings, painted gates, vintage doors, and carved stone. Move closer than you think you need to and let the details fill the frame with pattern and age.
Close-up photos are powerful because they show craftsmanship that your eyes might otherwise miss. Use portrait orientation if you want a tall, elegant feel, and switch to manual focus when surfaces are textured like wood grain or mosaic tiles. If you travel with a friend, split tasks so one person shoots textures while the other gets wider shots.
Personalize by building a “materials list” for yourself, such as metal, tile, or fabric, then try to collect a mini set of each across the trip.
6. Beach Lettering and Footprint Lines

Choose a shoreline section and photograph writing in the sand, like names, waves of cursive, or patterns made by shells. Then catch the edge of footprints as they get filled by the tide.
Sand textures and shoreline curves bring calming shapes, which can make your images feel relaxing later. Use a fast shutter if you can, or steady your hands against a knee or bag to reduce blur when waves move quickly. This idea stays easy on the wallet because beaches are often free, and the only “gear” you really need is a lens that can focus close.
For uniqueness, include a small human scale marker like your sandal print or a hand holding a shell, and keep the composition simple so it reads at a glance.
7. Wildflower Color Pairing
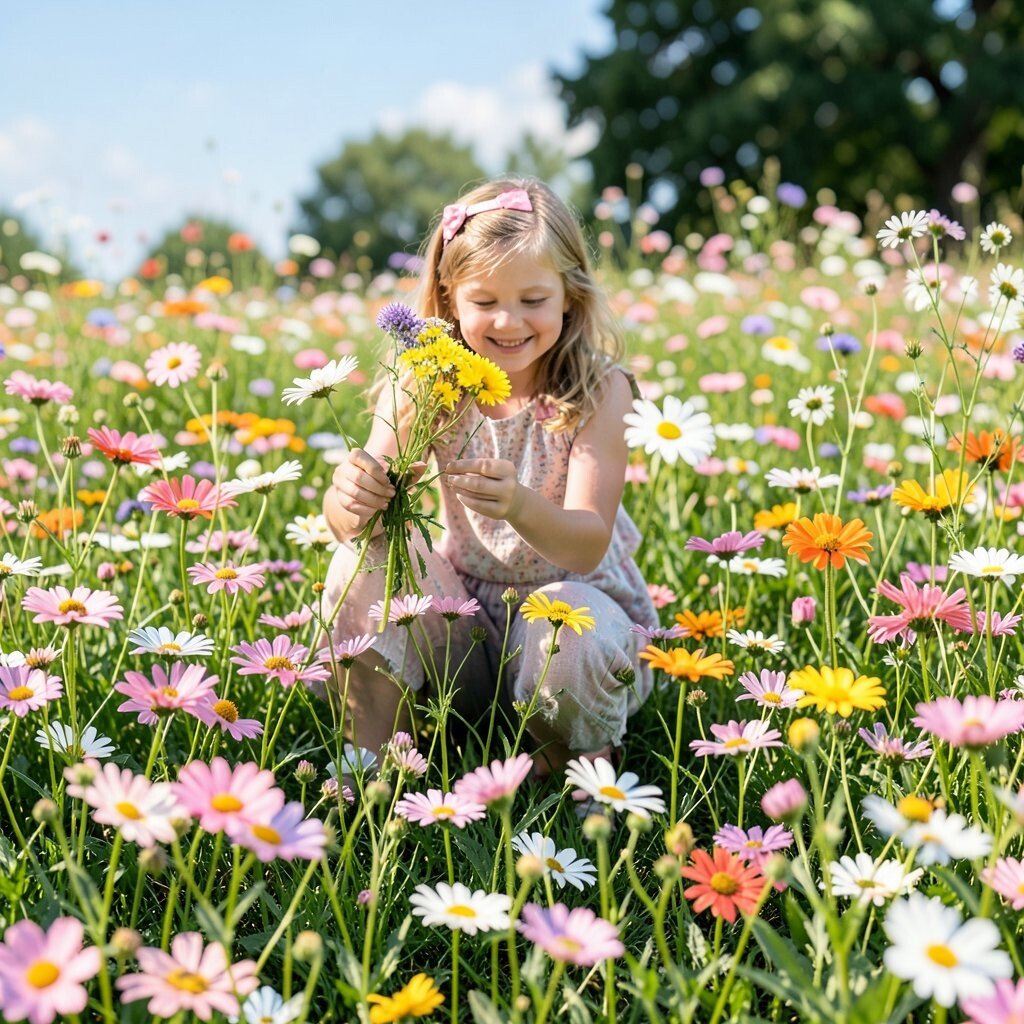
Pick a trail, garden, or roadside patch and choose two or three colors to focus on. Photograph flowers that share similar tones, then contrast them with one unexpected shade.
Color pairing helps your photos look designed instead of random, and it gives your brain something fun to play with. Try shooting in the late afternoon for warmer highlights, and use a shallow depth of field to separate petals from busy backgrounds. Bring a small cloth to set your camera down carefully if you’re crouching near plants.
8. City Silhouette at Blue Hour

Plan for the time right after sunset, when the sky turns deep blue. Find a bridge, rooftop edge, or tree line and photograph the city as dark shapes against glowing light.
Blue hour images feel dreamy and current because they show a smooth gradient with less harsh glare. If your camera allows it, use a long exposure but keep the subject still or use a tripod, even a simple one. Budget stays manageable since you’re using free outdoor time and basic settings, and you can scout spots earlier in the day.
Personalize your style by using consistent framing choices, like always centering the horizon or always placing silhouettes on the left for a signature look.
9. Museum Corners and Quiet Angles
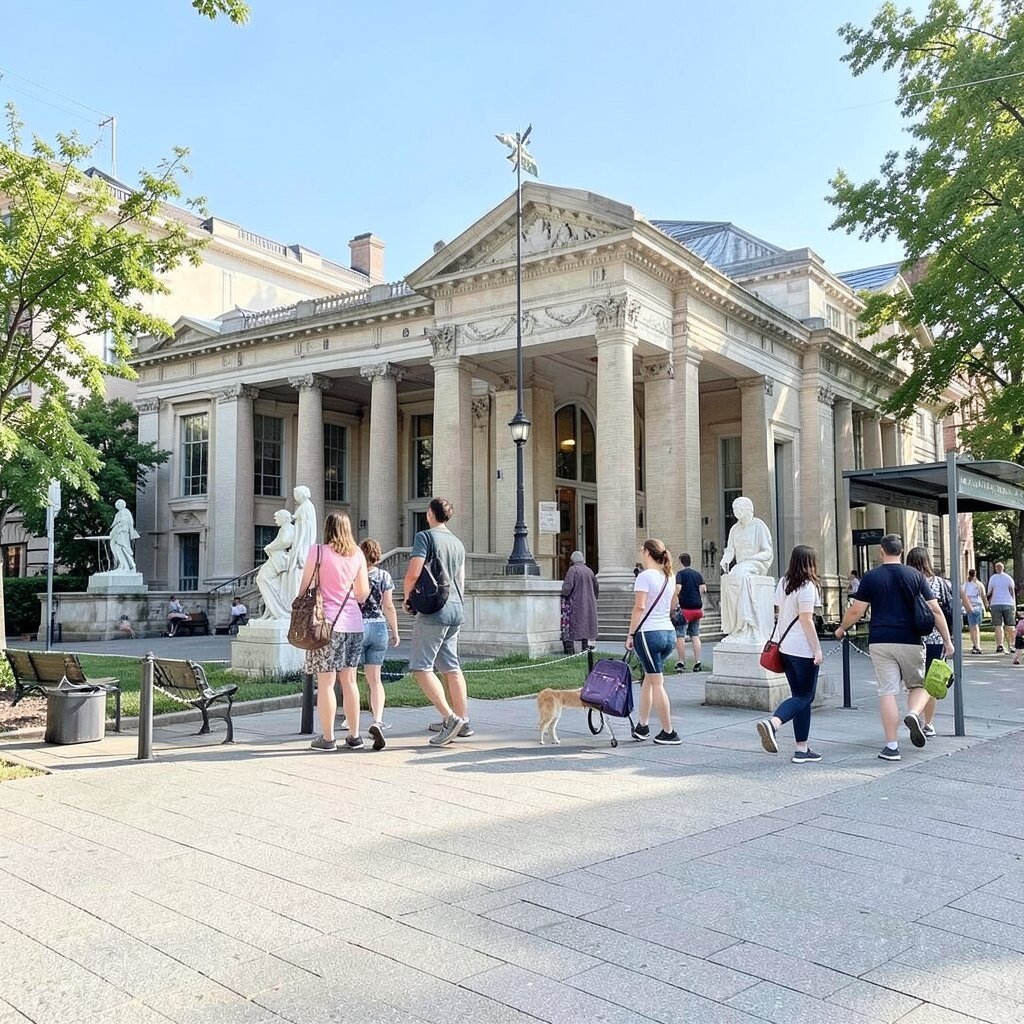
Visit a museum even if it’s not the biggest one in your area. Instead of photographing everything, pick one gallery corner and spend time capturing angles that feel calm and personal.
Quiet angles help your photos look thoughtful, and they often highlight lighting you can’t replicate outside. Use slow steps, watch for reflections on glass, and turn off flash so the art stays true to its colors. Many museums offer discounts on certain days, so check local listings and plan around lower-cost entry.
For uniqueness, include small signs of life like a shadowed bench, a handrail curve, or a pathway leading the viewer deeper.
10. Backyard Night Garden Glow

If you have access to a yard, patio, or balcony, bring attention to plants after dark. Turn on a soft lamp or rely on existing string lights and photograph leaves, petals, and insects’ tiny movements.
This idea creates a magical mood because warm light makes greens look rich and velvet-like. Use a stable surface or tripod, lower your shutter speed carefully, and focus on one plant at a time to avoid muddy images. You can keep costs low by using what you already own, like small bulbs or a handheld flashlight with a diffuser.
11. Cooking Shots with Real Steam

Photograph meals as you make them, not just at the end. Capture the moment steam rises, sauce bubbles, and ingredients change color right on the counter.
Action shots feel lively and give viewers a sense of taste without words. Shoot near a window for natural light, and use a simple background like a light towel or plain plate so the food stands out. For personalization, build a mini series around one ingredient, like tomatoes or herbs, and show it through the whole cooking process.
Cost considerations are easy here since you’re using groceries and simple props, and you can reuse plates, bowls, and utensils for consistent styling.
12. Train Windows and Moving Texture
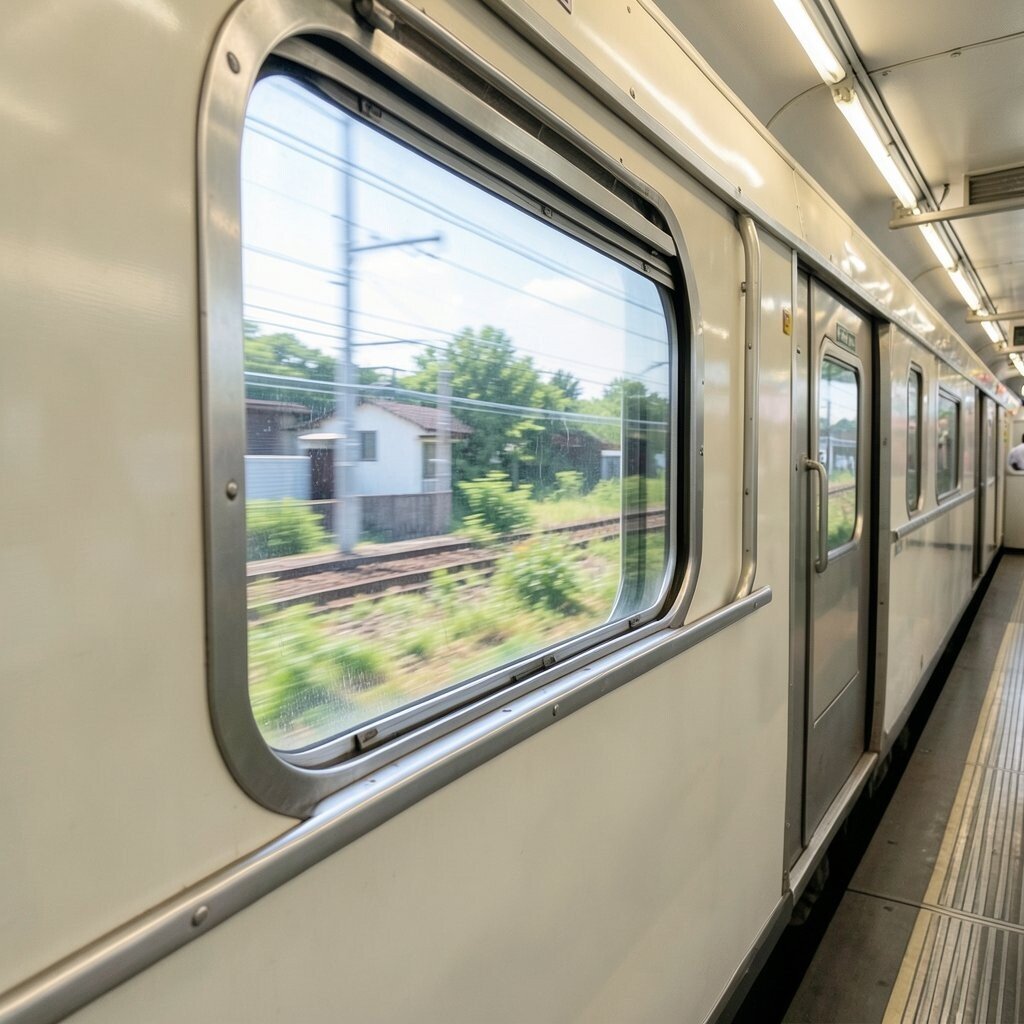
Choose a ride with scenery, then photograph through the window while the landscape sweeps by. Focus on repeating patterns like fences, tunnels, or coastline edges that appear and vanish.
Window photography is unique because it mixes real motion with the stillness of your framing. Use the cleanest part of the glass, wipe your lens if needed, and try a slightly wider view so you include both interior reflections and exterior shapes. If you prefer less hassle, keep your camera on a wide setting and take short bursts during the most colorful stretches.
To personalize, match your editing to the travel mood, like cooler tones for rainy days or warmer tones for golden-hour routes.
13. Shadow Portraits with Everyday Props
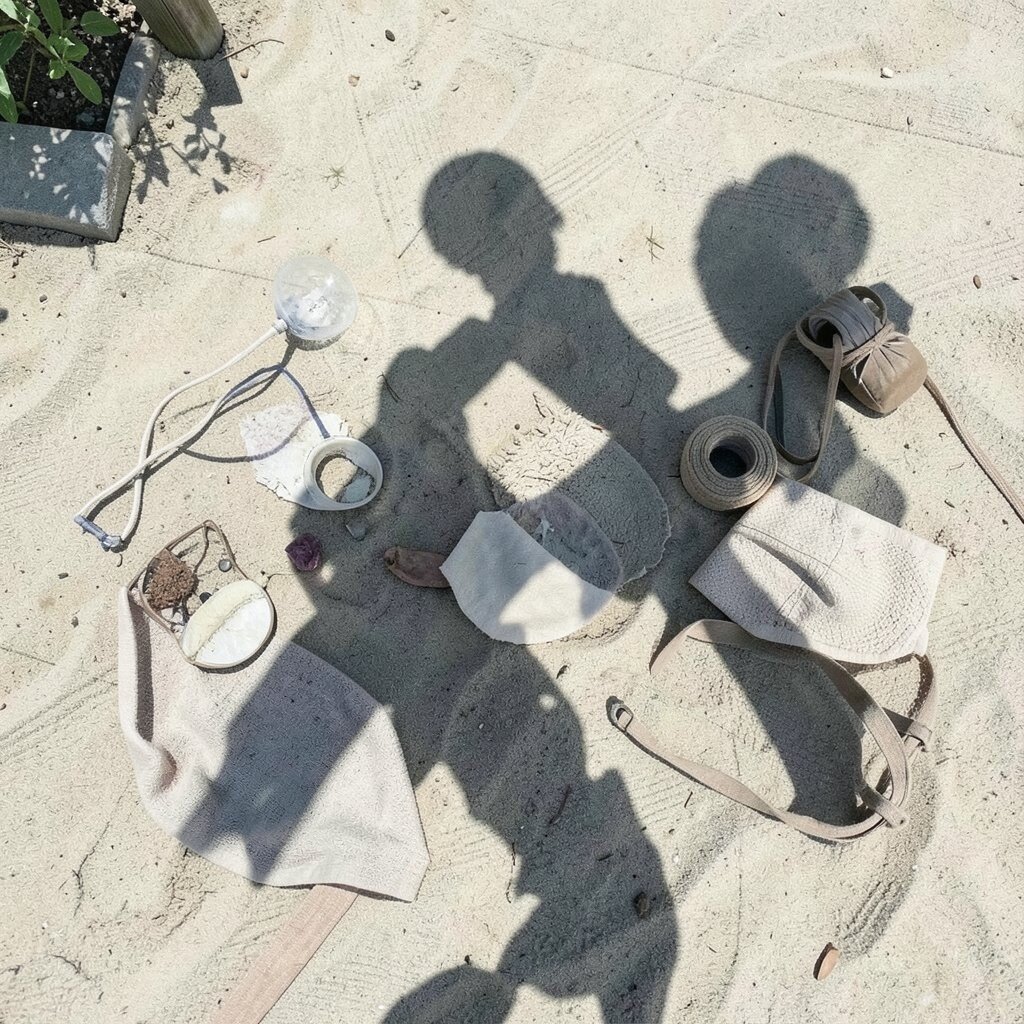
Create mini portraits using shadows cast by a tree branch, awning, or street sign. Pose with simple props like sunglasses, a hat, or a fabric scarf, then photograph the way light cuts the scene.
Shadow portraits help you make art without needing a studio, and they often look more creative than standard selfies. Try moving your body slowly to change the shape of the shadow and keep your background simple. You can keep costs almost zero by using items you already carry and using daylight instead of flash.
For practical tips, set your exposure so the skin area looks natural, and take several frames quickly because shadow edges change fast.
14. Hiking Layers and Landmark Progress
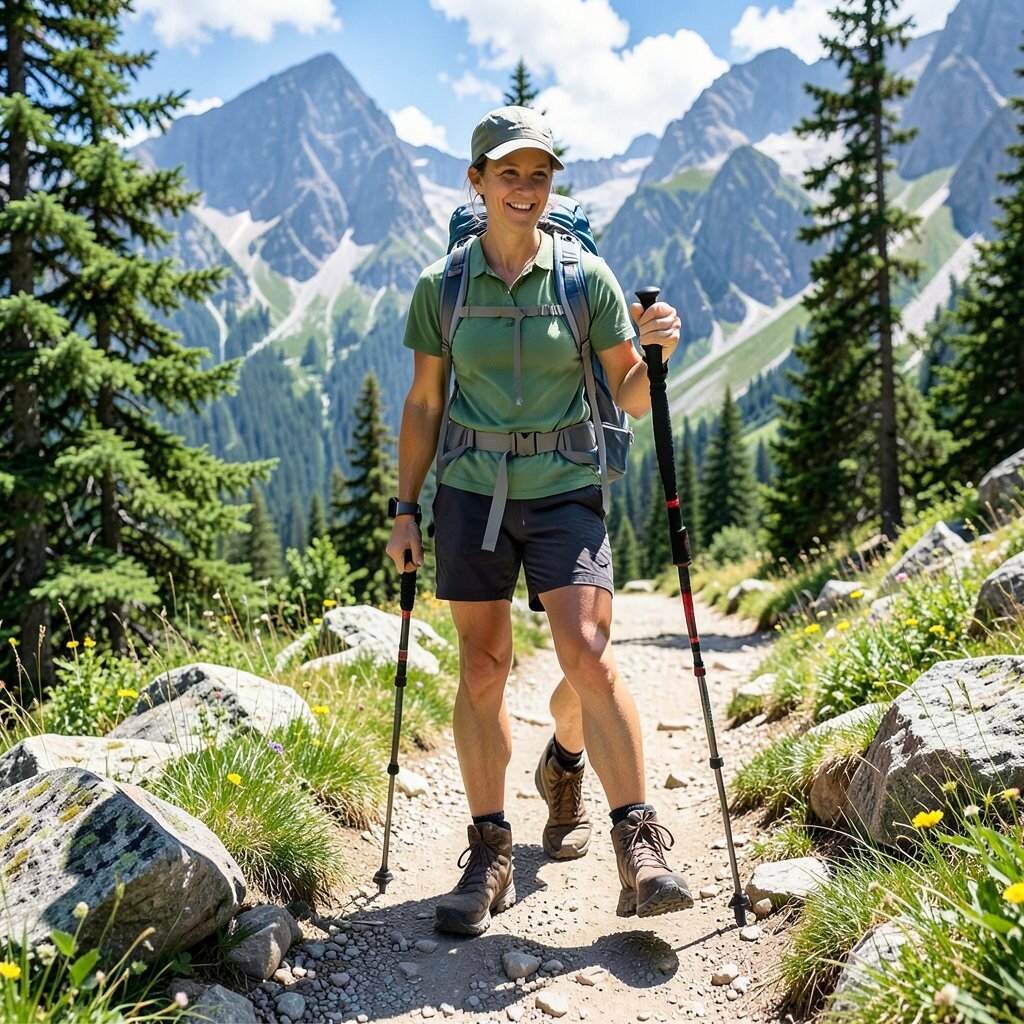
On a hike, focus on layers in the landscape, like foreground rocks, mid-distance trees, and far-away ridgelines. Photograph from the same spot as you rest, then again from a new perch so your progress shows visually.
This works because it turns effort into a clear visual timeline, and it helps your photos feel grounded. Use a wide lens for depth, then switch to a medium view when you spot a landmark that feels special. Cost stays reasonable since you’re paying mostly in time and maybe a park pass, which is often cheaper than multiple paid attractions.
Personalize your set by choosing a “color theme,” such as greens for forest hikes or golden browns for dry trails, and keep your edits consistent.
15. Local Handcraft Patterns and Textiles
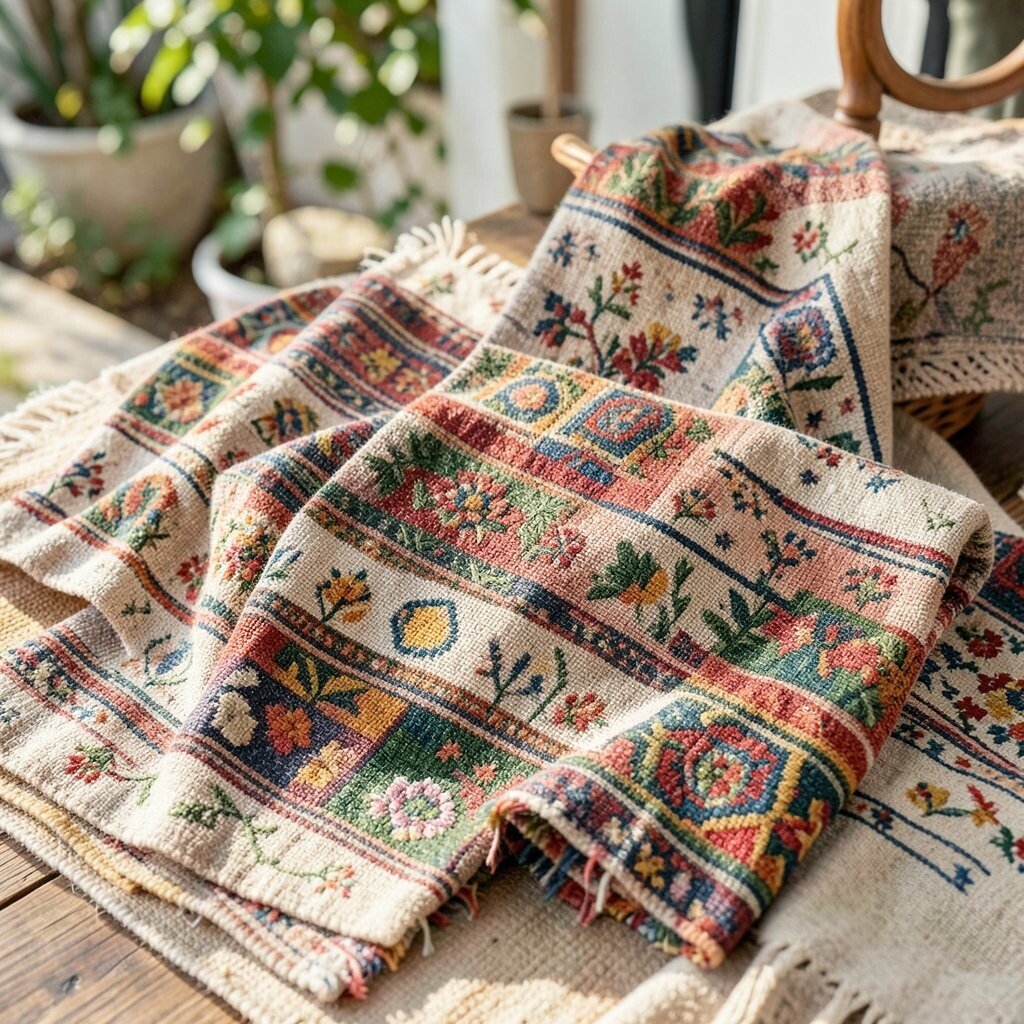
Visit a craft market or local shop and look for textiles, ceramics, woven baskets, and stitched items. Photograph close-up patterns on fabric, then take one wider shot that shows the maker’s stall layout.
Textile photos feel unique because the details tell you about texture and culture at the same time. Use gentle, even light to avoid harsh glare and keep your lens parallel to the surface for sharp patterns. If you want personalization, pick a theme like embroidery, pottery glazes, or wood carving, then collect a small matching set you can recognize later.
Cost considerations are flexible here since you can photograph without buying, then choose one small souvenir if you find something that truly connects with you.
16. Sunset Reflection Frames in Puddles
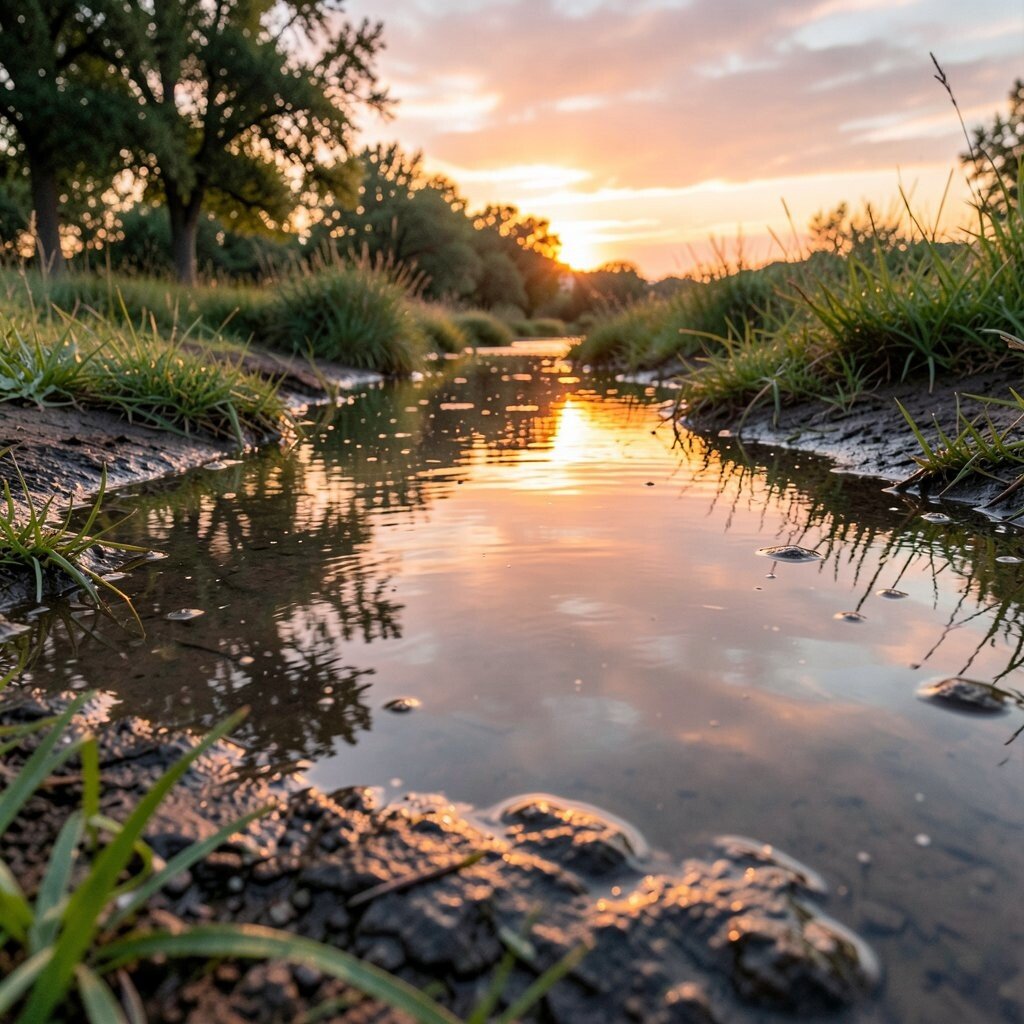
After a shower or near a fountain, hunt for puddles and glossy surfaces that reflect the sky. Photograph reflections as if they are the main subject, with only a hint of the real world at the edges.
Reflections create instant atmosphere because viewers naturally focus on symmetry and color. Use a low angle, keep your camera level, and take a few frames as the water ripples so you get both still and moving versions. This stays budget-friendly since you’re using simple weather conditions, and you might not need any special time slots beyond walking nearby streets.
To personalize, decide on a reflection style, like “mostly blue,” “mostly gold,” or “mostly clouds,” and keep your editing aligned so your summer set feels cohesive.