The room feels calm when tools and paper don’t wander. A well-planned supply station turns chaos into quick wins.
1. Create a Clear-View Drop Zone

Pick one spot where you can place items the moment you bring them in. Aim for a surface you can see from where you usually start work.
Use a shallow tray or a low shelf so everything lands in the same place. This helps you notice what is missing before you run out. Keep the area near your most common tasks so movement stays simple.
2. Use Stackable Bins with Color Codes
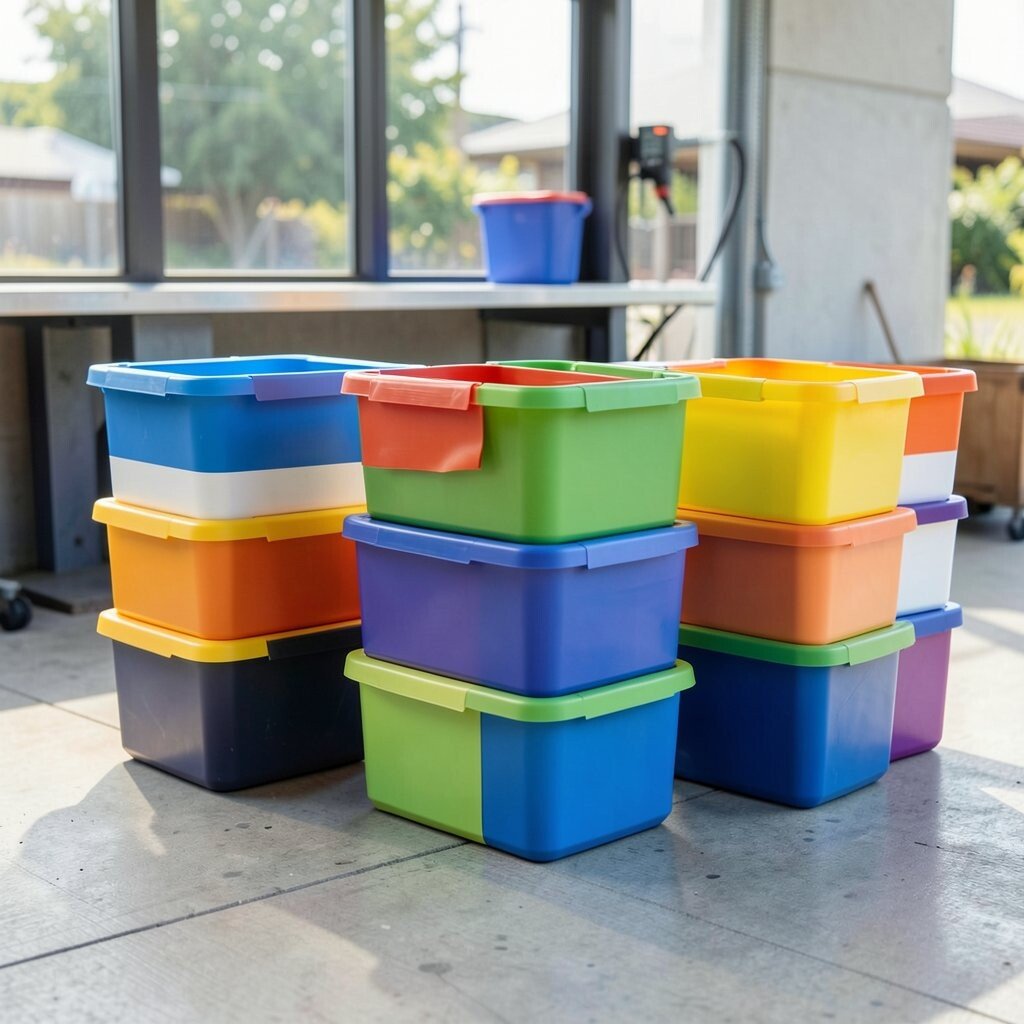
Choose stackable bins that fit your shelves and resist tipping. Color coding makes your station feel like a helpful map.
Group similar supplies together, like wrapping items, paper goods, or cleaning extras. Use labels or markers on the bin lids so everyone at home can put things back.
In small spaces, stack bins vertically to save floor area. When you can grab the right color fast, you save time and reduce the urge to rummage. Many bins now come in durable plastic with snap-on lids, which matches current trend toward safer, tidy storage.
3. Add a Rolling Cart for Moving Tasks
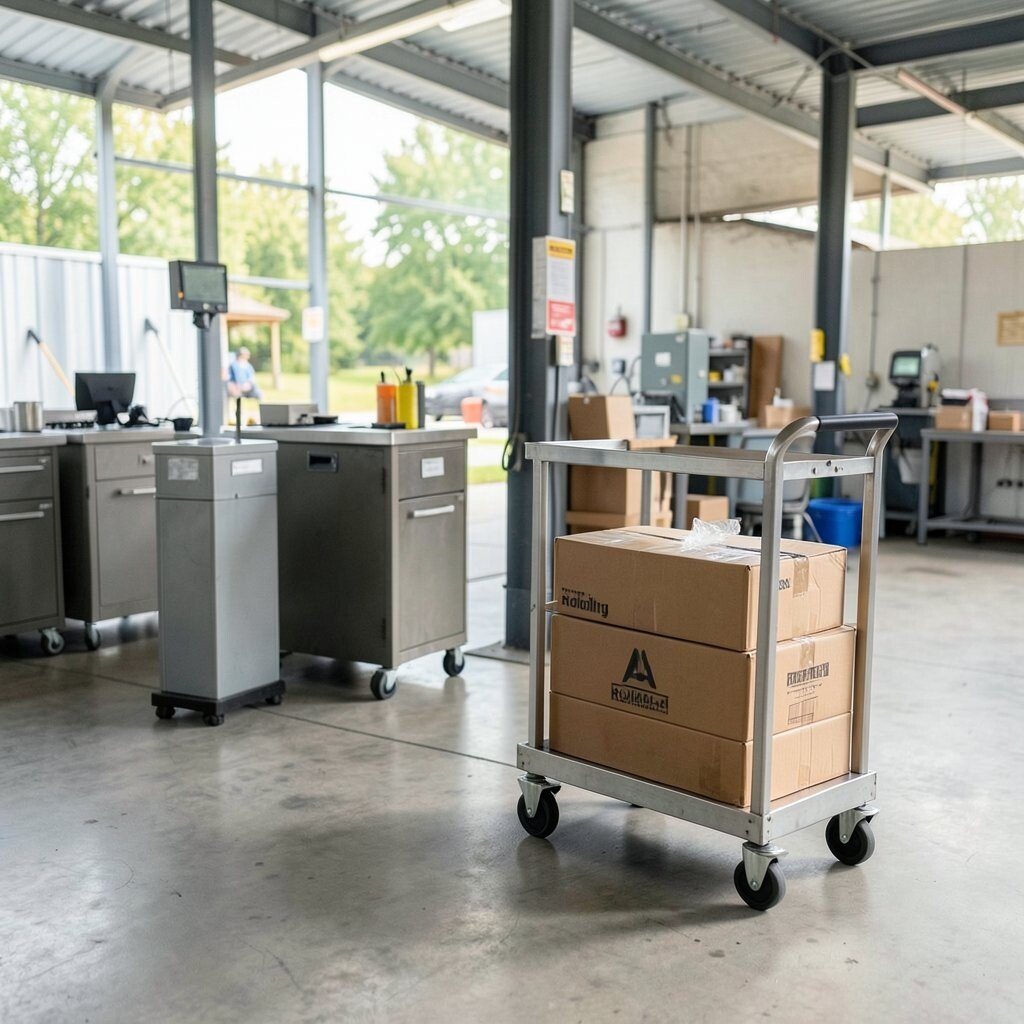
A rolling cart gives you a mobile workspace you can pull right up to the action. It looks tidy because everything has a home on one platform.
Store your go-to tools on the top shelf, like scissors, tape, and refills. Put less-used extras on lower shelves so they stay out of the way. If your tasks spread across rooms, a cart keeps you from making repeated trips.
For personalization, choose drawer-style bins on the cart so items slide smoothly. Consider cost by starting with one cart and filling it gradually as you learn what you actually use. Lightweight materials like aluminum and compact wood finishes are popular now because they move easily and still look nice.
4. Hang a Pegboard Behind the Scenes
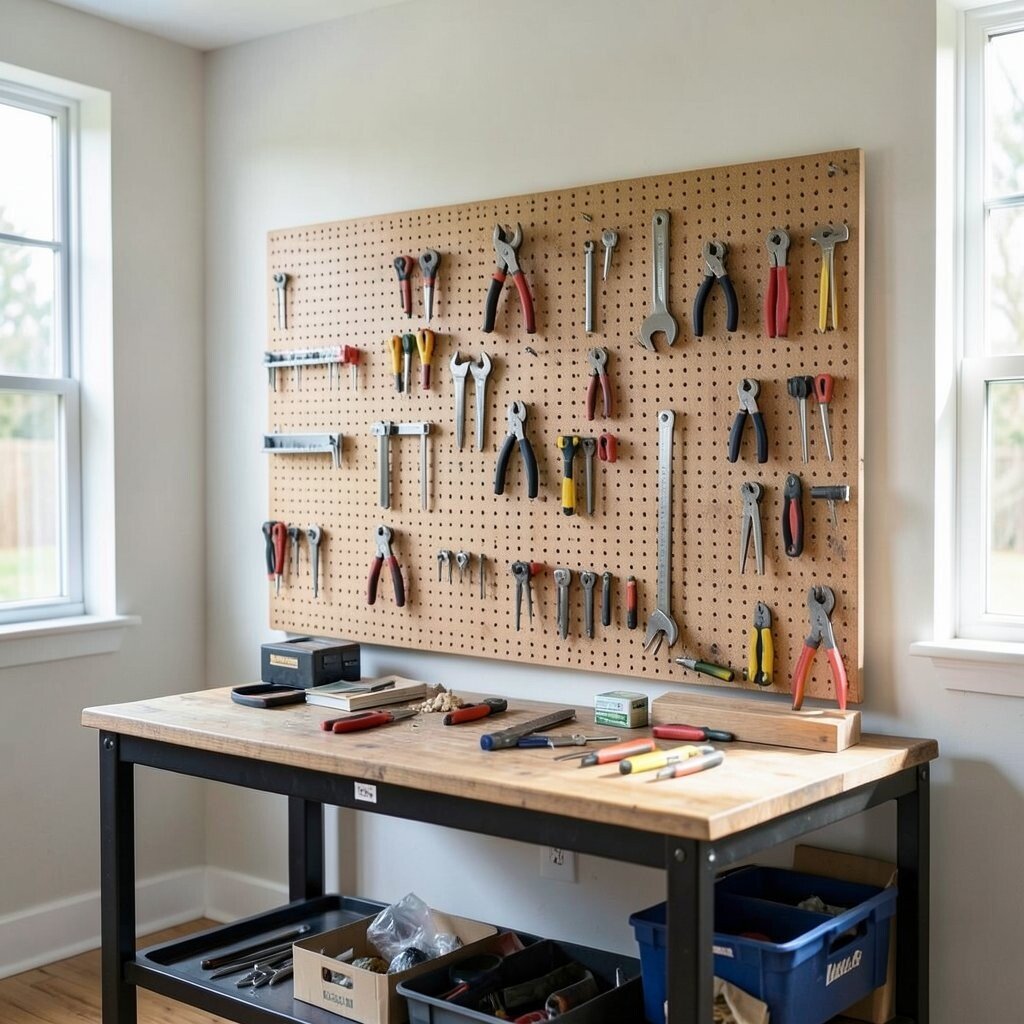
A pegboard turns wall space into an organized backdrop for your supplies. You can see tools at a glance, which feels satisfying and practical.
Hang everyday items like measuring tools, small containers, and frequently used cords. Use hooks of different sizes so you can adjust as your collection changes. Add a few small shelves for thicker supplies so everything stays steady.
5. Build a Simple Labeling System with Plain Text
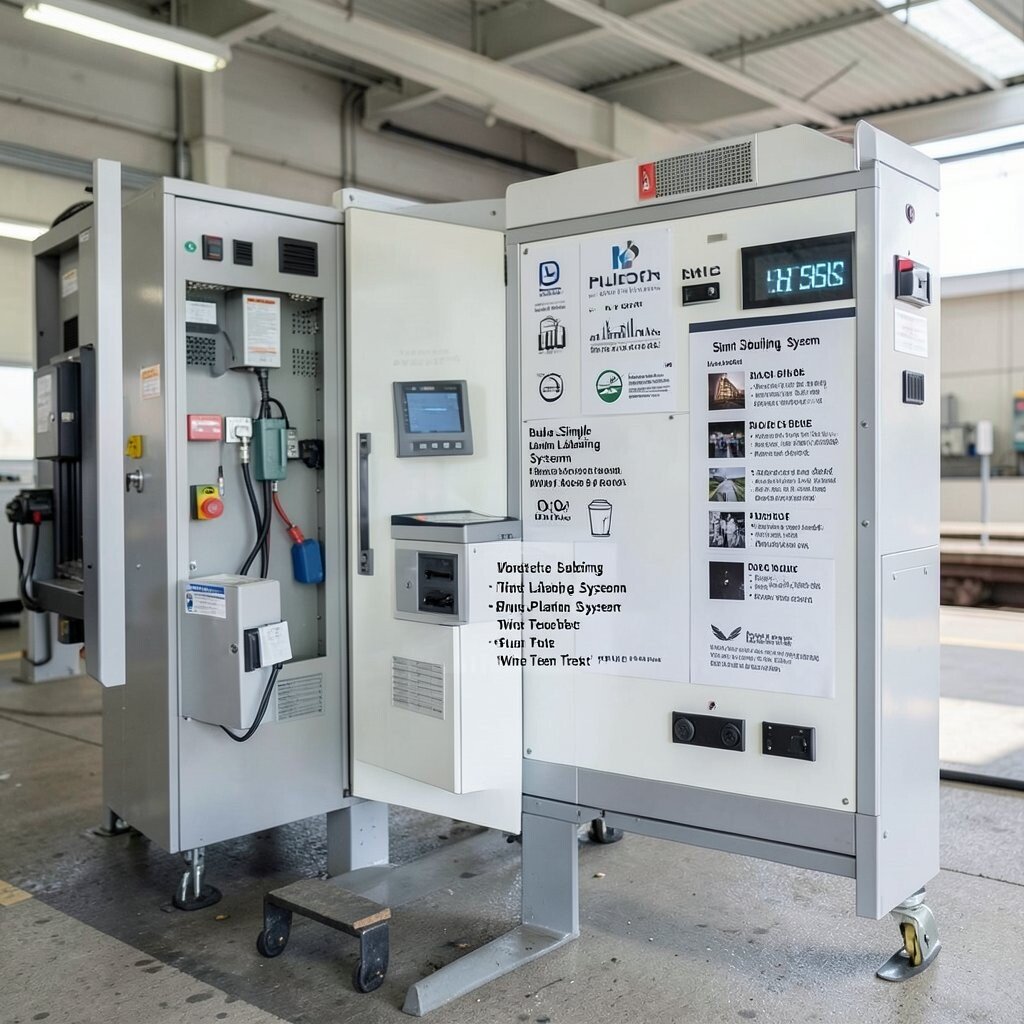
Labels make a station feel “future-proof,” because you can keep organizing as your needs grow. Plain text labels are easy to read and work for all ages.
Use a consistent style, like the same font and size, so your setup looks neat. Put labels on the outside of bins and drawers so you never have to open everything just to check.
For cost control, start with a label maker if you already own one, or use sturdy tape labels if you do not. Many people today prefer removable labels so they can update categories without wasting materials. Tie labels to your routines, like labeling by task rather than by brand.
6. Set Up a Dedicated Desk Tray for Paper Flow
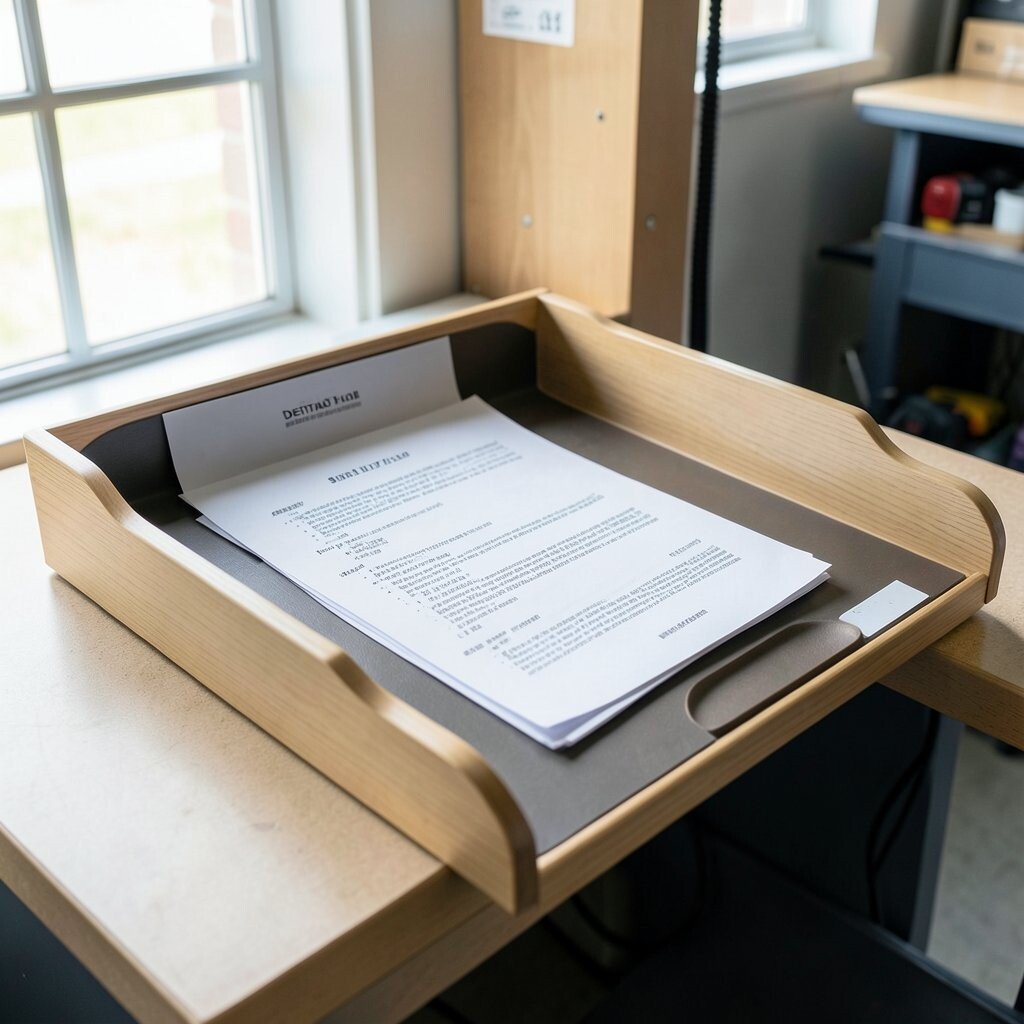
A desk tray reduces the “paper drift” that happens when documents and notes pile up. Choose one tray for incoming items and another for finished items.
This simple flow prevents lost receipts, sticky notes, and loose forms from mixing together. Add a small compartment for pens and highlighters so your station stays ready. Keep the tray in your main work area so you can drop papers off right away.
7. Use Clear Containers to See Levels at a Glance

Clear containers make your supply station look light and organized. When you can see the remaining amount, you avoid surprise shortages.
Group by type and size so refills match the container. Put commonly used items in the most visible spots and reserve deeper storage for bulk. This also helps you rotate older supplies to the front, which is a neat habit.
To personalize, add small color accents like matching lids or fabric bands. This can make an otherwise plain bin look more like part of your home style. Clear storage is popular right now because it supports “see and grab” organization and reduces time spent searching.
8. Create a Charging and Cable Corner
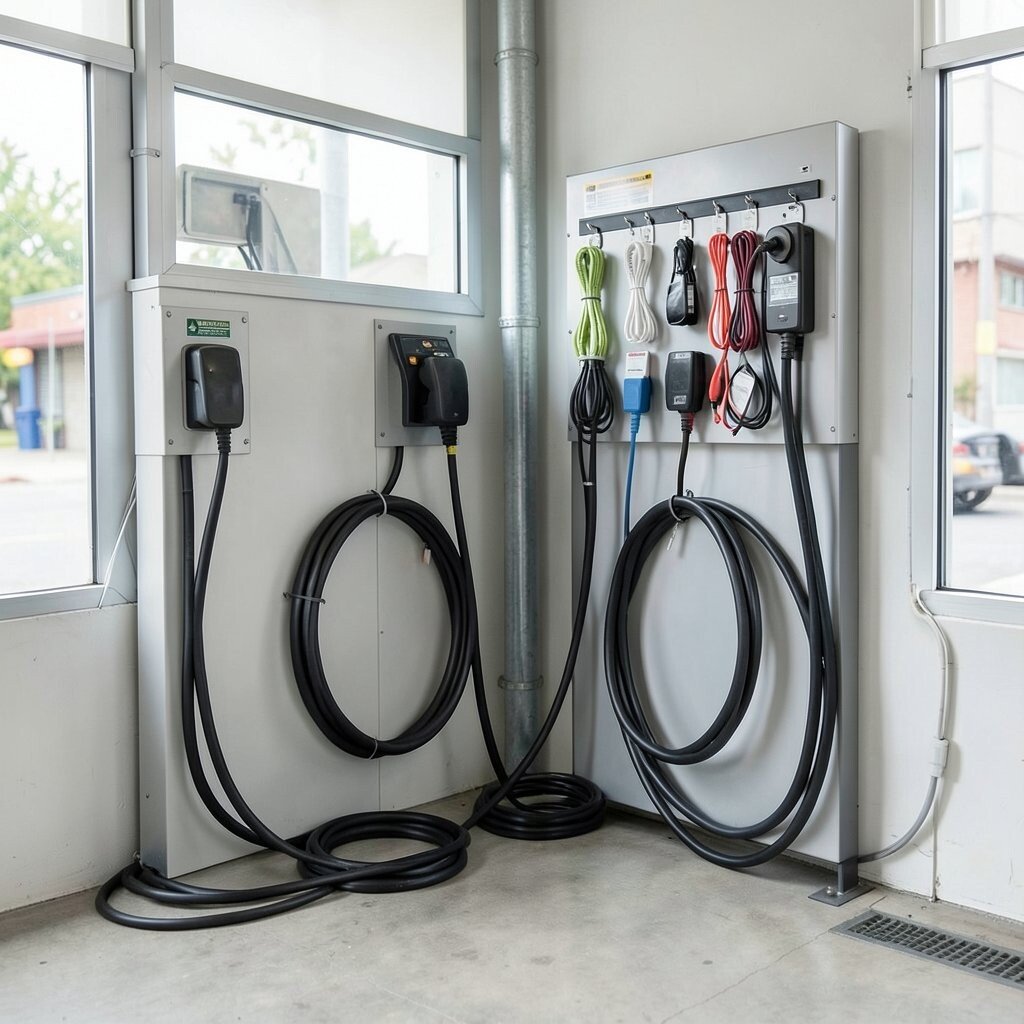
Loose cords can clutter shelves and tangle drawers in seconds. A cable corner brings order and makes your tools easier to power up.
Use a small organizer tray with slots for chargers, extra cables, and adapters. Secure cables with clips or short ties so they do not snake around. Keep a label for each cord so you can plug in quickly without guesswork.
9. Store Bulk Refills in a Closer-to-the-Source Setup
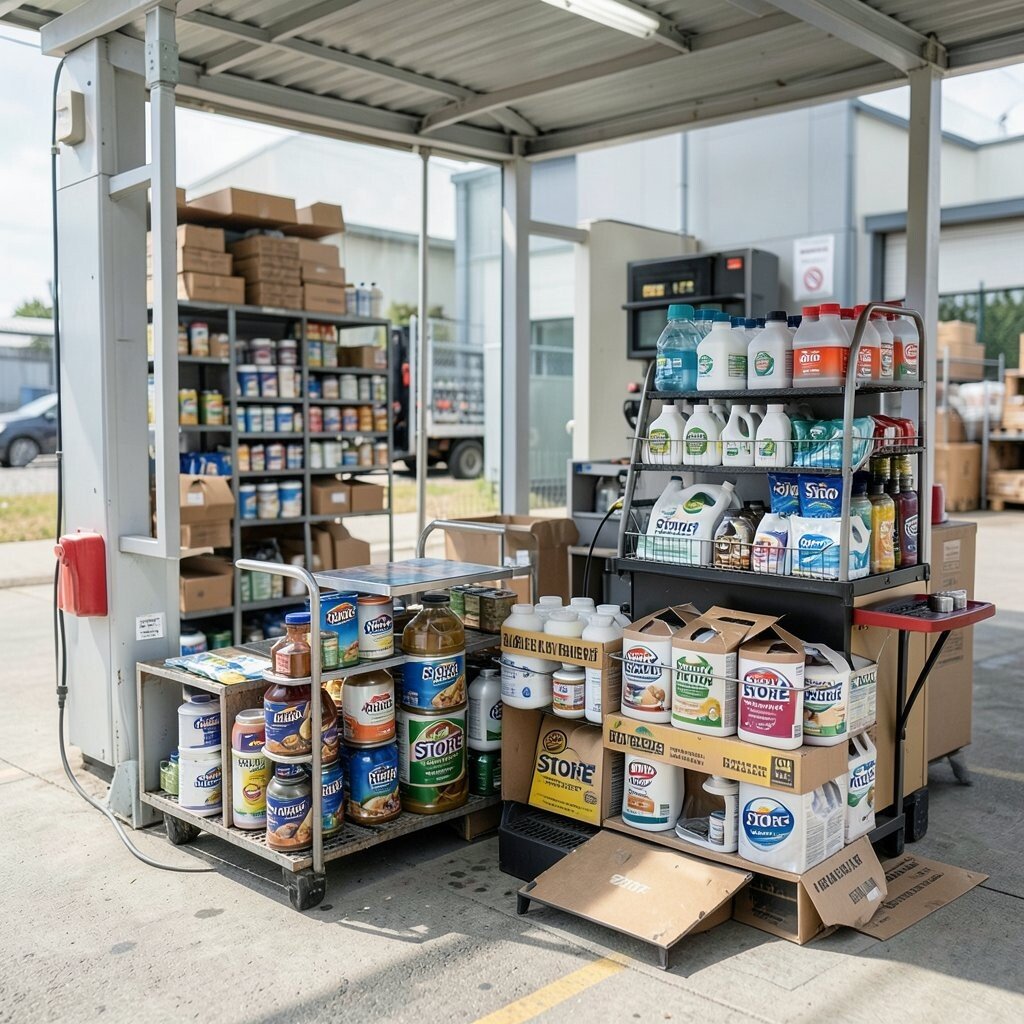
When you keep bulk refills near your main station, restocking becomes effortless. It also helps you keep your daily supplies neat and full.
Put the bulk items on a shelf above or behind your daily containers. Use a “first in, first out” approach by placing newer refills toward the back. This keeps older items from lingering too long.
For cost considerations, buy larger refills only after you know you use them. Many people now like using reusable scoops and refill funnels to reduce waste and mess. Choose storage bins that match the shelf size so bulk stays contained and tidy.
10. Add a Magnetic Strip for Small Metal Tools
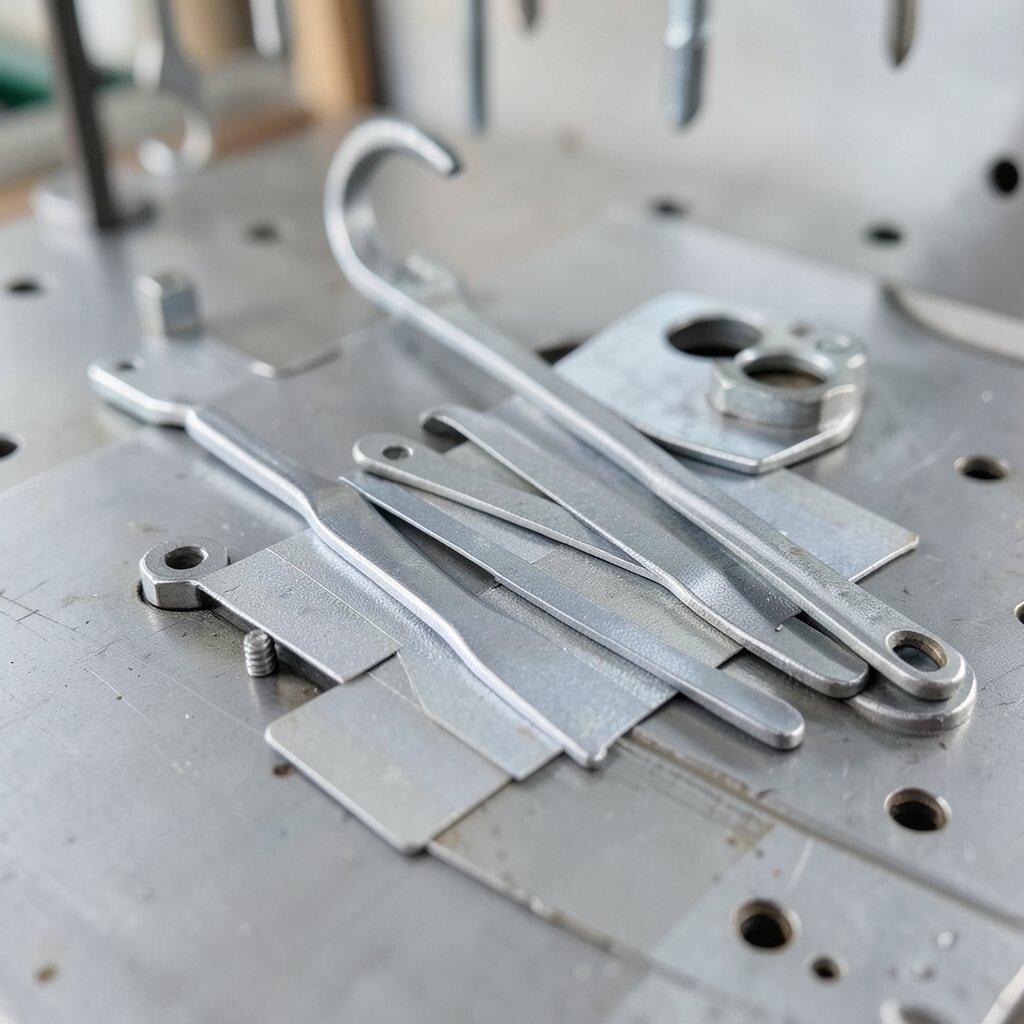
A magnetic strip is a clean way to hold small metal tools without digging through drawers. It also turns your wall into a functional workspace.
Use it for items like scissors, tweezers, box cutters, and metal craft tools. Keep the strip close to where you work so you grab tools quickly and return them easily. For a practical touch, add a small cup holder nearby for tiny parts that do not stick well.
11. Use Drawer Dividers for Mixed Utensils
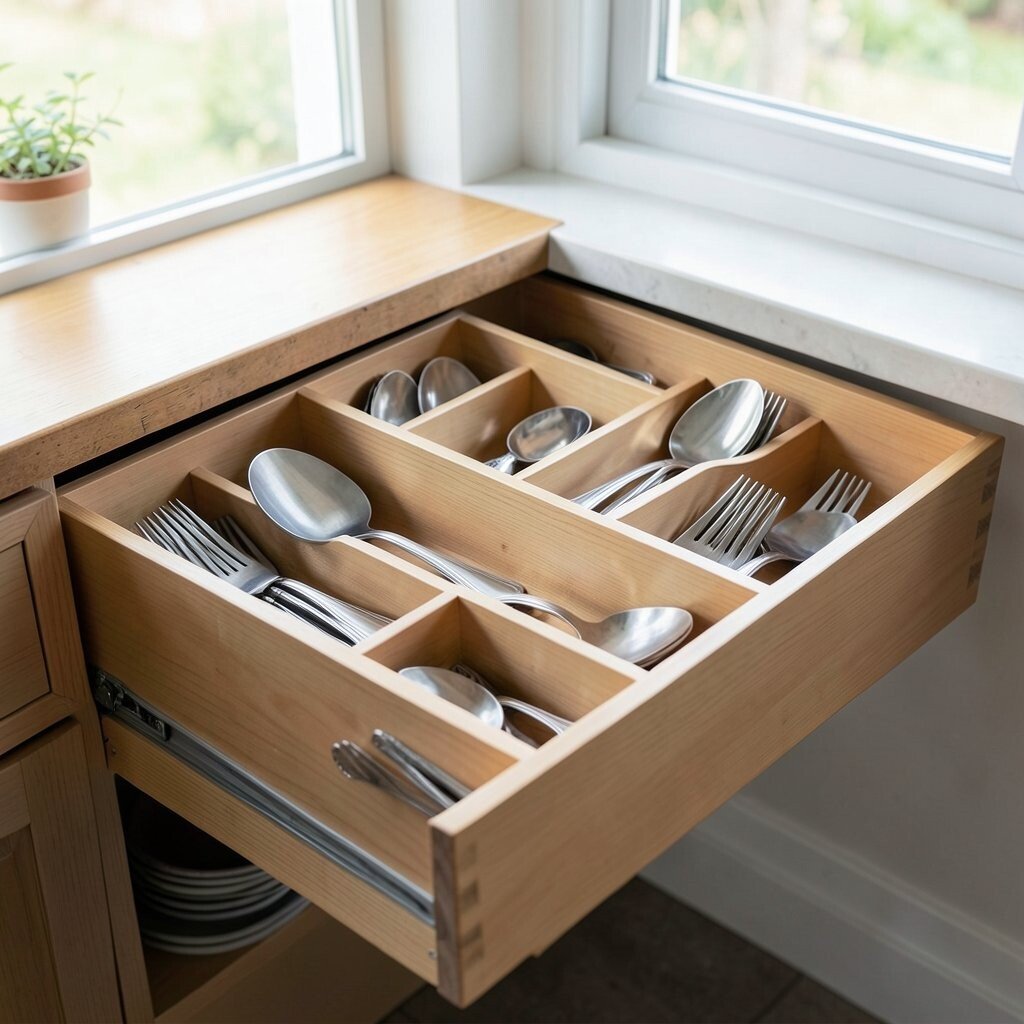
Drawer dividers stop small items from turning into one tangled pile. When you can separate items by shape and size, everything looks calmer.
Sort mixed utensils like tape tools, markers, fasteners, and batteries into individual sections. This makes it easy to pull what you need without moving the rest. Choose dividers that adjust, so you can reconfigure as your supplies change.
Personalize with a color theme by matching divider colors to your room palette. If you want to keep cost low, start with a few simple dividers and add more later. Adjustable inserts are trending because they fit many drawer sizes and reduce the need to buy multiple systems.
12. Make a Weekly Check Routine with a “Must Use” Shelf
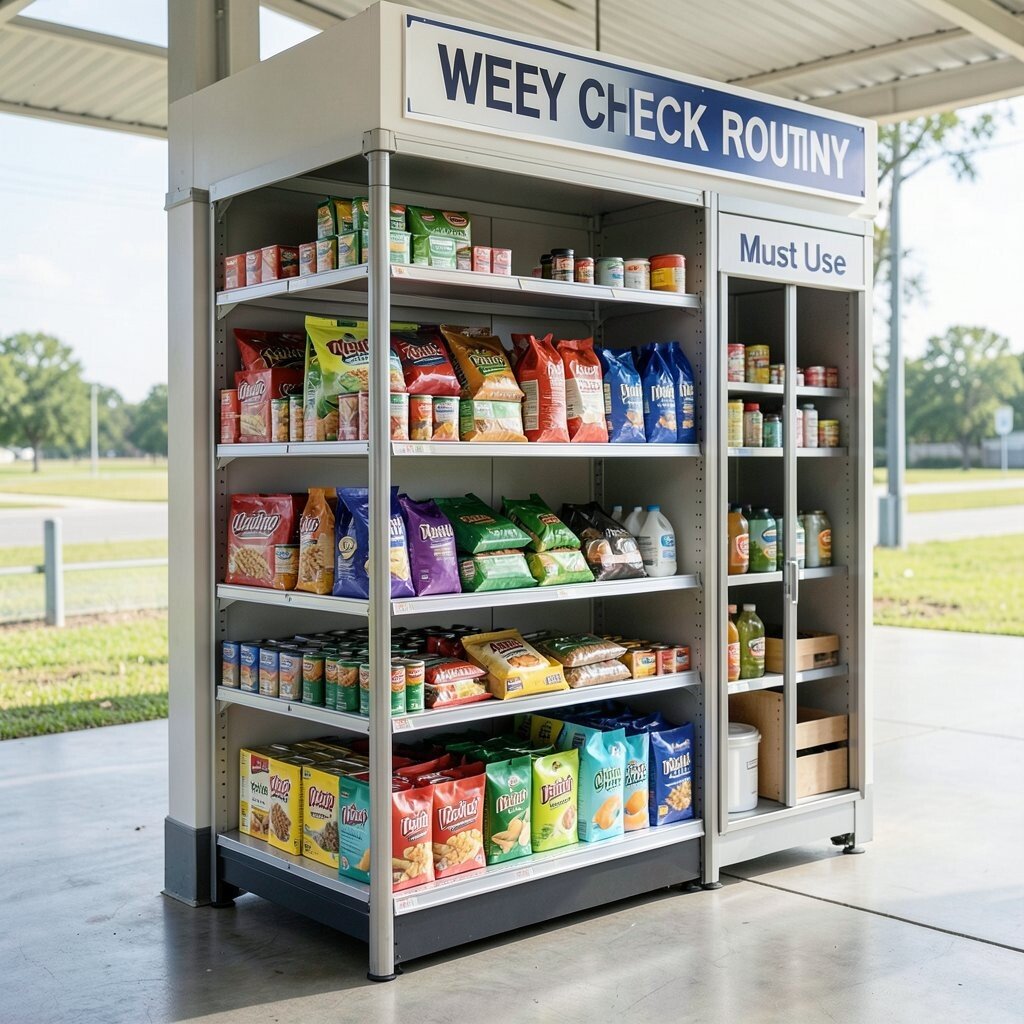
A “must use” shelf helps you stay ahead of clutter and low supplies. Put your most common items at eye level so you naturally reach for them first.
Set aside a small time each week to look at what is running low. Restock daily-use supplies and move older items to the front so nothing gets forgotten. This small habit improves your station’s function and keeps your space feeling intentional.
13. Personalize with a Fabric Liner and Matching Accessories
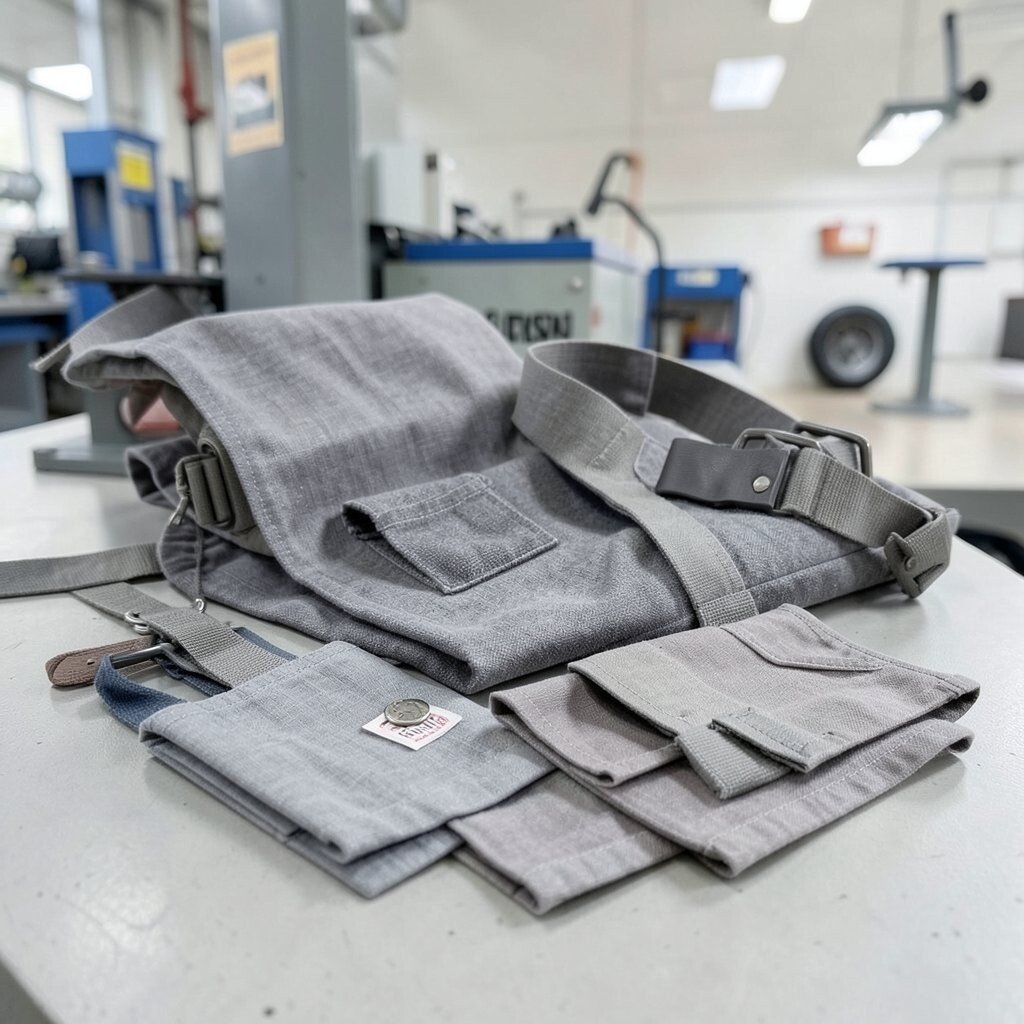
Small style touches can make your supply station feel like yours. A fabric liner softens the look and can protect shelves from scuffs and spills.
Choose a washable fabric in a color you like, then line trays, baskets, and drawer bottoms. Add matching accessories like fabric-wrapped bins or simple cord wraps to keep details consistent. This boosts motivation because an inviting station feels easier to maintain.
Keep cost in mind by using fabric scraps or affordable yardage and building around what you already own. Current trends lean toward warm textures and mix-and-match storage, so you can combine practical organization with cozy design. When your station matches your taste, you will use it more and keep it tidy longer.