The camera starts rolling, and suddenly your plans feel real. Each shot becomes a small story you can share and enjoy later.
Whether you’re filming by phone or a real camera, a vacation vlog helps you remember the good parts. It also pushes you to slow down and notice details you might miss in plain travel mode.
1. Turn Your Arrival Into a Mini Movie
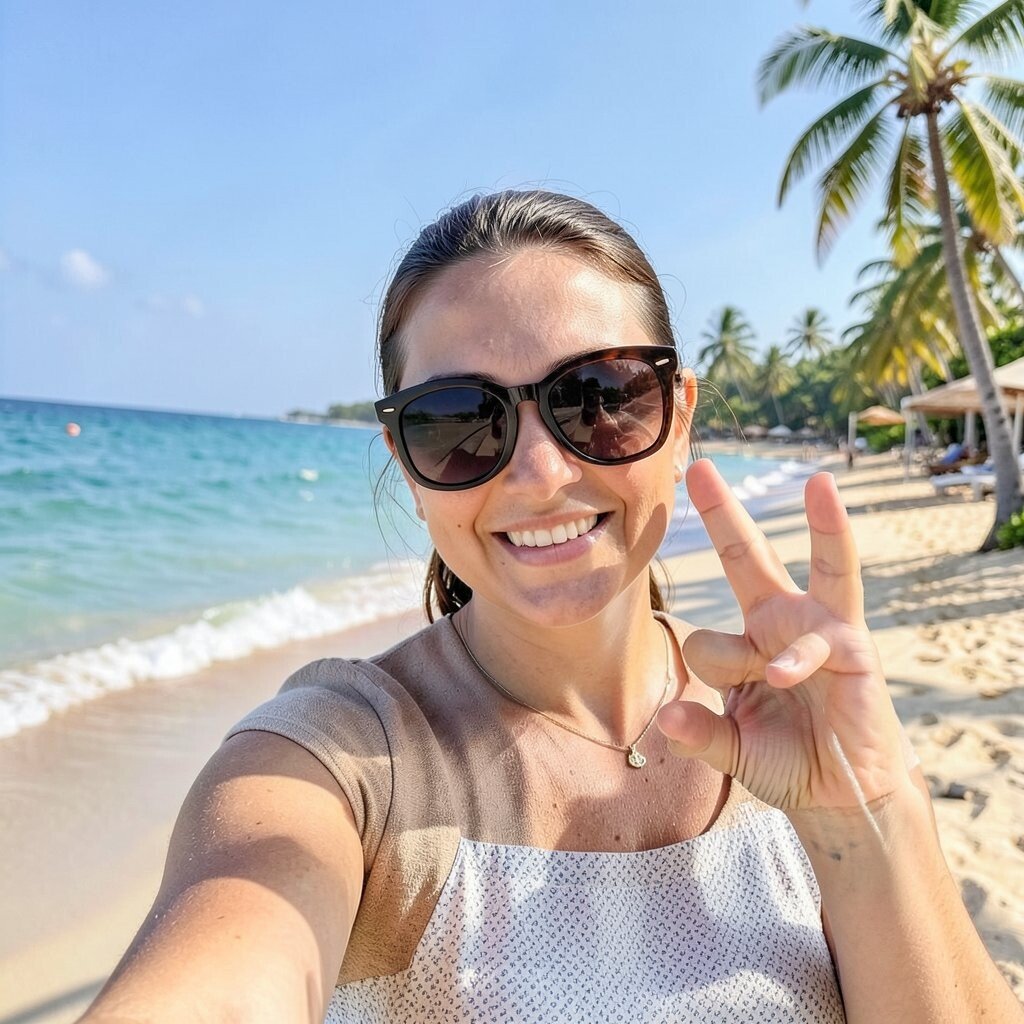
The first minutes set the mood, so film the moment you step out and take a breath. Capture the sounds outside, the first street view, and a quick close-up of your ticket or boarding pass.
Keep the shots short, and let your face appear for a few seconds so viewers feel the excitement. A mini movie style also helps you practice pacing, which makes later edits smoother.
2. Build a “What I Packed” Segment With Real Footage

Show your bag open on the bed, then pan across what you actually brought. Film shoes, chargers, a favorite hoodie, and any travel snack you refuse to leave behind.
This section is useful because people love seeing practical choices, not just pretty scenery. It can also save you trouble next time since you’ll know what you used and what you ignored.
For cost planning, mention the one or two items you bought locally or secondhand. If you want a personal twist, swap in a handwritten note in the background that says why each item matters.
3. Film a Local Coffee or Tea Ritual
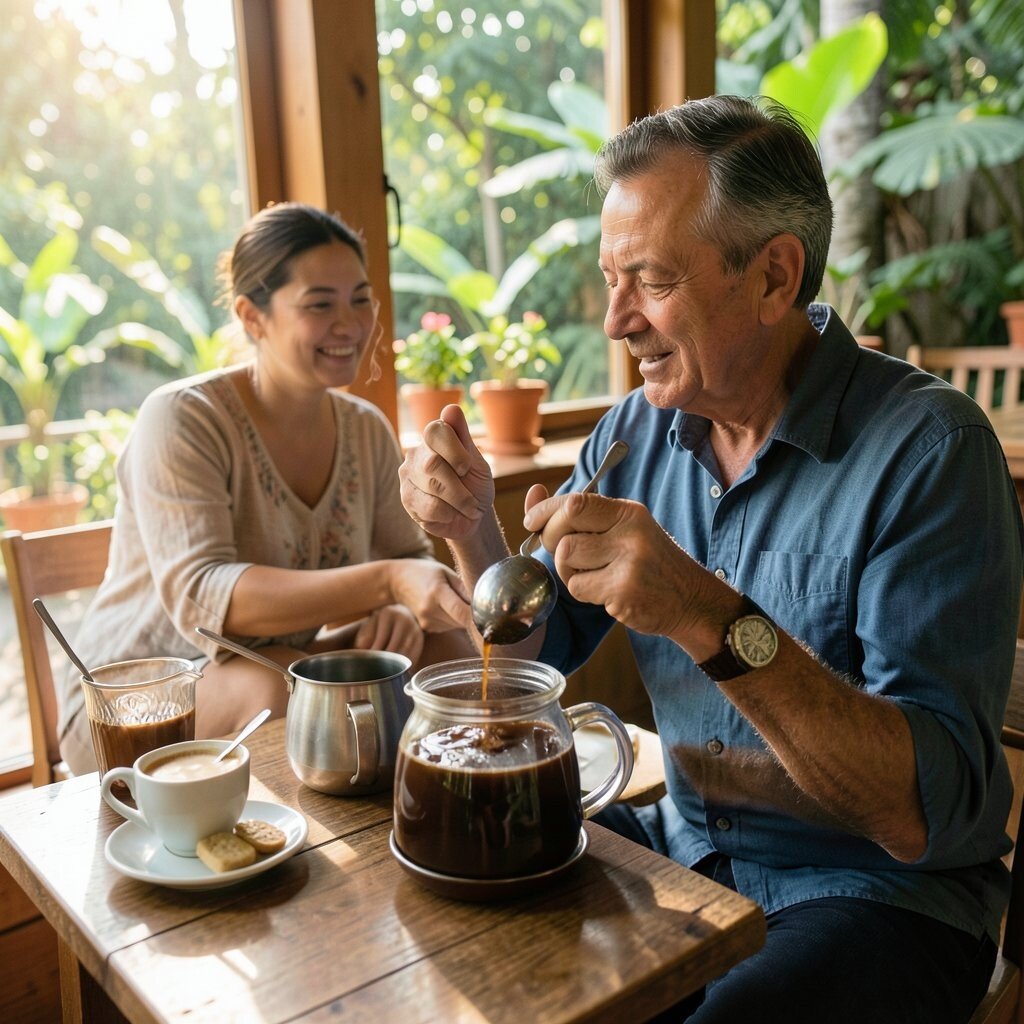
Pick one place and return to it, even if it’s just once. Film the menu board, the hand that hands you your cup, and the first sip close-up.
This gives your vlog a comforting routine and helps you feel rooted in the area. You’ll also get a strong visual theme that connects different days without needing big announcements.
If you’re budget-minded, choose a spot with a set price or daily special and mention how it fits your plan. For uniqueness, try a new flavor each time and show the color in the cup before you taste it.
Editing tip, keep a steady hand and use the same framing style so the series looks consistent. It’s a small detail that makes the whole vlog feel more “you.”
4. Create a Street Walk With Sound-First Storytelling
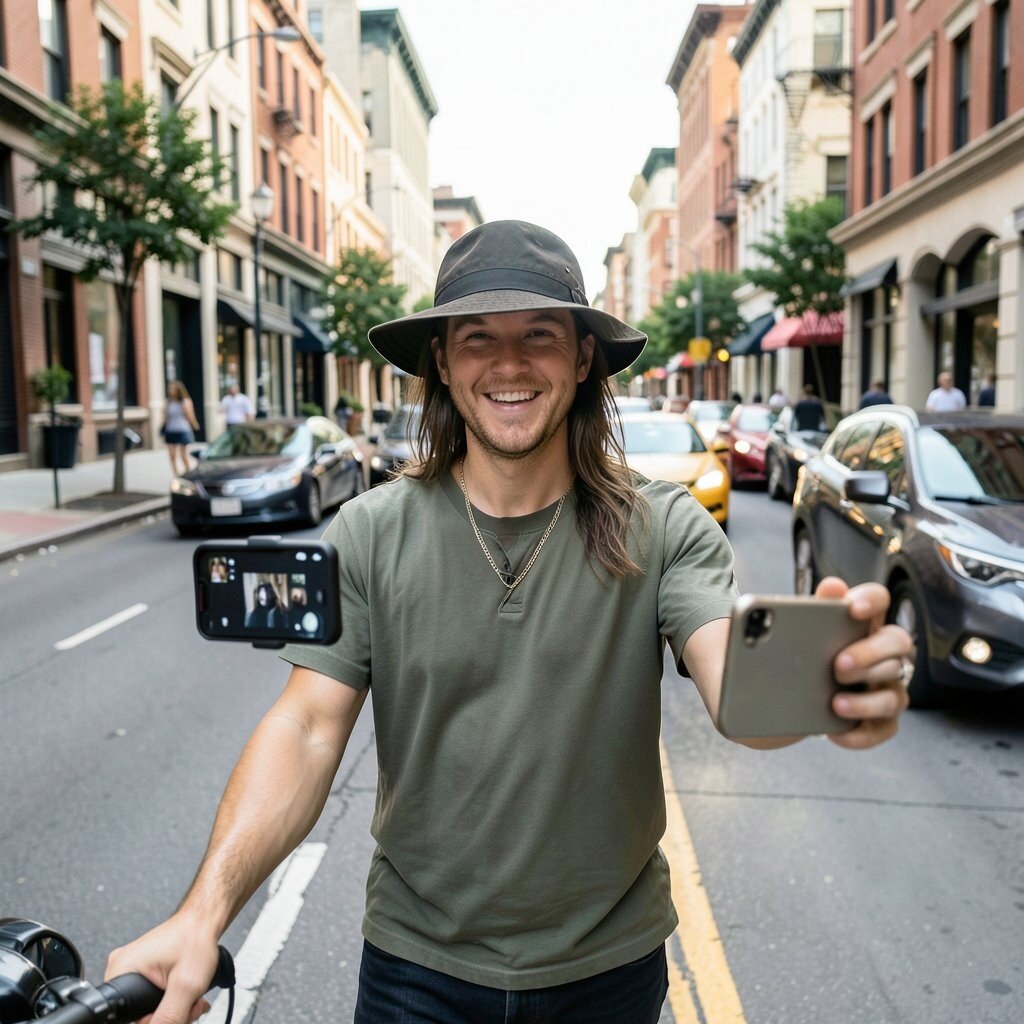
Instead of only showing landmarks, focus on walking and letting the audio guide the scene. Film crosswalk moments, bus brakes, street music, and laughter from nearby tables.
This benefits your audience because sound brings the place closer, even on a small screen. It also helps you slow down and notice where the light hits as you move.
5. Make a “Best One-Minute Meal” List

Choose one meal each day that you can film quickly, like a market snack or a simple bowl of food. Show the food arriving, a quick taste reaction, and the plate after one bite.
Short meals are great for your vlog because they’re easy to edit and keep viewers engaged. They also help with cost considerations since casual bites often land lighter on your wallet than full dinners.
For personalization, rate the snack using your own silly scale and show the ingredient you’re excited about. If you want a current trend, try filming “street food at night” vibes with warm lights and quick cuts.
6. Turn Your Hotel or Stay Into a Cozy Set
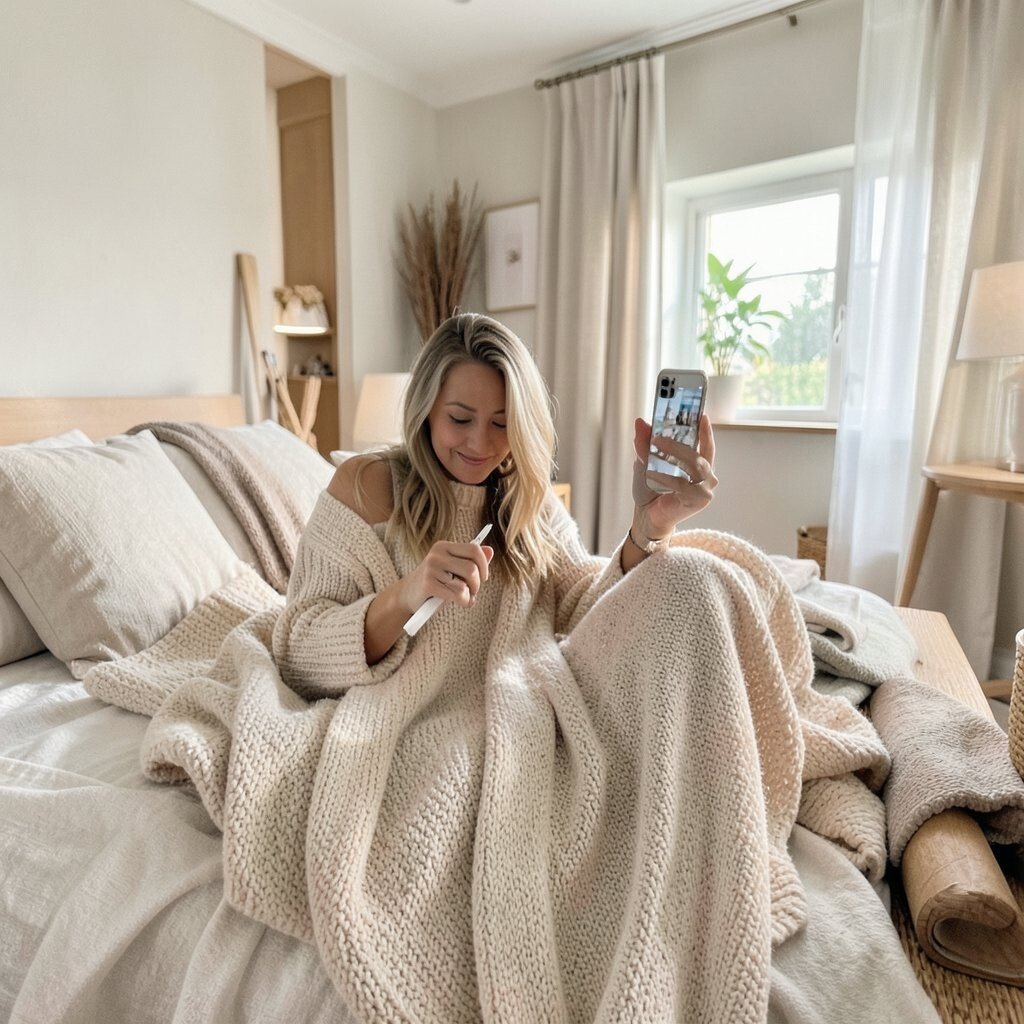
Walk through your room like you’re showing a friend a hidden hideout. Film the bed angle, the view from the window, and the little details like curtains or a reading lamp.
This makes your vlog feel intimate and gives viewers a clear sense of comfort. It also helps you plan better because you’ll remember what worked for rest, charging devices, and shower time.
7. Film a Sunset That You Plan Around
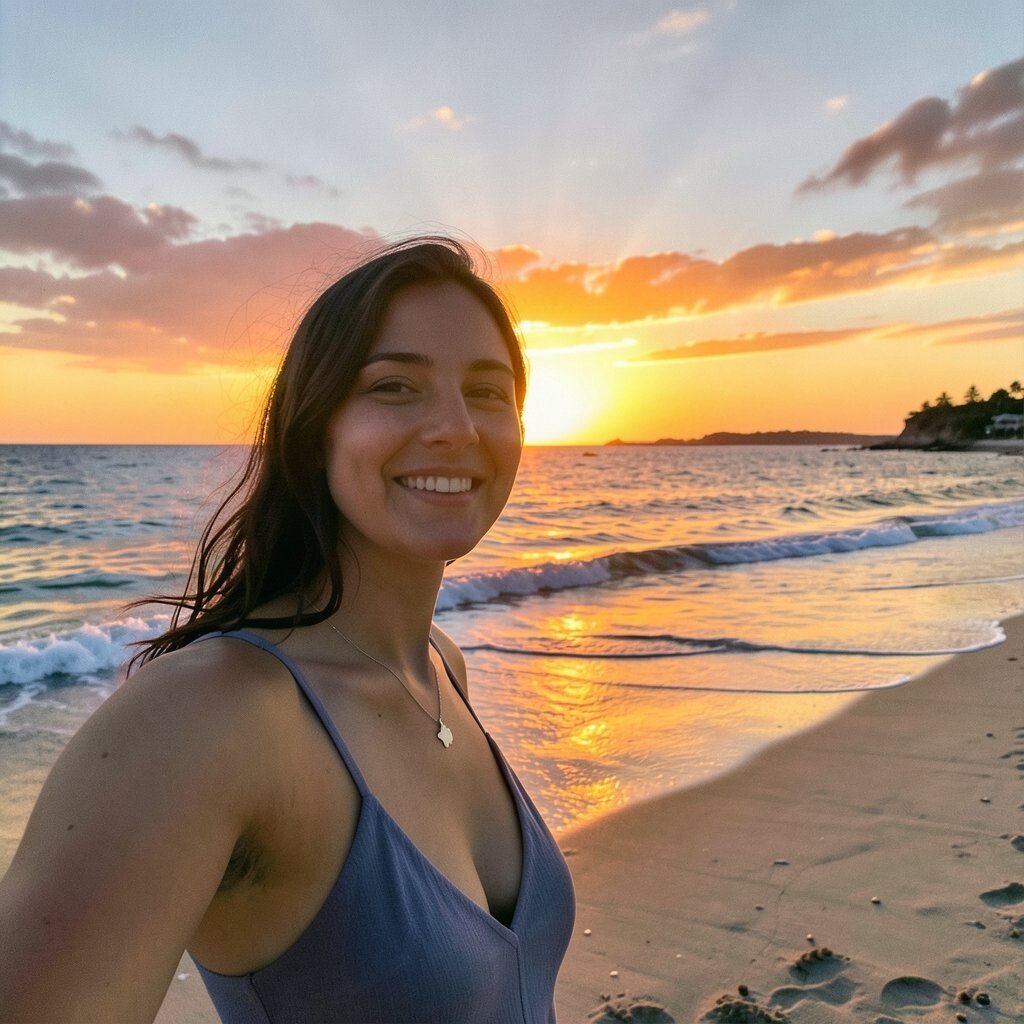
Look up the sunset time for the day and build your schedule around it. Then pick a spot where the sky opens up, like a rooftop, pier, or hill path.
Sunset shots look amazing because the colors soften everything and hide rough edges. They also create a natural ending feeling to each day, which is great for binge-watching your vlog later.
For practical tips, bring a small power bank so your phone stays alive during the slow golden minutes. If cost matters, use a public viewpoint instead of paid tours and spend the saved money on a simple drink.
8. Do a “Ride With Me” Clip on One Local Route
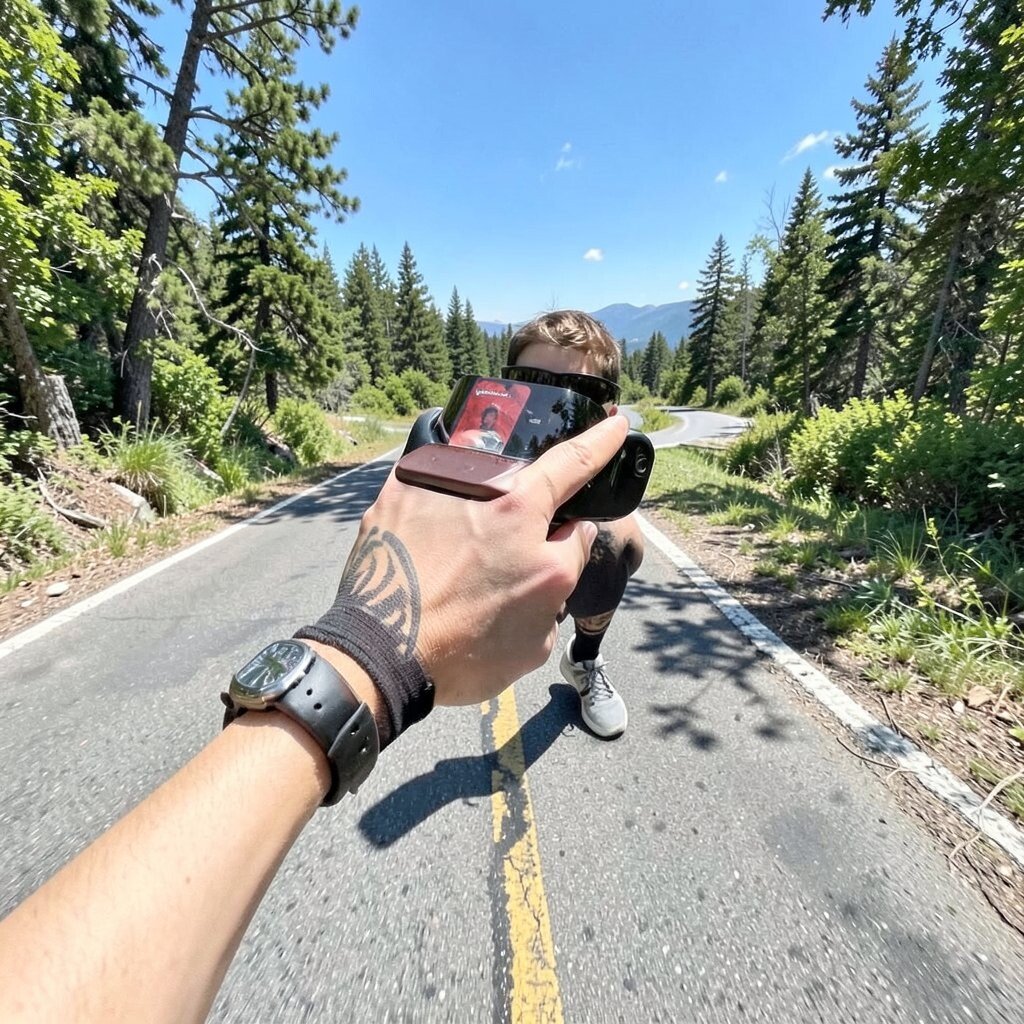
Pick a bus, tram, or train route that locals use and film from a window seat. Show ticket taps, seat details, and the way neighborhoods change as you travel.
This helps your vlog feel real, since transit is where you notice daily life. It’s also a unique way to share a place without needing to hike or spend lots of cash.
9. Capture One Museum or Gallery Lesson
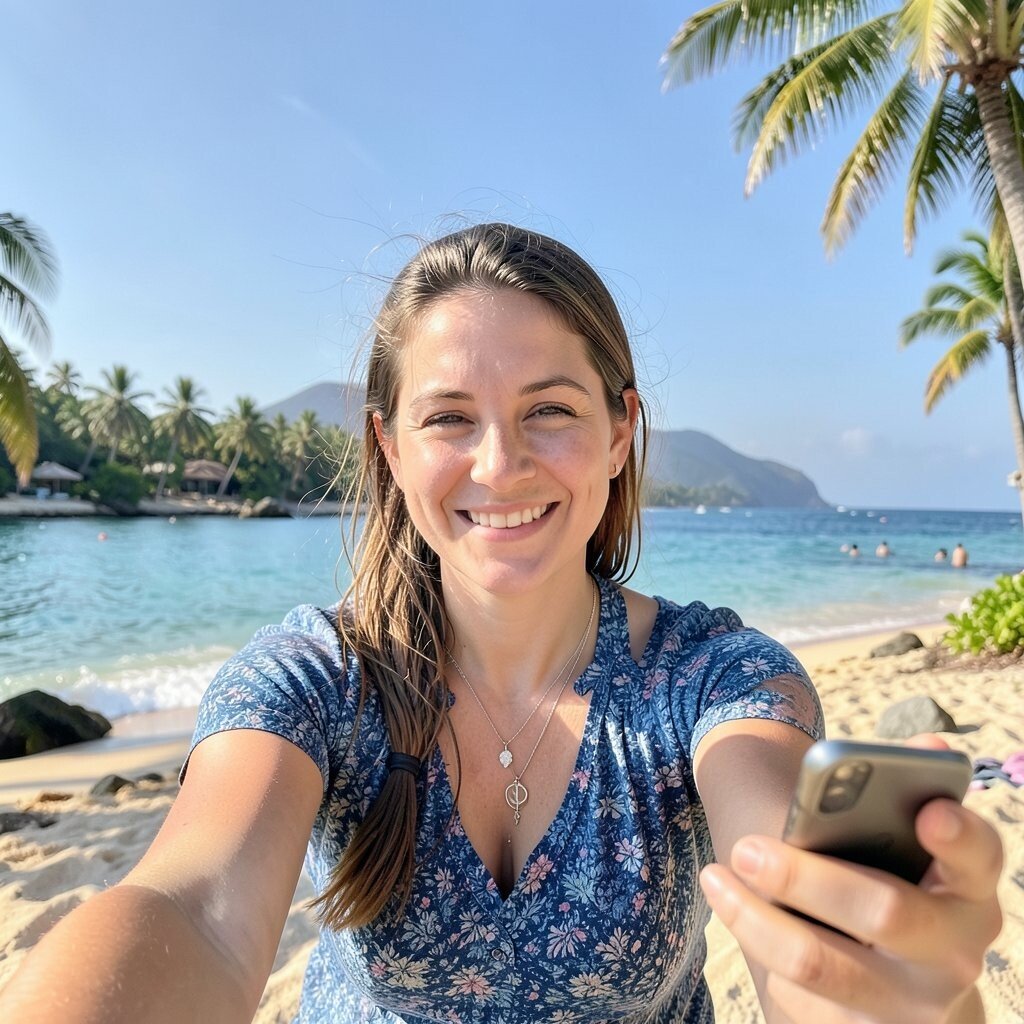
Choose a single exhibit that catches your attention and focus on it like it’s your main character. Film the entrance area, then show one artwork in detail with your reaction.
This benefits your story because it adds meaning and shows you’re paying attention, not just collecting photos. It also gives you easy editing material since you can rely on clear visuals and calmer pacing.
For personalization ideas, tie the theme to your life by mentioning why the piece reminds you of something you love. If you’re watching trends, try a “quiet vlog” style with soft music and minimal talking.
10. Try a Local Market Morning With Close-Ups
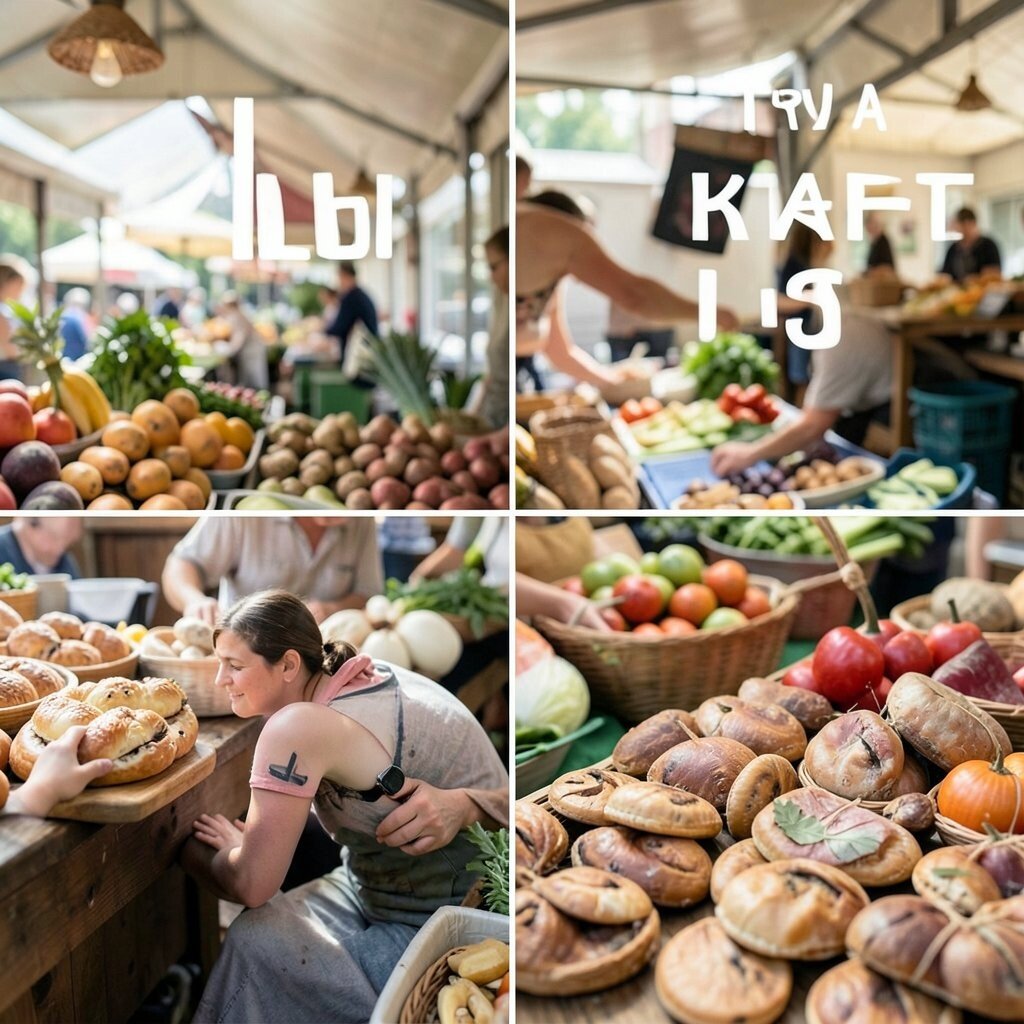
Wake up early enough to catch fresh stalls and morning light. Film fruit textures, handmade goods, and the way vendors pack items.
Market footage is unique because it’s full of color and motion at the same time. It also helps you budget since you can compare prices and grab small tastings instead of one expensive meal.
For practical tips, wear comfy shoes and bring a small tote so you can carry what you buy. If you want personalization, interview a vendor with a short question about the product or the best way to use it.
11. Make a Quick “Rules I Follow for Good Video” Moment

Film a short segment where you talk about how you keep your clips clear and stable. Show your grip on the phone, how you hold the camera steady, and what you do when the wind is loud.
This benefits you because better clips mean less frustration during editing. It also helps viewers learn small habits that make their own videos look better without fancy gear.
12. Film Your “Favorite View From Every Neighborhood”
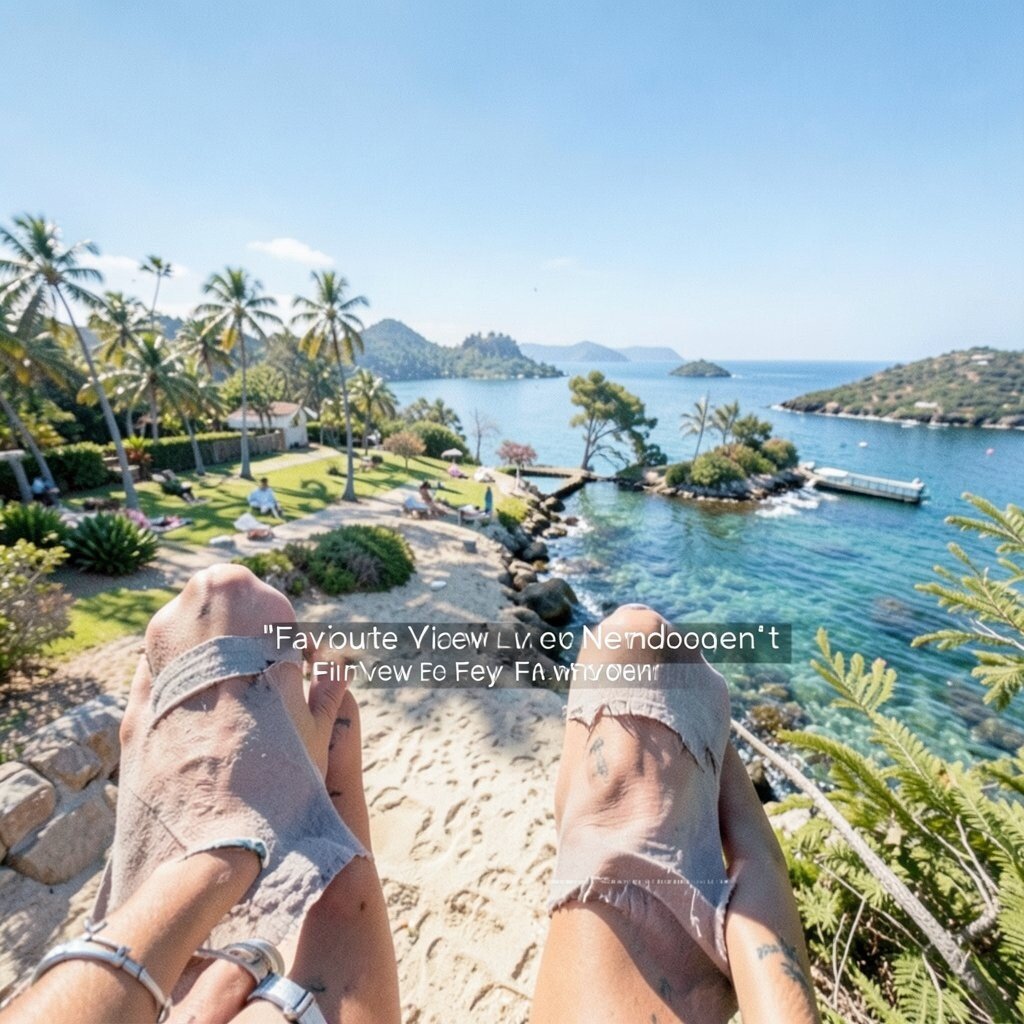
Pick a few neighborhoods and plan one viewpoint for each area. Film the approach, then show the view, and finally include your face in the frame for one candid moment.
This gives your vlog a strong structure, even if every place feels different. It also helps with uniqueness since you’re not only sharing famous spots, you’re collecting your own angles.
13. Do a “What Surprised Me” Segment After Each Day

At the end of the day, sit somewhere quiet and talk about one thing that surprised you. It could be a kindness you saw, a food flavor you didn’t expect, or a shortcut that saved time.
This is a powerful benefit because it turns casual travel into story. It also gives you variety in your edits since talking clips can balance the visual montage.
For personalization ideas, connect the surprise to a goal you have, like feeling brave, eating slower, or trying new routes. If you’re cost-conscious, mention the free or low-cost moment that made the day special, like a park view or a public festival.
14. Create a “Night Walk” With City Lights and Snapshots
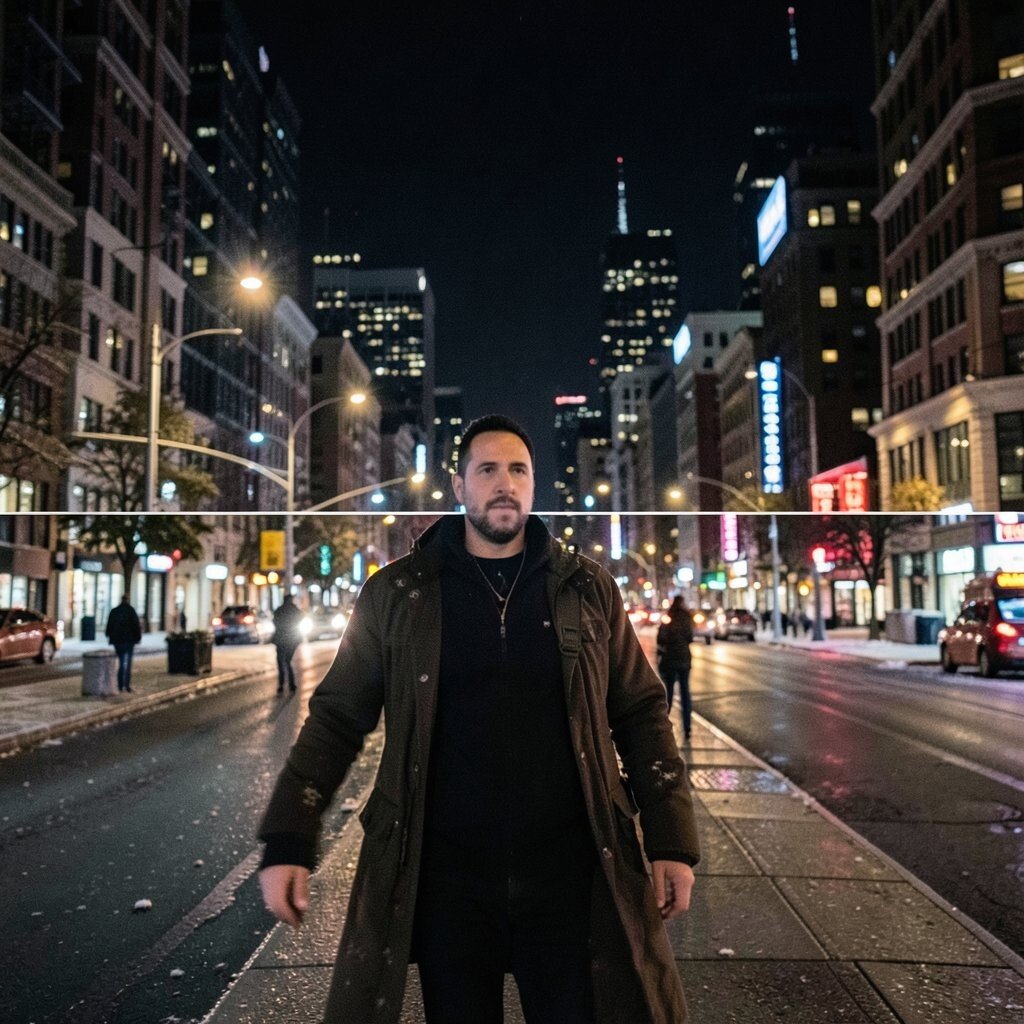
After dinner, head out with a plan to film slow lights and quick street scenes. Capture reflections on wet pavement, store signs, and the feeling of the crowd moving.
Night footage looks cinematic, and it adds contrast to your vlog because daytime clips feel bright and fast. It also helps you show safety in a normal way by filming only where you feel comfortable and staying aware.
15. End With a Personal Photo-to-Video Flipbook

Gather a few favorite photos from your trip and turn them into a simple video sequence. Film your screen as you scroll, then add one short voice line about each photo.
This ending benefits your vlog because it feels like a scrapbook, not an abrupt cutoff. It also helps you keep memories tidy, since your best moments end up in one place you can rewatch.
For cost considerations, you can do this with free editing apps and your phone, then upload to your favorite platform. For uniqueness, add one creative sound choice, like a travel song you recorded in the streets, and match the beat to the photo changes.
Editing tip, keep the flipbook short and let the strongest images last a little longer so the final emotion lands clearly.