
Your hallway and stairs can feel brand-new with one smart change. A wall handrail adds comfort, safety, and style in one go.
1. Soft-Edge Handrails That Look Gentle

Before, a harsh metal handrail can feel cold and visually busy against the wall. After, switching to a soft-edge profile makes the whole area look calmer and more welcoming.
In a before scene, you might notice sharp corners catching your eye and making the space feel less inviting. After, the smoother shape guides your hand with less snag risk and blends more naturally with paint, trim, and wall texture. Choose a finish that matches nearby details, like satin nickel with warm white walls, so the rail feels like part of the room instead of an add-on.
2. Match the Rail to Your Door Hardware

Before, the handrail can stand out like a different outfit in the middle of the day. After, when the rail finish matches your door knobs and hinges, the space looks coordinated and tidy.
Start by looking at your most visible metals in the home, often entry hardware, cabinet pulls, or faucet finishes. Then pick a wall handrail finish that’s close enough to feel intentional. This small pairing helps the rail look custom and can even make the wall look more finished because the metals “agree.”
If you are working on a tight budget, consider reusing existing mounts and only swapping the rail section if your system allows it. Bring home small finish samples or check store swatches so you can compare them in the same lighting your hallway uses. Many people find that satin or matte finishes hide fingerprints better than glossy ones, which keeps the rail looking clean longer.
3. Swap to a Wider Grip for More Comfort
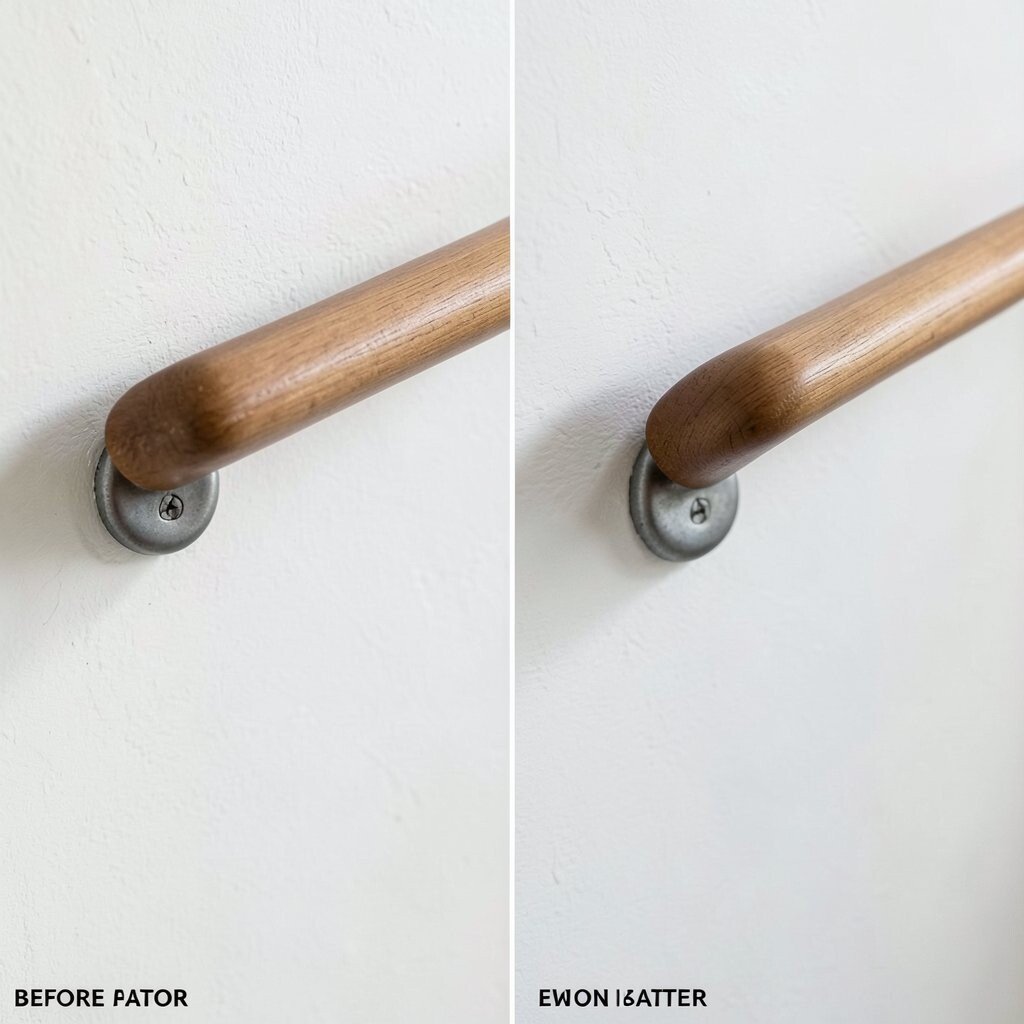
Before, a narrow rail can feel less friendly when you have to lean or help someone steady. After, a wider grip makes everyday use feel smoother and more secure.
A wider rail can also look more substantial, like it belongs in a well-designed home. Measure the space and think about how your hand naturally falls while walking up or down. If you often carry items, a slightly larger grip can make the rail feel more dependable.
For practical installation planning, line up the rail at a comfortable height based on the people who use the space most. You can also choose an easy-to-clean surface like powder-coated steel or a wood-like finish that holds up well to daily touch. If your walls are textured, consider how the rail will look against bumps or ridges so it sits evenly.
4. Add a Gentle Curve Instead of a Straight Line

Before, straight rails can feel stiff and purely functional. After, a subtle curve can soften the visual flow and make the staircase area feel smoother.
Look at how your body turns near the stairs, then mirror that movement with the rail path. A gentle curve can also guide the hand naturally during tight turns, which feels safer and more comfortable. Many modern homes use curved rail sections for a cleaner look, especially in narrow hallways where space feels tight.
5. Color-Blocking the Rail Against the Wall

Before, a neutral rail might disappear, and then you forget it is even there until you need it. After, a color-block approach makes the rail easy to spot and easier to use.
Pick a wall color and choose a rail tone that contrasts just enough to be noticeable without overpowering the room. For example, a warm taupe wall can look great with a deep bronze or dark charcoal rail that still feels classy. If your hallway already has patterns, a solid rail color can calm the look by giving the eye one steady point.
For personalization, coordinate the rail with a nearby piece like a framed print, runner rug, or a coat hook so the color feels like a theme. If you worry about matching, try a satin finish and test it with the same paint chip lighting, since hallway bulbs can change how colors read. Even if you keep the rest simple, this one change can make the space feel styled on purpose.
6. Choose Wall-Mounted Styles That Keep Floors Clear

Before, bulky supports can make hallways feel crowded and awkward to walk through. After, wall-mounted rail brackets that hold firmly can keep the floor open and make the area feel airier.
When the rail is mounted cleanly, the visual line stays up at hand height instead of taking over the walking space. This can be especially helpful in entryways where shoes, strollers, or bags often sit near the stairs. A neat wall-mounted look also makes cleaning easier because there is less around-the-base clutter.
7. Pair the Rail with a Coordinated Wall Panel or Trim

Before, the wall can feel plain, like it is missing one finishing layer. After, adding a simple trim board or panel behind and around the rail gives the area a dressed-up feel.
Imagine a before view where paint alone holds the whole story, leaving the rail feeling stuck in the middle. After, a small trim detail can frame the rail like part of the architecture, which gives the space a more custom vibe. You can keep it low-key with narrow trim or go bolder with wider bands depending on your style.
To keep it practical, choose trim materials that handle real-life touch and cleaning, like paint-ready wood, MDF, or durable composite boards. If you are not ready for big carpentry, you can use pre-primed boards and basic tools for a manageable DIY weekend. Just plan where the rail brackets will land so the rail stays secure without cutting your trim plan into awkward pieces.
8. Install Grab Bars That Look Like Design Hardware

Before, accessibility-style grab bars can feel heavy and medical. After, choosing sleek grab-bar designs with smooth lines can make them look like modern hardware.
When you select a style that blends into the wall, you keep the safety you need while gaining visual style. Look for options with clean edges and finishes that match your lighting and fixtures. Many current designs use minimalist geometry, which pairs well with both new builds and updated older homes.
9. Use Warm Wood Tones for a Cozy, Friendly Feel

Before, a cold metal rail can make a hallway feel less inviting. After, a warm wood tone rail brings instant comfort and makes the space feel more lived-in.
Wood-look rails can visually soften the area, especially when your walls are painted creamy colors or have warm undertones. For a cozy before-and-after, imagine how the rail can echo banister wood, picture frames, or nearby shelves. This is a great way to make a functional safety feature feel like part of your decor.
For practical care, pick finishes designed for daily touch, and consider how the rail will handle moisture if your entryway gets wet. If you want a personal touch, you can coordinate the wood tone with your flooring direction so it feels balanced. Many people also like adding a subtle stain depth so the rail looks richer without needing a full wood renovation.
10. Create a Built-In Look with Matching Backplates
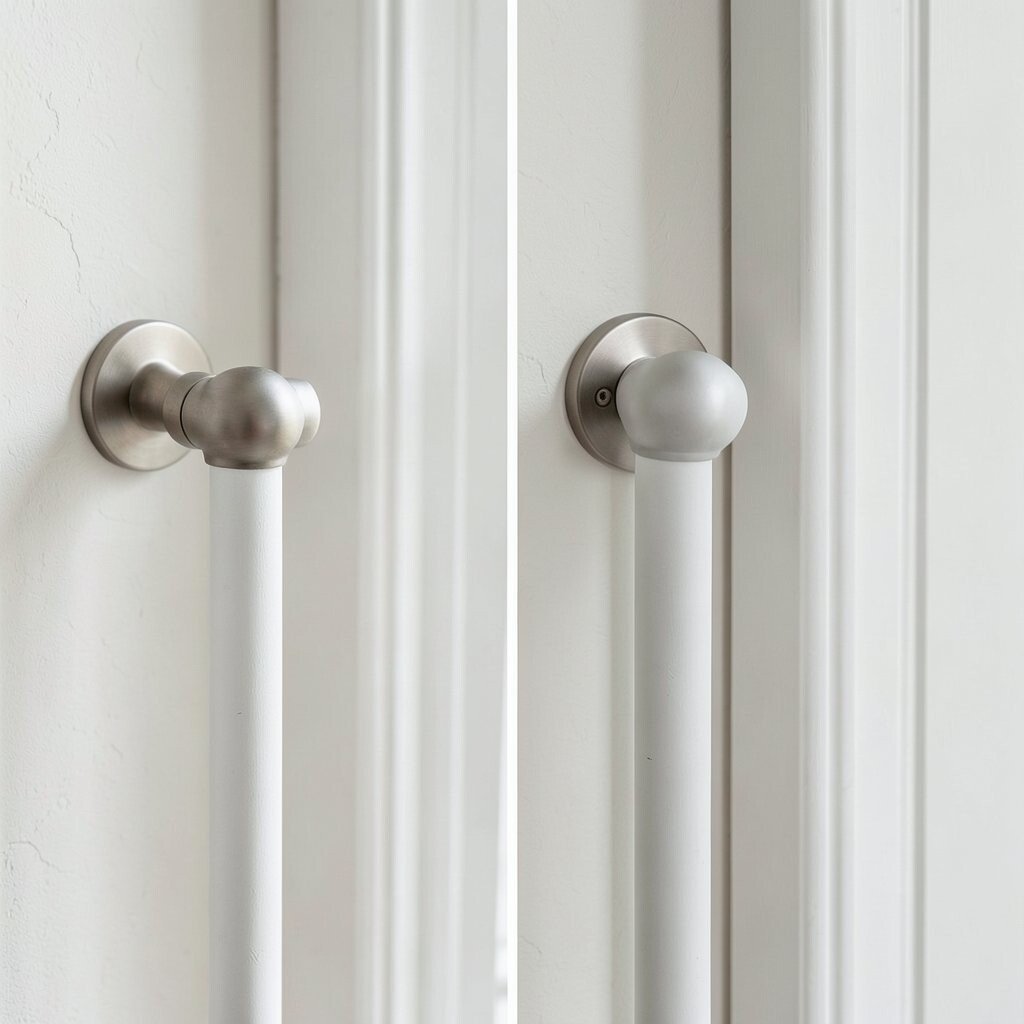
Before, visible gaps around brackets can make the rail feel temporary. After, matching backplates or escutcheons cover installation points and make everything look intentional.
Backplates can also help protect the wall finish, especially if you had to reposition the rail or if you are updating older anchors. This is a smart way to keep the after look neat even when the wall has prior holes. Choose a backplate finish that matches the rail so the hardware looks like one complete system rather than separate pieces.
If you are refreshing a rental or an older home, consider backplates that help cover small imperfections in paint or drywall. You can also use a slightly larger backplate for a cleaner visual line, which feels like a designer move. Just confirm your wall type and anchor needs so the added coverage does not reduce grip strength.
11. Add a Non-Slip Surface for Everyday Confidence

Before, a smooth rail can feel slippery if hands are wet or if someone is rushing. After, a rail with improved grip gives people more confidence during real-life moments.
Look for anti-slip textures or grip-friendly coverings that still look nice in your home style. Many modern options use subtle patterns that do not scream “safety,” so the rail can remain stylish. This matters because you want the rail used often, not avoided because it looks or feels uncomfortable.
For a practical upgrade, check how the rail finish feels in different lighting and under different hand pressures. If your household has different comfort needs, a more grippy surface can benefit everyone, not only those who need extra support. Pair this with a finish that resists smudges so your after result stays attractive between cleanings.
12. Style It Like a Feature with Thoughtful Placement

Before, the rail might be placed only where it is “required,” leaving empty wall areas that feel unfinished. After, thoughtful placement turns the rail into part of your design plan and makes the space feel complete.
Think about the path people walk and where their hands naturally move. A good after layout aligns the rail with the moment you reach for support, often slightly before a turn, step, or narrow spot. This can make the rail feel smoother to use and can reduce awkward stretching that people feel during busy days.
To personalize, consider placing an extra short section where it helps at transitions, like near a landing or a doorway step. If you are updating trends, many homes now treat rails as part of the interior style, using matching finishes and clean lines rather than hiding them. Start by marking your intended hand reach, then verify it with household members so the new placement feels right for your daily routine.