
Pastel bunting can turn any backyard into a soft, dreamy place to gather. The right mix of colors and placement makes everything feel cheerful and a little magical.
From breakfast tables to dance circles, it helps guests notice the joy in every corner. With a few practical choices, you can make the look feel special without spending hours or a lot of money.
1. Cloudlike Pastel Color Block
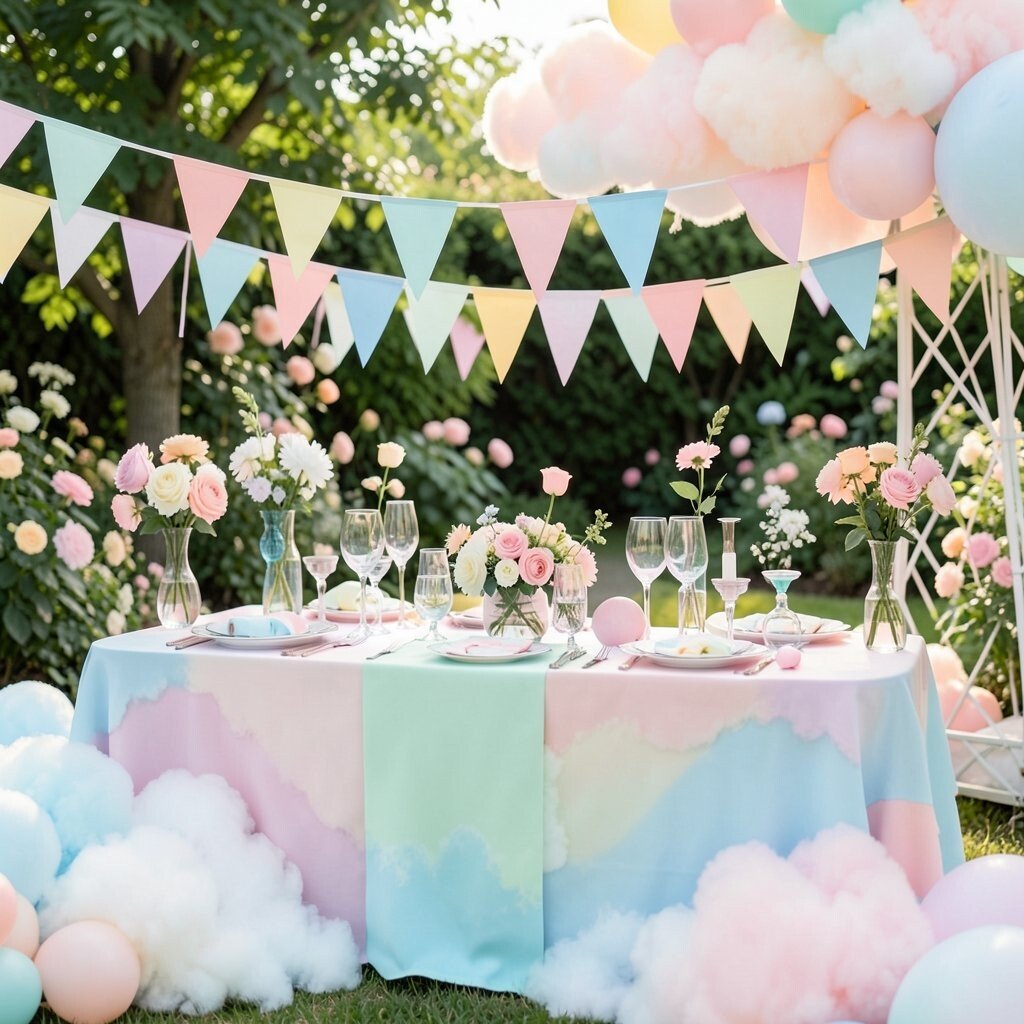
Picture bunting that looks like a gentle sky, with blocks of pale pink, butter yellow, mint, and light lavender repeating across the line. The breeze makes the flags flutter like tiny fabric clouds, and that motion adds instant life to the yard.
Choose two or three main shades and keep the rest as small accents so the display feels airy instead of busy. Use lightweight fabric or paper triangles for an easy hang, then adjust height so guests’ sightlines stay clear.
2. Tea Party Corner Swag

Set up bunting near a tea cart, window frame, or small garden bench so it feels like a cozy scene. A short swag of flags, draped instead of straight, gives the area a soft “welcome” feel without taking over the whole space.
Hang it from two points like window hooks or chair backs, leaving a little droop for a relaxed look. This style works well for photos because the bunting creates a bright background behind teacups and desserts.
For personalization, weave in one or two mini charms, such as tiny clothespins holding ribbon tags or pastel tassels. If budget matters, reuse ribbon from old gifts and cut uniform triangles from affordable craft paper or cotton scraps.
3. Vertical Pennant Pathway

Guide guests along a walkway with vertical bunting lines that look like a pastel corridor. Seeing the flags rise and fall with each step makes the arrival feel playful and planned.
Use thin poles, shepherd hooks, or even flexible garden stakes to keep the pennants steady in windy spots. Space them evenly so the path feels neat, and set the bottom edge high enough that shoes won’t catch.
To keep it current, pair the vertical look with modern minimal decor such as simple lanterns and clean tableware. For cost control, buy pre-cut pastel paper pennants and rotate colors each segment so it still feels fresh.
Make it personal by choosing shades that match your plates or seasonal flowers in the yard. A quick color-matching trick is to pick one accent color from your tablecloth and echo it on the flags.
4. Hanging Kite Banner on Lines

Try bunting that hangs like small kites, with triangular shapes that tilt toward the light. The visual effect is bouncy and fun, especially when wind catches the edges.
Use two parallel lines with clips so each triangle can sway a bit independently. This keeps the banner lively even on calmer days and helps it look “designed” rather than purely decorative.
5. Pastel Rose Garland Mix

Blend bunting with faux or real greenery to create a rose-like garland vibe. Soft pink and peach flags next to leafy vines make the whole yard look romantic and grounded.
Attach small bundles of greenery to the bunting line using zip ties or twine so everything stays tidy. The benefit is that the display hides hardware, like hooks or knot points, which makes it look clean from every angle.
For uniqueness, add one unexpected element, like tiny paper flowers in aqua or a few pom-poms in pale cream. If you want to keep it budget-friendly, use seasonal clippings and let the garden do the heavy lifting.
6. Ombre Rainbow Without the Loud Colors
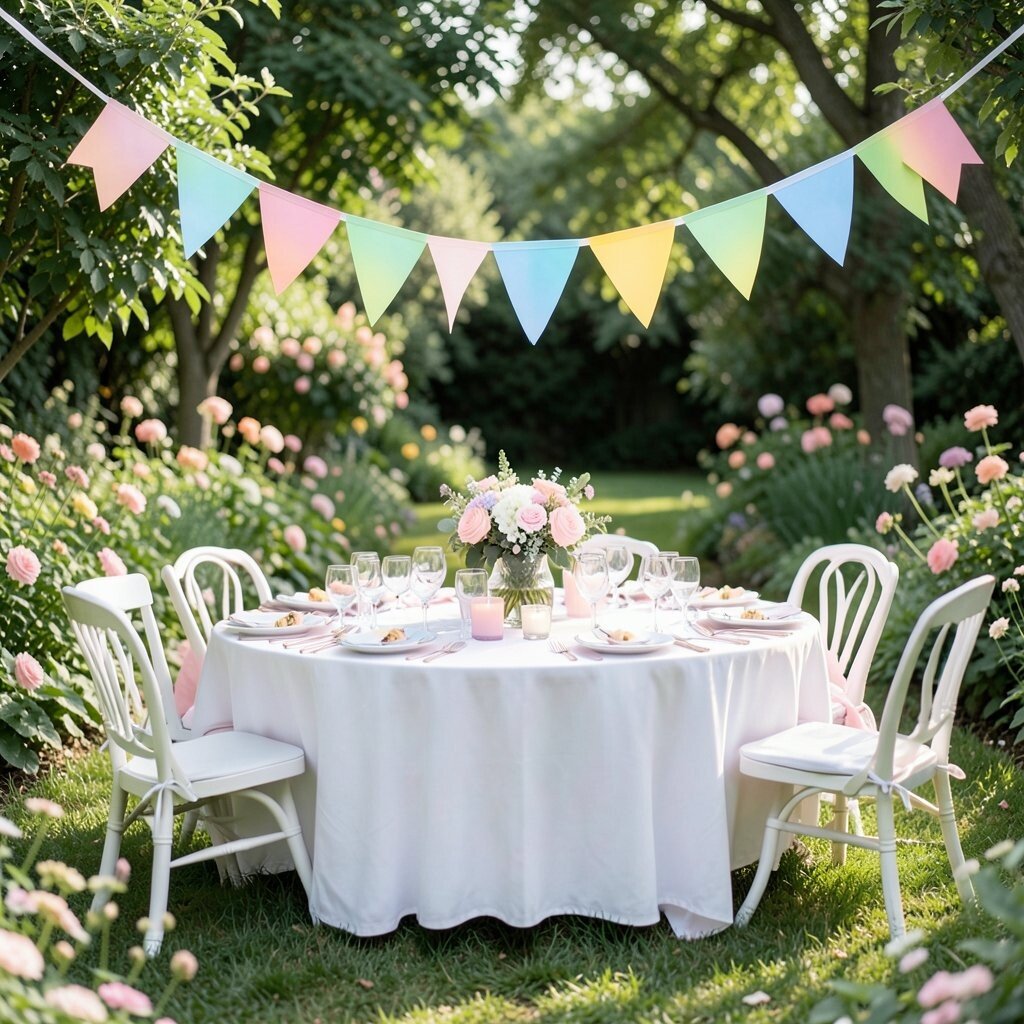
Create an ombre bunting effect that shifts gently from one pastel shade to the next. Think pale peach fading into soft coral, then drifting into strawberry pink, before landing in lilac.
This subtle gradient flatters photos because it gives the eye an easy path across the yard. To make setup quick, arrange the triangles on the ground in order first, then string them onto the line without second-guessing.
Personalize it by aligning the ombre with your party theme, like matching spring blossoms or a favorite sweater color. Costs can be kept low by cutting triangles from colored craft paper and using one inexpensive spool of twine.
7. Monochrome Pastel Lattice Look

Choose one pastel color family and vary the lightness for a lattice-like effect. Instead of many different hues, you get a calm, uniform glow that feels modern and sweet.
Hang two bunting lines crossing lightly, or run one line slightly higher than the other. This creates a patterned grid that looks neat even from far away, and it’s a great choice when your table decor is already colorful.
For a practical setup, use lightweight string and short clips so you can adjust height quickly. If you want extra style without extra cost, add one thin metallic ribbon strand between lines for a gentle shimmer.
Make it yours by tying the top edges to a canopy or trellis and letting the rest of the yard remain simple. Guests will still notice the bunting because the texture and layering do the talking.
8. Balloon-and-Bunting Float Zone

Pair pastel bunting with clusters of helium balloons or tethered balloons on low stakes. The combination makes a “float zone” where people naturally gather for pictures, snacks, and happy conversation.
Keep the balloon sizes mixed so the flags don’t look crowded, and anchor everything firmly in the ground. Use ribbons that match your bunting colors to tie the look together and reduce visual clutter.
9. Tabletop Banner for Dessert Rows

Turn bunting into a tabletop banner by hanging it between stands, chairs, or two small poles behind the dessert table. It frames cakes and cupcakes like a soft stage backdrop, and it also helps guests find the food quickly.
Use shorter triangles so they don’t sag onto plates, and secure the banner with clothespins for easy removal. This keeps the setup tidy and makes cleanup faster than traditional long garlands.
For personalization, add a few tiny labels using blank sticker dots, such as names of treats or “tea and treats” notes. If you’re watching your budget, cut your own triangles from leftover wrapping paper and attach them to fishing line for a clear, light look.
To match current trends, keep the dessert area minimal and let the bunting be the main visual. A simple color palette also makes the photos look crisp and dreamy.
10. Border Along the Fence with Mixed Length Flags
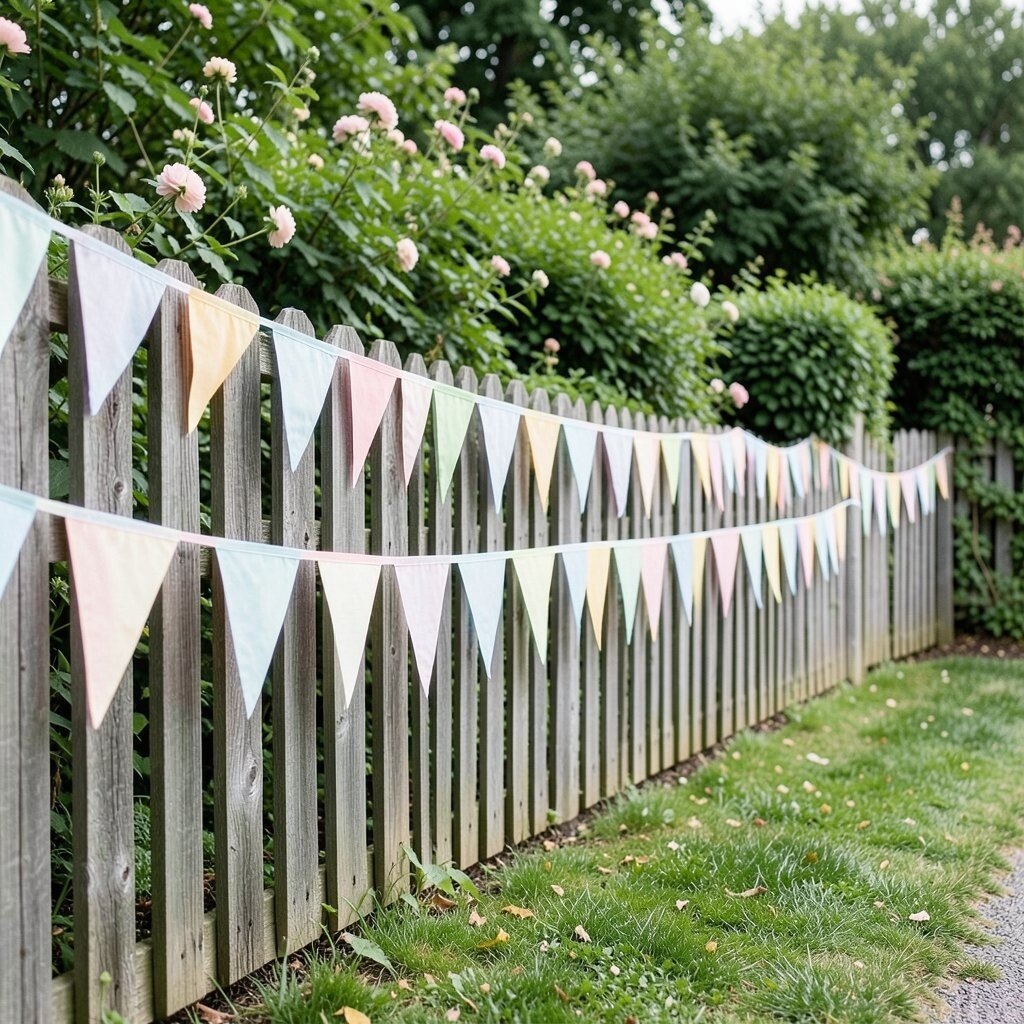
Wrap bunting around the fence line, but vary the flag lengths for a playful uneven rhythm. Some triangles can be short and cute, while others are a bit longer, creating a handcrafted feel.
This approach looks unique because it avoids a perfectly uniform “store-bought” vibe. Start by measuring the fence sections and plan where you’ll place longer flags so the pattern repeats smoothly.
11. Pastel Twig Frame Gate
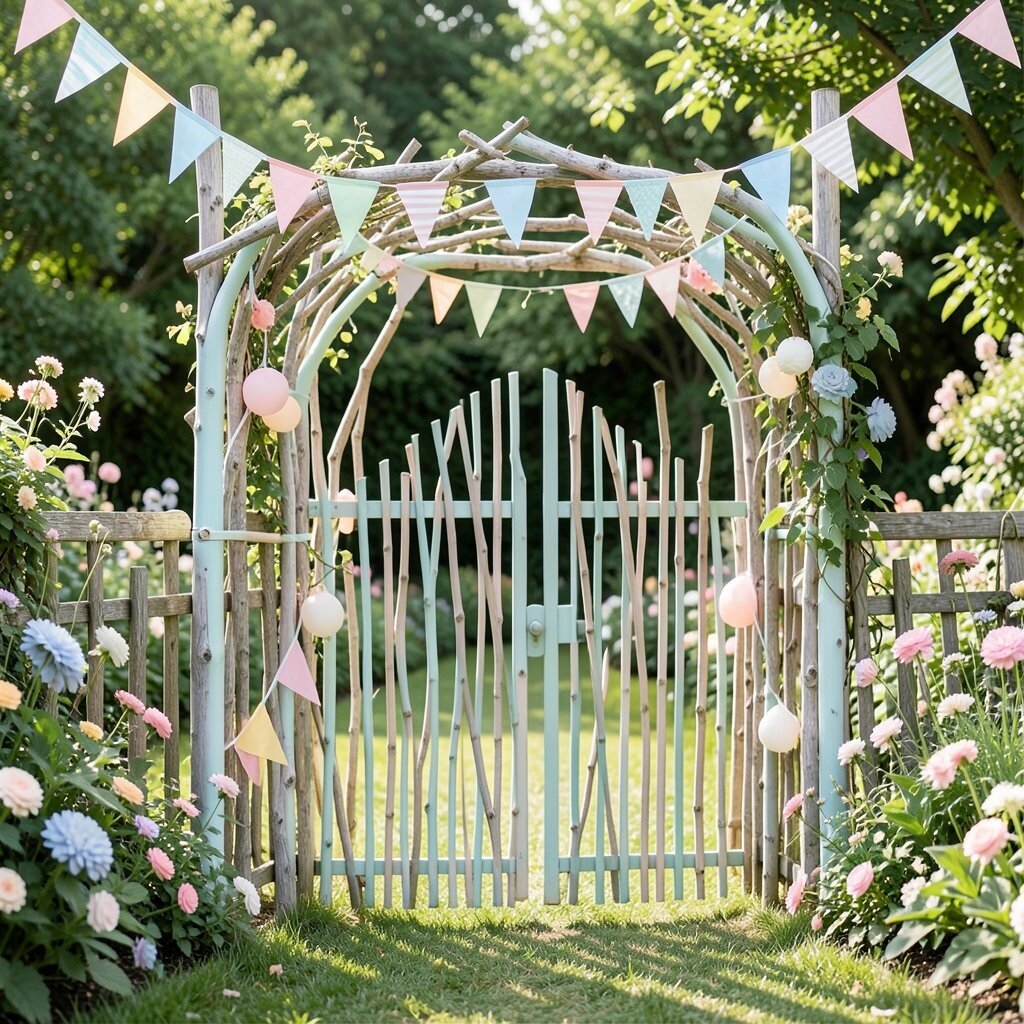
Build a small gate shape using twigs, garden stakes, or a simple trellis frame, then hang bunting like it’s welcoming guests through a portal. The scene feels whimsical and special, especially when the gate stands near your entry or photo spot.
Wrap the frame with light-colored ribbon and attach bunting with ties so it can be taken down easily. This is practical because you can reuse the frame for future parties.
For uniqueness, add one seasonal accent like a tiny berry sprig or a felt butterfly among the flags. To keep costs down, gather fallen twigs, use twine for structure, and buy only the pastel bunting material.
12. Candle-Lit Evening Glow Line
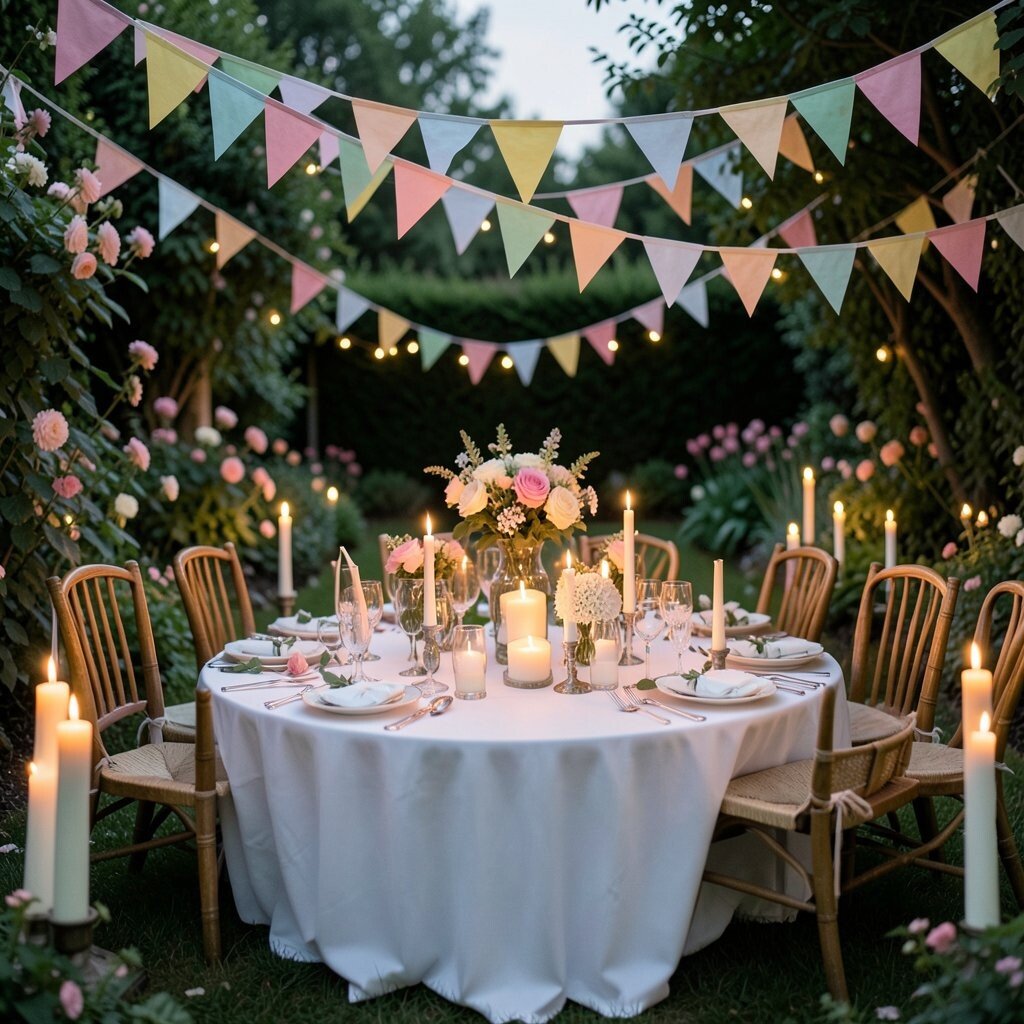
Hang pastel bunting slightly higher and pair it with warm string lights or battery candles nearby. The flags catch the light and look soft and glowing, which makes the evening feel cozy instead of plain.
Use warm white lights so they blend with pastel colors rather than turning them blue. Secure everything with gentle clips and avoid placing lights where they can tangle in wind.
Personalize the vibe by choosing a single accent shade for the bunting line closest to the lights. That makes the focal point stronger without adding more items.
13. Picnic Blanket Centerline

Create bunting that runs along the edge of a picnic blanket, like a border for a sweet outdoor table moment. When guests sit, the bunting frames their view and makes the space feel like a planned picnic nook.
Use thin twine and attach triangles with small clothespins so the banner can flex with the ground. This helps when grass is uneven, and it keeps the display from looking crooked.
If you want a budget-friendly twist, use pre-made pastel cupcake liners folded into small shapes, then string them as mini flags. The uniqueness comes from texture, not just color.
Match the bunting to napkins and cups so the whole picnic looks like one coordinated idea. This simple color connection makes everything feel intentional.
14. Paper Starburst Bunting Combo

Mix pastel bunting triangles with paper starbursts or folded paper rosettes. The flags become a lively pattern, and the extra shapes add texture that feels artsy without being complicated.
Attach starbursts at intervals, like every few flags, so the eye gets variety without feeling overwhelmed. For practical hanging, use lightweight string and keep heavy rosettes spaced so they don’t pull the line down.
15. Hanging Clip Garland from Chair Backs
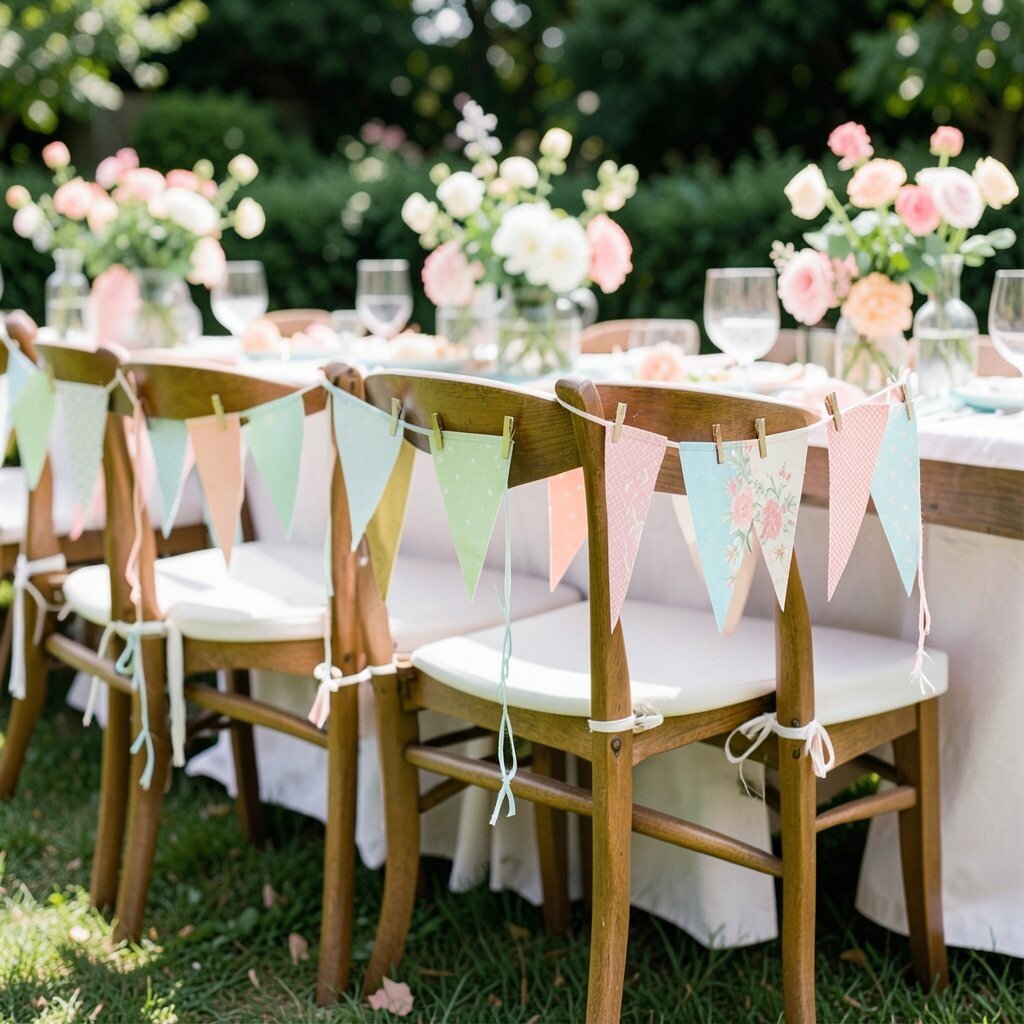
Use bunting as a hanging clip garland that drapes from chair backs around a seating circle. It creates a wraparound effect and makes the group feel like it’s sitting inside a gentle pastel frame.
Choose clothespins or binder clips because they’re quick to open and close. This helps you adjust placement as guests arrive, and it prevents the garland from sliding.
Personalize by weaving in small ribbon bows tied to the clip handles, or by swapping one triangle color to match a guest-of-honor accessory. For cost considerations, craft paper triangles and reusable clips are far cheaper than specialty decor.
16. Pastel Monogram Banner Moment

Add letters made from cardstock or felt to one section of the bunting line. Even a simple monogram made from thick paper can make the party feel personal and meaningful.
Place the monogram near the main photo spot so it’s the first thing people notice. For practical use, keep letters flat and light so wind doesn’t twist them.
To personalize, use initials, a favorite word, or the child’s age if it’s a birthday. Current trend vibes often lean into soft, customizable details like this, especially when everything else stays simple and airy.
17. Flower Pot Bunting Stack Around Plants
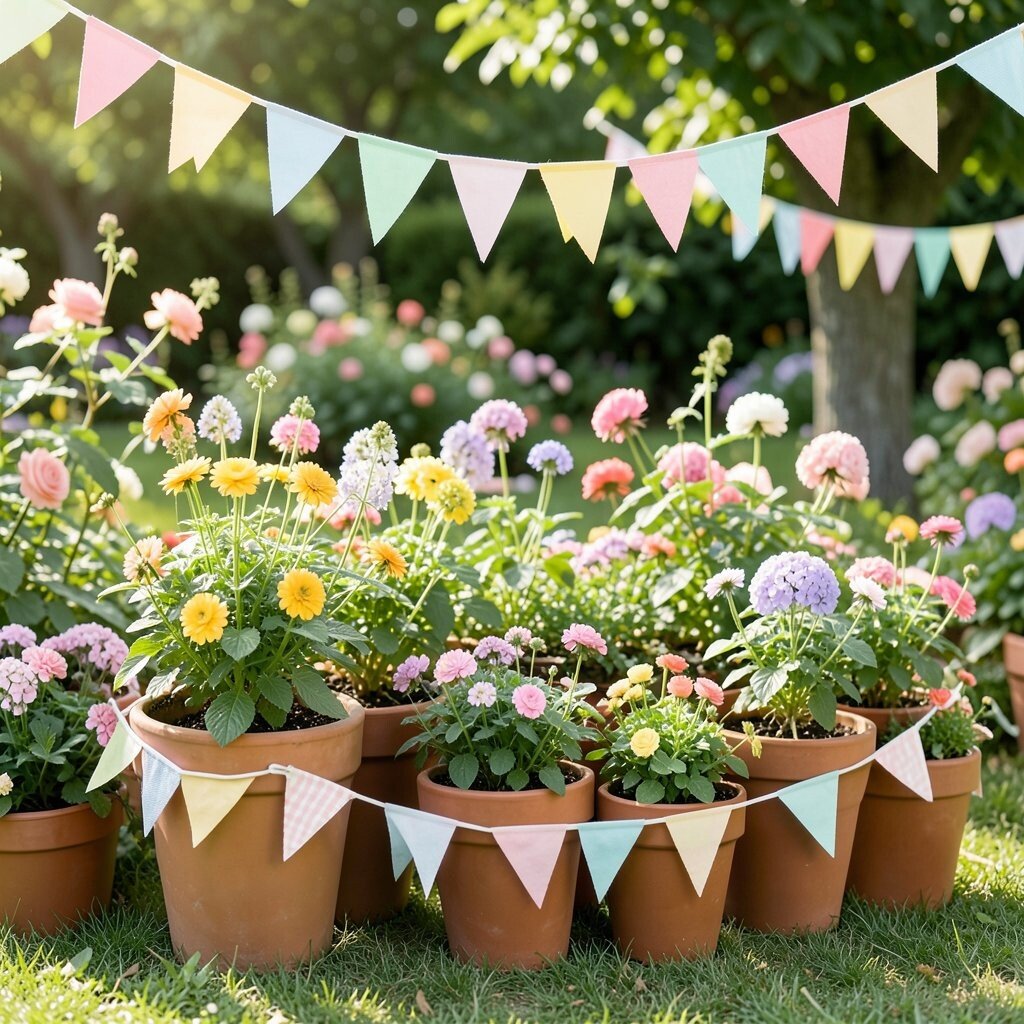
Wrap bunting around flower pots and small planters so the decoration looks rooted in the garden. This gives a “living decor” feel, especially when the bunting matches the bloom colors.
Secure strips loosely with twine, then tuck the knot under leaves so it’s not visible. The benefit is that you get movement from both the breeze and the nearby plants, which makes the whole display look lively.
18. Pastel Striped Lightshade Backdrop

Create a backdrop by hanging bunting behind a screen, trellis, or outdoor curtain. When the bunting is slightly spaced, it reads as soft stripes, and it becomes a dreamy photo background.
For uniqueness, use alternating widths of triangles or add tiny gaps between sections. That spacing can create a “lightshade” look, where the yard behind the banner subtly shows through.
Keep it practical by using a sturdy line and quick knots so you can remove it after the party without tangling. For costs, use a mix of store-bought pastel bunting and homemade pieces so it looks full without buying everything new.
Personalize the palette by echoing the colors in your flowers or table centerpiece. This makes the whole party feel like it belongs in your specific garden, not someone else’s.
19. Rainbow Candy-Stripe but Keep It Pastel
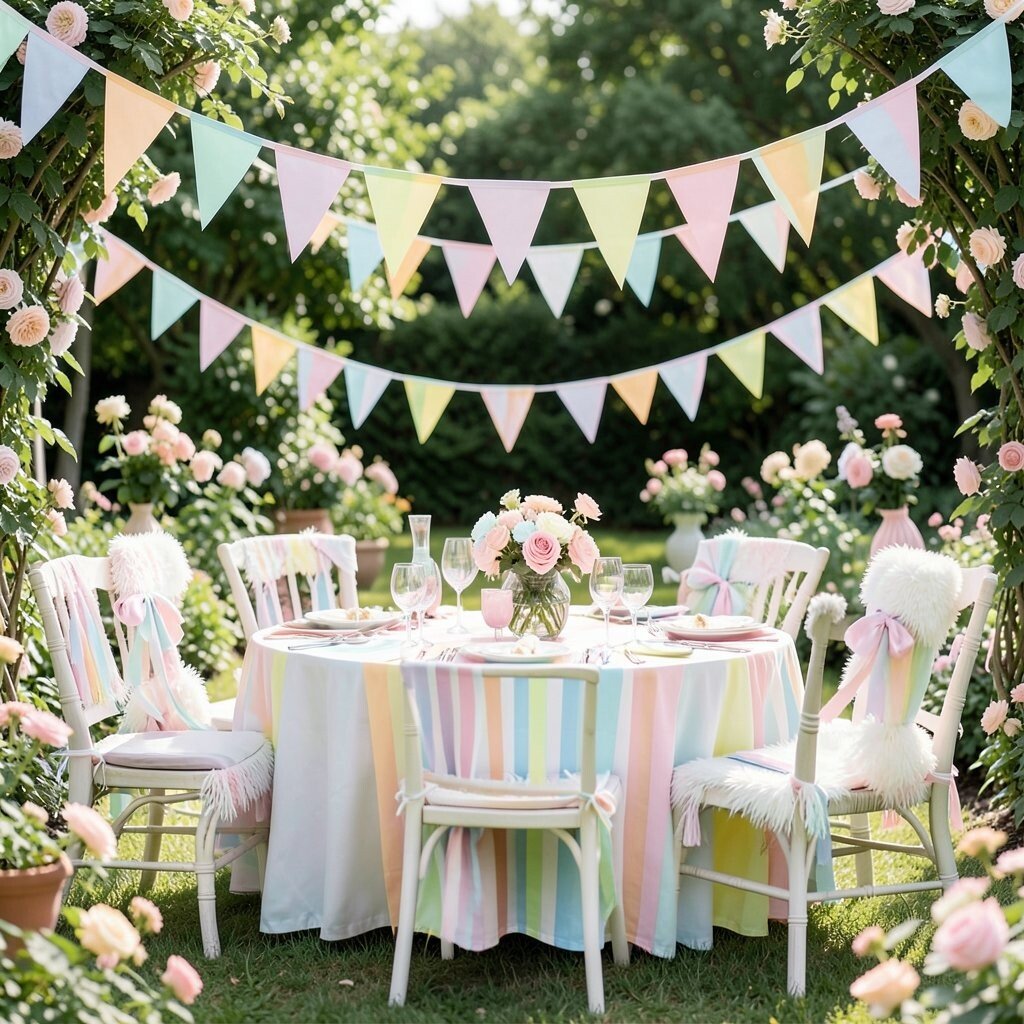
Make candy-stripe bunting by repeating two or three pastel colors in thick, bold bands. The result feels playful like sweets, but gentle enough for a calm garden party.
Keep the pattern consistent across the yard so the style looks intentional, not accidental. If your space is wide, consider starting with a longer line on the main focal side and smaller lines on side areas.
For practical tips, use pre-cut triangles or cut a template for speed and uniformity. Personalize by adding a few extra accents, like pale ribbon streamers or tiny fabric butterflies.
20. Message-Ready Thank-You Pennants

Use bunting that doubles as a message area by leaving space for short thank-you notes on a few pennants. Guests love writing quick notes, and the yard feels warmer when words are part of the decor.
Choose thick cardstock so the notes hold up in outdoor air, and use markers that won’t smear too easily. This is also practical because the message pennants act as a guest activity without needing extra supplies.
For personalization, set a theme such as “thanks for sharing the day” or use small prompts like favorite garden moments. Cost considerations are easy here since paper and markers are usually budget-friendly compared to custom signage.
To stay current, pair the message pennants with minimal, modern table decor and simple floral stems so the handwriting becomes the main charm.
When the party ends, save the notes by placing them in a photo frame or scrapbook page. That small keepsake turns the bunting from decoration into a sweet memory.