Warm bricks can make a home feel steady and calm. Small choices around them can quietly cut waste.
When you treat brick as a building partner, your space can look great and work smarter. The best part is that many ideas fit real budgets and real schedules.
1. Repoint with Lime Mortar for Breathable Walls
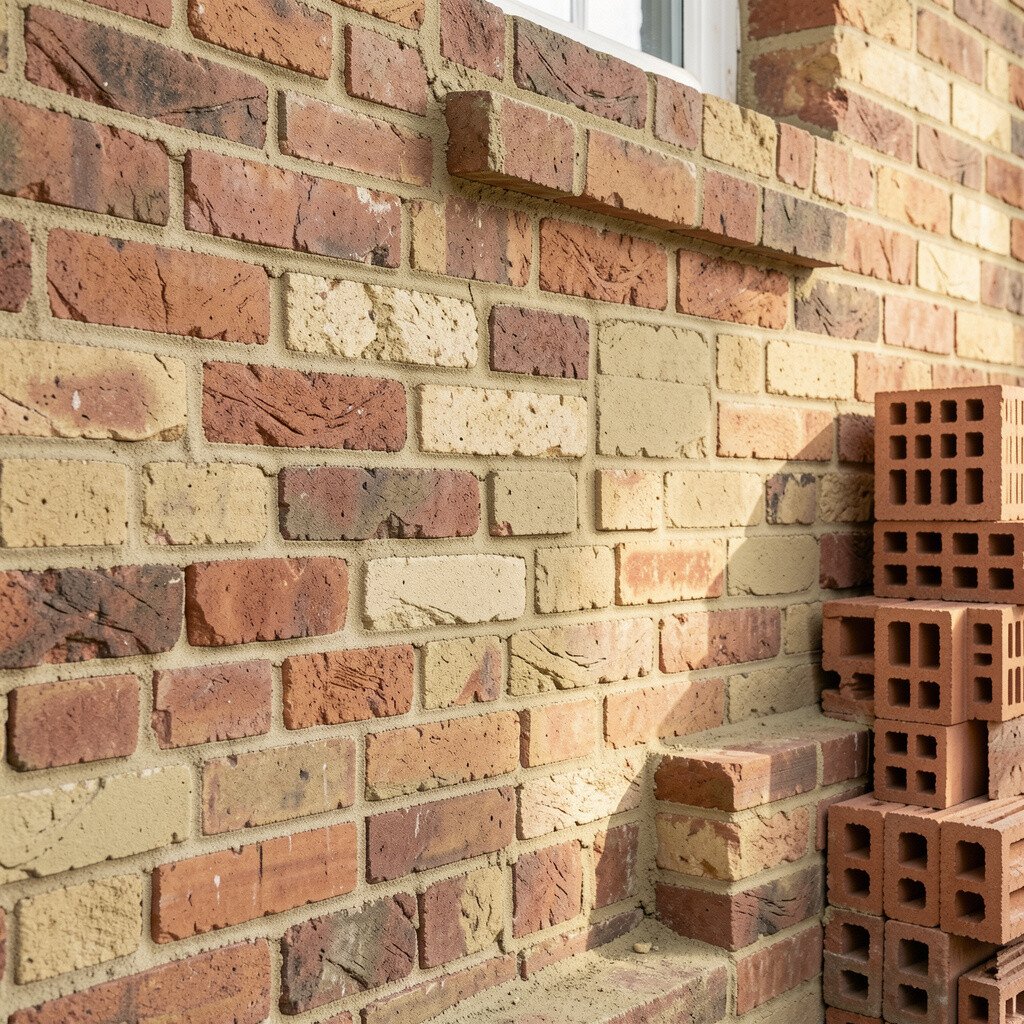
Take a close look at the joints between your bricks and notice where cracks or gaps let in drafts. You can often picture the inside comfort leaking away, like cool air slipping through a seam.
Using lime mortar instead of hard cement helps walls breathe and dry after rain. This can reduce trapped moisture, helping bricks last longer and protecting indoor air quality. For a practical start, match the old mortar color and texture, then clean out loose material gently before you apply the new mix.
2. Choose Salvaged Bricks for True Reuse
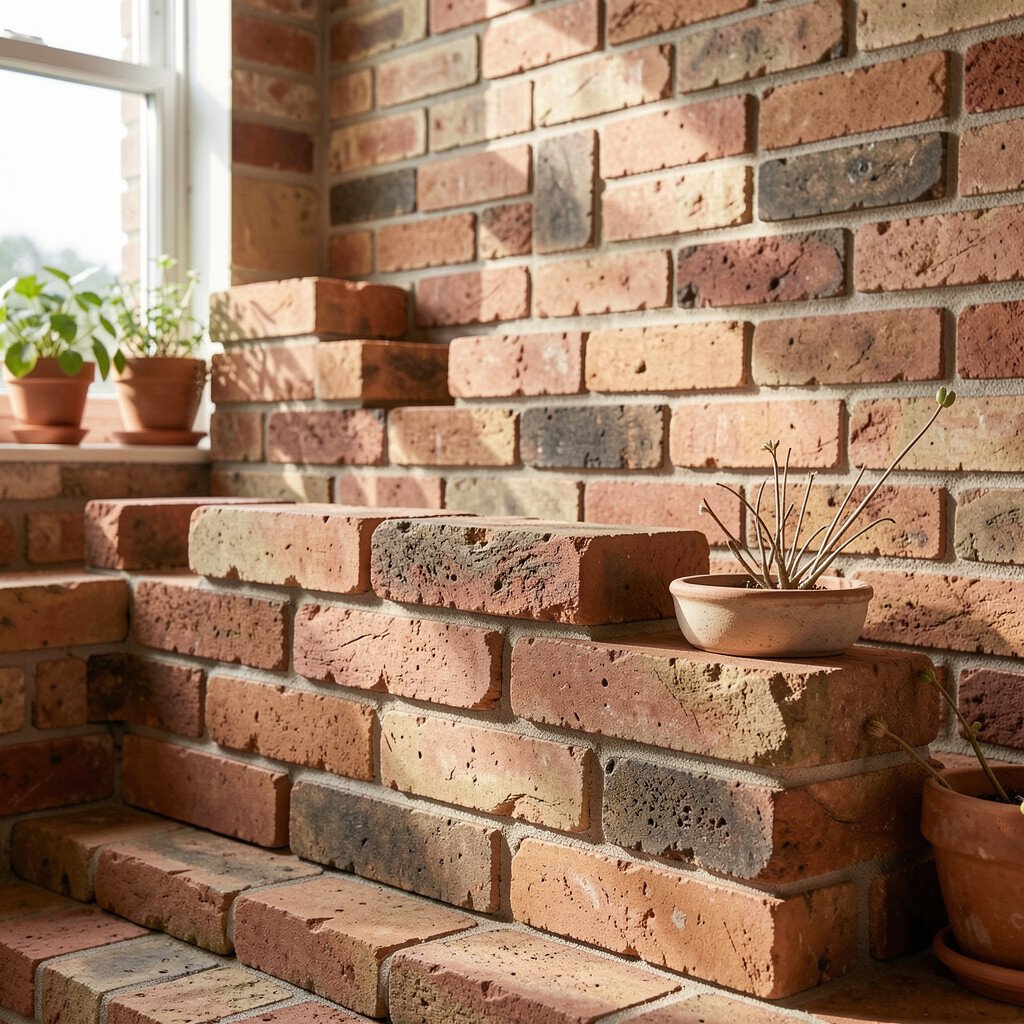
Scavenged bricks carry visible history, with tiny color shifts and soft worn edges that look natural. In daylight, you might see warm russet tones or cool gray shadows that new bricks rarely match.
Reusing bricks keeps demolition material out of landfills and lowers the demand for newly mined clay. For a smart approach, source from local deconstruction sites or brick yards that grade by size. Plan for cleaning and checking for cracks, and use salvaged pieces where appearance matters most.
If your budget is tight, focus on smaller projects like a garden border first. You can also mix salvaged bricks with a few new ones for consistency, which keeps costs predictable.
3. Insulate Behind Brick Using Hygienic, Ventilated Layers
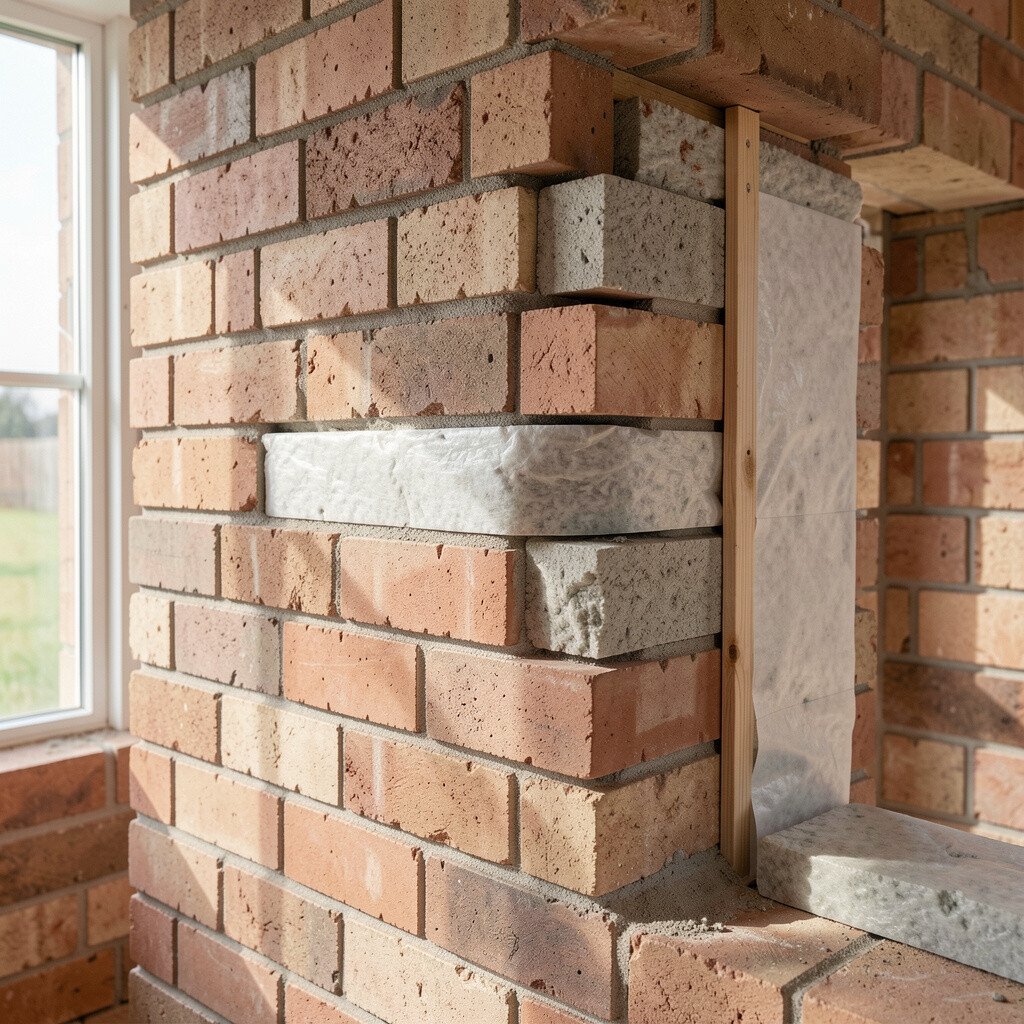
Even if your walls already look solid, you may still feel heat escaping near windows or along edges. Imagine a thin curtain of comfort wrapping the inside while the outside stays protected.
A ventilated, moisture-friendly system can support better insulation performance without trapping water in the wall. You get the cozy feel you want, and you reduce stress on brickwork. Work with a builder who understands wall physics, and consider solutions that allow vapor to move safely.
To personalize the look, you can keep the brick face while upgrading internal layers. Start by measuring common heat-loss spots, then choose insulation materials that suit your climate and wall type.
4. Build a Permeable Brick Patio for Softer Rainwater
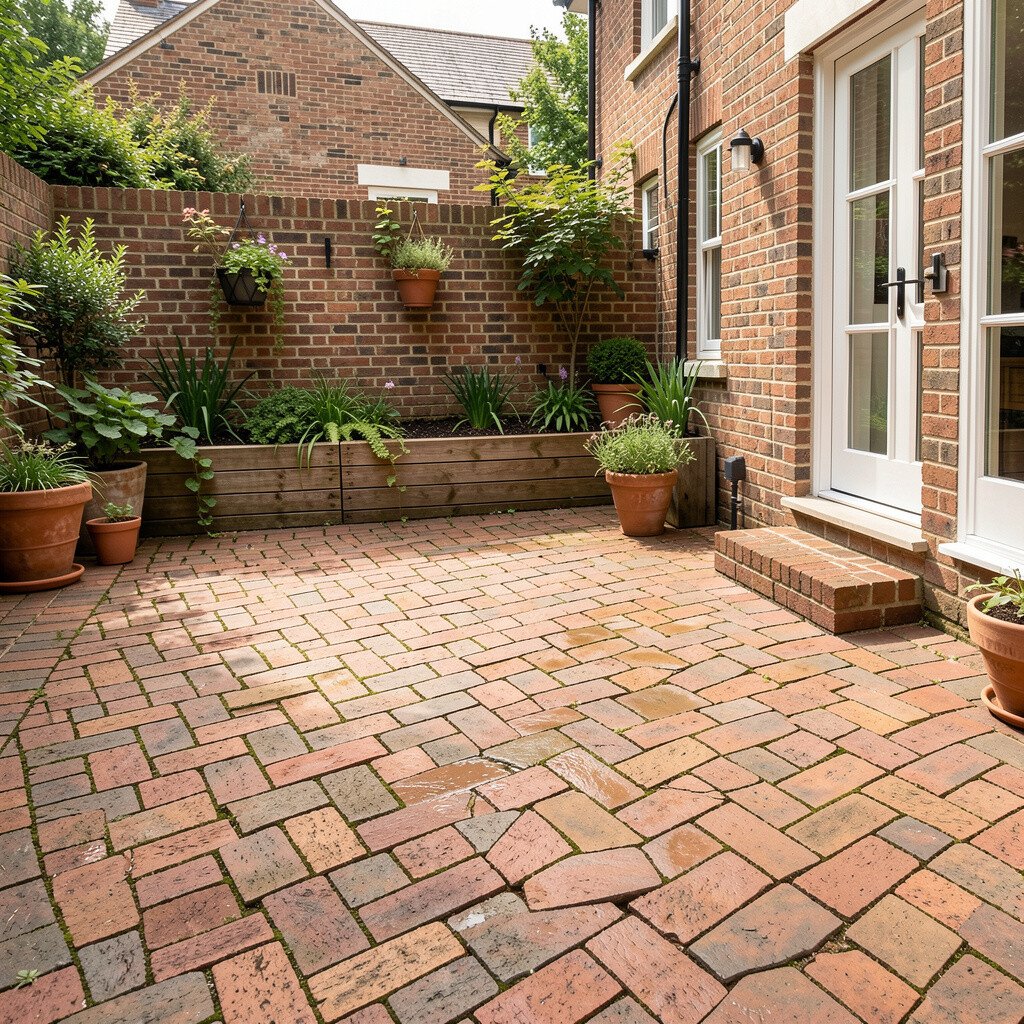
Picture a patio surface that doesn’t fight the rain, but lets water sink slowly into the ground. Between bricks, you can see dark gaps that act like tiny channels after a storm.
Using permeable paving and proper base layers helps reduce runoff and supports healthier soil. It can also limit puddles near doors and lower the load on storm drains. When you design the pattern, keep joints clear of clogging materials and use the right aggregate for your region.
5. Use Brick Thermal Mass with Smart Shading
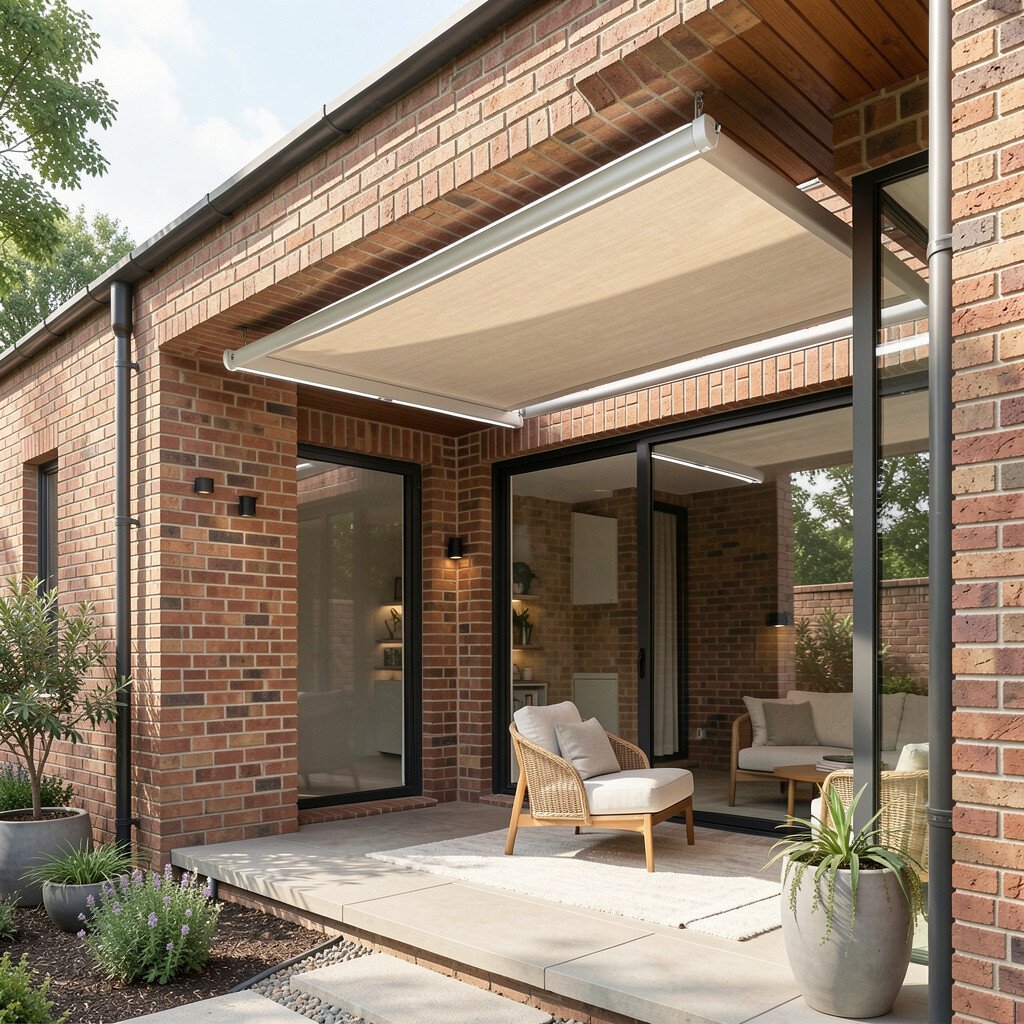
Brick stores warmth, and you can feel its steady rhythm when sunlight hits a wall in the afternoon. A living room with a brick feature can look warm even when the air is cool.
Thermal mass can help smooth indoor temperature swings, but it works best with good shading. Add awnings, blinds, or exterior screens so summer sun doesn’t overheat your space. Try planting deciduous vines or placing shutters where they block high-angle sun while letting winter light in.
For personalization, choose where light falls by testing in the morning and evening. Even small changes to window coverings can shift comfort a lot without spending heavily.
6. Create Planters with Raised Brick Beds and Soil-Saving Methods
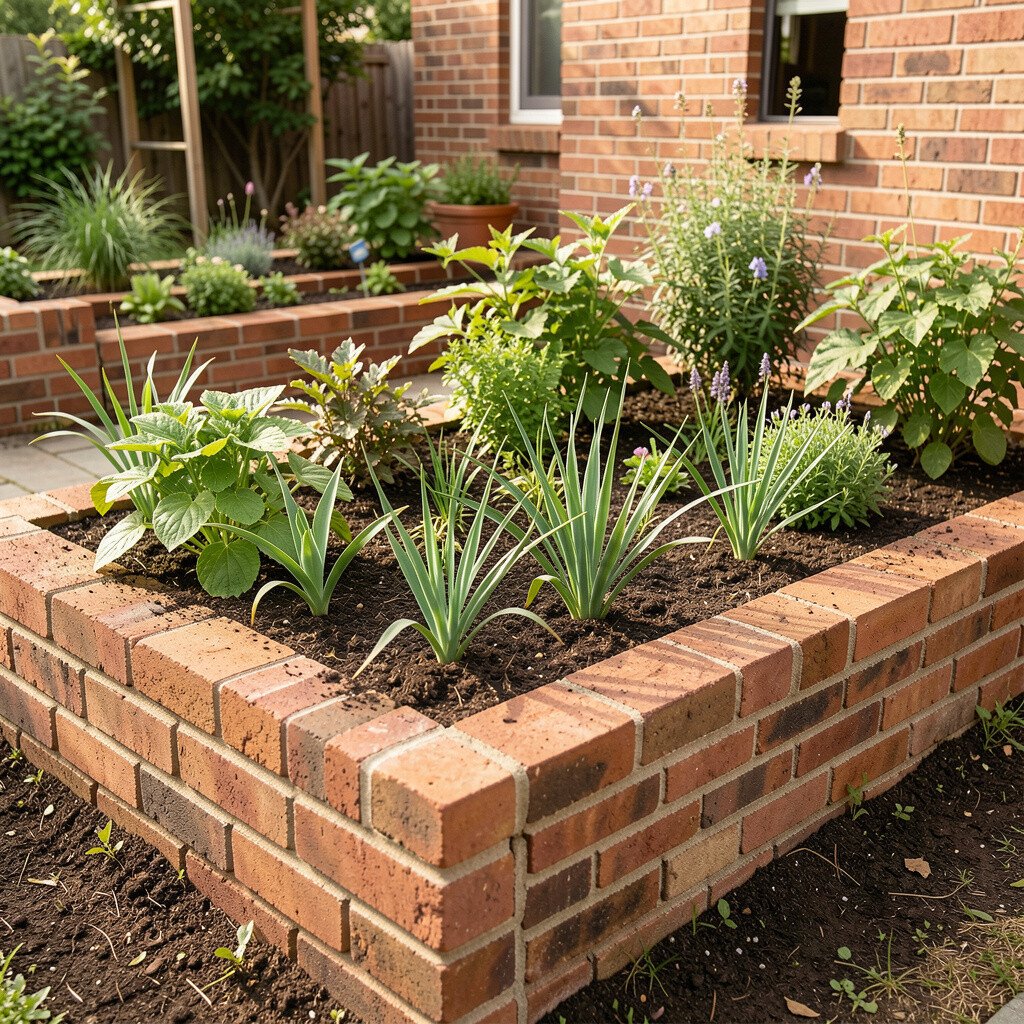
Raised beds made with brick look crisp and structured, like they’re framing your garden with intention. When herbs spill over the edge, the bricks provide a warm backdrop that feels inviting.
They warm up faster in spring and give you better control over soil, which can reduce fertilizer waste. To keep it practical, line the base with breathable material and add compost gradually over time. You can also use drip irrigation with a timer to cut water use.
For cost considerations, build in stages by starting with one compact bed. Choose durable bricks and reinforce corners so the structure lasts for years, even in changing weather.
7. Add a Brick Rain Garden Border to Capture Water
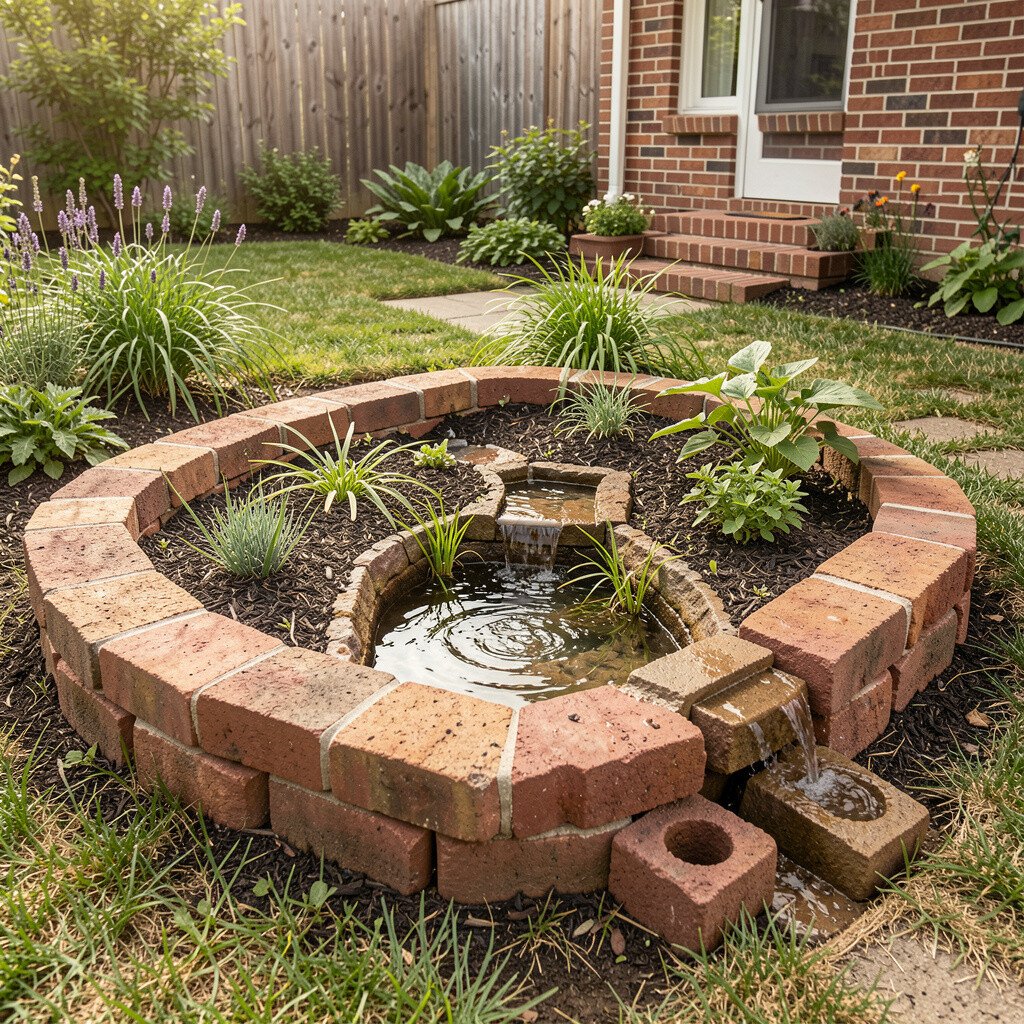
Imagine rainwater spreading gently instead of rushing toward sidewalks and gutters. A brick-bordered rain garden can look like a neat landscape frame filled with grasses and flowers.
This setup helps manage stormwater, supports local pollinators, and reduces erosion from heavy downpours. Use a sloped layout so water flows where you want it, then layer gravel and compost for drainage. After planting, mulch lightly to prevent soil from washing out during the first seasons.
To personalize, match brick color to your house and choose native plants that fit your sun level. You can also add a small path of stepping stones so maintenance stays easy and comfortable.
8. Seal Brick Surfaces Only When Needed and Use Breathable Products
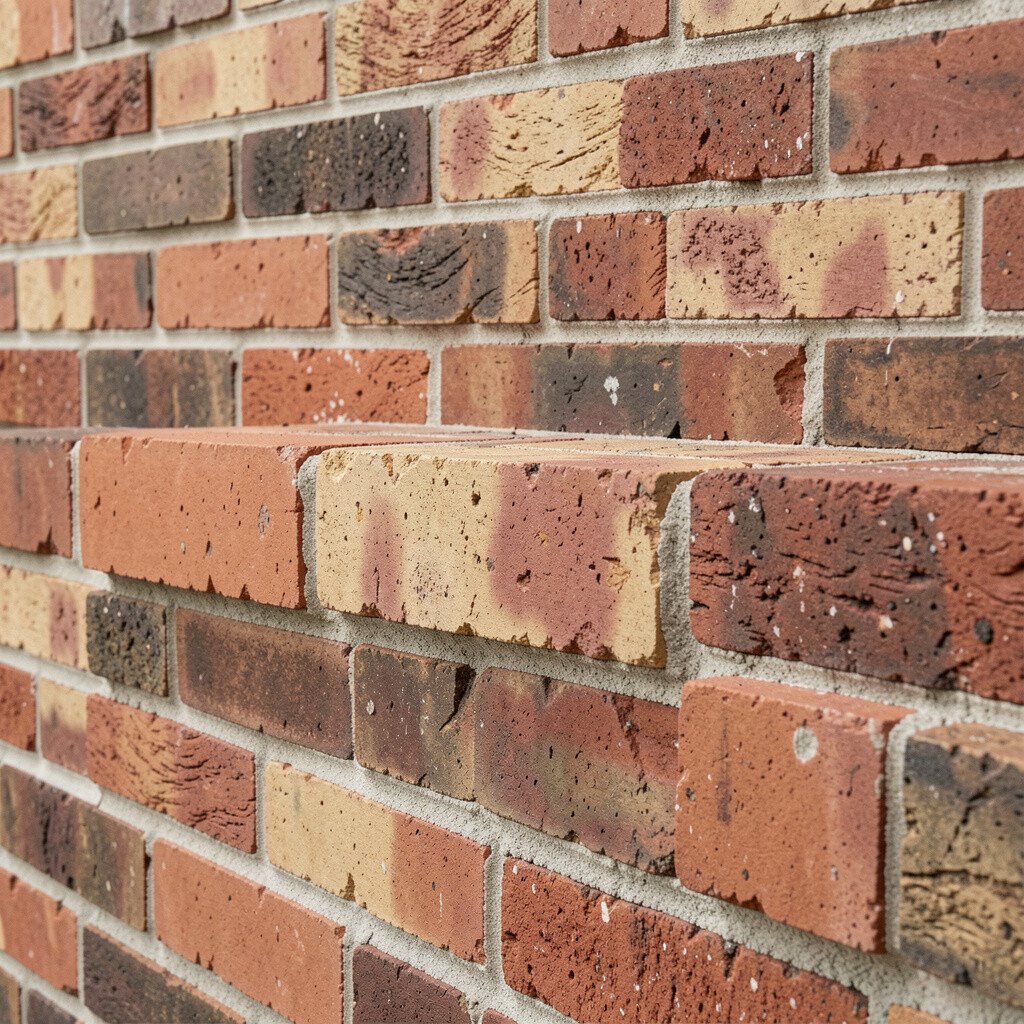
Some bricks look like they glow after careful cleaning, while others need extra protection near splashing areas. You’ll often notice dark streaks where water repeatedly hits.
Sealing can reduce staining and moisture intrusion, but over-sealing can trap water and harm older masonry. Choose a breathable, water-repellent sealer designed for masonry, and test it on a small hidden section first. Apply in dry weather and keep track of results so you can adjust later.
9. Wrap Fireplaces or Heaters with Efficient Brick Backing
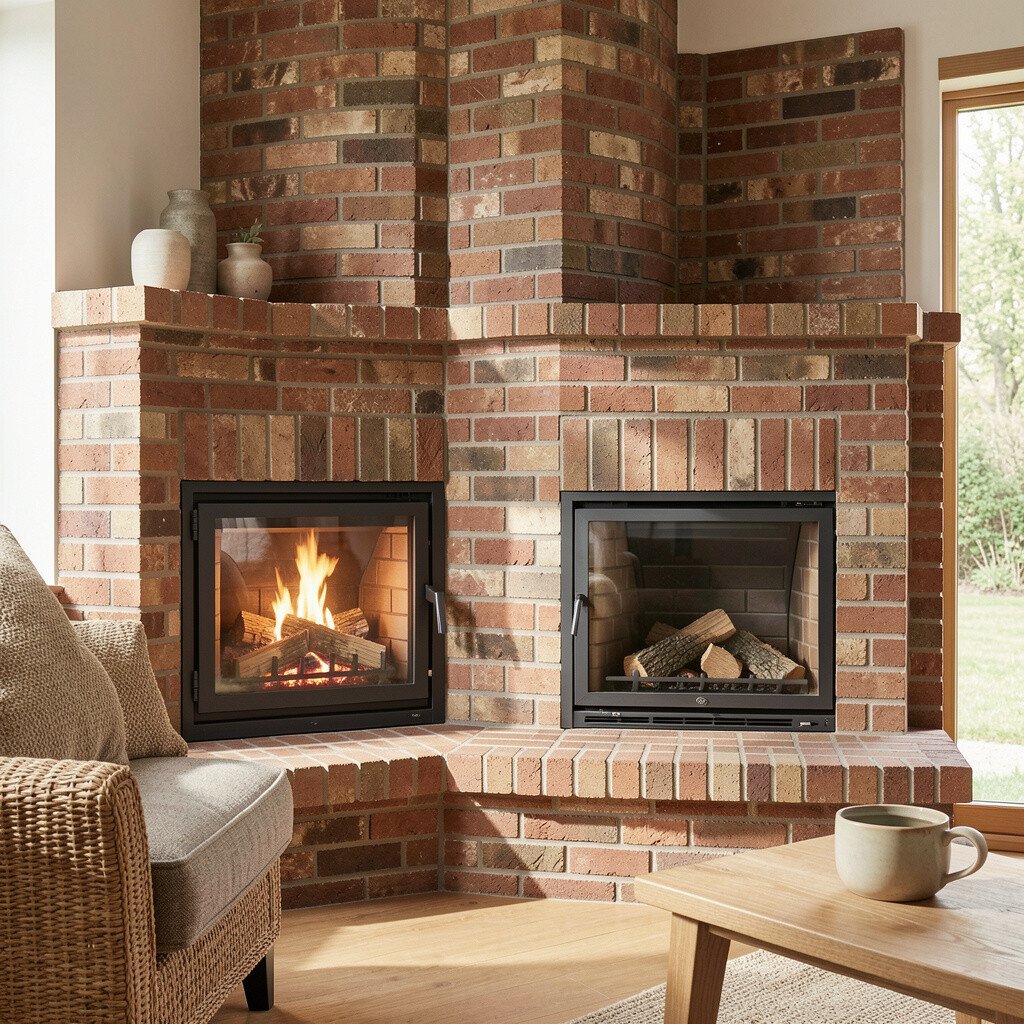
A fireplace can be both cozy and practical when it’s built to use heat wisely. With the right brick arrangement, you can feel warmth stay in the room longer.
Brick backing can improve heat distribution and reduce the need to run heating systems at high power. If you’re renovating, pay attention to safe clearances, insulation behind the firebox, and proper ventilation. Keep surfaces clean and check performance by comparing room comfort before and after changes.
10. Reuse Brick for Outdoor Steps and Entry Walkways
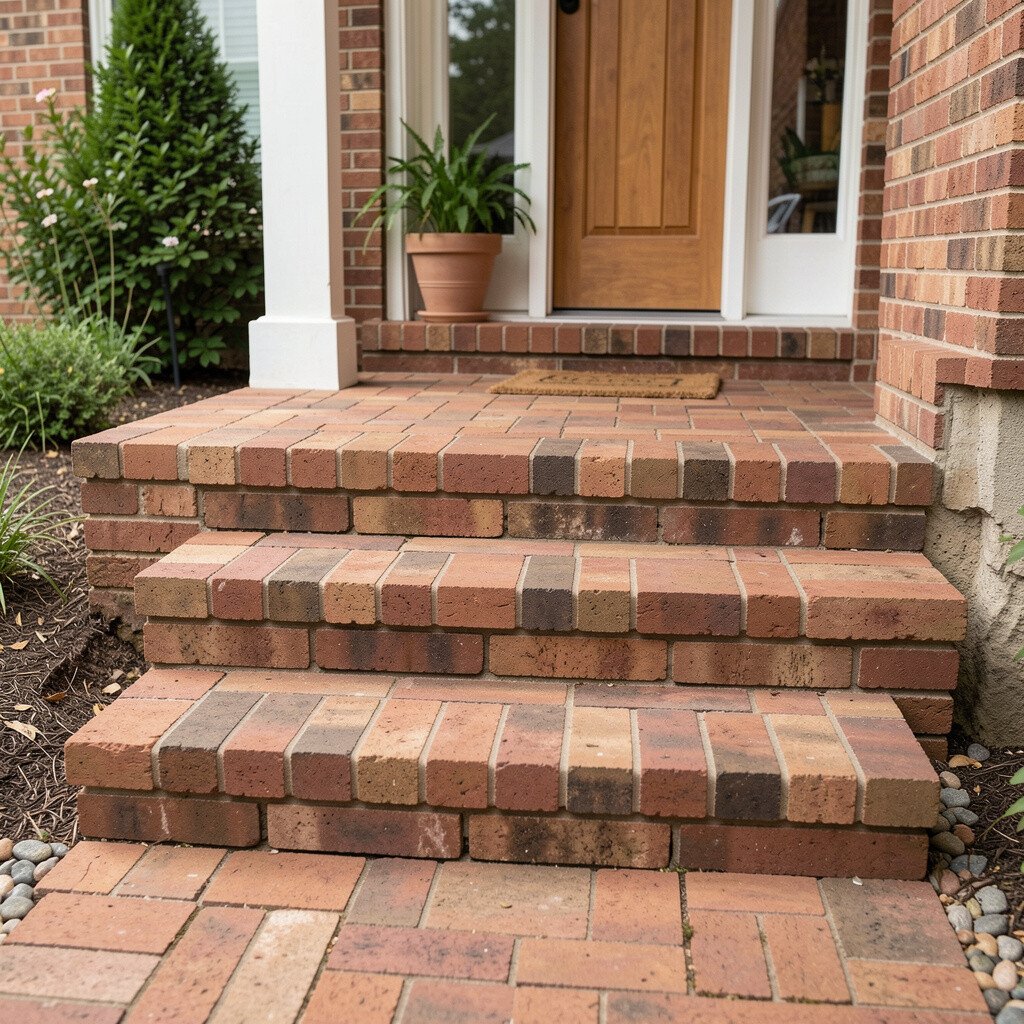
Walkways made from brick tend to look grounded and friendly, especially when set in patterns that guide your feet. You may notice how different brick colors create a gentle, natural rhythm.
Choosing brick for outdoor paths can extend the life of your landscaping since bricks resist cracking better than many poured surfaces. It also supports water infiltration when you use the right base and joint materials. For personalization, create a simple border pattern around the edge and keep the center easy to clean.
To manage cost, prioritize the most visible section first, like the entry stretch. You can also blend reclaimed bricks with new ones for a planned, balanced look that doesn’t break your budget.
11. Make a Brick Compost Enclosure for Neat, Odor-Smart Storage
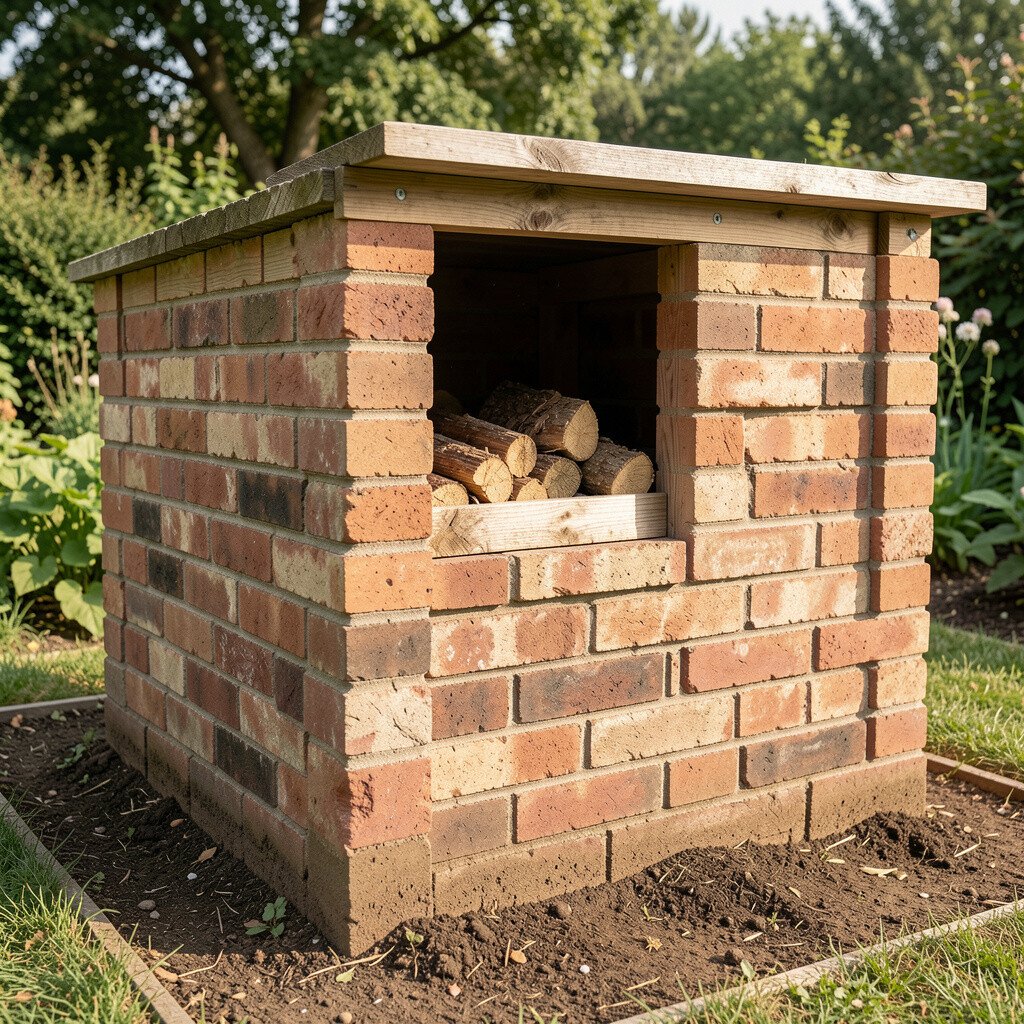
Compost bins can look cluttered, but brick walls can make them feel like part of the yard design. A tidy enclosure can help you forget about the mess and focus on the garden.
Keeping compost contained supports faster decomposition and reduces odors that might travel on breezy days. Brick also protects from wind and helps maintain steady moisture levels in your compost pile. Start with a well-draining base and include easy access for turning, then size the enclosure based on how much kitchen waste you generate.
For personalization, leave one side with a removable panel or built-in opening. This makes it simpler to add greens and browns, while still keeping the overall look polished.
12. Add Brick-To-Brick Window Sills with Efficient Caulking
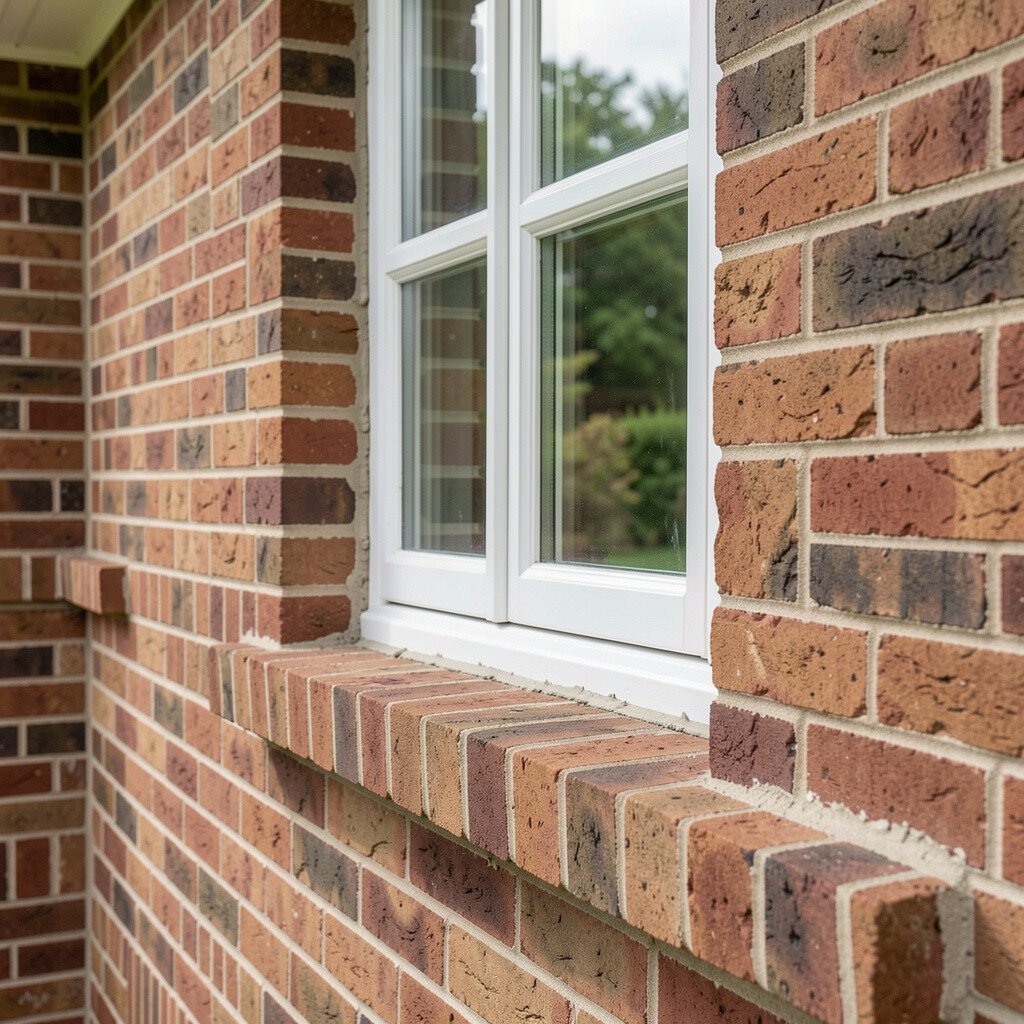
Window edges often hold the smallest gaps that cause the biggest drafts, and you can see those spots when light slips through. Clean brick sills with careful sealing can look sharp and feel calm to live with.
Improving the seal around brickwork can reduce air leaks, which lowers energy use and helps indoor temperatures stay stable. Use the right caulk for masonry and apply it after cleaning and drying the surface thoroughly. If you feel drafts, focus on the joint lines first, because that’s where savings often start.
13. Choose Low-Impact Brick Layouts with Less Cutting Waste
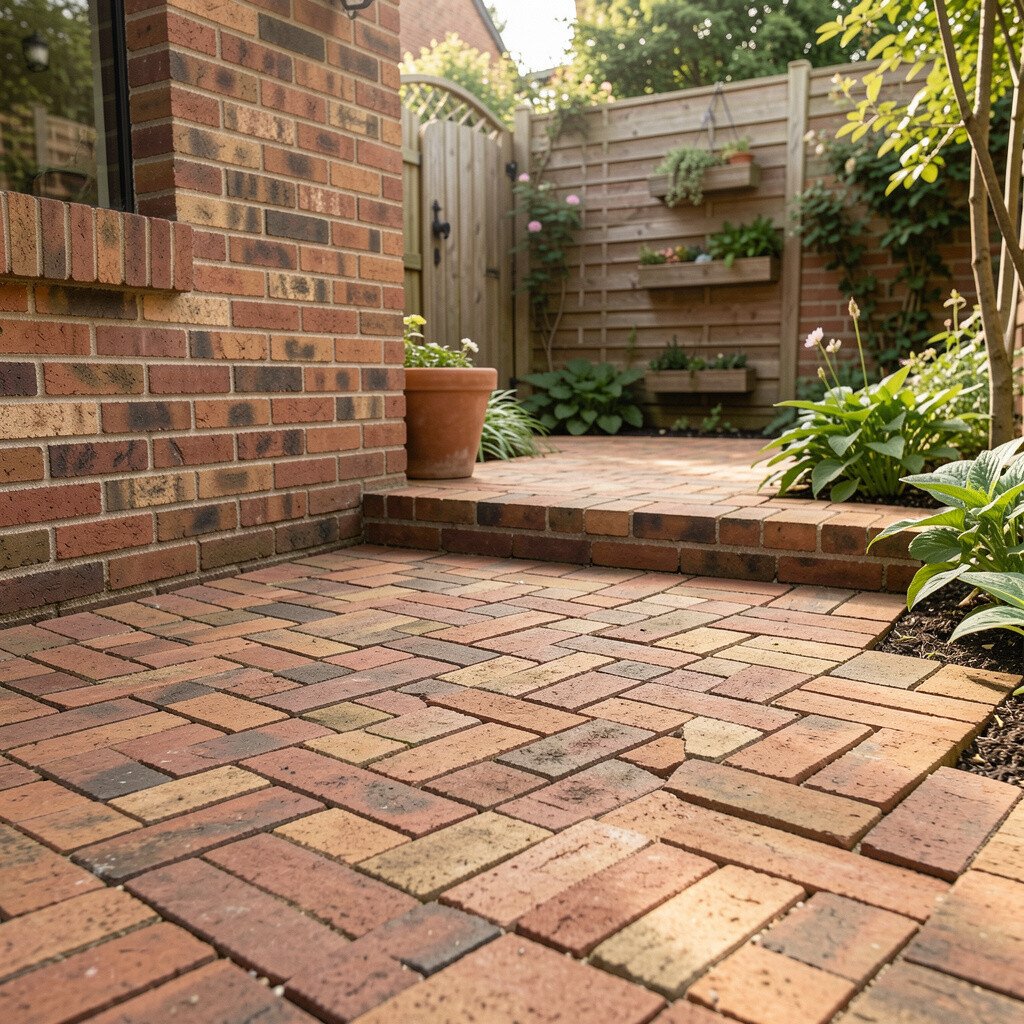
A well-planned brick pattern can make a surface look custom without sending lots of pieces to the scrap pile. When the layout fits naturally, you can see the design align like a tidy puzzle.
Designing for minimal cutting reduces material waste and lowers the need for extra purchases. Use a grid-based planning method so your seams land neatly around doorways and edges. It also helps with labor speed, since fewer adjustments mean fewer mistakes.
For personalization, pick a pattern that hides tiny size differences, like running bond or a simple herringbone arrangement. This lets reclaimed bricks work beautifully instead of feeling mismatched.
14. Build a Brick Wall That Supports Climbing Plants
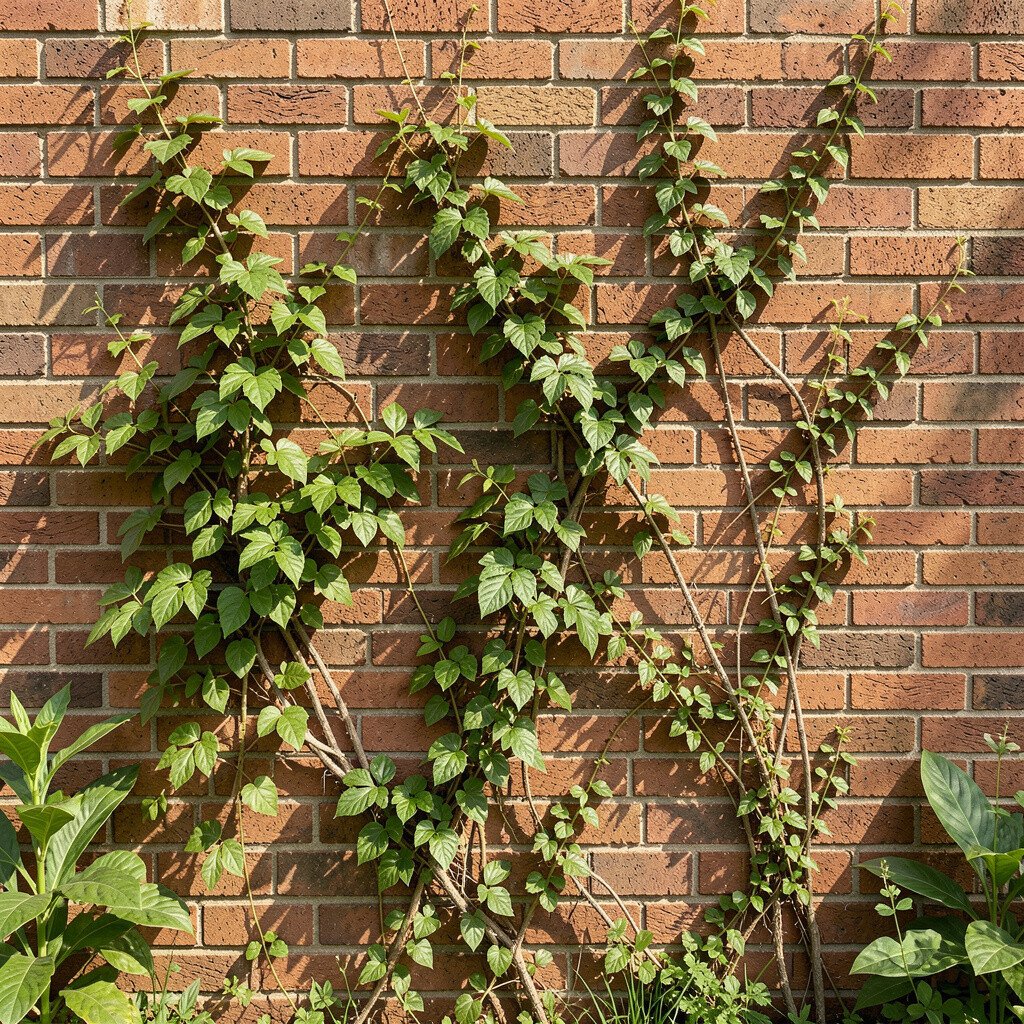
Brick walls look even better when they’re wrapped in greenery, and the texture makes leaves feel extra lush. You might imagine morning shade cooling the area while flowers add color across the season.
Climbing plants can provide natural shading, reduce heat gain, and soften harsh lines around a yard. Select varieties that match your light and climate, and use support wires so plants don’t stress mortar joints. Keep an eye on growth so roots stay in healthy boundaries.
To keep maintenance friendly, choose plants that don’t tangle constantly and prune on a regular schedule. This way you get the visual payoff without turning care into a full-time job.
15. Use Brick in Raised Niches for Solar Light and Seasonal Decor
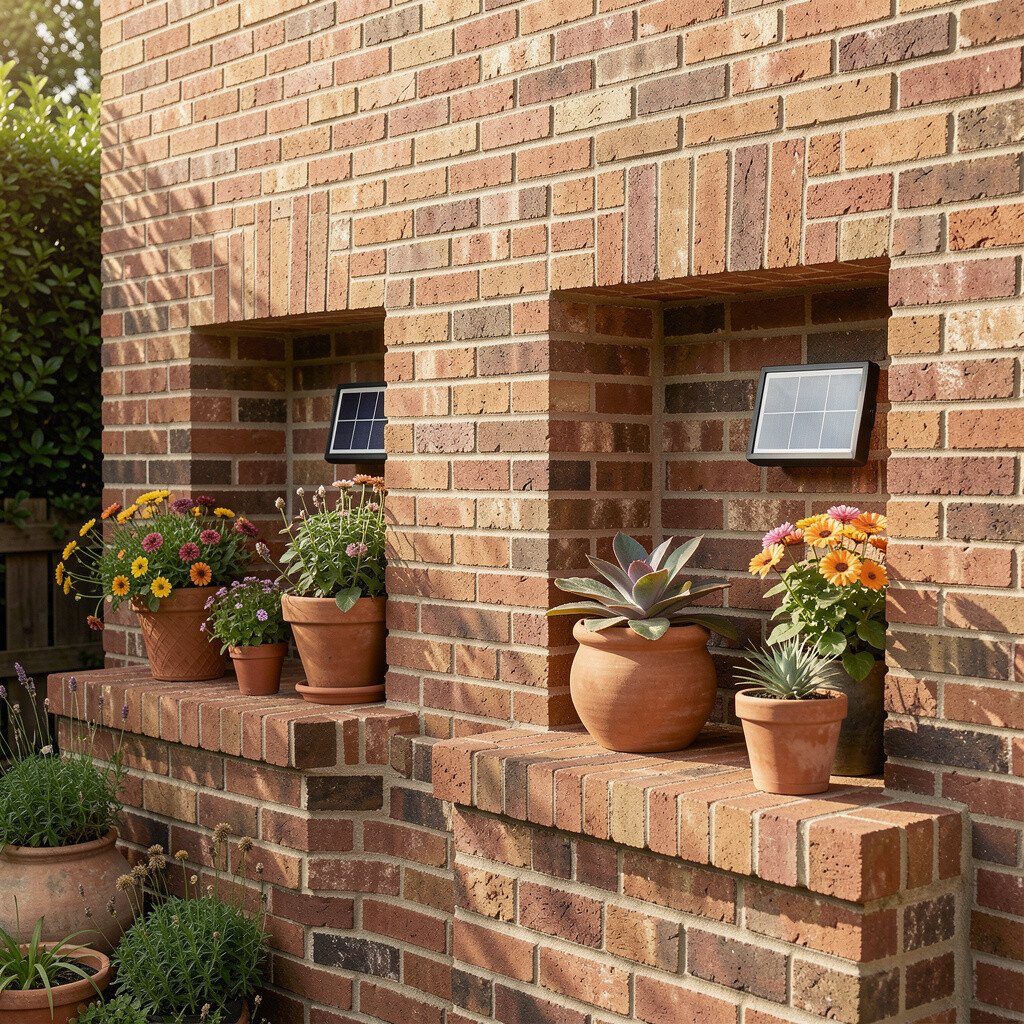
Consider small brick niches along a walkway where solar lights and seasonal decor can sit safely. The recesses look intentional, like mini showcases for your favorite items.
Solar-powered lights reduce grid electricity use and can help you see pathways at night with less environmental impact. If you embed the niches at the right height, you prevent light fixtures from getting damaged by foot traffic. For practical setup, place them where they get steady sun during the day.
Personalize by painting a few inner faces with heat-safe, breathable materials or choosing brick tones that match your garden palette. As trends shift toward low-energy outdoor lighting, this kind of subtle, functional design feels especially current.
16. Make a Brick Bench with Reclaimed or Locally Sourced Materials
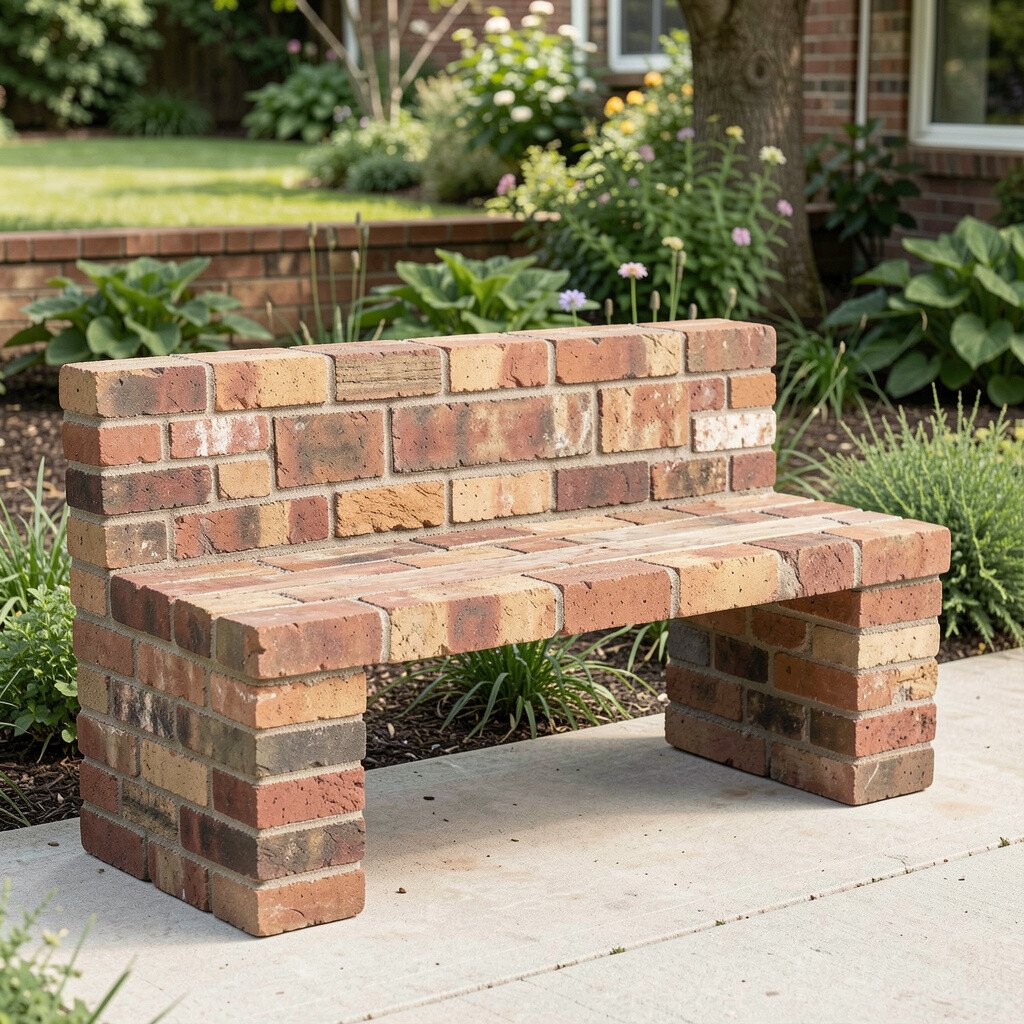
A brick bench feels sturdy, and it can look like it belongs in the landscape from day one. When you add a wooden seat cushion, the whole piece becomes both durable and cozy.
Using reclaimed bricks cuts demand for new materials and can lower embodied carbon compared to fresh production. To keep it comfortable, plan for a slight design that avoids water pooling and add weatherproof cushions. Measure carefully so the bench height suits everyday sitting and doesn’t crowd the walkway.
For cost considerations, you can build a shorter bench first, then expand later. This staged approach lets you spread spending while still enjoying results quickly.
17. Create a Brick Storage Wall That Reduces Wasteful Replacements
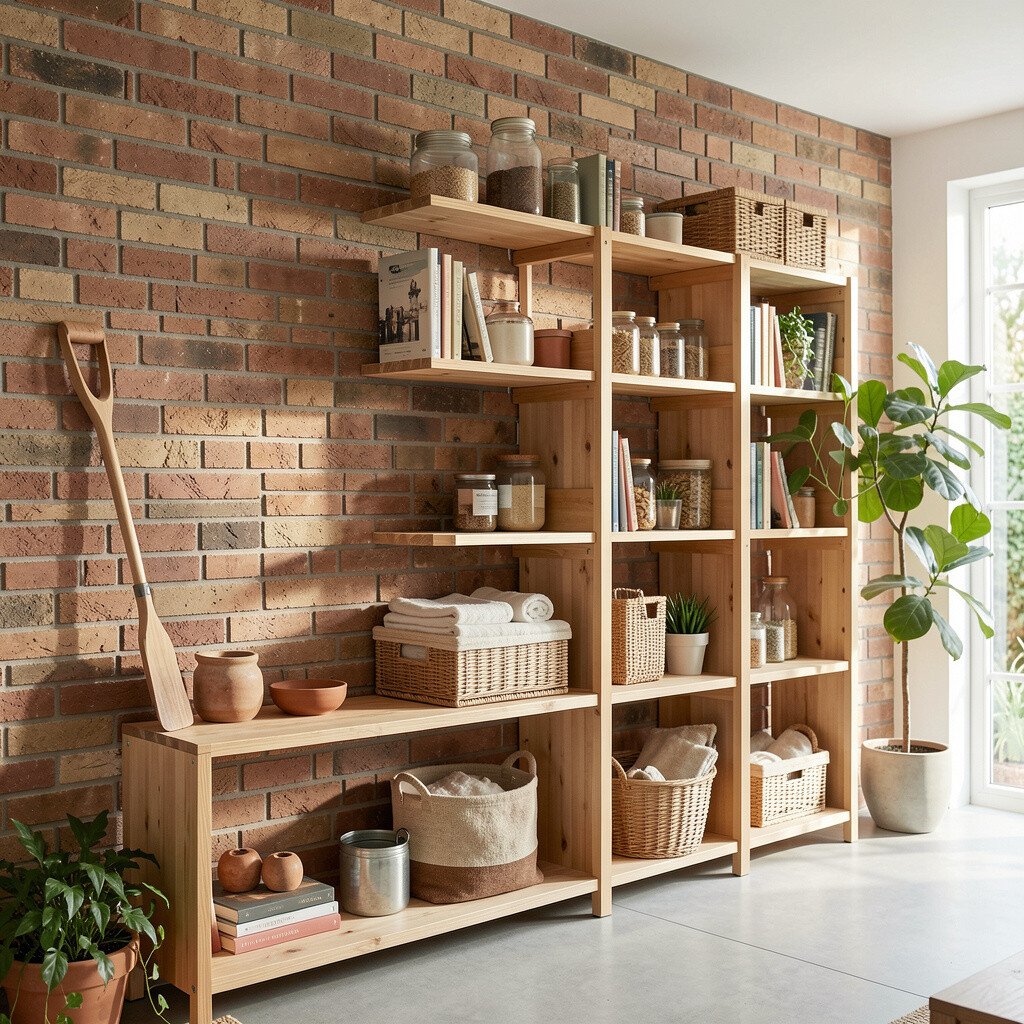
When tools and supplies have a safe place to live, you replace them less often, and that’s a quiet sustainability win. A brick storage wall can make a tidy corner look finished, not improvised.
Keeping items protected from weather helps extend the life of gardening tools, covers, and outdoor gear. Choose a design with airflow and a simple roof or cap so moisture doesn’t build up inside. You can also sort supplies by season so you only buy what you truly need.
To personalize, match the brickwork with your patio or steps so the yard feels cohesive. Trends in “outdoor living rooms” often include neat storage zones, so this idea fits right in.
18. Upgrade Brick Path Lighting with Low-Voltage Systems
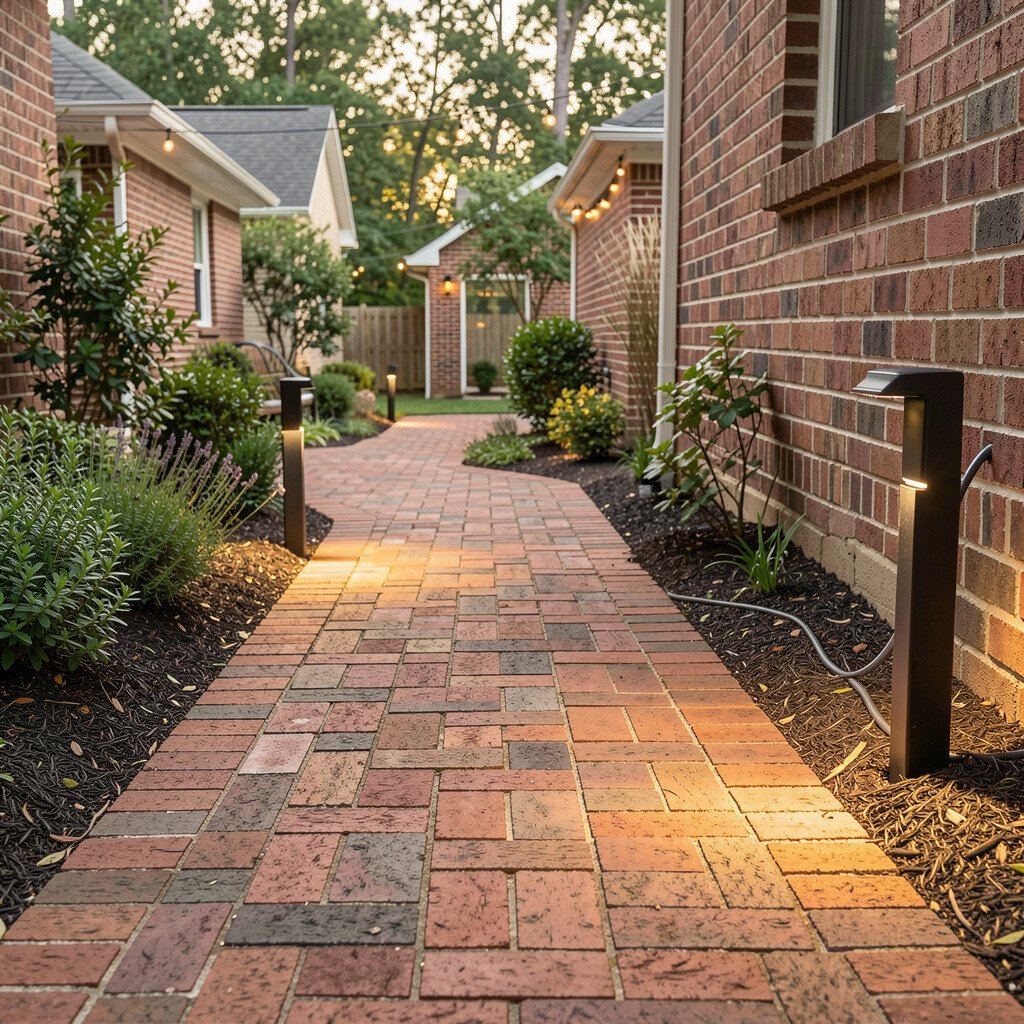
Soft low-voltage lights along brick paths create a warm glow that shows off texture without harsh glare. The bricks catch light differently, and you can see how shadows fall in inviting lines.
Low-voltage systems often use less electricity and can be paired with timers for smarter operation. When you install, place lights strategically to highlight steps and reduce tripping hazards. For practical wiring, keep components weather-rated and plan the route before digging.
19. Match Brick Repair to the Original Color and Shape
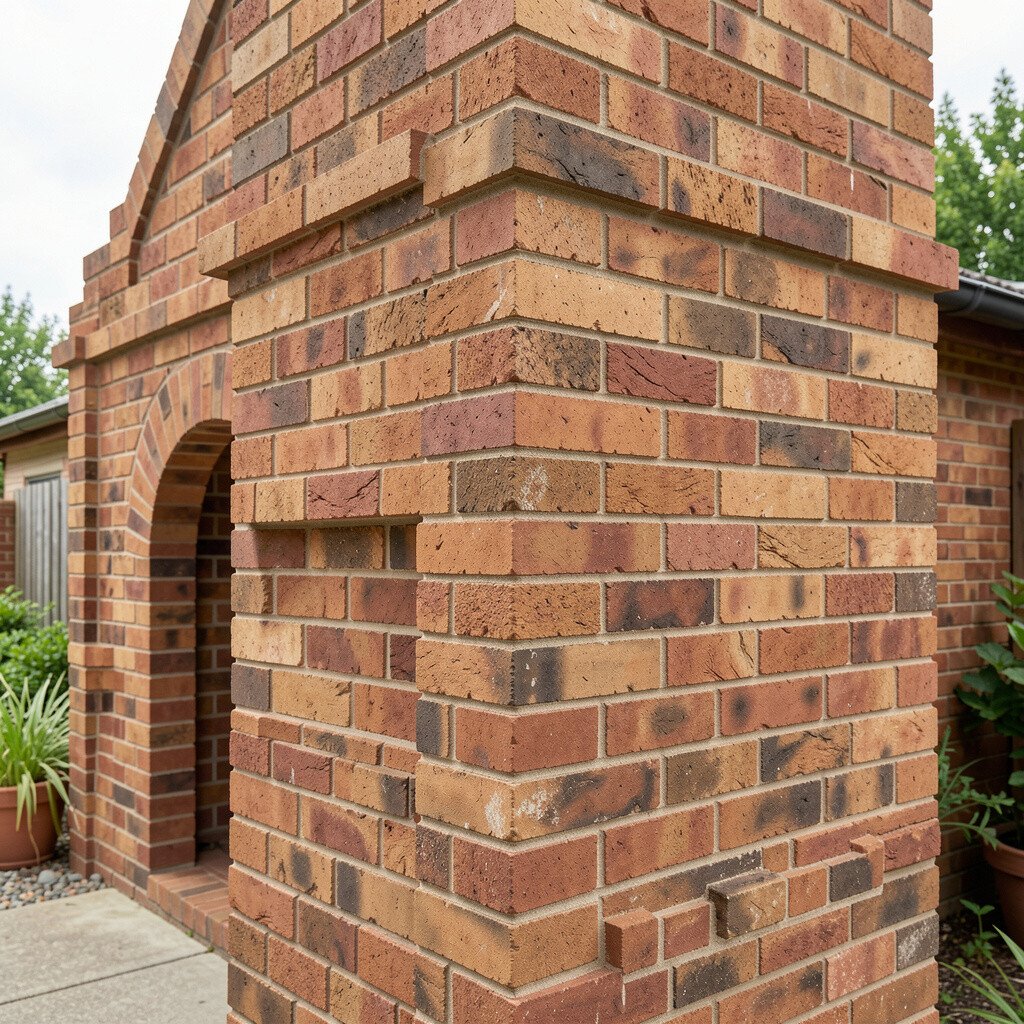
When repair bricks blend well, the wall looks whole, like the history never broke. You can often tell when a patch stands out because the color, joint width, or surface texture feels different.
Careful matching reduces future maintenance because the repair behaves more like the surrounding masonry. Use compatible bricks, then size joints so moisture and expansion move smoothly with the wall. If you want a personalized look, mix slight color variations on purpose so the wall reads as intentionally aged.
For cost considerations, repairs done correctly usually prevent bigger rebuilds later. Ask a local masonry supplier for color guidance based on your region’s brick types.
20. Plan Brick Projects Around Local Weather and Seasonal Labor
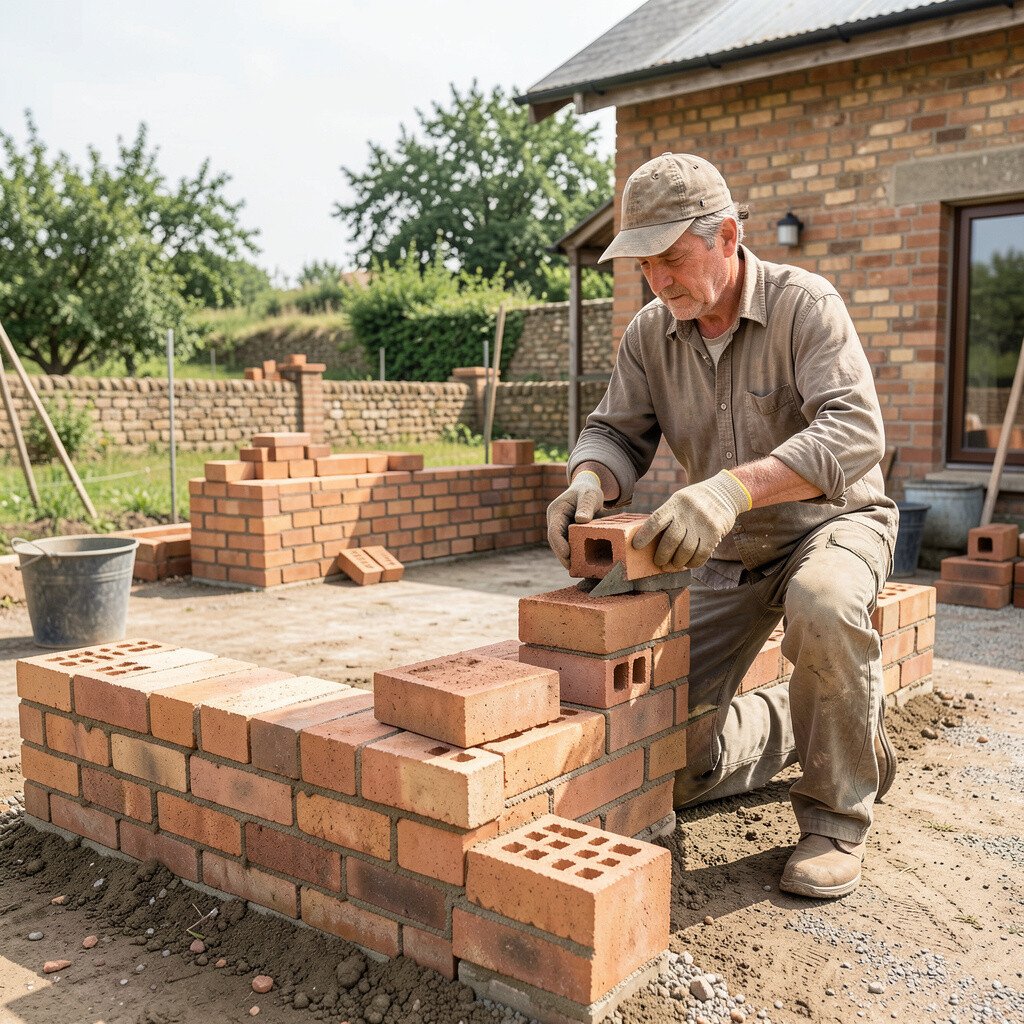
Brickwork looks best when materials and moisture levels cooperate, not when you rush in rough conditions. You can picture mortar curing evenly when temperatures stay steady and rain stays away.
Scheduling projects around local weather helps avoid failed bonding and premature cracks, which saves money and waste. Many homeowners find fall and mild spring days offer comfortable working conditions for detailed joints. Keep a simple checklist for drying time, weather forecasts, and cleanup so the job stays calm.
To personalize the timing, coordinate with the rest of your home routine so you can finish before landscaping or interior tasks block access. Following current trends toward planned, low-waste renovations, this approach also helps you spread costs across the year instead of all at once.