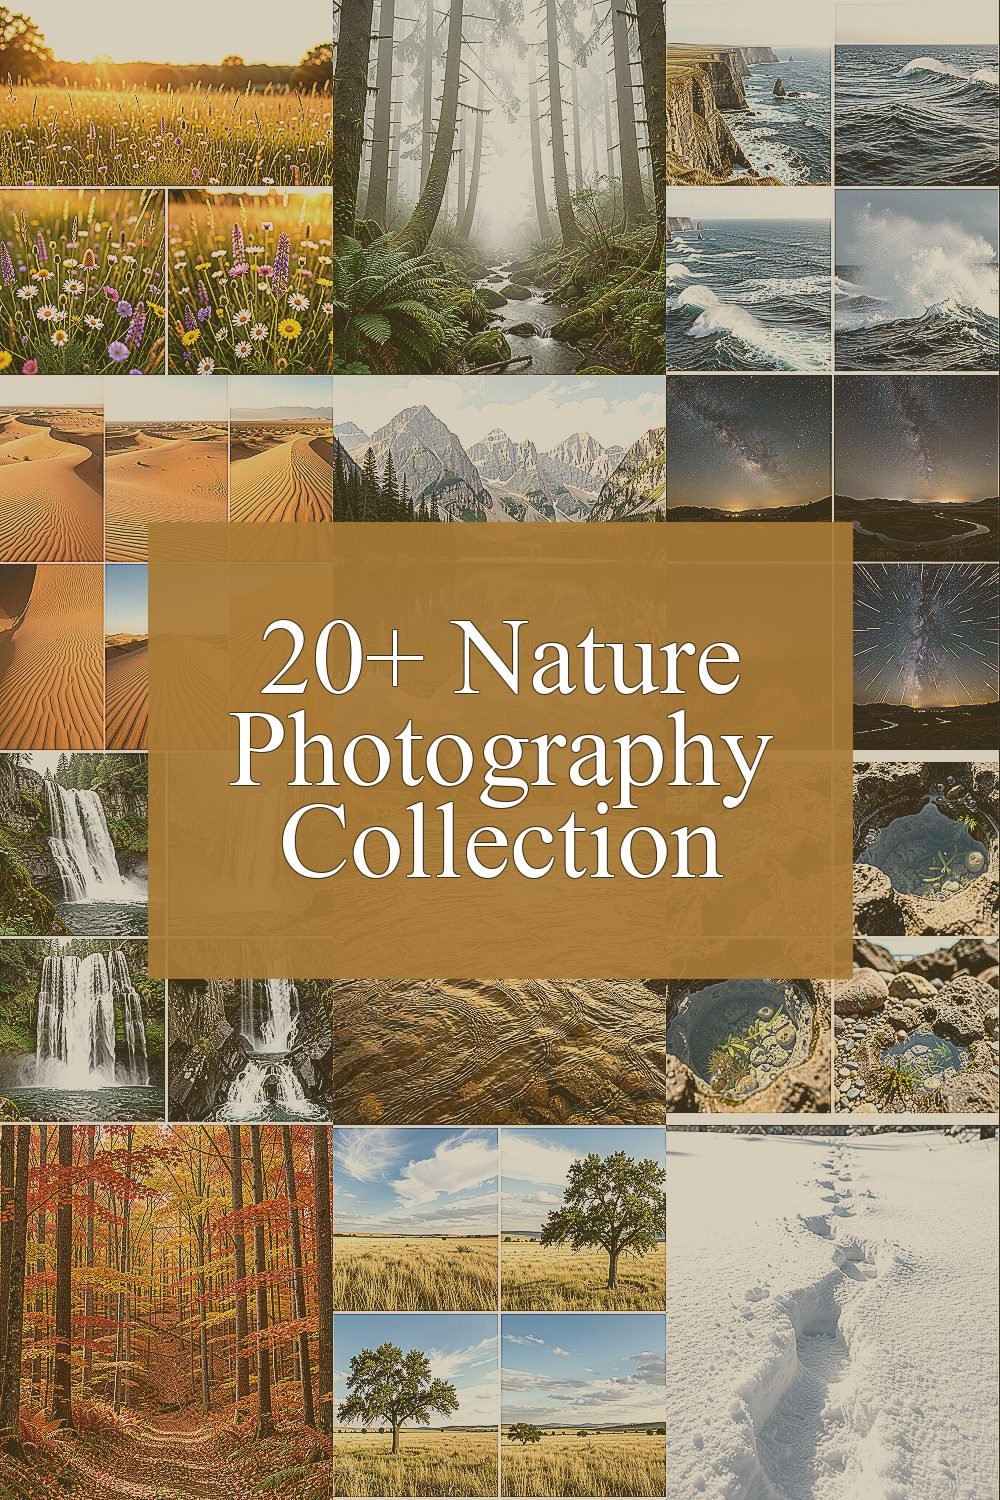
The woods feel louder when you train your eyes for light. Every outing can turn into a living gallery.
If you keep your camera ready and your mind curious, nature starts to pose for you in new ways.
1. Golden Hour Meadows and Wildflower Glow

When the sun sits low, grass turns buttery and petals shine like tiny lanterns. You can frame sweeping fields with a single path cutting through the scene.
Golden hour brings softer contrast, so colors look warm instead of harsh. Bring a lightweight tripod or just lean your camera on a rock for steadier shots. For personalization, set your camera to prioritize vivid color and practice taking one photo with the horizon low and one with it higher to see how mood changes.
2. Misty Forest Breath and Slow Shutter Magic
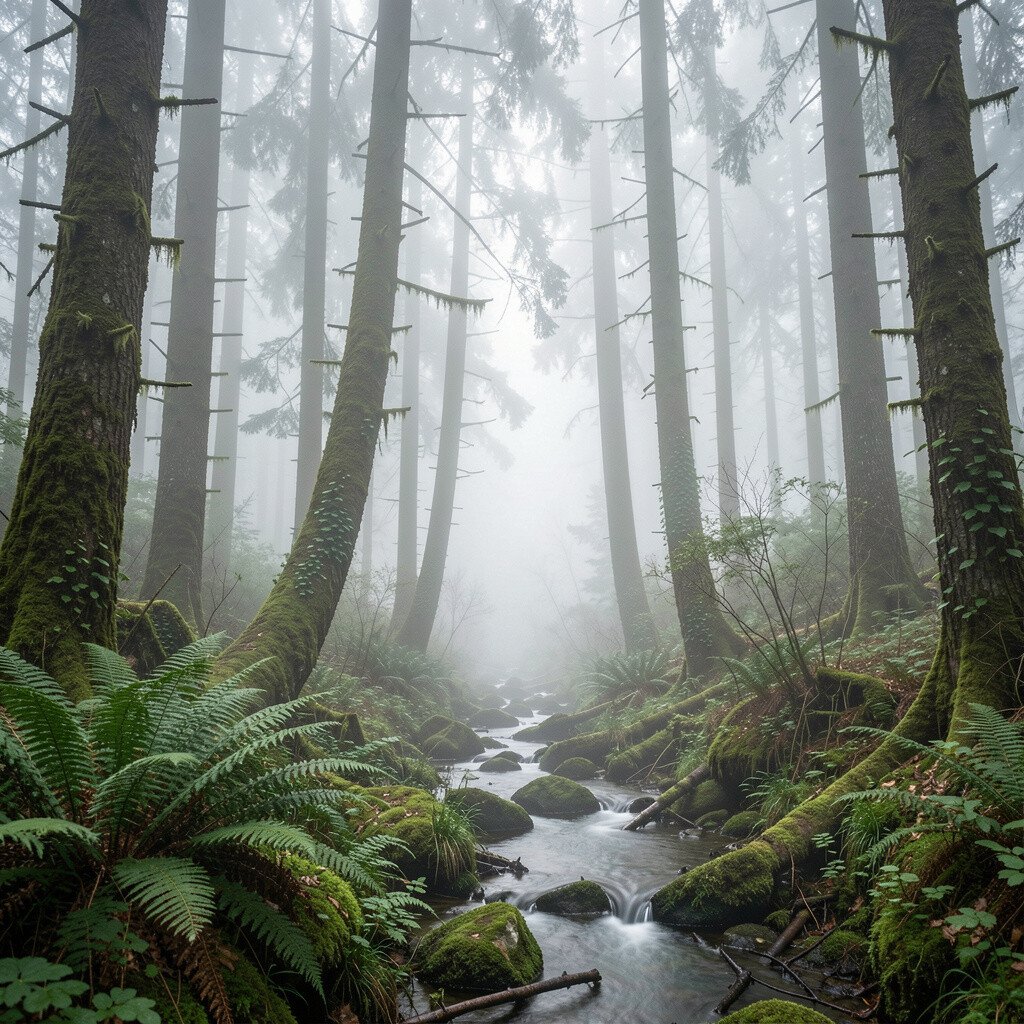
Fog in a forest makes distant trunks fade into mystery. Leaves look shiny after mist passes, and small shafts of light create a gentle glow.
Longer shutter speeds can smooth flowing mist and water droplets for a dreamy look. Use a lens with a wide aperture if you want a soft background, and keep your ISO modest to avoid muddy details. If you hike with a small rain cover for your camera, you can stay calm when the air turns damp.
Try one setting for calm forest portraits and another for quiet landscapes by shifting your focus from foreground leaves to deeper tree lines. This scene stays unique because every morning fog pattern is different, even in the same area. If cost matters, start with a basic tripod and a cheap lens cloth, then upgrade only when you find yourself repeating the same shots often.
3. Ocean Cliffs, Wind Lines, and Spray-Frozen Drama
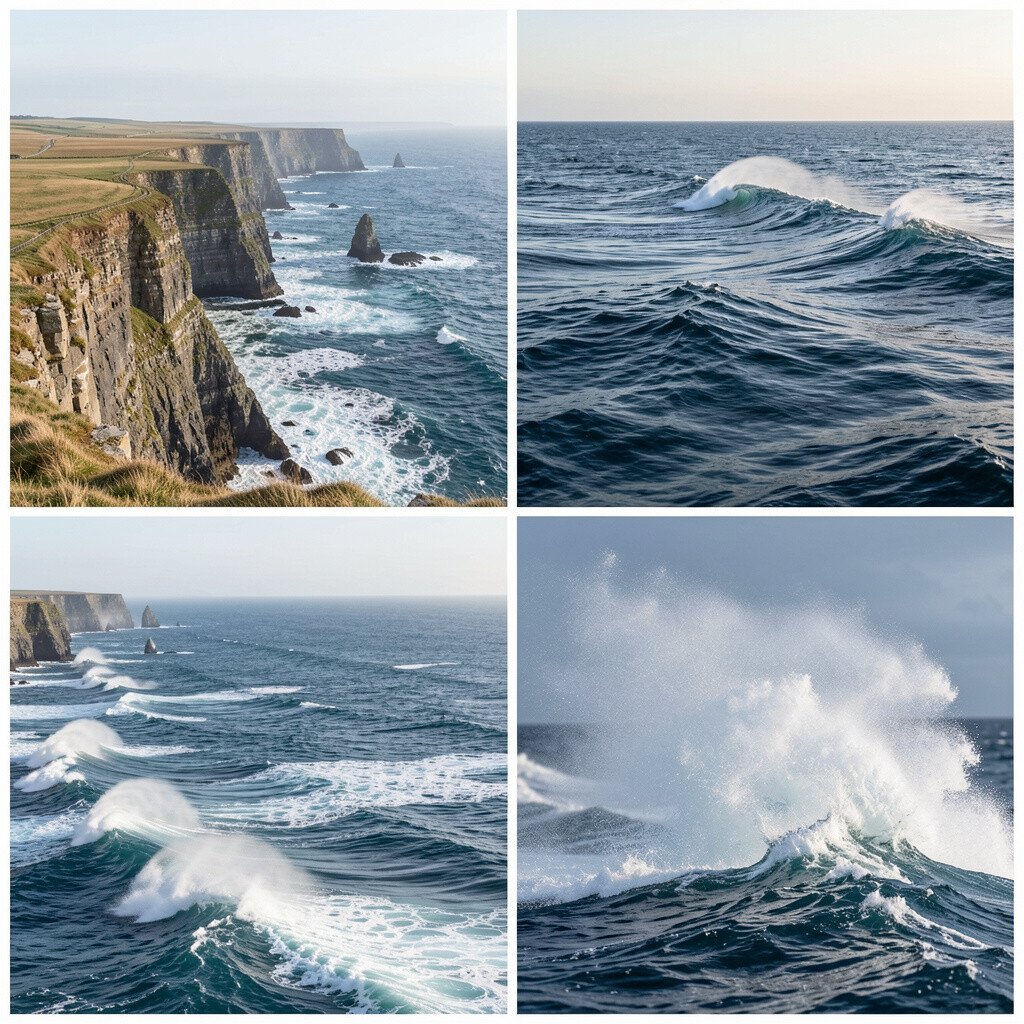
Sea spray catches light like glitter when wind pushes it toward your lens. Icy waves curl below cliffs and form bold leading lines that pull the eye across the frame.
Use a faster shutter speed to freeze droplets, especially when you spot a burst of foam. A polarizing filter helps cut glare on wet rocks, and a grippy strap keeps your hands steady near salt air. For practical safety, pack a microfiber towel and rinse your lens housing after storms.
For personalization, shoot both tight details and wide drama. A tight frame might highlight foam texture and rock edges, while a wide frame can show the cliff silhouette against a bright sky. It is a great time for trend-friendly edits like subtle film-style tones, because the ocean already has strong natural color.
When thinking about cost, consider a weather-resistant bag before expensive gear. A solid bag that seals well often improves your results more than a new gadget that you never protect.
4. Desert Dunes, Pattern Lines, and Color That Changes Hourly
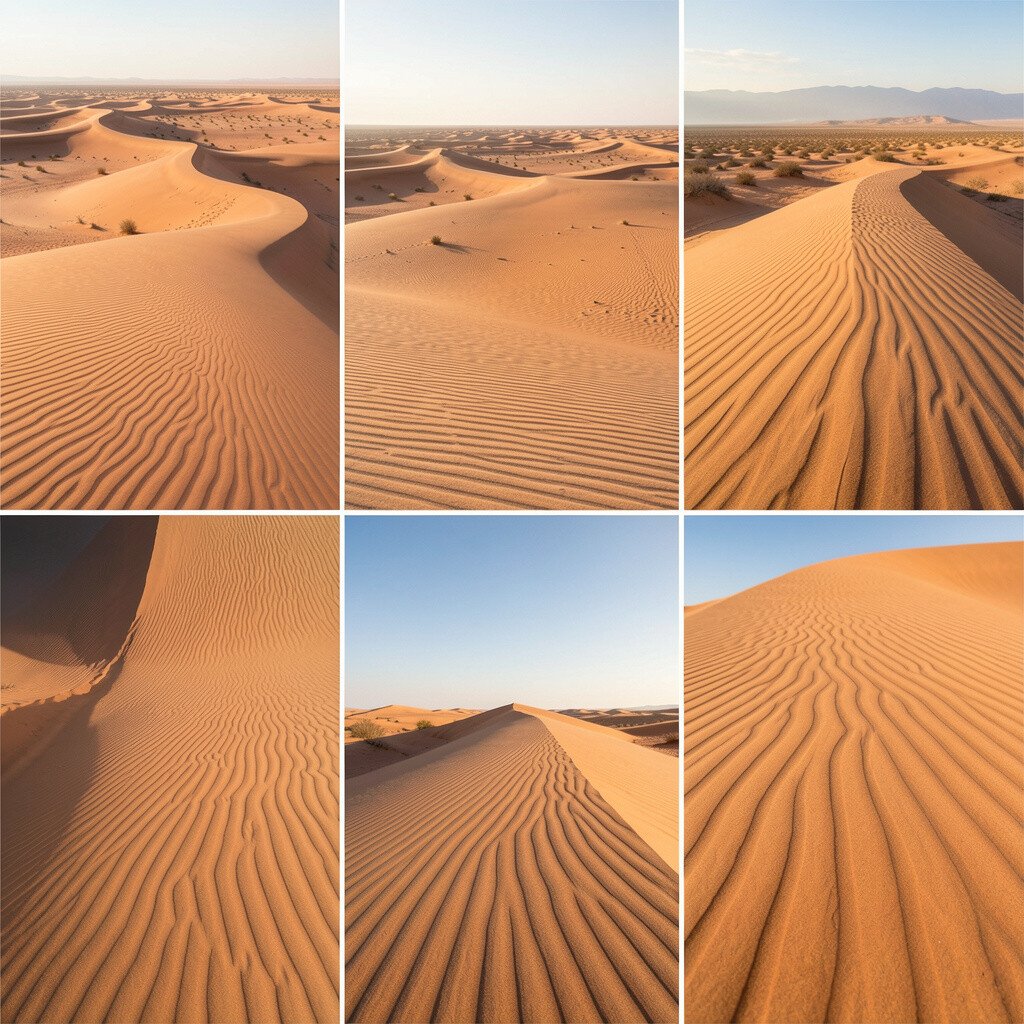
Desert dunes draw your eyes with smooth curves and repeating ridges. When sunlight moves, shadows carve fresh shapes across the sand.
To get crisp texture, aim for early light and hold the camera steady with a monopod or firm stance. Use manual focus on a nearby ridge so the rest of the scene keeps its sharp look. If you want the “layered” feel, try shooting slightly above the horizon to emphasize lines.
5. Mountain Lakes and Reflections With No Spills
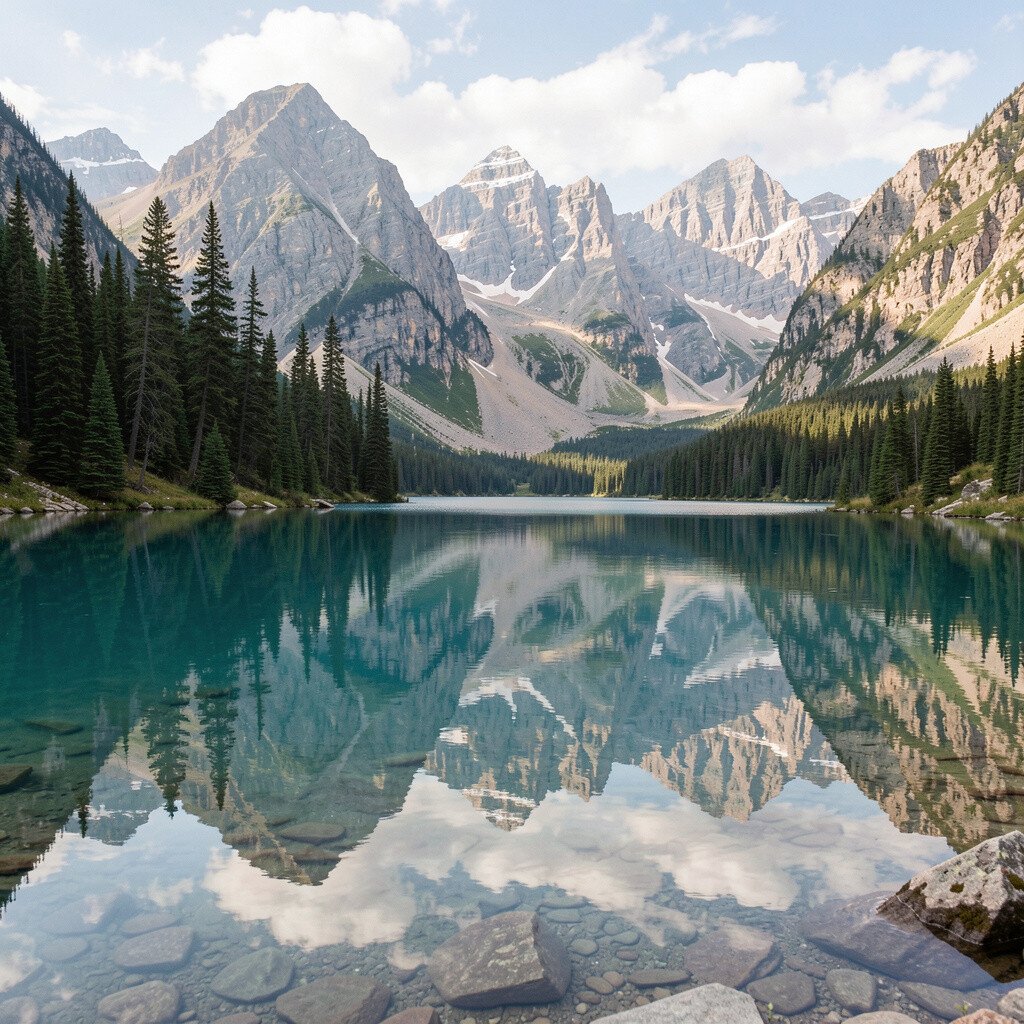
A quiet lake can mirror peaks with almost perfect accuracy. Even when the surface ripples, reflections still create soft symmetry.
Choose a spot where you can include foreground rocks or reeds, so the reflection has a frame. Use the lowest ISO you can and keep the shutter speed fast enough to avoid blur from wind. If clouds drift, watch for a calm pause, then take a short burst of shots to catch the cleanest reflection.
For personalization, rotate your composition from wide to vertical frames and notice how the mood changes. This is also a current trend moment because lots of photographers are leaning into “minimal” scenes with calm skies and simple shapes. If you are budget-minded, a basic polarizer and a small lens hood can help you control glare without buying a big system.
6. Night Skies, Ground Lights, and Star Trails
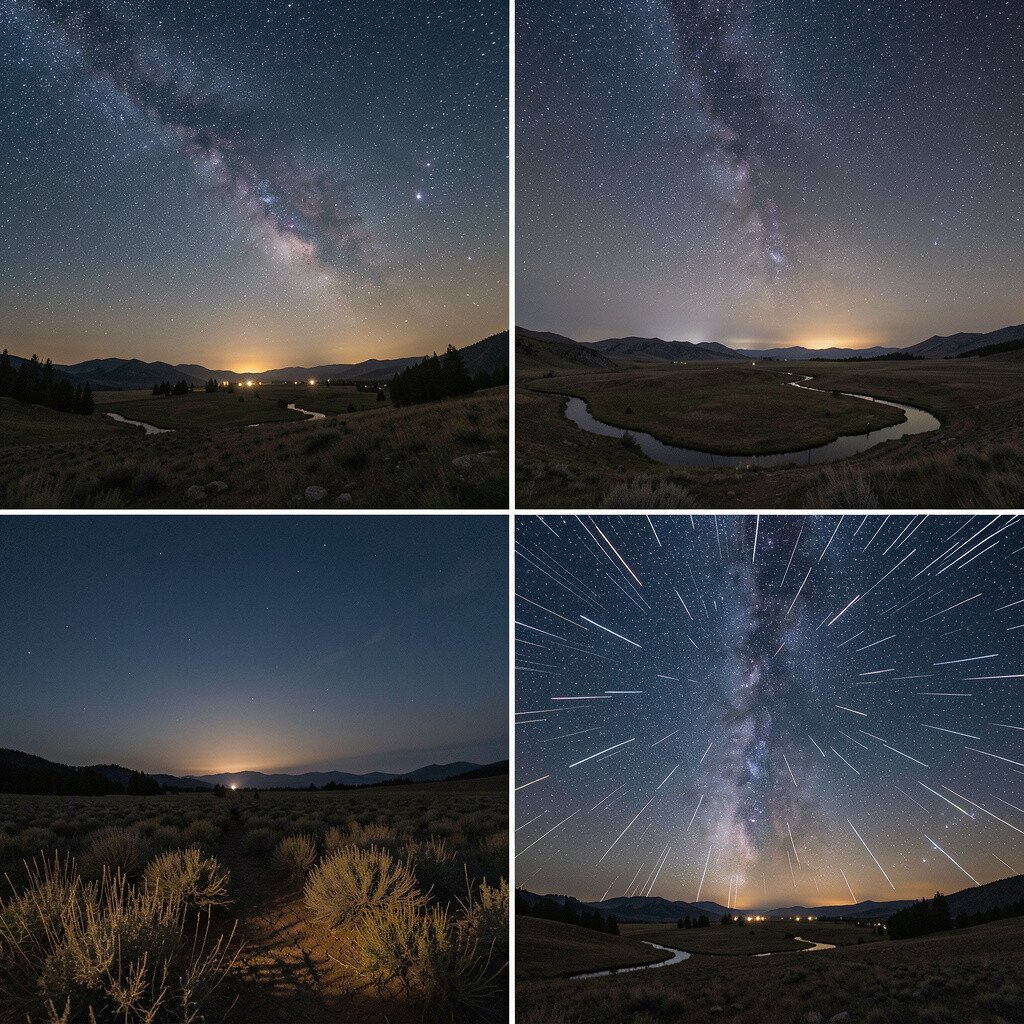
After dark, the sky can look like spilled ink with scattered sparks. Nearby trees and cabin lights add a cozy contrast.
For star trails, use a wider lens and a sturdy tripod, then keep the shutter going long enough to show motion. Turn off image stabilization if your tripod is fixed, and use an interval approach so you do not rely on one single long exposure. If you want simpler results, try stacking shorter exposures and then blending later in editing apps.
Bring a red light for your hands so you can adjust settings without ruining your night vision. This style feels unique because your local landscape becomes part of the night story. If cost is tight, start with a tripod you already trust and learn a basic long-exposure workflow before buying specialized night lenses.
7. Waterfalls, Mist Curtains, and Texture That Holds
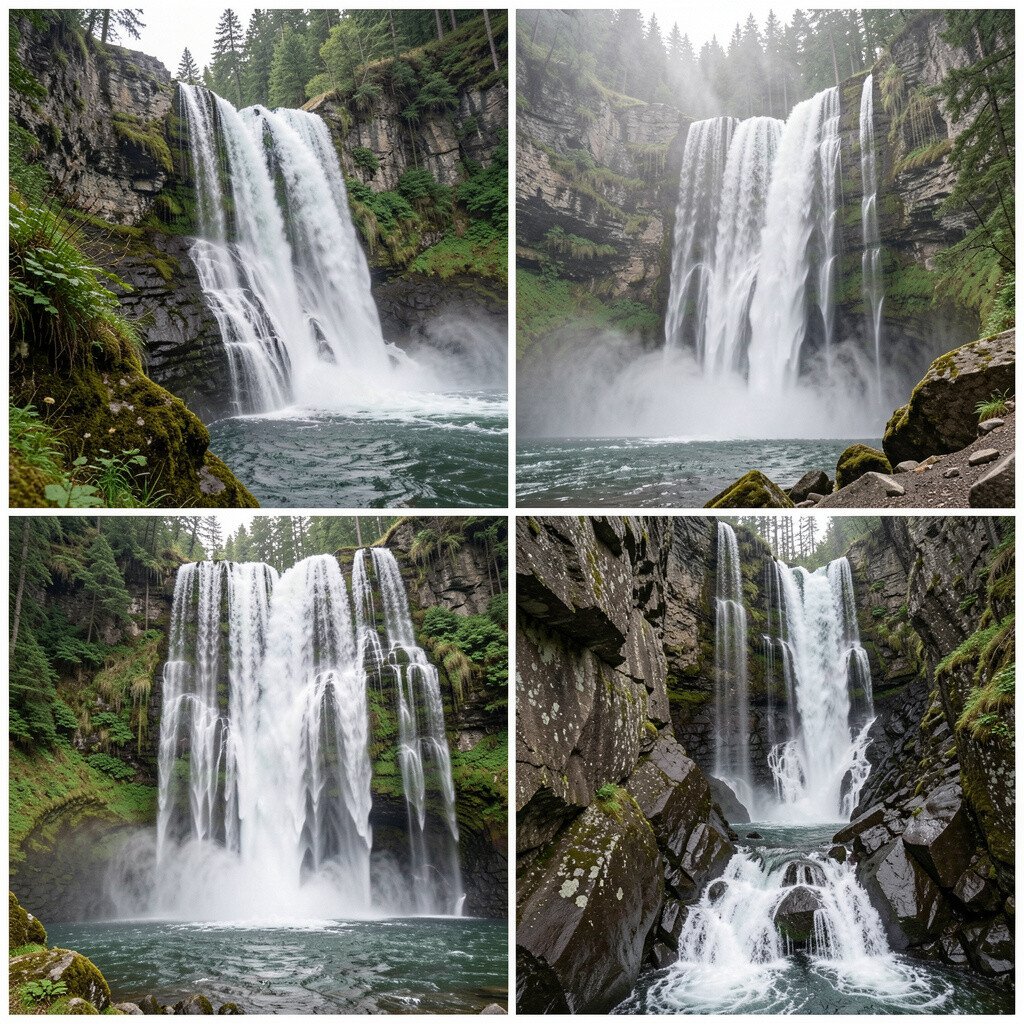
Waterfalls create a living curtain, and the sound seems to add depth to every frame. Spray rises into the air, softening the background like a natural diffuser.
To capture silky water, try a slower shutter speed and place the camera so the waterfall sits in a strong composition line. Keep a tight focus on the waterfall’s brightest area, and use a neutral density filter if you want smoother motion in daylight. For practical handling, keep your lens protected with a simple cover and wipe carefully between shots.
Personalize your results by trying a few viewpoints from upstream rocks to change how the curtain looks. Many photographers now chase “layered motion,” where mist and water flow create distinct bands of texture. If you are considering purchases, a mid-priced ND filter plus a microfiber cloth often beats buying multiple accessories at once.
8. Rivers at Golden Depth and Slow Current Lines
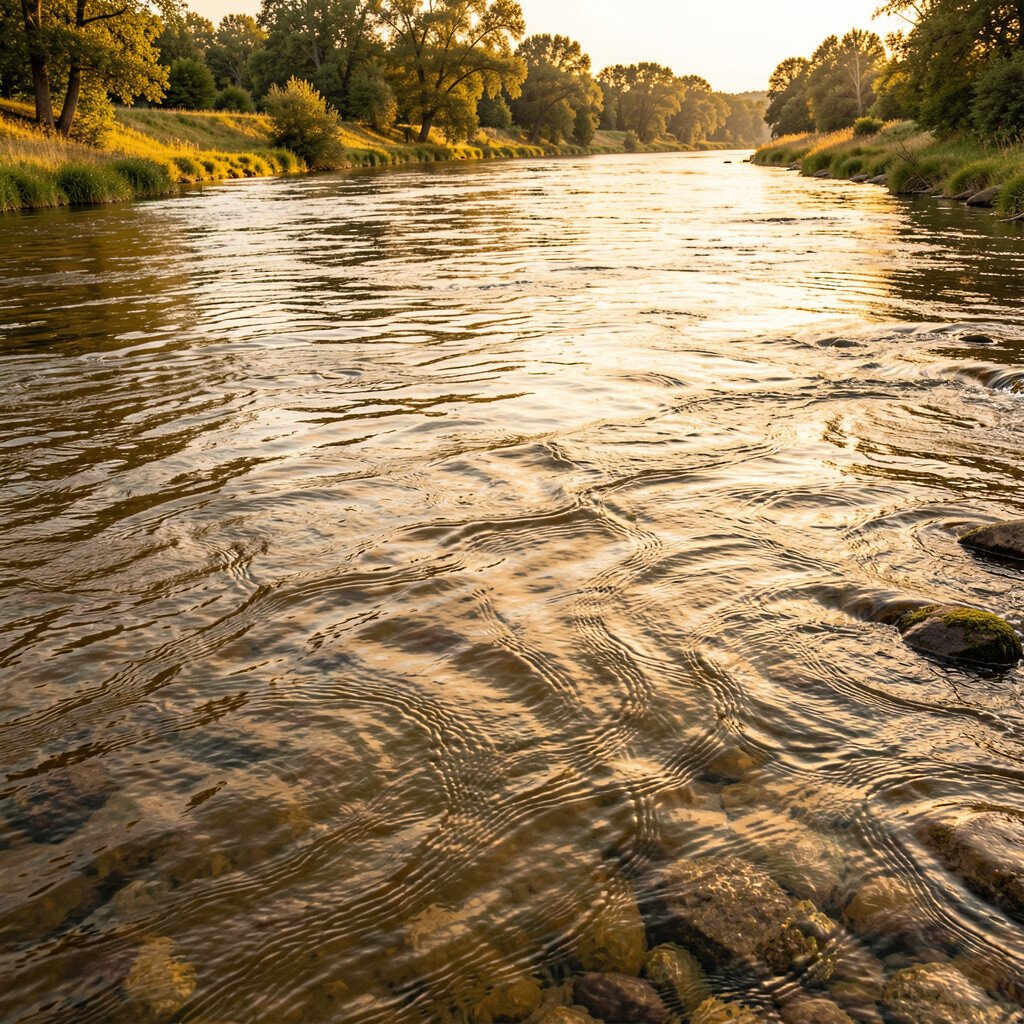
A river bends like a ribbon through trees, and sunlight makes the current sparkle. The best moments often happen when you find a slow pool beside a faster run.
Look for smooth reflections and use a slower shutter speed to soften the water’s surface. Try composing with a branch or stone in the foreground so the river has a starting point for the viewer’s eye. If you travel often, pack a small cleaning kit because river dust and water droplets can build up quickly.
For personalization, switch between long exposure for mood and faster exposure for crisp ripples. This gives you two distinct looks from the same location. If cost considerations matter, you can get far with a tripod and patience before investing in extra lenses.
Current trends favor “story flow,” where images show how movement guides the eye, so keep an eye on how water lines lead through your frame.
9. Coastal Rock Pools, Tiny Worlds, and Macro Patience
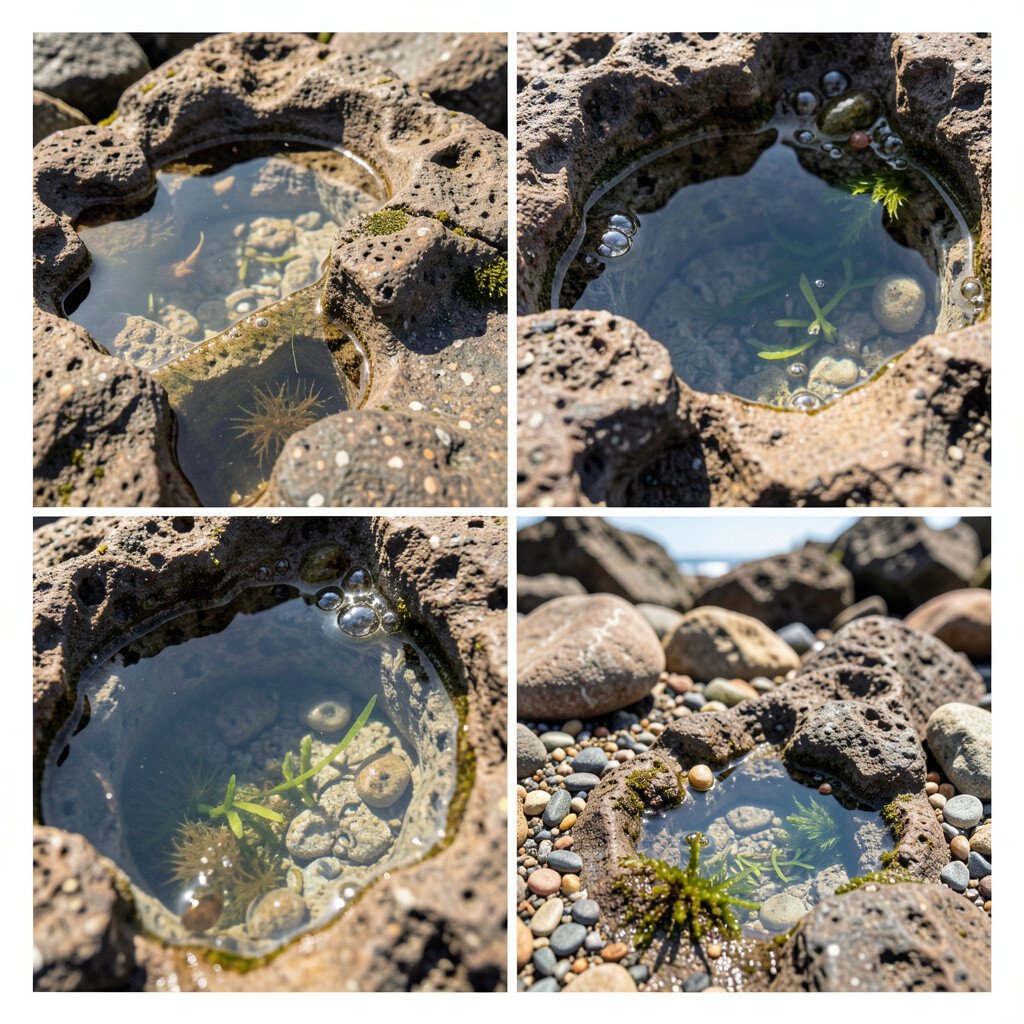
Rock pools hold miniature landscapes with little waves and shifting reflections. You might find shells, seaweed curls, and tiny creatures tucked into shadows.
For macro-style shots, use a close-focusing lens or a basic macro attachment, and get low so water stays behind the subject. A small LED light can help reveal texture, but keep it gentle to avoid scaring living things. Always prioritize safety and leave things as you found them, since tide cycles can be quick.
Personalize your set by photographing the same subject at different angles, like top-down and side profile. This keeps your collection feeling intentional instead of random. Cost can be reasonable here because you can start with close-up tools, then upgrade later when you know which magnification style you love most.
Micro photography keeps trending because viewers love the “wow, I did not notice that” feeling, so aim for clear detail and simple backgrounds.
10. Autumn Forest Color With Layered Depth
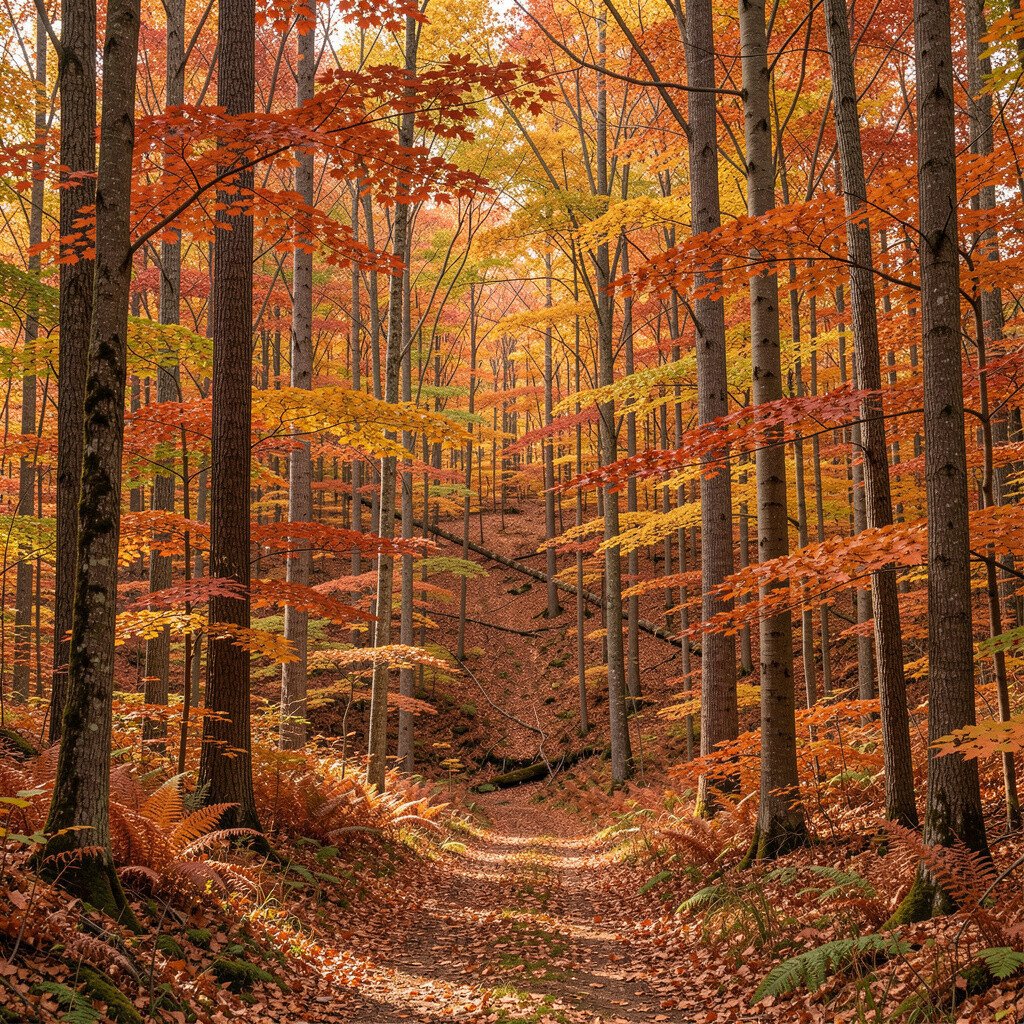
Autumn turns branches into warm brushstrokes, and the air feels crisp in every photo. Leaves scatter on the ground and create a bed of patterns.
To show depth, include foreground leaves, a mid-layer of trees, and a brighter background. Use aperture to control sharpness, and focus on the area where you want the viewer to land first. If wind keeps moving branches, shoot in short bursts when the scene pauses.
Personalize your look by choosing a consistent color direction, like golden yellows in one outing and deeper reds in another. Many photographers now lean toward honest color rather than heavy stylization, so let the season lead. Cost-wise, you can do a lot with your existing lens and a simple polarizer to reduce glare on wet leaves.
11. Prairie Skies, Lone Trees, and Wide-Sky Balance
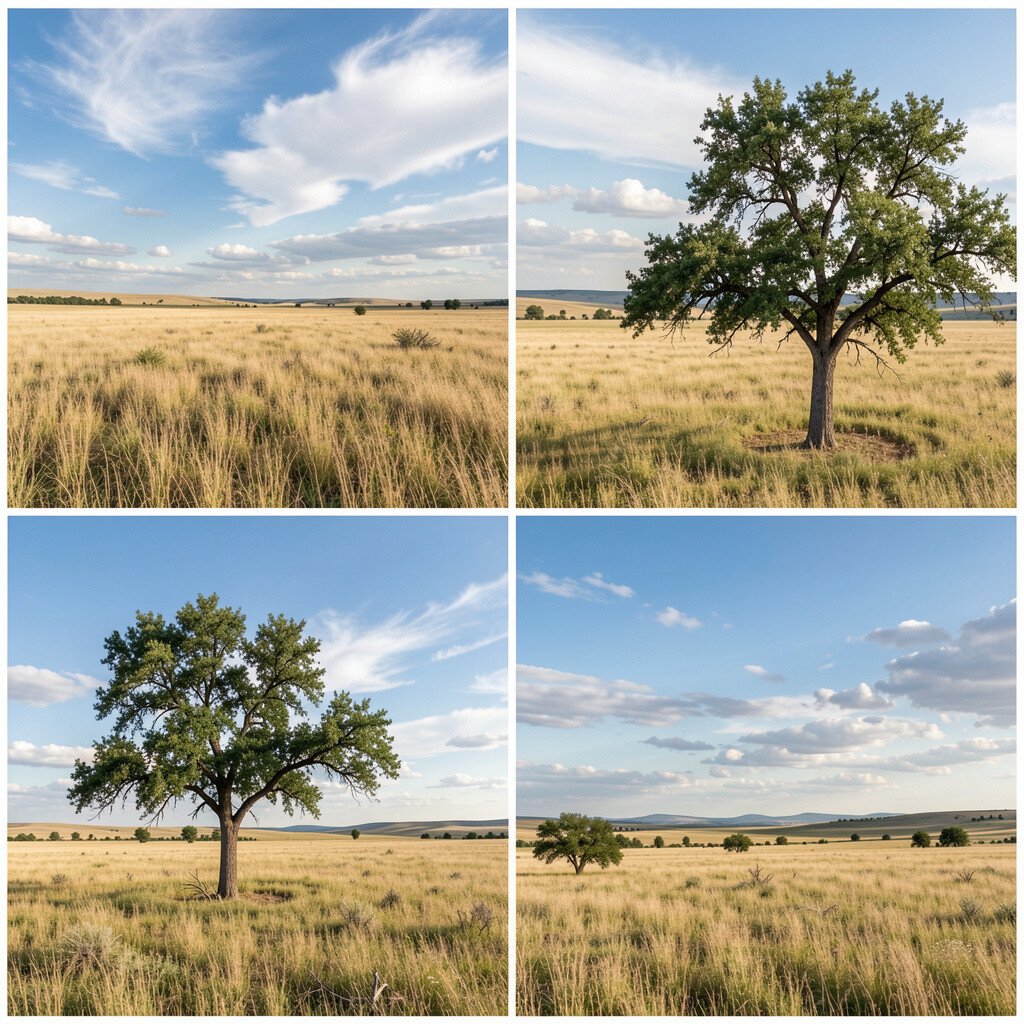
Open prairie land makes the sky feel huge, with clouds that change shape fast. A lone tree or fence line can act like a quiet anchor for the scene.
Use a wide lens to capture the scale, but pay attention to horizon placement so the sky and ground feel balanced. Try a lower camera angle to emphasize cloud movement and a higher angle to highlight grass texture. For personalization, create a mini series that repeats the same composition idea in different weather, so your collection tells a consistent story.
Benefits show up quickly here because wide landscapes teach you composition fast. The uniqueness comes from how the same field looks different with each cloud pattern. If you are cost-conscious, a wide prime lens is optional, since even kit lenses can handle strong sky scenes when you frame carefully.
Current outdoor photography trends favor bold skies, so aim for dramatic cloud contrast while keeping the ground readable.
12. Snowy Trails and Footstep Texture
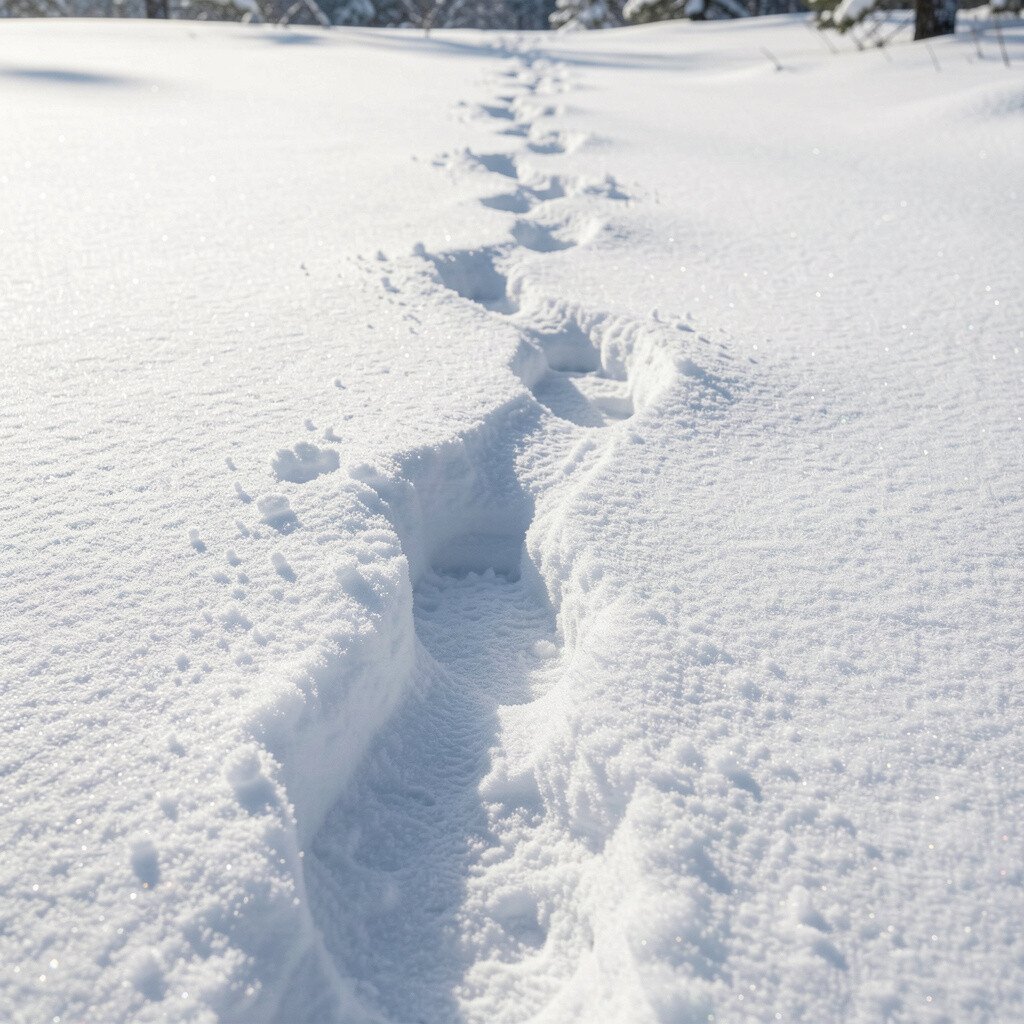
Snow smooths the world and turns trails into gentle lines. Footprints and untouched patches create a natural pattern you can build your frame around.
For clean shots, keep your lens warm enough to reduce fogging, and use a lens heater or hand-warmers inside a case. Adjust exposure for snow so your highlights do not turn gray, and choose a slightly darker foreground to give the scene shape. A fast shutter speed can keep falling flakes sharp when they appear.
Personalize your collection by adding human-scale elements like boot prints, a scarf in motion, or a trekking pole leaning diagonally. This makes your images feel lived-in. Cost considerations are simple here because the gear you need most is careful protection and a solid cleaning cloth for slush.
Snow photography stays unique because conditions rarely repeat exactly, so you get variety even on the same route.
13. Wildflower Close-Ups and Bokeh Cheer
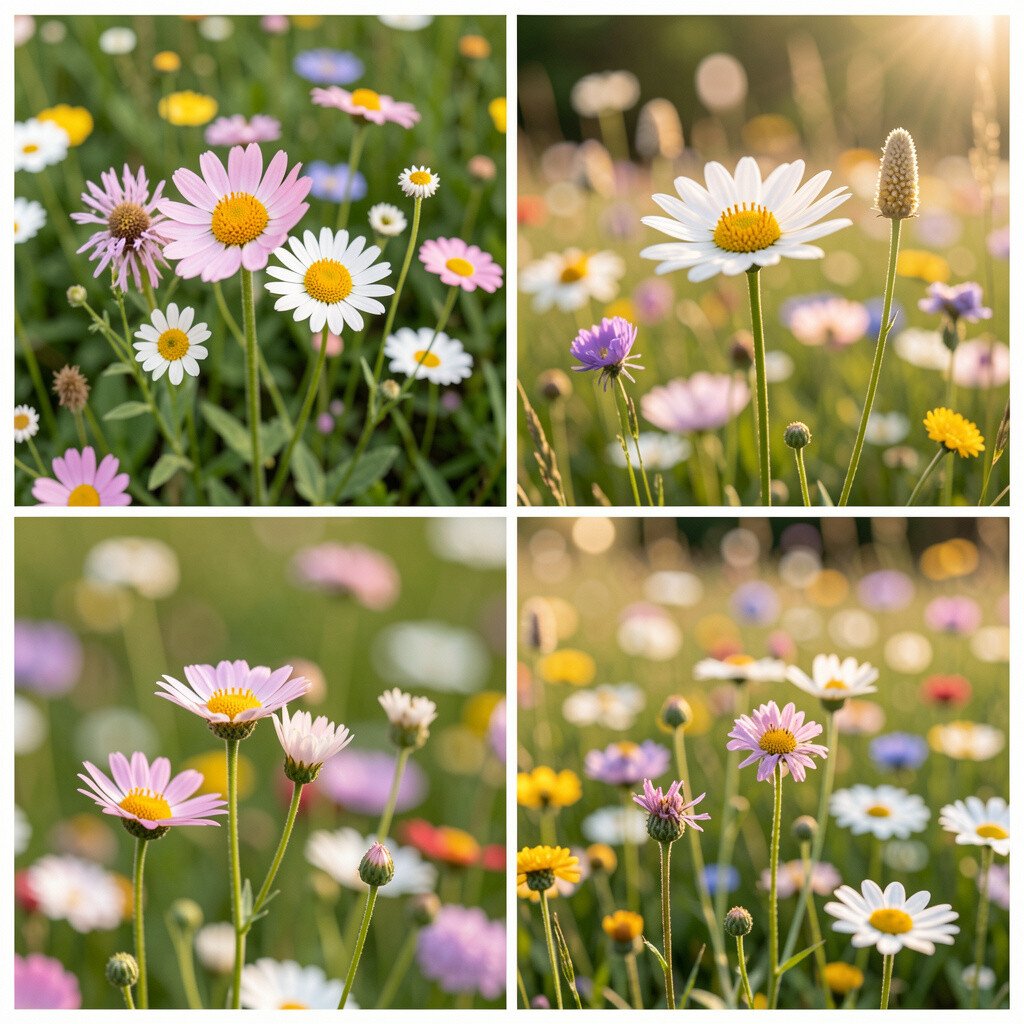
Wildflowers can look like they are smiling when the background turns creamy. Small color pops stand out against grass, stones, or shaded soil.
Use a wider aperture for soft background blur, and shoot from slightly different angles to change the bokeh shapes. Keep your focus on the flower’s center, and use burst mode to catch tiny movements. If you want practical setup, carry a small kneeling pad so you do not end your session early with sore legs.
Personalize by choosing a “color theme,” like all cool tones one day and warm tones another day. This helps your collection feel planned. In terms of cost, you can start with your current lens and learn close focusing well before buying dedicated macro gear.
14. Wildlife Silhouettes at Water Edges
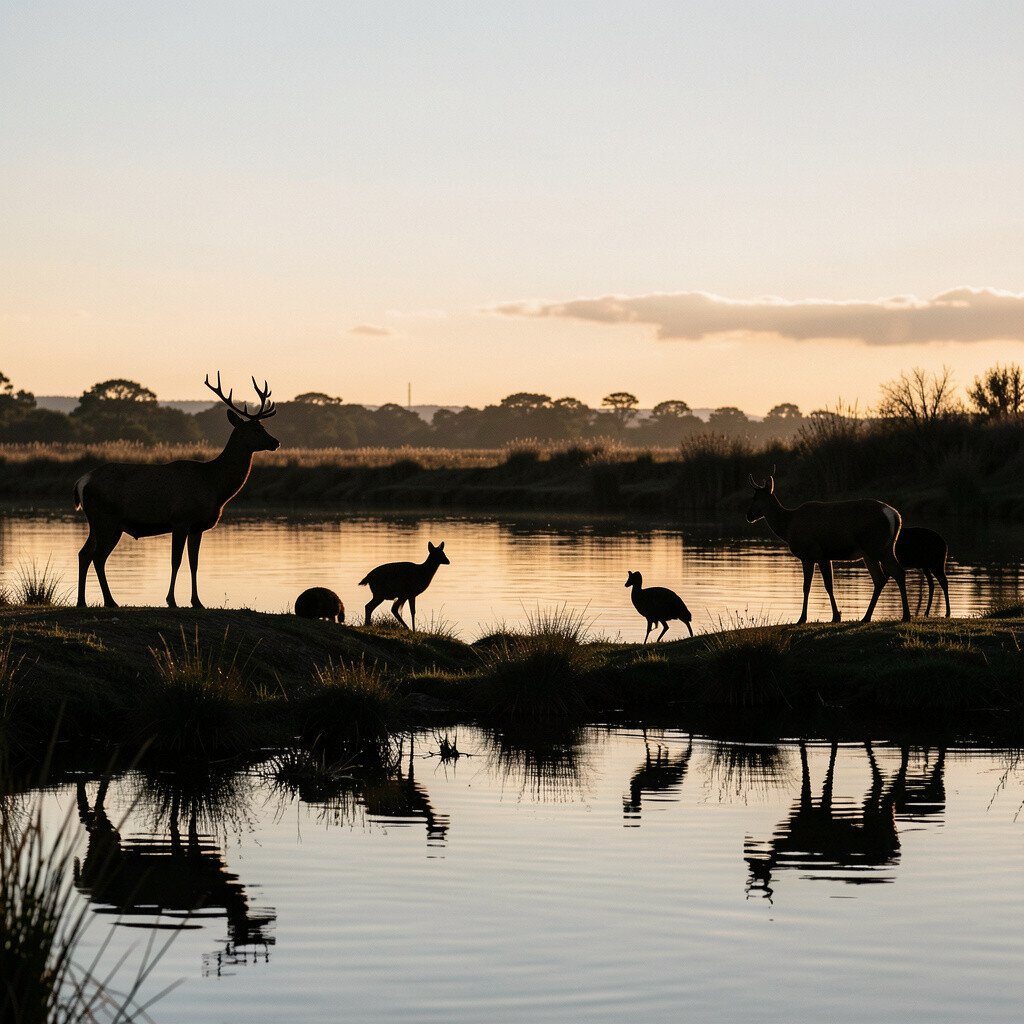
When animals appear at a riverbank or shoreline, silhouettes can feel strong and calm. Backlighting makes edges crisp and hides distracting details.
Use a telephoto lens if you can, or crop later if you cannot, but prioritize steady support. Keep distance and follow local rules, since animal safety comes first and respectful behavior often leads to better sightings. For practical tips, check wind and sound before you set up, because movement travels and animals notice.
Personalize by setting a rule for yourself, like capturing only calm behaviors or only quick action. This gives your gallery a clear theme. Wildlife silhouettes remain unique because each subject shape is different, and every sunrise or sunset creates a new lighting pattern. Cost can stay reasonable if you borrow a lens for a weekend or rent one when you know you will be chasing wildlife.
15. Lava Fields, Basalt Patterns, and Surreal Lines
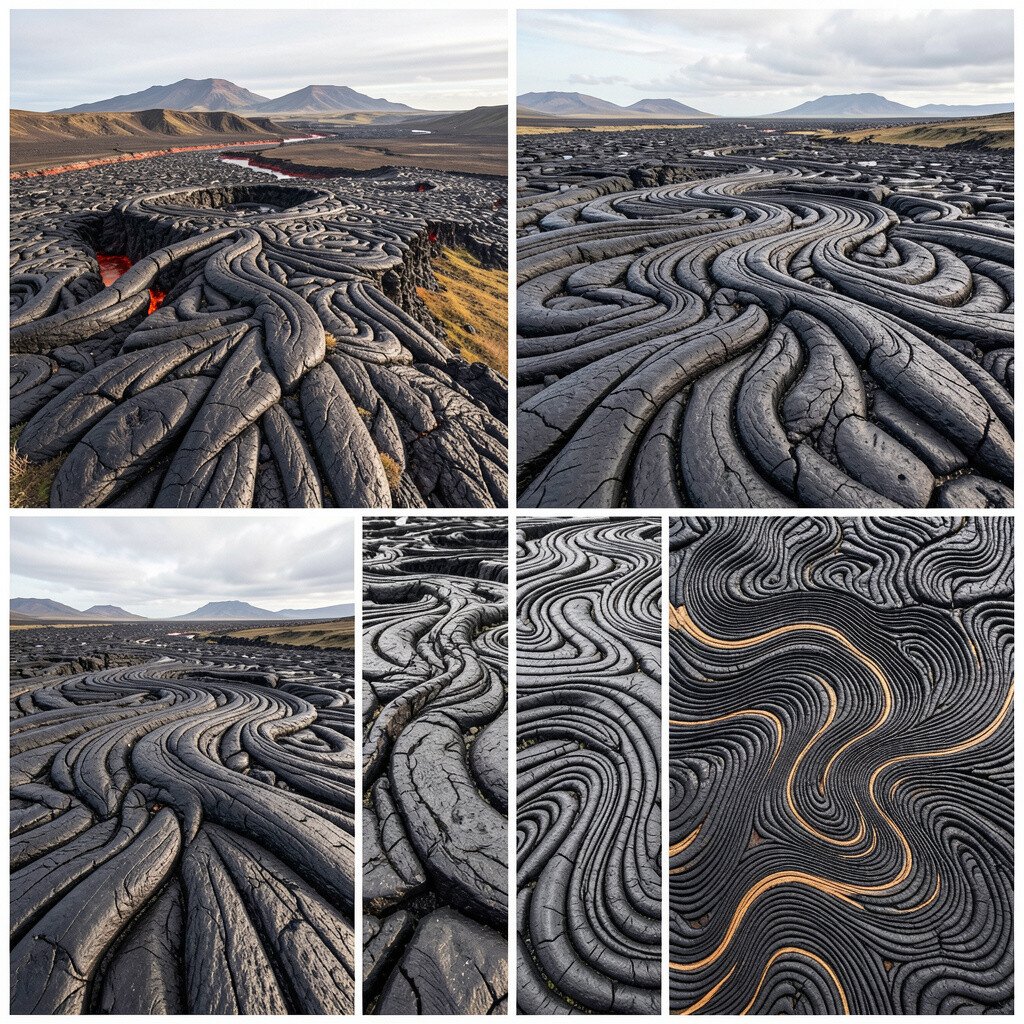
Black volcanic rock looks sculpted, with ridges and cracks that guide your eye. In the right light, even flat areas show texture like flowing waves.
Look for leading lines created by cracks and ridges, then position yourself so the sun angle brings out the relief. A side-lighting moment often gives the best contrast, so check the light before you commit your setup. If the ground is rough, bring a small lens cover and keep your tripod legs stable to avoid sudden shifts.
Personalize your shots by choosing a color treatment that respects the natural palette, such as deep charcoal and warm highlights. Current trend editing sometimes favors punchy clarity, but use it gently to avoid turning texture into noise. Cost-wise, you can keep it simple with sturdy support and careful framing, since the landscape already does the heavy lifting.
This location type feels unique because it turns geology into art with every step you take.
16. Backyard Rainstorms and Reflections After Drops
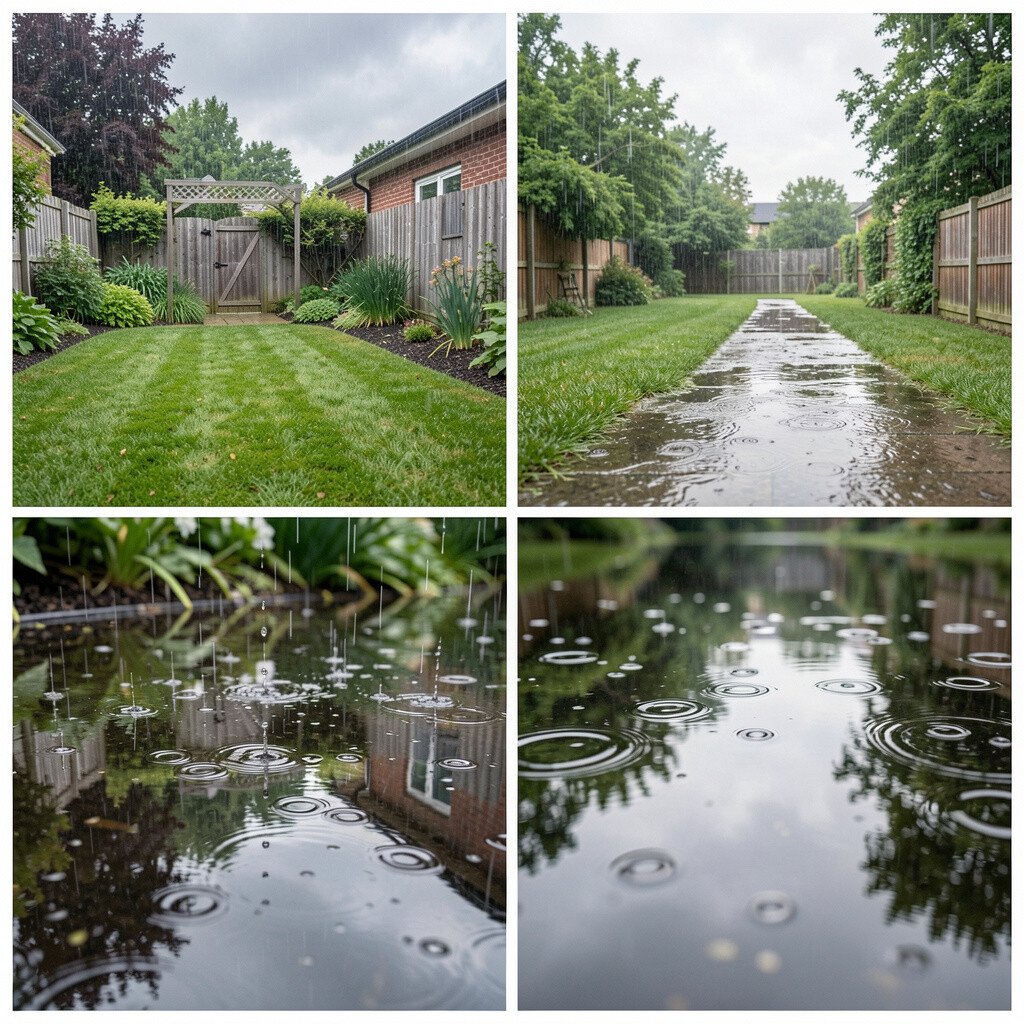
You do not need a faraway trail to get striking nature images. After a rain, puddles and wet pavement can mirror trees, clouds, and even your own movement.
Try a low viewpoint close to the puddle edge, and time shots between raindrops so you get cleaner reflections. Use a small towel for quick lens wipes, because splashes can smear the view fast. If you want practical comfort, keep a waterproof bag and a spare battery so you do not lose momentum in bad weather.
Personalize with your surroundings, like photographing a neighborhood tree or a garden path that you already know well. The uniqueness comes from the fact that the same corner looks different every storm, even when it is just nearby. Cost considerations are low because you are using what you already own and focusing on timing instead of spending.
17. Windy Ridge Vistas and Motion in the Landscape
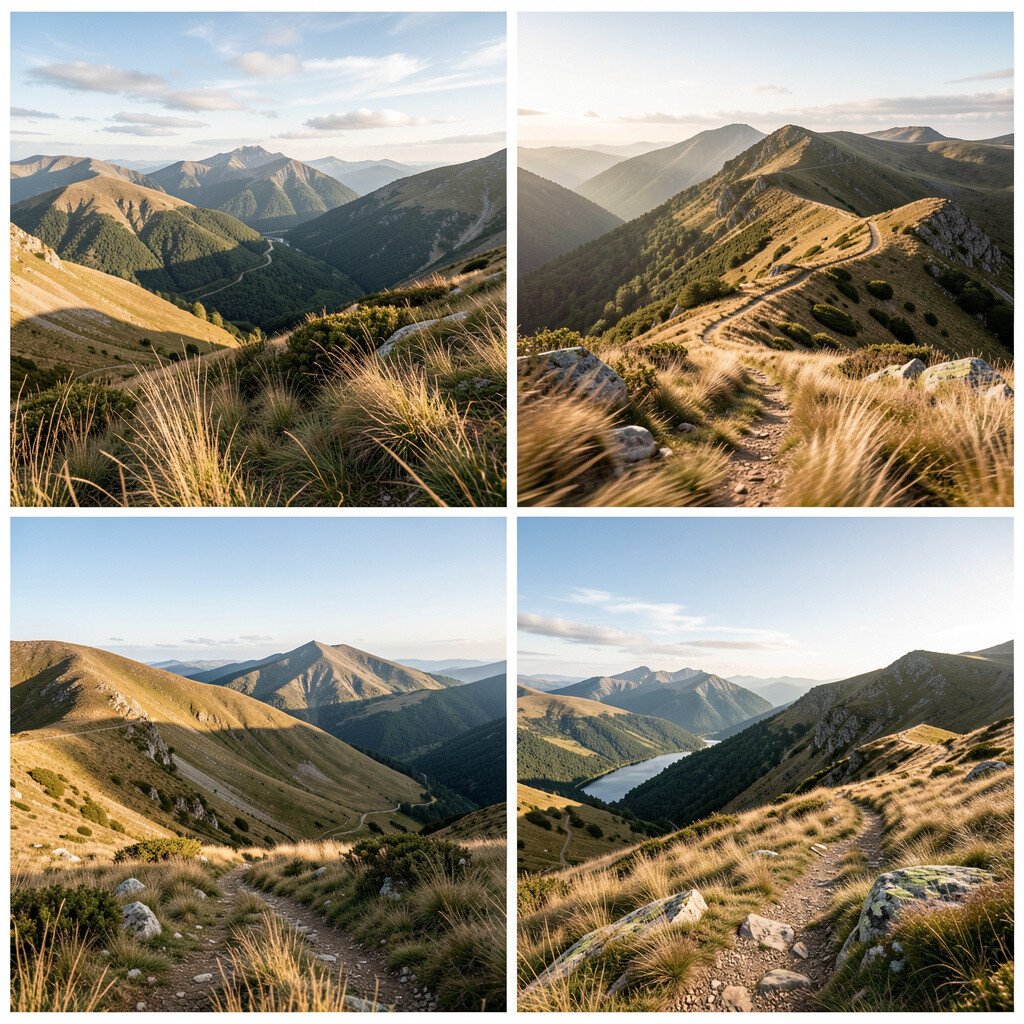
On ridges, wind can bend grasses and ripple treetops like waves. The sky often turns dramatic, which makes simple compositions look powerful.
To keep your subject sharp while still showing motion, try a faster shutter speed and shoot at the moment when your main subject is at its clearest shape. Use continuous autofocus if it works well on your camera, and consider a strap you can trust when conditions get gusty. If you have a rain cover, use it even for misting air, because wind carries droplets.
For personalization, aim for a consistent subject, like tall grasses or a lone tree, and photograph it from different ridge angles. This makes your collection feel like a mini journey. Cost stays manageable because you mainly need secure support and good technique rather than expensive extras.
18. Jungle Canopy Light and Green Glow Layers
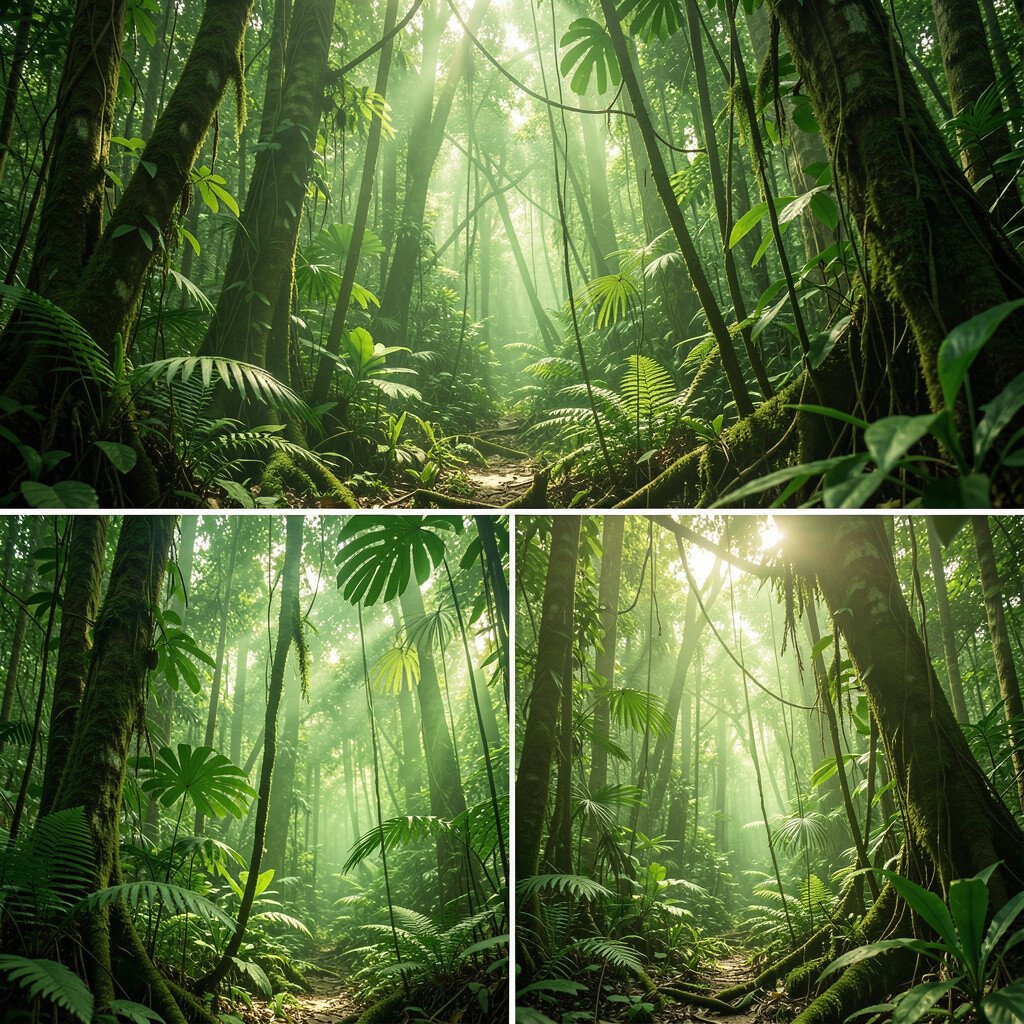
In thick forests, sunlight filters through leaves and forms moving patches of glow. The layers of green can look almost painted, with shadows that feel deep.
Expose for highlights so bright sun spots do not blow out, and use aperture to separate your subject from busy foliage. A lens with good low-light performance helps, but even standard lenses can work when you time your shots in brief calm moments. For practical tips, keep a blower or gentle brush to remove dust from your lens, since humid air can trap grit.
Personalize by focusing on repeating shapes like vines, leaf edges, or branches that form natural frames. This scene feels unique because the canopy pattern never repeats the same way twice. Cost considerations can be thoughtful here, since you may want a sturdy tripod for slow shots, but you can also shoot quick handheld if you use proper technique.
Current trends love rich greens and textured shadows, so aim for color that feels alive rather than flat.
19. River Deltas, Tidal Patterns, and Color-Shift Shores
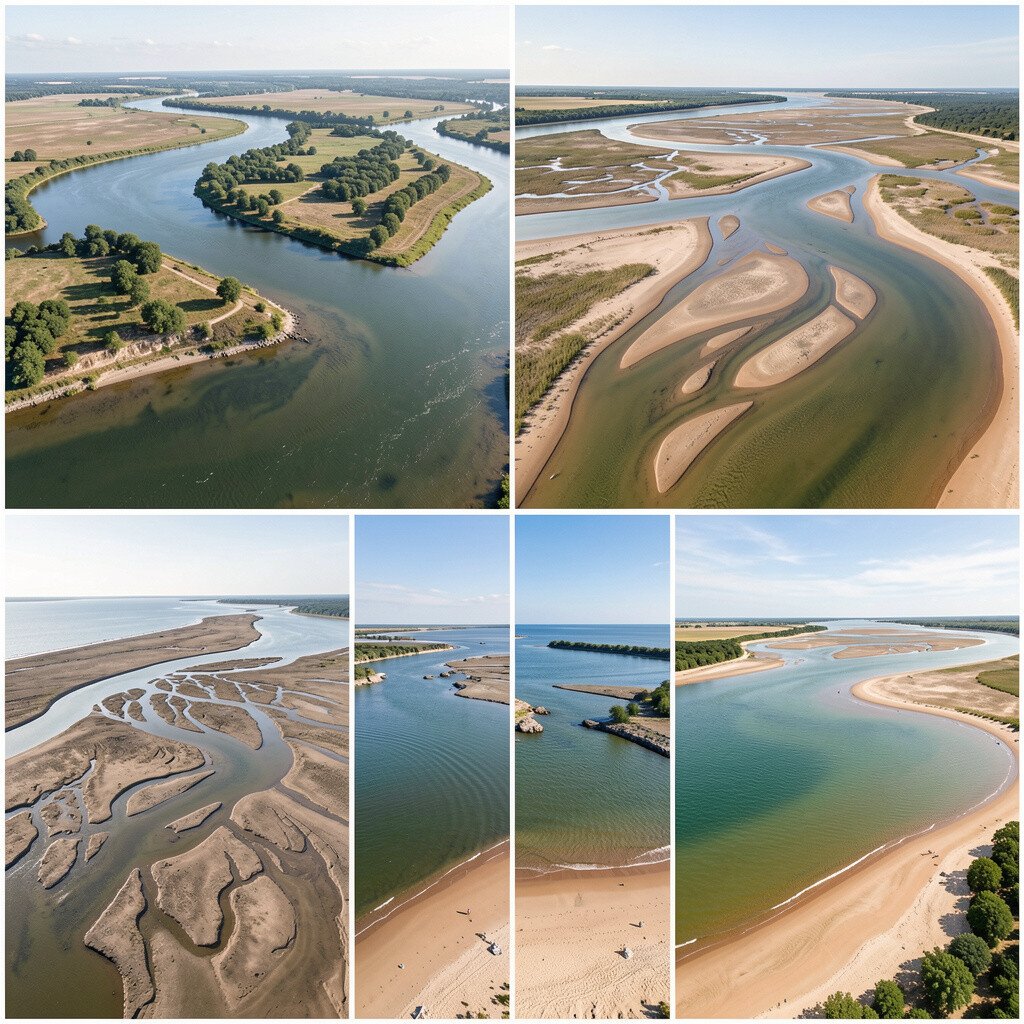
River deltas show wide textures where water meets land, often changing color through the day. Tidal flats can create delicate lines that look like drawing strokes.
Plan your timing around low and high tide so you can capture the shape of the shore. Use a wide angle for the full pattern, and then switch to a tighter frame for interesting edges and color transitions. If you are walking on uneven mud, bring footwear with grip and always check ground conditions.
For personalization, pick a repeating element like driftwood or a distant bird silhouette. That choice makes your series feel like it has a main character. Cost stays low because the real investment is your timing and careful composition, not extra gear. Trends often highlight “place-based” photography, where local shapes and weather patterns become the star.
20. Caves and Water Drips With Controlled Contrast
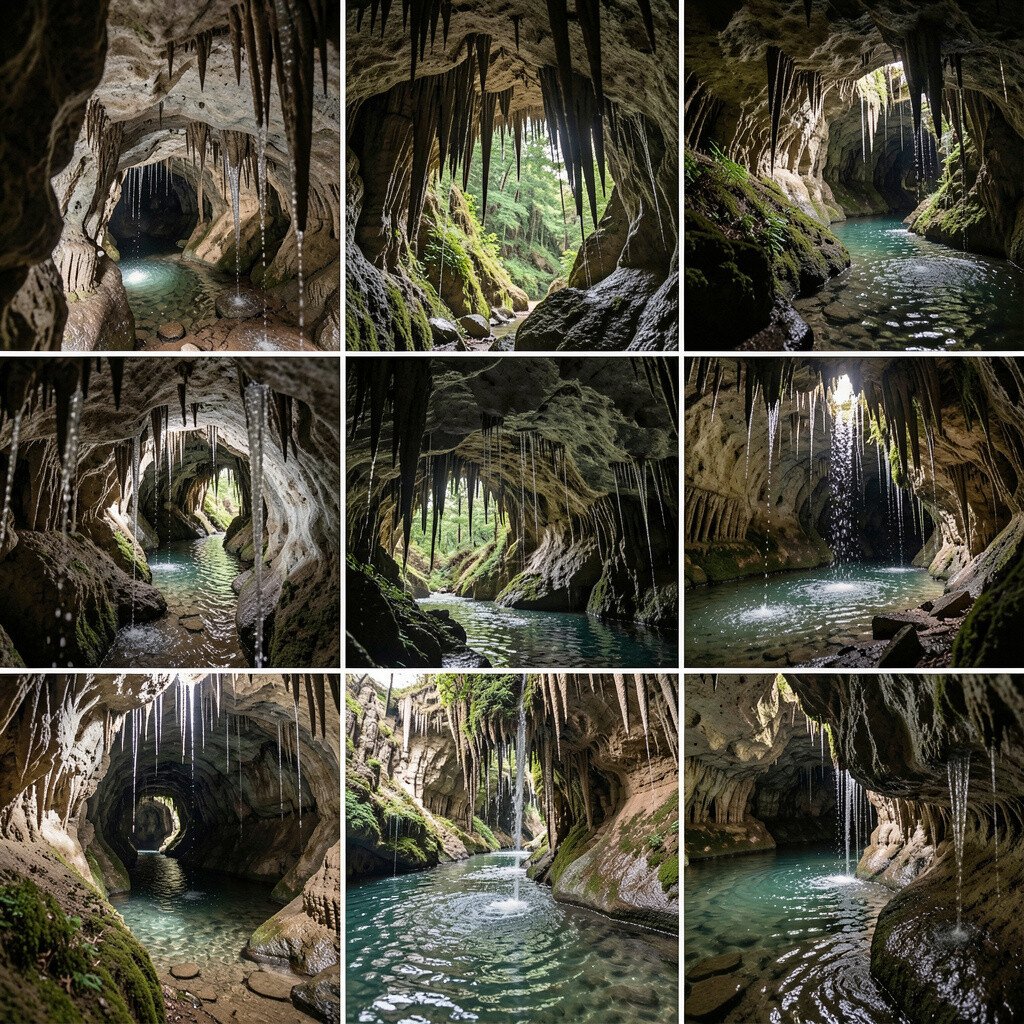
Inside caves, darkness can feel like a blank canvas. Small streams and dripping water sparkle when light hits them in the right moment.
Use a sturdy tripod and a flashlight for controlled illumination, then use slower shutter speeds to catch details around the drips. Keep your exposure balanced so bright highlights do not erase texture on the rock. For practical gear, pack a lens wipe and a dry bag, because humidity can be intense and quick to fog glass.
Personalize your shots by setting a theme around shapes, like arching rock curves or repeating drip points. This makes the inside feel organized rather than random. Cost considerations are practical here because you can achieve strong results with lighting discipline and stable support instead of expensive camera upgrades.
These cave scenes feel unique because light behavior changes with every drip and every breath of air.
21. Community Trails, Signs of Life, and Your Own Map in Photos
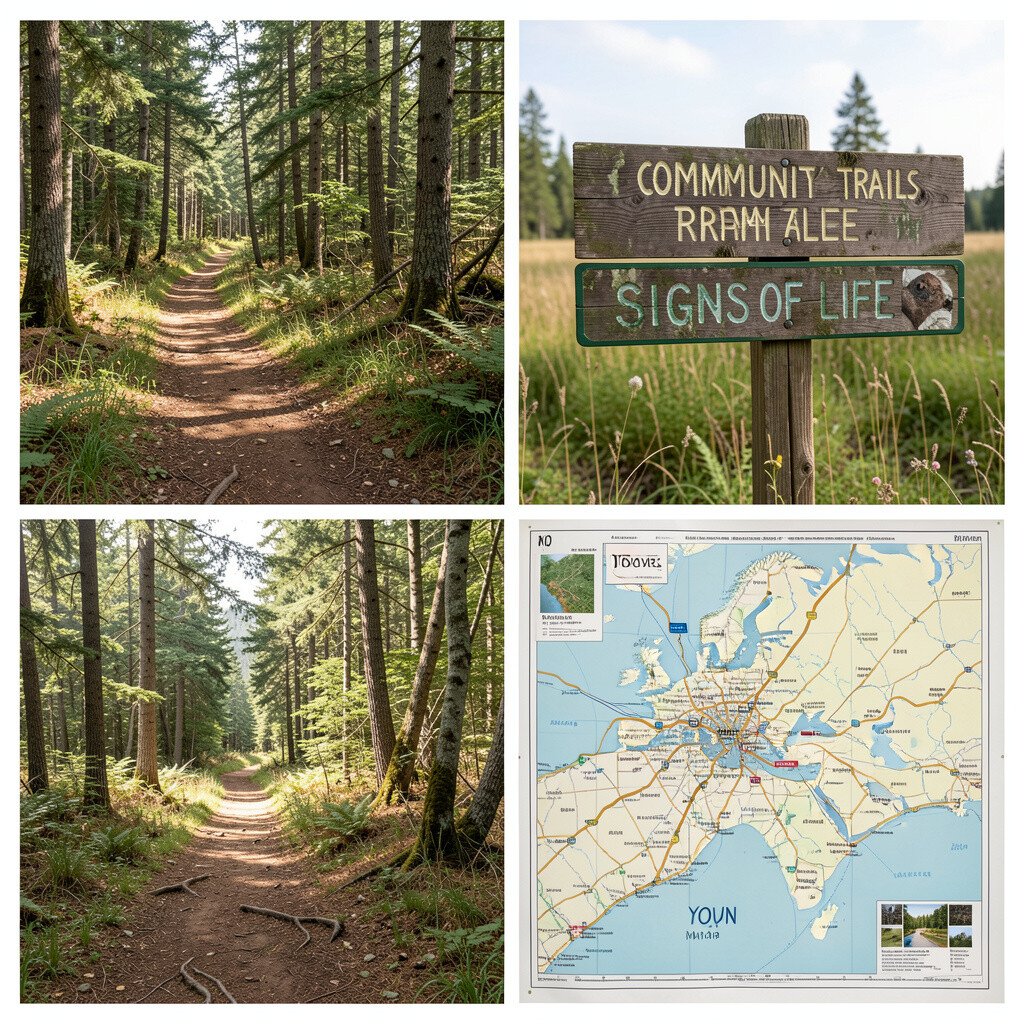
Even well-known outdoor trails can produce fresh images when you treat them like a personal map. You might photograph trail markers, bridges, and small habitat scenes that change across seasons.
Keep your camera ready for short moments, like a single sunbeam on bark or a bird landing near a path. Use a consistent style setting for your collection, such as similar color balance, so your photos connect across visits. For practical tips, carry a small notebook or phone notes to record where you shot, what settings you used, and which time of day gave the best light.
Personalize your collection by building a “route series,” where you return to the same spot to compare changes. This creates a sense of progress that feels meaningful and motivating. Cost considerations are gentle because the biggest value comes from repetition and learning, not constant new purchases.
This approach also matches current trends toward authentic storytelling, where viewers love the feeling of journey and memory stitched into images.
When you build your own photo map, every future hike becomes easier because your eyes already know what to look for.