The fridge can feel messy faster than you expect. Acrylic bins make everything look calmer and easier to reach.
1. Clear-View Produce Crates
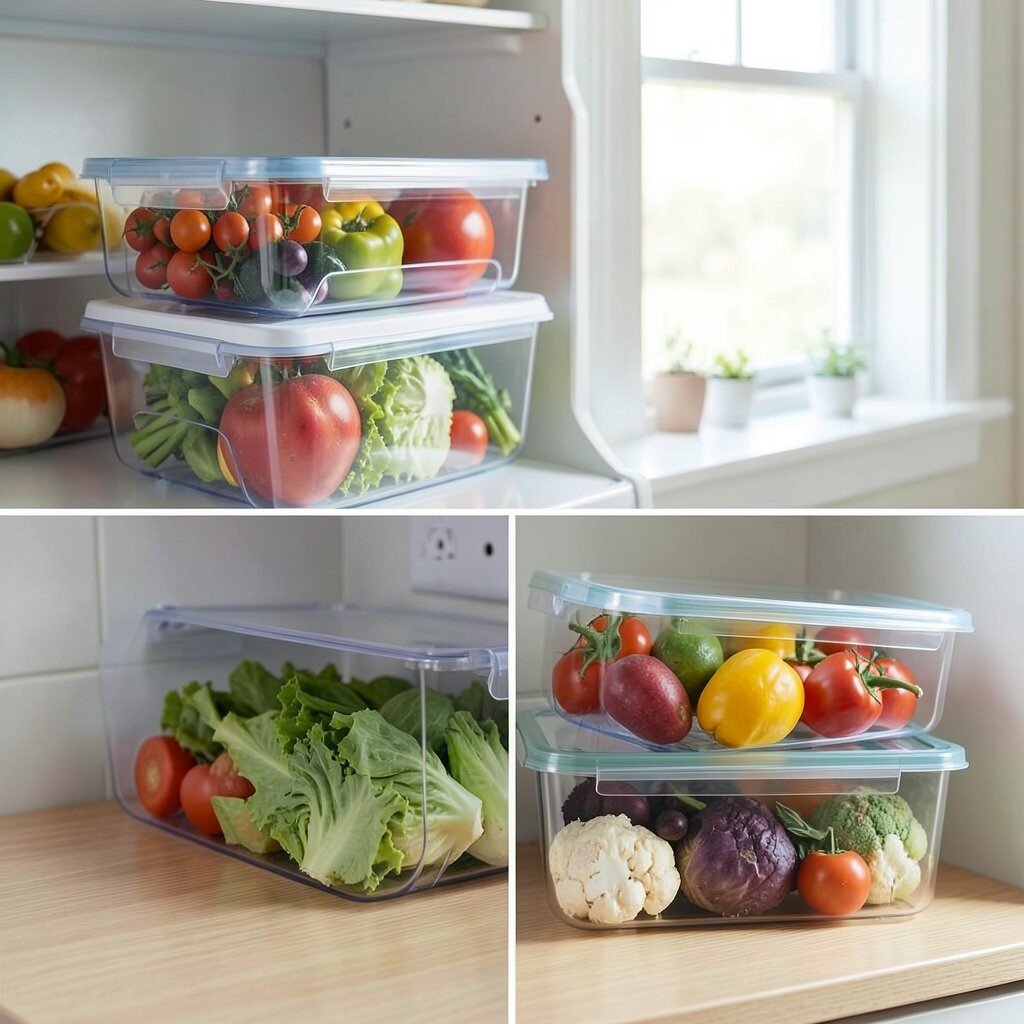
Slide in matching clear acrylic bins so you can see greens at a glance. Keep apples, berries, and leafy herbs separated to reduce spills and soggy corners.
Use shallow bins for salad items and a deeper one for fruit so lids stay aligned. Add a simple rule for yourself by placing the oldest produce in the front. Label the bin bottoms with a marker that matches your kitchen colors so it feels personal.
2. Stackable Snack Zones

Build a snack wall using stackable acrylic bins that fit your fridge shelves. When everything sits in neat rows, grabbing a treat feels faster and less chaotic.
Group snacks by type, like crackers, bars, and small bags, so kids can find what they want. Measure the shelf height and choose bins that leave a little breathing room for airflow.
For a budget-friendly approach, reuse any snack jars you already own by pouring small items into the bins. Try a “one bin per person” system so each family member has their own spot.
3. Temperature-Friendly Dairy Divider

Give dairy its own acrylic home with one bin dedicated to milk, yogurt, and cheese. The clear sides make it easy to notice what needs using first.
Keep cheese in a separate bin from yogurt to prevent mixing smells. Place butter or cream in the coldest area of your fridge so it stays spreadable.
Use a microfiber cloth under the bin to catch drips and keep the shelf clean. If you love a neat look, match bin sizes so the dairy area looks like a mini display.
4. Door-Height Sauce Holders
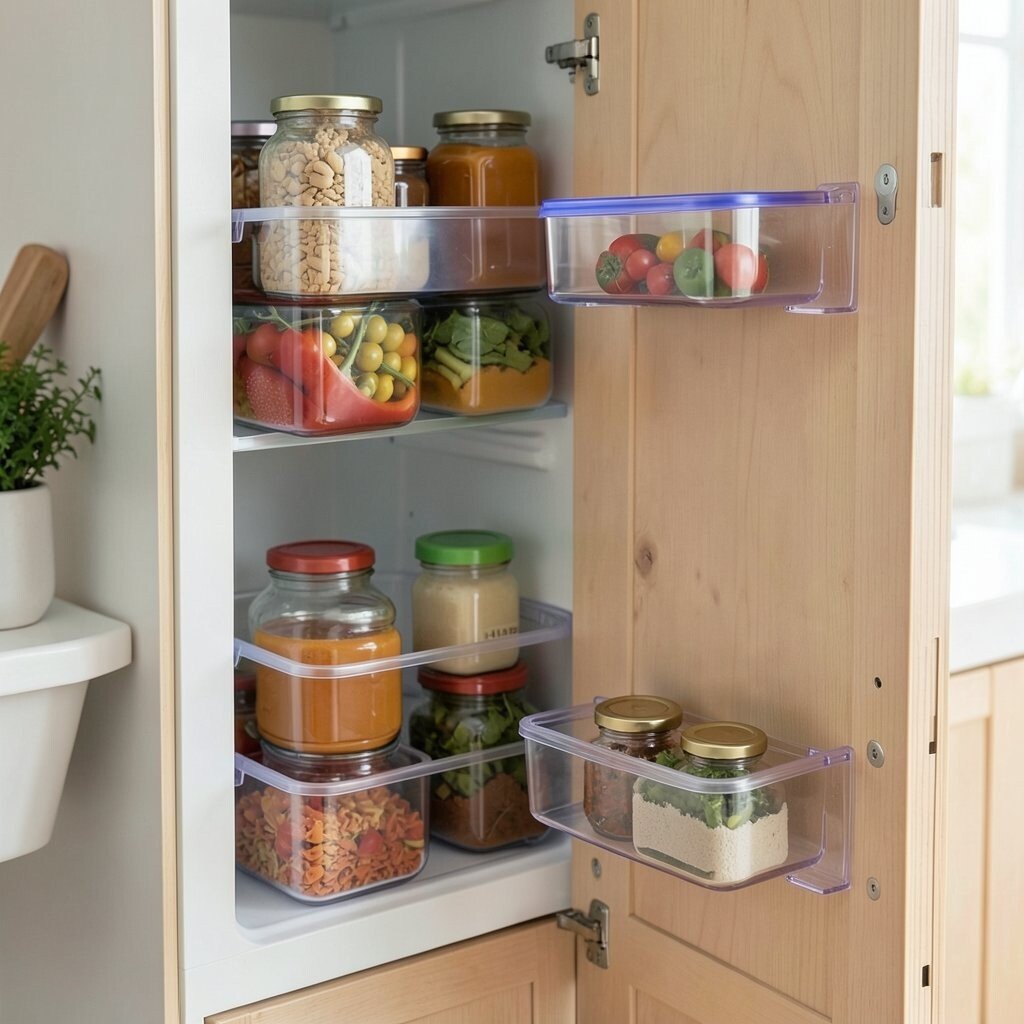
Use acrylic bins designed for door space so condiments stop sliding around every time you open the fridge. The visual order also helps you stop guessing what’s running low.
Keep sauces, dressings, and opened jars together, but separate anything that can leak. Wipe the rim of each container before placing it back so the acrylic stays crystal clear.
5. Leftover Label-Lane System

Turn leftover containers into a tidy line by placing them in one clear acrylic bin. Seeing portions in a row makes it easier to eat what you already cooked.
Write dates on removable stickers and press them onto the lids so you can read them quickly. Keep the bin near the front so lunches and quick dinners actually get used.
If you want extra help, place taller containers at the back and flatter ones in front. That way, nothing gets hidden under a stack.
6. Herb and Citrus Freshness Drawer

Create a small acrylic bin just for herbs and citrus so you can keep them from getting crushed. The transparency helps you notice wilted leaves before they ruin your recipe plans.
Line the bin with a paper towel to absorb extra moisture and keep greens looking bright. Store citrus upright or in a single layer to avoid scratches and sticky juice.
7. Meal Prep Portion Stack
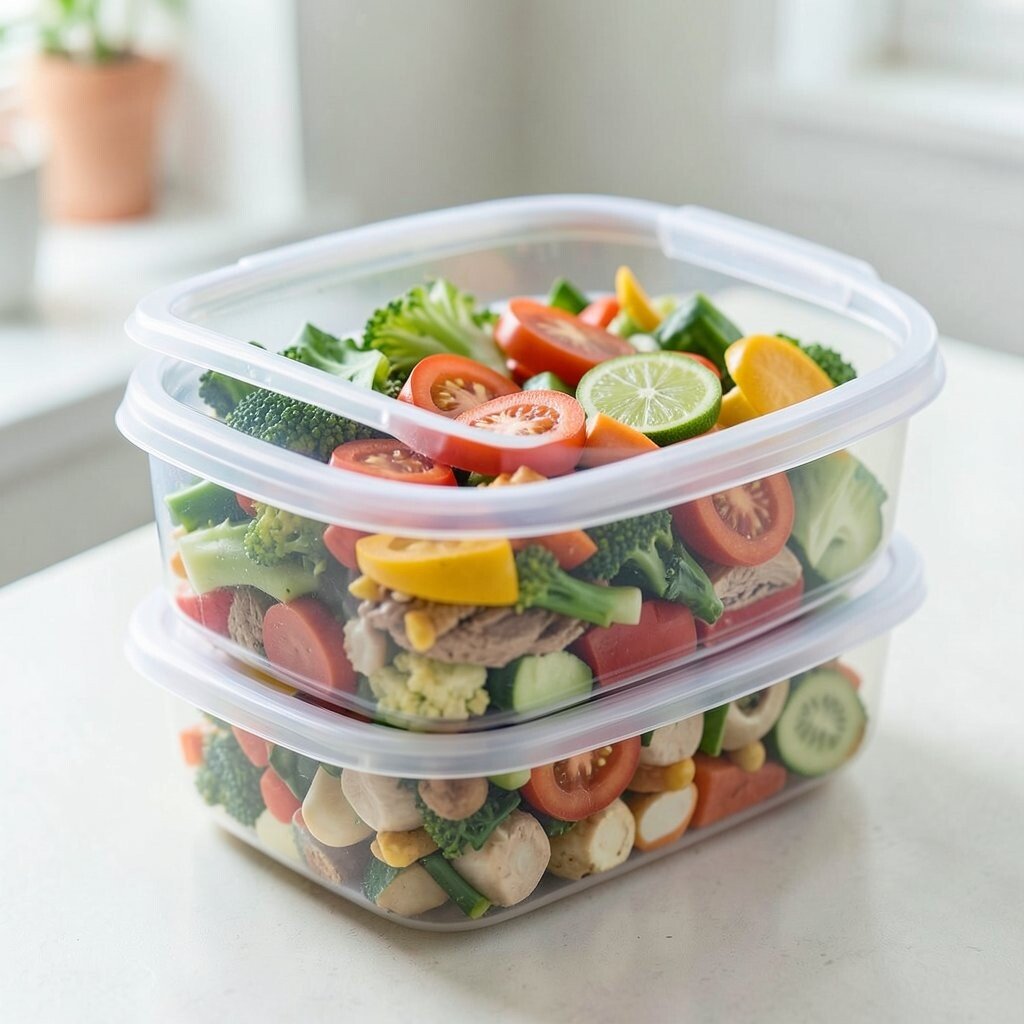
Set up one acrylic bin for meal prep portions so your weekly plan is always visible. When containers line up neatly, you feel more ready to cook on busy nights.
Choose lids that fit snugly and match bin sizes so everything stacks cleanly. Label the containers by meal type using small colored stickers for a fun, coordinated look.
Keep a “ready to eat” corner by placing the most recent portions at the front. If you batch cook, add a second bin for frozen extras to keep the main one from overcrowding.
8. Egg-Safe Acrylic Corner
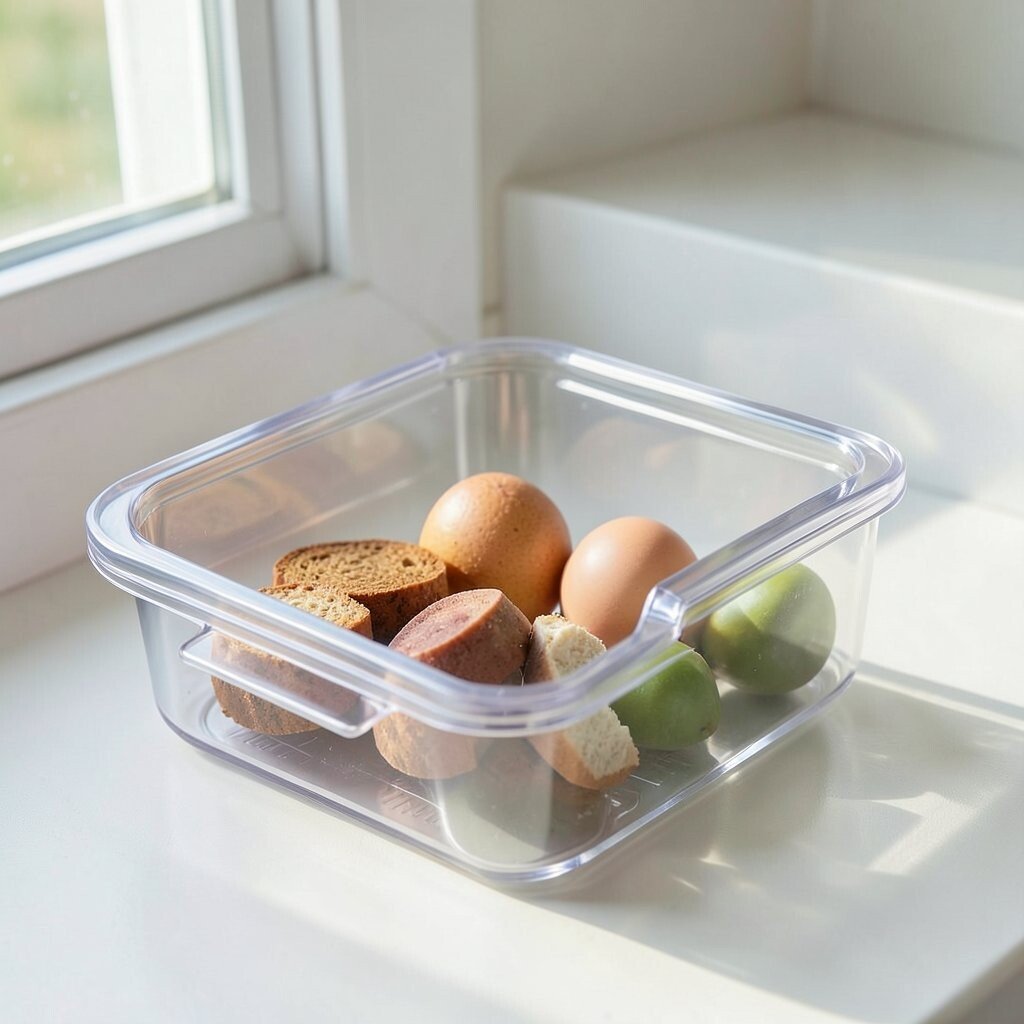
Use an acrylic bin as a protected corner for eggs so they stay stable and don’t rattle. Clear walls also make it easy to see cracked shells before you forget to check.
Place a folded towel or non-slip liner underneath to reduce movement when you open and close the door. If your fridge tends to run crowded, keep the egg bin in a dedicated shelf spot so it never gets pushed aside.
9. Cold Cuts and Charcuterie Divider

Give cold cuts and deli items their own acrylic bin so lunch ingredients stay organized. The visual separation helps you avoid mixing strong-smelling foods with lighter items.
Sort slices by type and keep opened packages facing forward. Add a small note on a sticker with the date you opened the item so you stay on track without stress.
For personalization, tint the bin with a matching label color to coordinate with your kitchen style. If you’re cost-conscious, reuse deli containers when they’re clean and only move the parts that spill easily.
10. DIY Pantry-to-Fridge Bread Basket

Use an acrylic bin as a fridge-friendly bread and bagel basket so slices stay put. A clear front makes it simple to grab breakfast without turning the shelf into a scavenger hunt.
Choose a bin with a flat base and keep bread in a breathable bag to prevent sogginess. If space is tight, store bagels in one bin and sandwich bread in another so you can grab faster.
11. Frozen Treat Refill Bin

Even in a fridge, you can keep frozen treats neat by using an acrylic bin for ice packs, frozen fruit, and quick dessert extras. The clear view helps you remember what you have before you buy more.
Keep the bin in an easy-access spot so it’s not buried behind tall items. Use a small divider or a cardboard insert to keep packages from sliding when you bump the shelf.
For a budget angle, cut freezer bags into tidy portions and slide them into the bin instead of hunting for extra containers. This also makes cleanup easier when you’re ready to restock.
12. Snack Toppers for Kids and Guests
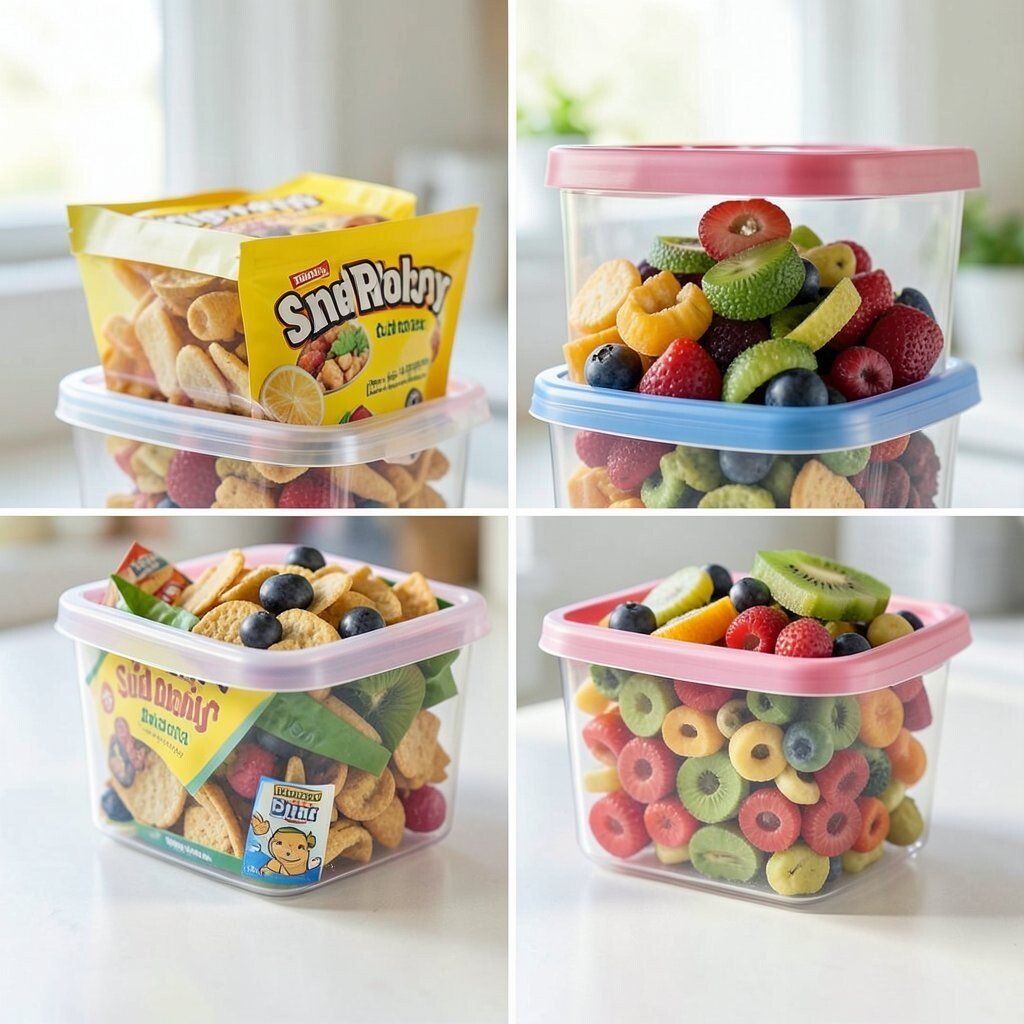
Make hosting smoother by adding an acrylic bin that holds kid snacks and guest-friendly bites. When people can see what’s available, you get fewer interruptions and more happy faces.
Keep items simple like single-serve fruit cups, cheese snacks, and small crackers. Put the bin at eye level so it feels like a fun grab-and-go station without needing your help.
Add a small sticker sheet theme, like a star or ocean vibe, so it matches your home style. This kind of personalization can cost less than you think because stickers are easy to swap.
13. Glass Jar Styling with Acrylic Base

Turn glass jars into a clean-looking system by placing them on an acrylic bin base. The transparency makes your fridge feel lighter, and jars become easy to spot.
Use one bin for pickles or olives and another for sauces so flavors stay contained. Keep jar lids dry and aligned for a neat, polished look that feels satisfying every time you open the door.
If you want a trend-forward vibe, coordinate jar labels in matching fonts or color strips. It’s a simple upgrade that makes a practical setup look like intentional design.
14. Quick-Use Breakfast Assembly Line
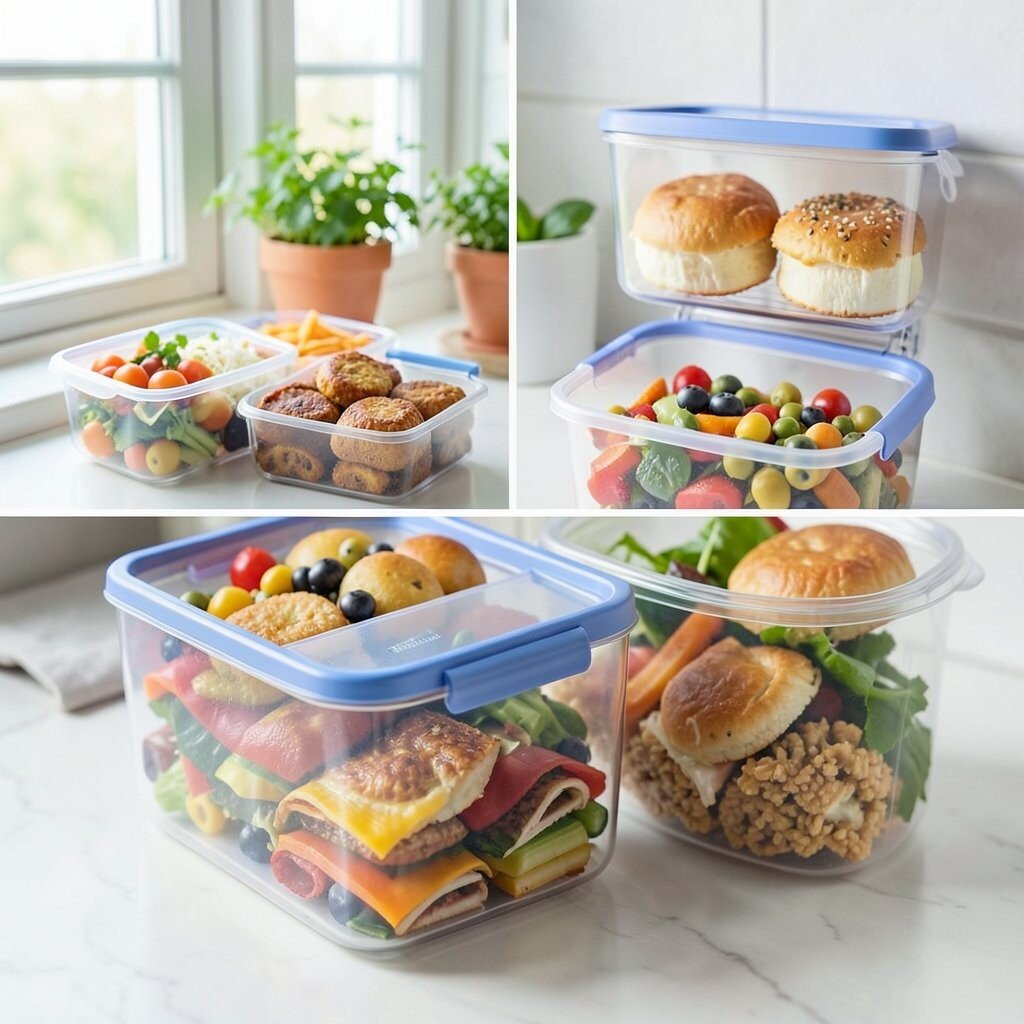
Create a breakfast assembly bin that holds items you grab every morning. Think syrup, jam, toppings, and small containers that prevent last-minute rushing.
Arrange items from left to right based on the order you make breakfast. Add a small dry erase label on the bin so you can note what’s inside and swap it when needed.
15. Pantry Staples for the Fridge Shelf
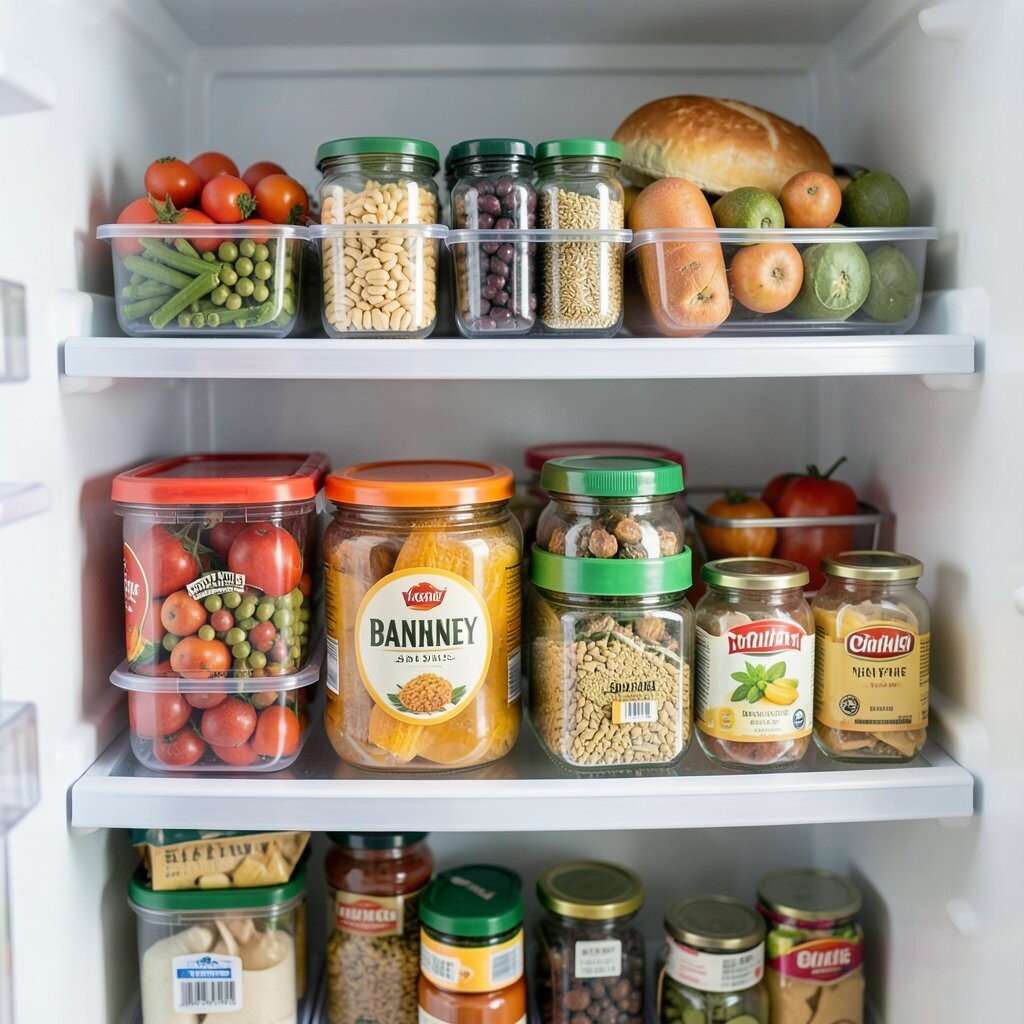
Even though it’s a fridge, some staples deserve a dedicated zone like opened pasta sauce, broth, and salad dressing. Acrylic bins help keep these items from drifting into random spots.
Choose a bin size that matches your shelf space so bottles don’t wobble. Keep bottles grouped by shape so you can pull them out without knocking others over.
For cost control, pour bulk items into smaller containers you already have instead of buying new sets. You’ll end up with a uniform look while spending less.
16. Weekly Planner Shopping Reminder Bin
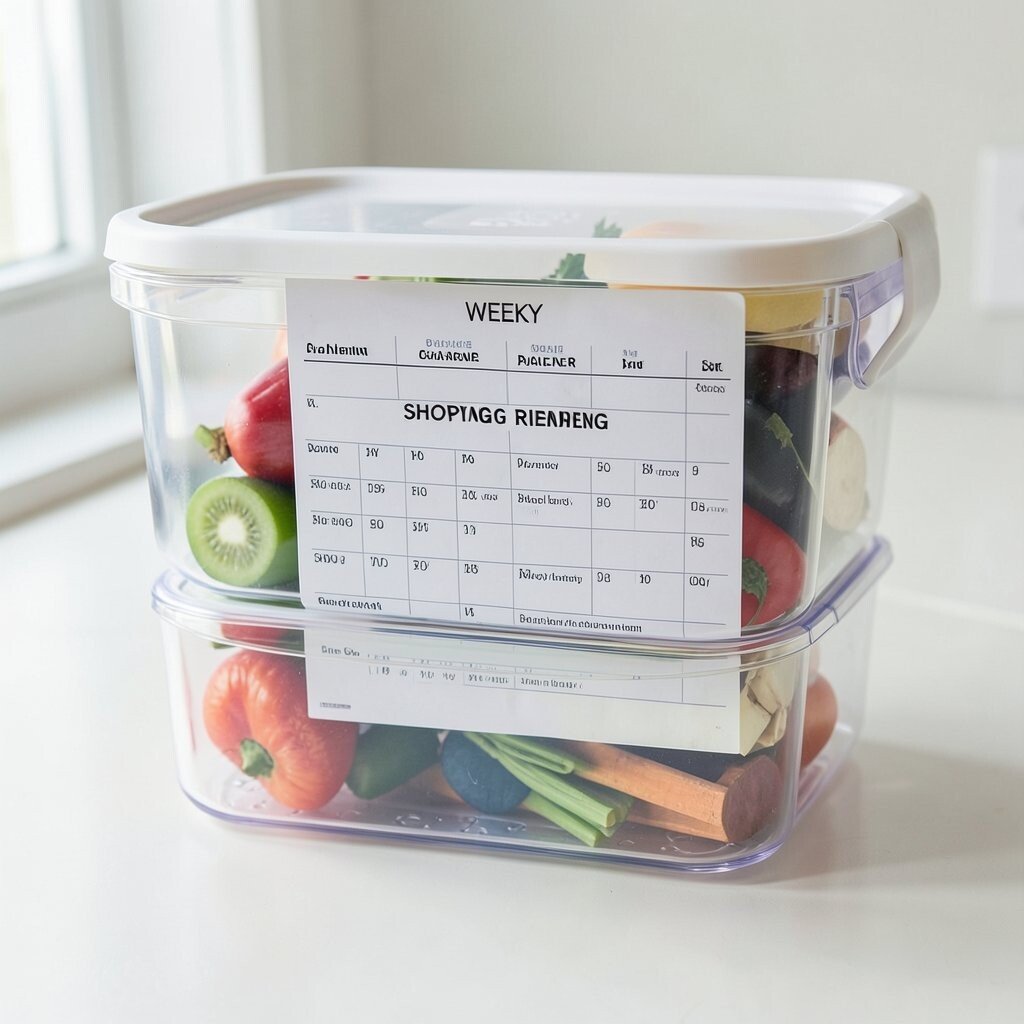
Keep a small acrylic bin for fridge check items so you remember what to buy. When you see empty labels, you can jot a quick note and plan the next restock.
Place it where you naturally pause, like near the produce bins or by the door. Use stickers with simple icons so you can scan quickly even when you’re busy.
This setup feels unique because it turns organization into a gentle habit rather than a chore. Try rotating the bin contents weekly so it stays relevant and doesn’t turn into clutter.
17. Customized Color-Coded Bin Layout

Use acrylic bins with a color-coded layout to make your fridge feel like a map. Clear bins paired with your favorite label colors create a look that’s both practical and fun.
Assign colors to food types, like greens for produce and blues for dairy, so you learn the system fast. Keep label styles consistent by using the same font size and small icon set across every bin.
For personalization without high cost, use washable labels or painter’s tape strips you can replace anytime. This approach also fits current organization trends that focus on quick recognition and calm visuals.