
Your chair deserves a fresh start, not a frustrating redo. Small mistakes can turn a fun project into a pile of extra fabric and regret.
Reupholstery can look magical when it’s done well. This list will help you avoid the common bumps in the road so your results feel neat, comfy, and truly yours.
1. Choosing the Wrong Fabric for Daily Life
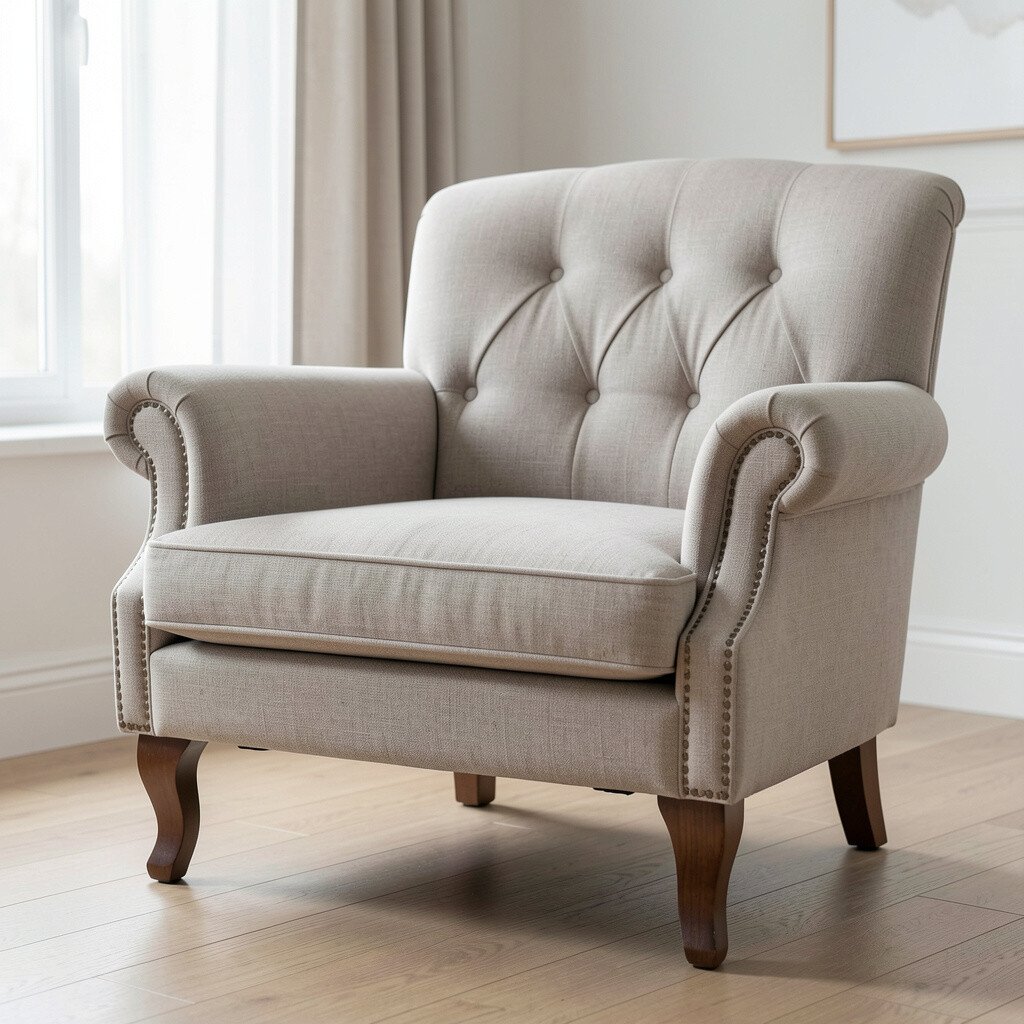
You might fall in love with a fabric in the store, but everyday use has a vote too. If you pick a delicate material for a high-traffic chair, it can wear thin, snag, or fade faster than you expect.
Try to match the fabric to the chair’s job, like dining, desk, or living room lounging. Look at how the fabric feels in your hands and imagine it after months of use, sunlight, and regular cleaning. A strong upholstery weave can help your chair stay sharp and comfy without constant repairs.
2. Skipping Fabric Testing Before Cutting
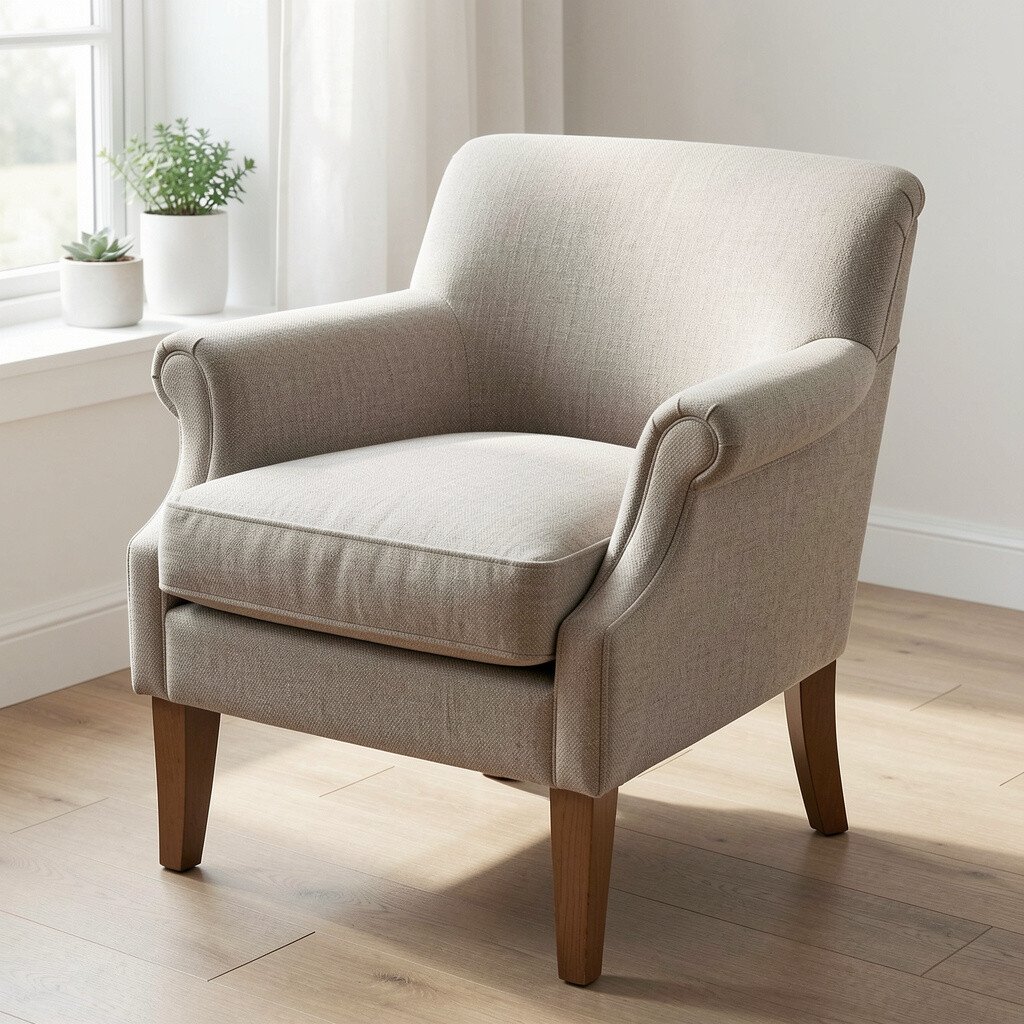
Cutting fabric feels exciting, but it’s also where rushed choices show up fast. One test can save you from wasting yards of material and starting over.
Test a small offcut by pressing it, blotting it, and checking how it behaves under light. If you notice color transfer, excessive fraying, or odd shrinkage, you’ll know before the main pieces are ruined. This keeps your finish tidy and helps your chair keep its shape.
For personalization, you can test different thread tensions on scraps so your seams look smooth. If you want a trend-forward look, experiment with textured performance fabrics that mimic luxury without the stress. It may cost a bit more at first, but it often saves money later by preventing remakes.
3. Underestimating Foam Thickness and Comfort
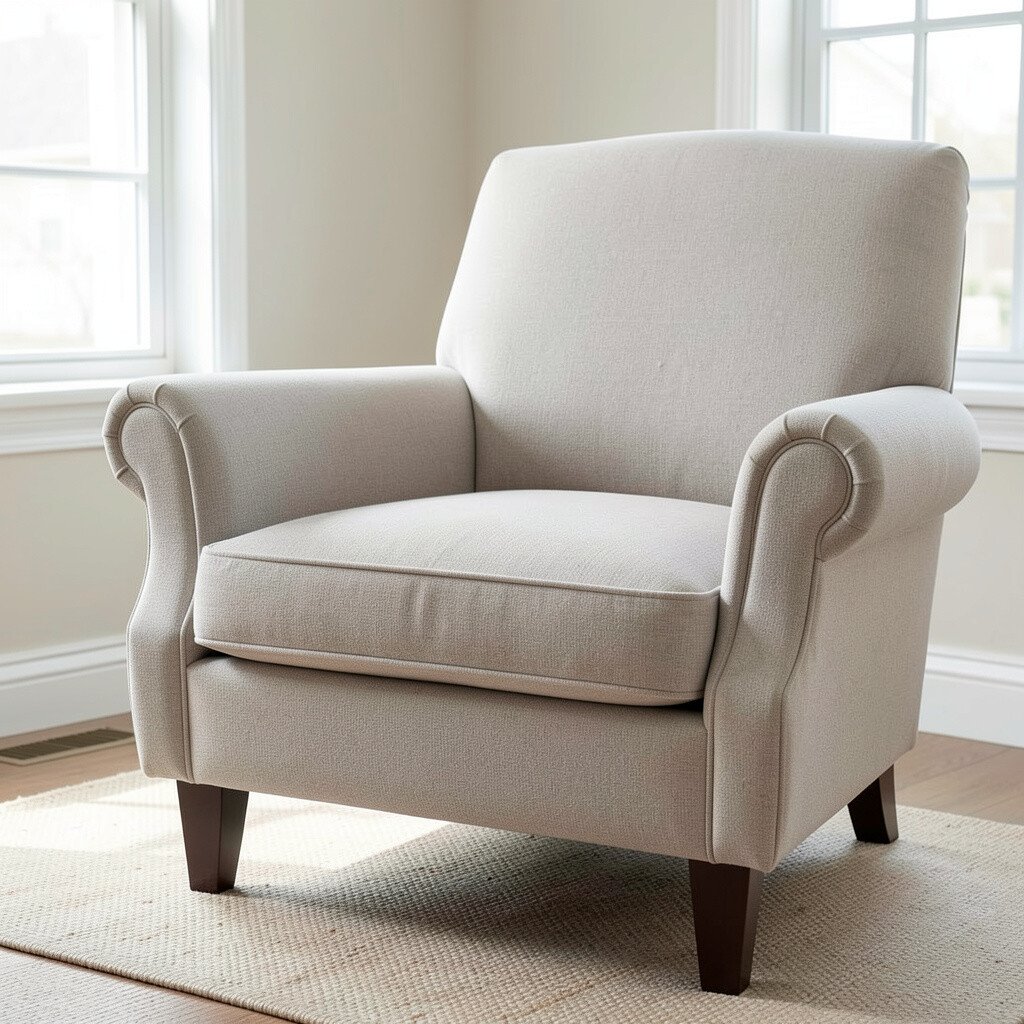
It’s easy to focus on the fabric and forget what sits underneath. But foam thickness changes how the chair feels every time you sit down.
If the foam is too thin, the seat can feel stiff and uncomfortable, like you’re sitting on a hard platform. Too much foam can make the chair top-heavy, and the upholstery may not fit correctly, causing awkward wrinkles.
Measure the old foam, compare it to your comfort goal, and consider swapping in a supportive option if the chair sags. Many people like a middle-ground approach using layered foam so it feels plush without losing structure. You’ll get a better result, and the chair will look fuller and more premium in photos.
When you personalize, think about the difference between firm support and “sink-in” softness. This is also a great place to adjust for body comfort, especially if the chair is for long sitting. Spend time here because a small foam change can feel like a big upgrade for daily life.
4. Not Photographing the Chair Before You Start
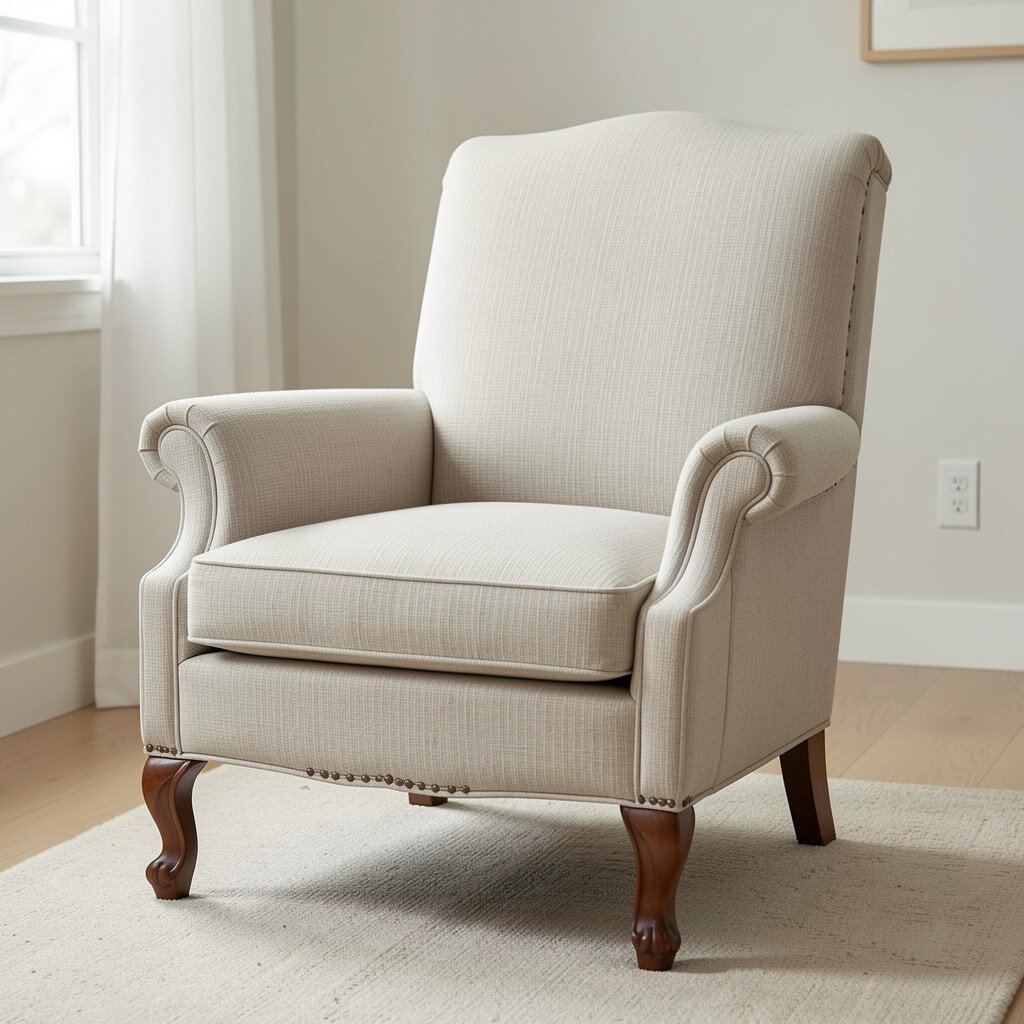
Before removing anything, take clear pictures from several angles. When parts come off, you might think you’ll remember, but details get fuzzy fast.
Good photos help you map how the fabric wraps, where the seams align, and how the piping sits around corners. That accuracy makes reassembly smoother and reduces the risk of uneven tension. It also helps you spot opportunities for a fresh look, like realigning patterns for cleaner symmetry.
5. Forgetting the Chair’s Hidden Components
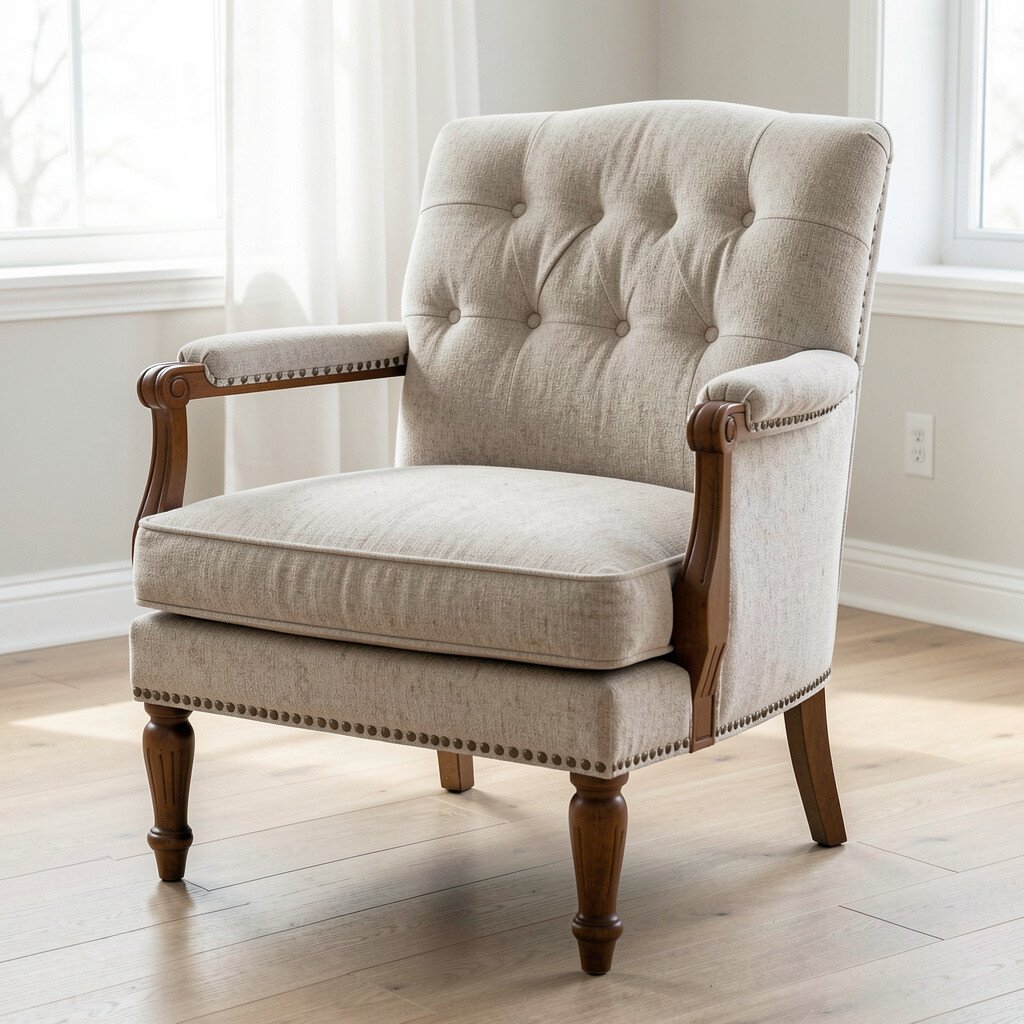
Underneath the fabric, chairs often hide springs, tack strips, burlap, and old padding. If you ignore these pieces, your finished chair can sag, shift, or feel bumpy right away.
Check for loose springs, brittle webbing, and torn burlap that can crumble under new fabric. When you reinforce weak areas, the chair holds its form and looks better longer. It also makes your upholstery sit flatter so the top fabric looks smooth instead of wavy.
Keep your uniqueness in mind by choosing upgrades that fit the chair’s style, like replacing worn webbing or tightening support. These repairs can affect cost, but they often prevent the most expensive problem, which is doing the work again. A little maintenance at the foundation stage pays off in comfort and appearance.
6. Using the Wrong Staple Type or Length
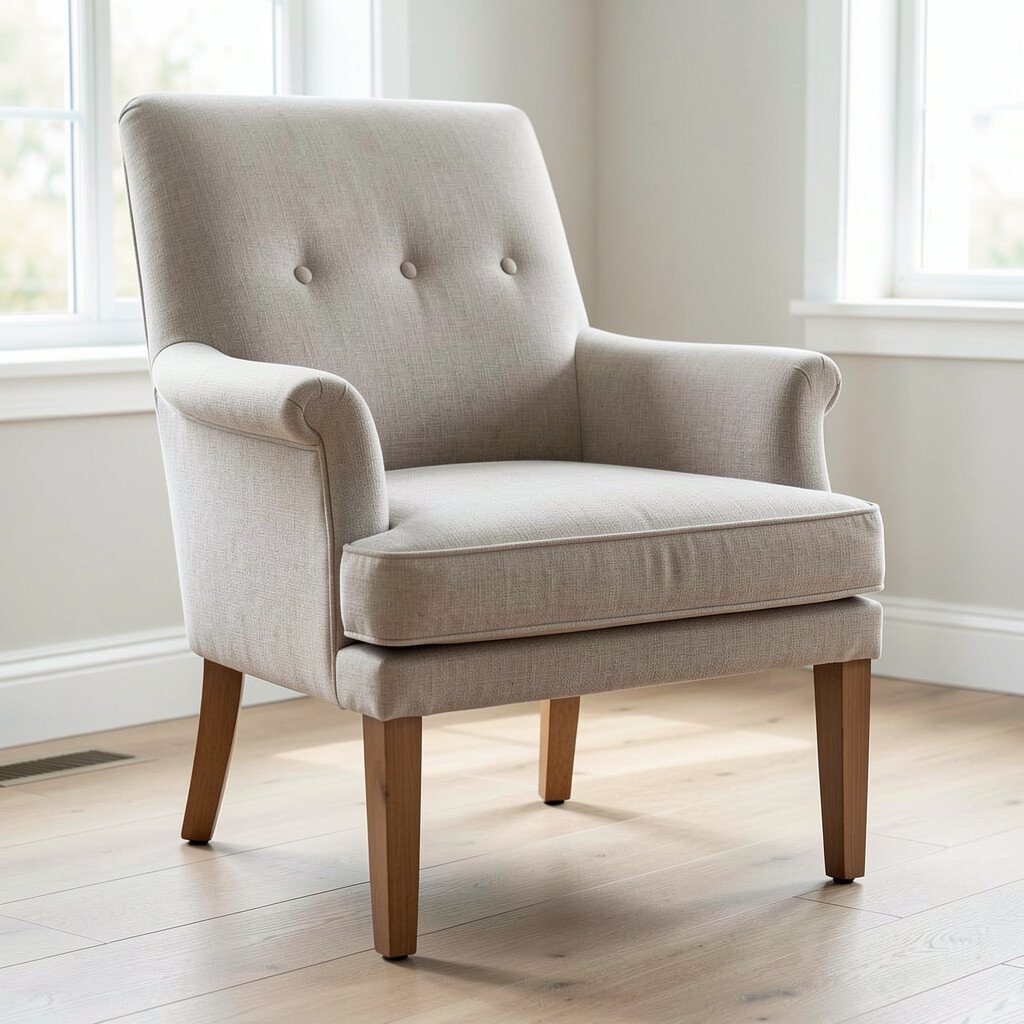
Staples seem like a small part, but they can make the whole job fail. If staples are too short, they won’t hold the upholstery tight, and if they’re too long, they can poke through.
Match staple size to your upholstery thickness so the grip is secure without damaging padding. Test on scrap material with a similar foam or batting layer so you can feel the hold. This helps your final lines stay crisp, especially along edges and corners.
7. Pulling Fabric Too Tightly or Too Loose
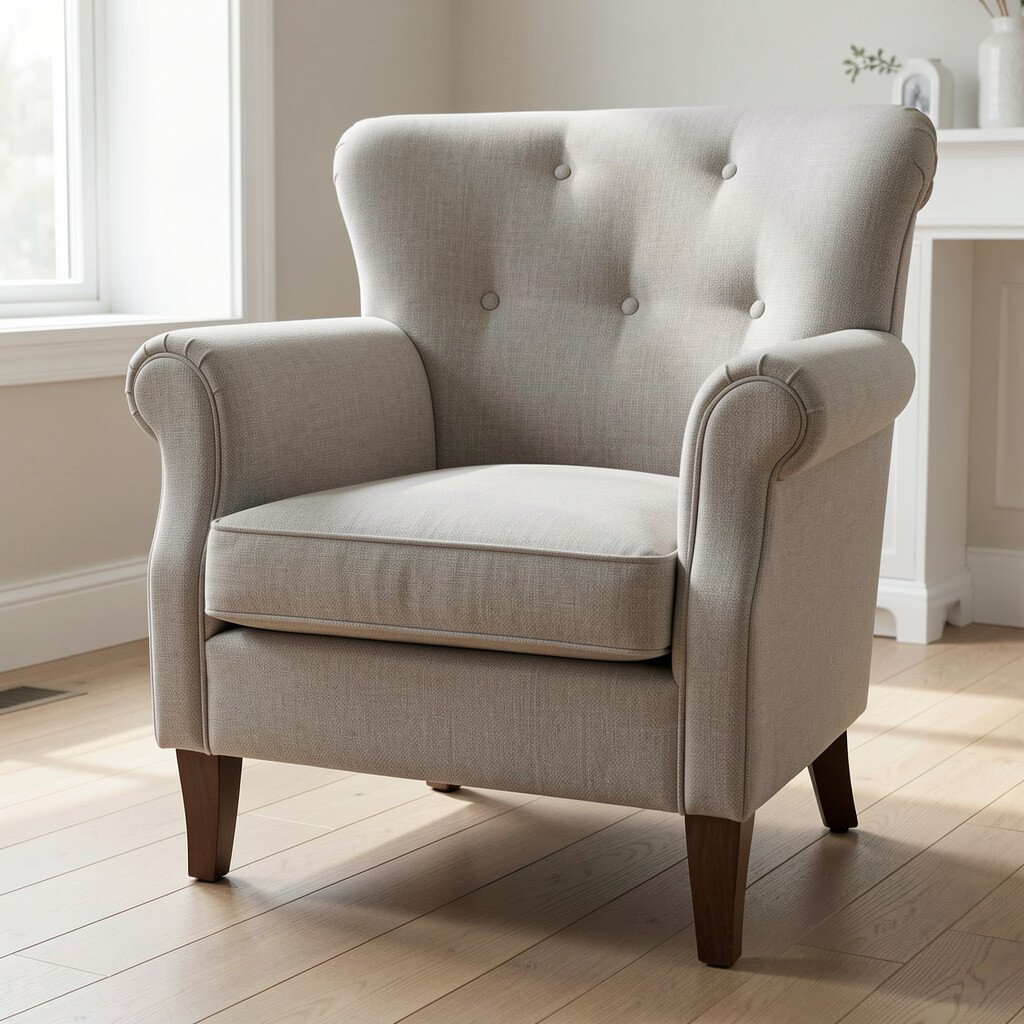
Fabric tension is the secret behind a neat, professional look. Pull too tight and seams can strain, distort, or pucker, while pulling too loose can create baggy sagging.
Aim for even tension as you work, smoothing as you go and anchoring sections in steps. If you notice ripples, loosen that area and fix it early instead of hoping it disappears. This is a practical habit that keeps your chair looking tailored, not wrinkled.
For personalization, you can adjust tension to change the mood of the chair, like a sharper, formal look with flatter surfaces. Trendy styles often lean toward clean lines and controlled drape. Managing tension can cost you nothing extra, but it can dramatically raise the quality of the finished result.
8. Ignoring Grain Lines and Pattern Direction
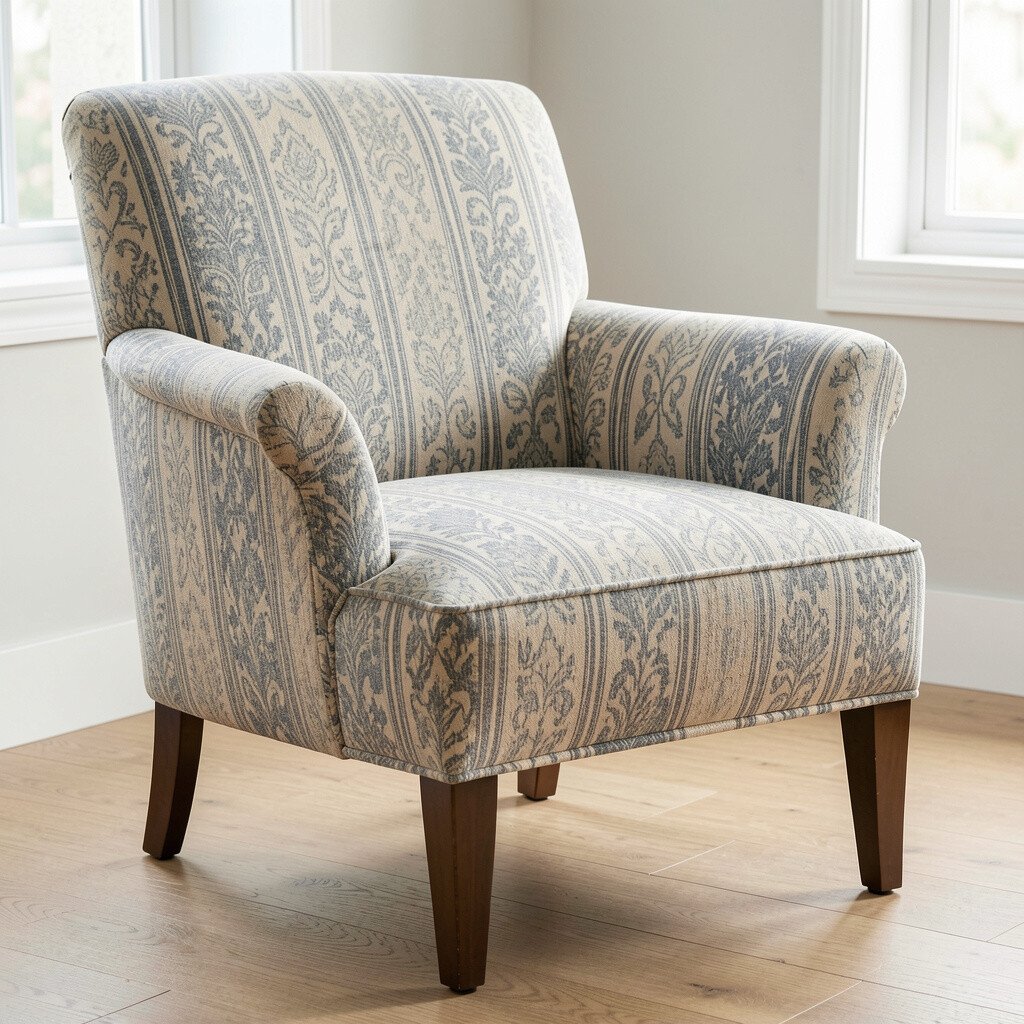
Patterns and fabric direction matter more than people think. A fabric that looks beautiful in a roll can shift or twist once it’s cut and wrapped.
Align grain lines with the chair so the upholstery hangs straight instead of pulling diagonally. For patterned fabrics, match stripes or motifs so the seat and back look intentional, not accidental. When you take this step, the chair looks more custom, and the design feels coordinated.
9. Choosing a Seam Location Without Planning
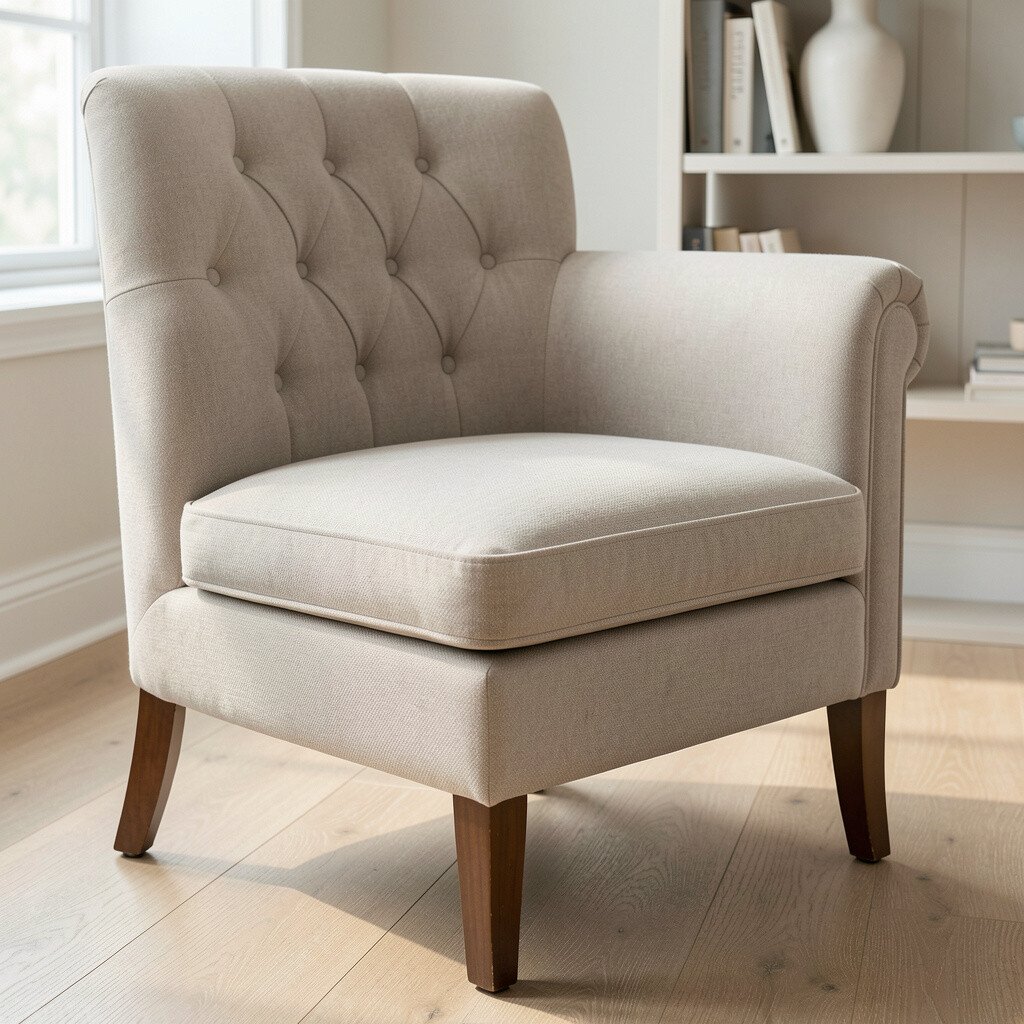
Seams are part of the design, even when you try to hide them. If you place seams in the wrong spot, they can tug when you sit, show awkward gaps, or look messy in daylight.
Plan where seams land based on the chair’s shape and how the body meets the fabric. A seam near a high-stretch area can split sooner, while a seam placed on a flatter section can hold up better. This practical planning improves durability and keeps the surface looking smooth.
Personalize by selecting seam placement that supports your style, like centering a motif for a balanced look. Many modern trends favor clean, centered visuals, especially on backs and headrests. Taking an extra moment to plan can avoid rework and reduce overall cost.
It also helps your upholstery look neat from both front and side angles. When guests sit and glance around, small seam choices add up to a polished finish. Your chair becomes something you’re proud to show.
10. Overlooking Thread Choice and Stitch Tension
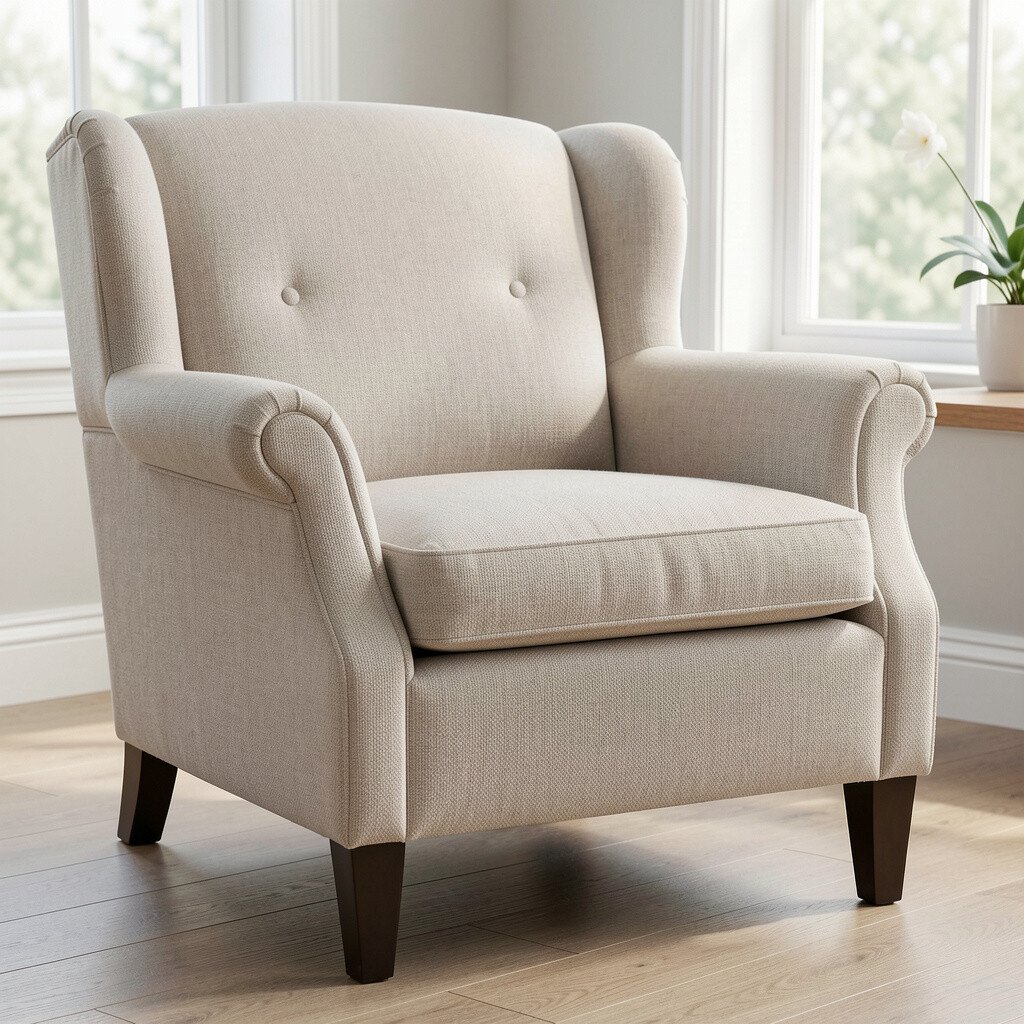
The thread you use affects how seams hold and how the fabric looks after stretching. Cheap thread can break, while mismatched tension can cause puckers that ruin the smooth surface.
Pick a thread that matches the weight of your upholstery fabric and allows for gentle stretch. Adjust your sewing tension and do a few practice stitches on scrap before working on real pieces. When your stitching lies flat, the chair looks smoother and more refined.
11. Replacing Every Piece, Even When It Isn’t Needed
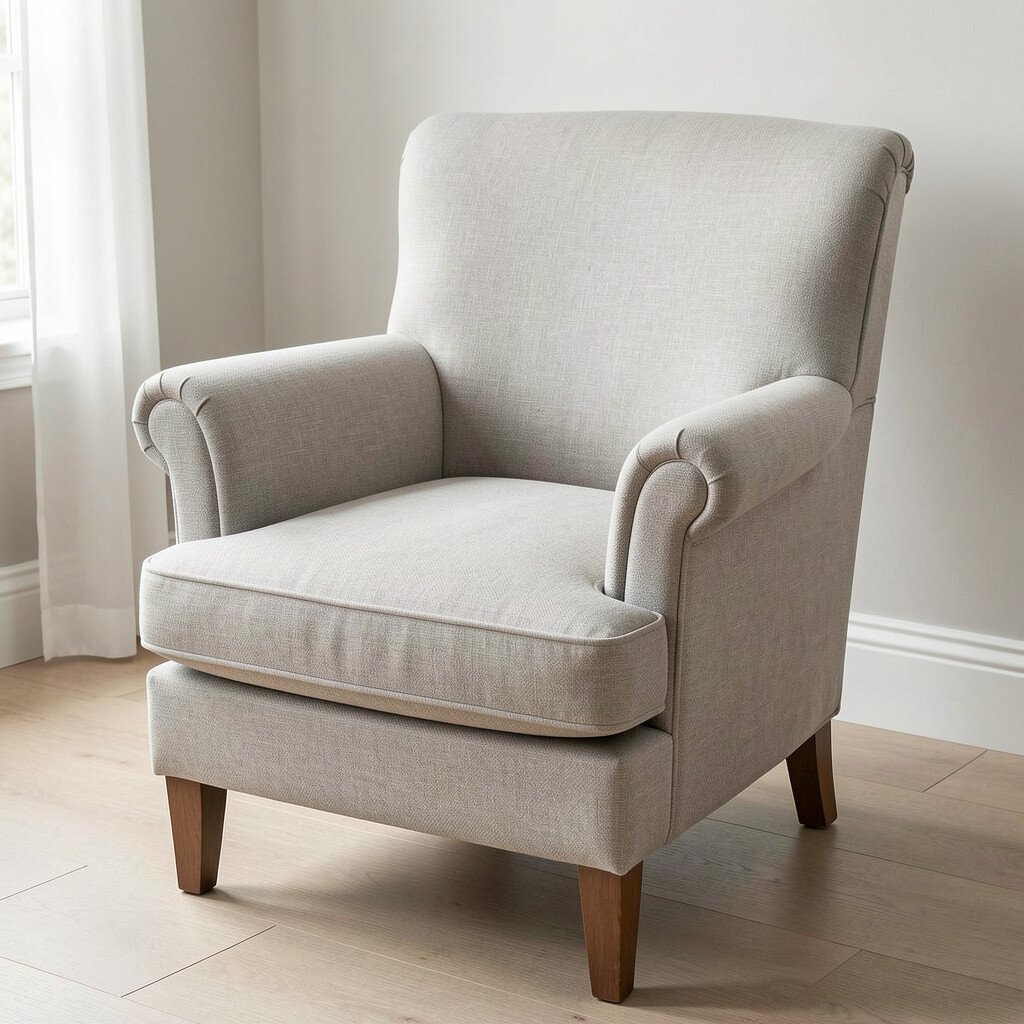
It’s tempting to swap everything just because you already have tools out. But not every chair part needs a full overhaul.
Check what’s actually worn, loose, or uncomfortable before replacing more than necessary. If the padding and support are still solid, you can often reuse certain layers and focus your effort on the fabric and worn spots. That keeps your cost lower and gives you a faster path to enjoying your upgraded chair.
Uniqueness can still happen even with reuse, like adding new batting for a slight comfort lift or choosing a bold fabric color. Current trends include mixing textures, so you can keep the base structure while updating the visible style. The result looks custom without turning into a budget surprise.
12. Failing to Use Proper Corner and Edge Techniques
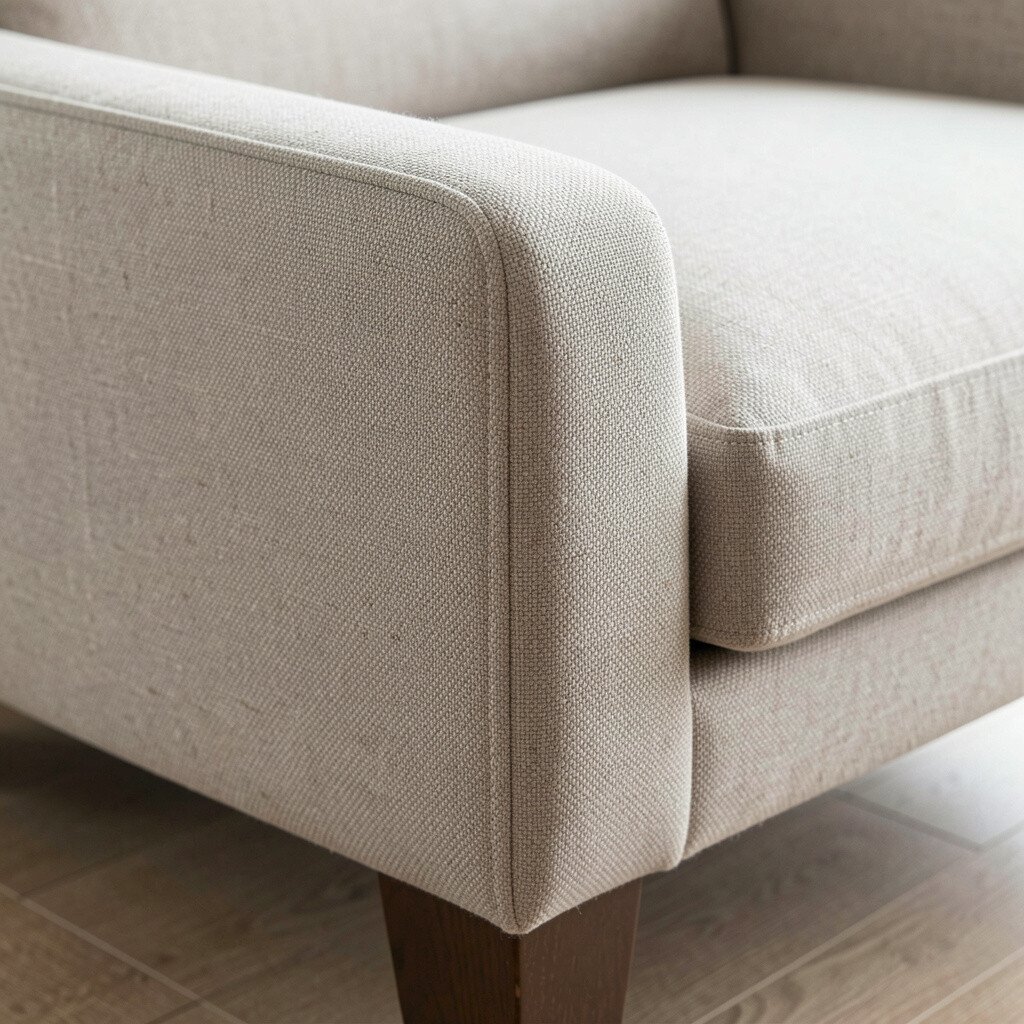
Corners and edges are where neat upholsterers earn their reputation. If you handle them loosely, they can collapse, gather, or look bulky.
Trim carefully, clip where needed, and smooth fabric before securing it with staples or tacks. Rounded corners often need controlled folds, while sharp edges benefit from precise wrapping. Correct corner work helps your chair look crisp and premium instead of lumpy.
13. Skipping Cleaning and Deodorizing Before Reupholstery
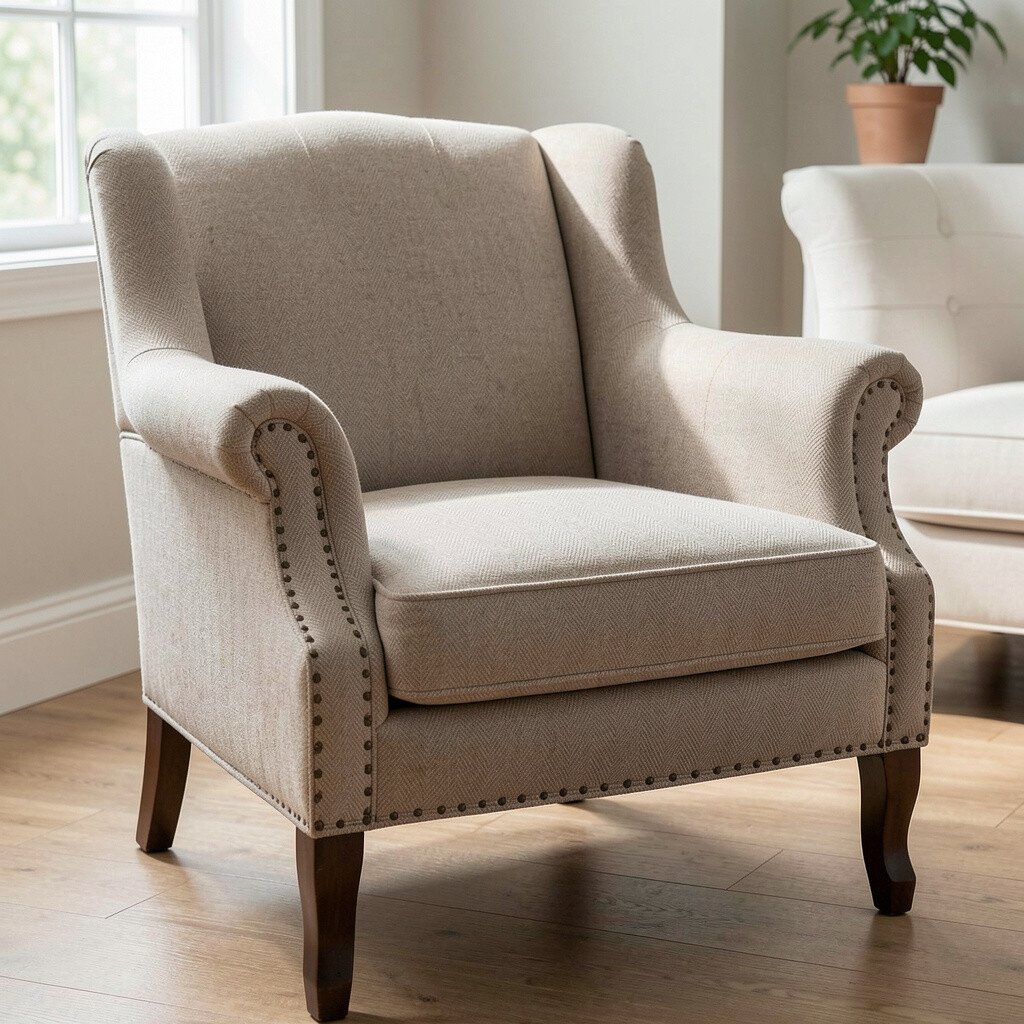
A chair that smells musty or dusty can make the finished fabric feel off even after the makeover. Old oils, pet dander, and spills can soak into padding or remain on the surface.
Clean the chair parts as you remove upholstery so you start fresh under the new fabric. If the chair is used in a home with pets or kids, consider deodorizing or sanitizing safe to your materials. This small step improves the feel and smell of the finished chair and helps your new upholstery look brighter.
It’s also a good time to check discoloration so you can choose a fabric that hides stains if needed. Some color trends lean into deeper tones that naturally hide everyday marks, which can be helpful for practicality. Cleaning first can cost a little time, but it usually saves money by preventing future frustration.
14. Underbuying Supplies and Running Out Mid-Project
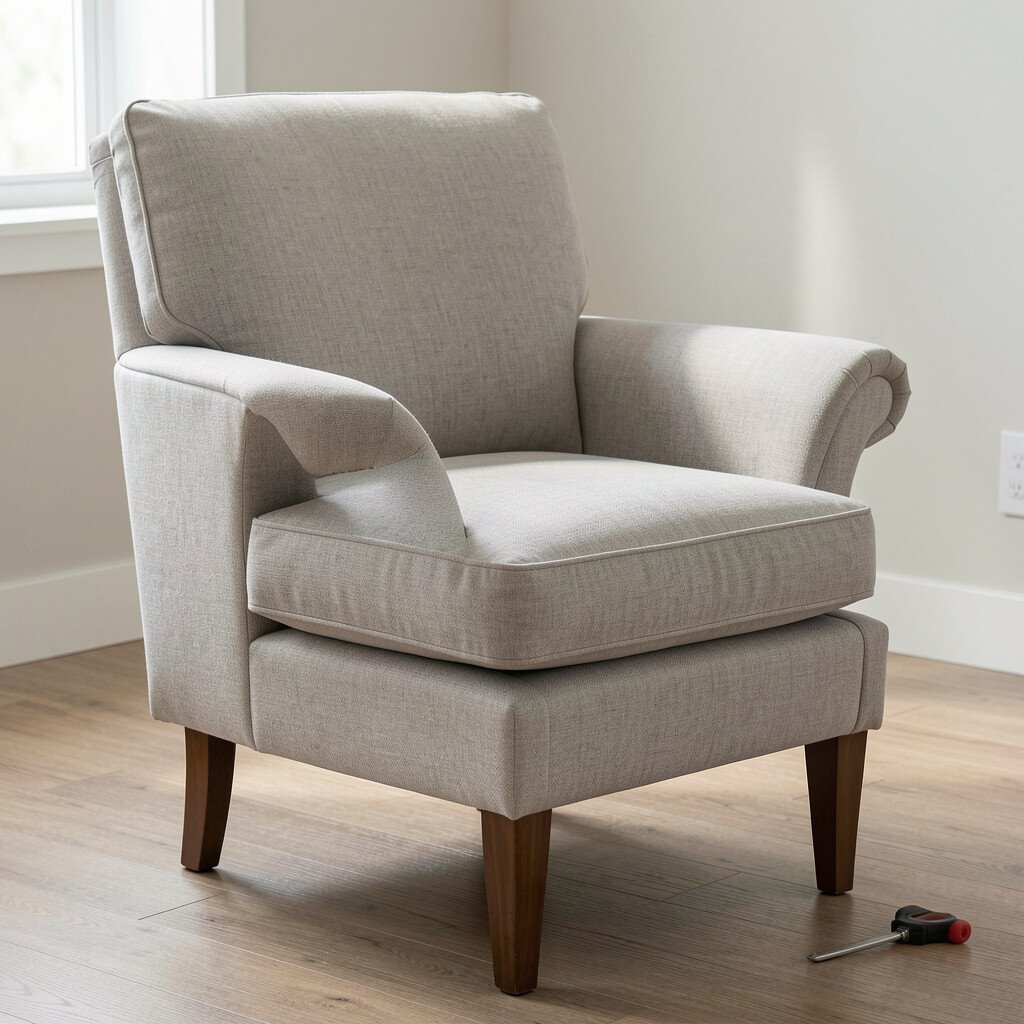
Running out of staples, batting, or matching thread can stall your whole momentum. It also tempts you to substitute with something that doesn’t match as well.
Plan for waste, measure fabric with extra margin, and buy a little more than the bare minimum. Keeping extra supplies on hand helps you fix mistakes without changing materials. When your tools and materials are consistent, your finish looks smoother and more uniform.
15. Ignoring the Need for Final Adjustments After Upholstery
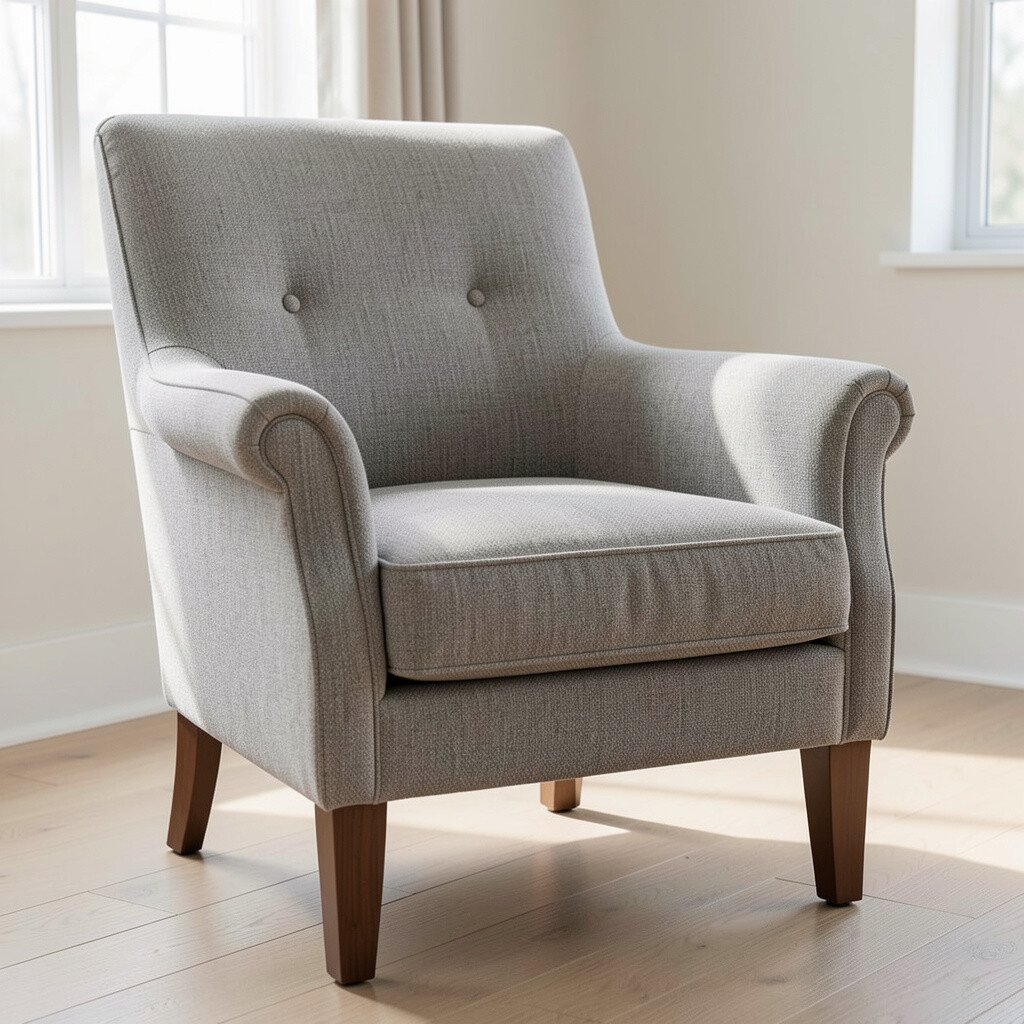
Once the fabric is on, it’s easy to call the job done too soon. But final adjustments are what make the chair look neat and feel right.
Check alignment, smooth the surface, and confirm that cushions sit evenly and corners are snug. If anything looks slightly off, address it while the chair is still within your working reach. This practical last step helps your upholstery settle into place and keeps the chair from looking lopsided after a few days of use.
Personalize the finishing touches by trimming edges evenly, adding a tidy finish to seams, and choosing hardware that fits your style. Many people now like simple, clean details that look tailored rather than overly busy. It can cost a little extra for quality finishing supplies, but it makes your chair look truly finished, not just covered.
When you take those final minutes, you end up with a chair that feels comfortable and looks custom every time you sit down.