
The classroom feels different the moment you change what learners do. Thoughtful upgrades can make daily routines smoother, fairer, and more joyful.
Before you buy new tools, plan how people will use them and how the space will support real learning. When you do that, every change tends to stick longer.
1. Start with a Walkthrough That Tells the Truth
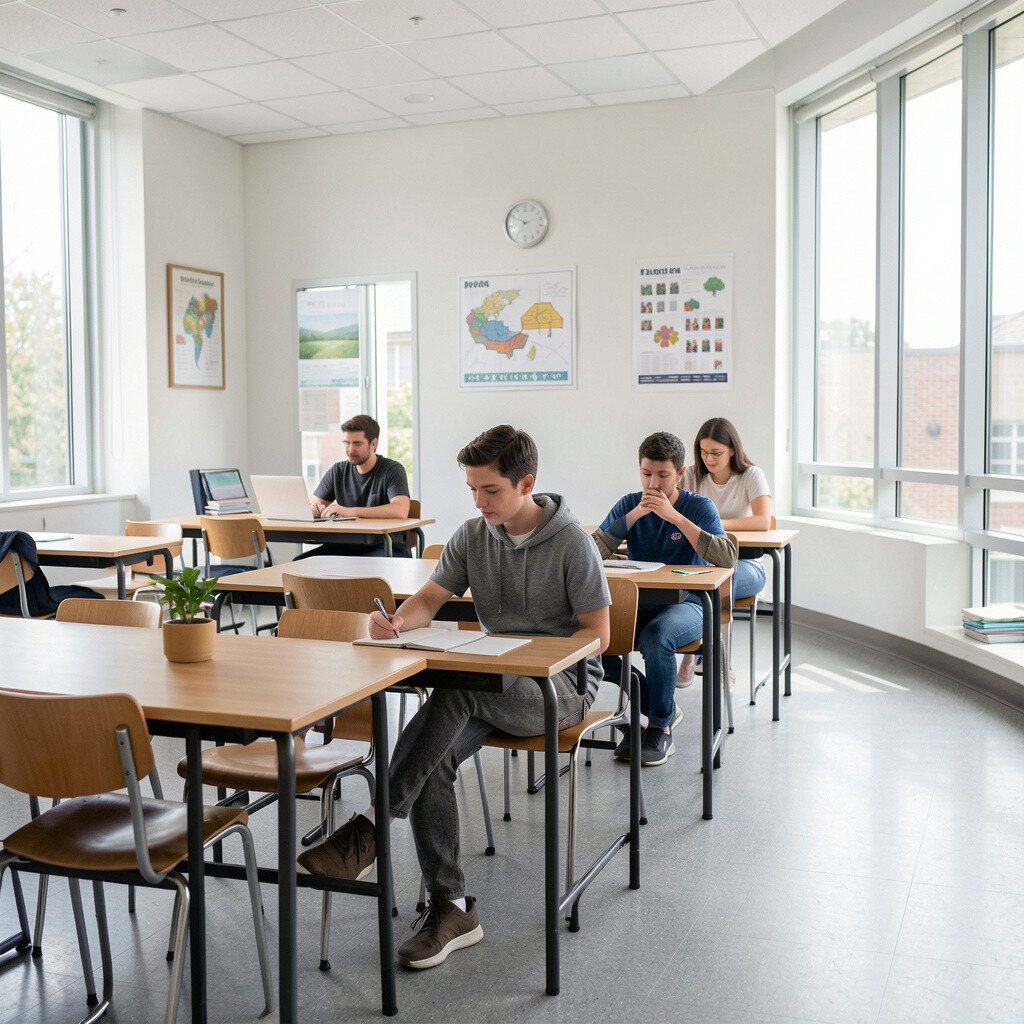
Take a slow walk through your current learning spaces like you are visiting for the first time. Look at what students actually touch, move, and notice.
You might spot faded labels, crowded corners, or a loud spot where attention drops. Jot down what helps focus and what steals it, then use those notes when you choose improvements.
2. Map Your Student Paths for Learning Flow

Trace how learners move from door to desk to group work and back to closing time. When you see the path in your mind, you also see the delays, bottlenecks, and confusion points.
Clear routes support safety and make transitions calmer, especially for younger learners. You can set up simple traffic cues with floor markers or visual schedules so students know what comes next.
After you upgrade, test the flow with real days, not just one trial. If moving takes too long, even the best equipment will feel frustrating.
3. Upgrade Planning First, Then Purchase Second

Write down what success looks like before you spend money. Think about the lessons you run most often and the problems you want to solve.
When planning leads, purchases fit your routine instead of forcing a new routine. Teachers can also avoid buying duplicates they do not truly use.
Consider a small pilot with one grade level, one team, or one space before scaling up. That way, you learn what works in your culture, your schedule, and your community.
4. Build Flexible Spaces for Different Kinds of Work
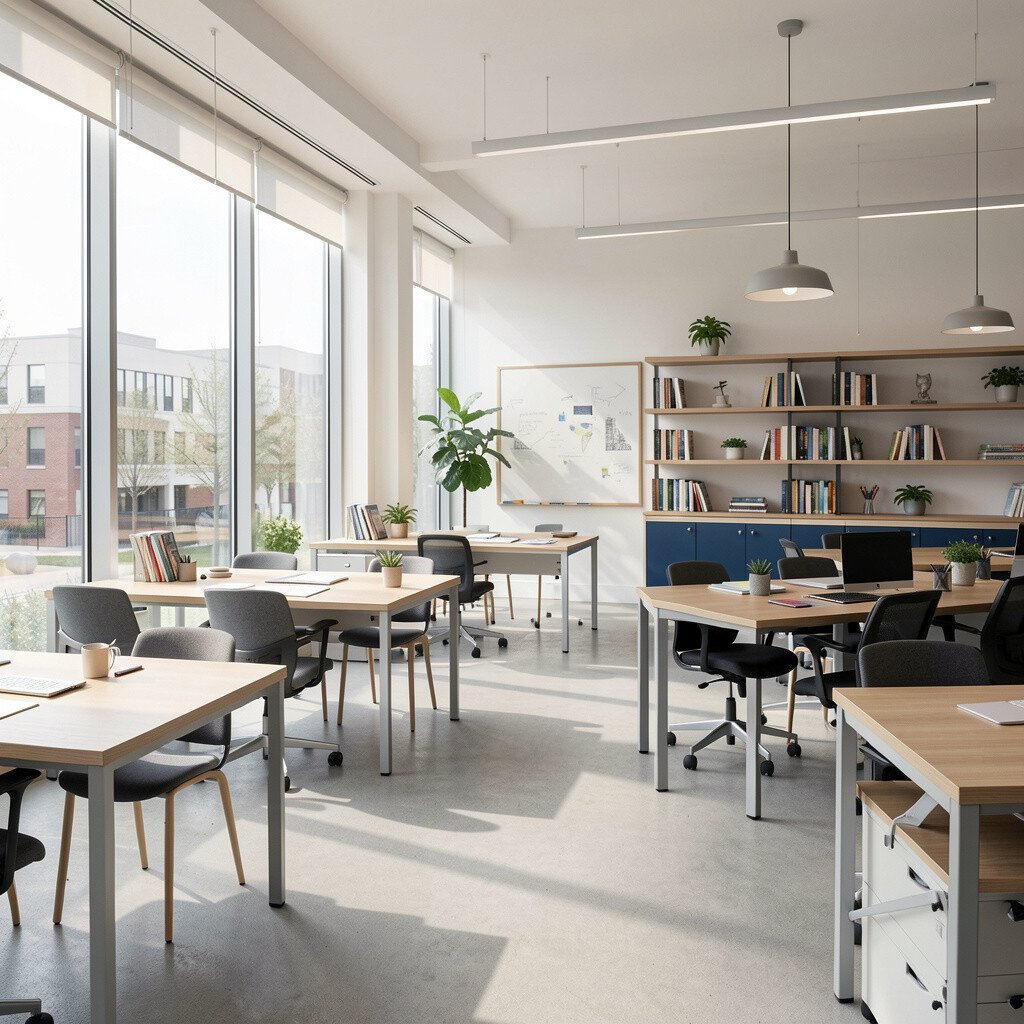
Look for ways to create zones where students can work in quiet pairs, small groups, or full-class circles. Even with existing furniture, you can shift layouts to match the day’s goal.
Flexible spaces reduce stress because learners know where to go for each task. Movable chairs, rolling whiteboards, and lightweight bins make it easier to reshape the room without chaos.
5. Make Technology Feel Like a Tool, Not a Test

Before adding devices, think about how students will use them during real learning, not only for assessments. Technology works best when it supports writing, creating, reading aloud, and sharing ideas.
Set clear routines for login, charging, and caring for equipment so class time stays focused. Students gain confidence when the steps are predictable and friendly.
Choose tools that match your teaching style and local policies, and keep one or two reliable options instead of too many. When cost matters, fewer tools with stronger training usually give a better result.
6. Strengthen Visual Supports for Every Learner

Use what students can see to reduce confusion and support independence. Posters, icon-based directions, and word banks can guide learners through tasks without repeating yourself all day.
Clear visual cues are especially helpful for students who need more time, language support, or consistent structure. You can also make a calm “ready” corner with visual checklists for materials and behavior expectations.
For personalization, let students help create some visuals, like vocabulary cards they design or class rules they illustrate. When students shape the visuals, they treat them as part of the community.
7. Create a Supply System That Saves Time Daily
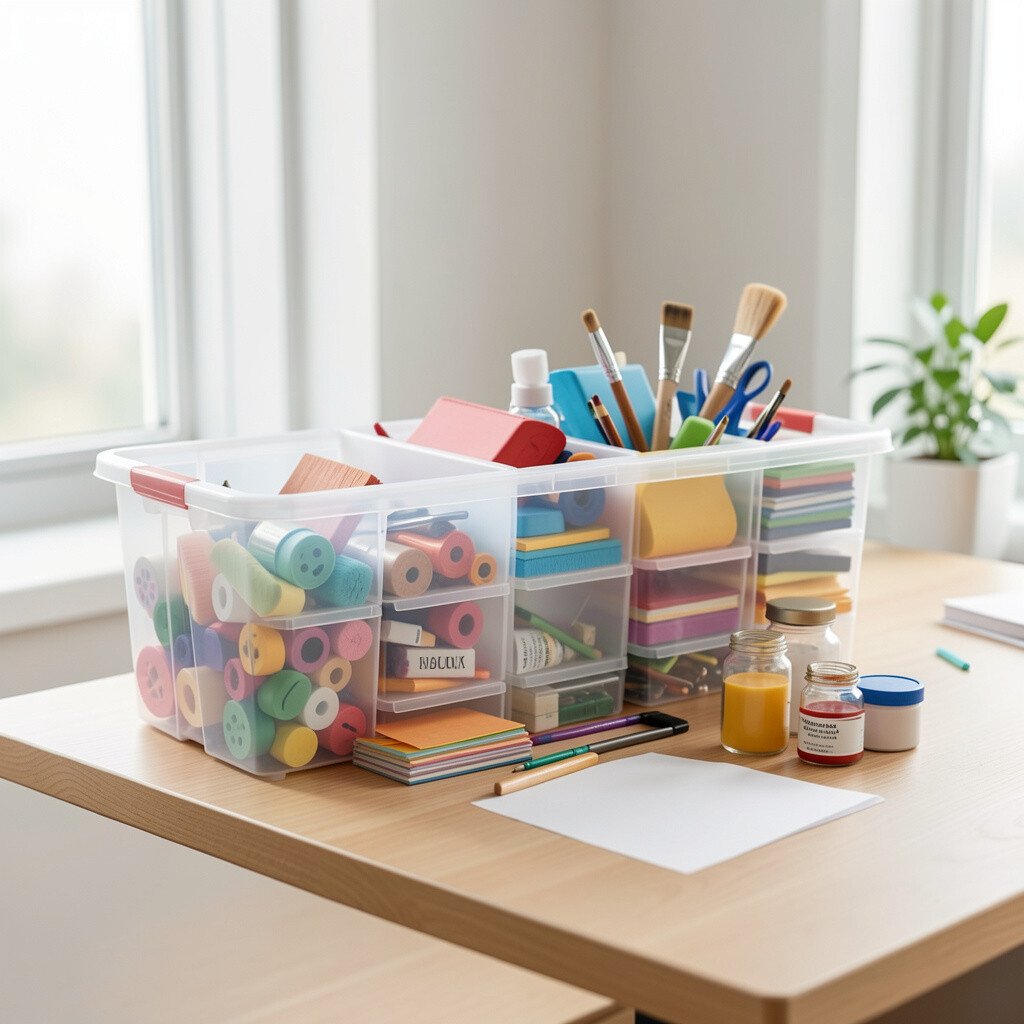
Open closets and shelves and ask how long it takes to find what students need. If supplies are scattered or hidden, teachers end up spending energy managing materials instead of teaching.
Sorting into labeled bins, using color-coded carts, and keeping frequently used items at reachable heights can speed everything up. You may also find that simple organization creates less friction during group work.
Consider costs by reusing durable containers and upgrading labels instead of replacing whole sets. A small weekend reset can make your next few months feel smoother.
Make the system personal for your room by using the language your students already understand. A setup that fits your community will be used, not ignored.
8. Design for Sound, Light, and Calm
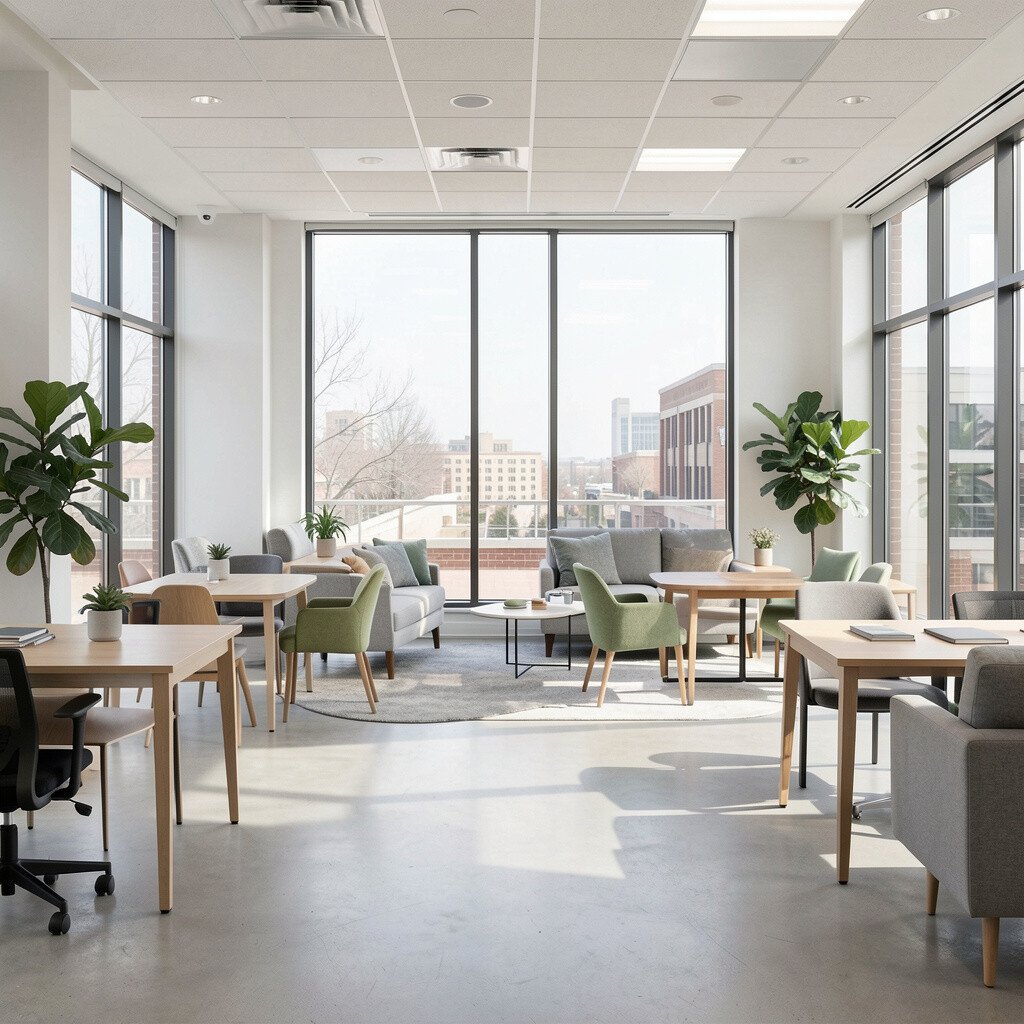
Pay attention to how the room sounds and feels during busy moments. If students strain to hear, or if bright lights glare on screens, attention can drop fast.
Simple changes like curtains, rugs, sound panels, or strategically placed bookshelves can soften noise. Consider adding quiet tool stations with headphones or visual “speaking levels” to guide behavior.
Light also matters, so check where glare hits desks or interactive boards. You can adjust blinds, reposition screens, or use matte finishes to make the environment easier on eyes.
9. Plan for Safety and Accessibility as Core Values

Accessibility is not only about major renovations, it is about everyday movement and equal participation. Check pathways for mobility, seating options for different needs, and clear sightlines for group learning.
When you add or replace furniture, choose pieces that support varied body needs and learning styles. Small steps like adjustable chair heights, supportive seating cushions, and clear labeling can make a big difference.
Keep cost in mind by prioritizing changes that remove barriers first. Work with your team to request support where needed and to use community resources where possible.
10. Partner with Families Using Practical Communication

A better learning environment also includes families who understand what students are doing. Share what upgrades mean in daily life, like new routines for borrowing books or using digital journals.
Use short messages, photos of student work, and a consistent schedule for updates. When families see progress in simple ways, trust grows and students feel more supported at home.
Personalize communication by offering language supports, accessible formats, and examples of student tasks. Cost stays low when you rely on existing channels and reuse content thoughtfully.
11. Build Staff Support and Training Before Day One
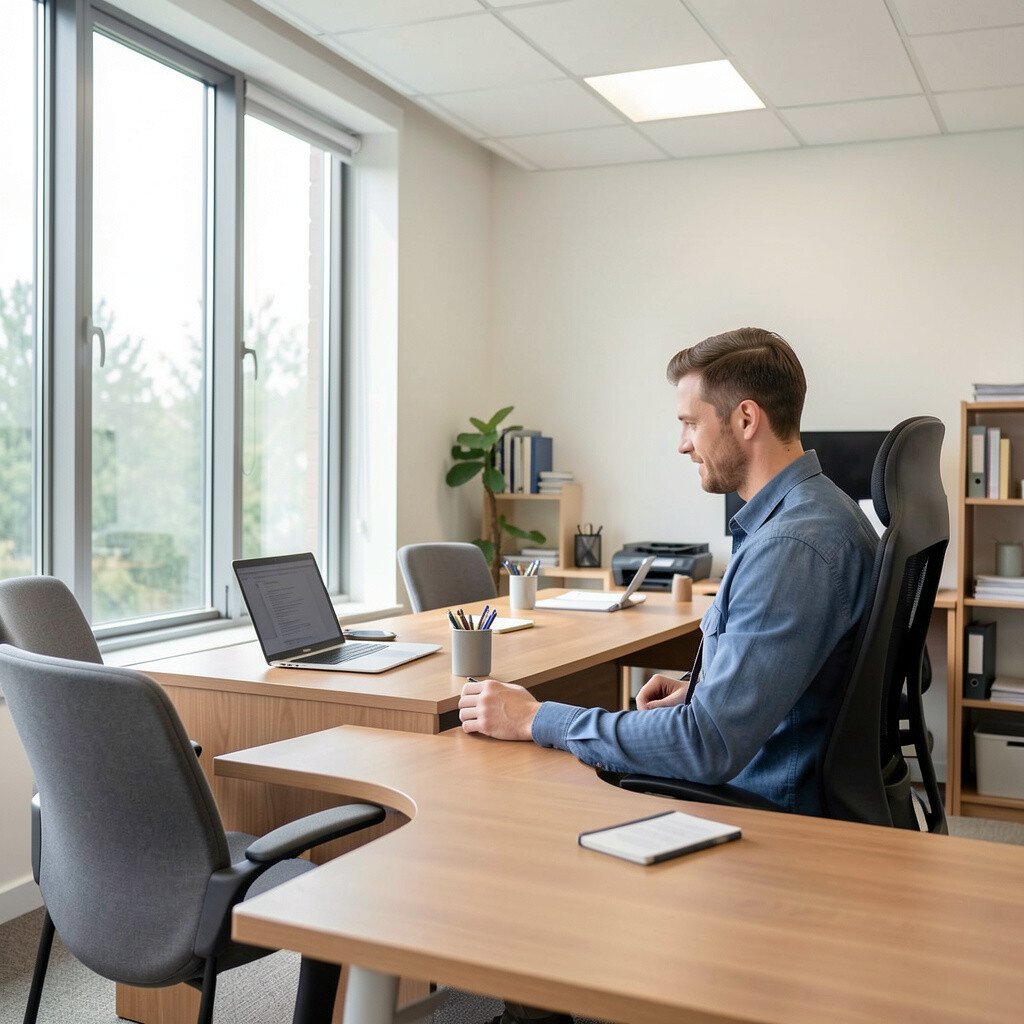
Teachers and support staff need time and practice to use new tools well. Even small upgrades work better when the people using them get clear guidance and chances to test routines.
Plan short learning sessions, create quick reference guides, and invite peer sharing so everyone feels comfortable. When staff collaborate, the room changes feel shared instead of imposed.
Choose training that matches real schedules, like after-school micro sessions or prep-period practice. This is a current trend in many schools because it respects time and reduces stress.
12. Keep Space Changes Connected to Your Curriculum Goals
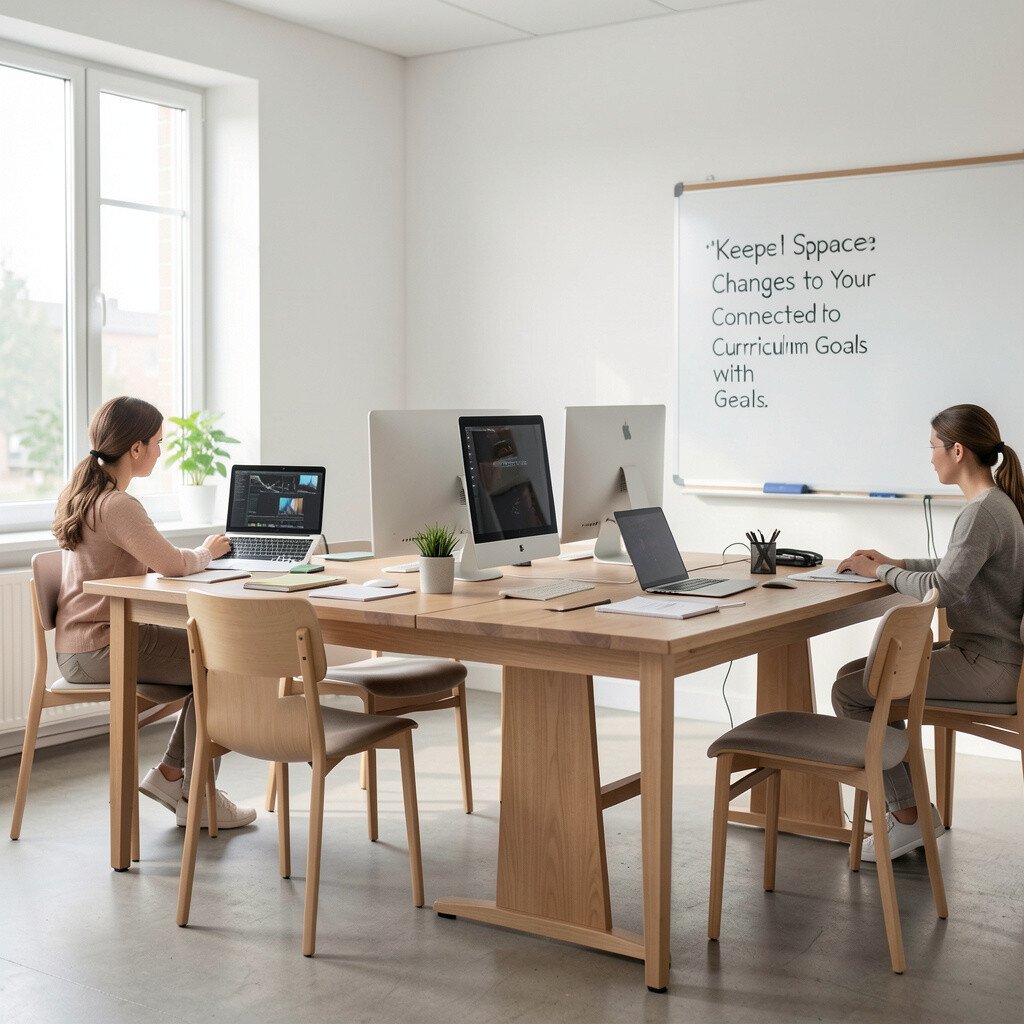
If the space supports the curriculum, lessons feel smoother and more meaningful. Think about what your learners do during units and make sure the room supports those learning actions.
For example, a writing-heavy unit might need better lighting at desks and a clear display area for drafts. A science unit might require storage for materials so students can move from observation to recording without delays.
To personalize, let teachers suggest room changes based on upcoming lessons. When staff shape the plan, the results often feel unique and practical rather than generic.
13. Evaluate After Upgrades and Adjust with Care

After changes begin, observe how students behave and how teachers teach in the new setup. Look for small signs like fewer interruptions, faster transitions, and calmer group work.
Collect quick feedback from students, staff, and families so you catch issues early. A simple check after a few weeks can show what to keep, what to refine, and what to remove.
Consider cost again by adjusting what you already have before buying more. When you treat upgrades as an ongoing process, the environment stays aligned with your goals.
Make improvements visible, like displaying student reflections about how the room helps them learn. That kind of ownership builds momentum and makes future upgrades easier.