The window turns into a tiny travel gallery with every postcard. The right mix of maps and notes makes a bright corner feel personal and useful.
Here are creative windowsill setups that keep your paper treasures neat, visible, and ready for everyday joy.
1. Light-and-Layered Postcard Ledge
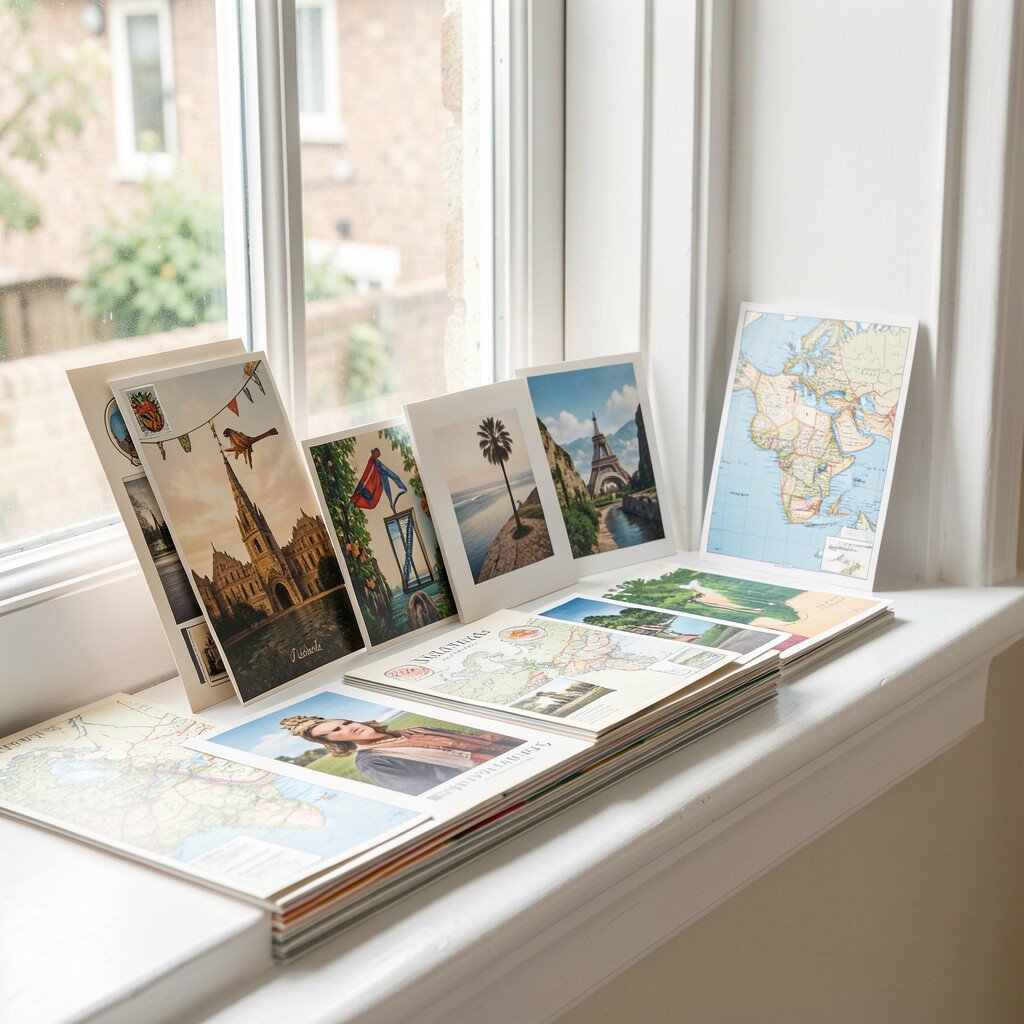
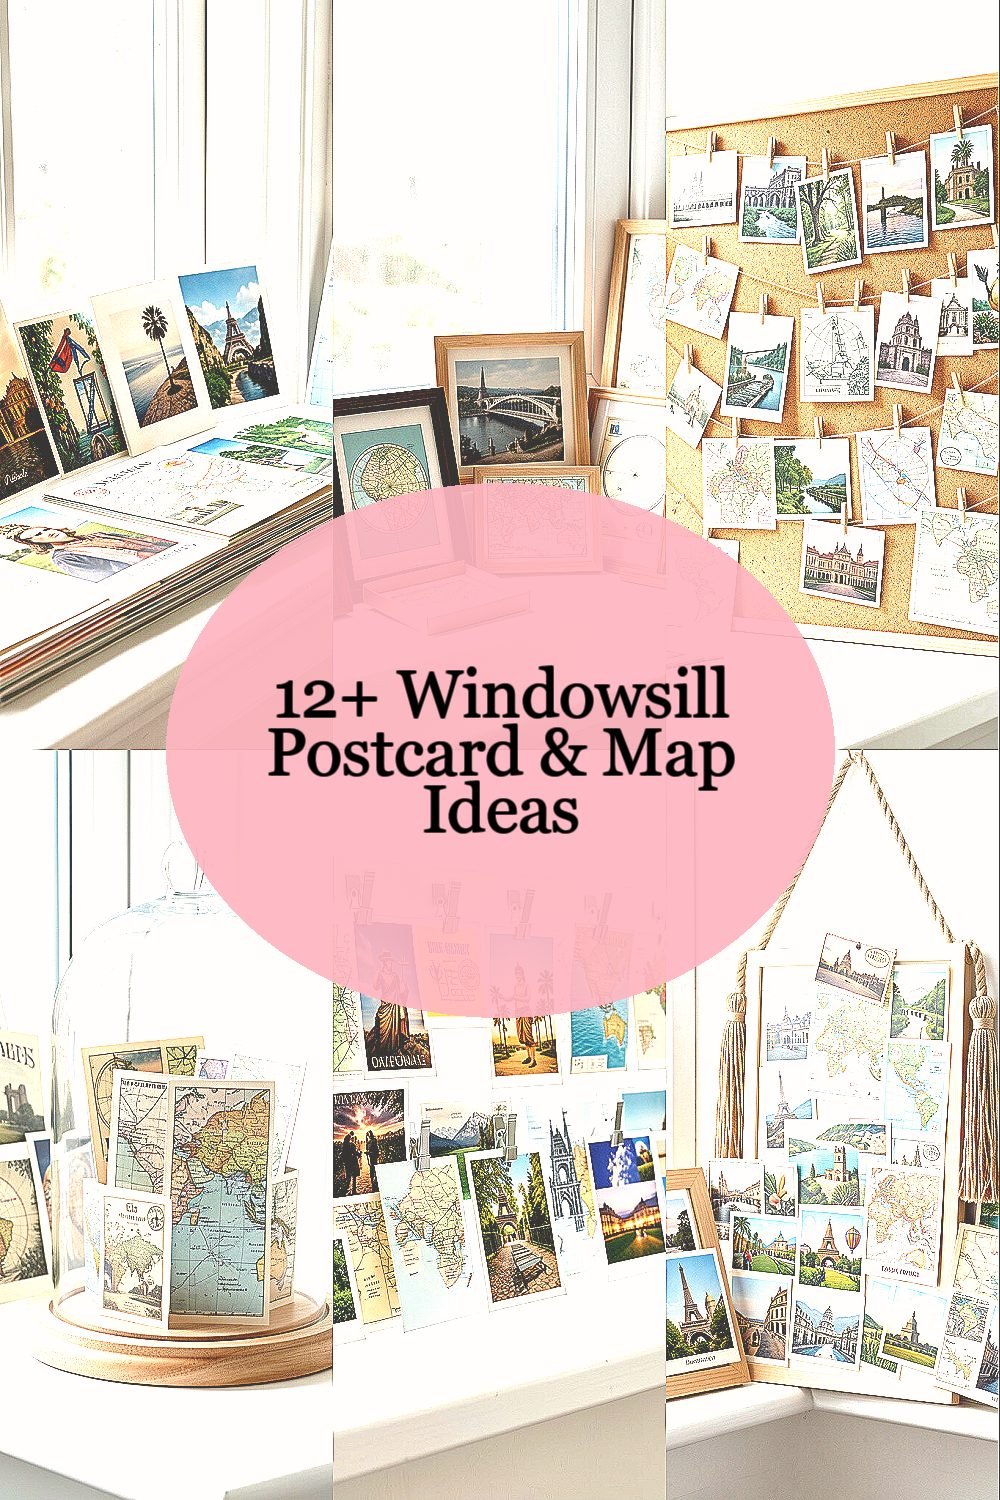
A slim ledge with a gentle lip lets postcards sit at a slight angle, so the images catch the sun. You will see bold skylines and soft landscapes even when you are just passing by.
Try arranging sets by color, like seaside blues next to sky greens, so the wall of paper looks calm. Use a transparent acrylic stand or a clear clip rail to keep everything upright without covering the artwork. If you love writing, tuck a tiny strip of washi tape on each card’s bottom edge to mark where it was sent from.
2. Framed Mini Maps Along the Window Track

Small frames can follow the window track, creating a neat line that feels like a calm skyline. When light moves across them, paper textures and ink details look extra crisp.
Pick maps with different styles, such as old city street maps, coast outlines, or vintage route diagrams. Change the order each season by swapping one frame to a new spot near the brightest corner. Use removable picture-hanging strips so you do not damage paint or trim.
You can keep costs low by choosing thrift-store frames and adding simple backing paper. Many people also like adding a short message behind the glass, so the map becomes more than decoration. This setup stays practical because it is easy to dust and easy to rearrange when you find something new.
3. Pinboard Window Panel With Postcard Strings
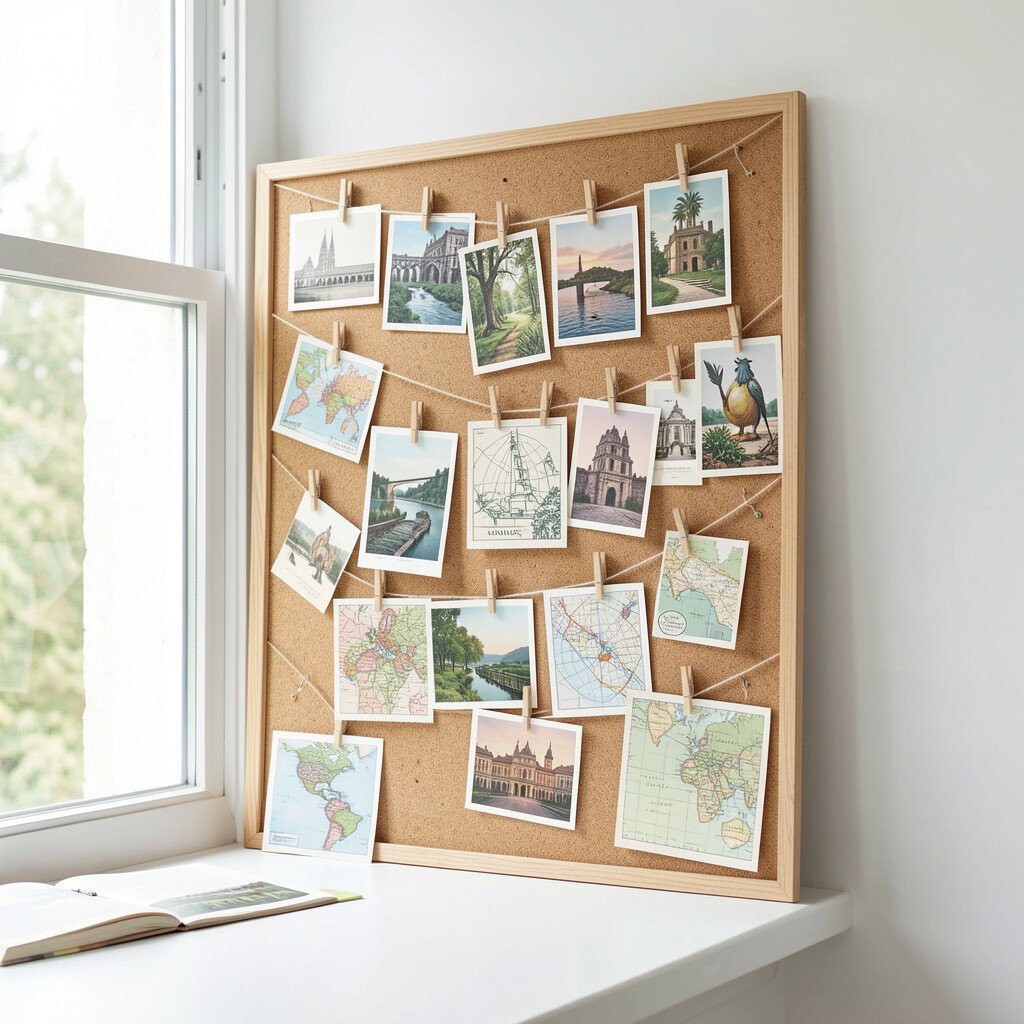
Imagine a thin cork or felt panel mounted near the window, where postcards swing slightly when a breeze comes through. Each card becomes a little scene, held by pins and tiny clips that look fun and light.
Use a string line across the panel with small clothespins so you can switch postcards often. Add one or two map strips like long bookmarks, so the window looks like it has layers of stories. For personalization, write the date you bought each card on the back, then rotate the display front whenever you feel like a new mood.
This kind of arrangement helps you keep track of your collection, instead of hiding cards in a box. It also turns memory-making into a daily habit because you will see it every time you sit down to read. Costs can stay reasonable if you buy a small panel and reuse pushpins, clothespins, and twine you already own.
4. Glass-Cloche Display With Map Tiles
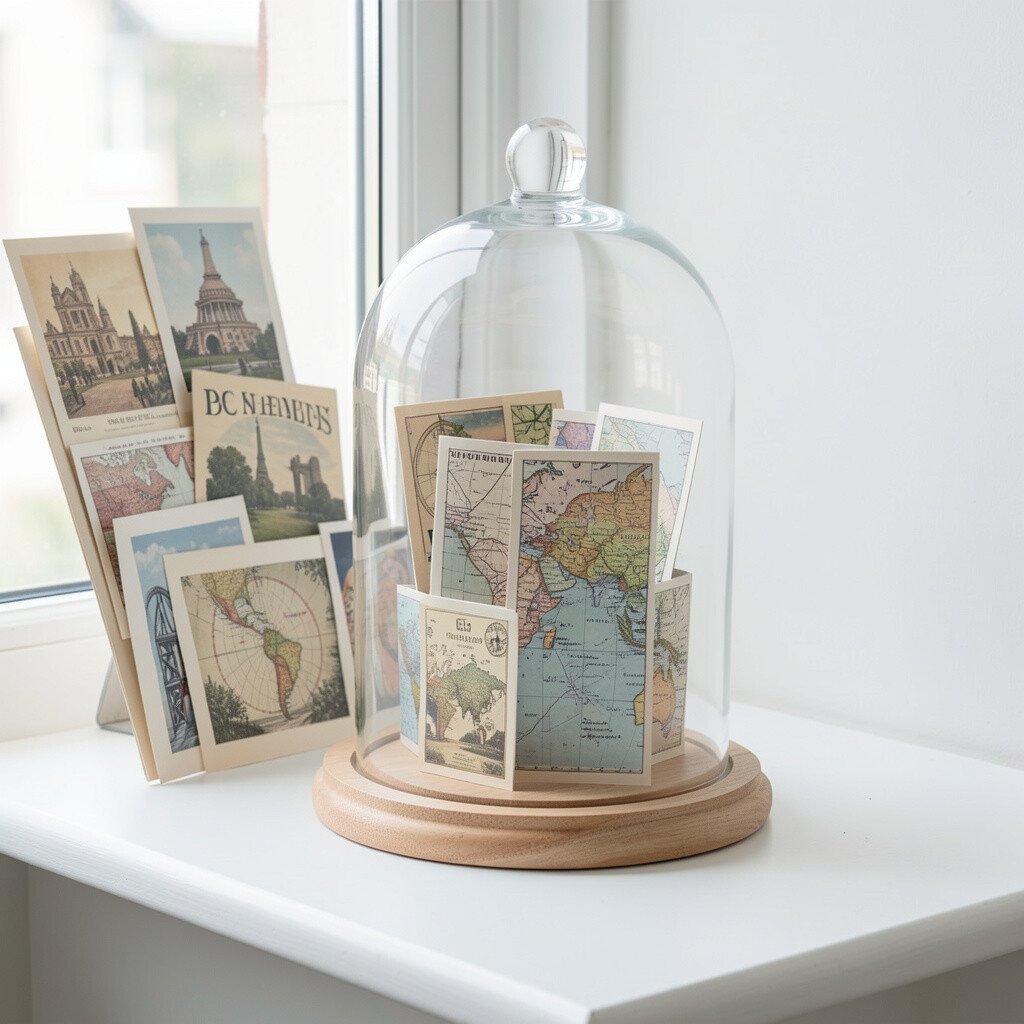
A clear cloche on a tray makes your windowsill feel like a boutique shelf. Under the glass, postcards and map pieces look polished, and the light gives them a gentle glow.
Choose a sturdy tray, then layer postcard corners against map tiles cut from an old atlas page. Set a small label card behind the papers so details stay visible from across the room. If you want it to feel personal, include a tiny paper star or sticker on each tile that matches the place’s vibe.
5. Magnetic Strip and Photo-Layer Clips
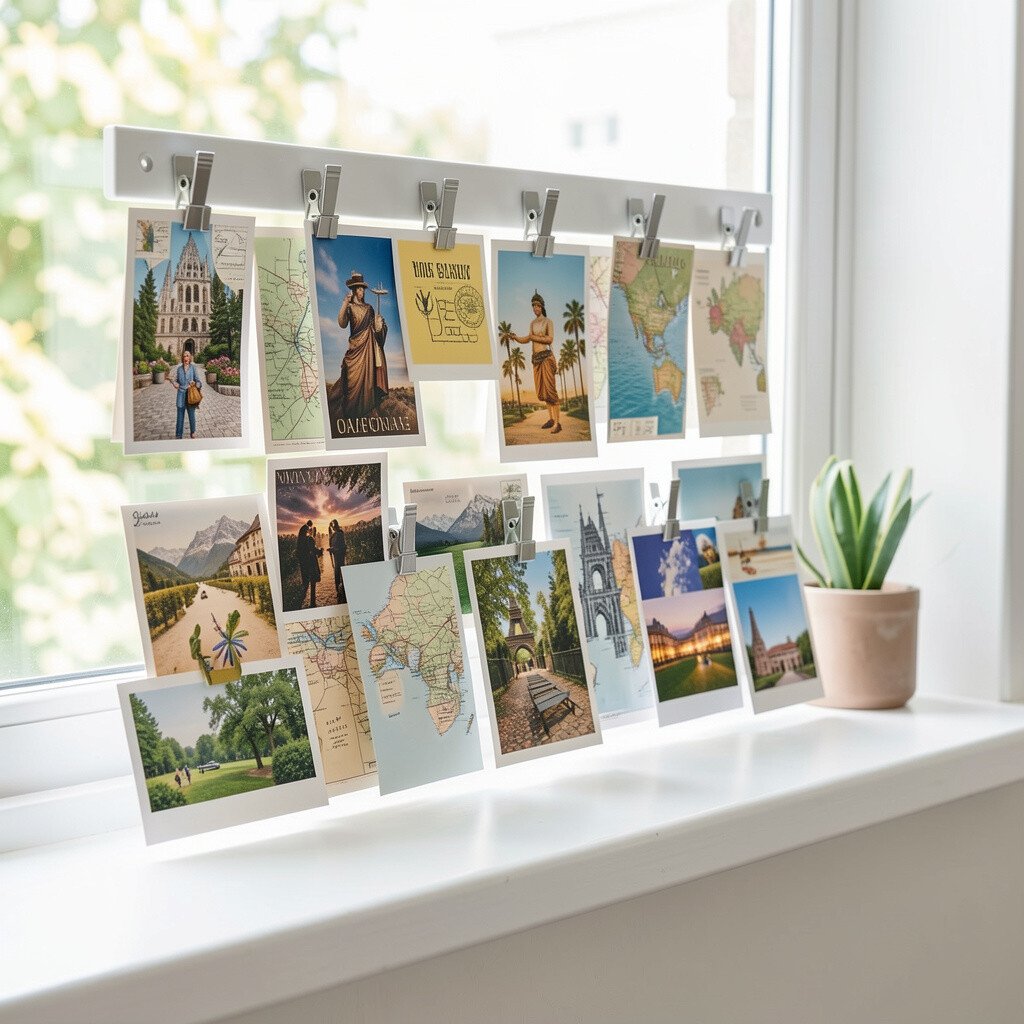
A magnetic strip placed along the sill can hold postcards like they are part of a neat gallery system. The photos stay flat and visible, and you can adjust the layout without wrestling with tape.
Use small binder clips or postcard-size clips with magnet bases, so each card sits securely. Mix map postcards with picture postcards, then add one plain paper card in the middle to give the display breathing room. This setup is practical because you can quickly swap one card when you receive a new one.
For cost, you can start with a simple craft-store magnet strip and a few clip sets. Many people also like adding a thin sheet of scrap paper under the magnets so the colors look softer when the sun hits. Personalize by writing a one-sentence memory on the edge of each card so it feels like it is speaking to you.
6. Hanging Tassel Frame for Travel Notes
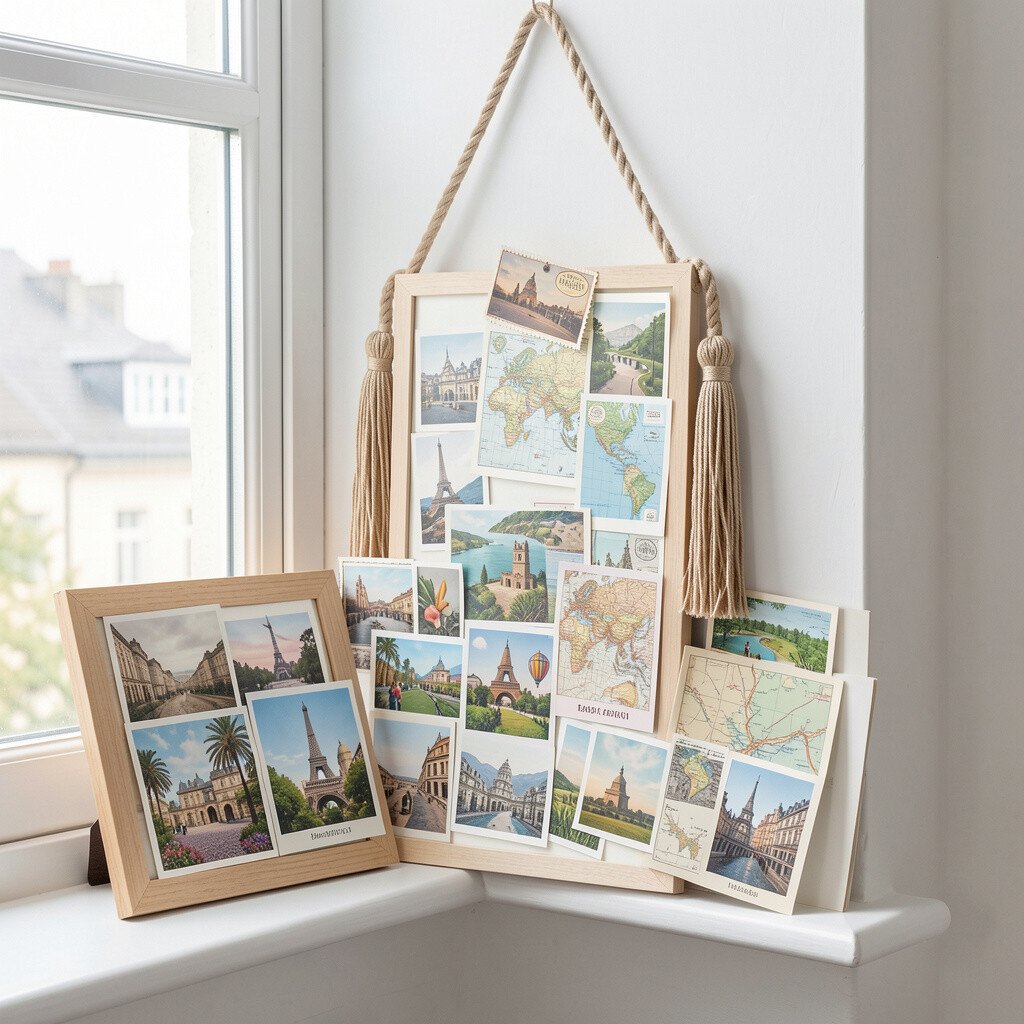
A narrow frame hung near the window can hold postcards like hanging artwork without taking up sill space. Add light tassels or ribbon ties so each card dangles slightly and catches the glow.
Choose a mix of map and postcard pieces, then tie them with consistent ribbon lengths for a tidy look. Use small eye hooks inside the frame to avoid poking too many holes in paper. If you like practical details, attach tiny envelopes at the back of the frame to store extra maps that do not fit the display.
7. Terrarium-Style Shadow Box With Weathered Prints
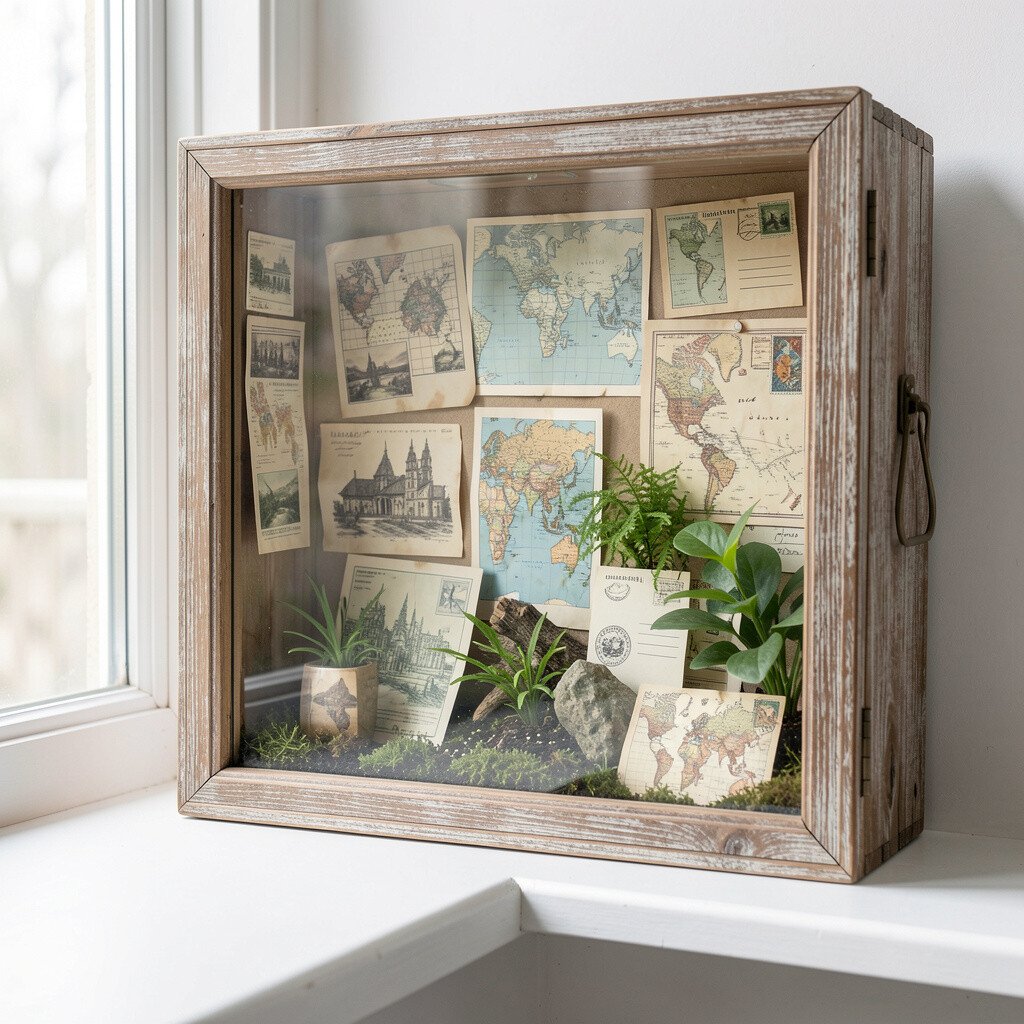
A shadow box with a deep frame can turn a postcard into a miniature landscape. Place map fragments at different depths so you get a “3D” feel when sunlight crosses the window.
Try layering a torn map border behind a postcard of a street or coastline, then add a few tiny pressed elements like dried leaves or a small piece of lace. The display looks unique because each card gains texture beyond the ink. Keep it practical by using acid-free paper or photo-safe tape so the corners do not curl over time.
Cost considerations are easier if you buy a plain shadow box and decorate it yourself. You can also repurpose a cardboard backing from an old frame by covering it with craft paper. Personalize by writing short route notes on tiny tags, then tuck them between layers where you can spot them at a glance.
8. Rolling Washi Tape Tabs for Easy Rotation
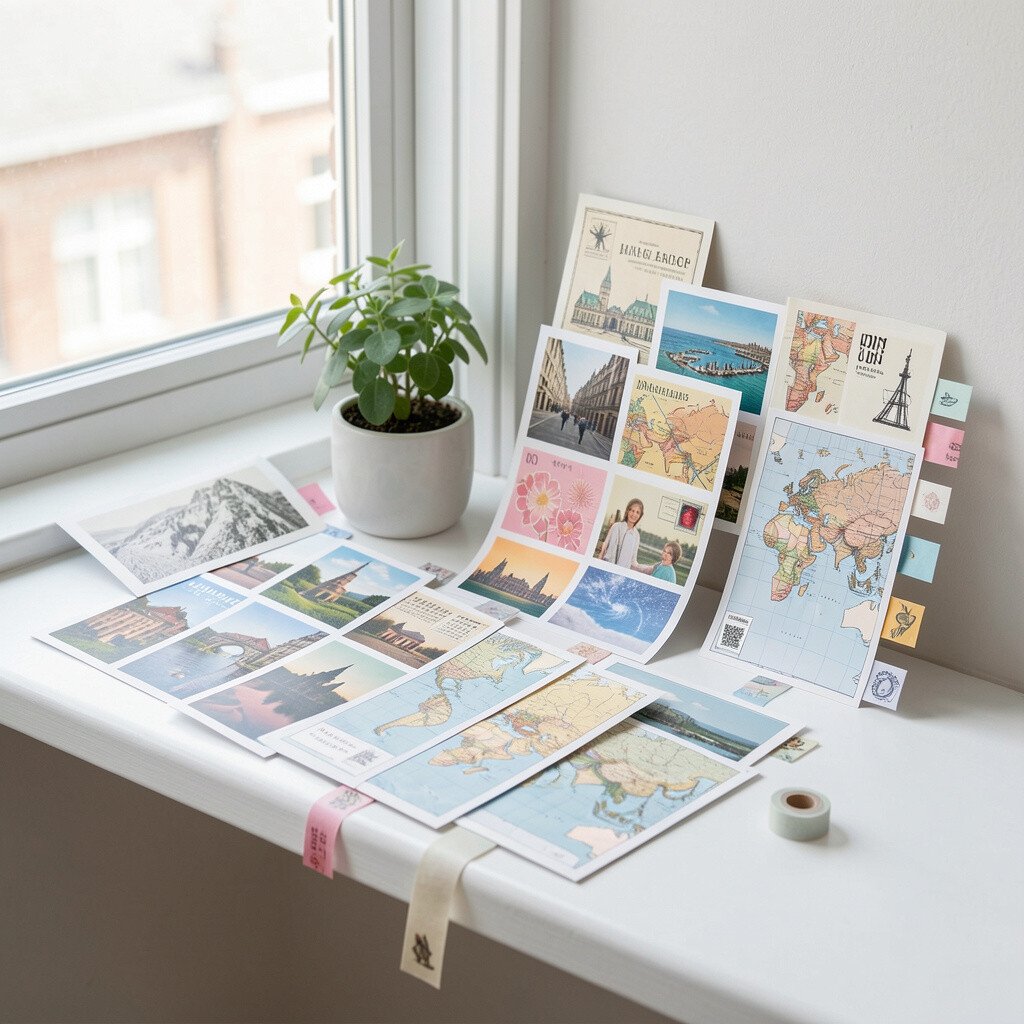
Washi tape tabs can act like gentle hinges that let you rotate postcards without sticky mess. On a bright windowsill wall or cork board, the cards can slide and flip while staying neatly aligned.
Pick a few postcard themes, like gardens, markets, and old harbor views, then group them into sets. Use a different washi tape pattern for each set so you can find what you want quickly. If you like maps, attach one longer map strip horizontally like a banner so the display feels balanced.
This approach stays low cost because washi tape is easy to find and easy to remove. It is also surprisingly practical for ongoing personalization because you can change the display every week. Keep your paper safe by placing a sheet of thin protective film behind the tape area if you notice ink smudging.
9. Wooden Tray With Stackable Map Holders
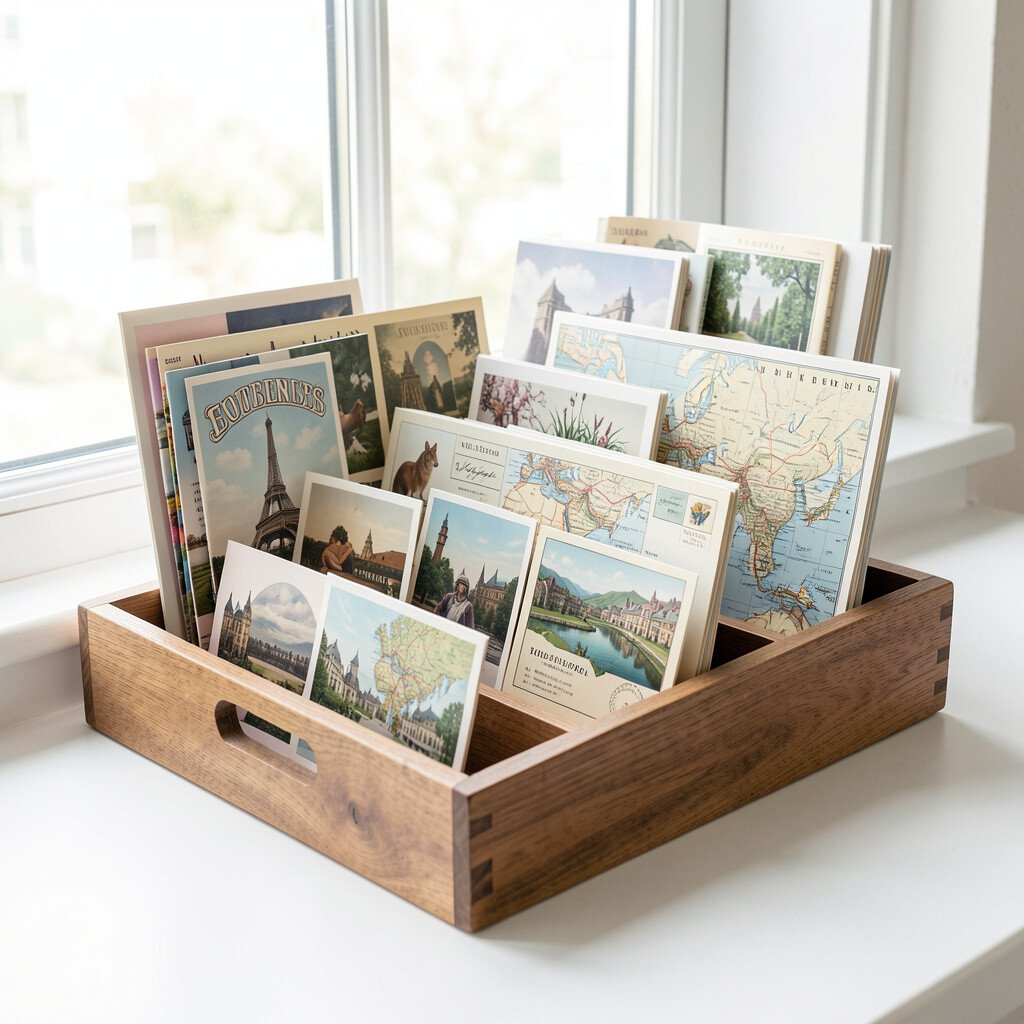
A wooden tray gives warmth to a windowsill, and stackable holders make the display feel tidy. When you pull one card forward, the whole setup still looks intentional and neat.
Use small acrylic stands or simple wooden easels to hold postcard cards, then place map sheets behind them like a soft backdrop. Choose holders at different heights so the window art feels alive. For uniqueness, select maps with different fonts and ages, like modern transit maps beside old illustrated routes.
Cost can stay friendly if you start with a basic tray and add just a few stands at a time. Personalize by stamping a tiny icon on the back of each postcard holder, such as a wave for coast towns or a mountain outline for hikes. This setup is practical because it protects paper from direct rubbing while keeping the view bright.
10. Corner Sill Ladder With Clip Lines
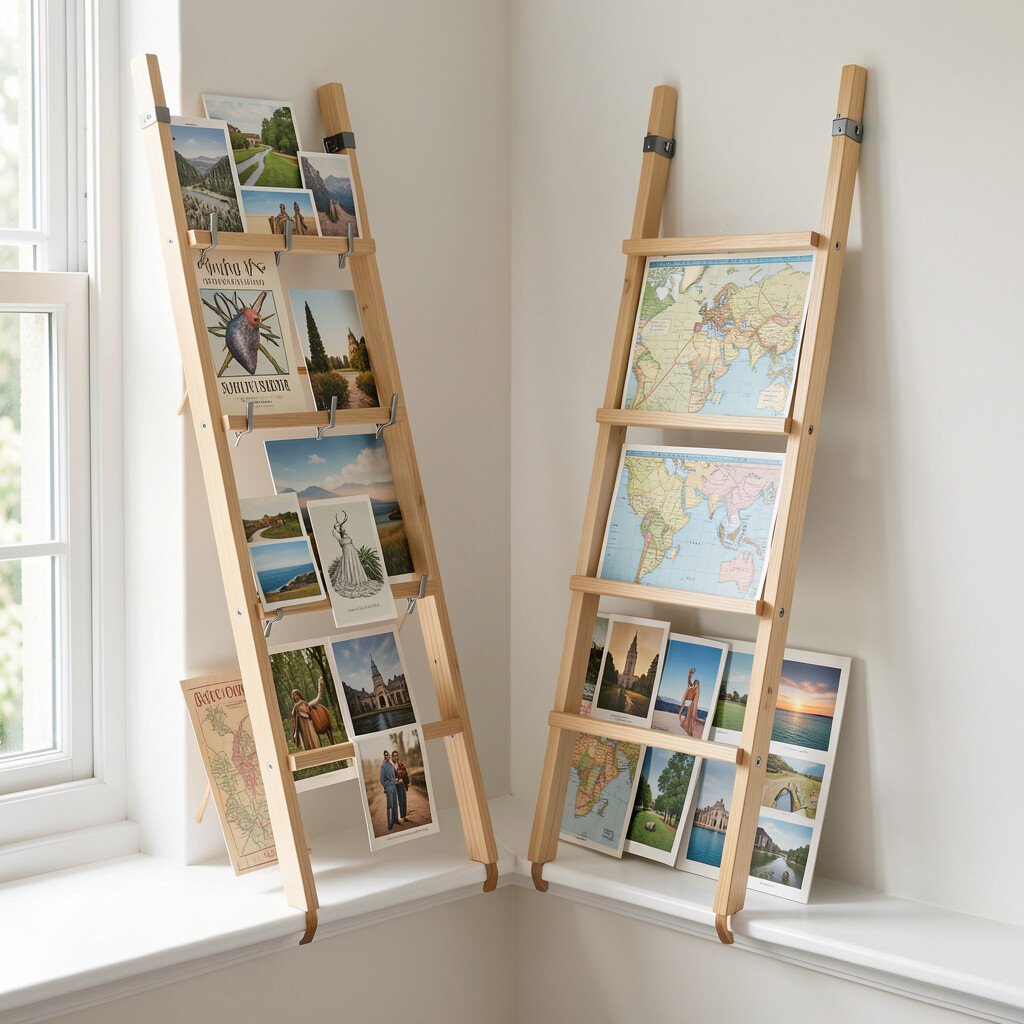
A small ladder shelf placed in the corner can hold postcards at varying levels. The display looks airy, and the map pieces become part of the visual rhythm of the room.
Attach clip lines across two rungs, then hang postcards with clothespins so you can rearrange quickly. Keep maps on the lower rungs if you want them to feel grounded, and place picture-heavy cards at eye level. For personalization, add a single postcard that represents “your home base,” so the ladder always feels anchored.
This idea works well with current trends toward layered, lived-in decor. It is also practical because you can see the entire collection at once. You can manage cost by using an inexpensive ladder from a thrift shop and staining it if you want a match to your room.
11. Candlelight Window Jar With Folded Map Strips
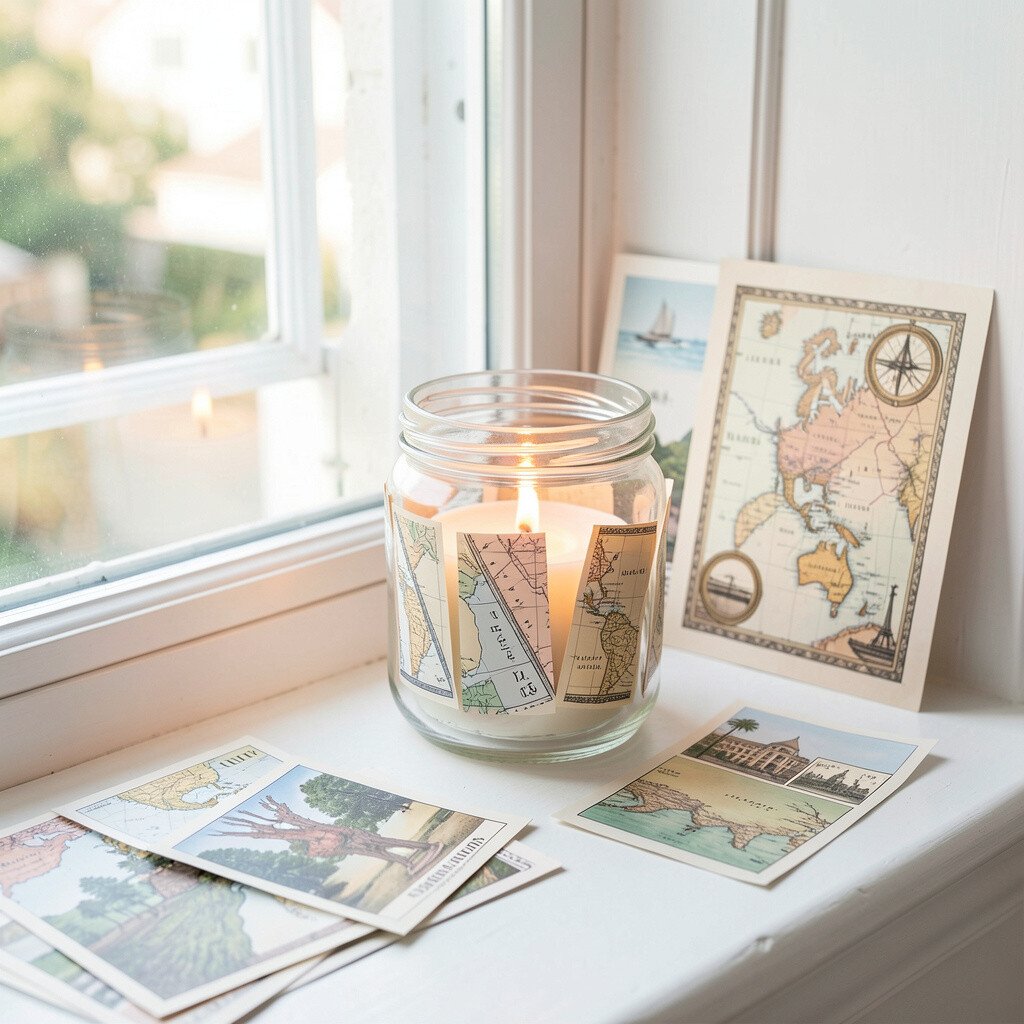
A jar filled with folded map strips can create a calm, crafty look beside the window. Even without candles, the jar feels cozy, and the paper edges peek through like warm bookmarks.
Fold map strips into small bundles and tie them with thin twine, then mix in a few postcard mini-cards as special additions. If you want a brighter effect, place the jar near a sun beam so the ink reflects softly. Add personalization by numbering the bundles with small tags that match an itinerary list you keep on your phone or notebook.
Cost is usually low because jars and twine are easy to find, and you can use maps you already own. This setup is practical because the folded pieces stay protected from direct handling. Just keep the display dry and away from condensation spots to help the paper last longer.
12. Picture Ledge With Magnetic Enamel Numbers
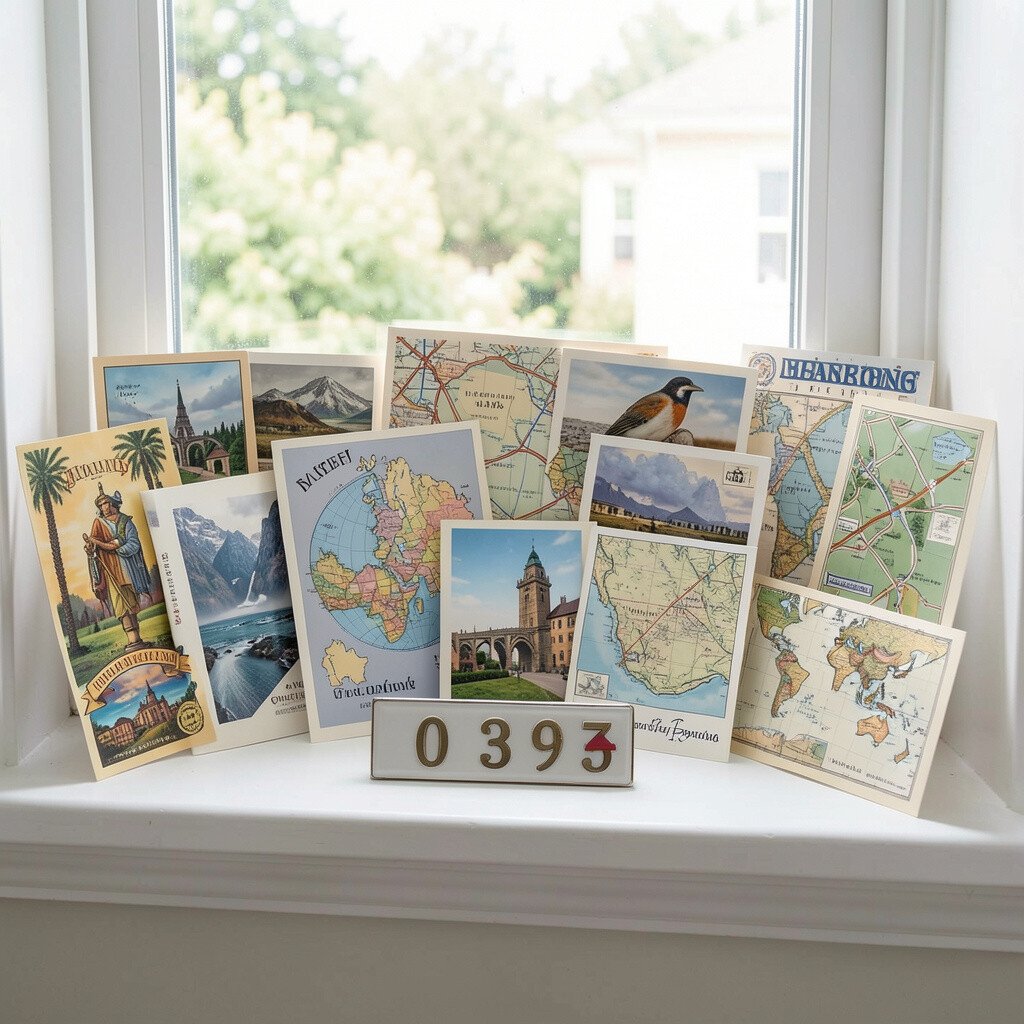
A picture ledge plus magnetic enamel numbers turns your windowsill into a charming, organized timeline. Each postcard can get a number marker, so you enjoy the set while still seeing the art clearly.
Use the numbers to group travel by year, by season, or by place type, like cities versus countryside. Add one map card per group as a visual anchor, then surround it with postcards that match the theme. This setup feels unique because it blends functional organization with cute decoration.
For practical tips, keep the numbers small so the postcards stay the star. You can find inexpensive enamel magnets online or at craft stores, then place them only where you need structure. Personalize by using your handwriting for tiny captions on the back, then swap the front card when you want a fresh story.
Because the system is modular, you can grow it over time without starting over, which helps with cost planning. Many people enjoy this trend toward “catalog” style decor, where collections feel curated instead of cluttered.
13. Map-Sided Shelf With Built-In Postcard Drawers
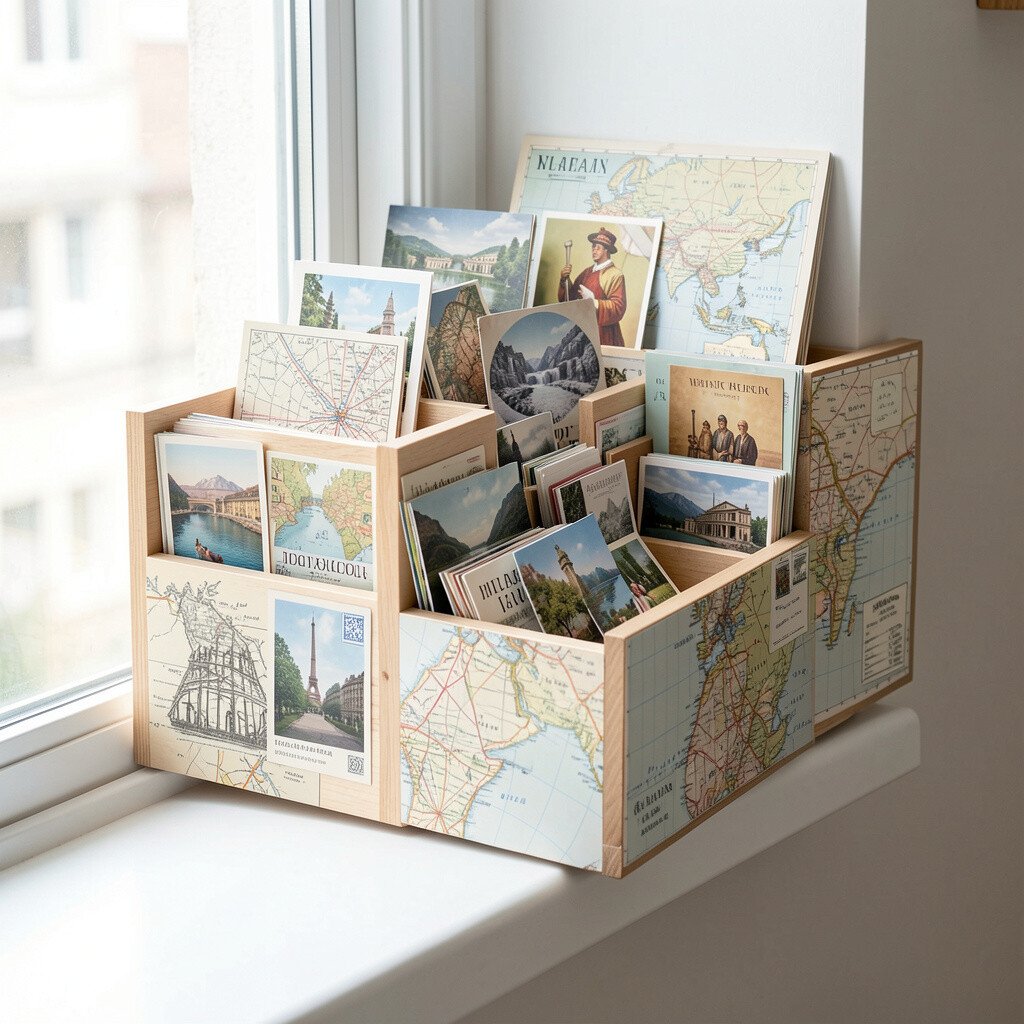
A shelf with shallow drawers made from lightweight organizers can keep postcards neatly stacked while still visible. The front drawer pulls can be decorated with small map stamps or printed map strips.
Place your favorite postcards in the front so you see them each day, then store the rest in the drawers for easy rotation. If you want the display to look bright, keep the drawer fronts lighter colored and let darker map pieces sit inside. Personalization feels natural here, since you can label drawers with simple handwriting like “coast,” “cities,” or “weekend trips.”
Cost considerations depend on how you build it, but you can start with a pre-made storage organizer and cover it with map paper using photo-safe adhesive. This setup is practical because it reduces paper mess and protects edges from bending. It also gives you an easy ritual for changing the display, since each drawer is already sorted for quick swaps.
For a unique touch, cut tiny windows in the drawer fronts so a glimpse of the postcard shows through. Add a small stand behind the shelf for one “featured map,” then rotate it whenever you bring home a new card or print.