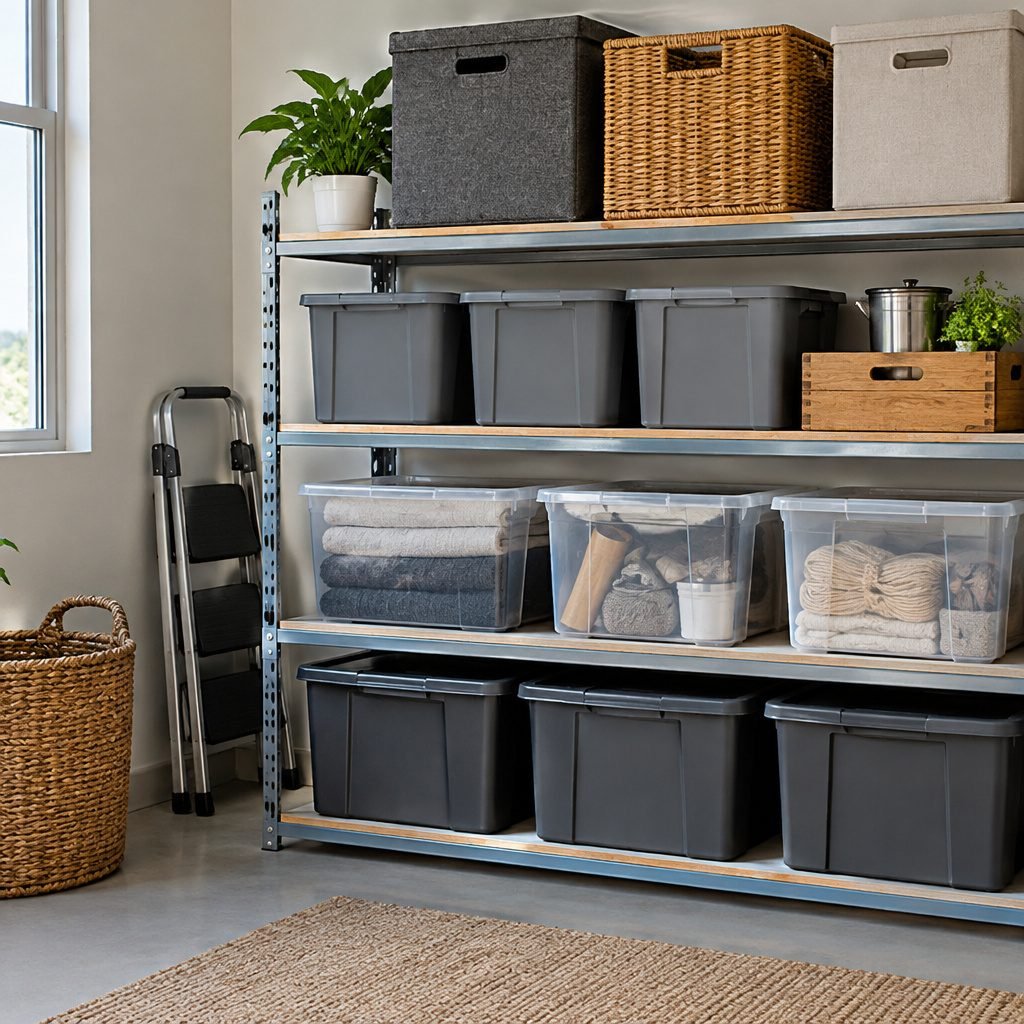
School projects can pile up fast, and messy spaces kill momentum. A few smart storage moves make every new assignment feel easier.
When your materials have a home, you waste less time hunting and more time building. Let these budget-friendly ideas help you store, sort, and reuse like a pro.
1. Clear Shoe Boxes With Label Lids

Stackable clear shoe boxes turn random supplies into neat little worlds. You can see craft paper, glue sticks, and spare batteries at a glance without opening every container.
Choose a lid style that clicks shut and keeps dust away during long weeks. Personalize the fronts with color dots for each class, and add a simple checklist of what belongs inside.
2. Hanging Organizer on the Back of a Door

A hanging organizer is a visual wall of pockets that feels instantly organized. You can store scissors, rulers, markers, and small parts where your hands already go.
It’s perfect for shared spaces because it keeps items off desks. To make it last, use zip ties or sturdy hooks, then rotate the pockets each month for whatever project is current.
For personalization, stitch or tape mini name tags onto the pocket tops so classmates can borrow supplies responsibly. Many families also use this style to keep art projects from creeping into study time.
3. Zip-Top Bags Sorted by Project Stage

Small zip-top bags make the “before, during, after” steps feel organized. One bag can hold printed templates, another can hold cut pieces, and a third can hold final extras.
This storage style is unique because it supports step-by-step building without losing materials. Put the bags in a shoebox, and your whole project becomes a single grab-and-go kit.
Write the stage using thick marker and add a colored sticker for quick sorting. If you worry about wasting bags, choose reusable ones and wash them gently when you’re done.
4. Lidded Plastic Cutlery Trays for Small Tool Cubbies

Plastic trays made for serving can turn into tidy cubbies for tiny tools. Think tape runners, paper clips, push pins, and paintbrush caps that usually disappear.
Slide the tray into a drawer or place it on a shelf so everything stays visible. Label one edge with a strip of masking tape and switch the labels whenever a new project starts.
5. Repurposed Coffee Can for Writing Tools

A clean coffee can with a sturdy lid looks charming on a shelf. It holds pens, pencils, highlighters, and markers without tipping over.
Paint the outside in a school color theme or wrap it with patterned paper. Add a small elastic band around the lid to keep it snug during bus rides.
For cost savings, rinse and reuse cans you already have, then upgrade later with a better finish if you want. This setup also fits the current trend of maker-style storage that feels like a craft station.
6. Magazine File Holders for Printed Pages

Magazine file holders keep worksheets from folding into wrinkled chaos. Slide each stack by class so you can grab what you need without digging.
This is helpful when you receive instructions that include diagrams and timelines. Use colored paper clips to mark which handouts are due soon, and keep the rest in the same slot for easy review.
7. Drawer Dividers Made From Cardboard and Tape

DIY dividers can turn one messy drawer into separate zones. Corrugated cardboard works well, and clear packing tape makes the edges last.
You can build sections for glue, tape, and sticky notes so materials don’t roll around. Personalize the dividers by adding a small icon, like a paint palette for art supplies.
8. Mason Jar Centerpieces for Paint and Brushes

Mason jars look cozy and hold art tools in a clean, bright way. Keep brushes upright so bristles stay safer, and store small paintbrushes with their handles above.
They also make your workspace feel inviting, which helps you start earlier. Add a layer of paper towel in the jar bottom to catch drips, and label jar lids with marker for quick reuse.
9. Stackable Crate System From Recycled Wooden Boxes

Old wooden crates can become a stylish storage system that feels like a maker corner. Stack them in different heights so larger items go on the bottom and smaller ones go on top.
This idea is unique because it uses natural texture that looks good in photos and in real life. Line the inside with scrap cardboard to prevent scuffs and to protect surfaces.
For personalization, stain one crate and leave another natural, then match your classroom theme colors with stickers. It’s a budget win because the base can be free, and you only need basic liners and tape.
10. Under-Bed Plastic Bins for Seasonless Projects

Under-bed bins are perfect for projects that come and go across the year. They keep bulky materials like foam sheets, poster boards, and storage-worthy kits out of the way.
Choose bins with smooth lids so they slide easily and stack neatly. Add painter’s tape labels with class names and project titles, then rotate what you keep as deadlines change.
11. Egg Cartons for Beads, Buttons, and Confetti Parts

Egg cartons are brilliant for tiny parts that love to vanish. Each cup holds a small set, so you can count items and avoid spills.
For a clearer workflow, cover the carton base with contact paper, then label each section with a simple color or symbol. When you’re done, you can reuse the carton for other craft projects at home.
This storage approach is special because it uses shape to guide organization, not just labels. It also matches a current love for upcycling, where old household items get new jobs.
12. Cable Clips and Small Hooks for Measuring Tools

Back-of-desk hooks and cable clips keep measuring tools from drifting into random corners. You can hang a small ruler, tape measure, or string spool where it’s easy to reach.
It saves desk space while still giving you quick access. Use removable adhesive hooks if you don’t want to damage walls, and group them near your project area.
13. Color-Coded File Folders for “In Progress” vs “Ready”

Color-coded folders make it easy to separate materials by how soon you need them. Keep one color for in-progress work and another for ready-to-start items.
This visual system helps you avoid mixing printed instructions with finished pieces. Add a pocket folder to each one, then slide in rubrics, permission slips, and notes so they don’t get lost.
Personalize the colors to match each subject, and keep a small reserve folder at the bottom for the next project. It’s budget friendly because folders are easy to find and you can repurpose older ones too.
14. Large Envelopes for Poster Backing and Paper Trims

Big envelopes are a simple solution for flat items that should not fold. Use them for poster backing, foam sheet offcuts, and paper trims that keep getting crumpled.
Slide them vertically in a shelf space so they stay visible and don’t take over the desk. For personalization, decorate the outside with a mini border to match the project theme.
15. Clear Storage Bin With Removable Dividers for Crafting Kits

A clear storage bin helps you plan the whole kit layout before you start. Use removable dividers so you can adjust sections for different project types.
This setup is helpful because it keeps materials grouped while still letting you see what you’re low on. When you finish, wipe the bin and keep it ready for the next school season.
Stick a small inventory list inside the lid and update it after each project. Many students also use this method because it supports quick cleanup, which is a big trend in organized classrooms.
16. Spool Organizers for String, Ribbon, and Twine

Spool organizers turn tangled string into neat, easy-to-grab supplies. You can wind ribbon and twine around small spools or repurpose cardboard cores.
Keep the spools in a shallow box so they lie flat and don’t unroll. Add a colored thread tail to each one so you can recognize the right material without digging.
17. Mini Binder Rings for Clip-On Supply Packs

Mini binder rings work great for holding small packets together. Clip together a set of instructions, a checklist, and a few key items so the entire plan stays together.
This is unique because it turns storage into a portable project tool. Use binder rings for group projects too, so everyone gets a clear role and a consistent kit.
Personalize by adding a charm or tape flag that matches the group’s theme. It also helps with cost because you can build rings from scraps and inexpensive binders.
18. Rolling Cart With Labeled Drawers for Weekly Materials

A rolling cart keeps school supplies moving with you instead of piling in one spot. Labeled drawers make it easy to separate art supplies from science tools and keep them ready for the next lesson.
This storage idea feels empowering because you can set it beside your workspace. Add a small bin on top for “today only” materials so the rest stays tidy.
19. Reusable Fabric Pouches for “Bring Home” Supplies

Fabric pouches are gentle on paper and flexible for everyday carry. Use them for glue sticks, marker packs, stickers, and small board games used for projects.
They’re budget friendly if you sew from scrap fabric or repurpose old cloth bags. Label with iron-on patches or washable markers so you can personalize each pouch for different subjects.
20. Clear Refillable Stamp Bottles for Liquid Essentials

Clear refillable bottles make liquid supplies look tidy and reduce mess. Store small amounts of liquid glue, paint pens, or even diluted craft liquids in matching containers.
Benefits include easy visibility, faster cleanup, and fewer spills because you can keep caps on tightly. Add a color-coded sticker for each liquid and keep them in a tray so they don’t roll.
If you’re thinking about the current trend of “small-batch” crafting, this method supports it nicely. It also saves money by using refills and reducing how much gets wasted.
21. Poster Tube With Cut Paper Dividers for Flat Projects

A poster tube is a smart way to store long flat items without bending them. Slide drawings, thin poster sheets, and project backings inside, and use cut paper dividers so stacks stay separated.
When you open the tube, everything stays aligned like a professional portfolio. For personalization, wrap the tube with themed wrapping paper and add a label for each project category.
Choose a tube with a secure cap so it survives in backpacks and hallways. This approach is unique because it protects your work while making the storage feel like a “project library.”
22. Budget-Friendly “Project Stations” Using Trays and Hooks

A project station uses a tray as the main base and hooks for daily extras. Put a shallow tray on your desk or shelf, then hang a few hooks nearby for scissors, tape, and a small roll of paper.
This idea is practical because it keeps everything within arm’s reach and prevents desk clutter. To personalize your station, use different colored tape for each subject zone so your setup evolves with the year.
If you want a trend-friendly vibe, choose clear bins and mix them with chalkboard-style labels for a maker aesthetic. It’s also cost-conscious since you can build the station from everyday items you already own.