Your favorite chair can look brand new without buying a whole new set. The best part is that you get to control the fabric, the feel, and the vibe.
Reupholstery workshops turn a messy project into something friendly, guided, and surprisingly fun. You will leave with practical skills and a chair that fits your everyday life.
1. Fabric Swatch Day That Ends With Confident Choices
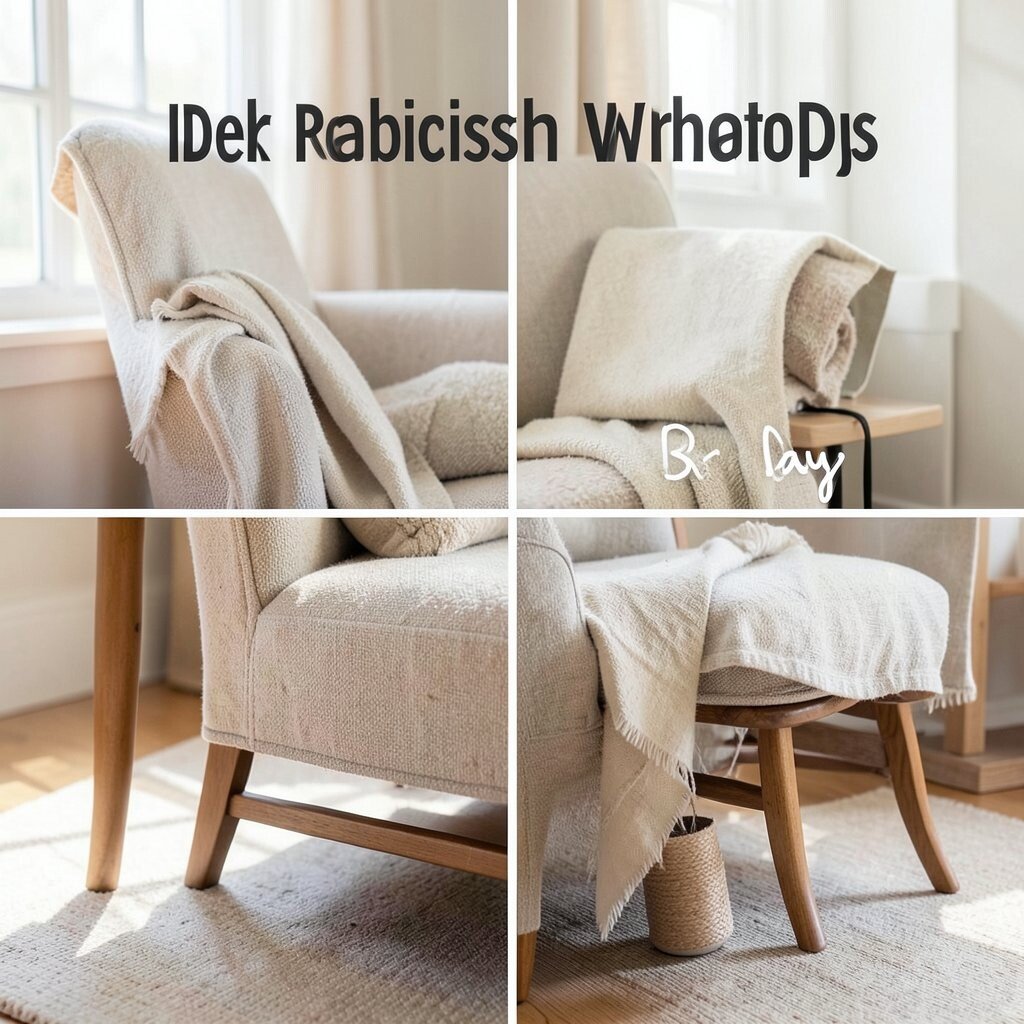
Start your workshop by bringing a few fabric swatches home-style. The room will show you how different weaves look in real light.
You can compare textures like smooth cotton, sturdy canvas, and soft velvet right next to each other. Seeing colors under morning and evening lighting helps you avoid surprises later. Aim to pick a fabric that matches how you actually live, like pets, kids, or movie nights.
2. Foam and Cushion Fit Session for Real Comfort
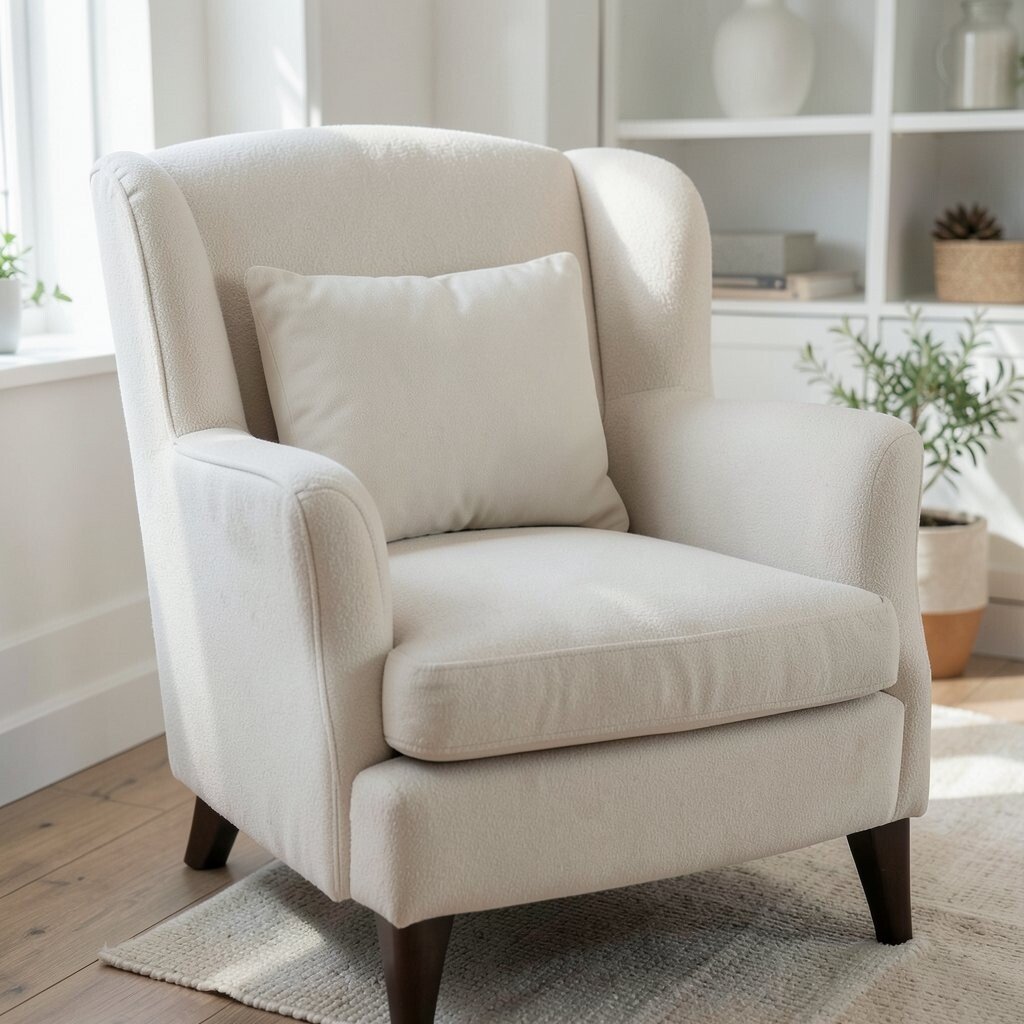
A good chair feels supportive the moment you sit down. In a foam and cushion fit session, you will learn how to measure what your seat truly needs.
Students often bring a tired cushion that sinks too quickly, then learn to choose foam density and thickness. You will feel the difference when the seat level stays steady and your back gets better support.
Consider testing a removable cushion cover first so you can adjust comfort without starting over. Ask the instructor what changes can help without making the chair too tall or too firm. Keep in mind that better foam costs more, but it usually saves money because you won’t need rework soon.
3. Pattern Matching Workshop for Designs That Look Intentional
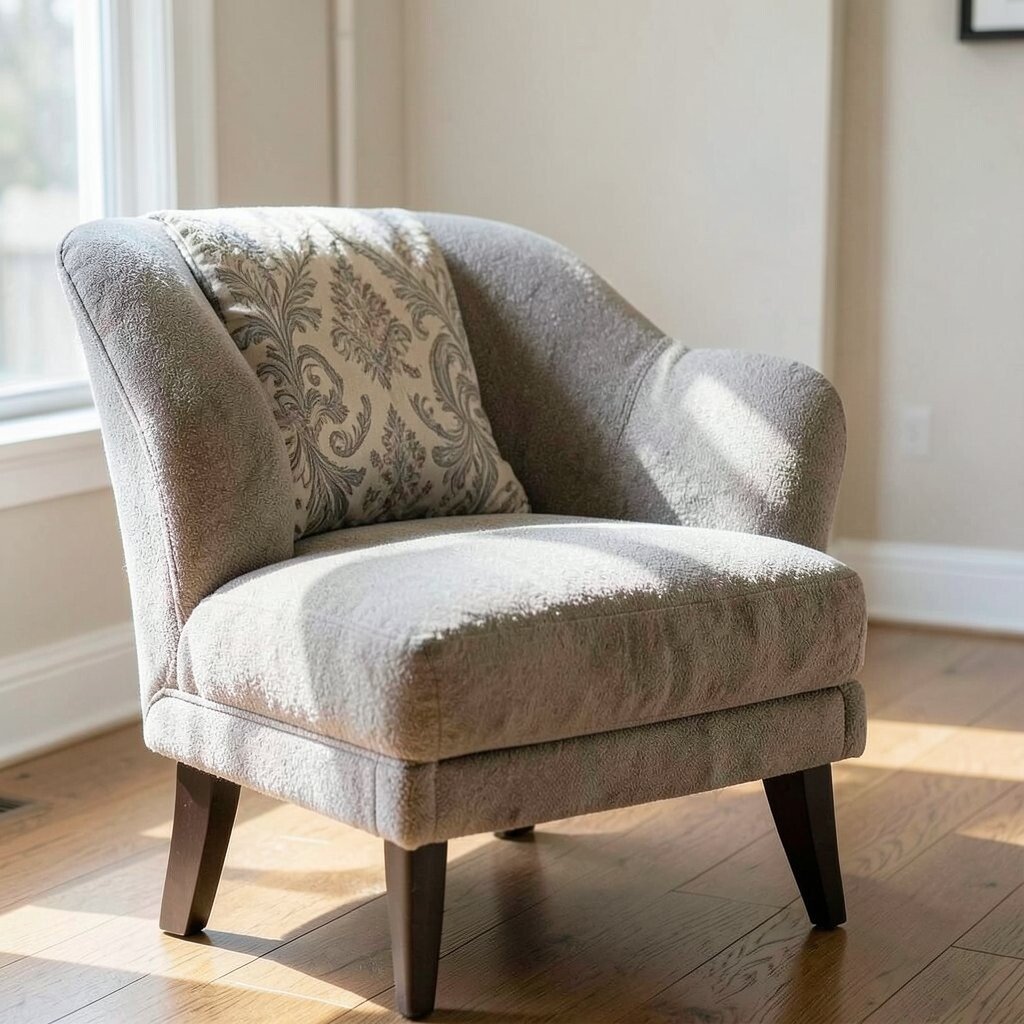
Printed fabrics can be tricky, but workshops make them manageable. A pattern matching session teaches you how to line up stripes, florals, and geometric prints so they look planned.
When you cut with care, the chair back looks balanced instead of random. You will also learn how to plan the direction of the fabric so the motif stays right where it should.
This is a great place for personalization because you can highlight a focal area, like centering a large flower on the seat. For cost considerations, buy a little extra fabric so you are not forced into an imperfect match. A modern trend is mixing bold prints with simple trims, so you can keep the overall look clean and stylish.
Use a pencil mark on the wrong side of the fabric to guide your cuts and keep everyone’s work neat. Take a photo of your layout before you start sewing, so it is easy to repeat next time.
4. Upholstery Stitching Practice With Clean Seams
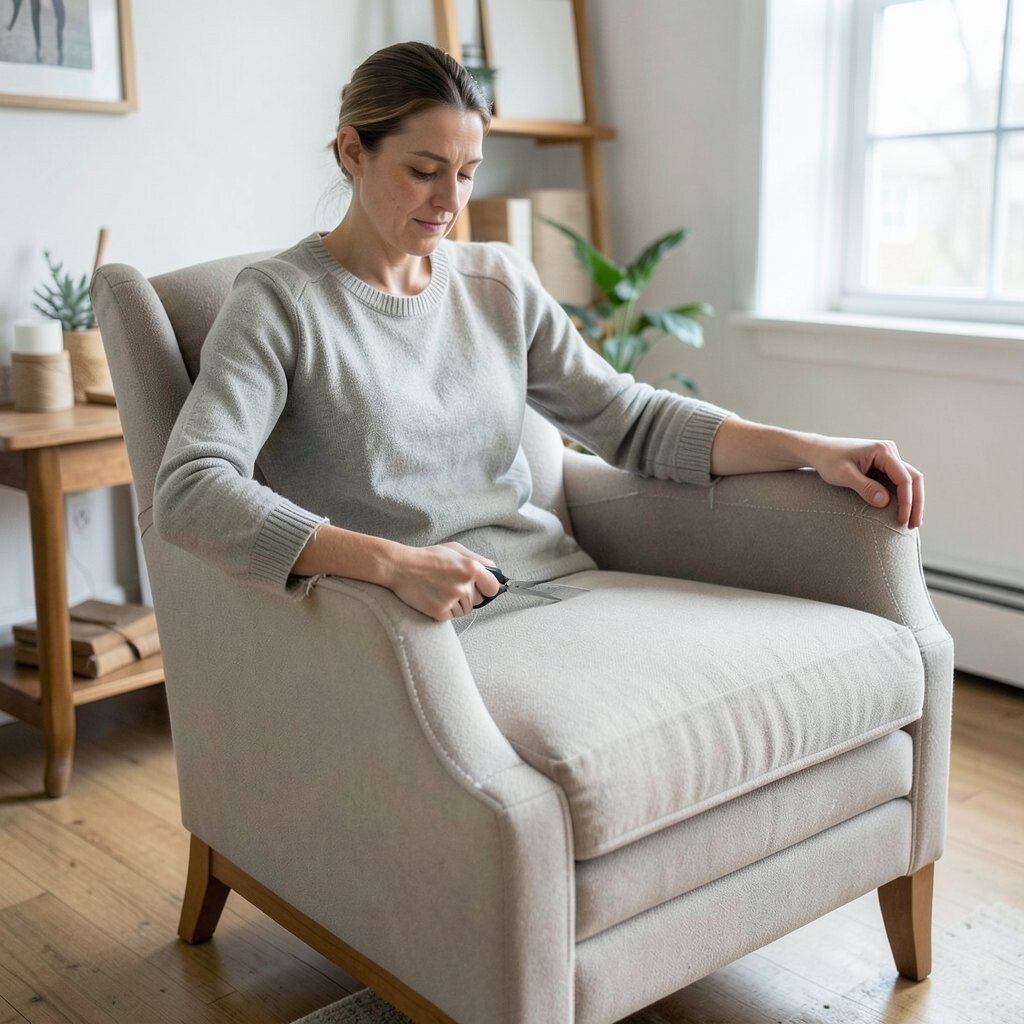
Nothing looks more polished than tidy seams that hold their shape. In a stitching practice session, you will learn how to sew straight lines and make corners look crisp.
You will also practice thread tension so your fabric does not pucker. That small detail makes a big visual difference, especially on armrests and seat edges.
5. Upholstery Trimming and Piping for a Tailored Finish
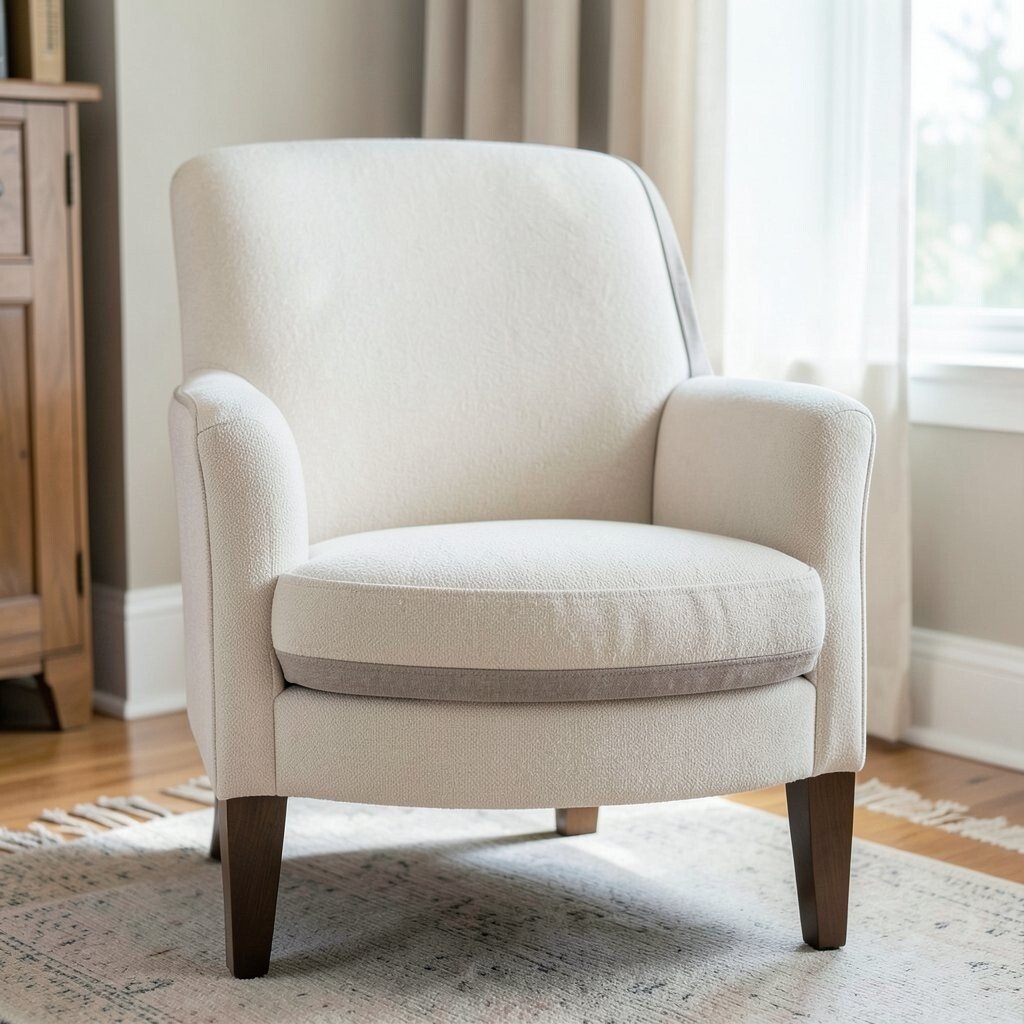
Trimming turns a basic chair into something you would spot in a boutique store. A piping and trim workshop shows you how to add that neat border that frames the whole piece.
You will learn how to measure the piping length and bend it smoothly around curves. The result often looks custom, even when you are working on a first project.
Try choosing contrast trim in a color that echoes a room detail, like curtain ties or pillow tassels. This kind of personalization can be budget-friendly since trim uses smaller amounts of fabric. A current trend is using bold piping with neutral upholstery for a fresh, graphic look.
6. Hand-Button and Tufting Skill Builders

Button and tuft details can feel fancy, even on a familiar chair shape. In a tufting skill builder session, you will learn how to place buttons evenly and tighten them so the fabric holds.
You will see how tufting creates soft texture, like gentle waves across the seat or back. That visual effect can make a simple chair feel more luxurious.
Consider using tone-on-tone buttons for a calm look, or choose a bright thread for extra personality. For practical tips, ask how to anchor each button so it does not loosen over time. Tufting materials can add cost, but the payoff is a dramatic look that lasts.
7. Slipcover-Style Upholstery With Easy Cleaning Options
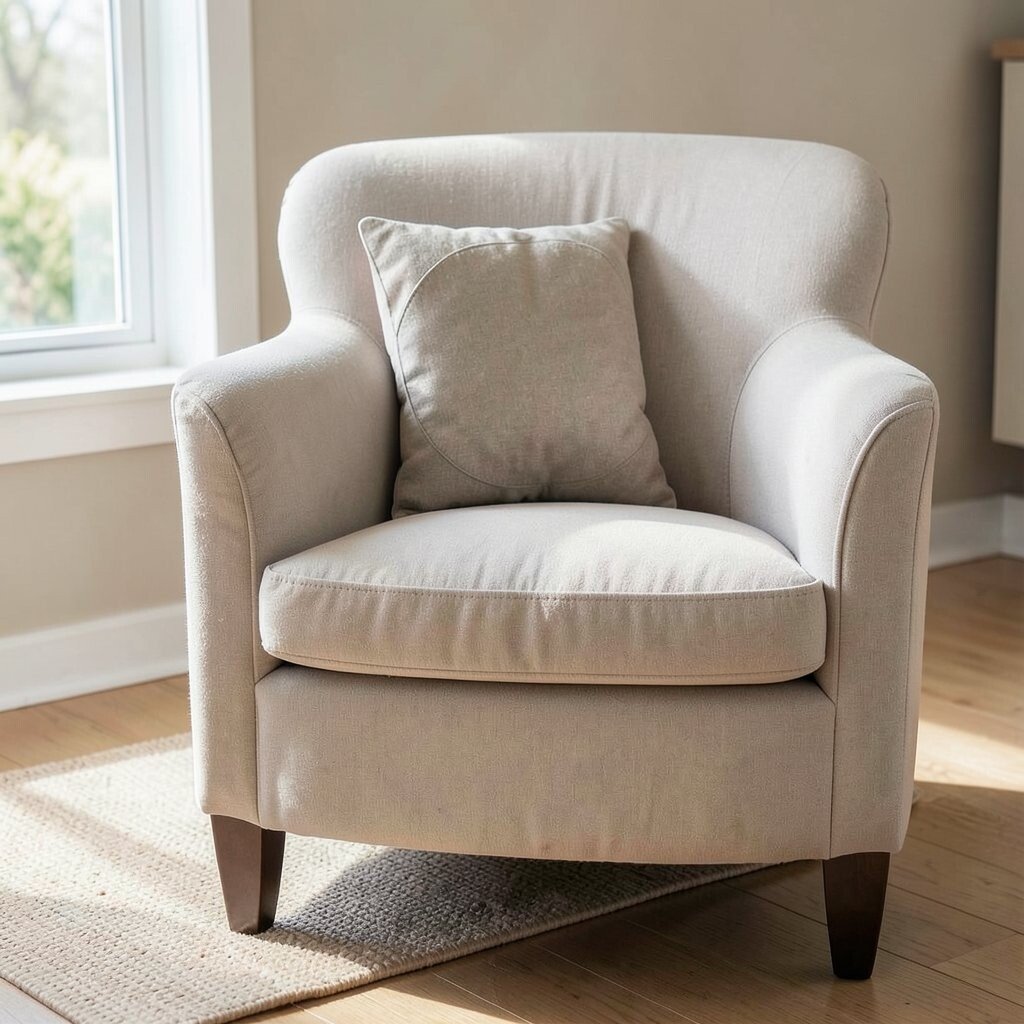
If you want comfort plus convenience, a slipcover-style approach can be a lifesaver. A workshop like this focuses on removable covers or partially removable sections.
You will learn how to keep fabric snug without it shifting every time someone stands up. Many people love this method because it makes stain cleanup much less stressful.
Choose a durable performance fabric and design the cover so high-wear areas are protected. This is a strong personalization idea for homes with kids or pets since you can swap covers by season. Cost-wise, removable panels may use extra materials, but you will likely save money by avoiding full reupholstery.
When you cut patterns, label each piece right away to reduce confusion during reassembly. A clean, tight fit also helps your chair look neat even when the cover is washed.
8. Workshop on Removing Old Fabric Without Damage
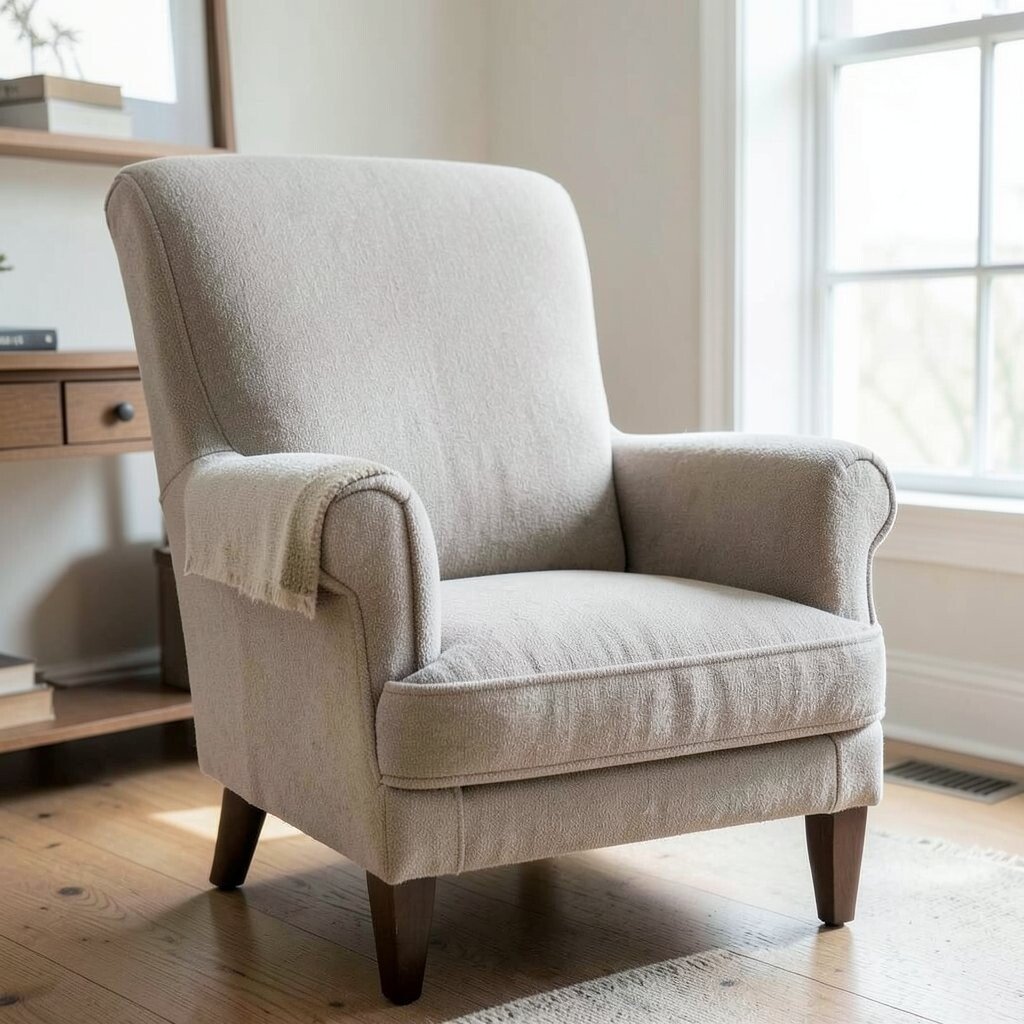
Before new fabric goes on, the chair has to come apart the right way. A removal without damage session teaches you how to open seams, keep hardware in order, and avoid tearing the frame.
You will learn to inspect springs, webbing, and padding while the chair is open. That careful step helps you fix problems early instead of hiding them under fresh upholstery.
9. Webbing and Spring Repair for Chairs That Bounce Back
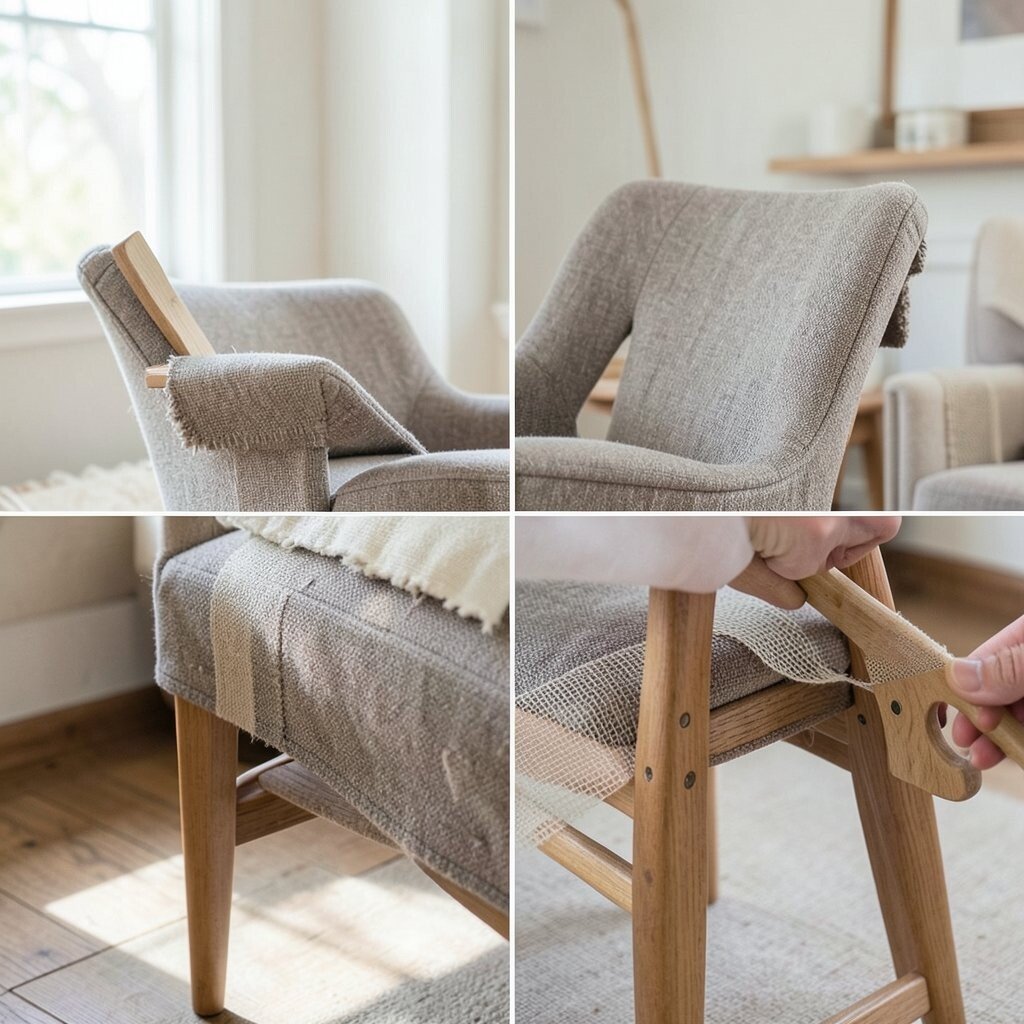
Some chairs feel tired because the support has weakened. In a webbing and spring repair workshop, you will learn how to rebuild the base for better bounce.
Seeing a chair seat hold shape again is one of the most satisfying moments in the whole process. With the right tension, the chair feels balanced instead of wobbly.
This approach adds uniqueness because you are not just changing the look; you are improving how it performs. Plan your materials based on what you find during the inspection, since repairs vary by chair style. If the chair has heavy wear, the cost of replacement parts can be worth it since you keep a valuable frame.
10. Leather Chair Reupholstery for Rich Texture and Patina
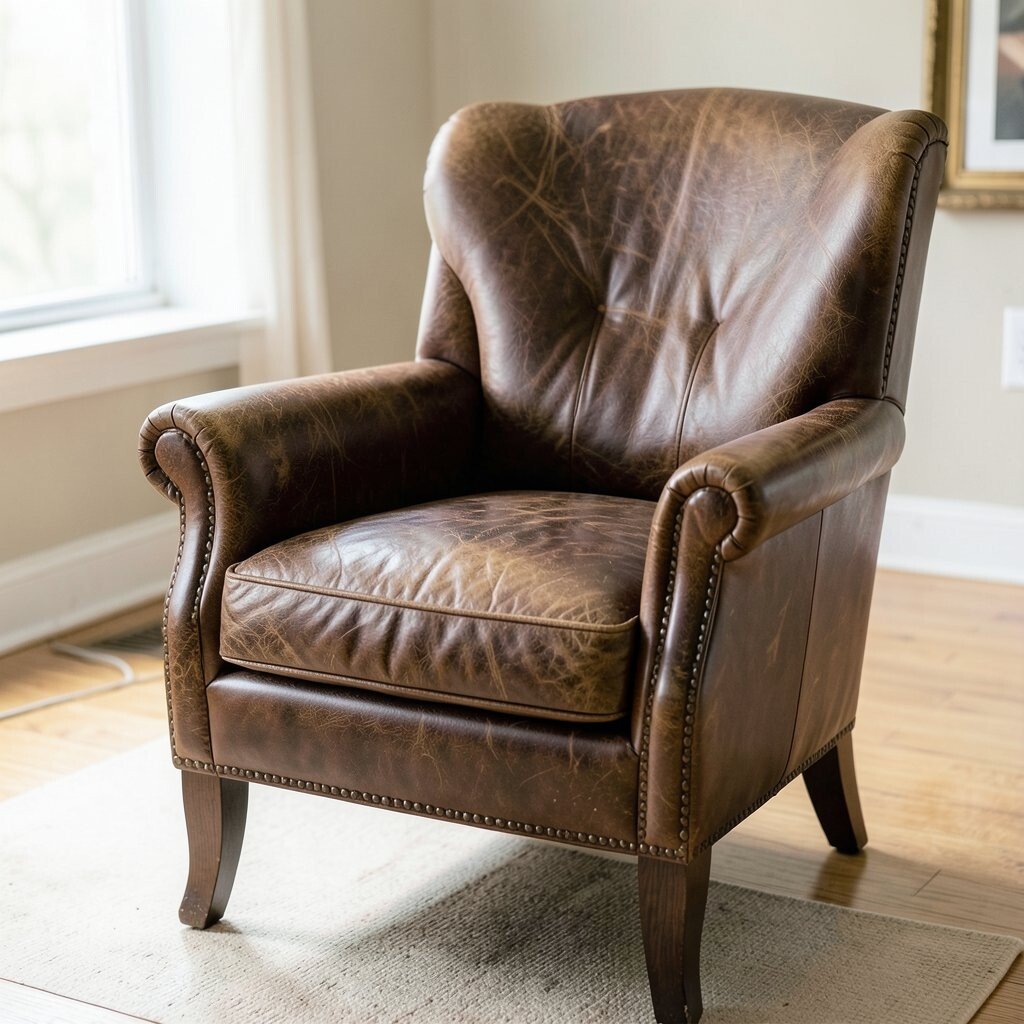
Leather has a special charm that fabric cannot copy. A leather-focused workshop teaches you how to handle hides, seams, and edges without stretching or cracking.
You will learn how leather changes with time and how patina can become part of your chair’s story. Choosing the right finish also affects how it resists daily wear.
For personalization, consider contrast stitching or a slightly different shade on the seat versus the back. Leather can cost more than many textiles, but it often ages beautifully and feels sturdy. A current trend includes warm, natural tones and matte finishes that look modern while still cozy.
11. Sustainable Fabric Sourcing and Upcycled Choices
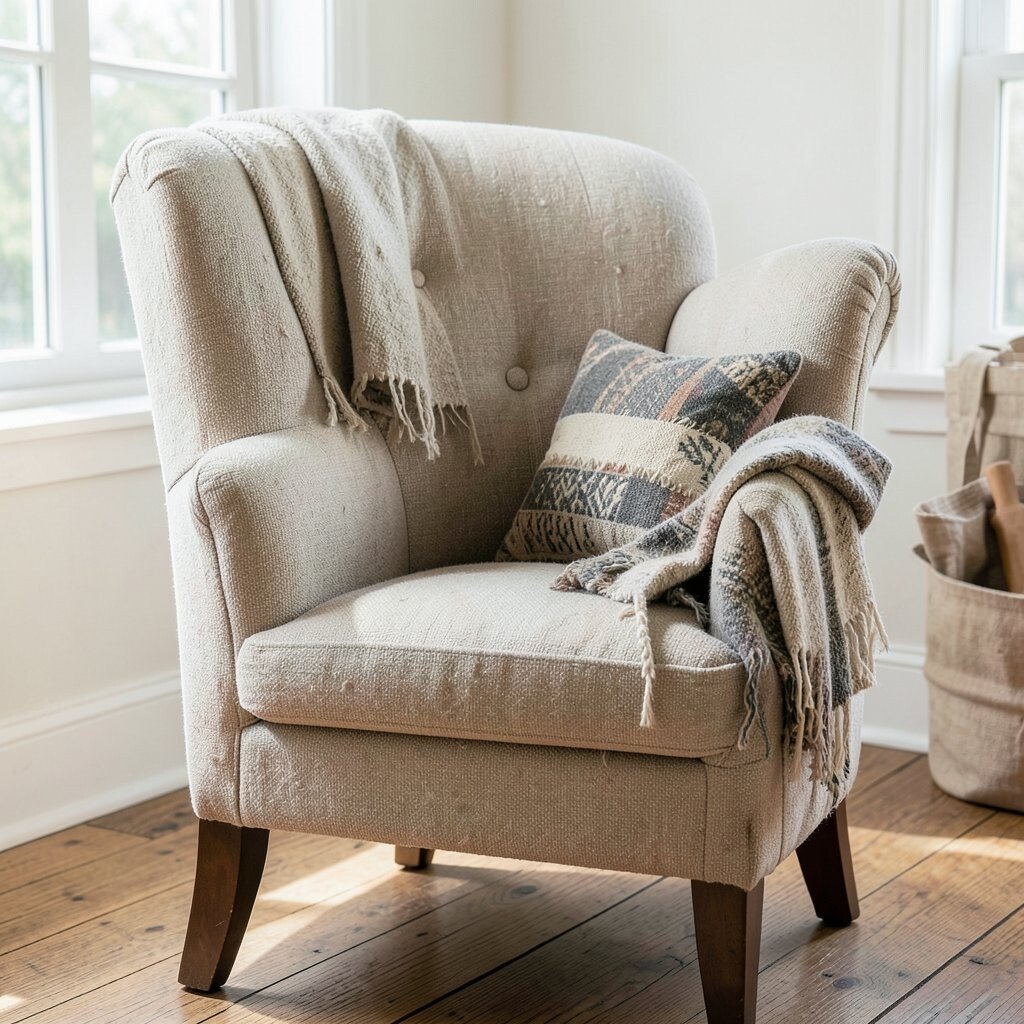
Many homes are shifting toward more responsible materials. A sustainable fabric sourcing session shows you how to find quality textiles with a lighter footprint.
You might learn how to spot strong secondhand fabric, how to check condition, and when it is safe to reuse. Upcycling can make your chair look truly one-of-a-kind because the pattern history is already baked in.
For practical tips, measure carefully so you do not waste valuable fabric and so your cuts stay clean. If you are watching costs, secondhand sources can reduce spending, but always account for supplies like foam and thread. This is also a fun personalization idea because no two reused pieces look exactly the same.
Ask the instructor about recommended care so your chosen fabric stays fresh through regular cleaning. A chair that looks good now should also feel good for years.
12. Color Blocking Workshop for Bold, Modern Layouts

Color blocking can make a chair feel like art. In this workshop, you will learn how to design sections and join fabric pieces cleanly.
You can create a strong look by using one main color for the seat and contrasting shades for the arms or back panel. The visual payoff is high, and the chair becomes a focal point instantly.
To keep it practical, choose fabrics that wear well in the parts that get the most use. You can personalize by matching color blocks to your room palette, like a sofa tone and accent wall hue. Cost considerations matter here because cutting more pieces can use extra fabric, but it is still often cheaper than buying a new chair.
13. Velvet, Chenille, and Specialty Fabric Handling
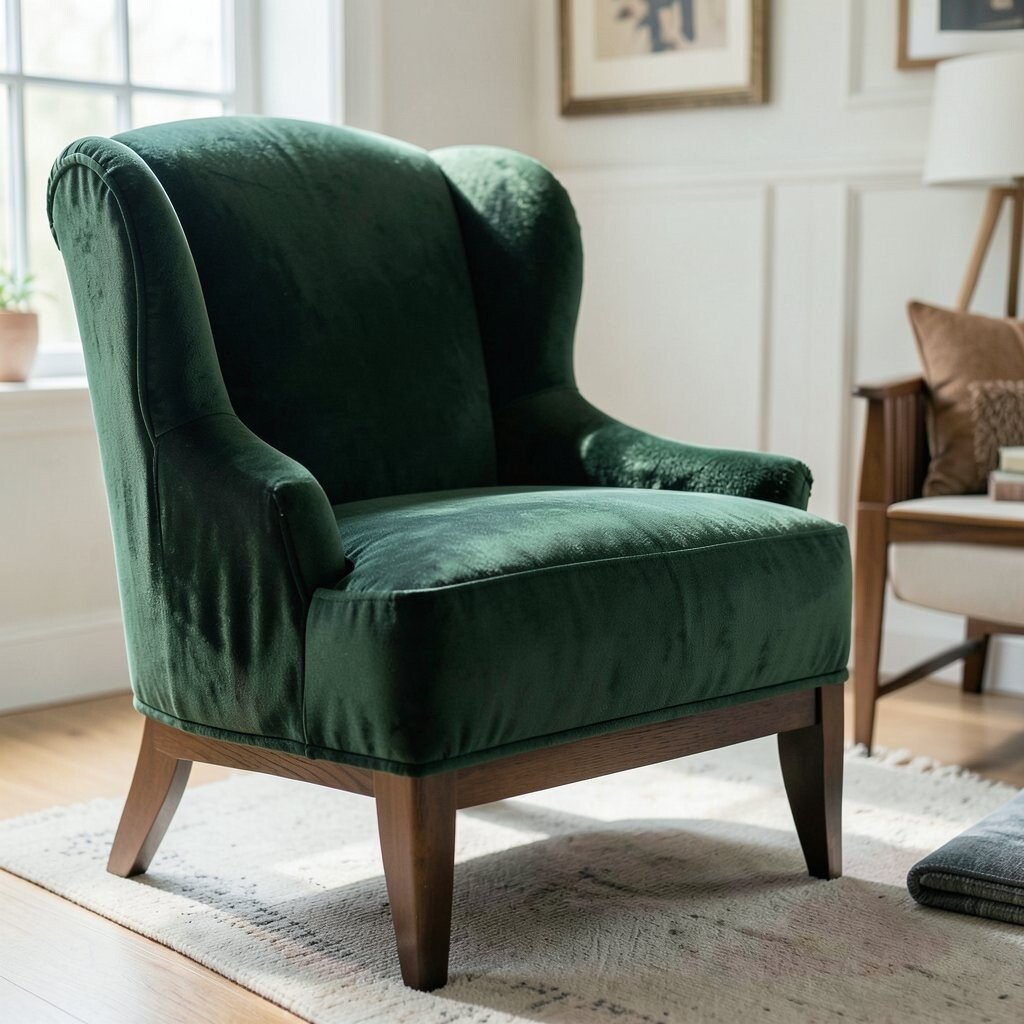
Soft fabrics look gorgeous, but they need special care. A workshop on velvet and specialty materials teaches you about nap direction and how it changes the chair’s shine.
You will learn how to cut and sew without flattening the pile. That helps the chair stay evenly textured, not patchy.
For personalization, you can pick a velvet shade that shifts subtly in light, giving your chair depth. Specialty fabrics can be pricier, so consider sampling or budgeting before committing. A current trend is using rich, jewel-like colors for cozy interiors, especially in reading corners and bedrooms.
14. Remaking Antique Chairs for Historical Charm

Antique chairs can carry stories, and reupholstery is a gentle way to keep them alive. A workshop focused on antique restoration helps you work with older materials and older design lines.
You will learn how to respect the frame, use appropriate underlayment, and choose fabric that fits the chair’s age. The chair often looks better than it ever did when it was new.
This is a uniqueness win because antique frames bring character that mass-produced chairs do not have. For practical tips, keep notes about original construction so future repairs stay easier. Cost can vary a lot, but the value is that you are preserving a piece you can truly love for a long time.
Before you commit to bold fabric, bring a few color options and compare them to wood tone and hardware color. Matching those details is what makes restoration look authentic.
15. Workshop on Matching Curtains and Upholstery for a Cohesive Room
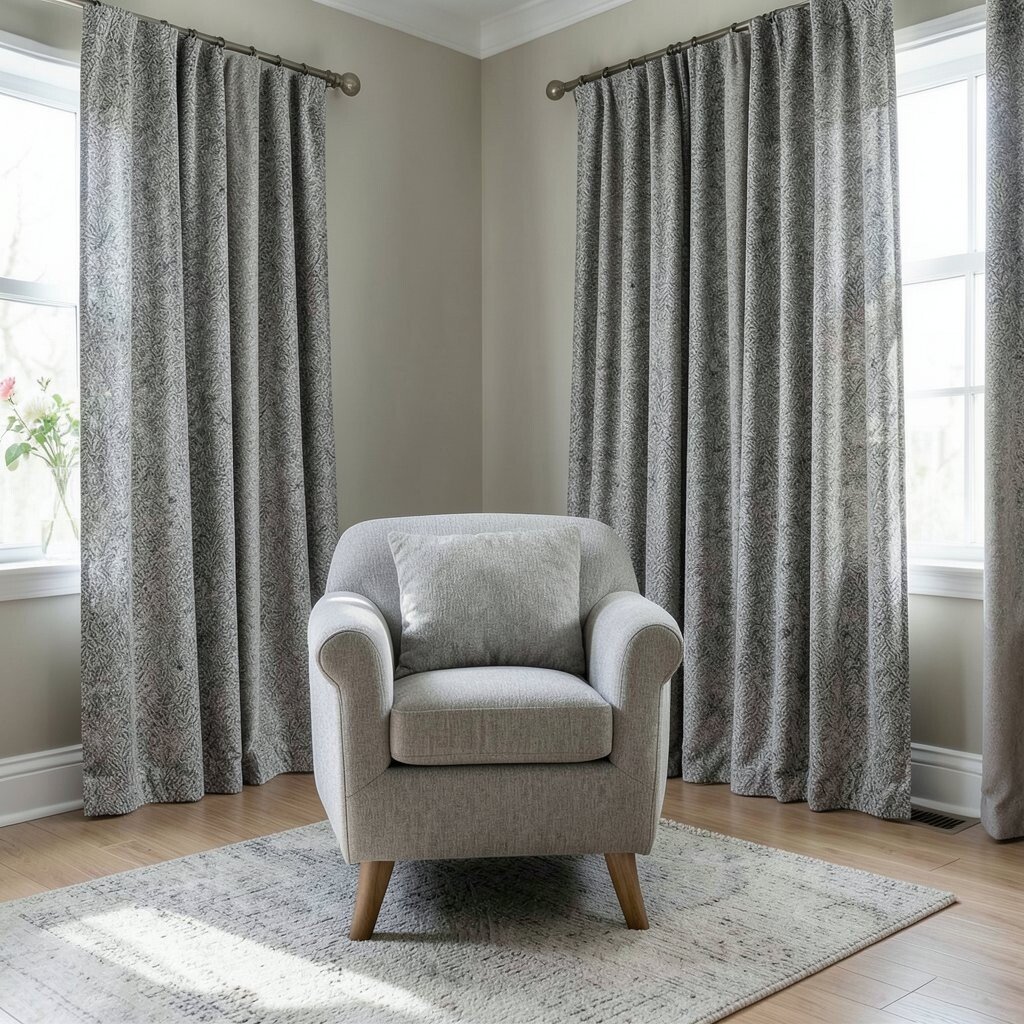
Your chair should look like it belongs in the room, not like it wandered in. A matching workshop teaches you how to coordinate upholstery with curtains, rugs, and cushions.
You will practice building a color story using undertones, pattern scale, and fabric weight. When everything shares similar colors and textures, the space feels calm and styled.
For practical tips, bring at least one curtain panel and a pillow cover for comparison during planning. This personalization idea can reduce the guesswork and help you avoid fabric that clashes. Cost considerations are helpful here because coordinating pieces can help you reuse existing textiles, like using leftover fabric for trim.
16. Built-In Armrest and Side Panel Upgrades
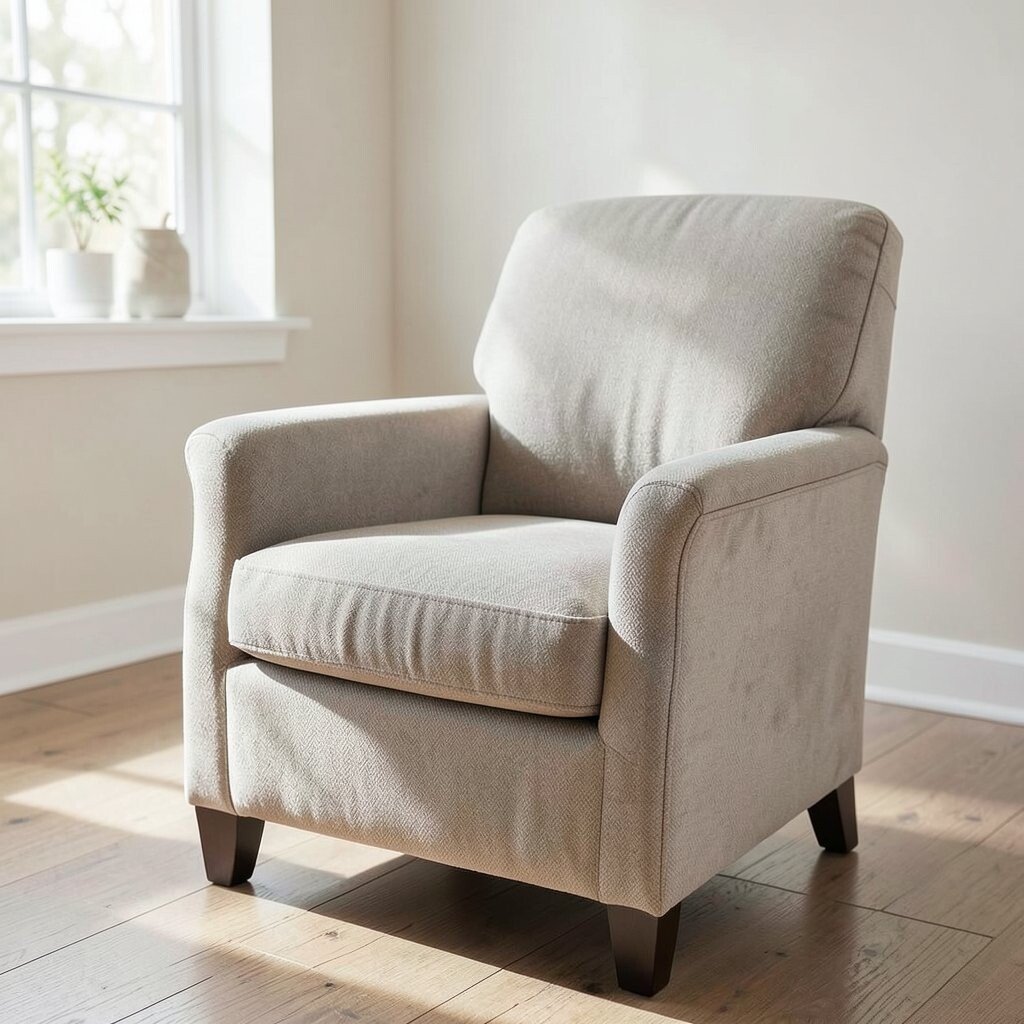
Armrests and side panels take a chair from “nice” to “wow.” A workshop for armrest upgrades teaches you how to add padding, adjust shape, and cover details smoothly.
You will learn how to keep edges straight and how to blend fabric into existing seams. The chair will look more streamlined and feel more comfortable in daily use.
For personalization, choose a fabric that highlights those areas, like a textured weave or a subtle patterned stripe. This can feel unique without needing a full chair makeover. Costs often depend on how much additional padding and labor you add, so plan your budget based on how dramatic you want the change to be.
17. Performance Fabric Workshop for Everyday Durability
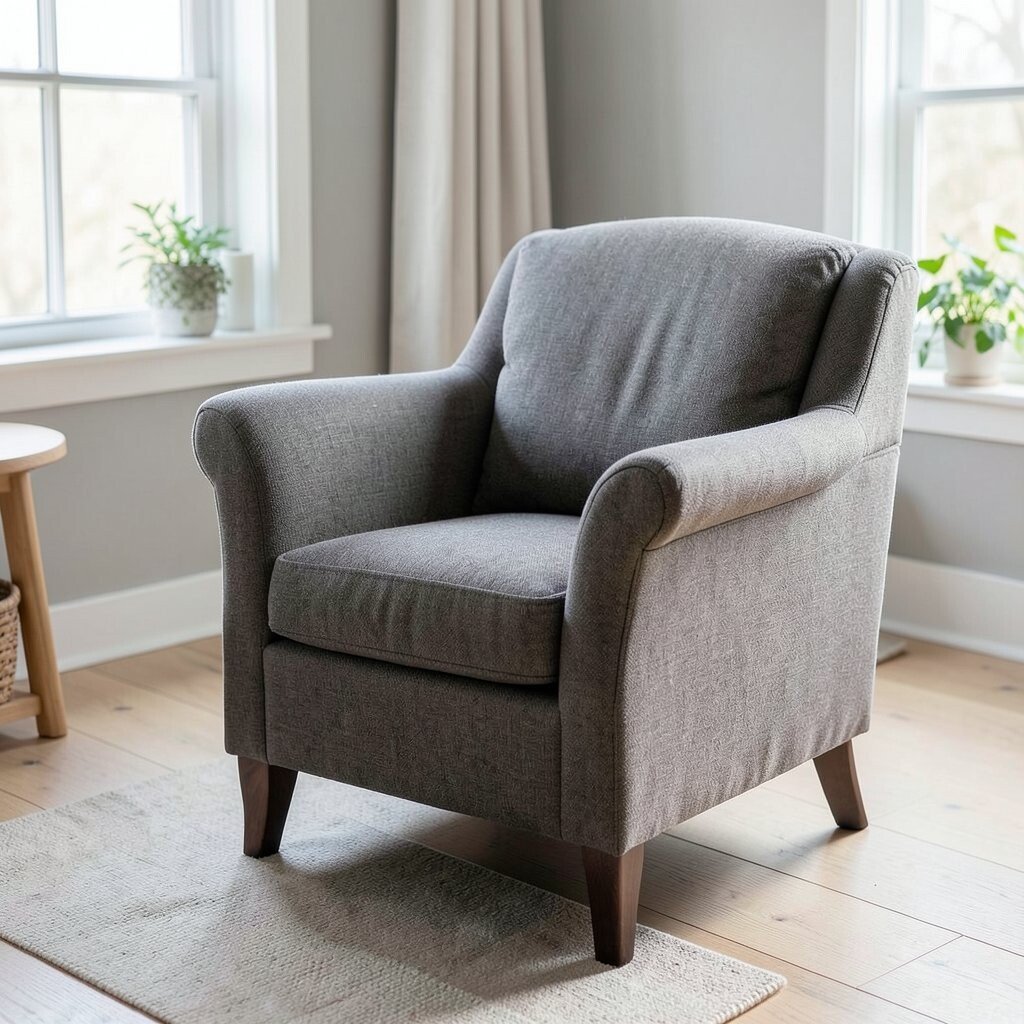
Everyday life can be messy, so your chair needs to handle it. In a performance fabric workshop, you will learn about stain resistance, abrasion ratings, and easy-care finishing.
You will also get practical guidance on choosing the right fabric for sun exposure and frequent use. That way, the chair stays looking good longer.
Performance fabrics can be a little more expensive upfront, but they often cut the long-term cost of upkeep. Personalization is still possible through color and texture choices, including modern neutrals and stylish muted tones. A current trend is “cleanable comfort,” where upholstery looks soft while standing up to real life.
Ask about cleaning methods before you finish the project, so you do not accidentally damage the surface. A simple routine keeps your chair fresh without stress.
18. Sewing Machine Setup and Speed-Control Training

Good results depend on good setup, not just talent. A sewing machine setup and speed-control training helps you avoid uneven stitches and broken seams.
You will learn how to thread the machine correctly, select needles for different fabrics, and adjust tension for clean lines. That makes the whole project feel less intimidating.
Practical tips like testing on scrap fabric save time and reduce waste. For personalization, practice decorative stitching options on small pieces before you use your final yardage. Cost considerations also matter because taking time to get settings right can prevent fabric errors that are expensive to replace.
19. Workshop on Decorative Backrests and Contrast Panels
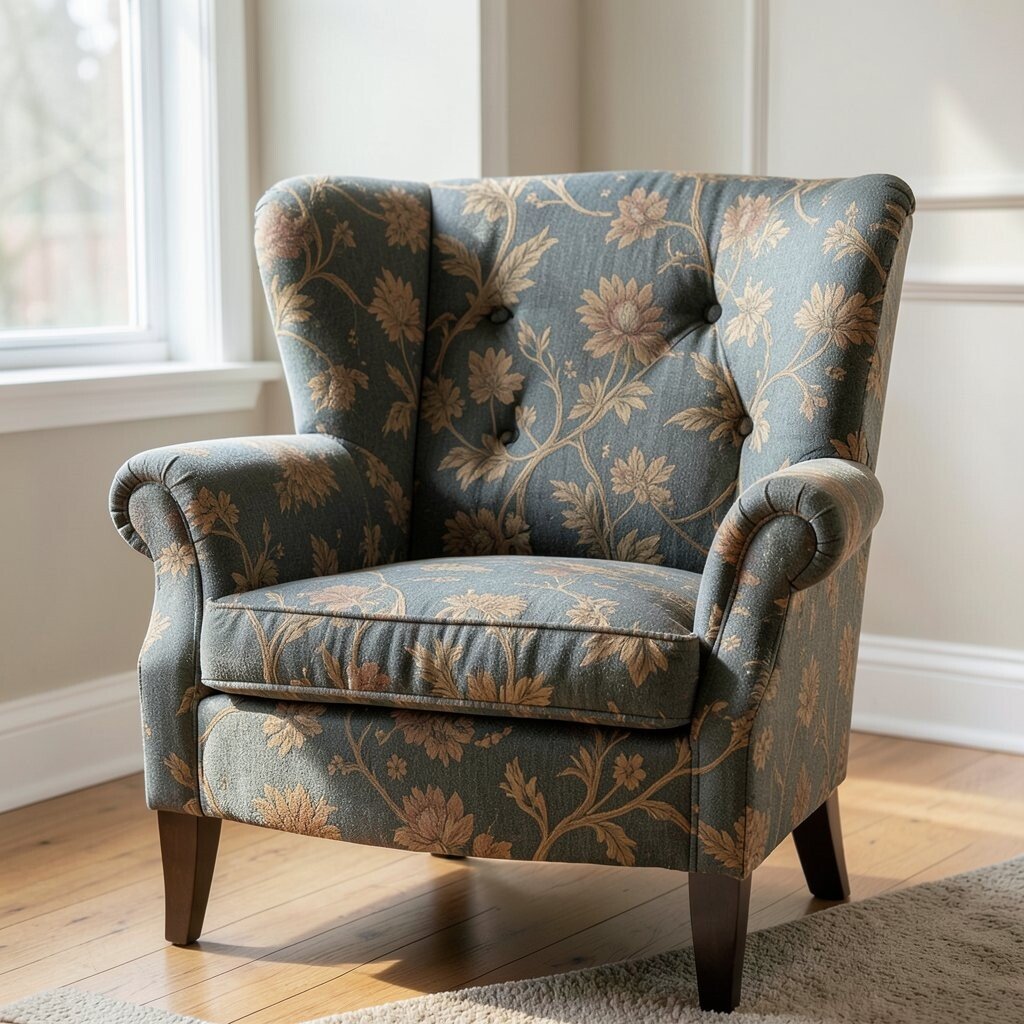
A chair back is a great place to show your style. In a contrast panel workshop, you will design a backrest feature using different fabric sections or layered shapes.
You will learn how to cut and join panels so the edges look sharp and the design stays centered. The result is visually bold, like a gallery frame for your seating.
This is a uniqueness idea that feels doable because you can keep the seat fabric simple and let the back do the talking. Personalize by choosing a fabric with a pattern scale that matches the chair size. Costs can be manageable since contrast panels use less fabric than full upholstery, depending on the chair design.
Before cutting, measure twice and place masking tape along your planned seam lines to visualize the look. That quick step can save you from adjusting after you sew.
20. Studio-Style Upholstery With Guided Hands and Checkpoints
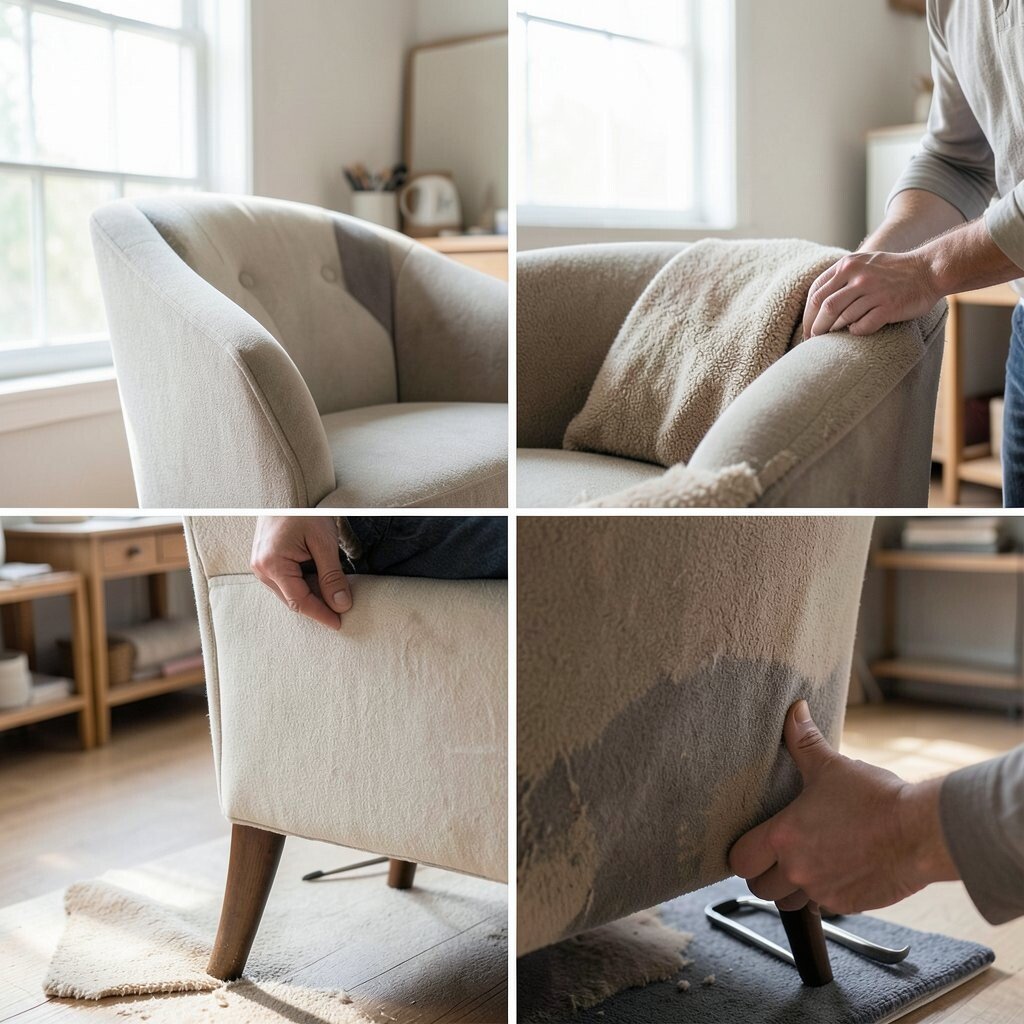
Sometimes you learn best with someone watching your work in real time. A studio-style workshop offers guided hands, checkpoint reviews, and step-by-step pacing.
You will get support when you hit tricky parts like corners, hard-to-fit arms, or tricky closures. That confidence helps you finish strong instead of rushing.
Practical tips include keeping tools organized and labeling parts as you remove them. For personalization, you can plan small design choices while instructors help with fit and alignment. Cost considerations are often clearer here because workshops may include instruction plans, and that can prevent costly mistakes.
21. Finishing, Edge Wrapping, and Final Quality Checks

The last stage decides how professional your chair looks. A finishing and final quality checks workshop focuses on edge wrapping, securing threads, and smoothing out fabric for a clean look.
You will learn how to trim excess material, press seams properly, and inspect for loose tension before the chair is ready. When done well, the chair looks crisp and feels comfortable from every angle.
For personalization, choose a final touch like a tailored welt color or a matching dust cover to hide the underside neatly. It can also be a trend to keep interiors looking “finished,” with details that match the rest of the room. Cost considerations stay reasonable because finishing usually relies on small supplies, but it can prevent redo work later.
After the chair is completed, sit in it for a few minutes and check any shifting. If something feels off, tighten or adjust while the fabric is still fresh and reachable.