Your favorite items deserve a home that looks as good as they work. With a few basics and some creativity, you can make smart stands for nearly any corner.
These are budget-friendly DIY builds you can finish quickly, and they’ll keep daily clutter from taking over your space.
1. Upcycled Crate Corner Display Stand
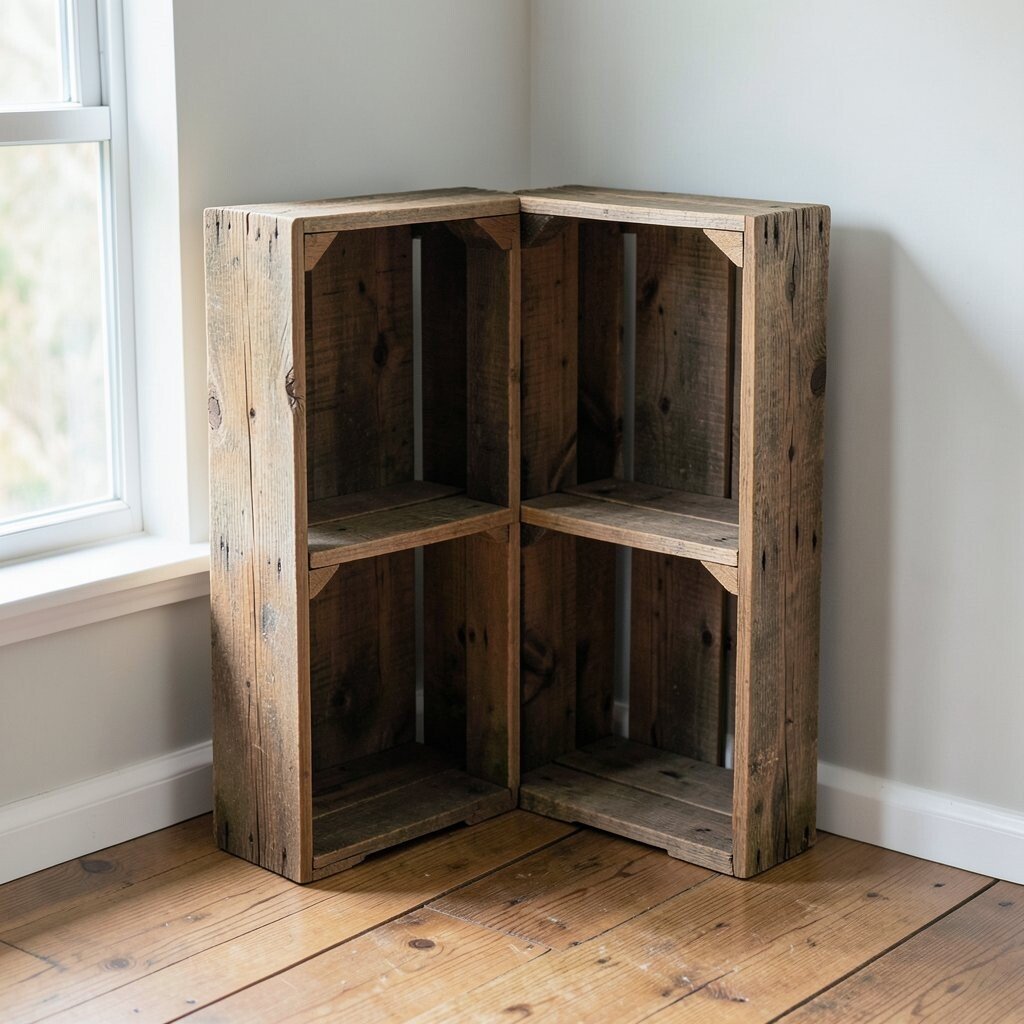
Find a small wooden crate from storage, an old shipment, or a thrift shop spot. Sand the edges lightly so it feels smooth when you touch it, then wipe off dust.
Set the crate upright to hold books, framed photos, or small plants, and add a simple backing board if you want items to stay centered. A current trend is mixing warm wood tones with clean modern items, so pair it with minimal decor like one neutral pot or a black-and-white print.
To keep it under budget, reuse what you already have for screws, brackets, or a scrap of plywood. Personalize it by painting the crate a soft color, adding stenciled letters, or finishing it with a matte clear coat for a neat look.
2. Scrap Wood Picture-Ledge Style Shelf Stand

Cut scrap wood into a short ledge that can hold small frames, postcards, or even a narrow candle. Pre-drill holes and attach a simple triangular support on the wall or backboard so the shelf stays steady.
When you step back, you’ll see a clean floating-like line that frames your photos without taking over the room. This style is popular right now because it makes walls feel curated, not crowded.
Use sandpaper to soften the front edge, then add a coat of stain or paint that matches your room. For a practical touch, glue felt pads to the underside if it sits on a surface, which helps prevent scratches.
If you want personalization, hang a string of tiny clips underneath for cards, or add two small knobs on the support to hold keys.
3. Mason Jar Desk Cup and Pen Stand

Clean out a few mason jars, then remove labels and scrub the glass until it looks fresh. If the jar rims are rough, lightly sand them or smooth them with a quick wipe of fine grit.
Arrange the jars into a small stand by using a scrap board base and securing each jar with hot glue, a foam gasket, or a few wood blocks. The visual is charming and functional, with the clear glass showing what’s inside like mini organizers.
This stand helps reduce morning chaos by keeping pens, scissors, and tiny tools in one visible spot. It also fits a trend toward honest, farmhouse-friendly materials that look good even when they’re used.
To keep costs low, use jars you already have or ask neighbors for clean ones. Personalize by painting the jar exteriors with chalk paint and adding a label on masking tape so you can change it later.
4. Old Drawer Handle TV Remote and Remote-Style Stand

Grab a spare drawer handle, a small wooden offcut, and a couple of screws from your toolbox. Position the handle as a hook-like cradle and attach it to a board so it holds remotes and small gadgets upright.
When you place it near your couch or bedside, it looks like a neat mini station instead of a clutter pile. The benefit is simple, your devices stay easy to grab and harder to lose under cushions.
If you’re following a current vibe, this works well with mix-and-match hardware styles, like brushed metal paired with warm wood. Keep it stable by adding a second small support block on the bottom.
5. Toilet Paper Roll and Cardboard Organizer Stand for Small Items

Save cardboard tubes and cut them into short sections for a sturdy, lightweight stand. Cover each tube with paper or fabric scraps, then glue them onto a thicker piece of cardboard or a scrap wood base.
The look is playful and tidy, like a handmade organizer that invites you to sort by color or size. People love this kind of craft lately because it’s quick, low-waste, and works with whatever supplies are at home.
For practical use, create a variety of heights for makeup brushes, spools of thread, or charging accessories. Personalize the stand by wrapping with patterned scrapbook paper and adding tiny painted icons that match what goes inside.
6. Coffee Table Turned Plant Stand Using a Repurposed Tray
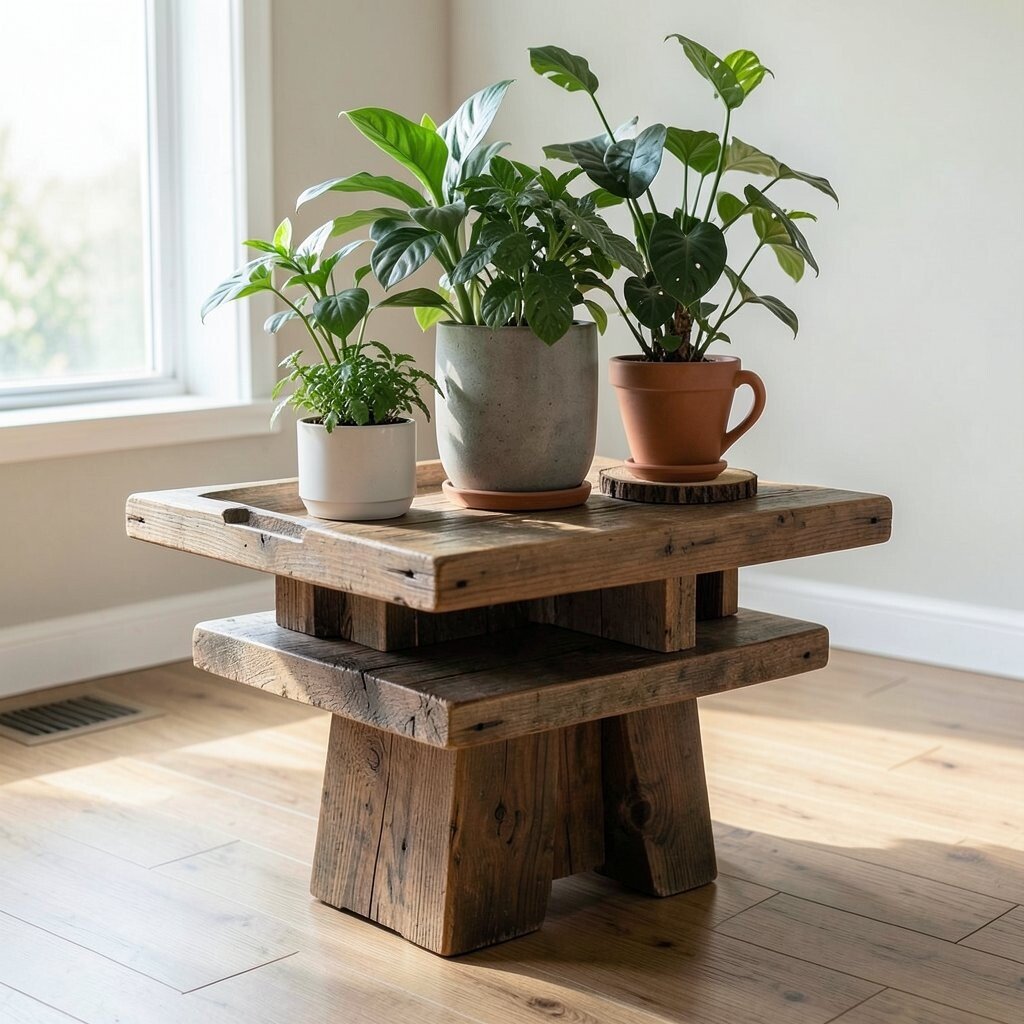
Find a shallow tray from a thrift store or an old serving set and clean it well. Add a wood block base or stacked coasters underneath so the tray sits higher and feels like a stand.
You’ll get an elevated plant display that brings greenery up where your eyes naturally go. The benefit is better visibility for small plants, and it also helps reduce water mess on the table.
To keep costs down, use what you can find and focus money on a plant or soil instead. Personalize by painting the tray rim, using a darker base for contrast, or adding a small name tag for your plant.
7. Adjustable Book Stand From Picture Frames and Hinges
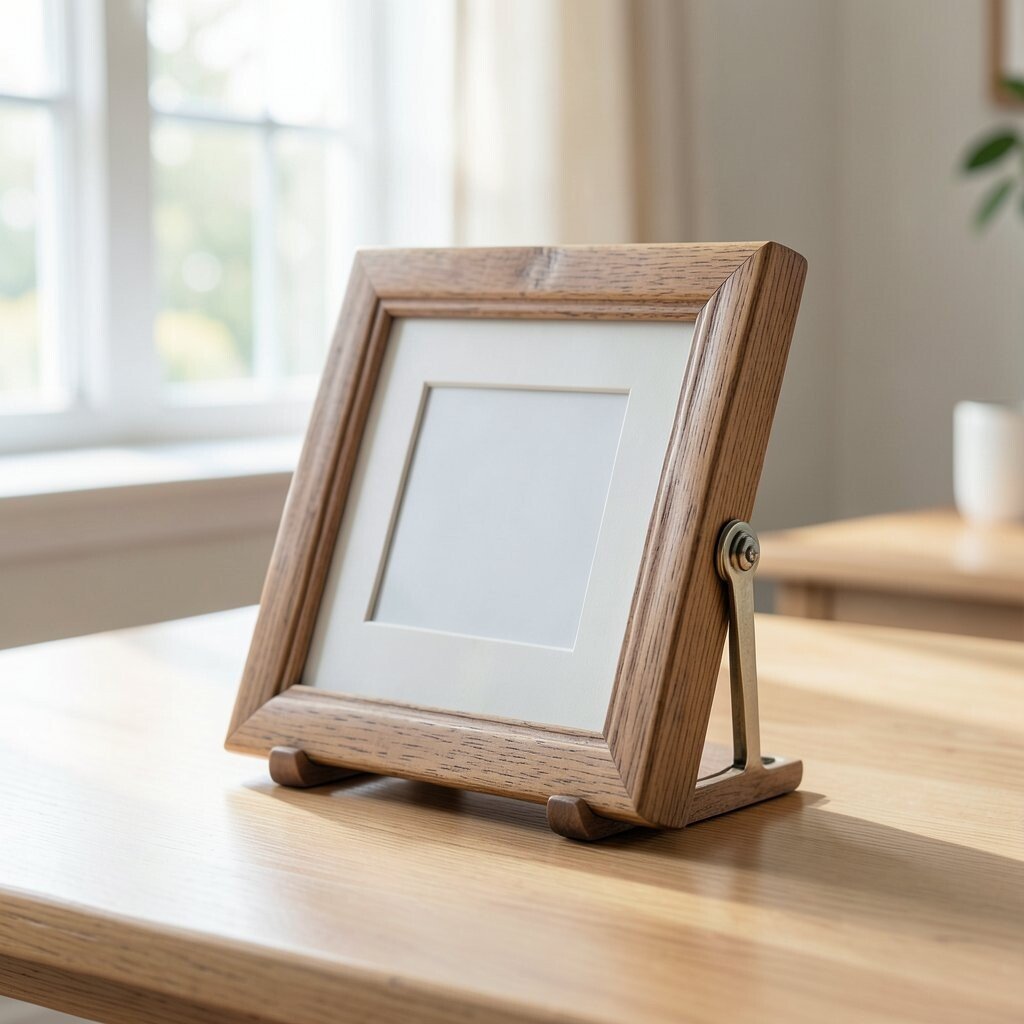
Take an old picture frame, remove the glass, and measure a comfortable viewing angle for your books. Add a small hinge or flexible support so the frame can prop items at an angle instead of flat on a desk.
When it’s set up, it looks like a stylish reading stand with a built-in border. This is popular right now because it blends function with decor, turning daily use into something that looks intentional.
Use leftover foam or felt on the bottom to prevent slipping. For personalization, paint the frame to match your shelves, or add a strip of washi tape like a simple accent line.
If you’re working on a budget, skip expensive hinges and use a basic foldable support from another broken item.
8. PVC Pipe Mini Shoe Rack Stand for Entryway Shelves
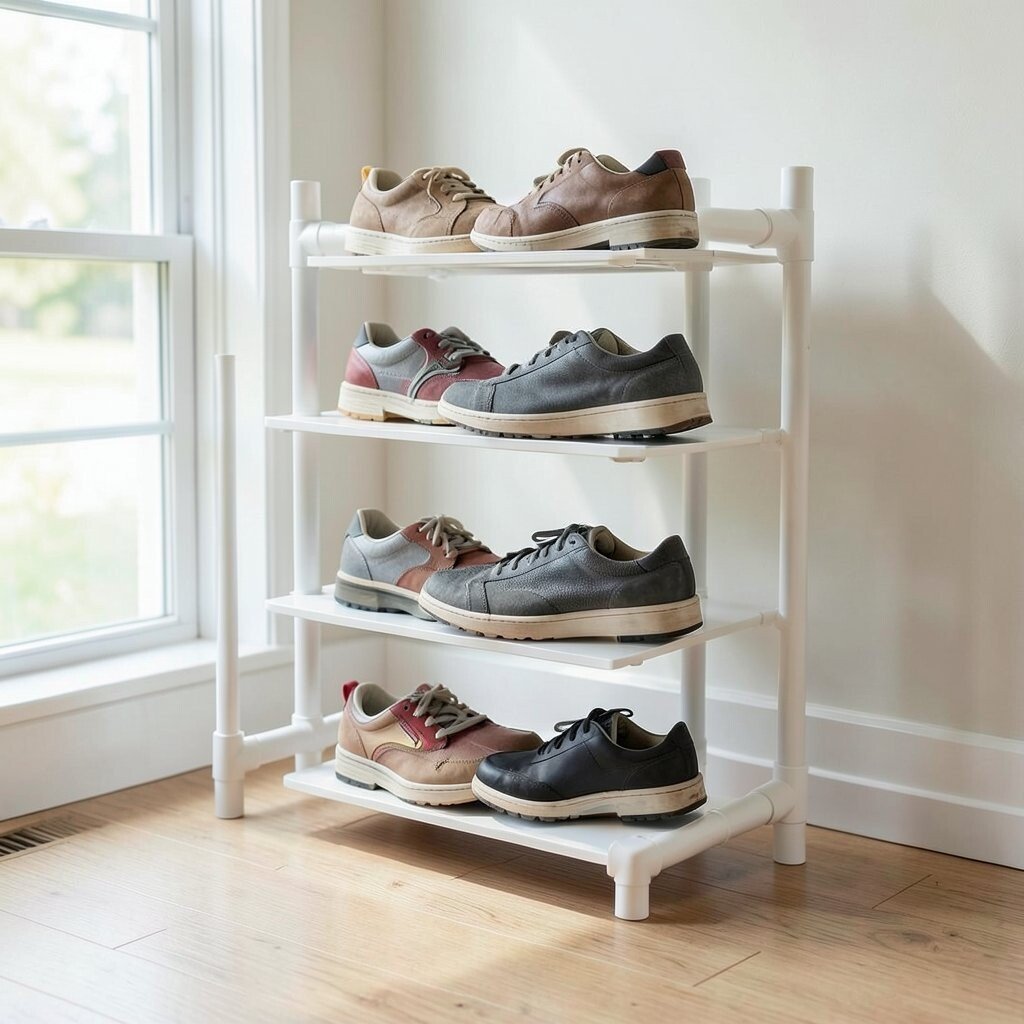
Cut PVC pipes into short equal lengths and cap one side if you want a clean bottom. Glue them into a base board or secure them into a lightweight frame using small brackets.
You’ll see a neat grid that holds shoes, slip-ons, or even storage bins like a modern organizer. The benefit is airflow around footwear, which helps keep the entry area from feeling too messy.
Current trends often feature sleek, industrial-looking storage, and PVC can match that vibe when painted in matte black or warm white. Personalize by painting alternating pipe lengths or adding a label strip on the front.
For practical use, add non-slip pads to the base so the stand doesn’t slide on wood or tile.
9. Old Step Stool With a Fabric-Trimmed Top Display Stand
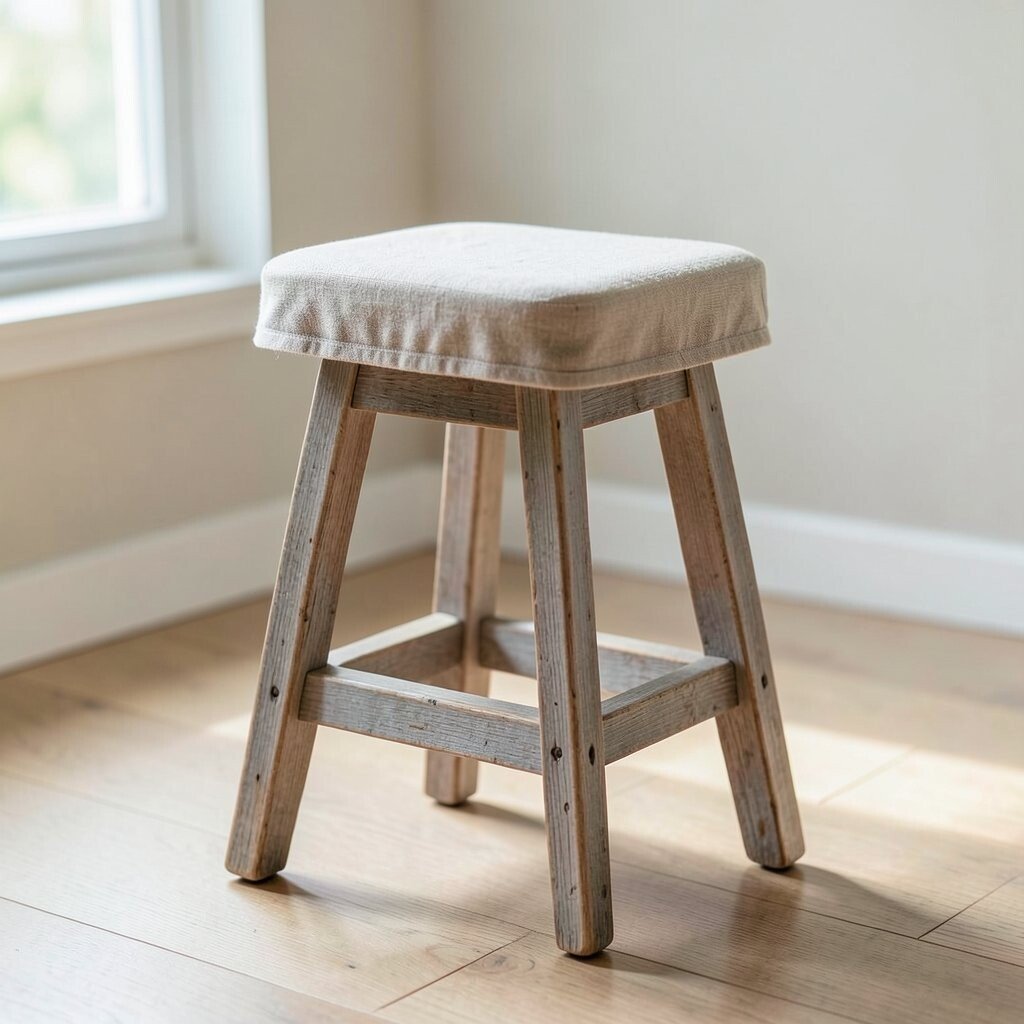
Use a small step stool that you already own or find for cheap, then sand the surface lightly. Add a protective top layer like scrap plywood covered with fabric or contact paper to create a flat display area.
The visual is instantly charming because the stool shape brings personality and height to the display. You can place it by a window for plants, by the hallway for a catch-all tray, or next to a couch for a lamp and books.
This stand is unique because it turns a forgotten item into a multi-use corner helper. Personalize by painting the legs in a soft color and attaching ribbon trim around the edge for a gentle look.
10. Foldable Cardboard Display Stand for Crafts and Cake Boxes

Create a foldable stand from thick cardboard by cutting angled panels that lock together. Use craft glue or strong tape at the folds, and reinforce the corners so it doesn’t sag.
When it’s set up, it can hold small crafts, makeup sets, or a tidy row of treats for parties. The benefit is portability, so you can move it to different rooms without dragging furniture.
People are loving low-cost cardboard organizers again because they’re lightweight and easy to update. Personalize by covering it with printable patterns, then add magnets or clips so you can swap what you show.
If you worry about durability, seal the surface with a thin clear coat made for crafts.
11. Upcycled Spindle Stand From a Broken Table Leg

If you have a broken table leg or a spare turned wooden spindle, clean it and check that it can stand straight. Sand it until it feels smooth, then decide what size bowl or base it should sit on.
Pair it with a flat scrap wood circle, then glue or screw it in place so it becomes a mini pedestal. The visual feels artsy and elevated, like a tiny sculpture stand for rings, lotions, or decorative jars.
This stand is unique because the original shape does most of the design work for you. Personalize by drilling a small groove for a ring tray or adding a small hook for a keychain.
12. Vinyl Record Display Stand Using Scrap Wood and Small Brackets

Grab scrap wood and cut two matching strips that can hold a few record sleeves upright. Attach small L-brackets or repurposed metal tabs so the angle keeps records from falling.
You’ll get a classic music-wall look that makes your collection visible and easy to grab. The benefit is protection too, since records stay upright instead of leaning and warping over time.
This is also a current trend, since vinyl displays and retro decor have made a big comeback in many homes. Personalize by painting the wood in a color that matches your room, then add a simple stripe that matches your theme.
To keep cost low, use brackets you already have or salvage hardware from an old shelf.
13. Towel Bar Stand and Basket Combo From a Dowel and Old Hardware

Take a smooth dowel and mount it to a small board using old brackets or wall-friendly hooks. Add a small basket underneath using zip ties, screws, or strong glue pads so it catches items like scarves, hair ties, or extra towels.
The visual is practical but styled, like a mini entryway or bathroom station. You’ll notice instant organization because everything has a spot that stays at arm height.
For personalization, wrap the dowel with twine, paint it to match your decor, or add a small tag with a cute handwritten style. Cost stays low because a dowel and hardware do most of the work, and the basket can be anything you have around.
To keep it sturdy, use wall anchors if needed and test gently before loading heavier items.