
Your wall can look louder than you think with a little paint, texture, and clever planning. Each idea below keeps the vibe bold while staying budget friendly.
1. Chalky Color Melt Over Old Marks

Start with a wall that already has faint scuffs or old stickers. Dust it lightly and sketch a simple outline, then layer chalky paint in one flowing direction for a melted look.
You get a soft, hazy style that still feels street and intentional. Keep a rag nearby to blur edges while the paint is fresh, and use a second color only at the “hot spots” so it doesn’t get messy.
2. Sticker Mosaic With Temporary “Graffiti” Fonts
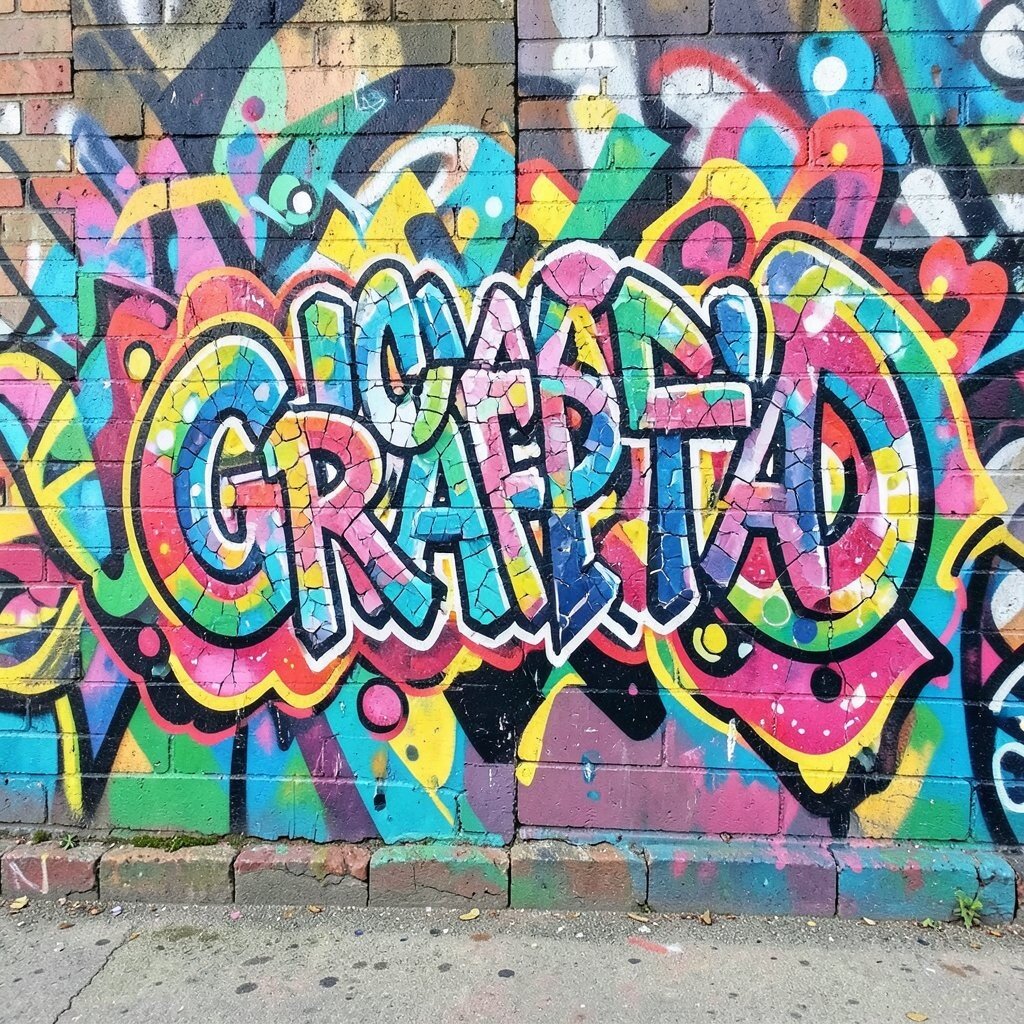
Gather thrift stickers, label scraps, and packaging print that you can peel and place. Arrange them in a word shape, then add a few marker lines to connect everything like a real tag.
This idea looks instantly finished and it’s great when you want control. Press down corners firmly and plan the layout on the floor first so the spacing feels clean.
Use bold block stickers for quick readability, and add one weird accent sticker for personality. If you’re allowed to, cover it lightly with a matte clear seal so it lasts longer in bright areas.
3. Spit-Shine Bubble Letters With Watered-Down Paint
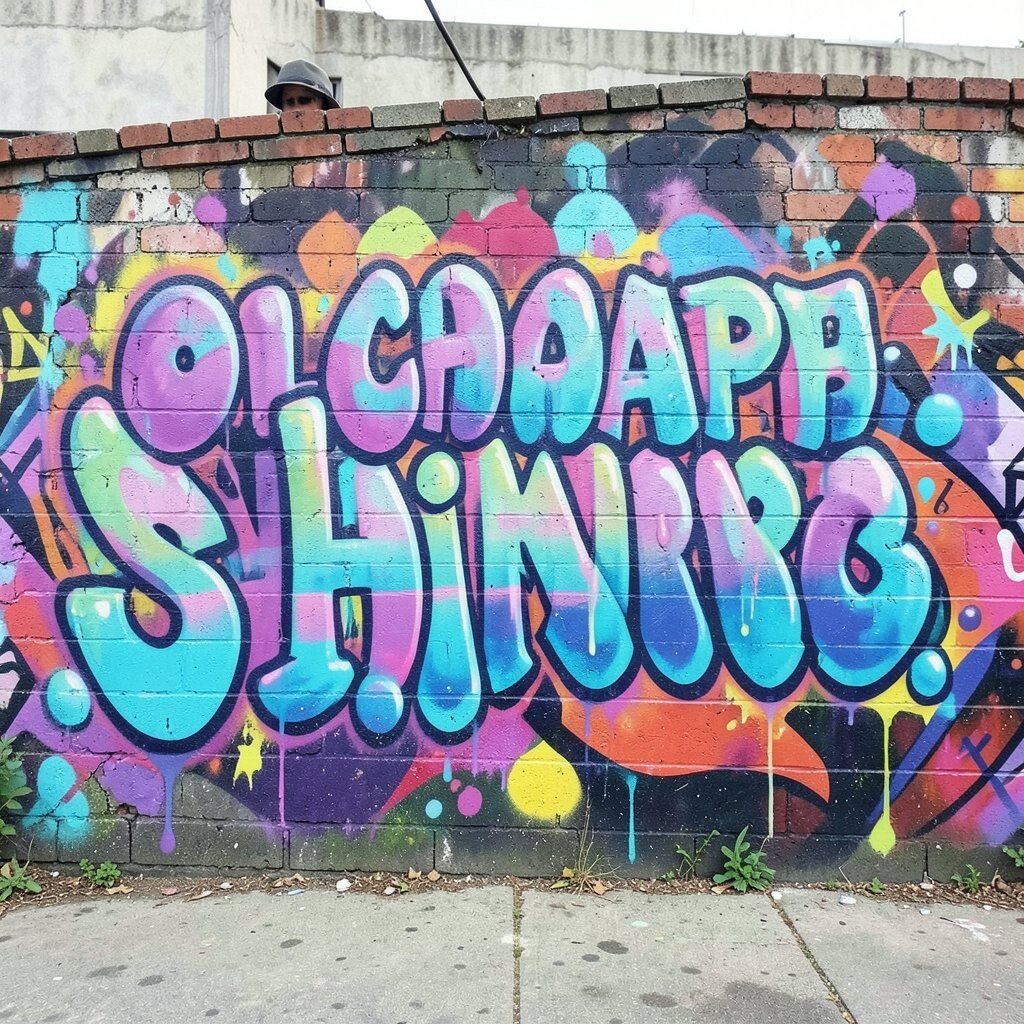
Pick one bright color and one lighter shade, then sketch big bubble letters with a pencil first. Go back in with a cheap brush or sponge, and lightly mist water to create smooth, shiny highlights.
The bubbles pop without needing fancy cans, and the gloss effect looks like fresh paint. Work in small sections so the edges stay crisp, and wipe your tools between colors.
For uniqueness, add tiny “sweat drops” or star stickers around the letters. Personalize it by matching the colors to your room theme, like ocean blues or warm sunset tones.
4. Painter’s Tape Lightning Across a Plain Wall

Use painter’s tape to draw sharp lightning streaks before any paint touches the wall. Paint over the taped lines, then pull the tape away while the paint is still slightly damp.
The result is crisp, high-contrast graffiti energy without complicated lettering. Keep the tape pressed flat and avoid thick paint layers, because thick coats can bleed under the edges.
5. Charcoal Smudge Tag With a Single Accent Line

Take a soft charcoal stick and make a loose tag, like you’re signing your name fast. Blend the strokes with your finger or a paper towel for a smoky look.
It’s unique because the tag feels human and imperfect, like it was made in a hurry. Add just one vivid accent line in marker to guide the eye and make the whole piece feel intentional.
For practical cleanup, lay down cardboard under your work area. Personalize it by using initials, a nickname, or a symbol that means something to you.
6. Thread and Nail Linework “Street Scribbles”

Hammer tiny nails along a grid or gentle curve and stretch thin thread between them. Wrap the thread so it forms letters, arrows, or tangled scribbles on the surface.
This gives you a graffiti look with texture you can feel, not just see. It also stays budget friendly because thread, nails, and scrap string are cheap.
To make it look current, keep shapes simple and bold, like modern minimalist street marks. Personalize by twisting in a bit of color thread so it looks like paint drips without any actual dripping.
7. DIY Stencil Spray Look With a Toothbrush Technique

Cut a simple stencil shape from cardboard, like a small crown, heart, or lightning bolt. Tape it on the wall and “spray” around it by flicking diluted paint using a toothbrush.
This creates the speckled street spray effect while keeping mess manageable. Move your hand close to the stencil for tighter dots, and step back for softer haze.
Use one stencil shape repeatedly to build a pattern that feels like a real tag series. For uniqueness, rotate the stencil often and vary dot density so it never looks perfectly identical.
8. Roll-On Zebra Stripes With One Pop Color

Paint zebra stripes using a cheap small roller or sponge, then add one pop color to the stripes like a highlight. Keep the black and white mostly clean, then let the single pop color run through the center.
The contrast makes it look graphic and bold, and it fits current “clean street” aesthetics. Use a light touch so stripes stay even, and correct mistakes quickly with a damp cloth.
9. Bottle-Cap Mosaic Targets With Marker Smears

Collect bottle caps and set them in a rough target shape, spacing them so the circles feel bold. Glue them down if you can, or place them temporarily with removable adhesive if the wall needs to stay clean.
This feels like graffiti meets street art game boards, which makes it stand out. After it’s set, smear a little marker around the target to connect it to the wall like a tag.
To keep it cheap, use whatever caps you already have and paint only a few so the rest stay neutral. Personalize by choosing a theme, like gaming emblems or sports colors.
10. Ombré Paint Drips From a Masked Top Edge

Mask the top with painter’s tape in a straight strip so the drips start evenly. Add one color at the top and gradually blend down, then pull small drip streaks with the edge of a brush.
The ombré fade looks modern, and the drips add that classic graffiti mood. Keep the brush loaded but not dripping, because you want controlled trails.
For practical tips, protect the floor and wipe drips that go wrong before they dry. Personalize it by matching the fade to your favorite hoodie color or the mood you want in the room.
11. Washi Tape Curved Letter Skeleton

Build letter shapes with overlapping washi tape, like a skeleton made of lines. Fill the inside later with marker shading or watered paint so the tape stays crisp.
This is a clever way to make lettering look layered without needing expensive supplies. Use thin tape strips for delicate lines, and press them firmly so they don’t lift.
To make it feel trendy, keep curves smooth and spacing airy. Personalize by adding tiny doodles between letters, like stars, arrows, or tiny faces.
12. Scrap Paper Paste-Up With Hand-Drawn Overwriting
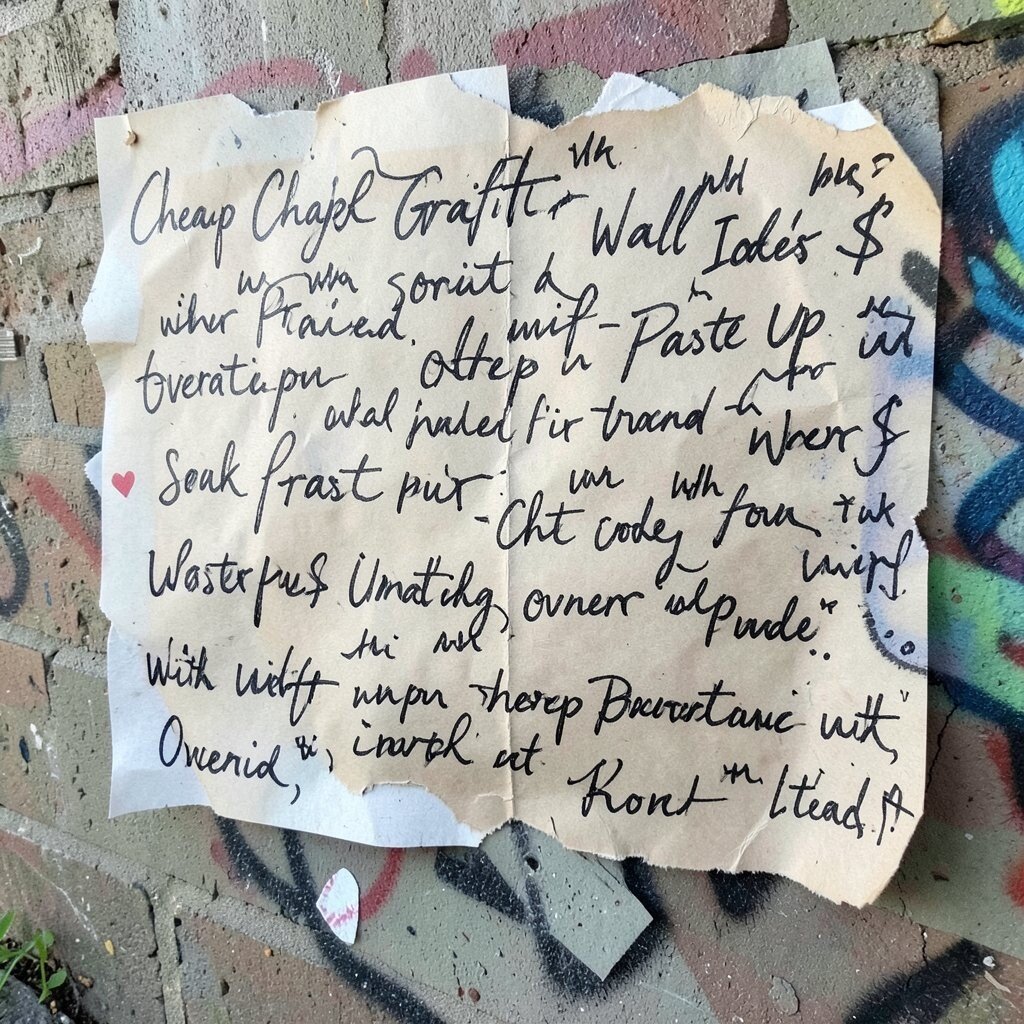
Tear scrap paper into shapes and paste them on in a rough outline of a word or symbol. Let it dry, then draw over it with thick marker so the final letters look bold and alive.
Paste-up style is a big part of modern street art, and this gives you that layered street vibe. It’s also budget friendly because old flyers and leftover paper work perfectly.
Use a darker marker for the outer strokes so the shapes pop, and add a lighter shade inside for depth. Personalize it with paper from places you love, like maps, music notes, or patterned wrappers.
13. Sponge-Dot Background With a Simple Name Tag

Pick two background colors and dab them with a sponge in quick dot patterns across the wall. When it dries, add your name or nickname in clean block letters on top.
The dot background feels playful and modern, and it makes your lettering easier to read. Keep dots small for a neat look, and let one color dominate so it doesn’t turn chaotic.
For uniqueness, add a “shadow” behind the name using a slightly darker shade. Personalize by using your favorite initials, plus one tiny doodle under the letters like a leaf or lightning bolt.
14. Dry-Brush Concrete Texture With Spray-Like Letters
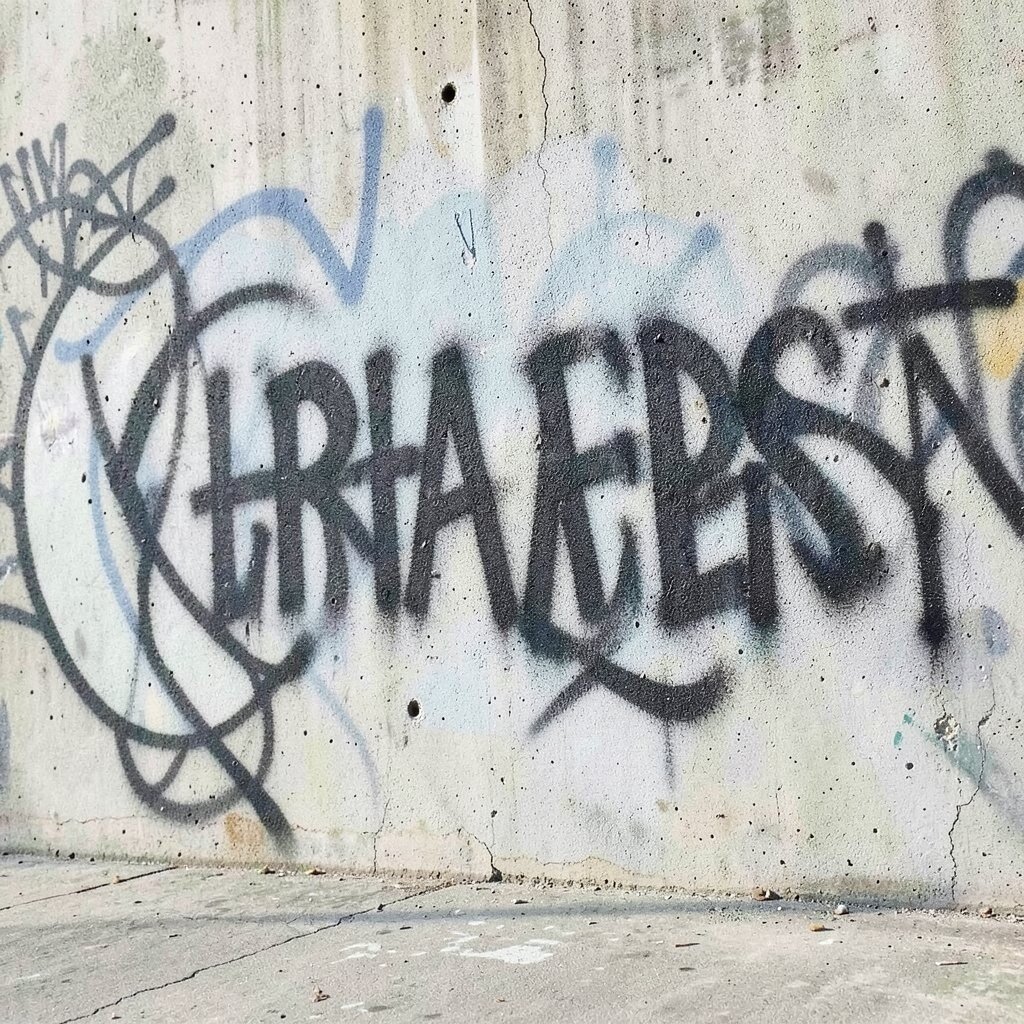
Use a stiff brush to dry-brush textured paint across the wall, like rough concrete. After that, stencil a letter shape and use watered paint for a spray-like effect.
You get a gritty, street-ready background plus crisp lettering that still feels affordable. Keep your dry-brush strokes going in one direction so the texture looks purposeful.
Cost stays low because you can use leftover paint and a brush you already own. Personalize by choosing letters that matter to you, like a band name, a city, or a team slogan.
15. Foil and Paint “Chrome” Accent Lines
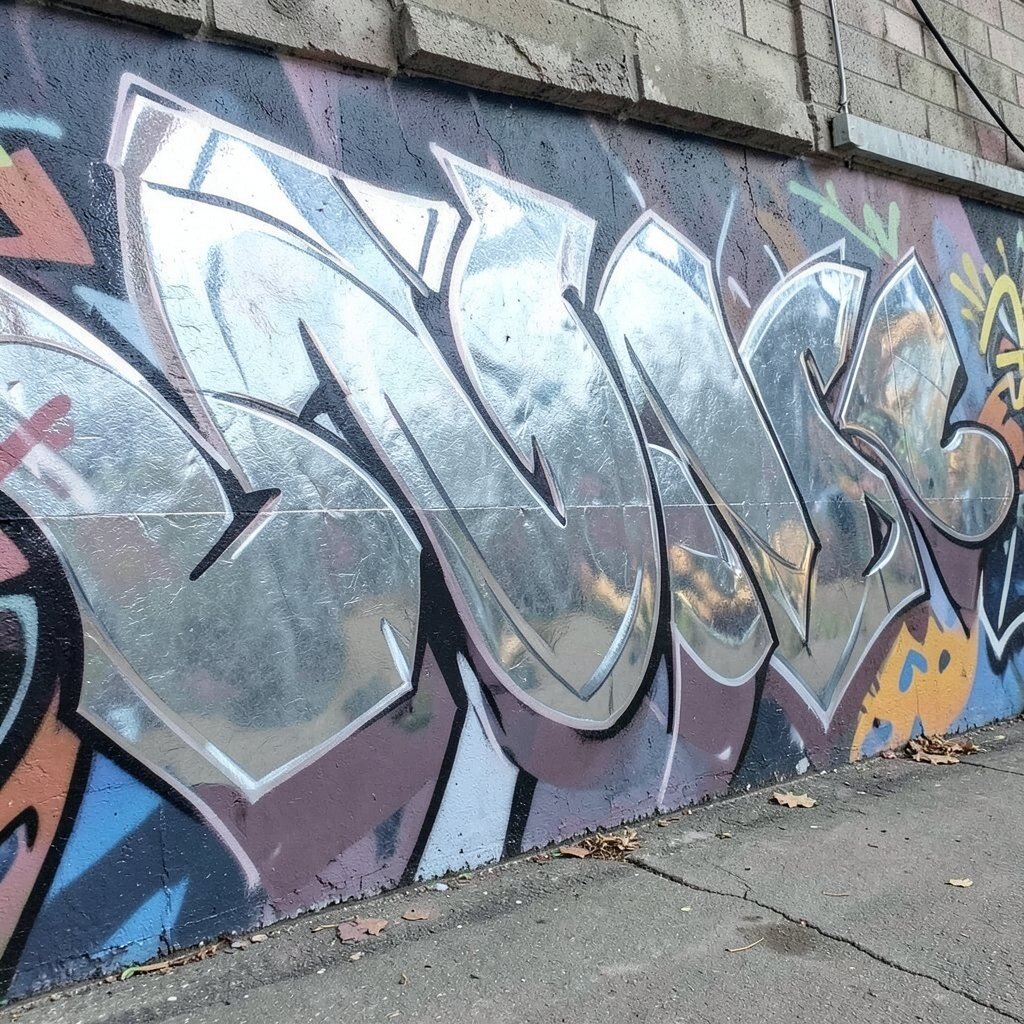
Cut small strips of craft foil and press them into thin paths across the design. Paint over parts lightly so the foil catches the light like chrome, then outline around it with marker.
It’s a fun way to get a flashy look without expensive spray chrome. Use foil sparingly so it feels like accents, not a full wall costume.
To keep it looking current, place the chrome lines near edges of letters, arrows, or drips. Personalize by matching foil placement to your favorite shape, like circles, zigzags, or a star.
16. Temporary Window Film Glyphs With Marker Callouts
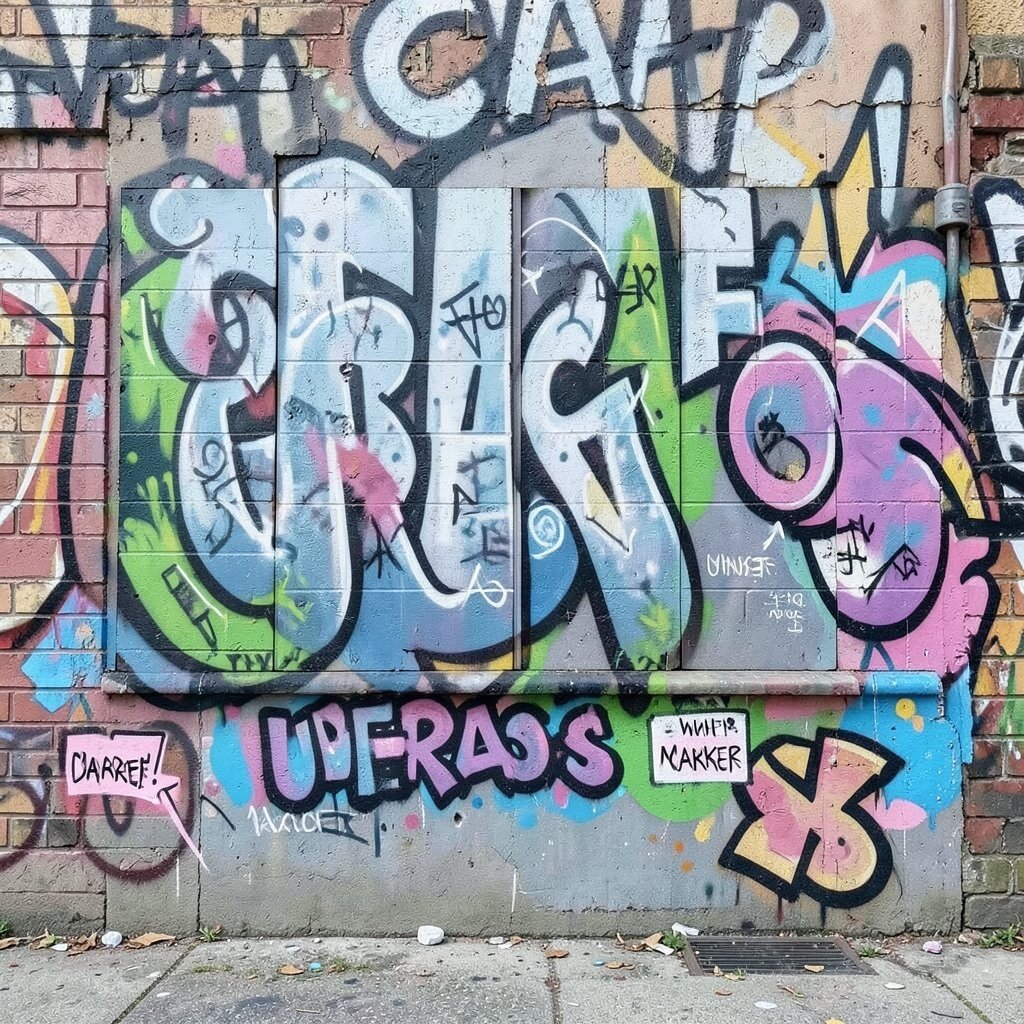
Use clear removable window film or thick plastic sheets from craft packs to make glyph shapes on the surface. Outline them with permanent marker, then press them to the wall using clean adhesive dots.
This method is practical when you want zero long-term mess. It also creates a glossy look that feels like modern street stickers layered onto a wall.
For uniqueness, make one oversized symbol and repeat smaller ones around it like a constellation. Personalize by placing the film shapes into your favorite word pattern or theme colors.
17. Board-Game Style Path Letters With Chalk Arrows

Create a winding path shape and fill it with chalk lines that look like a game board trail. Add arrow marks and numbers using chalk, then finish the letters with a thicker marker stroke.
The playful “path” layout feels fresh, and it turns a wall into something you can visually follow. Keep chalk lines light until you like the layout, because chalk can be erased easily.
Cost stays low because chalk is cheap and the marker just needs to be basic. Personalize by using a personal route, like a memory path or a “home to dream” line.
18. Fabric Scrap Banners With Hand-Painted Letter Cuts
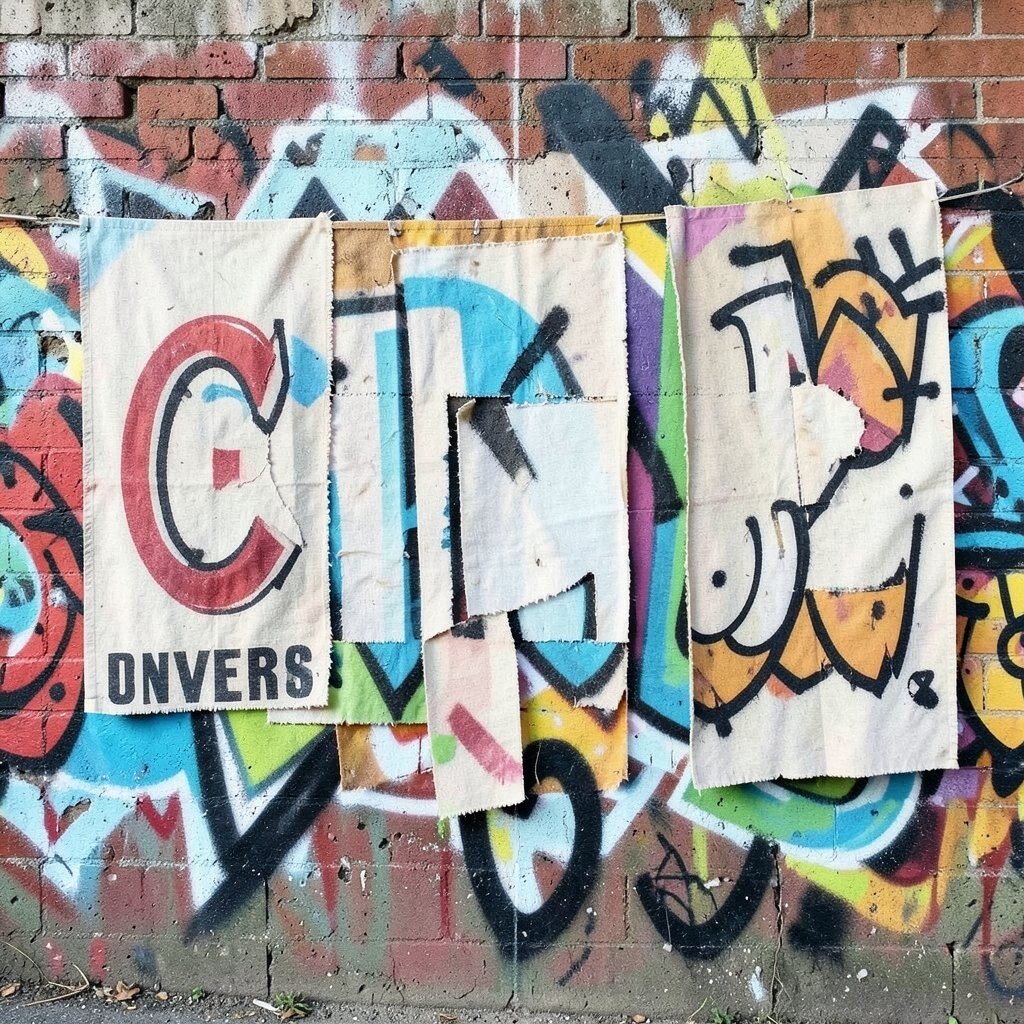
Pin or tape fabric scraps in strips that form a letter shape, then paint the letter pieces directly on the cloth. Stretch the fabric slightly so the paint doesn’t pool too much.
This creates a soft, textured graffiti banner look that feels warm and unique. It also helps your art look different from flat wall paint since the fabric absorbs color in a new way.
For practical tips, use fabric-friendly paint or diluted acrylic and test on a scrap first. Personalize it by using old shirts, band tees, or patterned cloth that matches your vibe.
19. Cardboard Cutout Letter Blocks With Painted Shadows
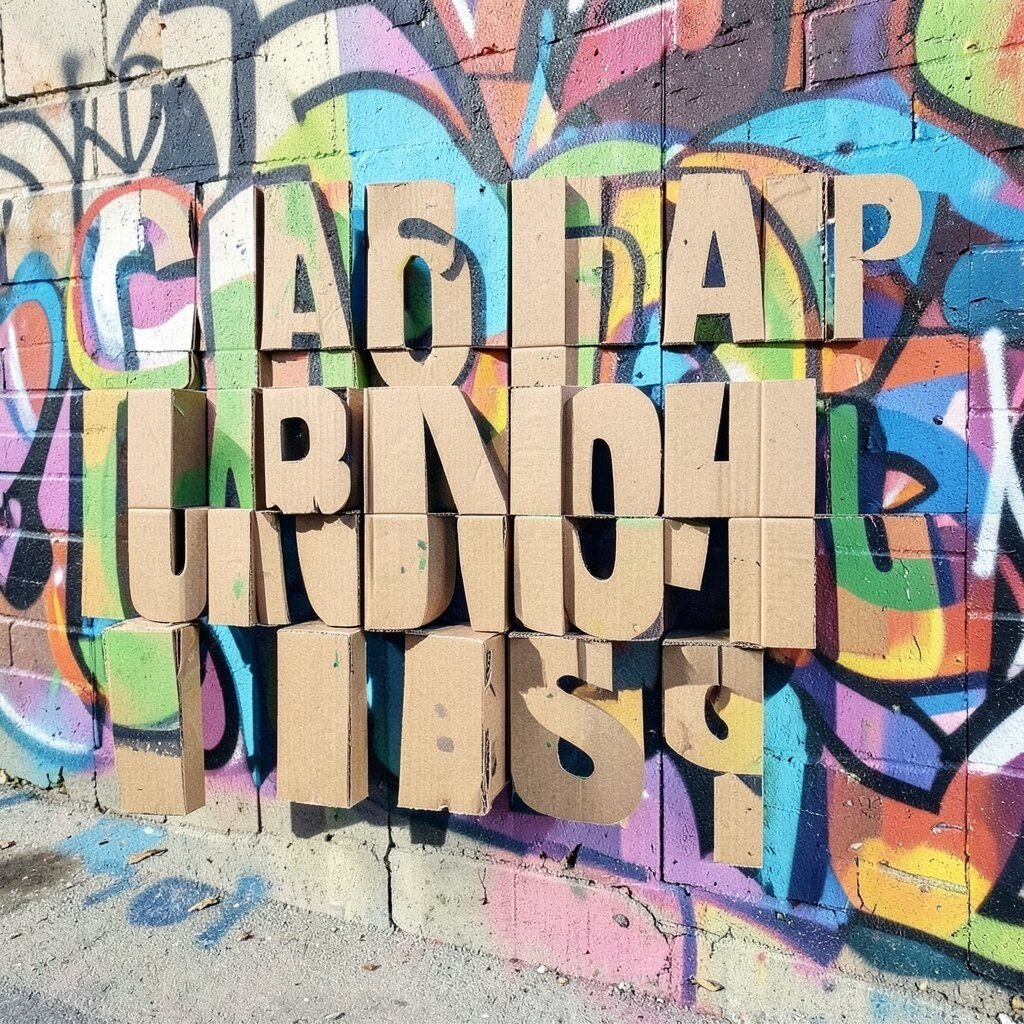
Cut chunky letter blocks from cardboard and place them on the wall like a stencil stand-in. Paint around the edges, then pull the cardboard away to reveal sharp shapes and a shadow effect.
This gives you a bold graphic look with instant depth, like your letters are popping out. Keep the cardboard edge clean and flat, because rough edges can soften the shadow shape.
To stay budget friendly, use any packaging cardboard and save your best paints for the outline. Personalize by using your initials in large blocks, then add a tiny underline scribble to connect it to your other marks.