The kitchen can feel like a stage when every tool has a purpose. Small layout choices make cooking flow smoother from first chop to final plating.
1. The Work Triangle With Real Walk Paths
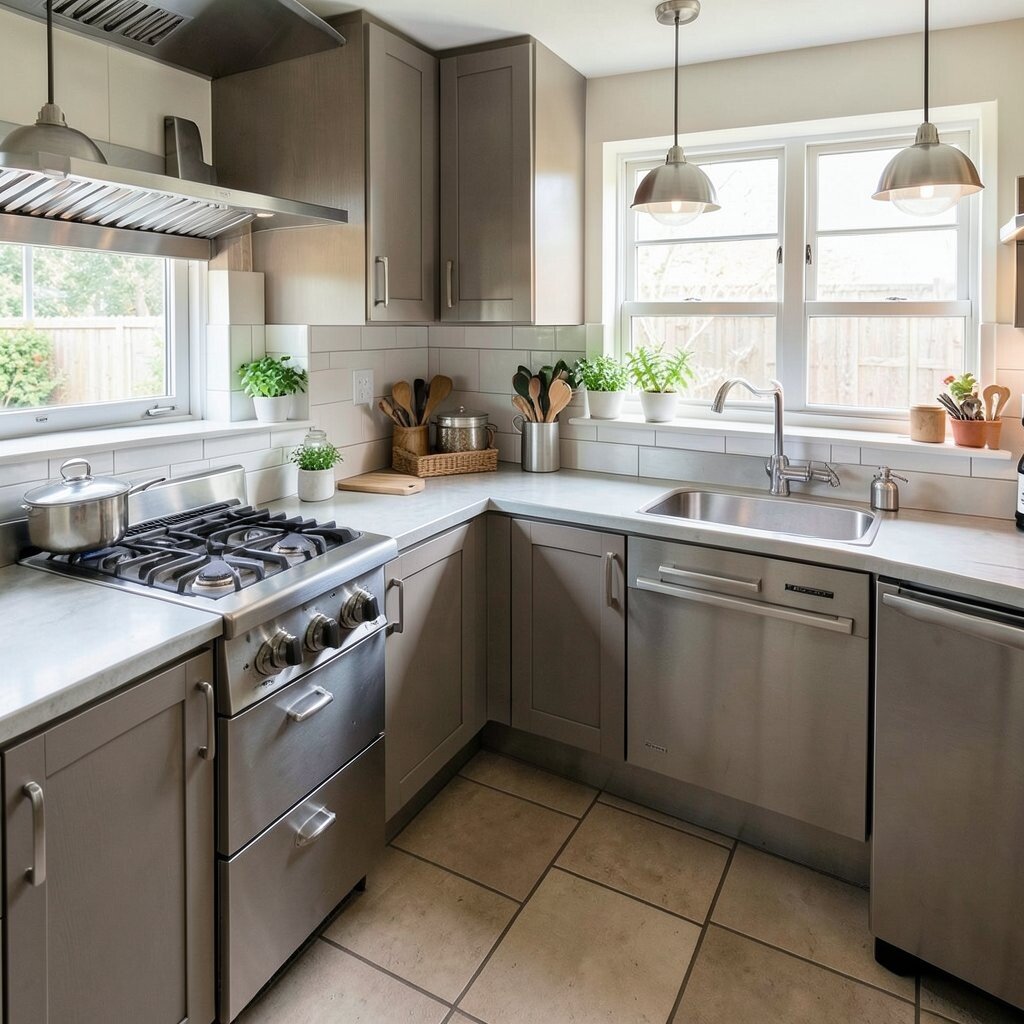
Place your sink, stove, and main prep area so you move in a gentle loop instead of zigzagging. When the path between them feels clear, you notice less wasted motion and more focused cooking.
Choose your clear walk width so you can pass with a hot pan safely. Keep frequently used items near the corners of your loop so you don’t detour mid-recipe. For personalization, think about which spot you naturally stand at while leading most tasks.
2. Prep-First Zoning For Fast, Clean Rhythm
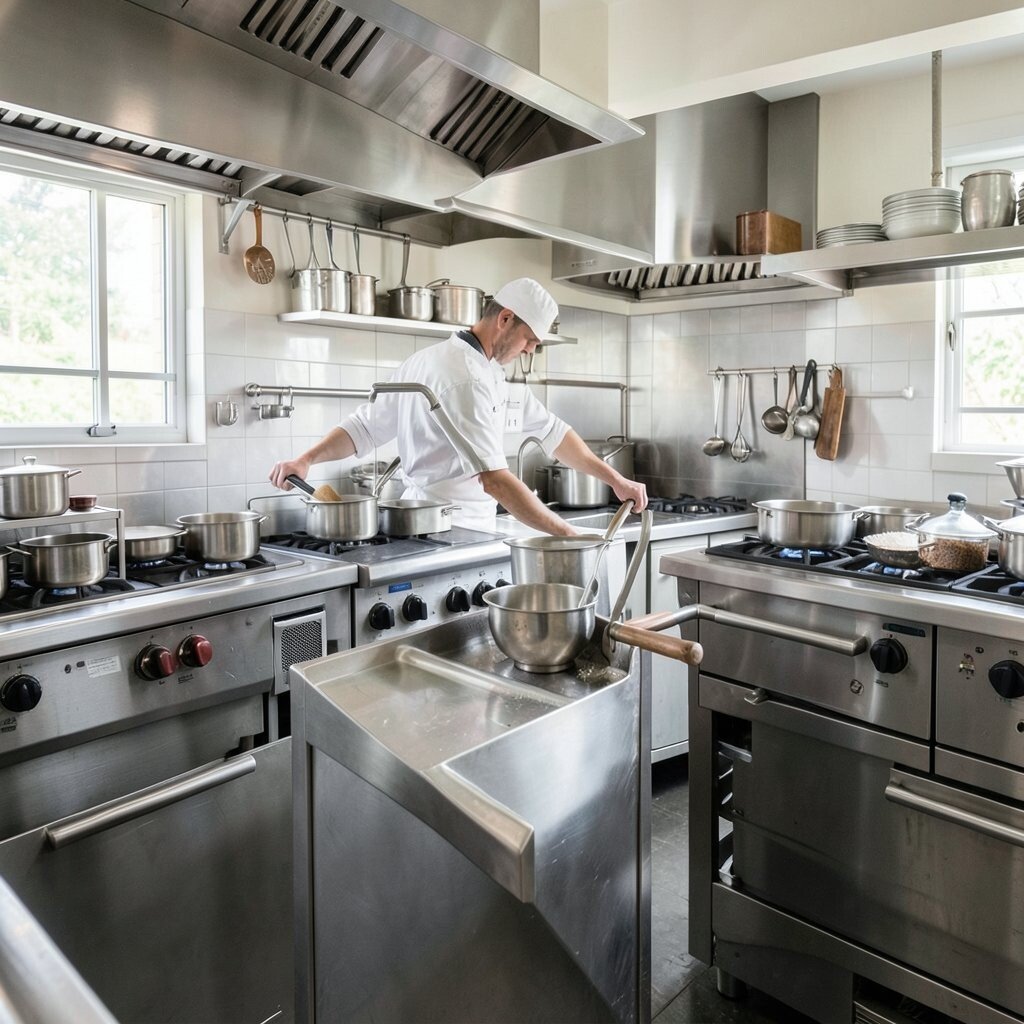
Design your kitchen so raw prep, cooking, and finishing each have a visible home base. You can picture it instantly when one area feels like “cutting,” another feels like “heat,” and the last feels like “plating.”
Start with a generous prep zone that stays closest to storage for produce and dry goods. Then place trash and rinse steps nearby so mess doesn’t drift across the room. If you cook for guests, make the finishing area feel inviting, like a counter where plates can gather without feeling cramped.
For a practical upgrade, use drawer dividers and labeled bins for common items like spices, tasting spoons, and squeeze bottles. Current trends lean toward calmer counters, so keep your busiest station mostly bare except for what you use daily. Budget-friendly ideas include using simple shelf risers and affordable rail hooks rather than major carpentry.
3. A Dedicated Heat Wall With Everything At Hand
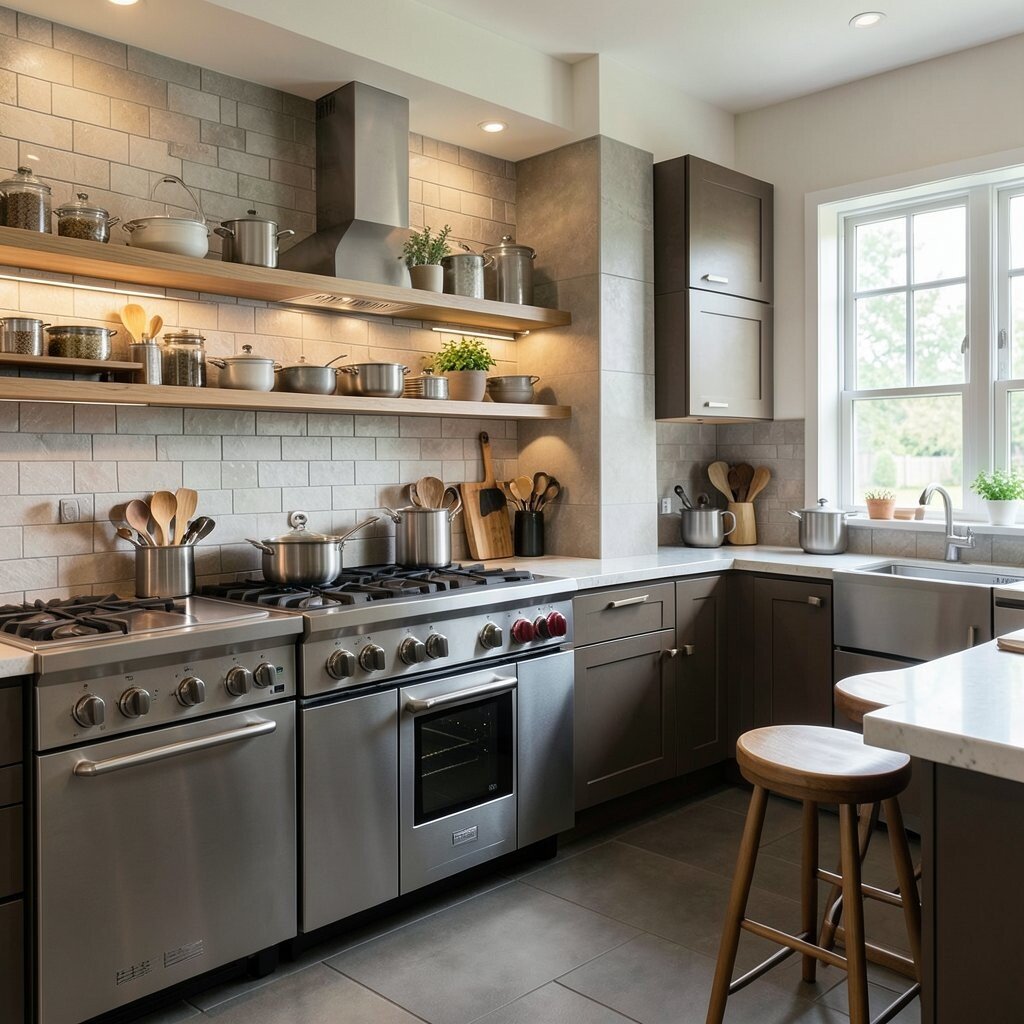
Turn one side of your kitchen into a heat wall with the stove, control drawer, and key tools clustered. A tidy visual like this helps you cook with confidence because you always know where heat-control items live.
Store oils, sauces, and frequently reached utensils in the nearest drawers so you can grab them without stepping away. Keep a heat-safe landing spot beside the stove for trivets, hot lids, and a quick rest for tongs. If you have space, add a small pull-out rack for sheet pans so you can slide food in and out easily.
Consider materials that match your style, like stainless drawers for a sleek chef look or warm wood fronts for a cozy vibe. For cost control, focus upgrades on the few drawers closest to the stove rather than the whole kitchen. This layout also fits current workflows where cooks rely on quick temperature checks and rapid sauce finishing.
4. Counter Depth That Matches Your Cooking Style
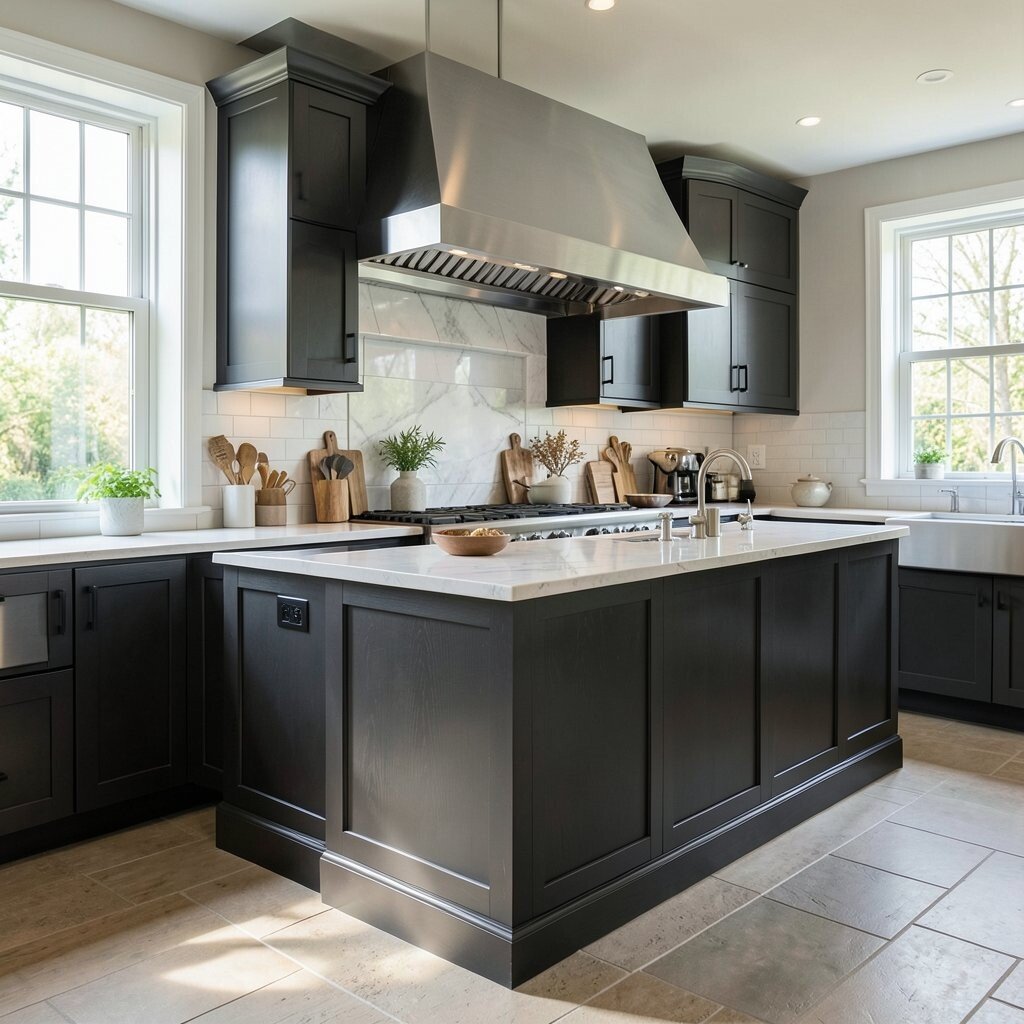
Choose counter depth so you can work without reaching too far. When your elbows feel supported and pans sit comfortably, your stance becomes steadier and your cuts look cleaner.
Standard counters can work, but if you love rolling dough or building sandwiches, a deeper surface gives more room for tools and sheet pans. If you prefer minimal movement, a slightly shallower counter can keep your workflow compact. To personalize, test a pretend setup by laying out your most-used board, knife, and bowl where you stand.
5. Appliance Landing Zones For Small Appliances
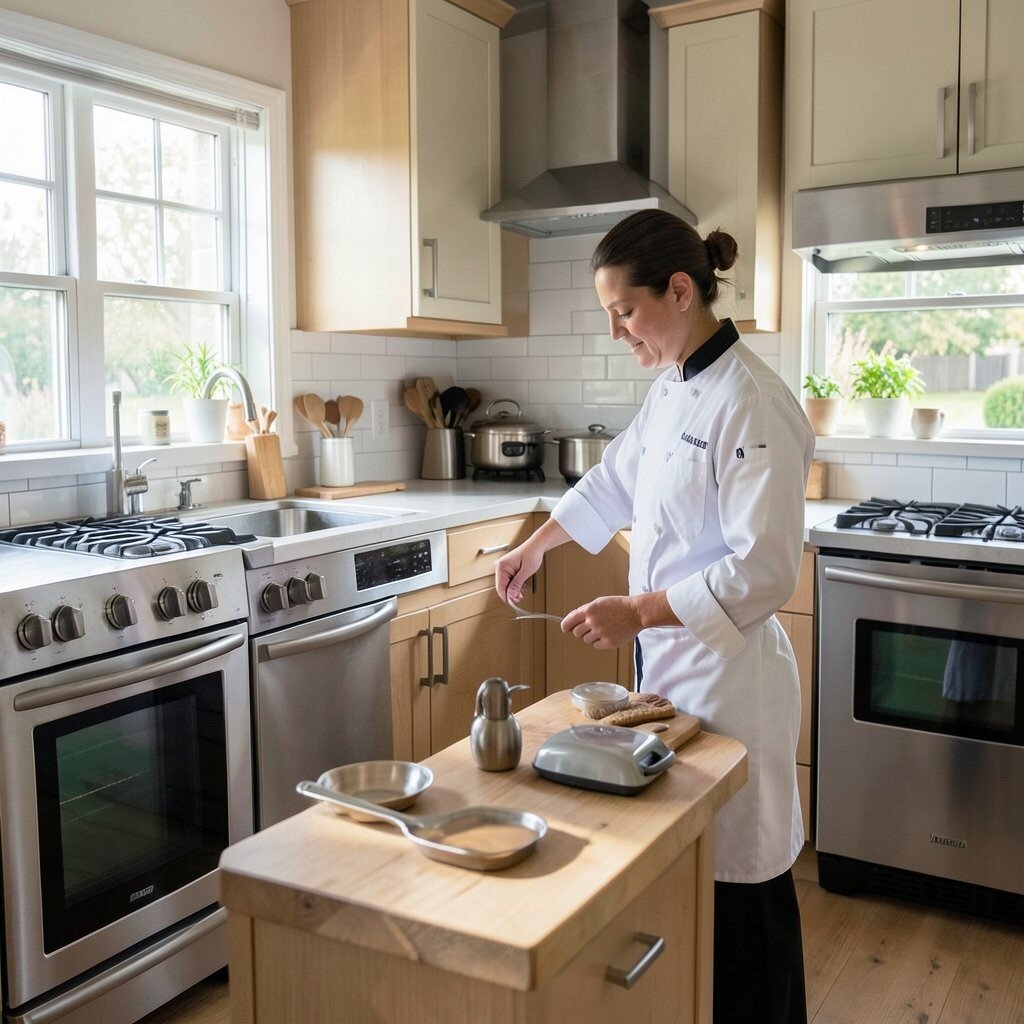
Give your blender, mixer, toaster, and coffee tools a specific place so they don’t roam across counters. A clear landing spot keeps the kitchen visually calm and makes everyday prep feel faster.
Place appliances near power outlets and within easy reach of your prep zone. Use shelves or a pull-out cabinet so you can slide devices in and out without clutter. This is a great way to add uniqueness, like featuring one colorful small appliance as your “signature.”
For practical tips, keep the appliance’s accessories stored right beside it so you never search mid-recipe. Many homeowners today prefer appliance garages or lift-up cabinets to hide clutter while still keeping tools quick to grab. If your budget is tight, use sturdy baskets and rail hooks to create neat “micro-zones.”
6. An Island That Acts Like A Control Center
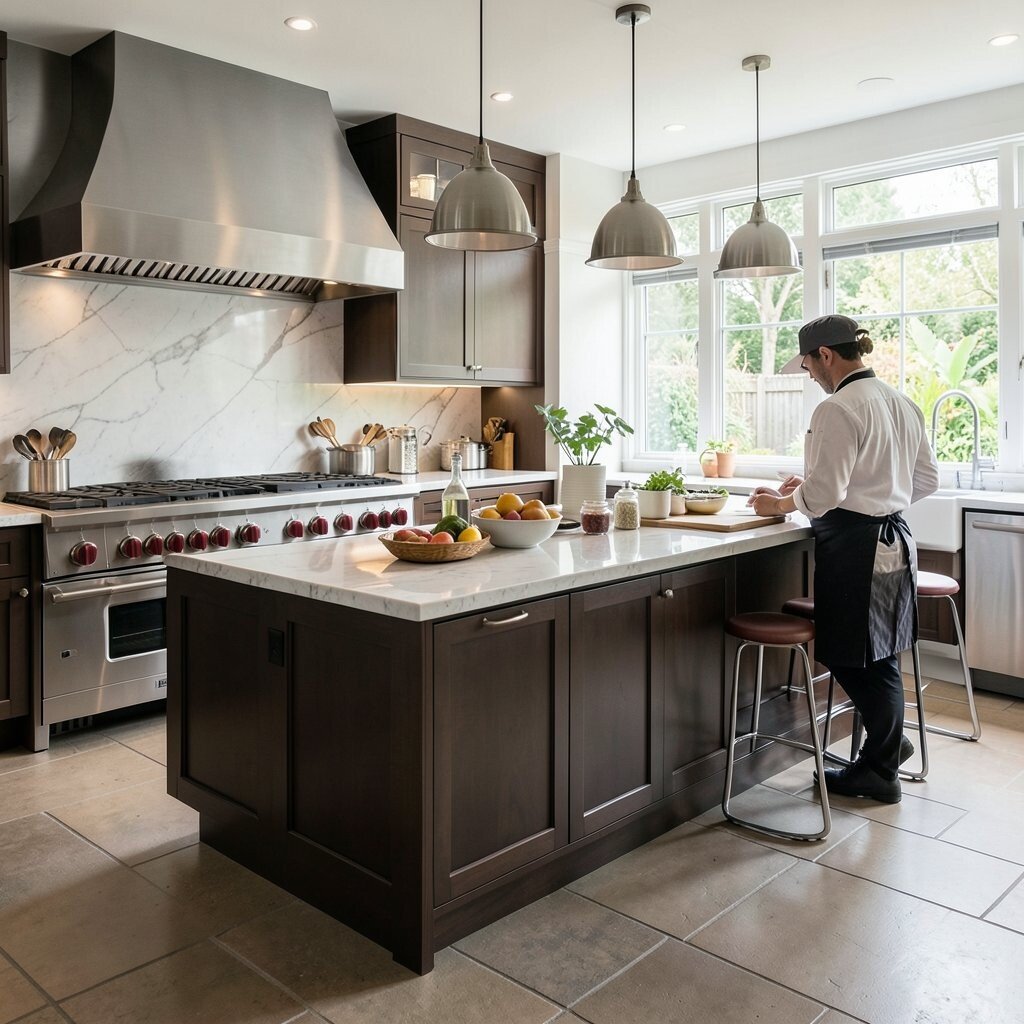
A well-planned island can become the place where prep, mixing, and final assembly happen together. When the island faces the stove and sink, it supports smooth movement instead of forcing you to travel around corners.
Add outlets if you plan to use small appliances there, and include drawers for frequently grabbed cooking gear. For a chef-style feel, consider a butcher block top or heat-friendly surface where you can set boards. Personalize it with a contrasting finish, like a lighter countertop next to darker cabinetry, so the island stands out visually.
To keep costs reasonable, focus on function first, like storage drawers and a comfortable working height. Current trends favor islands with seating or “peek-a-boo” storage, but you can scale down with just open shelves for cookbooks and oils. If you host often, leave a clean edge of counter space for plate stacking and finishing.
7. Drawer-Driven Storage For Tools You Use Daily
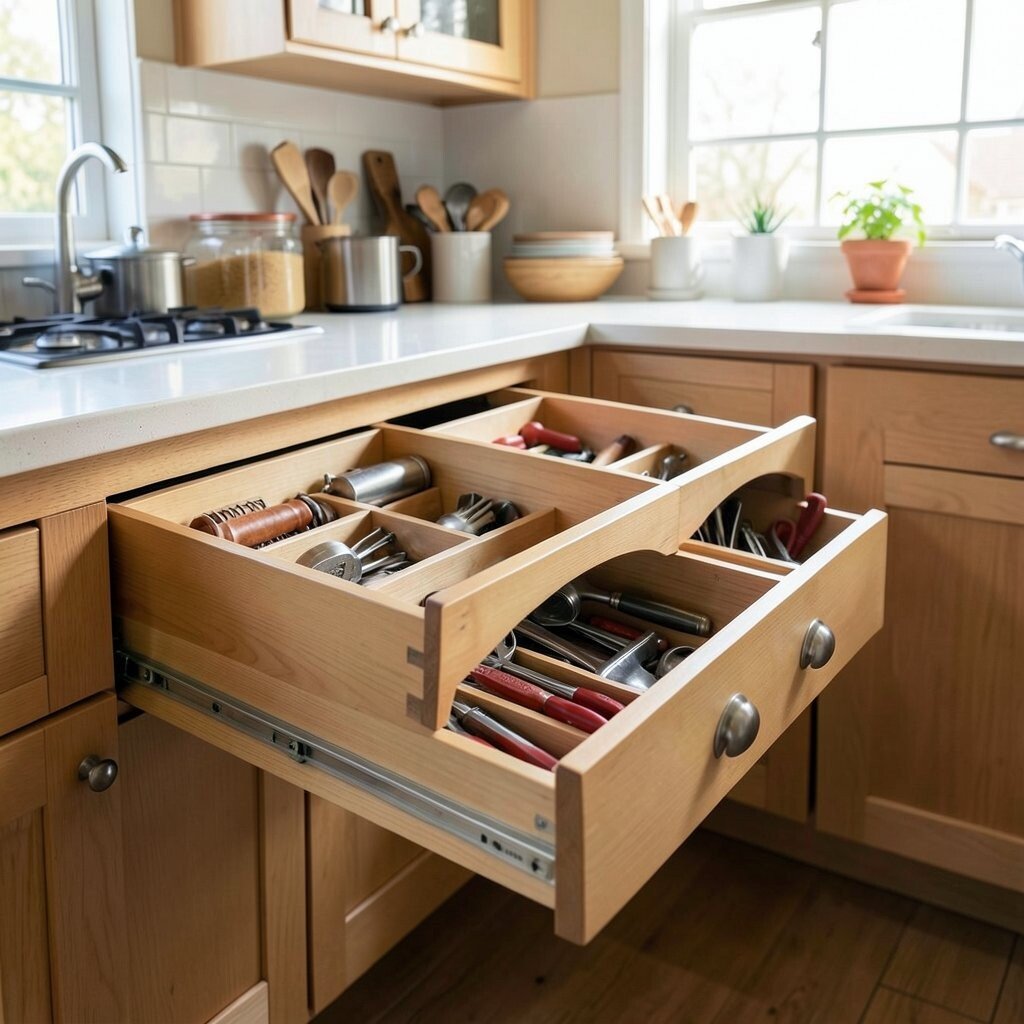
Think of your drawers as a set of drawers for your hands, not a dump for everything you own. When your everyday utensils have a home, your cooking feels quicker and your counters stay cleaner.
Group tools by task, such as tasting spoons, measuring cups, and mixing bowls together for smooth transitions. Use inserts for knives, spatulas, and foil or wrap so items stay in place even during busy cooking. For uniqueness, choose an insert style that matches your mood, like minimal metal dividers for a crisp look.
8. Corner Strategy With Pull-Outs And Clear Angles
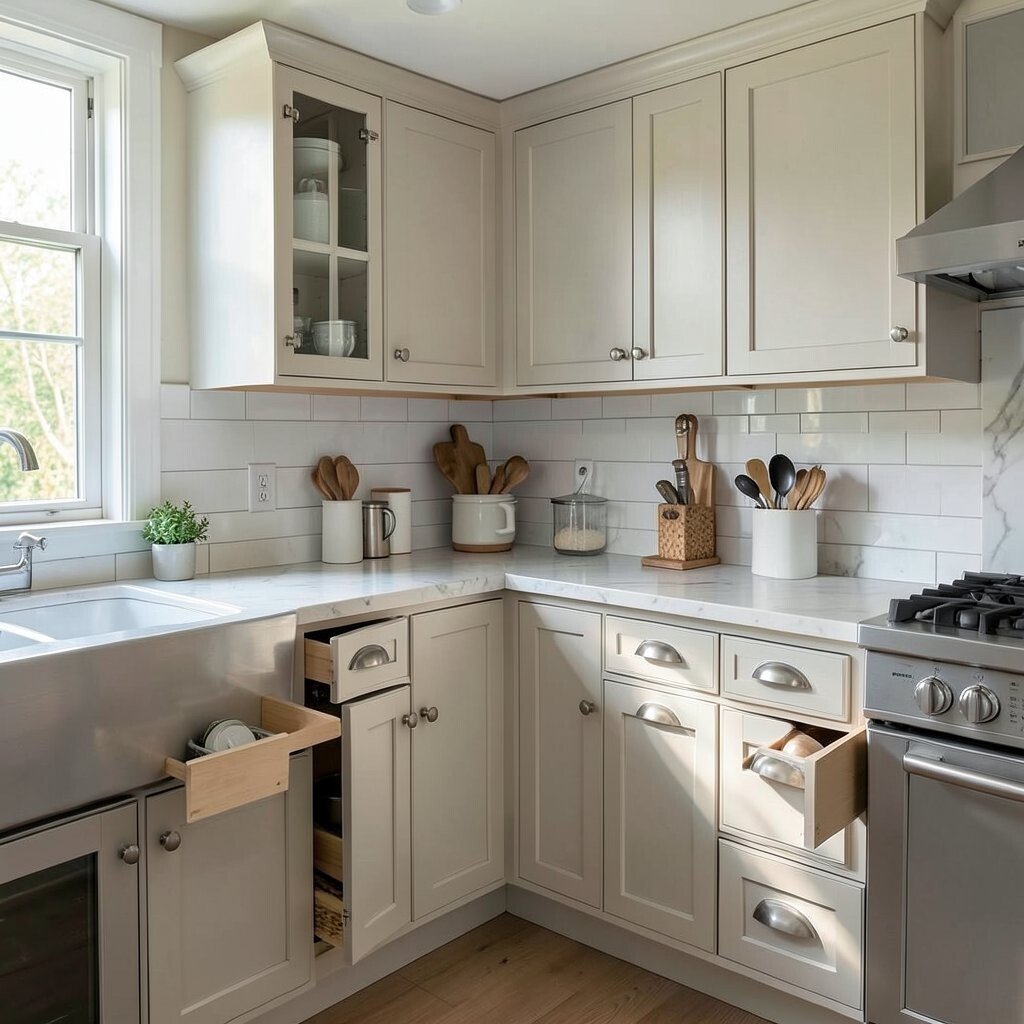
Corners can waste space if they turn into unreachable dead zones. A good corner plan makes the kitchen feel bigger because storage becomes easier to access.
Use lazy Susans, pull-out shelves, or angled organizers to bring items forward. When cookware and dry goods slide into view, you stop leaving the stove to search for basics. Personalize by storing your most-used oils and vinegars in the easiest-to-reach corner spot so you can dress dishes fast.
9. A Cutting Station With Sink-Adjacent Cleaning Flow
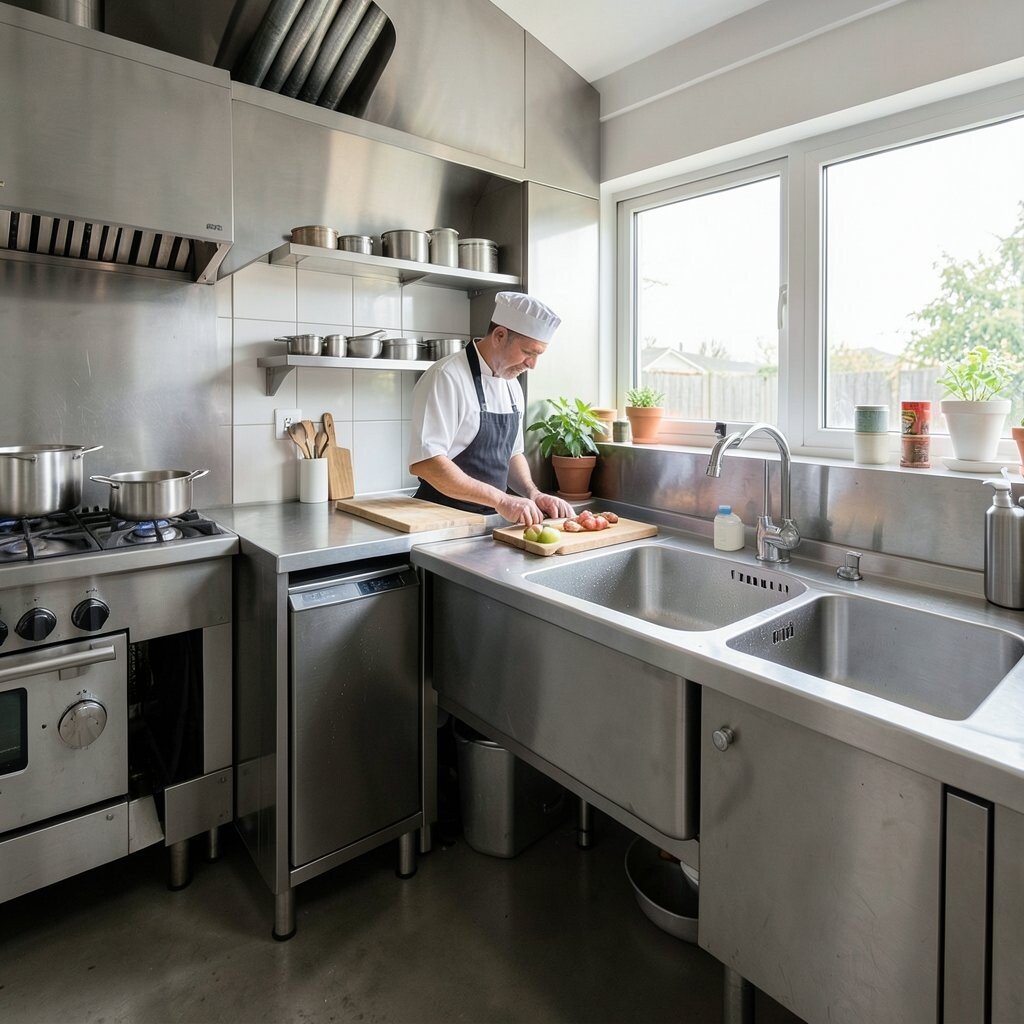
Set up your main cutting area close to the sink so rinsing and cleanup feel natural. When water steps are within a short walk, the kitchen stays tidy even when you’re moving fast.
Use a splash-friendly backsplash and keep a small container for scraps within reach. A visible cutting board setup helps you keep the “clean board” idea consistent for different ingredients. If you cook a lot of vegetables, a quick rinse flow saves time and makes your prep feel smoother.
For practical tips, dedicate one drawer to cleaning tools like brushes, towels, and a small scraper. Many cooks now prefer easy-to-clean surfaces and fewer hidden crevices, so choose materials that wipe down quickly. Cost-wise, focus on the cutting zone materials first, since that’s where daily wear matters most.
10. Pantry Placement That Cuts Steps, Not Space
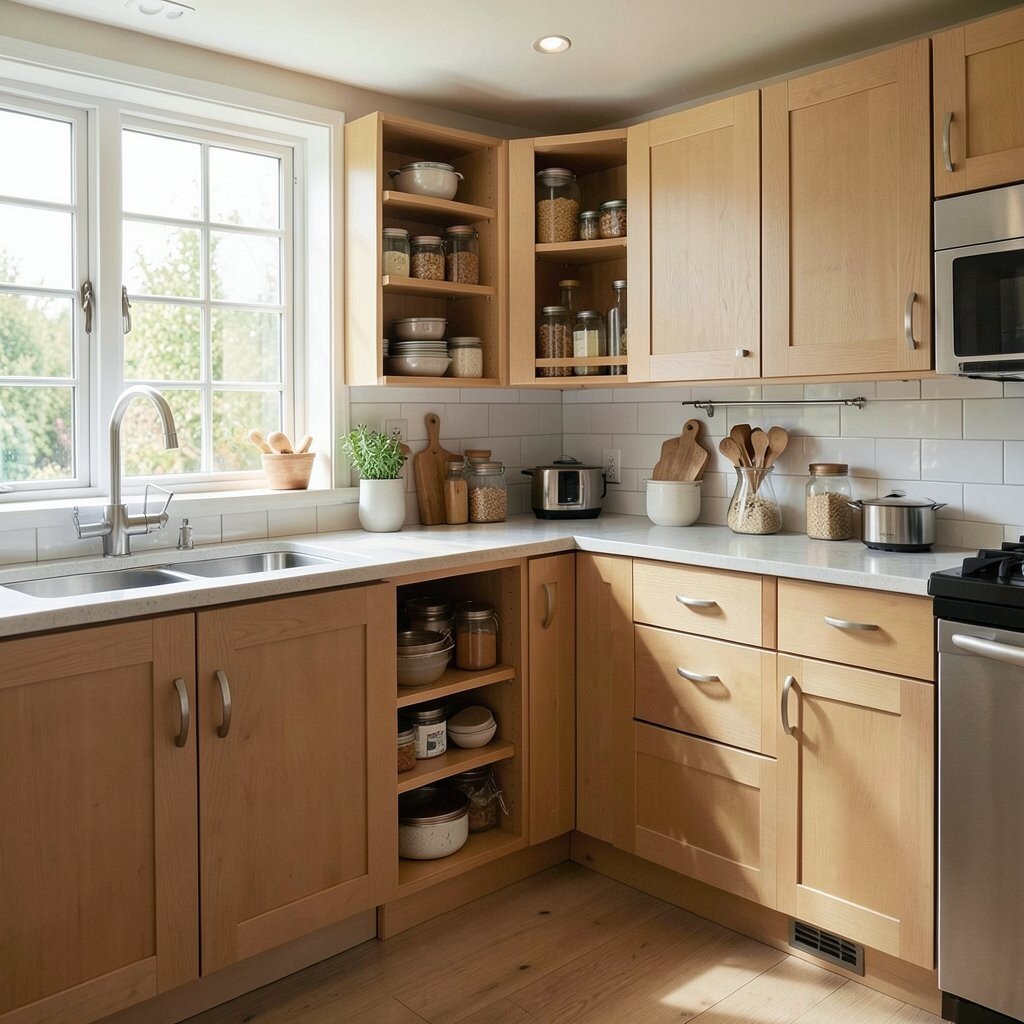
Your pantry should reduce walking, not add it. When your most-used ingredients sit near prep and near the fridge, your workflow feels calm and steady.
If you can, place dry storage near the prep zone and keep baking supplies grouped by height and frequency. Use clear containers for daily staples so you can see what’s low at a glance. For uniqueness, consider a pantry finish that matches your personality, like matte black hardware with warm wood shelves.
To keep it budget-friendly, start with organization upgrades before you change cabinets. Current trends show people using open shelving for “pretty practicality,” but you can still include closed storage for the messier items. If your space is small, a pull-out pantry or narrow roll-out drawers can make a big difference.
11. Fridge-To-Cook Workflow With Cold-To-Heat Order
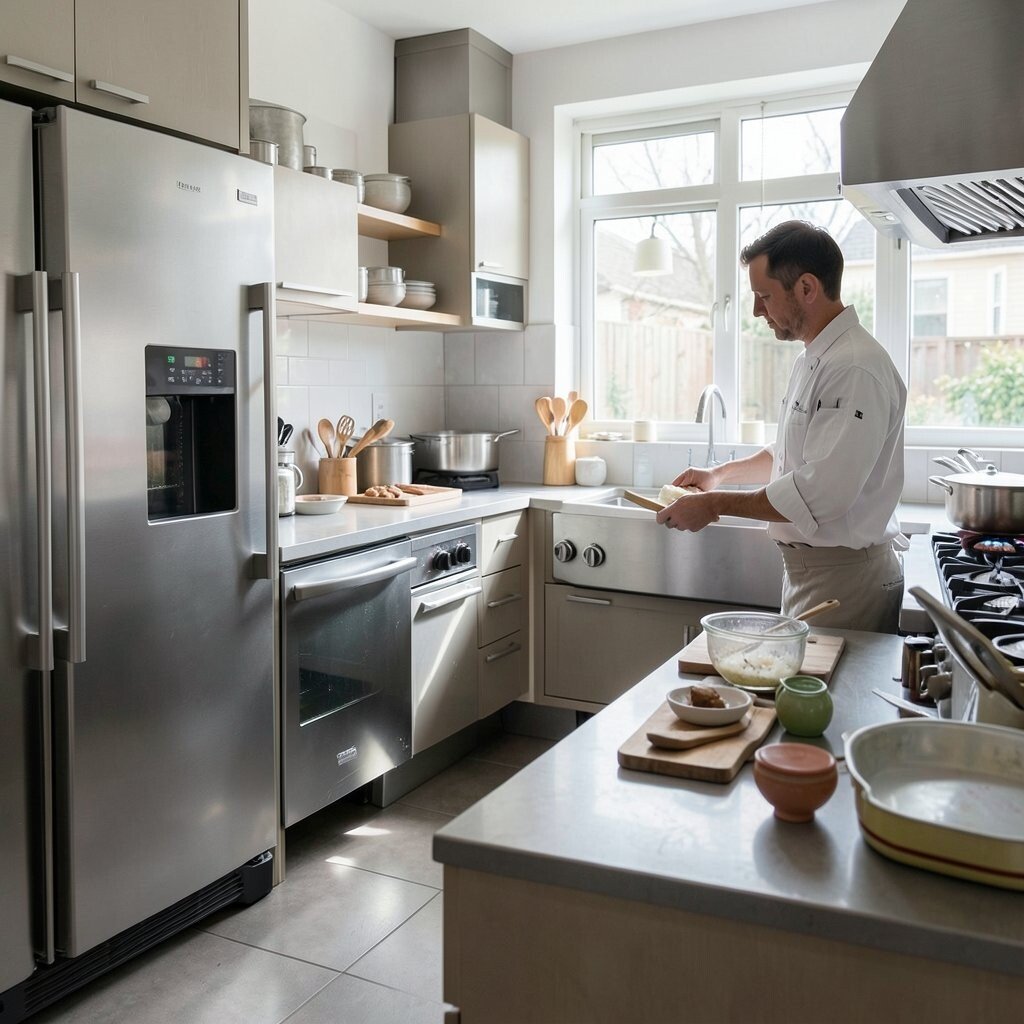
Place the fridge so you can move from cold ingredients to cooking without doubling back. When the path from fridge to counter feels short, you’ll waste less time and keep your pace steady.
Store frequently used items like vegetables, eggs, and dairy in the part you reach most easily. Keep a second counter space near the stove for transfers, like letting cooked items rest and assembling plates. Personalize the workflow by deciding where you set ingredients after washing, so your kitchen “feels” like your own routine.
12. Ceiling-Height Storage For A Cleaner Countertop Look
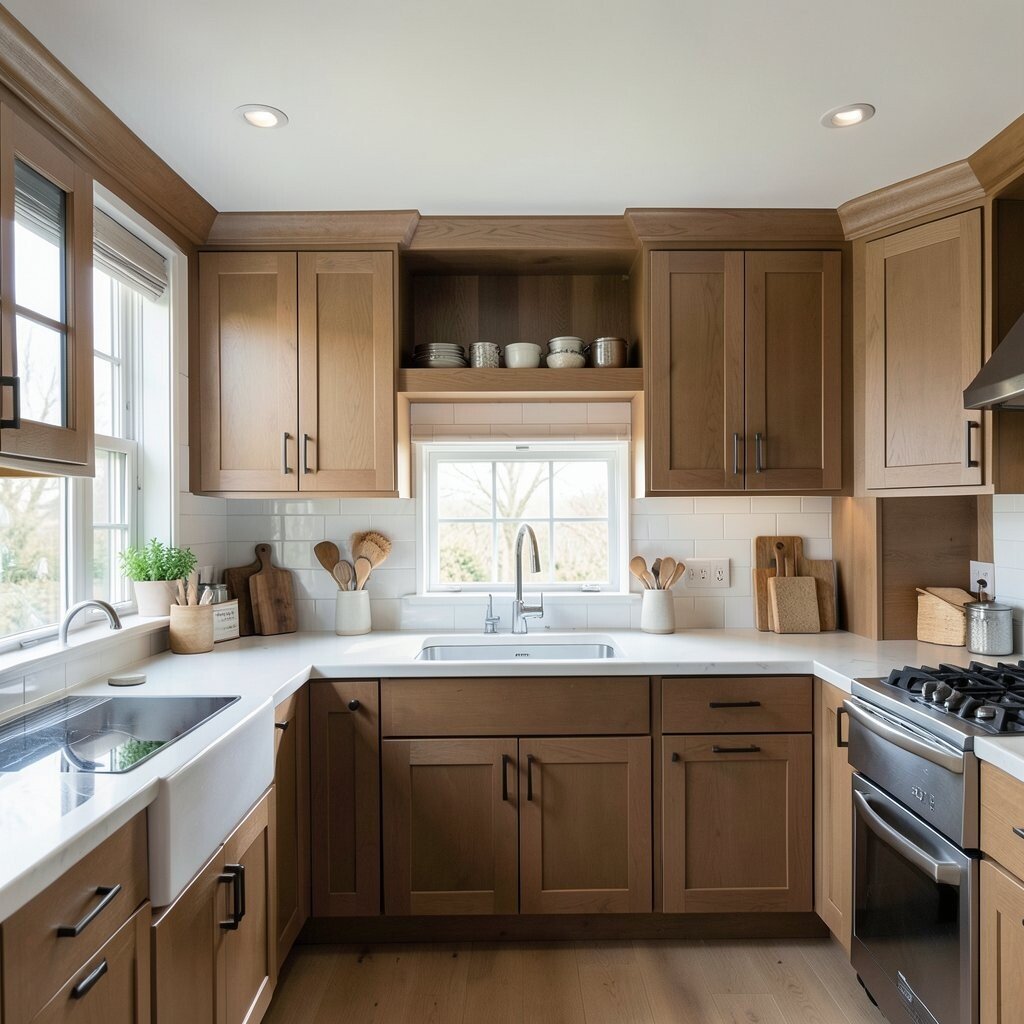
Use vertical space so counters stay clear while your tools remain within reach. When jars and pans have height-based homes, the kitchen looks neat even during busy cooking.
Install a rail system or wall shelves for everyday items like ladles, spatulas, and frequently used pans. Keep heavier tools lower if you want comfort, then place lighter items higher for safety. To add uniqueness, mix materials, such as matte hooks with a glossy shelf edge.
For practical tips, keep a “grab zone” at eye level and store rarely used items above. Many current designs emphasize open vertical storage to show off quality cookware, but balance it with closed cabinets to avoid visual clutter. Budget-wise, rails and hooks cost far less than new cabinetry, yet they create a strong chef vibe.
13. Lighting Layers That Make Food Look Its Best
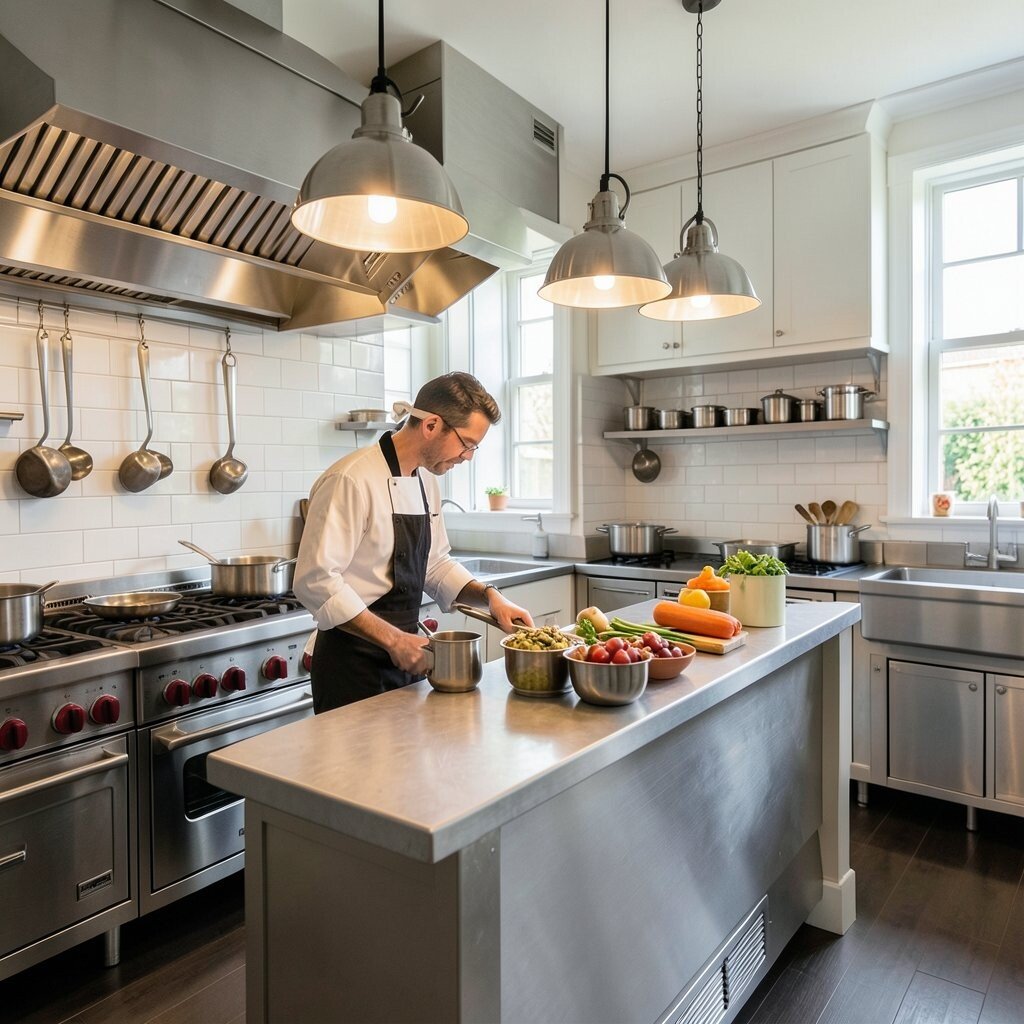
Lighting can change the whole mood of a kitchen, and it can also affect how you judge color and doneness. When you combine task lighting with softer ambient light, the space feels both useful and welcoming.
Use bright lights over prep and stove areas so knives, sauces, and herbs look clear. Add warmer overhead lighting for dining-adjacent zones so plates look inviting when you serve. Personalize with dimmers or different bulb tones to match how you cook during the day and evening.
For practical tips, aim lights so they reduce shadows under cabinets and near cutting boards. Current trends often include under-cabinet LED strips for crisp visibility, especially in modern kitchens with sleek counters. If you’re watching costs, start with under-cabinet lighting since it delivers a big visual upgrade for less effort than re-wiring a whole kitchen.
14. Trash, Recycling, And Compost With Zero-Stress Placement
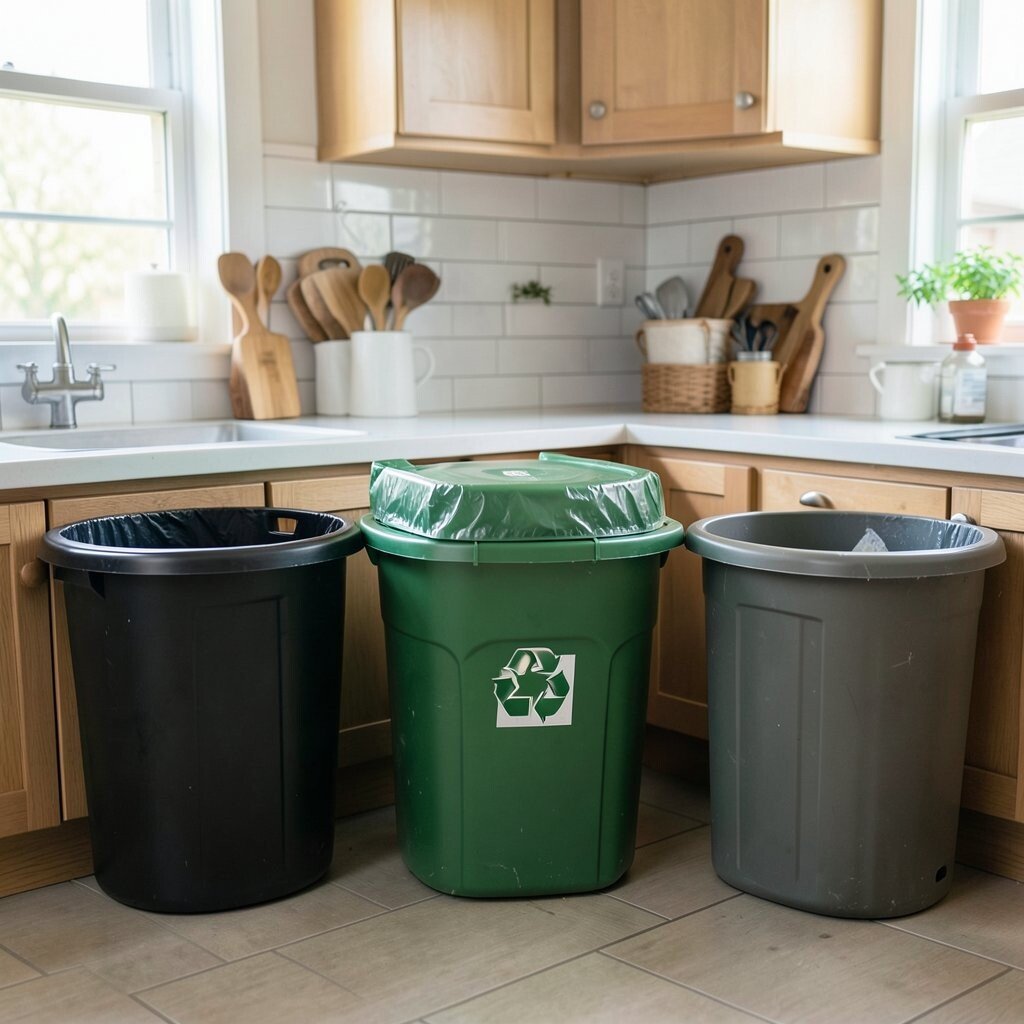
A thoughtful waste setup keeps your cooking surface clean and helps you move smoothly. When the bin is close enough to reach while holding a cutting board, you waste less time and mess stays controlled.
Place waste near the prep station and consider pull-out bins that roll out quietly. For personalization, choose a setup that matches your habits, like a multi-compartment system for compost and recyclables. Keep a simple bag holder where you can refill quickly so the workflow never breaks.
Cost considerations are manageable since organizers and pull-out bins are often cheaper than changing cabinets. Many modern kitchens now prioritize waste sorting because it feels easy when stations are well planned. A good rule is to keep waste within arm’s reach from where you peel, slice, and trim.
15. Flexible Counter Layout With Roll-Under Or Slide-Out Surfaces
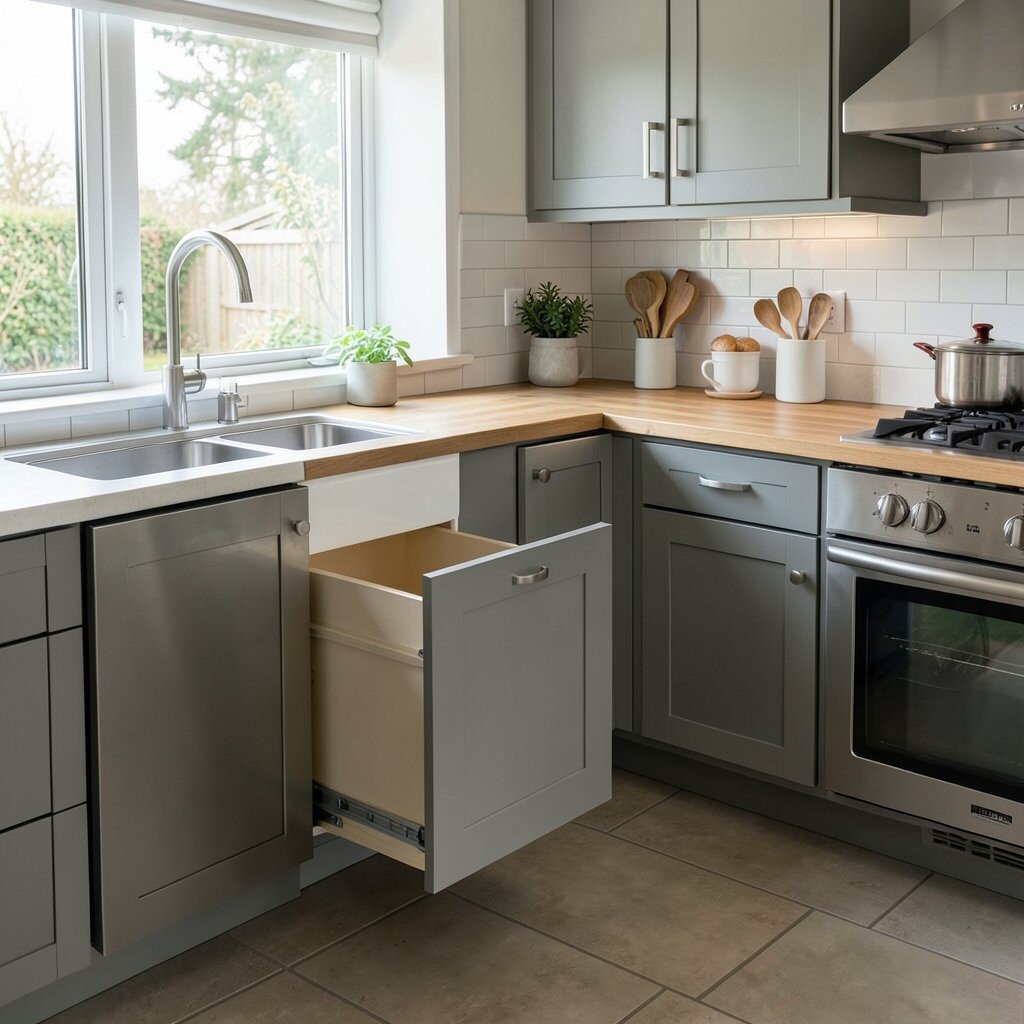
If you cook for different occasions, you need flexibility more than fixed space. Slide-out trays, roll-under carts, and moveable prep boards let you adjust the layout when your menu changes.
Set up one main counter area as your everyday station and keep a secondary surface that can appear when needed. In a small kitchen, a slim cart can hold baking sheets, mixing bowls, or even a microwave during busy weeks. Personalize with a cart style that matches your kitchen, like wood wheels for warmth or metal wheels for a sleek look.
For practical tips, measure door openings and cabinet clearances so rollouts move smoothly. Current trends favor adaptable kitchens because families and hosts cook in different rhythms. Budget-friendly upgrades include a good cutting board on a cart or a foldable prep mat in drawers rather than buying more permanent cabinetry.
16. Storage And Seating Integration For Host-Ready Flow
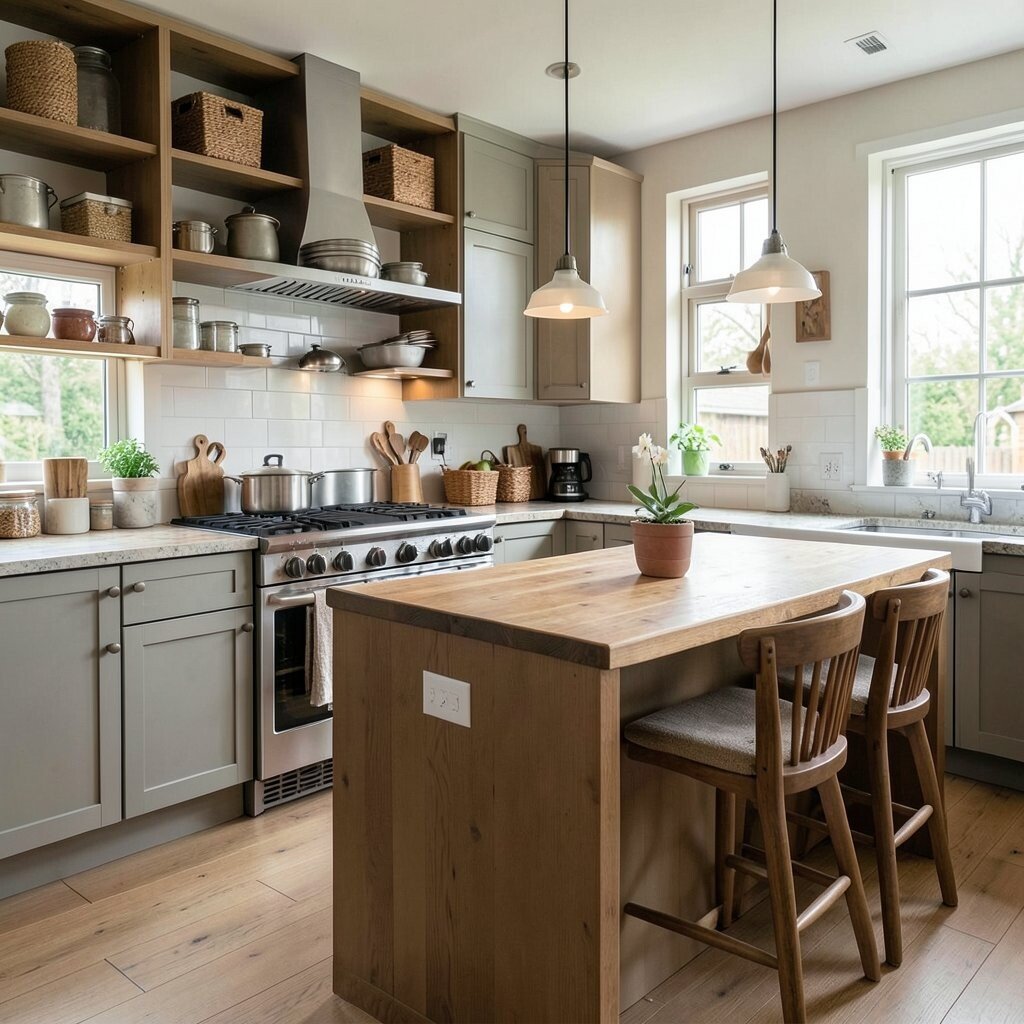
If you like having people around while you cook, combine layout and comfort. A kitchen that supports talking, tasting, and plating feels alive, and it makes hosting easier.
Place seating where it doesn’t block your main work path between stove, sink, and prep. Add a small “serve edge” on an island so you can pass plates or set down garnishes without turning your back too long. Personalize with a bar-height counter, a built-in wine shelf, or a small open nook for cookbooks so your space tells your story.
Cost considerations matter, so if you can’t add full seating, try a single narrow ledge for quick serving and keep the rest of the island focused on storage. Current trends show people blending cooking and gathering areas, but you can get the feel with just smart sightlines and a tidy countertop. When the flow stays clear, you can cook confidently while still enjoying your guests.