Your craft drawers can look calm and organized even when you’re mid-project. Simple dividers help small supplies stop wandering and start working.
With the right setup, everything can be easier to grab, easier to label, and easier to put back in the moment you finish.
1. Stackable Pegboard Bands for Adjustable Sections
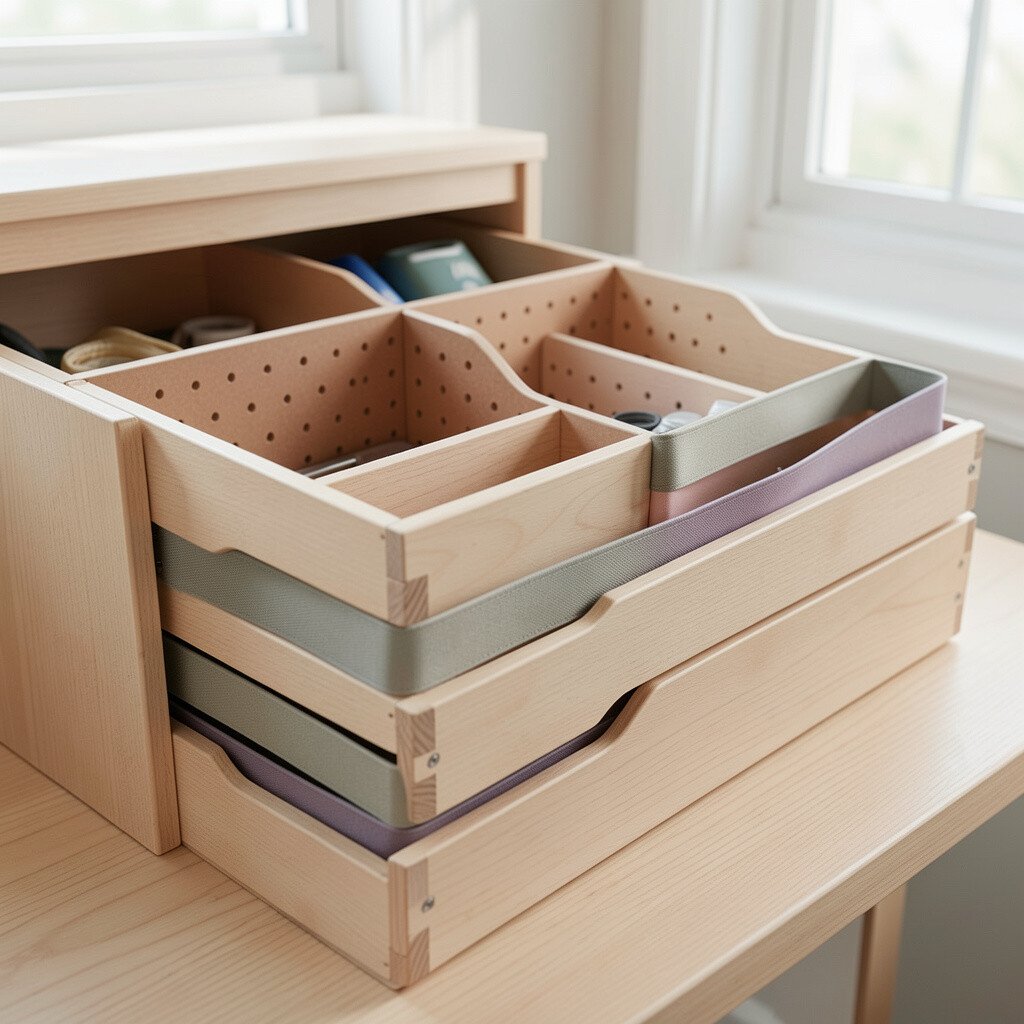
Picture thin bands of pegboard sliding into the drawer like tidy rails. They create clear lanes for scissors, mini rulers, and tape rolls without feeling bulky.
Because the slots match the holes, you can move pieces as your supplies change. A good approach is to measure the drawer height first, then cut bands so they sit snug and don’t tip when you open the drawer.
2. Clear Acrylic Snap-In Cells for Tiny Hardware
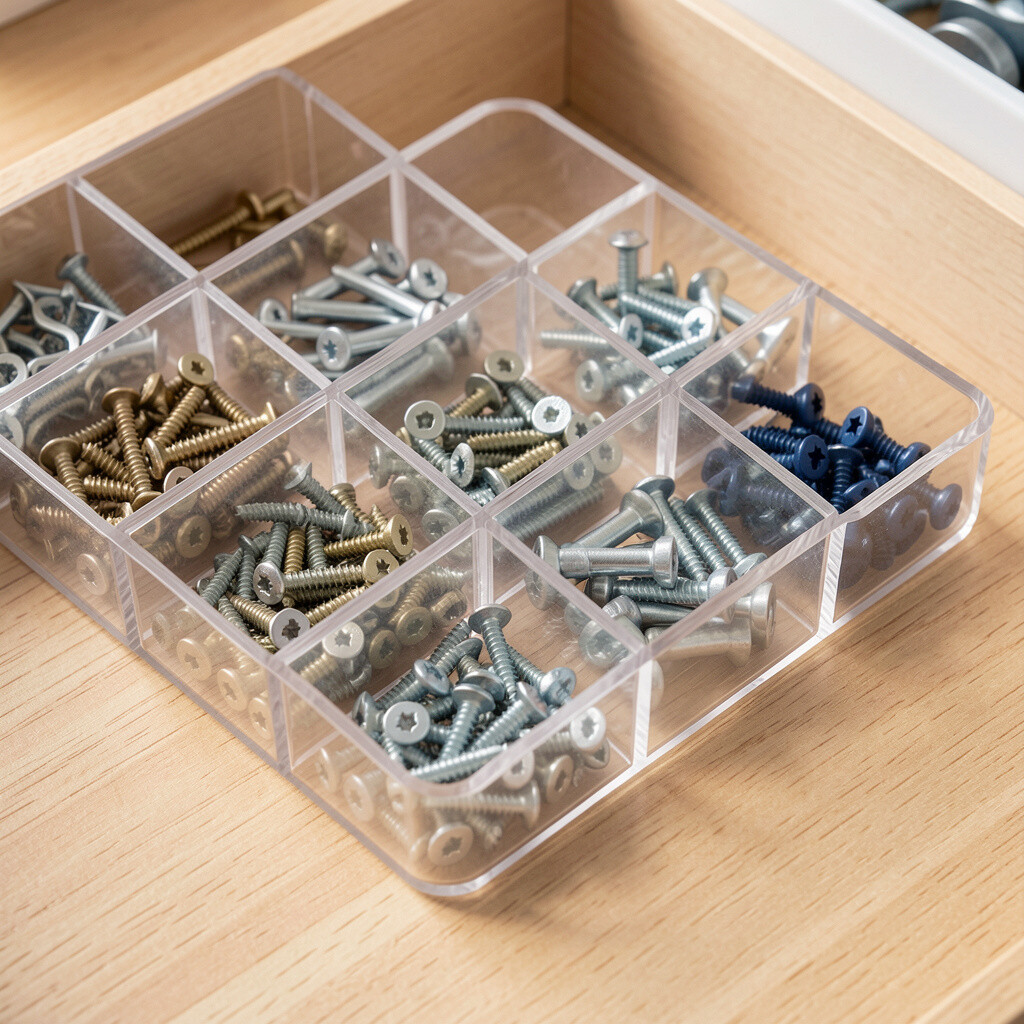
See-through cells let you spot buttons, brads, and seed beads at a glance. Your drawer stays visually neat instead of turning into a mystery pile.
Snap-in dividers also reduce mix-ups when you’re switching projects quickly. Choose cell sizes that fit your most common items, and keep one small “drop zone” section for odd bits so nothing spills across the bottom.
For a personal touch, add small paper labels under the plastic using colors that match your craft style. Acrylic can cost more than cardboard, but it lasts longer and keeps its clean look over time.
3. Fold-Flat Cardboard Trays for Budget-Friendly Order
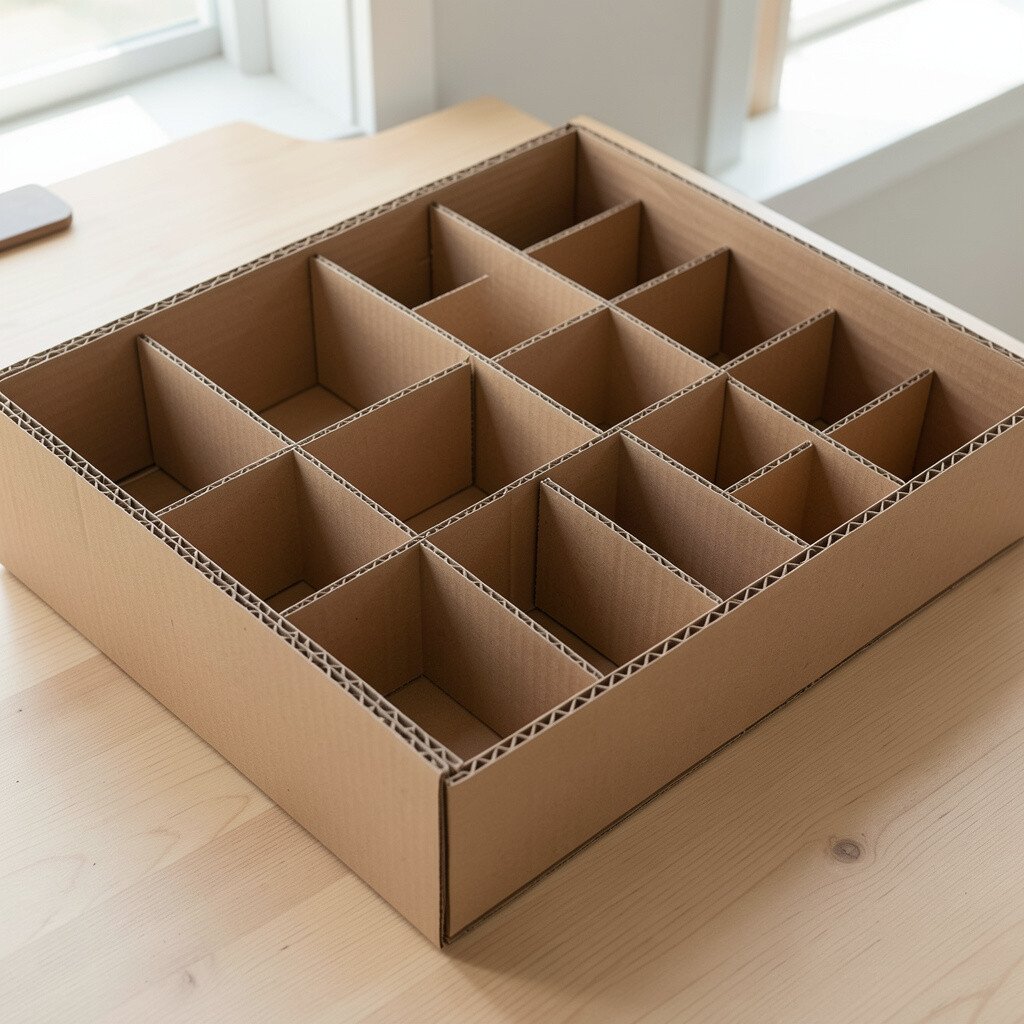
Imagine lightweight cardboard trays that fold flat and pop into place. They sit neatly across the drawer, shaping the space without expensive materials.
This option is great for beginners because it’s easy to remake when your stash grows. Use thicker corrugated cardboard for sturdiness, and tape the edges well so corners don’t collapse after repeated use.
You can personalize each tray by covering it with patterned paper or fabric scraps. Current trends in craft organization often lean toward low-cost, repeatable systems, and this style fits that mindset perfectly.
4. Washi-Tape Hinged Dividers for Soft, Flexible Layouts
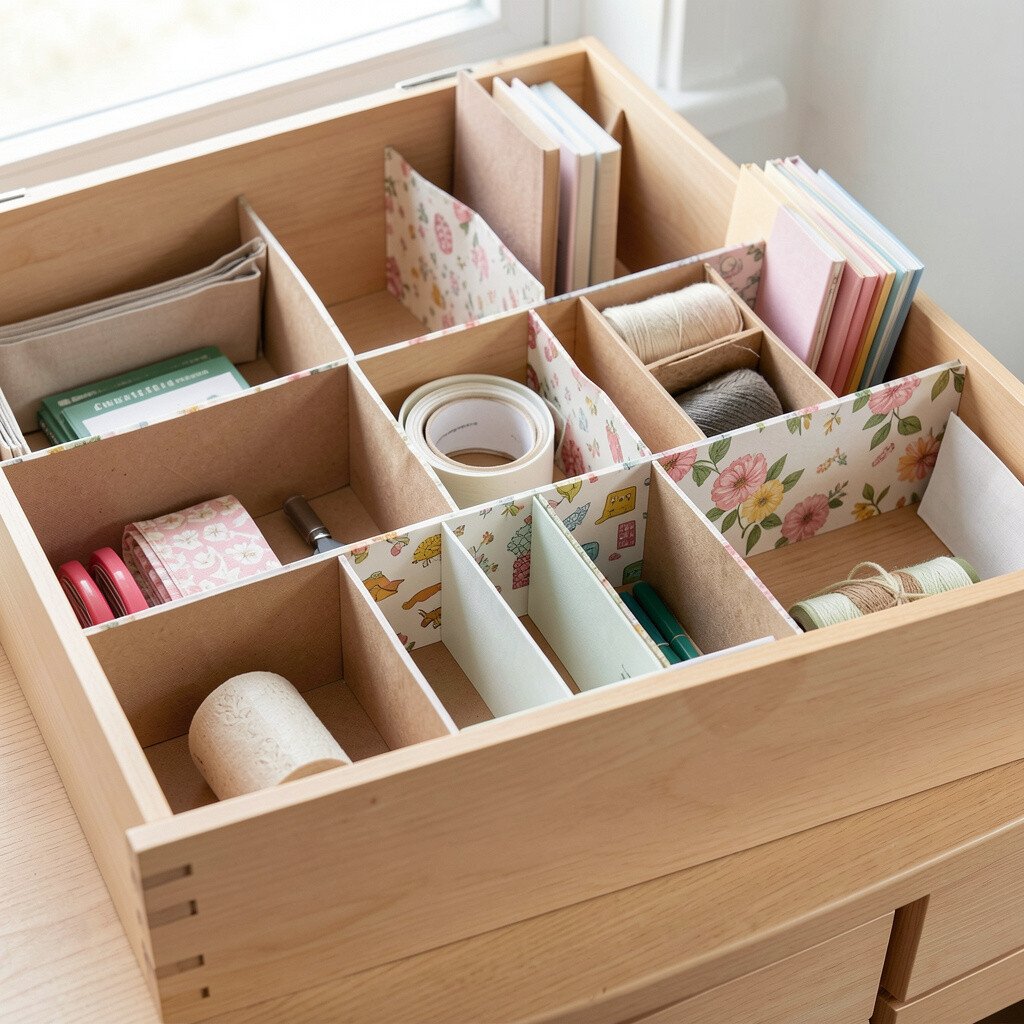
Think of thin divider strips held in place by strips of washi tape along the drawer walls. The tape looks cute and forgiving, so you can adjust sections without damaging anything.
This method works especially well for drawer liners and shallow storage. Press the tape firmly, then test your divider spacing by placing one item and closing the drawer gently.
5. Wooden Slat Grids for Ribbon and Thread Lines
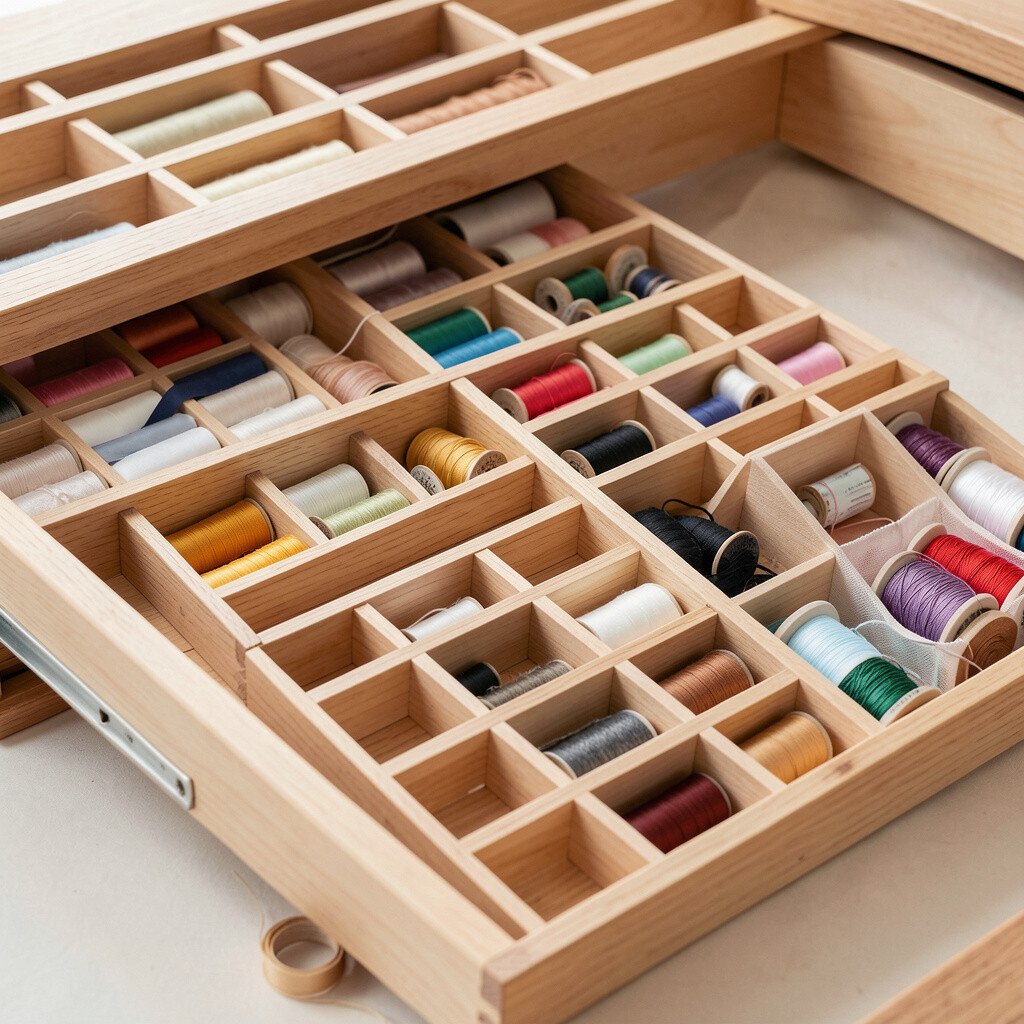
Picture narrow wooden slats making a grid that holds ribbon spools and thread cones like a little workshop rack. The warm color adds a handcrafted feel to the room.
Dividing by width makes it easier to find the exact spool you need, which saves time mid-project. Sand the edges lightly and seal the wood if your drawer gets frequent use, since fibers can snag thread.
For personalization, stain or paint the slats in your favorite palette and mix grid sizes by section. This is a mid-range option, but the durability makes it worth it for long-term craft storage.
6. Fabric-Covered Foam Inserts for Needle Safety
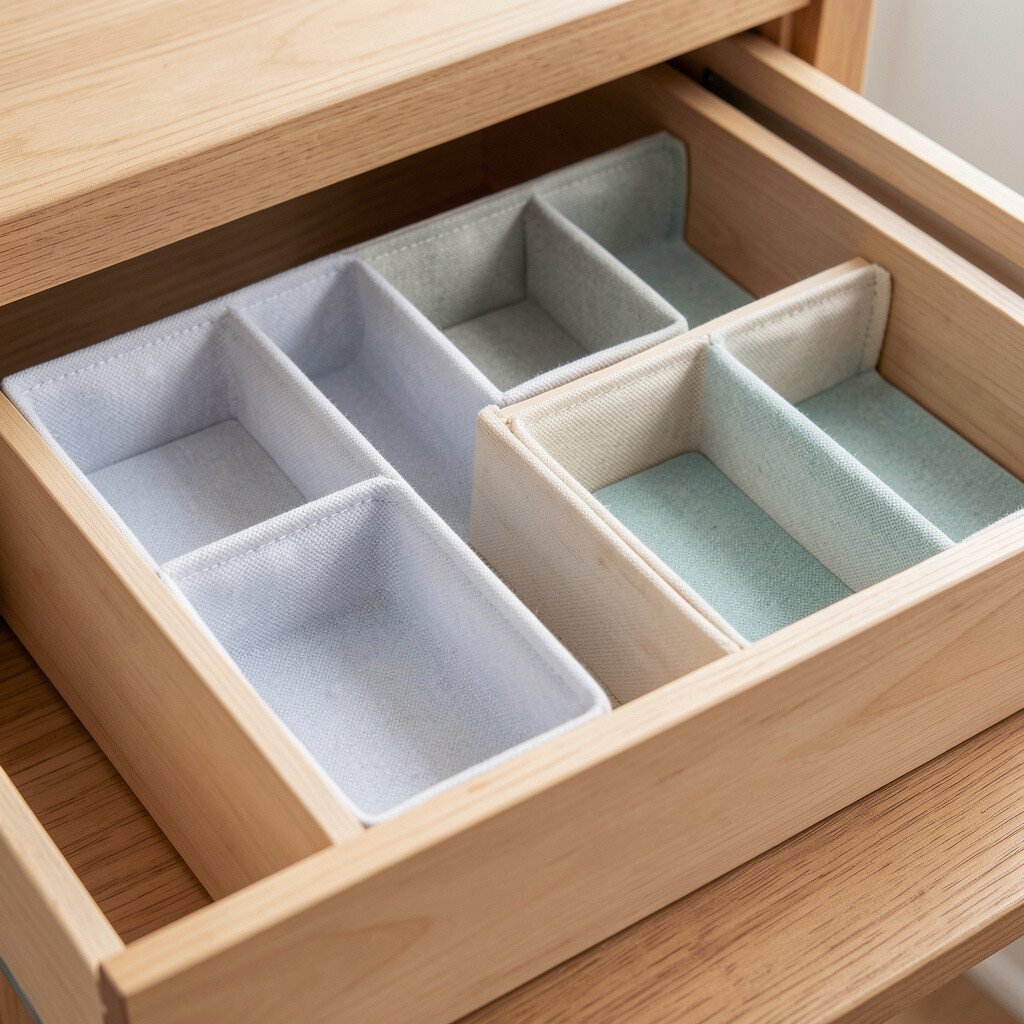
Imagine soft foam blocks fitted with cut channels for needles, pins, and seam rippers. The foam holds everything steady while reducing the chance of pokes and scratches.
Since foam grips gently, delicate tools don’t rattle around when the drawer opens. Cut channels with a sharp blade, then keep the foam removable so you can refresh it when it gets worn.
You can personalize by choosing different foam colors for different crafts, like sewing, paper crafts, or beadwork. This trend toward safer storage is growing because crafters want peace of mind as much as neatness.
7. Magnetic Bar Dividers for Metal Tools
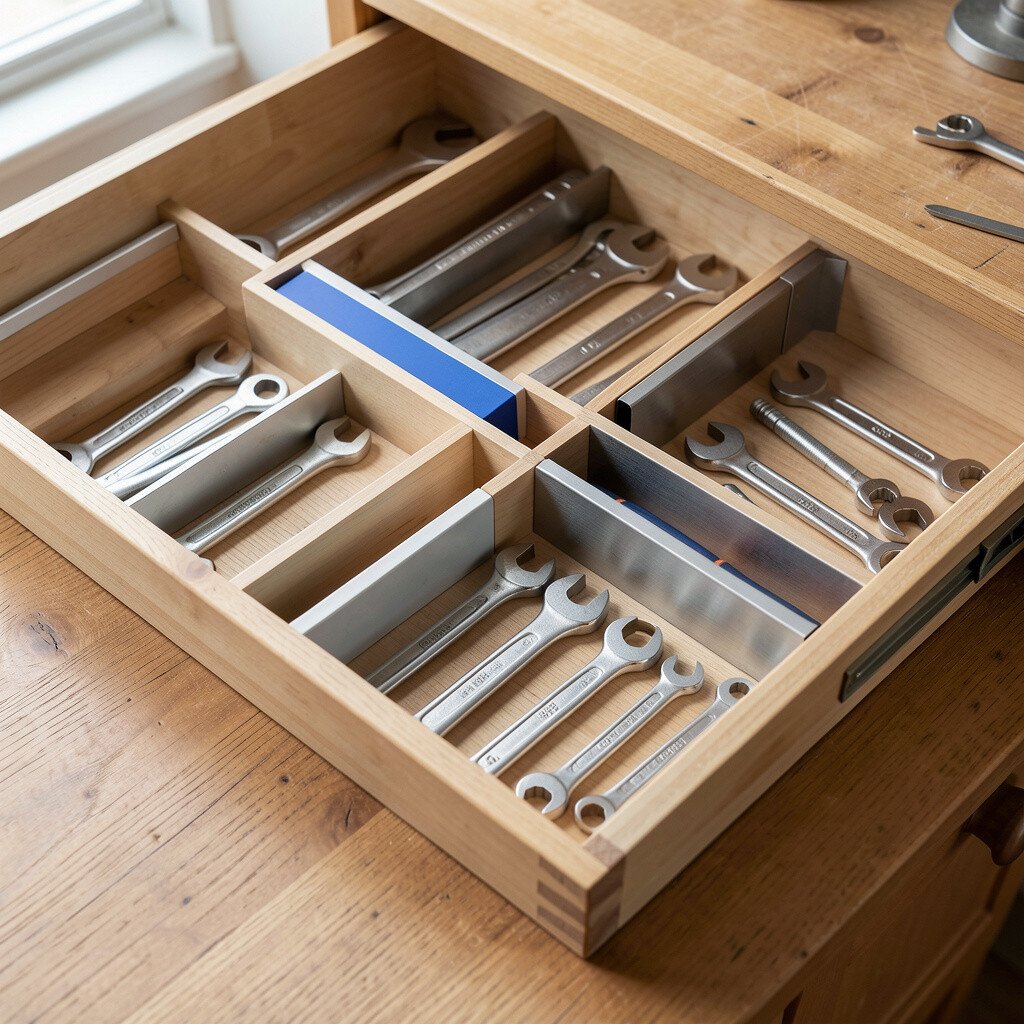
Picture slim magnetic bars lining the drawer so metal tools snap into place. It feels satisfying when tweezers and small cutters cling neatly instead of sliding.
This setup is practical for tools that have metal bodies, because the strong hold prevents clutter. Install bars along the sides or middle, then keep sections consistent so you always know where things belong.
8. Tackle-Box Style Partition Trays for Mixed Supplies
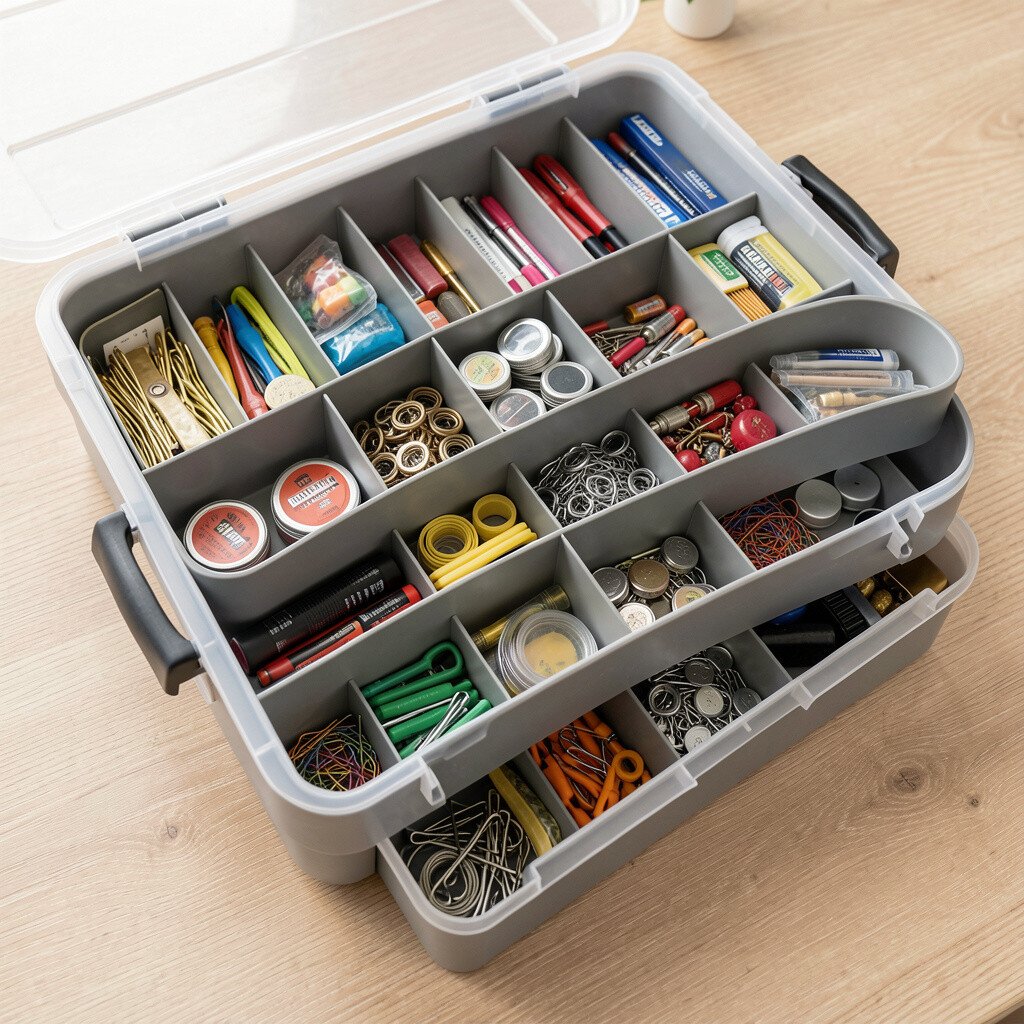
Think of a tray system like the ones used for fishing gear, but sized for craft bits. Each compartment holds a different mix, so your drawer stays balanced and easy to scan.
Partition trays help you sort by project type, such as paper, glue accessories, or bead kits. Choose a tray with adjustable dividers if you want flexibility as your collection changes.
To personalize, swap the compartment layout to match your workflow and keep favorite kits on top. This is often a mid-cost choice, but it brings strong organization and a very current look.
9. Curved Acrylic Dividers for Spool-Friendly Storage
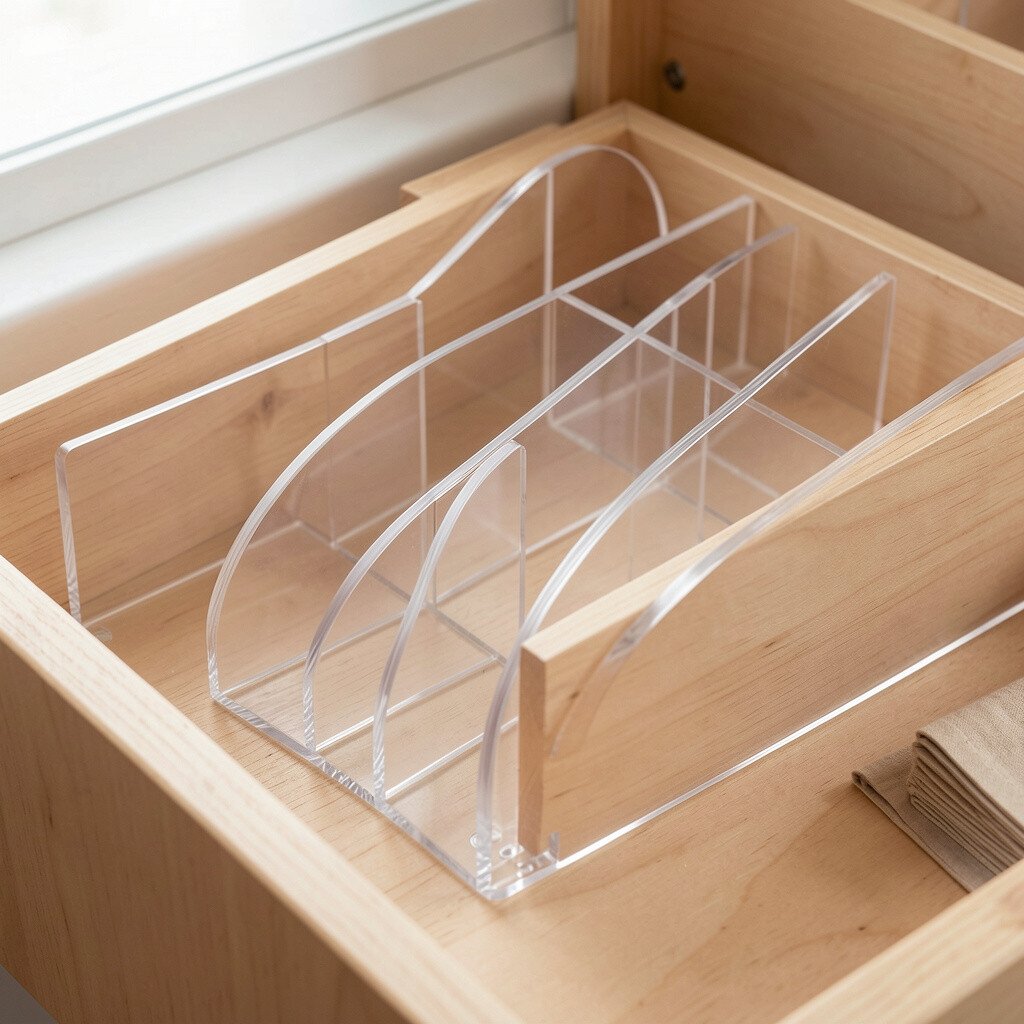
Imagine smooth curved pieces that cradle thread spools and ribbon rolls. The curved shape prevents items from pressing flat against each other.
This kind of divider is unique because it supports rounded items rather than forcing everything into straight corners. Measure the largest spool first, then set the curve radius so spools sit secure without squeezing.
For personalization, use clear dividers with colored adhesive vinyl on the drawer bottom to create a tidy theme. You can keep costs reasonable by using a few larger curved pieces instead of many tiny ones.
10. Layered Corrugated Divider “Steps” for Easy Access
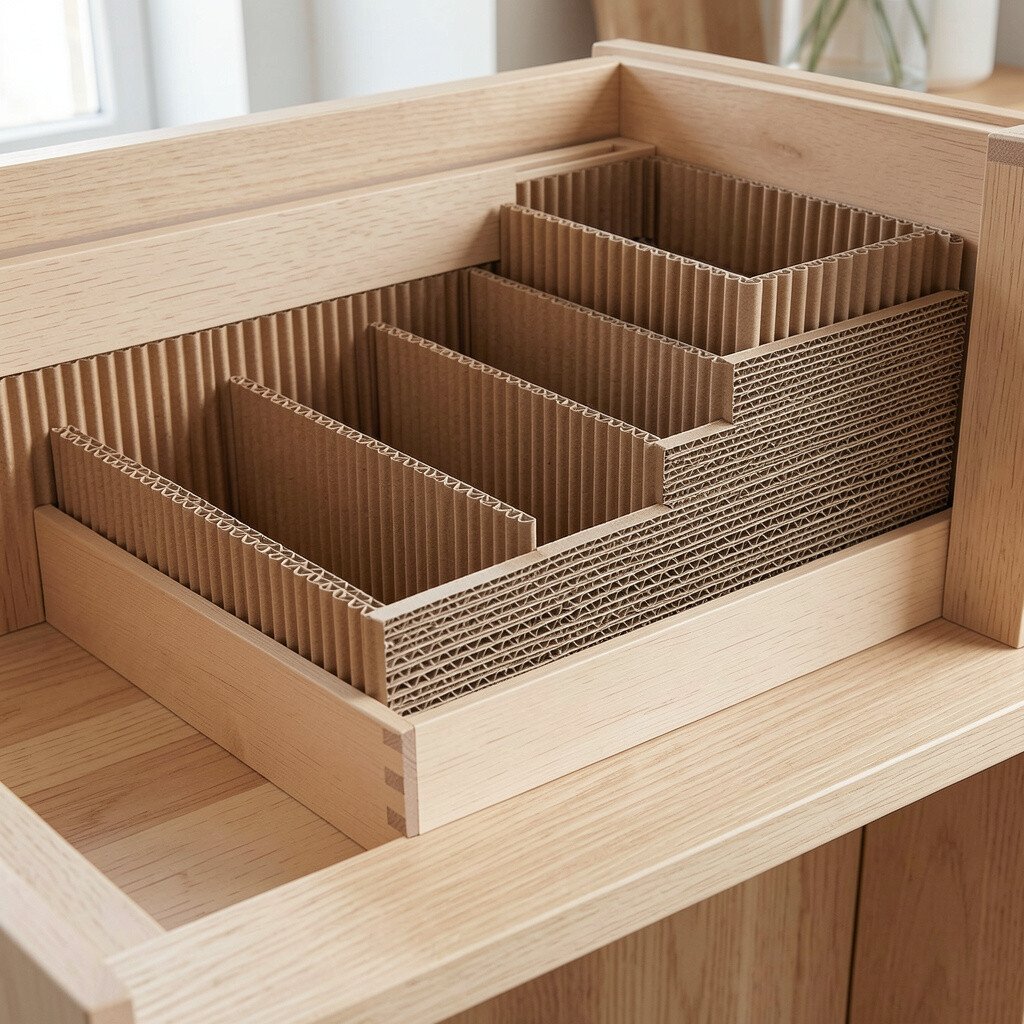
Picture stepped layers of corrugated board that lift supplies into small levels. The top step becomes a quick-grab zone for what you use most.
Layering helps you avoid deep burrowing through the drawer every time you need something. Build steps with stable bases, and leave a small gap between layers so thin items like envelopes or strip paper don’t get stuck.
This style is great for personalization because you can color each level with craft paint or markers. It’s also a budget-friendly trend since many crafters reuse shipping materials for organization.
11. Drawer-Specific Silicone Grips for Rolling Craft Items
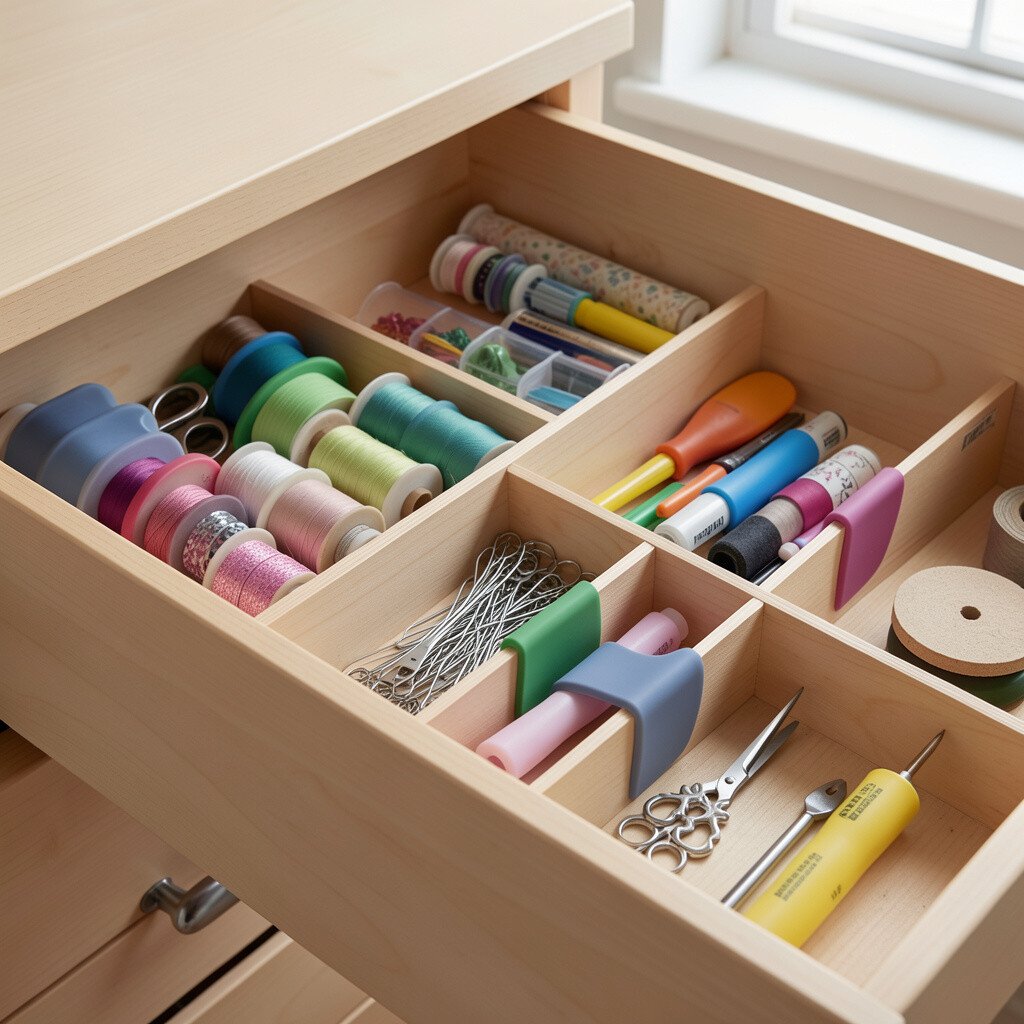
Think of silicone strips laid down to stop rolling tape and thin rolls from drifting. The drawer bottom feels controlled, even when you move the divider pieces around.
Grips add stability, which is helpful when your supplies are cylindrical. Place silicone in “no-roll” lanes, then use dividers above them to create clean compartments for different tape widths.
12. Pegboard Drawer Liner with Removable Clips
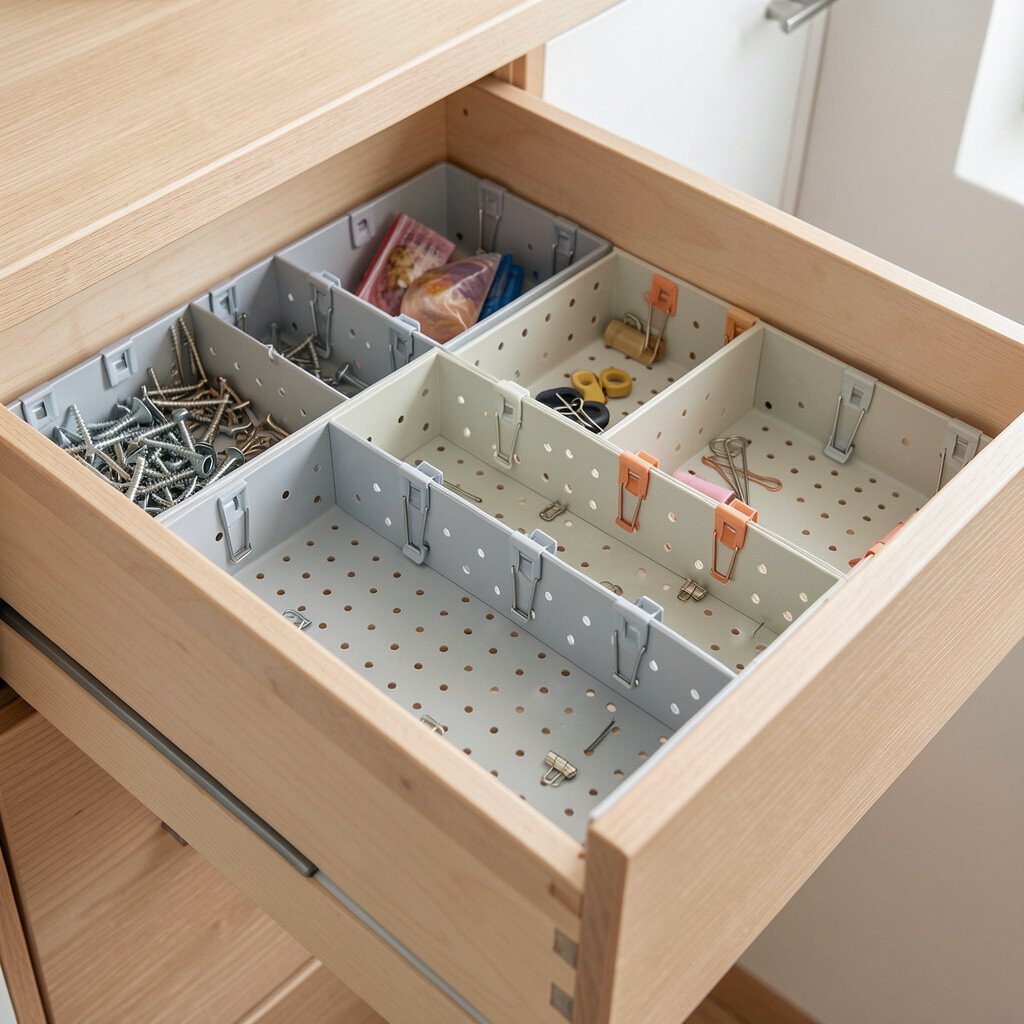
Imagine a pegboard liner fitted into the drawer floor, with little clips snapping into place. It looks like a miniature workshop and keeps tools upright instead of tumbling.
Removable clips make it easy to personalize your layout for each craft season or holiday theme. Drill carefully or choose peel-and-stick alternatives if you prefer no permanent changes.
For cost considerations, pegboard is usually affordable and easy to cut, especially if you buy sheets in standard sizes. Current organization trends often highlight modular systems like this, because they scale with your stash.
13. Fabric Ribbon Banners Dividing by Category
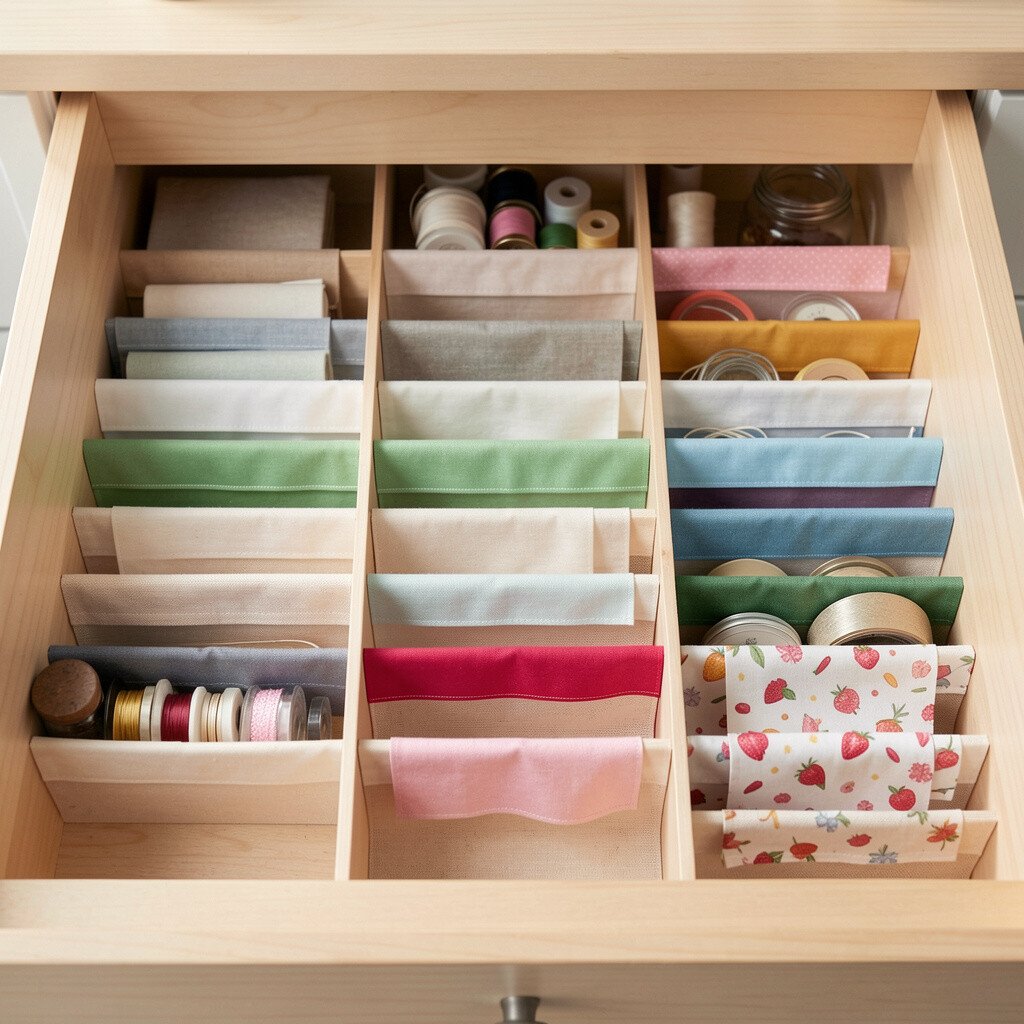
Picture soft fabric ribbon bands stretching across the drawer like banners. Each band separates sections while also making the drawer feel less cold and more cozy.
This approach is unique because it combines division with gentle friction that helps items stay put. Use sturdy fabric strips and stitch or glue small anchor points so the bands don’t slide when you open the drawer.
To personalize, choose fabric patterns that match your crafting theme, like polka dots for scrapbooking. Costs stay low if you repurpose scrap fabric, and you’ll love the warm look in every opening.
14. Clear Film Folder Dividers for Paper Crafts and Photos
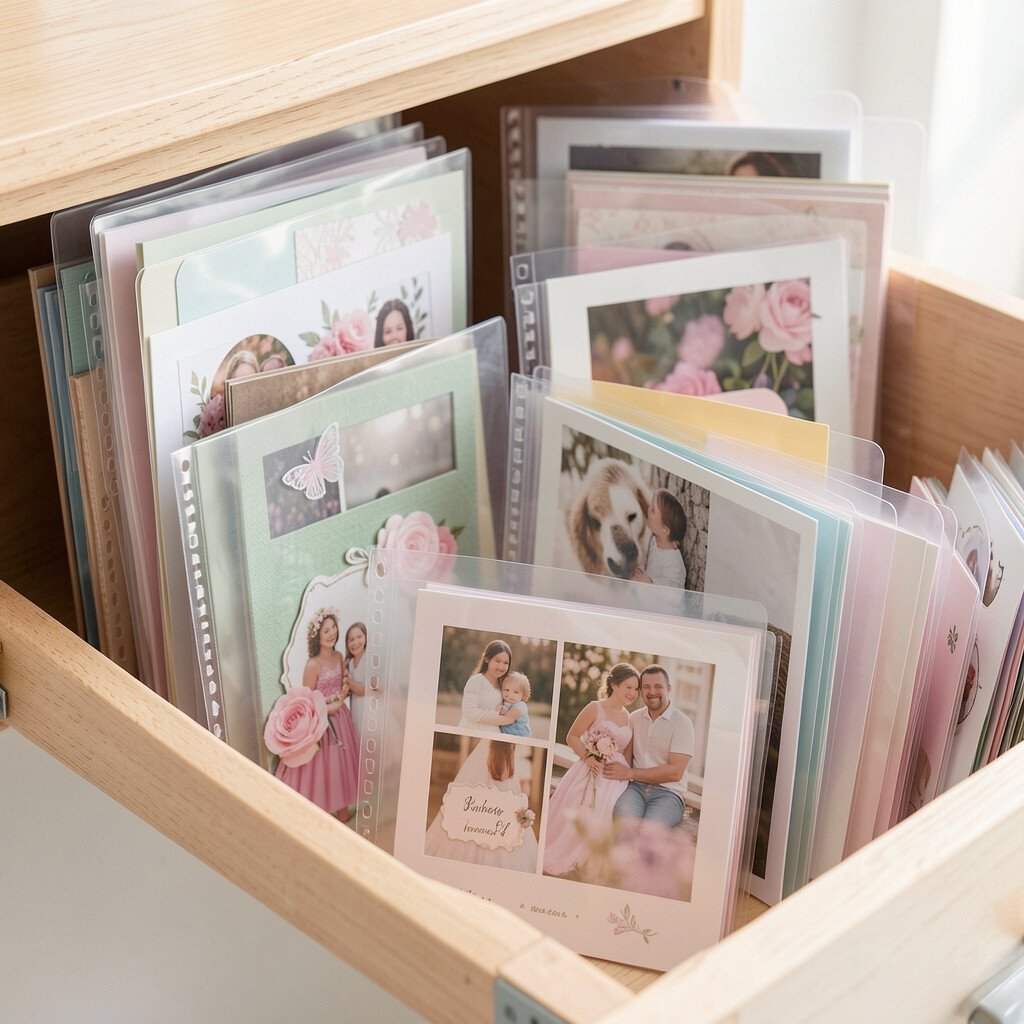
Imagine flexible clear film folders standing upright inside the drawer. They separate sticker sheets, cardstock, and small photo prints so they don’t fold or get mixed.
Using transparent dividers keeps paper visible, which makes choosing a design faster. Cut or trim folder pieces to fit your drawer width, then place the tallest items at the back so smaller sheets don’t get crushed.
15. Geometric Foam Blocks for Organized Bead Work

Picture small geometric foam blocks arranged like a honeycomb in the drawer. Each cell holds beads, gems, and charms without clumping across sections.
This method is practical because bead mixes can be very different in size and weight. Make a few block shapes, then rotate them as you finish one color set and start another.
For personalization, emboss or paint tiny icons on the block tops, like stars for star charms or circles for round beads. Foam block sets can cost more if you buy pre-made items, but making them at home can keep spending low.
16. Wooden Peg and Pin Dividers for Hanging Tools
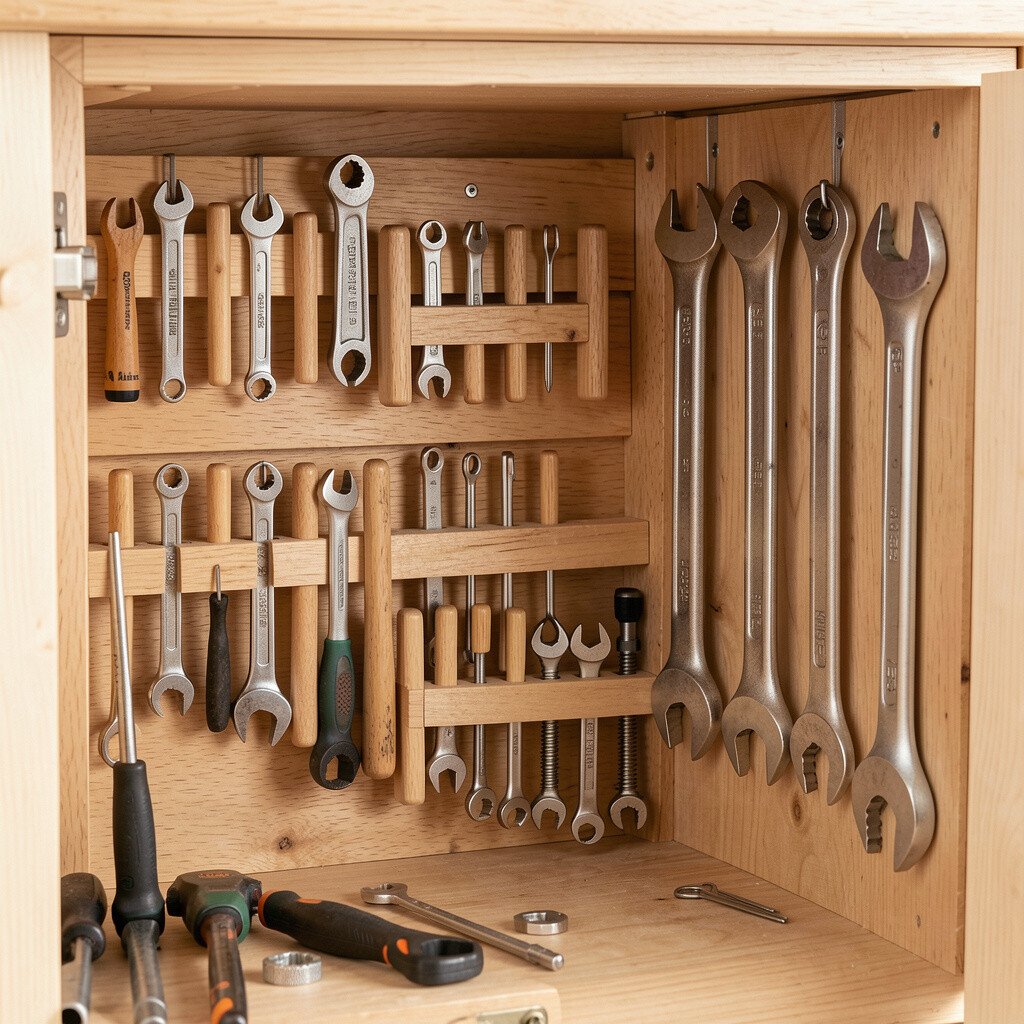
Think of a small wooden board with pegs standing upright inside the drawer area. Tools hang slightly instead of lying flat, which prevents edge dents and makes grab-and-go easy.
This design feels unique because it turns the drawer into a mini storage station. Use rounded peg ends to protect handles, and leave enough space so hanging tools don’t knock into each other.
Personalize by painting pegs in matching colors for different tool types, like green for cutting and blue for marking. It’s a mid-cost idea, but the wood look fits many current home decor trends.
17. Tiered Plastic Tray Towers for Paint and Ink Caps
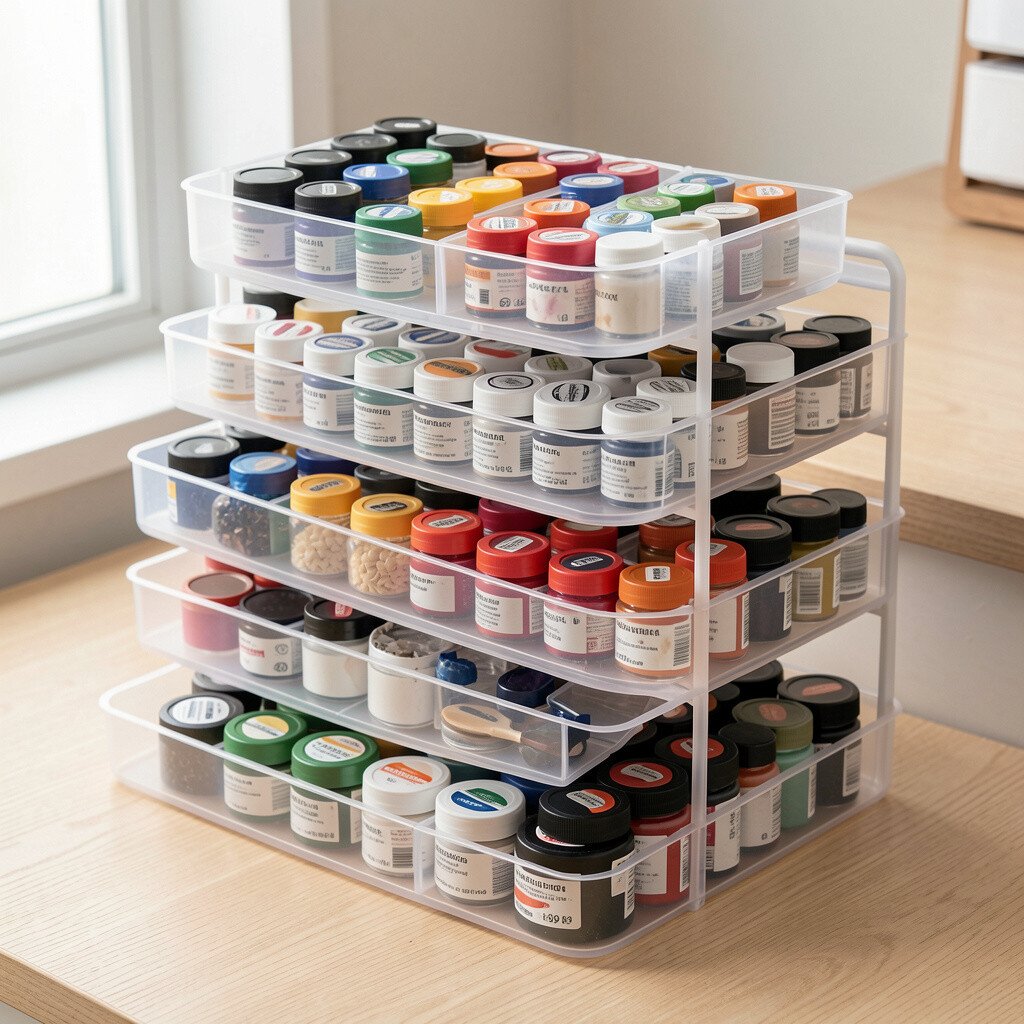
Picture a stack of plastic trays that rise like small towers inside the drawer. Paint caps and ink lids sit neatly on top, so you don’t have to dig through a pile.
Tiered storage adds vertical space, which is perfect when drawer depth limits you. Choose trays with shallow wells so small caps stay stable, and keep frequently used colors on the front tiers.
18. Chalkboard Label Bands for Quick Re-Sorting
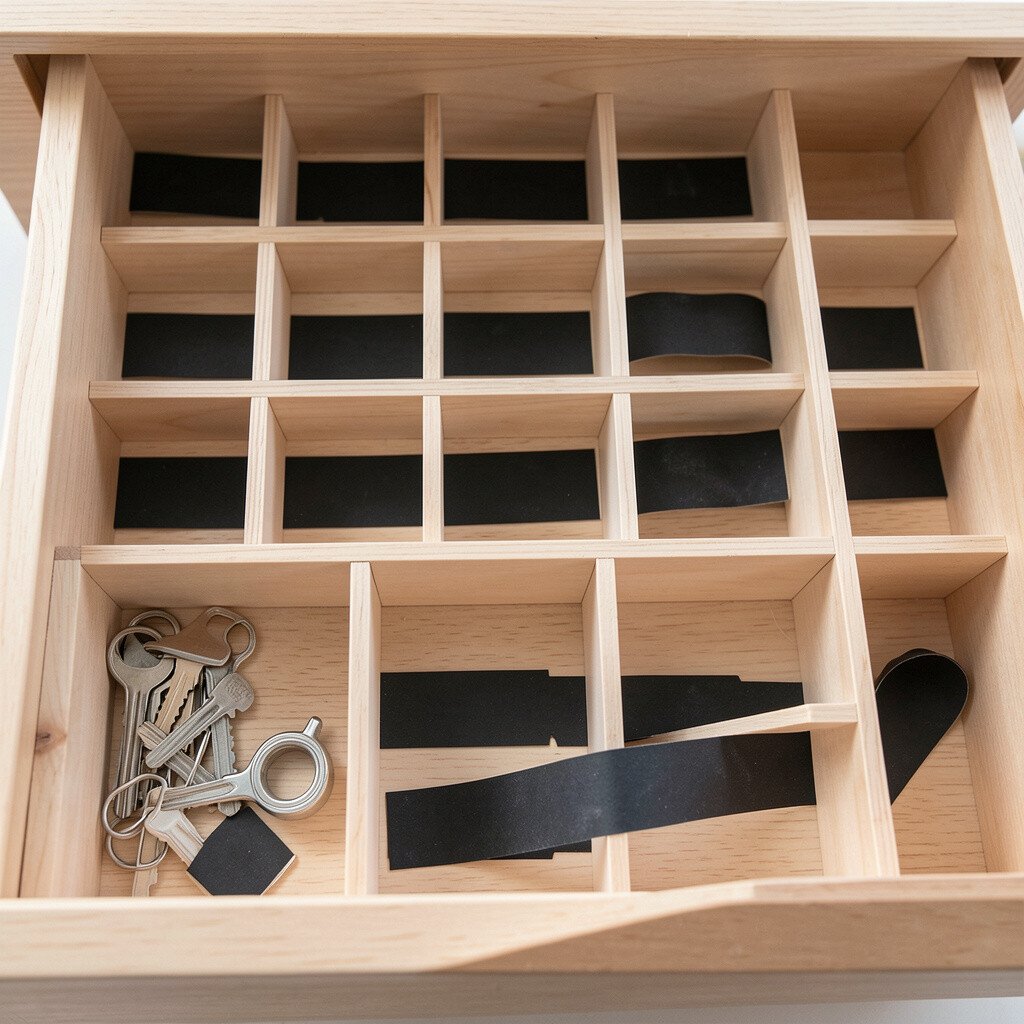
Imagine bands of chalkboard tape wrapped around divider sections. Your drawer looks tidy and you can rewrite labels as you reorganize.
This option is helpful because craft supplies change often, especially during seasonal projects. Add a small corner shelf area for each label band, and wipe clean with a damp cloth when you switch categories.
For personalization, use different handwriting styles or color chalk to match your mood. Chalkboard labeling stays popular because it’s flexible, and the cost is usually low compared with printed label makers.
19. Adjustable Metal Fence Dividers for Wide Supplies
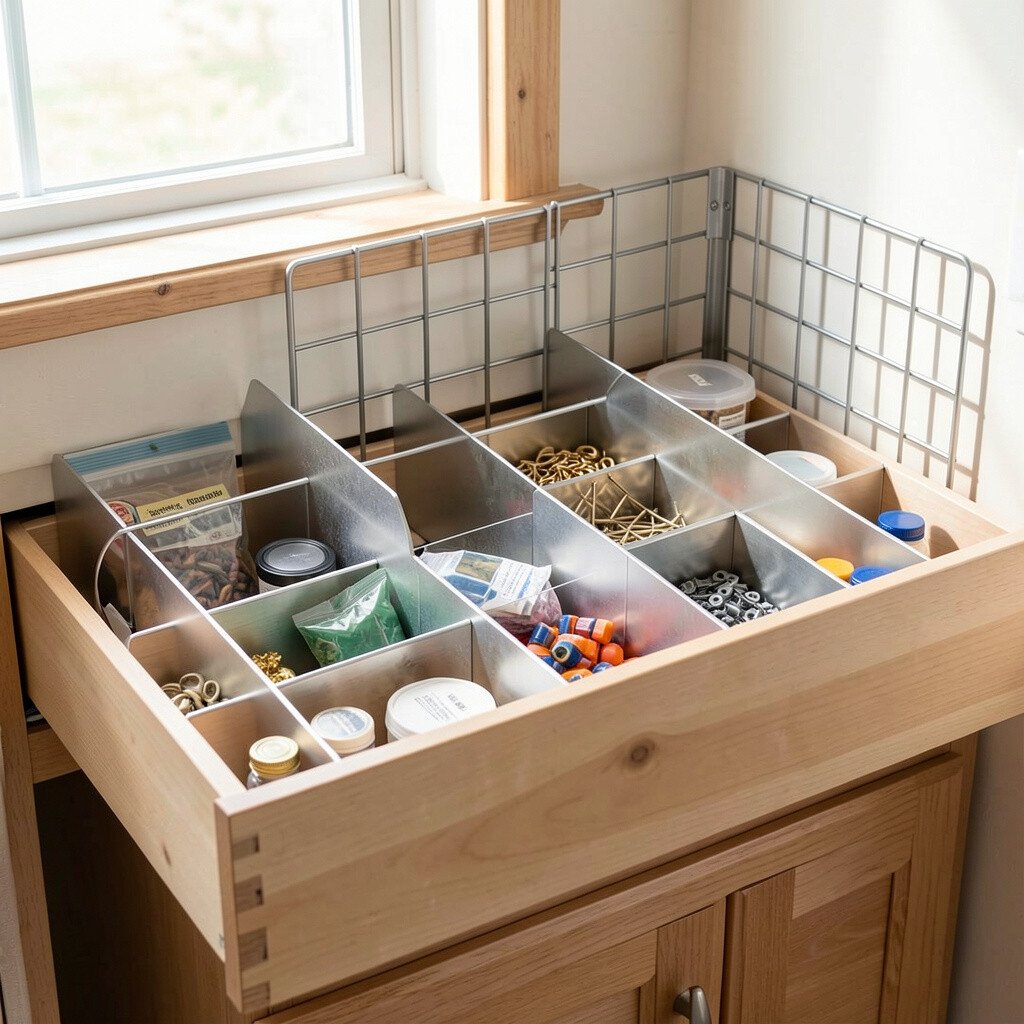
Picture metal fence dividers that slide side to side like a small gate system. They hold wider items such as envelopes, craft organizers, and bulk card packs.
This design is practical when you have inconsistent sizes because you can tighten spacing as needed. Place the fences firmly against the drawer walls, then test with your widest item before filling the rest.
Personalize by adding vinyl decals on the metal for a matching color scheme. Metal dividers can cost more than cardboard, but the adjustability makes them a smart long-term investment.
20. Magnetic Memo Divider Cards for Project Kits
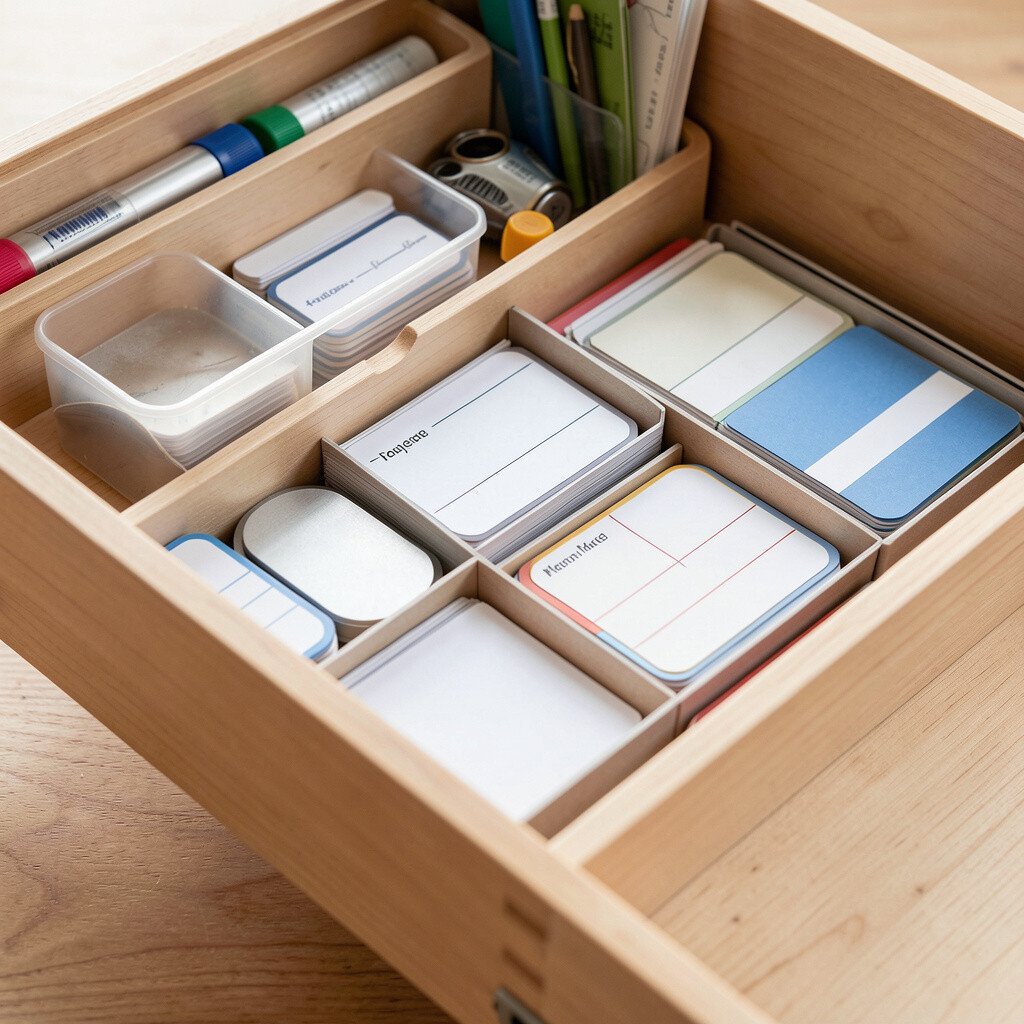
Imagine slim divider cards with magnets that attach to the drawer’s liner. Each card marks a project kit zone, and the magnets keep sections from drifting.
This is unique because it combines storage with a visual plan, helping you remember which supplies belong together. Use card pockets or small adhesive sheets behind the cards so you can slide in paper lists or color references.
For personalization, pick card colors that match your current craft theme, like warm tones for fall or bright colors for summer. Cost can be kept low by using cardstock and strong magnets, which makes this a popular trend among budget-minded crafters.