Open floor plans feel inviting, but the floor has to work hard behind the scenes. Smart transitions keep spaces looking planned while still feeling open.
1. Seamless Same-Color Flow With Micro-Thresholds
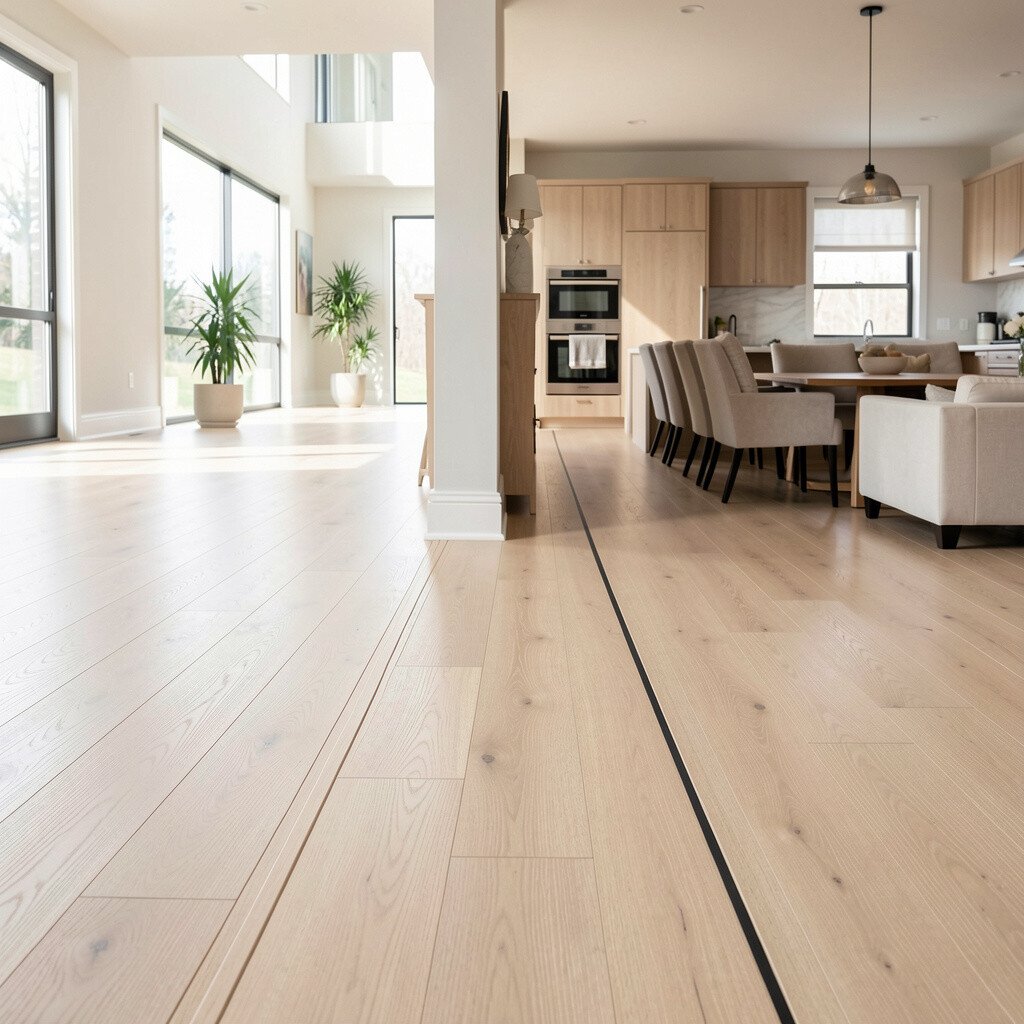
Using one floor color across rooms makes the whole area feel like one calm space. A tiny, low-height threshold line can still separate materials without breaking the visual rhythm.
Choose boards or planks in the same tone family, then match sheen so sunlight hits both sides in a similar way. If you add a micro-threshold at doorways or where textures change, it prevents edges from catching while keeping the join neat. This is a great choice for busy homes because it hides scuffs and makes cleaning feel straightforward.
2. Staggered Plank Meets With a Gentle Diagonal
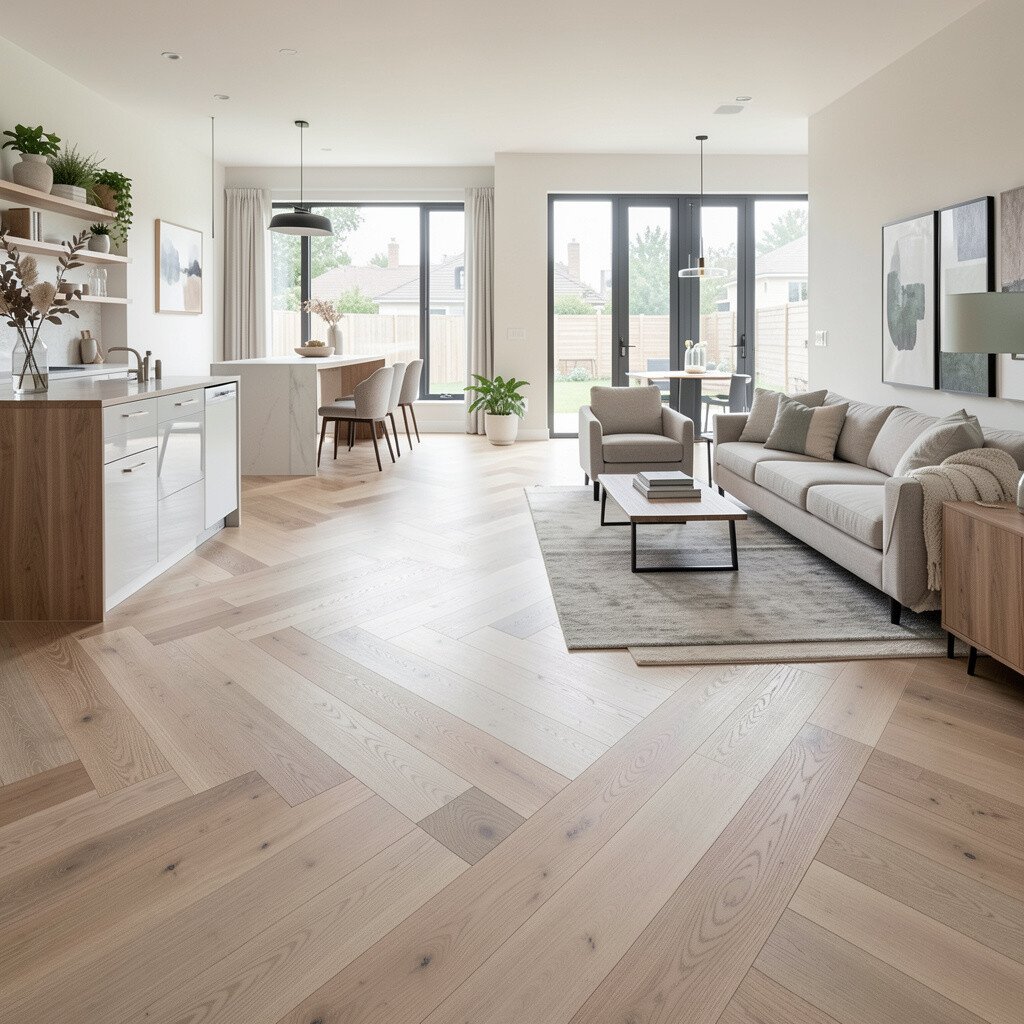
When two directions meet, the seam can become a design moment instead of an awkward line. A gentle diagonal transition draws the eye and makes an open plan feel more intentional.
Go for staggered ends rather than a straight butt joint, and keep the diagonal aligned with a natural focal point like the kitchen island or a rug edge. You get cleaner movement underfoot because the joint sits where people already step less often. This approach also helps different flooring types look like they belong together.
For planning, measure where chairs will slide and where carts roll, then choose the transition location so it gets minimal impact. If you want a lighter look, keep the diagonal pattern subtle and avoid high-contrast framing. Most projects cost moderately since the work is mainly layout and cutting rather than specialty materials.
3. Warm Wood-to-Tile Band for Kitchen Focus
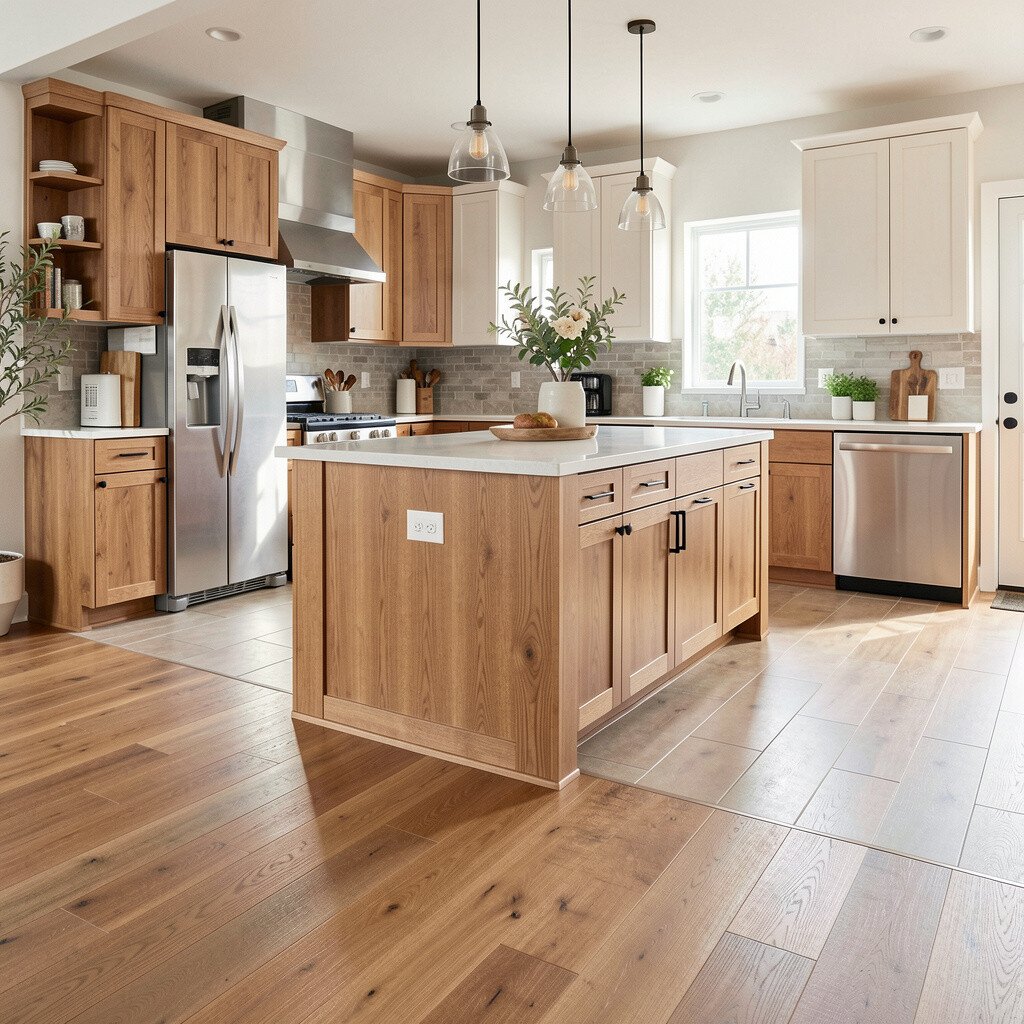
A wood-to-tile band creates a clear kitchen zone without using walls. The contrast feels practical because tile handles water and mess better.
Set a defined strip of tile in front of sinks and cooking areas, then let wood continue through the rest of the living zone. This gives you a visual promise of durability right where spills happen most. Use grout in a soft tone so it blends with the warm wood instead of feeling harsh.
To keep the transition comfortable, consider a proper profile strip that eases the height change. If you have kids, this matters for bare feet and quick sprints from couch to snack bar. Depending on tile size and grout color, this can range from budget-friendly to mid-range, but it usually delivers great long-term value.
4. Picture-Frame Medallion Transition Under a Statement Rug
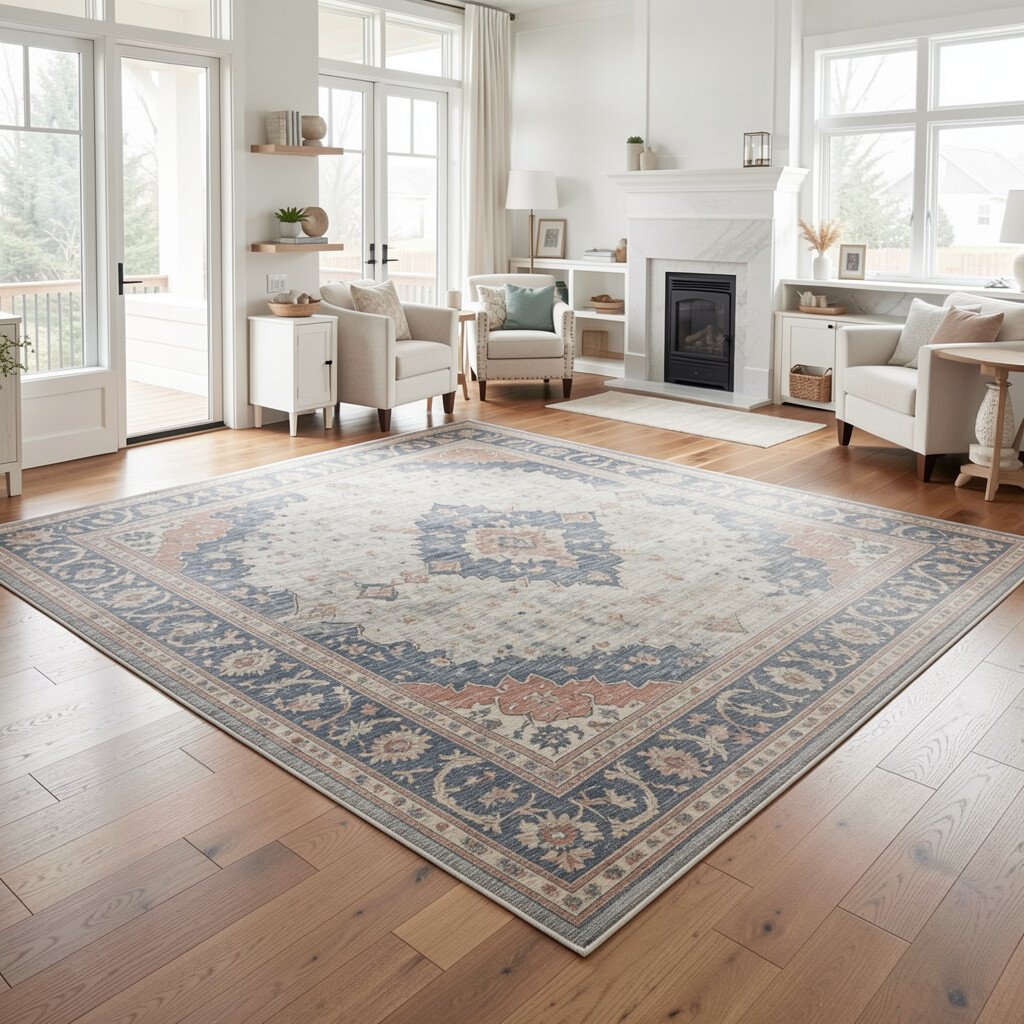
Not every transition needs to hide in the background. A picture-frame style border under a rug can visually connect two flooring finishes like a gallery wall does.
Use one material for the main open area and a contrasting edge around the rug footprint, then align the border width with the rug pattern. You’ll notice the room feels more grounded while still flowing. This works especially well with floating floors where you can plan the seam location before installation.
5. Metallic Inlay Strip for a Modern Break Line
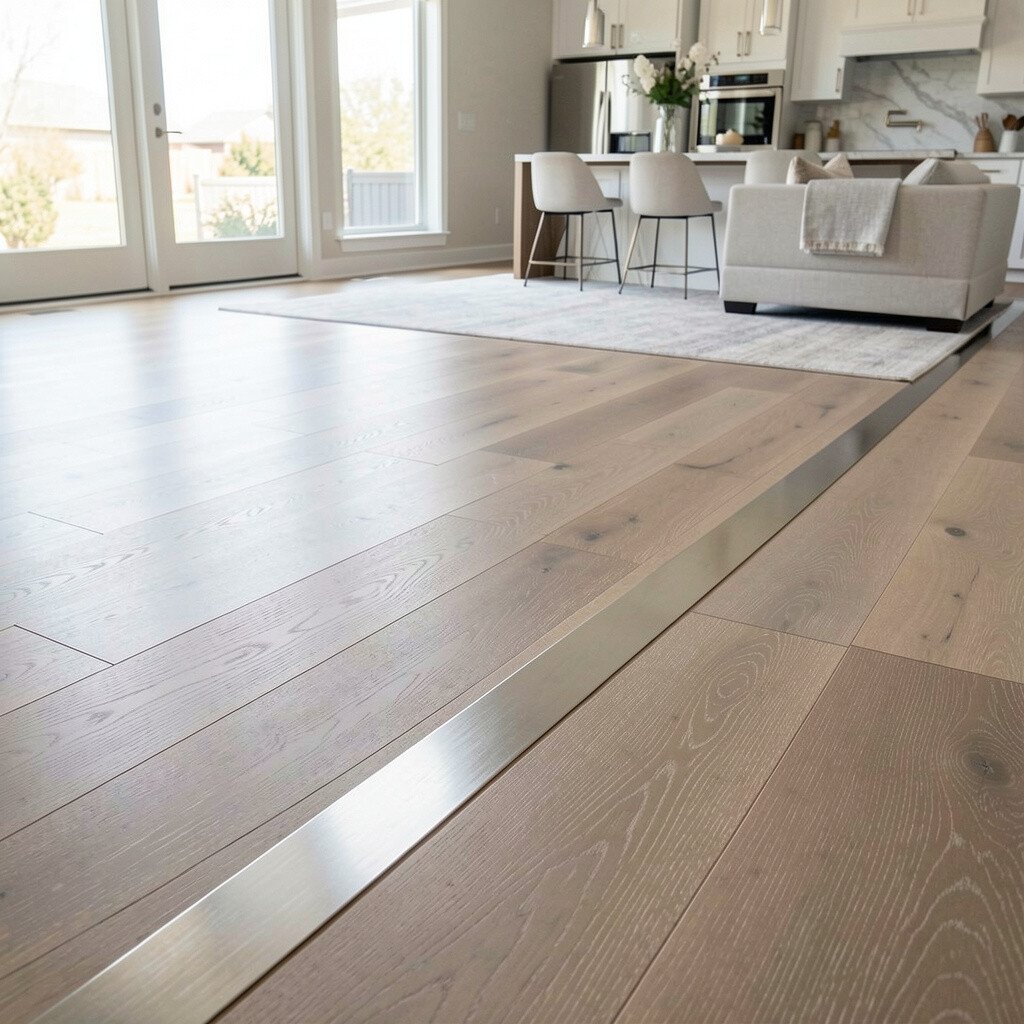
A thin metallic strip can make a transition look crisp and designer-ready. Think of it like a jewelry line that separates spaces while keeping everything sleek.
Pair it with wood, stone-look tile, or even carpeted zones to create a consistent “spark” from room to room. Choose a finish like brushed nickel or warm bronze so it matches your lighting hardware and faucets. This can be a bit pricier, but the look feels high-end and stays fashionable.
For an easier install, pick a system designed for flooring transitions so the strip sits flush. Keep the strip narrow and place it where furniture legs already line up, so the seam feels purposeful. If you love current trends, metallic accents are back because they add contrast without adding clutter.
6. Threshold Row With Hidden Expansion Gap
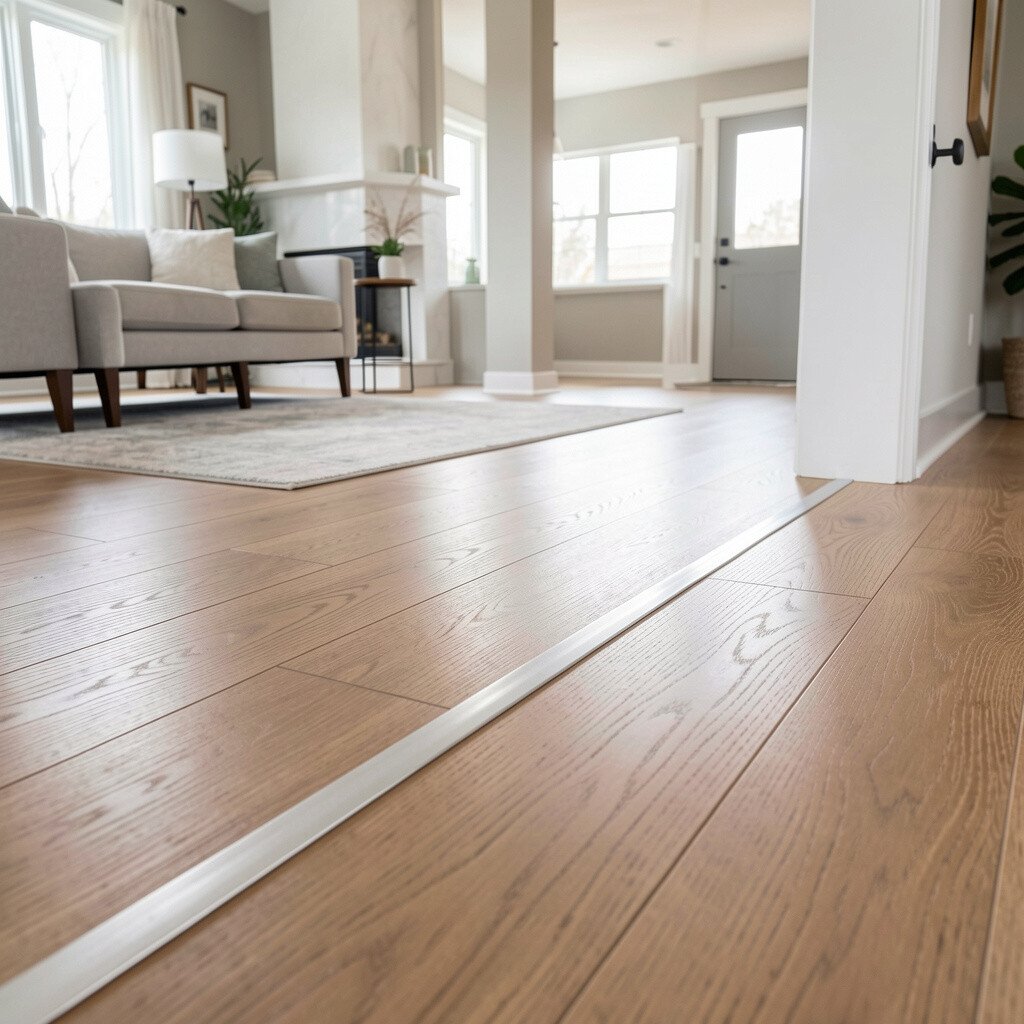
Open plans expand and contract with seasons, so transitions should handle movement. A threshold designed for expansion makes the line look clean while protecting edges.
Use a transition profile that covers the gap and allows slight shifts, especially if one side is engineered wood and the other is tile or laminate. The benefit is fewer peaky joints and less worrying about separation over time. It also helps when you want a neat, straight seam that doesn’t distract from furniture layout.
7. Hand-Scraped Texture Match for a Natural Look
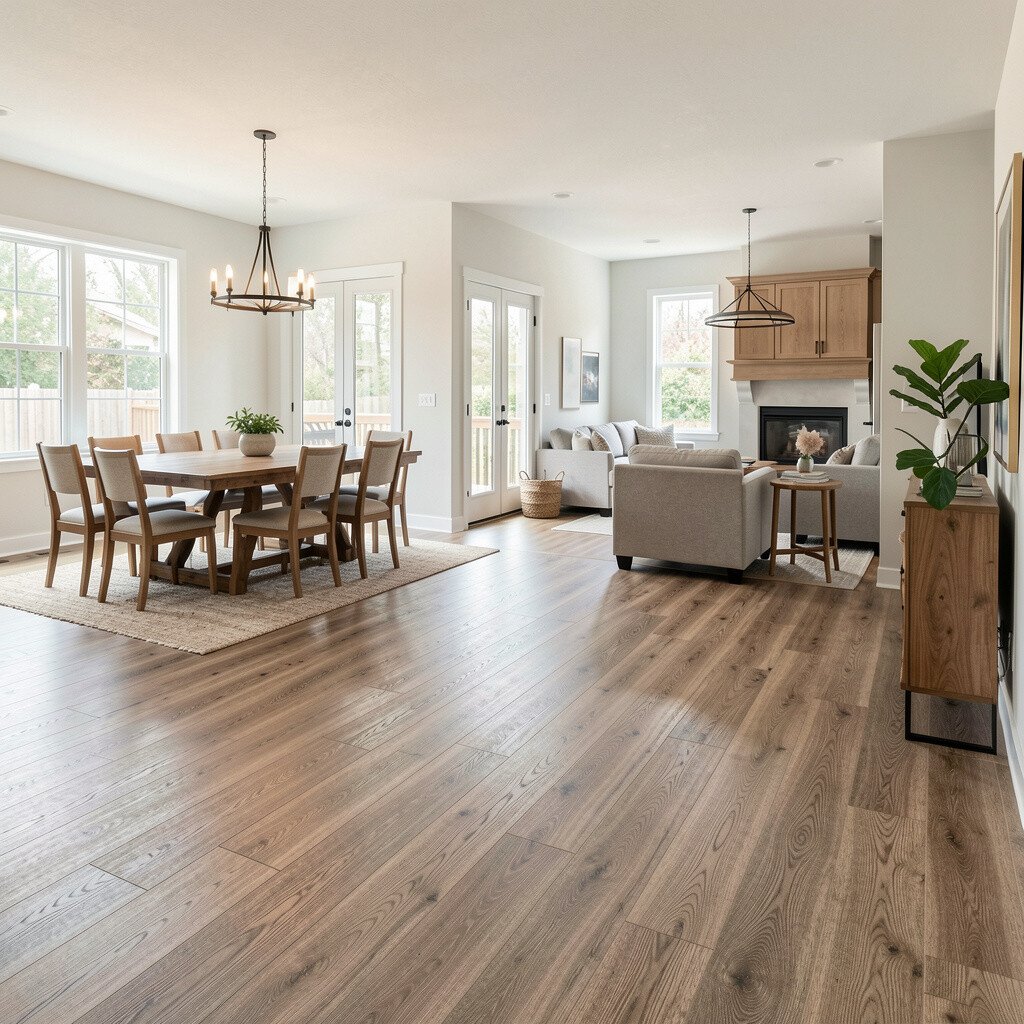
If your goal is calm and organic, matching texture is a clever transition strategy. Hand-scraped planks on both sides can blend so well that the seam feels like a shadow.
Look for similar “depth” in the grain pattern and keep the color temperature close, like warm oak with warm oak rather than warm oak with cool gray. The benefit is a softer visual transition that feels less engineered. Add a slim reducer strip only if heights differ, and choose one with a finish that matches the dominant floor tone.
For personalization, vary board lengths in each zone if your installer can keep the joint placement tidy. It’s also a practical way to hide small differences because texture makes transitions less noticeable. This option is often mid-range depending on the plank style, but it can look timeless.
8. Carpet-to-Hardwood Split With a Crisp Reducer Profile
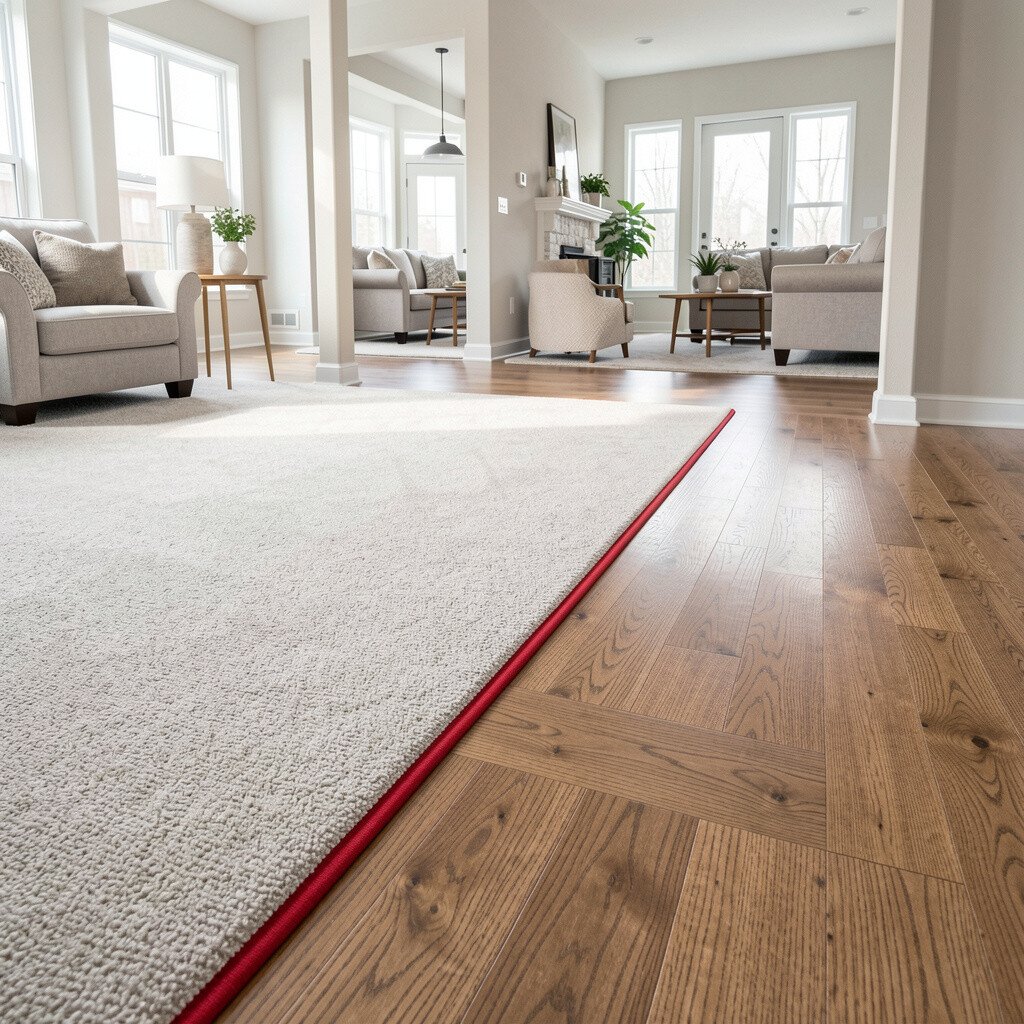
Carpet and hard surfaces can work together beautifully when the seam is planned. A crisp reducer profile creates a smooth step and keeps the transition tidy.
Place the seam along a natural boundary like the edge of a seating area or the line of a console table. It gives you a cozy zone for lounging while the rest stays easy to clean. For comfort, make sure the reducer is the right height so it doesn’t feel like a bump.
9. Chevron Accent Transition for a Playful Edge
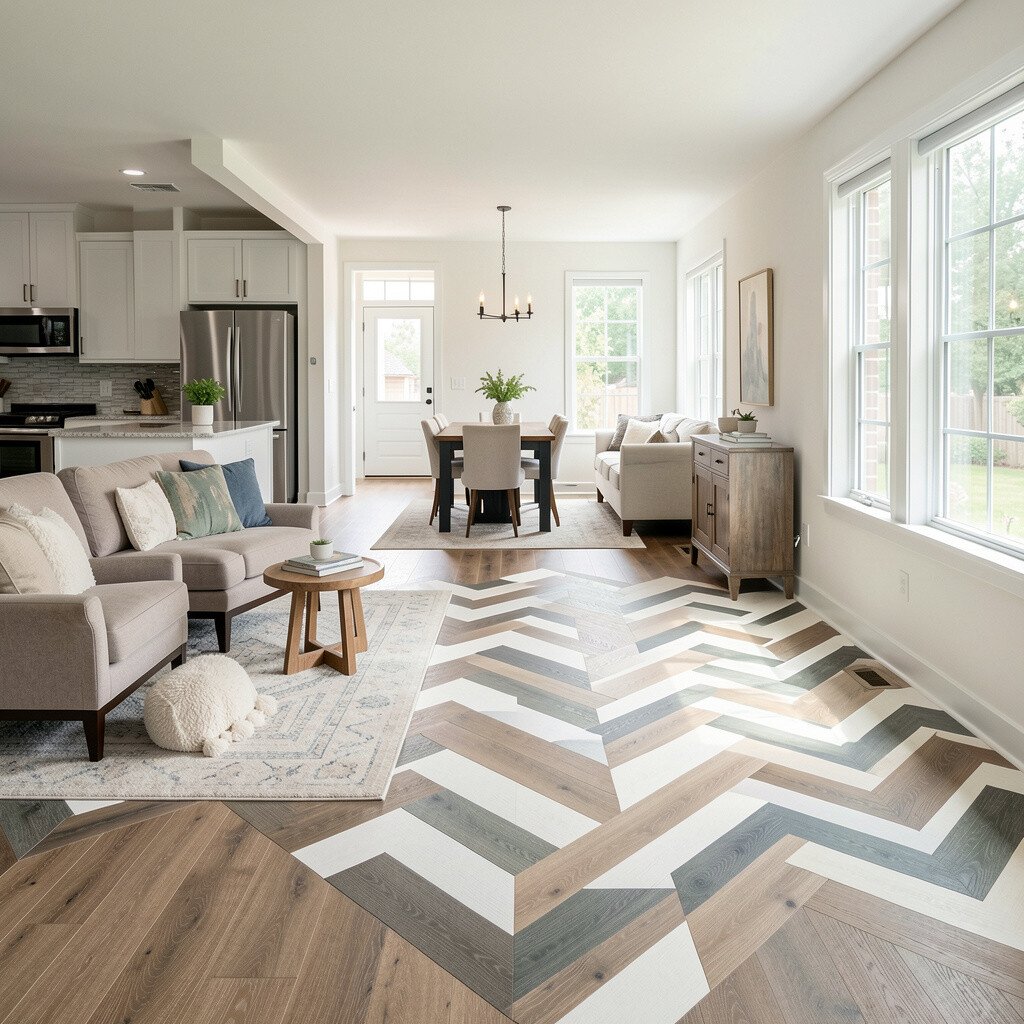
Chevron transitions can add a fun burst of movement right where two floors meet. The pattern feels energetic, yet it can still look neat when it’s limited to the seam area.
Use a narrow chevron insert strip to connect two large flooring areas, such as hardwood to laminate or tile to wood-look vinyl. You get uniqueness without the cost of covering the entire floor with a fancy pattern. If you like current home styles, this kind of detail is popular because it adds character while keeping the main floor simple.
For practical results, keep the chevron insert centered on the doorway or the visual axis of the room. Ask your installer about matching the pattern direction so it doesn’t drift. Many people choose this approach because it feels custom but often costs less than redesigning an entire floor plan.
10. Matched-Riser Stair-Return Transition for Open Entries
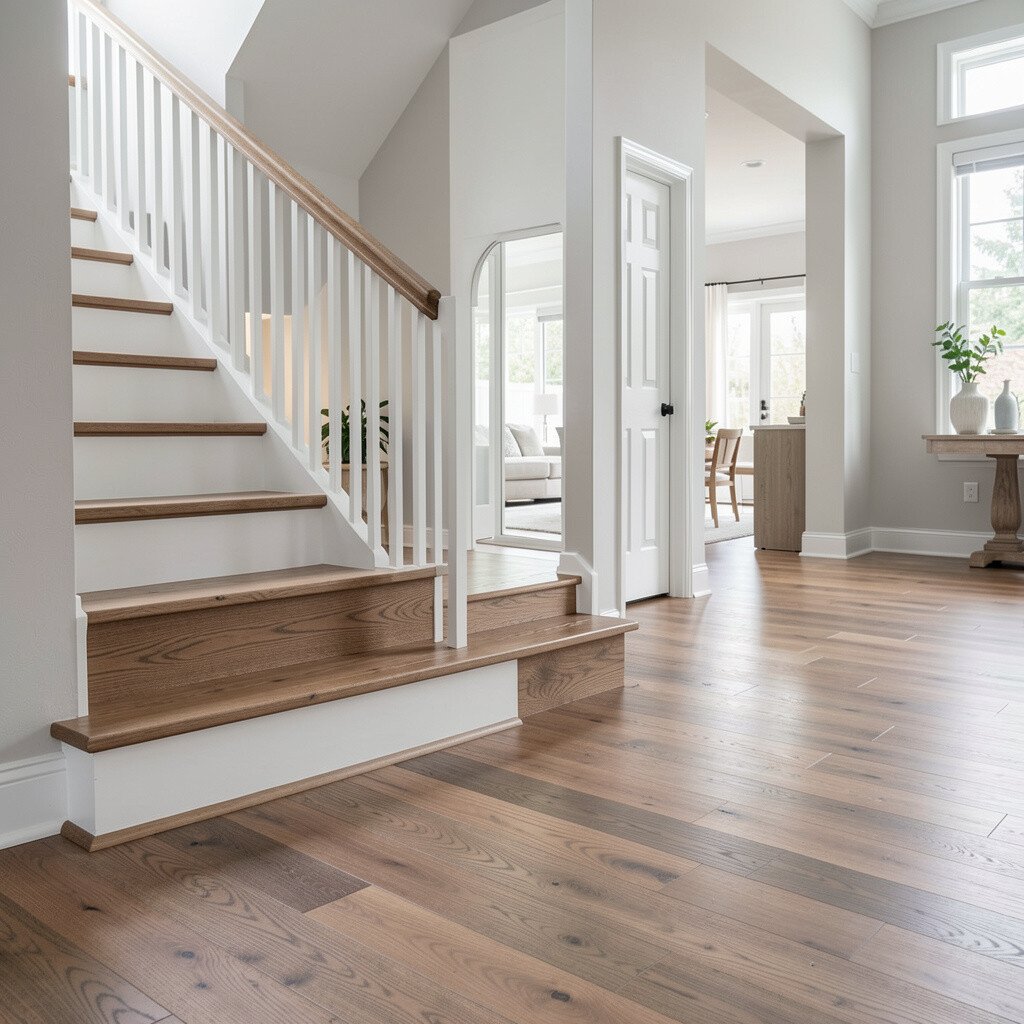
When an open plan includes an entry area, transitions should guide people smoothly. A stair-return style transition can make the entry feel structured even when the rest is open.
Use a consistent material from the entry into the main zone, but add a return detail where the entry line bends. This gives you a clean path for shoes and a strong visual cue. It also helps reduce wear because the entry takes more traffic than the living area, so choosing durable top layers matters.
11. Tile Herringbone Outline That Frames a Dining Spot
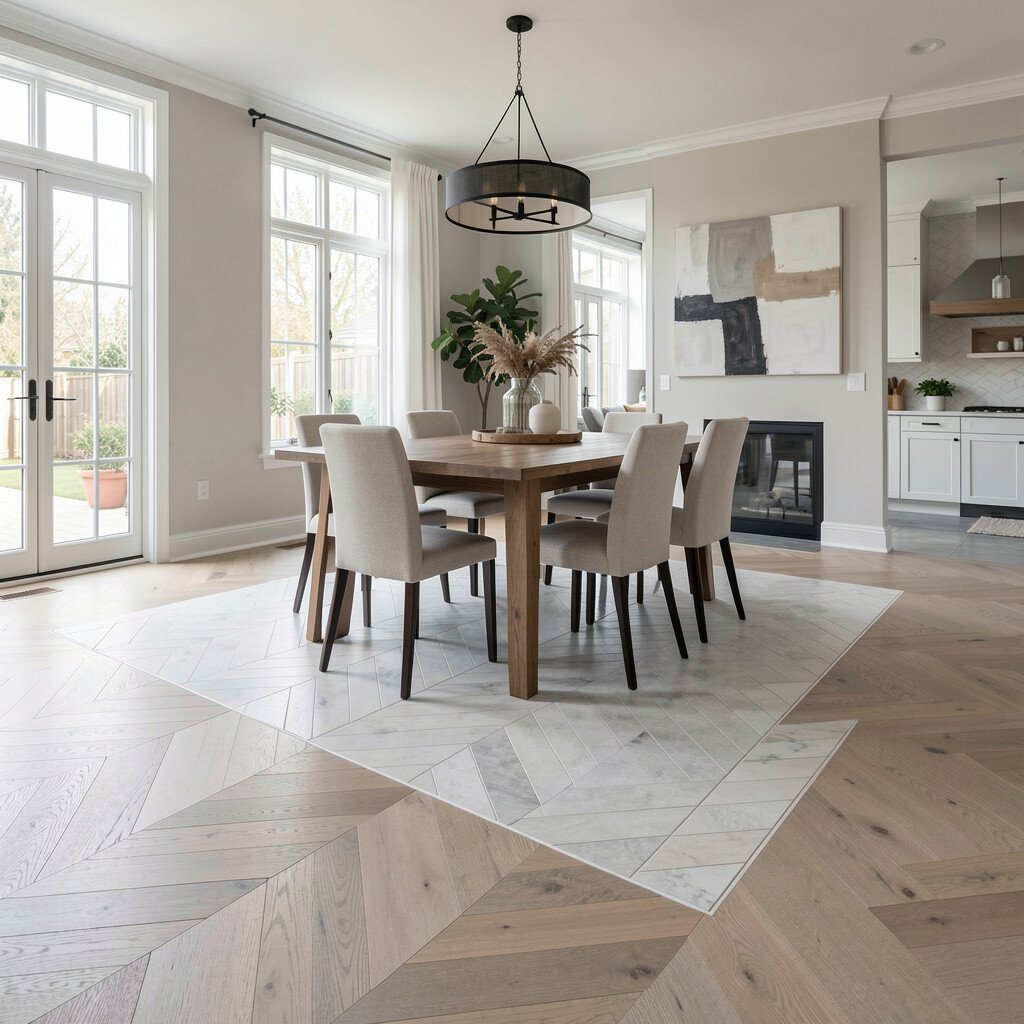
A tile herringbone outline can frame a dining area in a way that still feels open. The pattern adds rhythm under chairs and makes the room feel styled even before you place decor.
Run a border of herringbone tile around the dining zone, then keep the main floor in wood or a larger tile format. The visual benefit is clear separation without blocking sightlines. Choose grout color that matches the grout in your larger tiles or stays slightly lighter so it doesn’t look dusty.
To keep it practical, ensure chair legs won’t catch on sharp edges and that the transition strip is rounded. If you want personalization, scale the border to match your dining table size and align the herringbone angle with other design lines in the room. Cost can vary, but using herringbone only in an outline usually keeps spending under control.
12. Same-Material Split With a Change in Plank Direction
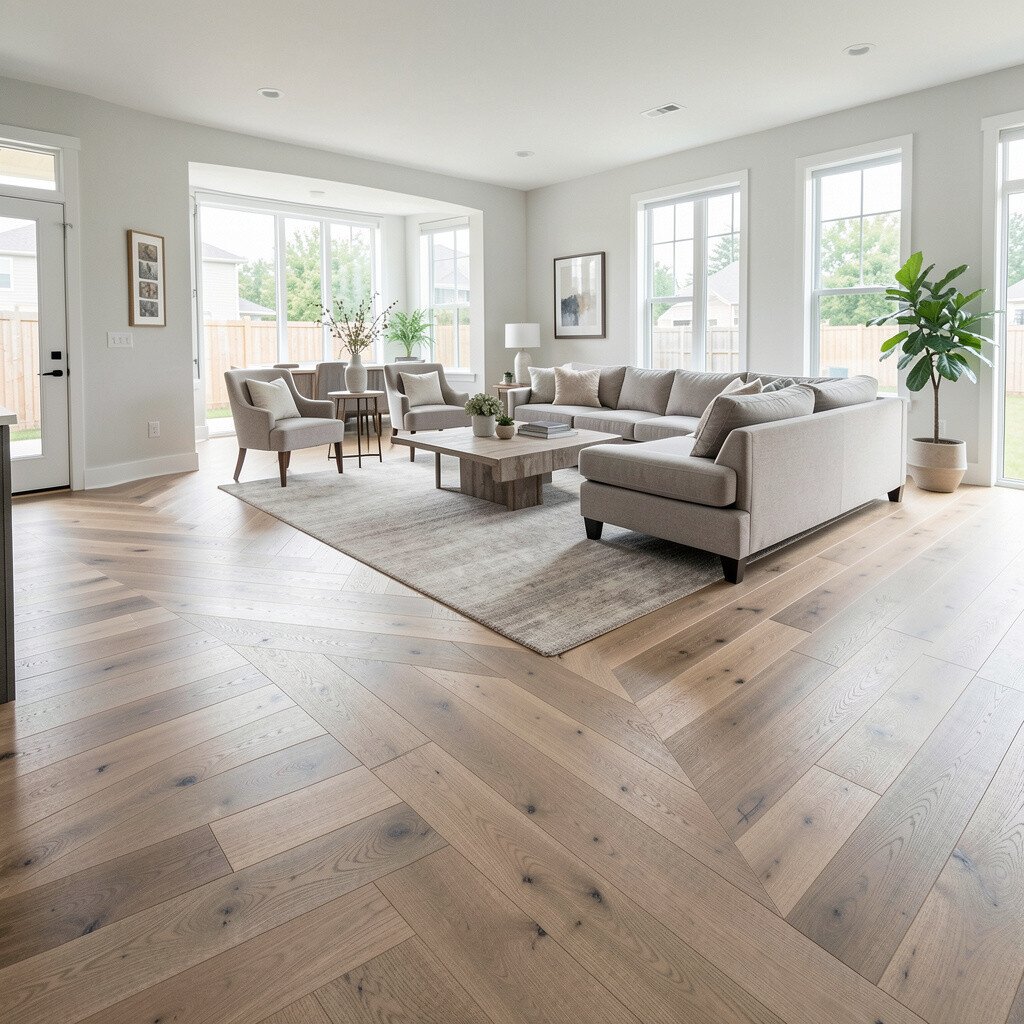
Sometimes the best transition is no transition at all, just a smart change in layout. Switching plank direction at a boundary can define zones while keeping material cost low.
For example, run planks lengthwise in the living area and switch to a perpendicular direction near the kitchen. The seam feels like a design choice, and the benefit is continuity since the same flooring covers most of the room. This also simplifies maintenance because you’ll use the same cleaner and finish across zones.
If you’re planning installation yourself, mark the seam line early so the pattern stays consistent around cabinets. It’s also worth checking for subfloor level so the joint doesn’t create a wave. This approach is often budget-friendly compared to mixing tile and wood, especially for large open spaces.
13. Natural Stone Threshold With Sanded Edge Comfort
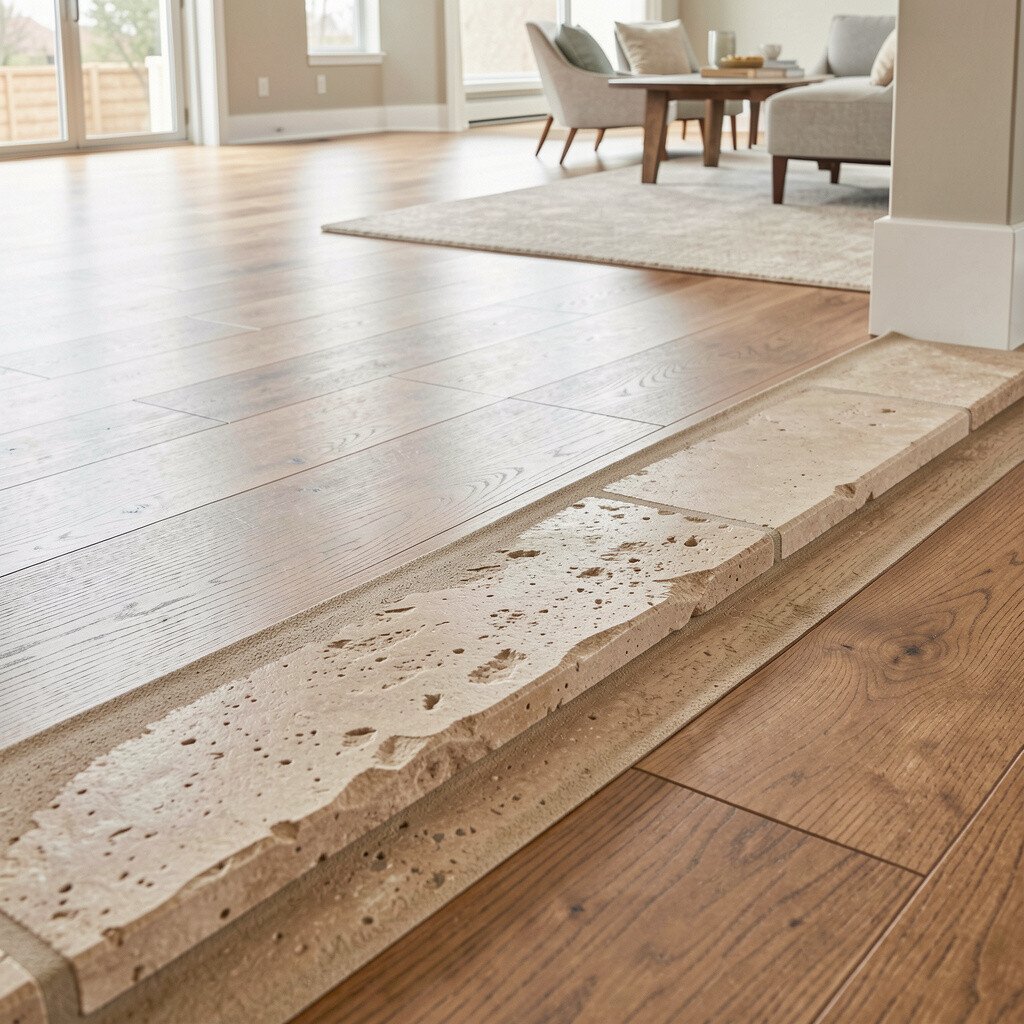
A natural stone threshold looks grounded and luxurious, especially in open plans where sightlines are long. It also feels comfortable because stone thresholds can be sanded and shaped smoothly.
Use stone at transitions where you expect frequent movement, like between a foyer and living space. The benefit is durability plus a premium look that doesn’t fade with time. Choose a stone type that matches your nearby counters, fireplace surround, or hardware finish for a unified style.
For practical tips, get the right thickness so the threshold meets each floor level without rocking. If heights differ, pairing stone with a leveling underlayment or proper profile helps. Cost considerations depend on stone choice, but even a smaller threshold can deliver a high-impact upgrade.
14. Color-Blocked Vinyl Plank Transition for Easy Budget Upgrades
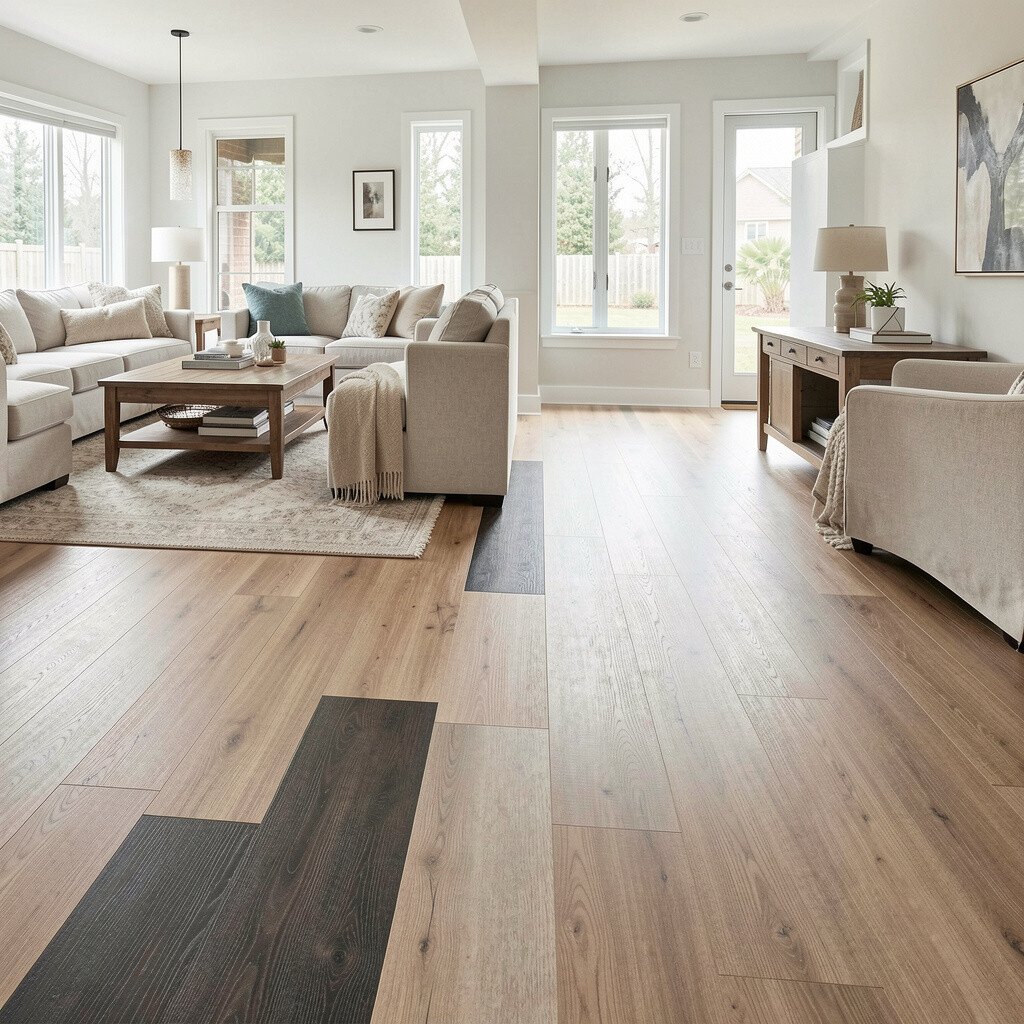
Vinyl plank can create bold transitions without big renovation stress. Color-blocking lets you define zones while keeping installation simpler than many hard-surface mixes.
Pick two tones that match your decor, like light oak for the living area and a medium walnut for the kitchen zone. Add a clean seam line at the boundary and keep it straight so it looks modern. This is a practical choice if you’re working within a tighter budget because vinyl often costs less and can be more DIY-friendly.
To personalize, carry the darker tone into small details like cabinet base colors or accent wall hues. For the best look, choose planks with similar texture grain so the join feels intentional. Trends currently favor warm, layered neutrals, and color-blocking fits that vibe nicely.
15. Raised Step-Down Transition for Kitchen Spill Zones
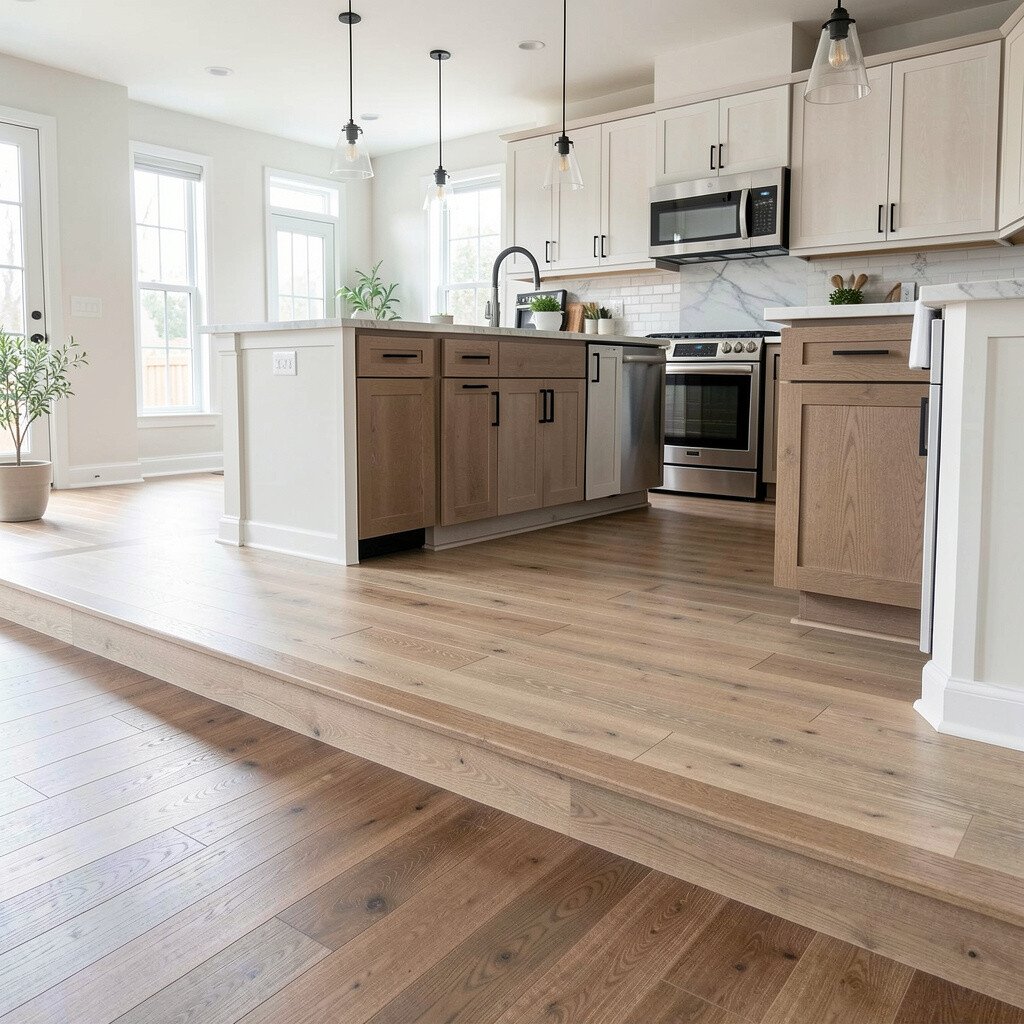
A step-down transition can be both stylish and smart in open plans. By lowering the floor slightly at the kitchen edge, you add a gentle “spill zone” while still keeping the space open.
Use a raised or recessed lip depending on your layout, then blend it with a sturdy transition strip. The benefit is extra protection and a clear visual cue for where the kitchen begins. It also helps keep water from traveling as far when quick spills happen.
For safety, make sure the height change is comfortable and consistent, especially if you have older family members. You can personalize the look by matching the lip material to either the main floor or your countertop finish. Cost may be higher because it can involve subfloor work, but the payoff is both function and drama.
16. Sliding Door Track Alignment for a Hidden, Clean Seam
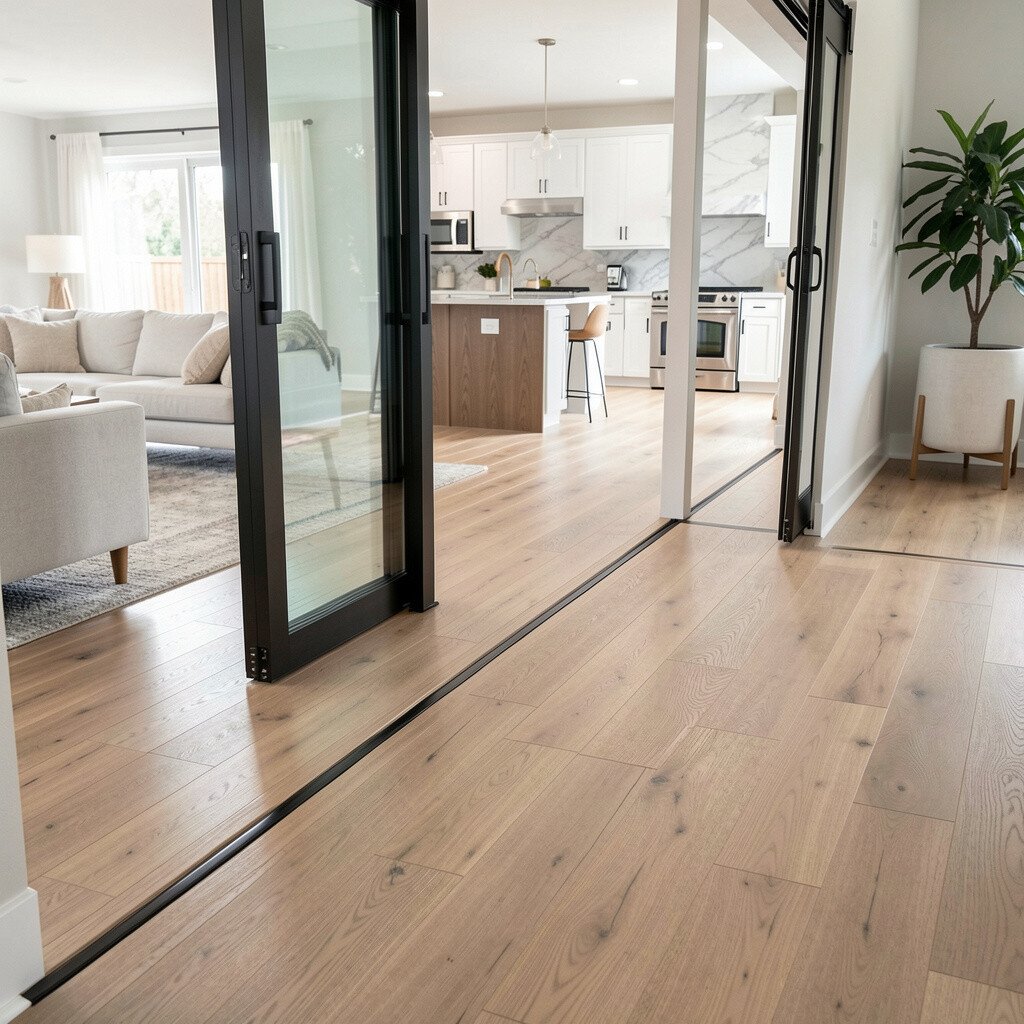
If your open plan includes a sliding door, alignment can hide the flooring transition almost completely. A seam that disappears into the track line looks crisp and helps the room feel continuous.
Plan the flooring join so it lands under the door opening area, then use the track hardware to cover the edge. This creates the visual benefit of fewer distractions while also protecting the seam from lift and debris. It’s a practical trick because sliding doors experience a lot of movement, so using the track as cover makes sense.
For personalization, choose a transition finish that matches the door frame color, like blackened metal or brushed aluminum. Always coordinate measurements with the door installer so the flooring height works with the track clearance. This option can save money by reducing the need for elaborate visible trims.
17. Artistic Threshold Line With a Custom Stain or Border
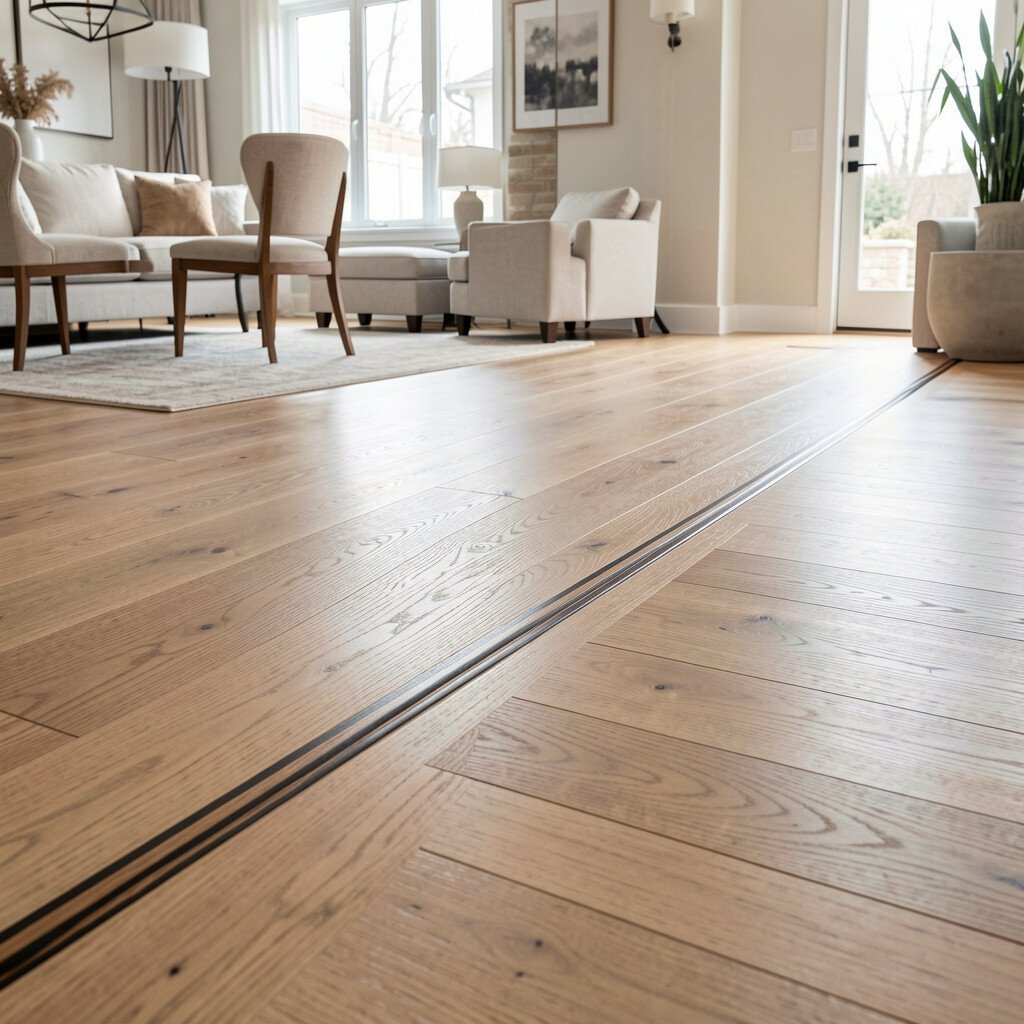
A custom stain border can make a transition feel like artwork. When you add a thin painted or stained line between materials, the join looks intentional instead of accidental.
Use it at the boundary between wood and tile, or between different wood tones, and keep the border width consistent so it looks clean. The benefit is personalization that fits your exact style, from subtle warm accents to bolder contrasting lines. It’s also a handy way to correct minor color differences between two flooring batches.
For practical results, seal the border properly so it resists cleaning products and everyday moisture. Consider current trends like warm taupes and matte finishes, then choose a border color that matches your wall paint or furniture legs. Cost is usually moderate because you’re adding a finishing step rather than replacing large floor areas.