The right space can make even ordinary days feel like a studio. A small change to where you sit or how you light a room can spark new ideas fast.
1. Window-Lit Corner Studio
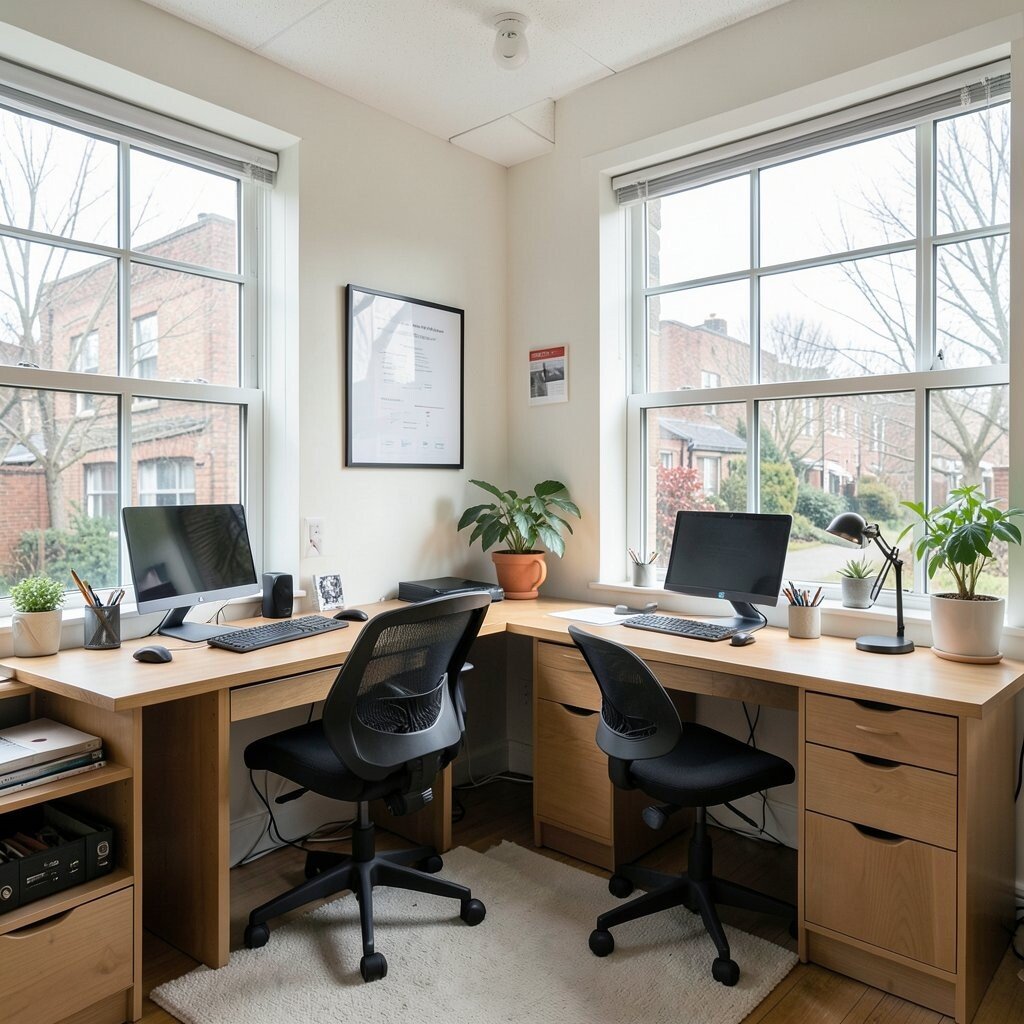
Place your desk near a window and let daylight shape your sketches. Choose a comfy chair and keep a small tray for pencils, erasers, and a simple notebook so you can start without searching.
Use sheer curtains if the sun gets too bright, and turn your canvas so shadows look intentional. This setup helps you catch color changes through the day, which is great for painting, product photography, and mood boards. For personalization, add a page of color swatches taped to the side of your monitor and swap them each season.
2. Vintage Shelf For Instant Storytelling
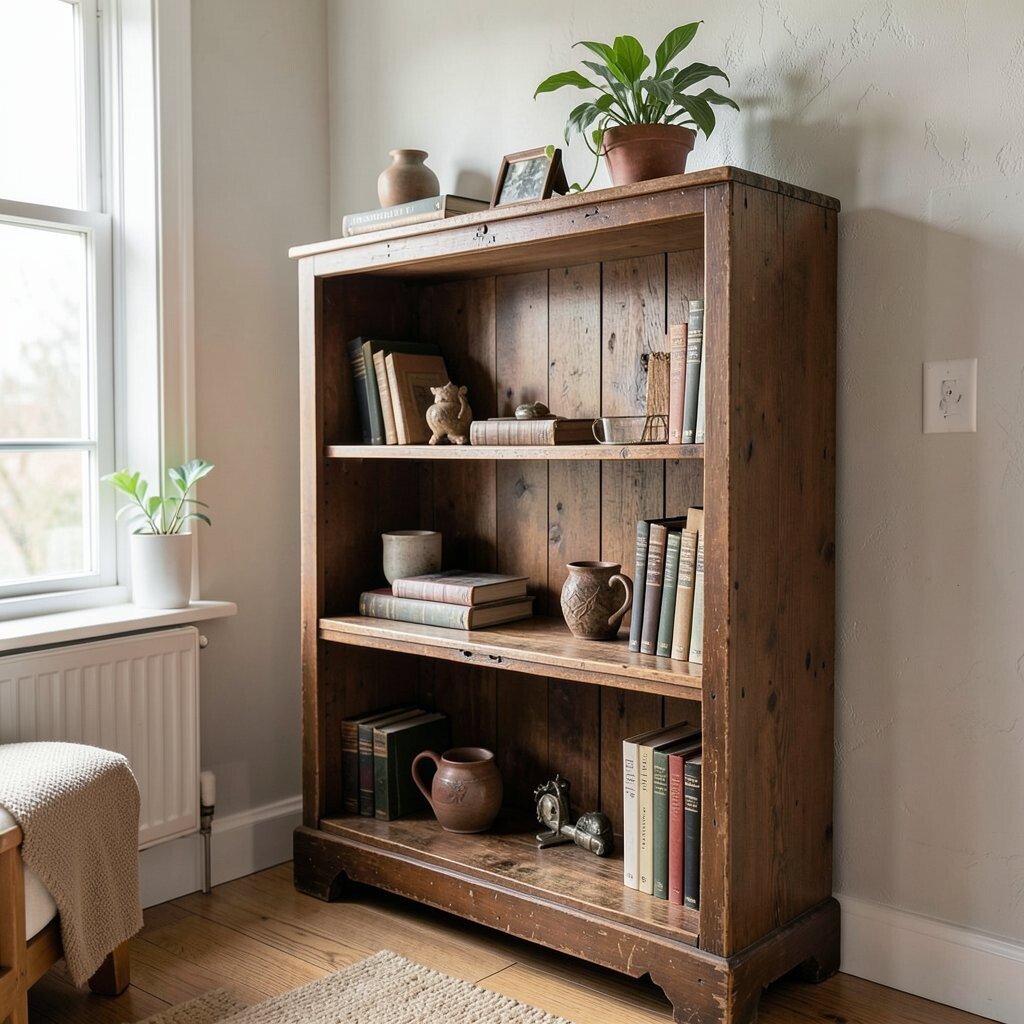
Build a narrow shelf with thrifted frames, tiny figurines, and old book covers you love. Arrange items by height and color, then add one “main character” object in the center so the whole shelf feels like a scene.
Try placing a lamp beside the shelf to create warm highlights during evening work. When you photograph your space, this kind of background makes portraits and flat lays look richer without extra editing.
Keep costs low by focusing on one color palette at a time, like cream and muted teal. Rotate your shelf pieces weekly so your visuals stay fresh and your brain keeps noticing new details.
3. Wall Of Sticky Notes And Bold Arrows
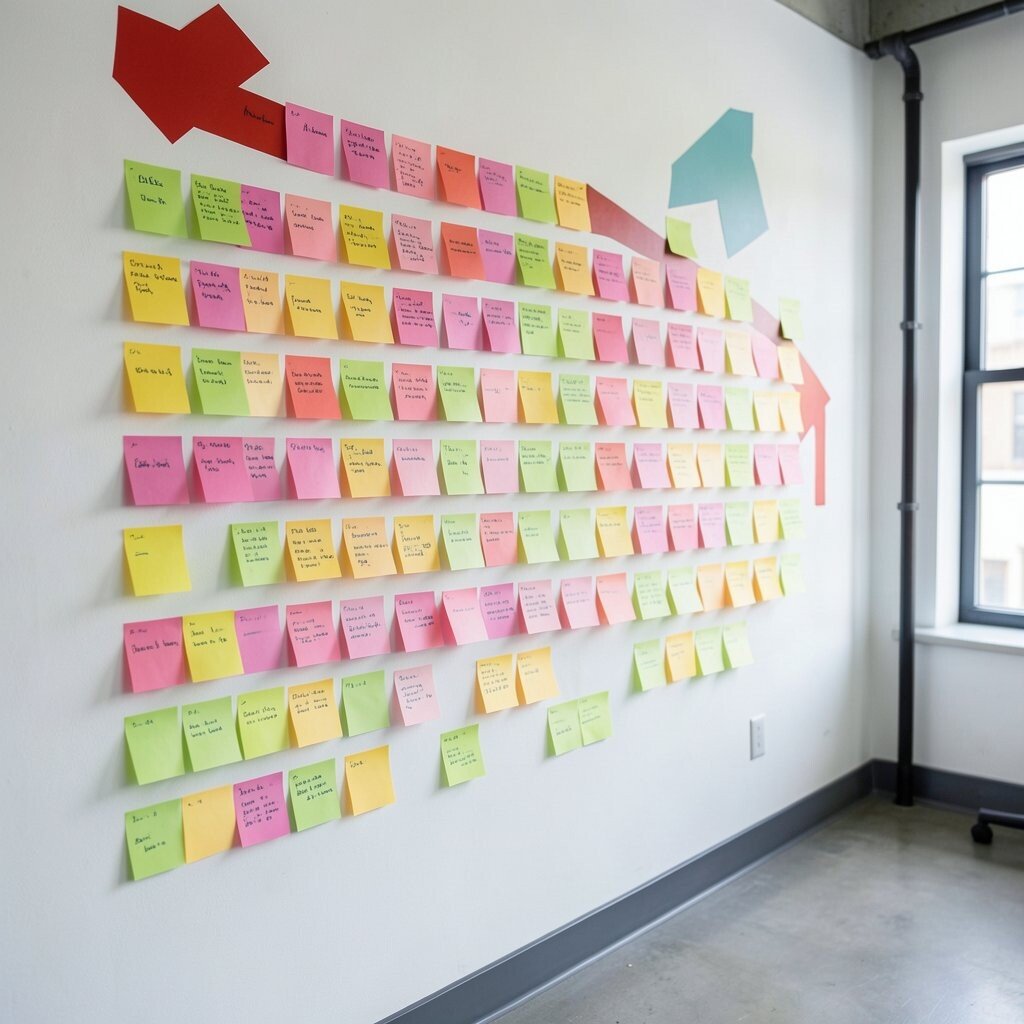
Dedicate a section of wall to sticky notes, but make it more like a visual map than a messy heap. Use different sizes for ideas, sketches, and deadlines, then add bold arrows that show how thoughts connect.
Write short phrases and draw quick thumbnails so your space becomes a living storyboard. This helps you stay organized while also letting ideas evolve, which is helpful for design projects, writing plans, and storyboard frames.
Personalize it with color meanings that only you understand, such as blue for sketches and green for color research. If sticky notes keep falling, tack down heavier paper behind them, and use a few small magnets for smoother layers.
4. Minimal Desk With One Color Accent
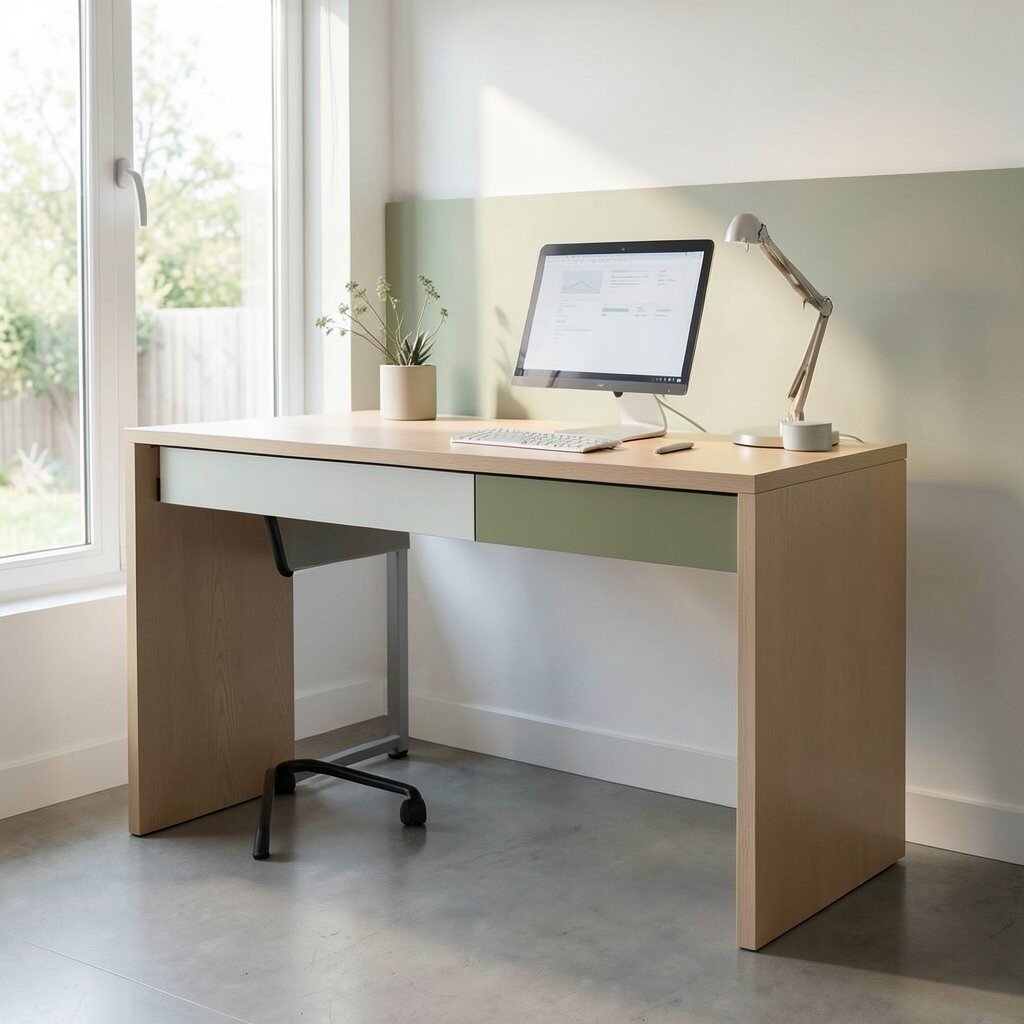
Start with a clean desk and choose just one color accent that appears everywhere. A red mug, a teal pen cup, or a single orange desk mat can act like a visual drumbeat while you work.
Keep your workflow simple by using trays for paper and a hook for headphones so you never lose your rhythm. A calm setup supports focus, and it also makes your photos look tidy and modern.
5. Fabric-Backed Inspiration Board
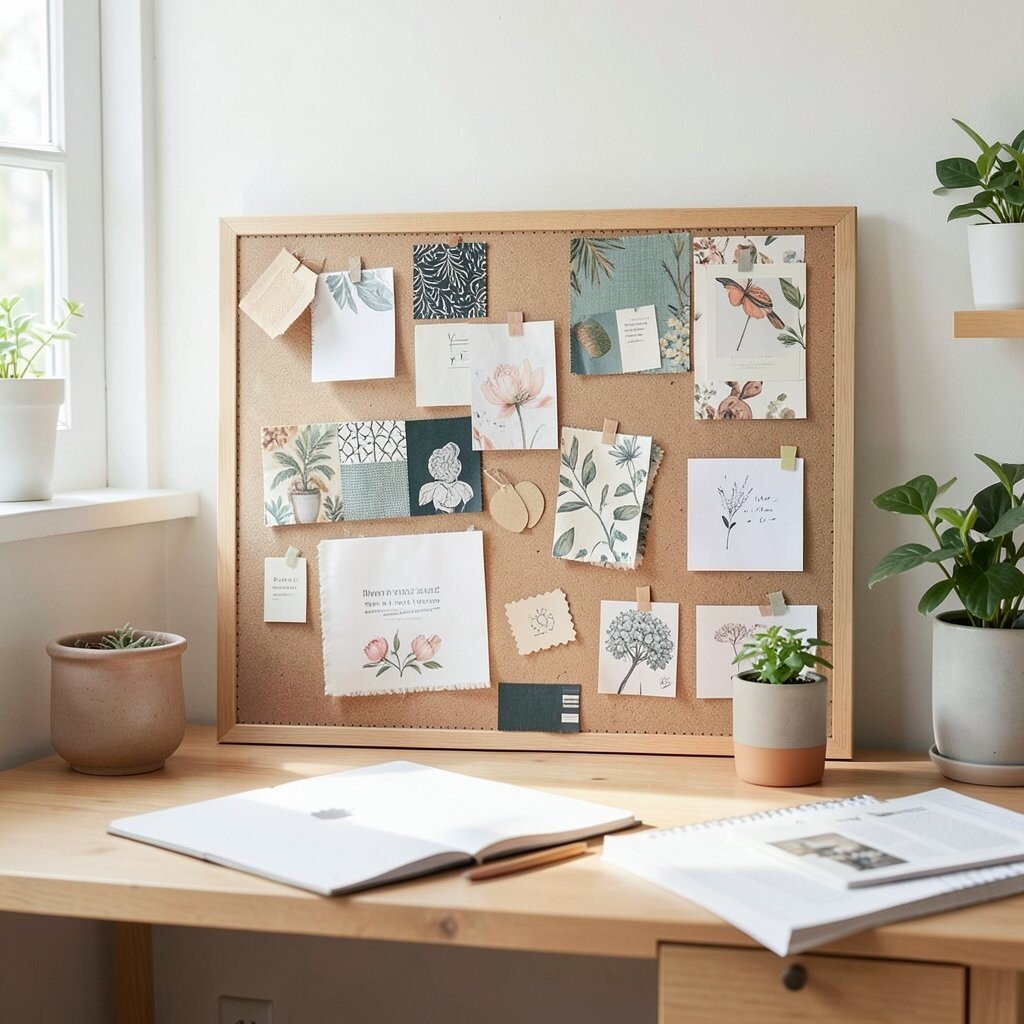
Stretch fabric over a board, then pin photos, sketches, and fabric swatches directly into the surface. Linen, cotton, and even old curtains work well, and the texture adds a cozy look to any corner.
Use it as a mood engine by grouping pieces by theme, like “coastal calm” or “night city.” You’ll benefit from the way fabric holds color and softness, which is perfect for branding visuals, interior sketches, and fashion planning.
To keep it practical, use small binder clips so you can swap items fast. If you want a budget option, collect fabric scraps and cut them into panels, then stitch or tape them to one backing.
6. Art Desk With Rolling Cart Workflow
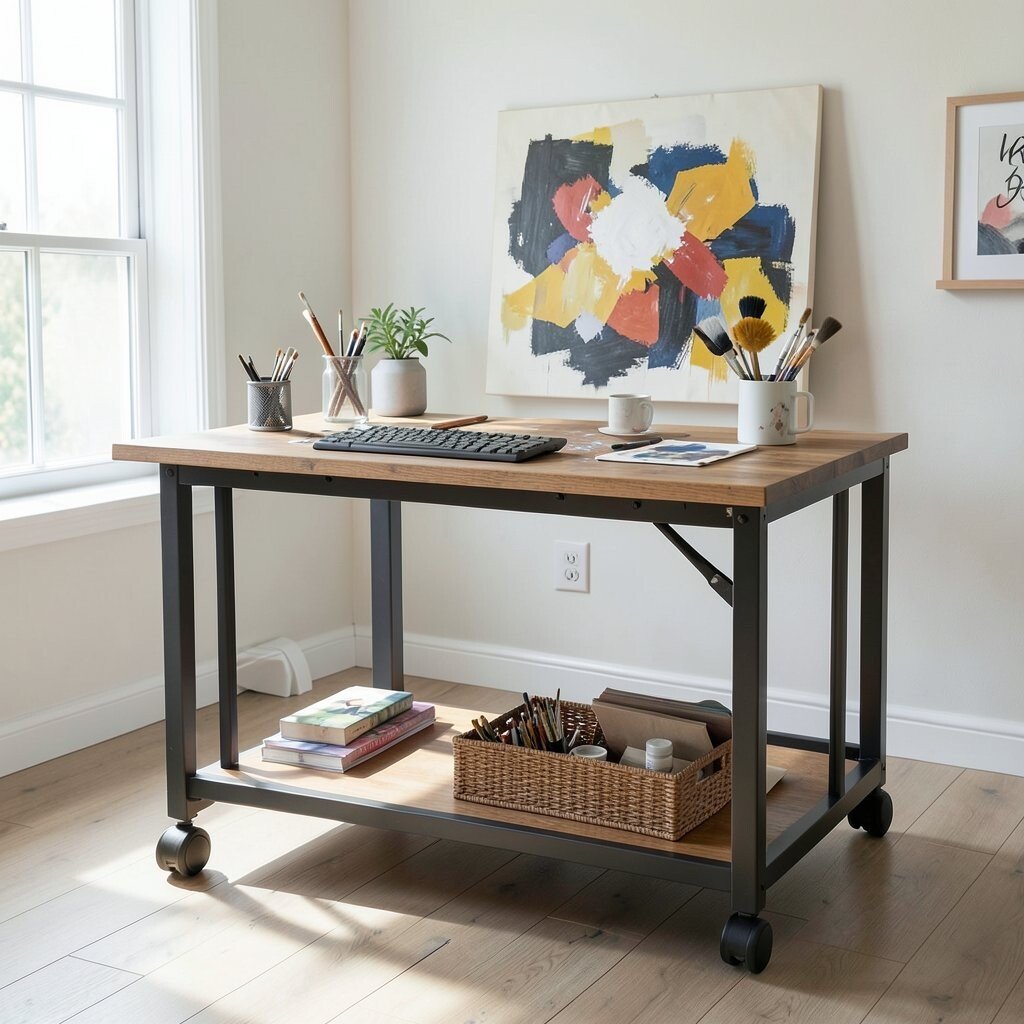
A rolling cart turns your art desk into a mobile studio that you can move room to room. Put drawers on top for tools, label the bins for paint markers, and keep one open surface for current work.
Use the cart for staged projects, like one section for watercolor, one for writing, and one for reference photos. This keeps your visuals consistent and saves time when you switch between tasks.
Try adding a small mirror inside the cart so you can check proportions when sketching. Even if you share space with others, you can wheel your work away in seconds, which helps you keep creative momentum.
7. Ceiling-Down Project Space
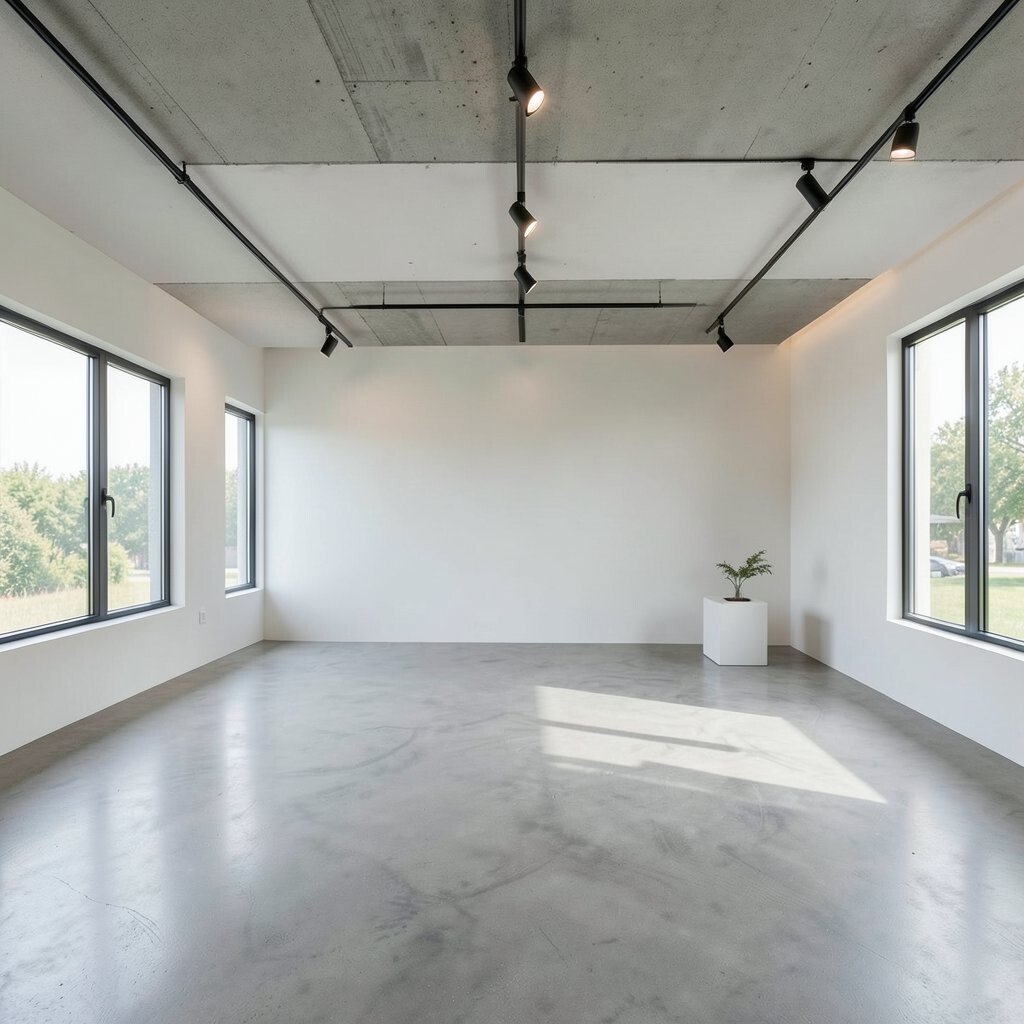
Create a “top-down” feeling by hanging a lightweight frame or line system from above your desk. Use string, clips, or a clothesline to suspend sketches, printed references, and study images overhead.
This setup encourages fresh composition because you view work from a new angle while you sit. It also supports faster iteration since you can rearrange images in seconds, which is great for layout design and collage.
8. Calming Reading Nook With Soft Light
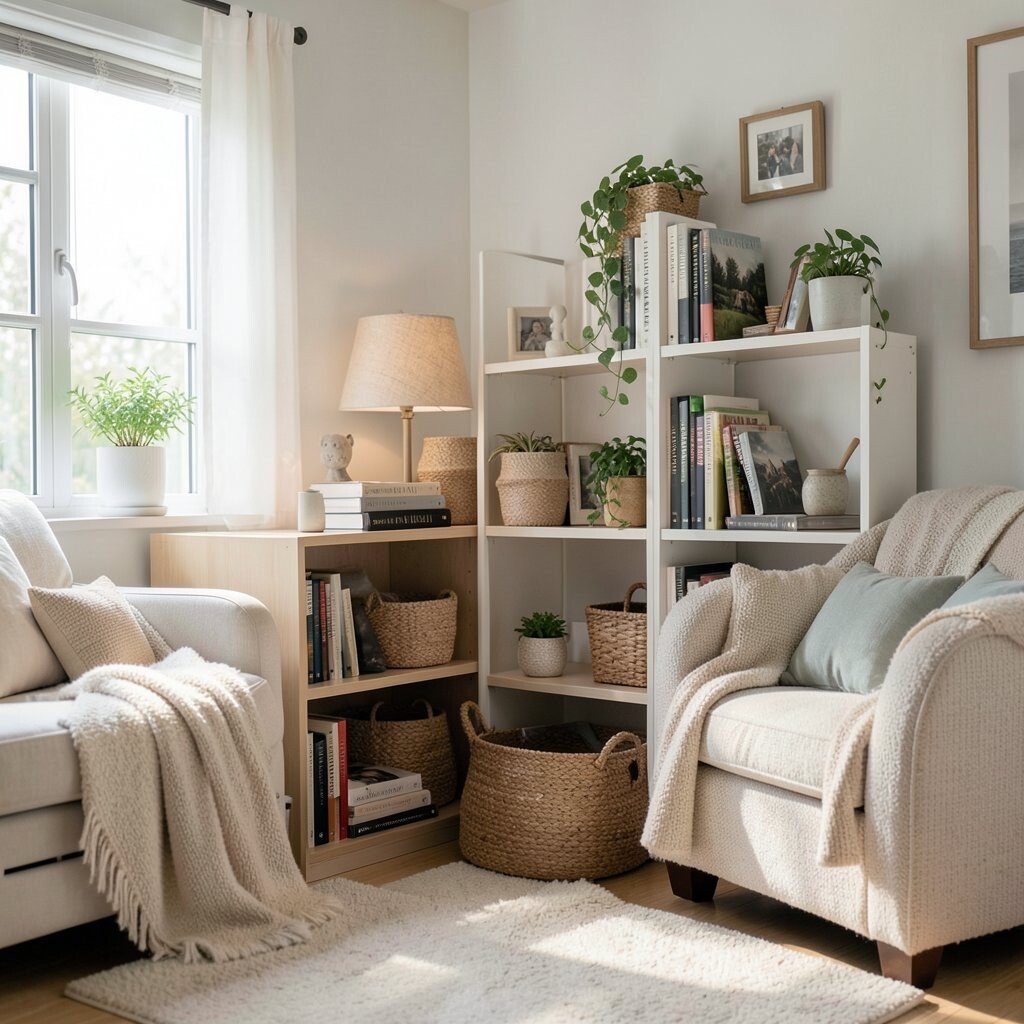
Turn a small chair into a visual rest zone with warm lighting and blankets that invite slow thinking. Add a side table with a few art books, a sketch pad, and a pen that feels smooth in your hand.
Use a lamp with a dimmable bulb so the light matches your mood, especially if you work late. This space can help you recharge, and that mental break often leads to clearer ideas for your next visual project.
Personalize the nook with a tiny curtain or divider so it feels private. If budget is tight, look for one affordable floor lamp and build the rest with items you already own.
9. Dark Shelf For Night Photography Scenes
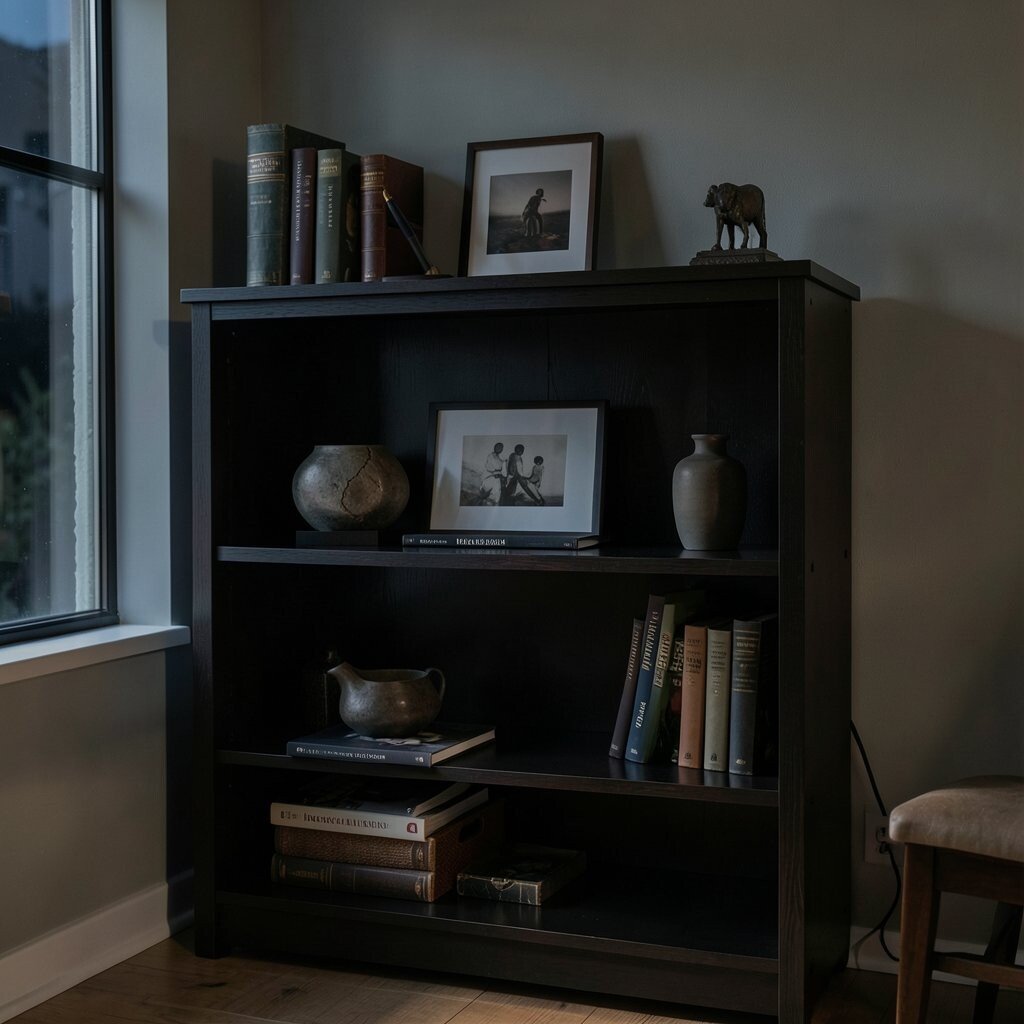
Set up a shelf or corner where you can create moody scenes using black paper and a small spotlight. Keep a box of props like faux plants, small bottles, and simple backgrounds so you can build a shot quickly.
Try using colored cellophane gels over the light for gentle color shifts without buying a fancy kit. This trend of “slow, cinematic” lighting is popular in social media visuals, and it works well for product shots and character mood scenes.
To keep it practical, store everything in one tote and use a label on the outside so you can find it fast. Even with low costs, you can get high impact by paying attention to direction, distance, and contrast.
10. Photo Wall With Clear Sleeves
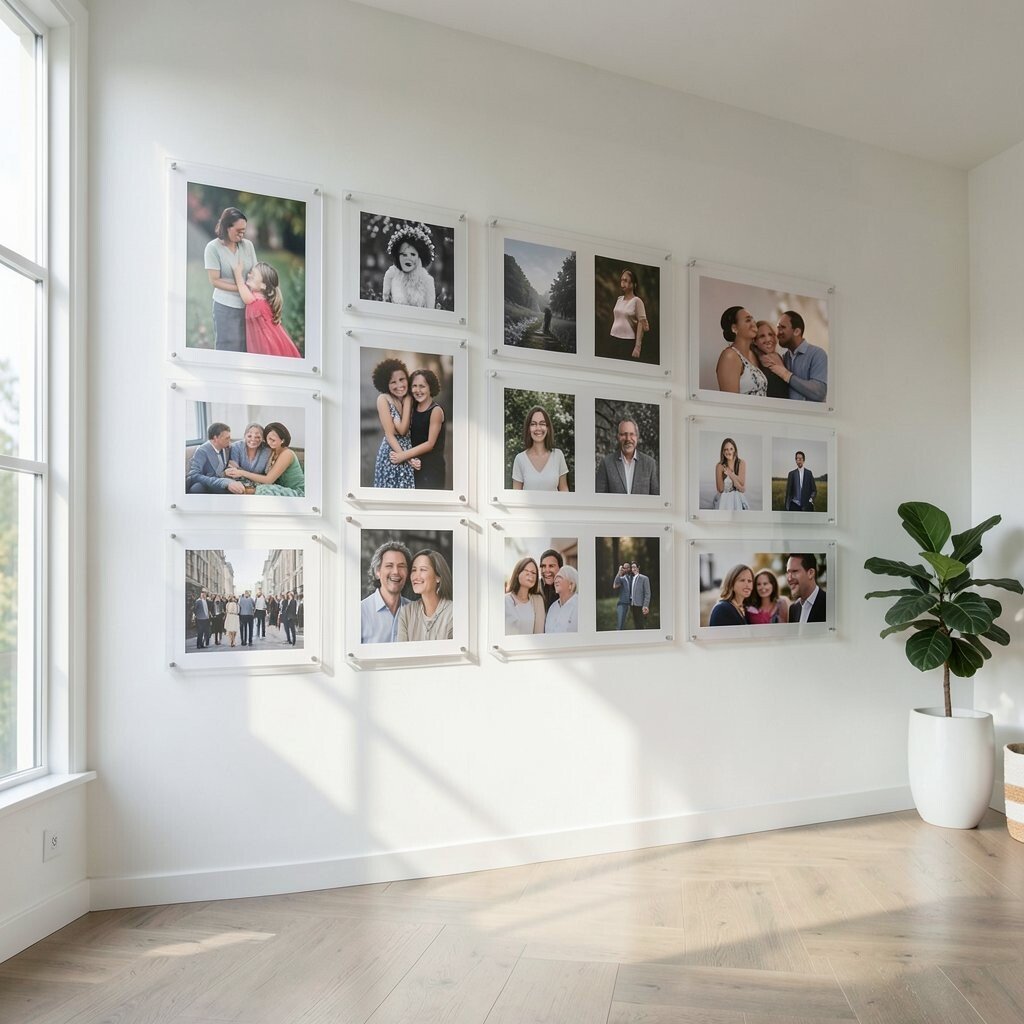
Make a photo wall that stays neat by using clear document sleeves mounted in a grid. Slide prints inside so you can rearrange layouts while keeping edges clean and protected.
This helps your visuals feel like a gallery and keeps your references in one place, which is great for designers and artists. When you’re working on a poster, packaging, or a website look, you can compare options side by side in seconds.
11. Corner Whiteboard For Quick Sketches
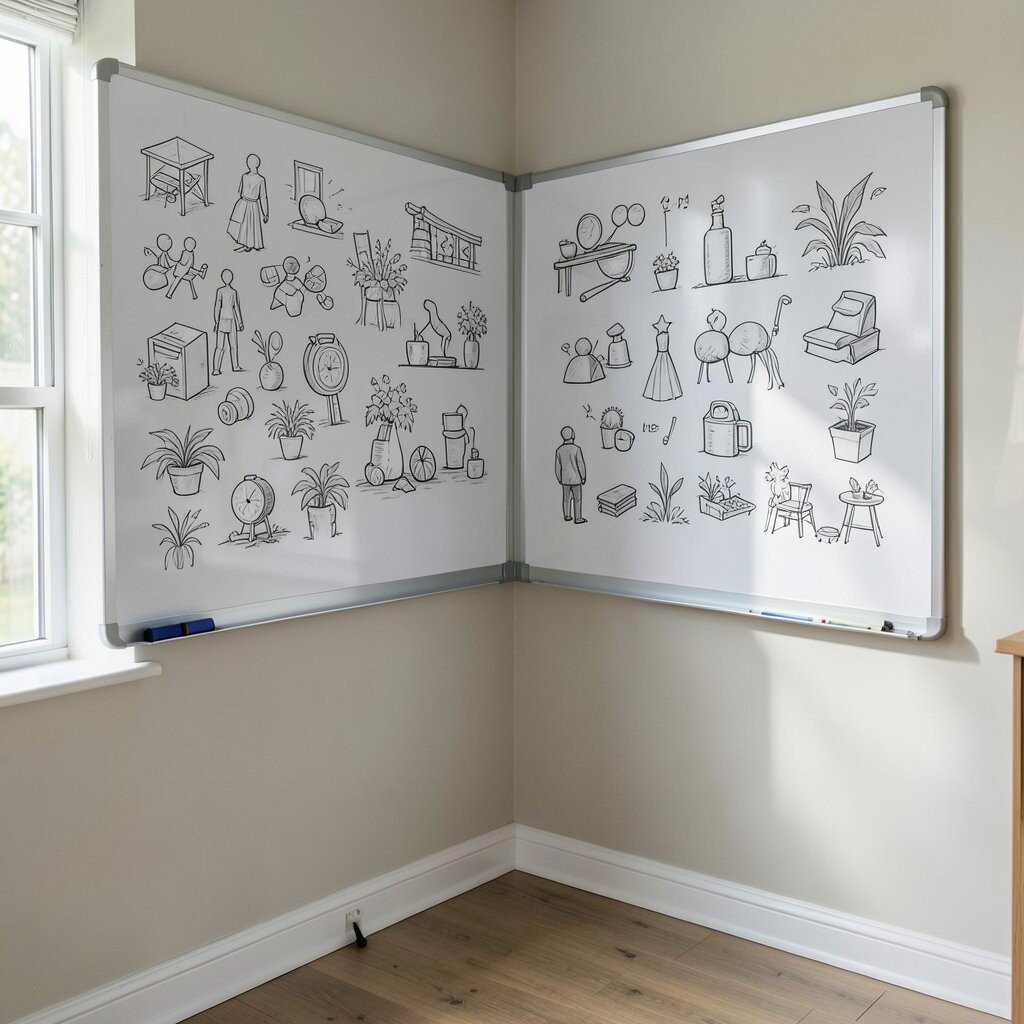
Add a small whiteboard to a wall where you already walk past it, so it becomes part of your daily habit. Use it for quick sketches, geometry studies, and rough thumbnail ideas before you commit to final work.
Write lightly at first, then circle the parts you want to build on, which makes your process feel less scary. This space is especially useful for brainstorming because you can test ideas in public view and still erase fast.
Keep costs down by using leftover frames or mounting it with simple brackets, and choose markers that won’t dry out quickly. Personalize it with a “color test” section where you write paint names or hex codes for your current palette.
12. Outdoor Table With Weather-Ready Materials
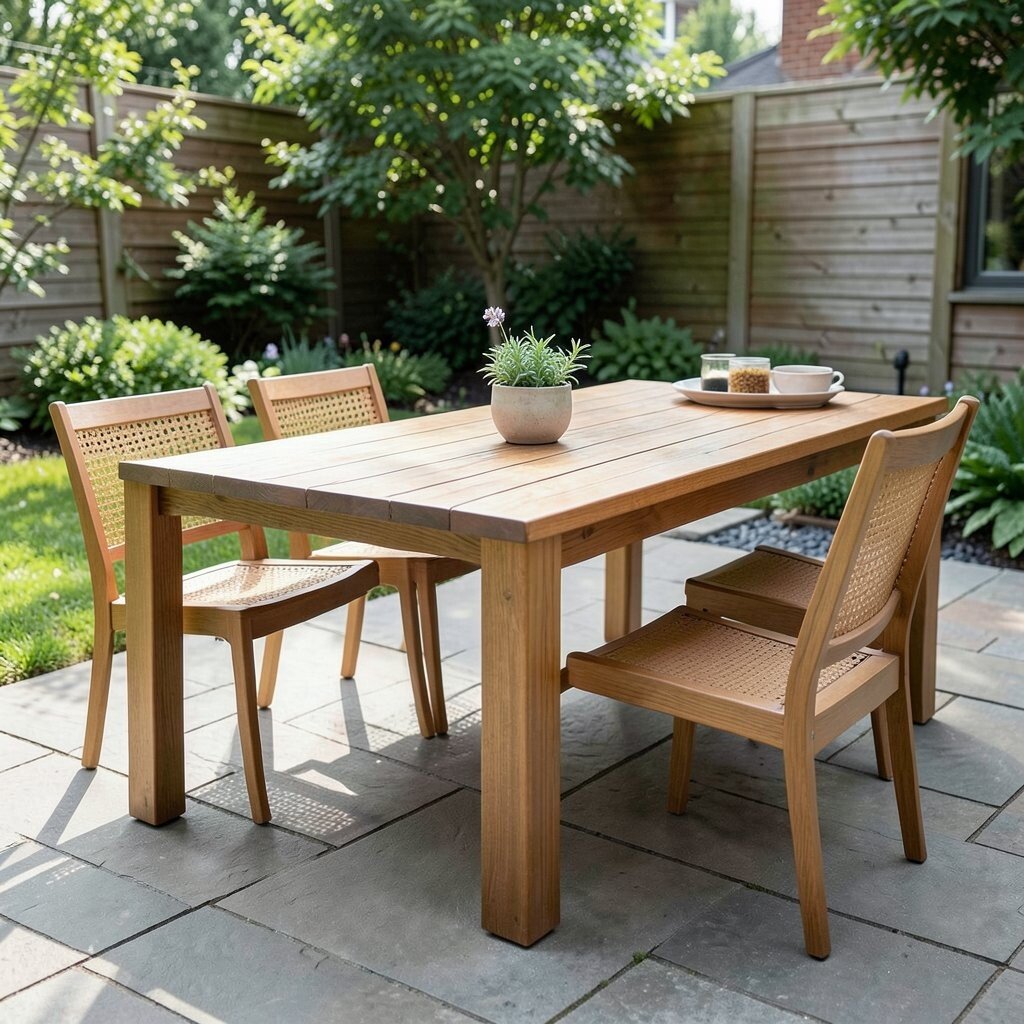
Set up an outdoor or balcony table with a weather-friendly cover and simple art supplies that can handle light wind. Bring a small umbrella if needed, and keep a clip board so your paper stays flat.
Work from real scenes by collecting reference details like leaf patterns, shadow shapes, and sky gradients. This kind of direct observation improves your visuals fast, especially for illustration, watercolor studies, and landscape planning.
For practicality, use sealed containers for markers and keep a microfiber cloth for quick cleanups. If you want to keep costs reasonable, start with a portable sketch kit and add one upgrade at a time, like better paper or a sturdier easel tray.