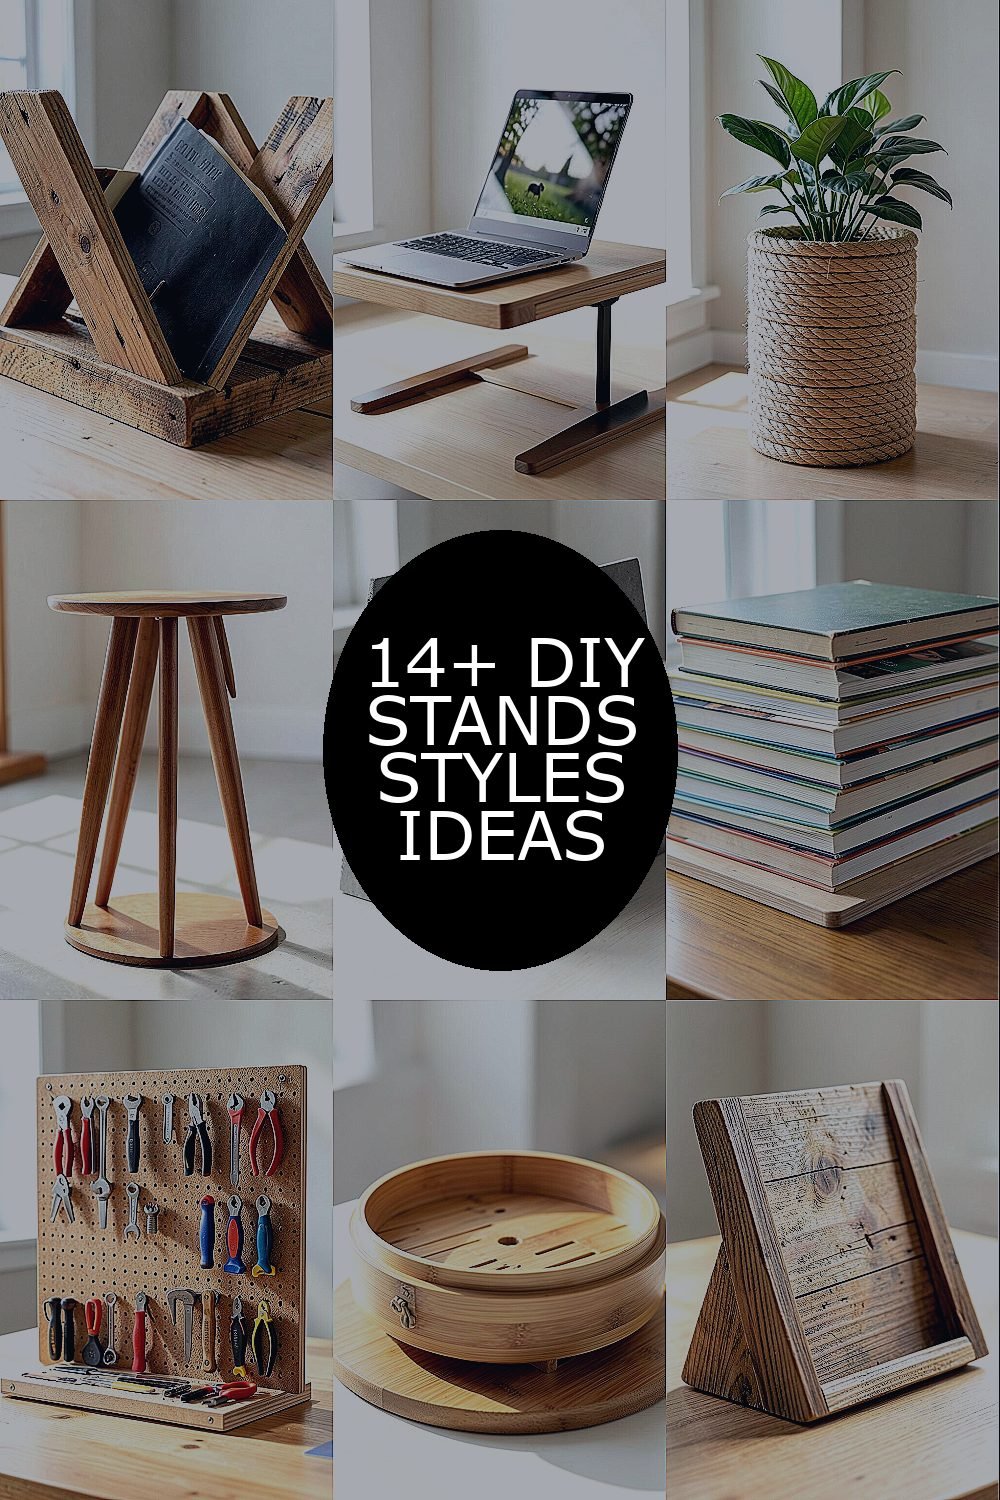
You can make your space feel more organized without buying anything fancy. A stand can also turn everyday items into something you actually enjoy using.
With the right materials and a little creativity, you can build a stand that fits your style and your routine perfectly.
1. Pallet Wood Reading Stand

Find an old pallet or buy a budget board and cut it into a simple angled frame. Sand the edges until they feel smooth, then stain it in warm walnut or paint it a soft matte color.
Add a back stop made from scrap wood so books stay in place while you read. Use felt pads on the bottom to protect tabletops, and attach small hooks on the side for bookmarks or glasses. This stand looks rustic, feels sturdy, and brings a cozy library vibe right into your home.
2. Floating Shelf Laptop Stand
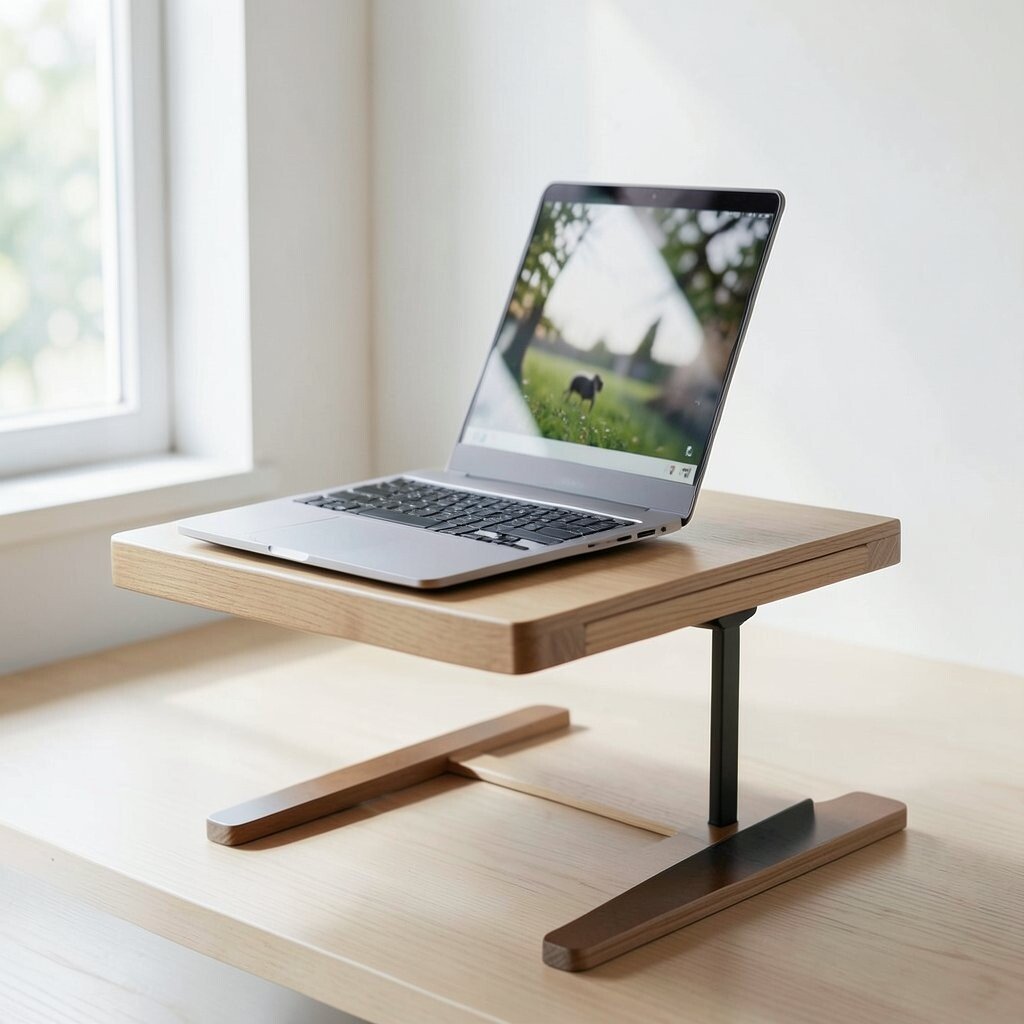
Build a slim shelf that holds your laptop at a comfortable height while still looking airy. Use a lightweight hardwood strip or plywood, then add hidden brackets so the lines stay clean.
Drill ventilation gaps or leave a small space underneath for airflow. Paint the shelf in a trending soft white or sage green to match modern desks. For extra comfort, add a foldable wrist rest using a thin foam pad wrapped in fabric.
3. Rope-Coiled Plant Stand

Coil thick jute or cotton rope into a spiral base that can hold small pots. Glue the coils in layers around a simple circular form, then finish with a protective seal so the rope resists moisture.
The look is warm and textured, like beach decor but made for your living room. Keep the center sturdy by using a wooden disk in the bottom layer and a light foam ring inside to level the pot. Personalize it by dyeing the rope in clay, olive, or soft black and mixing pot colors for a playful set.
This style saves money versus decorative plant stands while giving your plants a unique home. Pair it with macramé wall hangers for a layered trend that still feels handmade. Check weight before using heavier planters, and choose rope that feels thick and tight when pulled.
4. Mid-Century Tapered Leg Display Stand

Use scrap boards and cut four tapered legs, then connect them with a rounded top platform. Lightly distress the wood and use a satin finish for a smooth, retro feel.
Make it for a small speaker, a framed photo, or a favorite candle. To keep it stable, reinforce corners with small metal brackets under the platform and sand any sharp edges. Add felt underneath and a removable tray insert so you can clean it quickly.
5. Concrete Look Contact Paper Stand
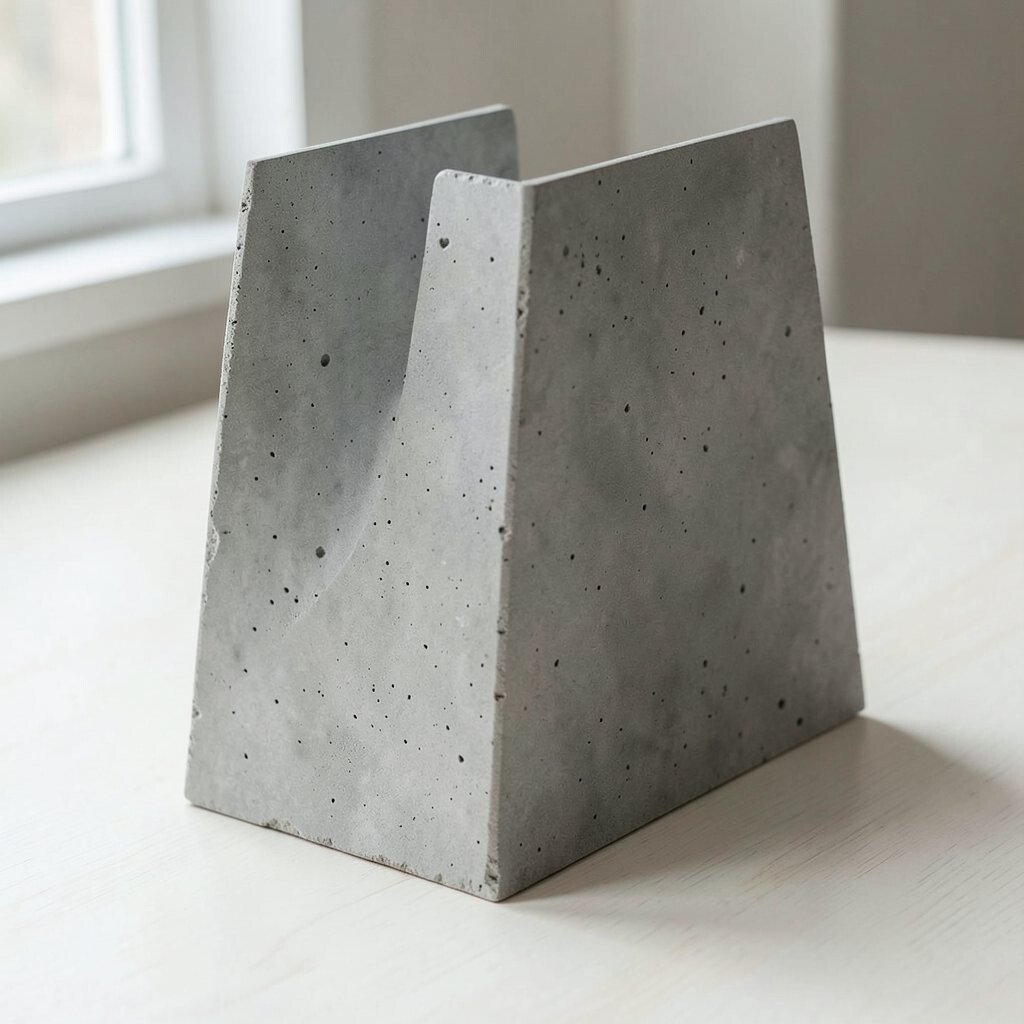
Create a stand from an inexpensive wooden block and give it a modern concrete feel using textured contact paper. Cut the paper carefully around corners and press the seams down with a smoothing tool.
Seal the finish with a clear top coat so it wipes clean. This is a budget-friendly way to get the popular industrial look without heavy materials or complicated casting.
For personalization, carve a simple geometric shape with a craft knife before adding the paper. Add tiny rubber feet for grip and make the top a little deeper so small items don’t slide off. The final result looks stylish, clean, and surprisingly solid.
6. Stacked Books Media Stand

Turn old books into a sturdy stand by stacking them and covering the sides with fabric or wrapping paper. Choose books with similar height so the top stays level, then add a flat board on top for stability.
Then glue or tape a thin anti-slip mat under the board. This setup is perfect for a small TV remote holder, a game console, or a decorative tray for your entryway. Make it feel unique by using patterned covers or adding a strip of bold tape along one edge.
7. Pegboard Tool Organizer Stand

Cut a pegboard panel and mount a small shelf to create a stand for mail, keys, or tiny tools. Add a dowel across the top edge and attach hooks so items hang neatly and stay visible.
Paint the board in a current favorite like deep navy or sunny mustard. Use small removable bins so you can rearrange as your needs change. This kind of stand is practical because it keeps daily items off counters while still looking organized.
8. Bamboo Steamer Tray Stand
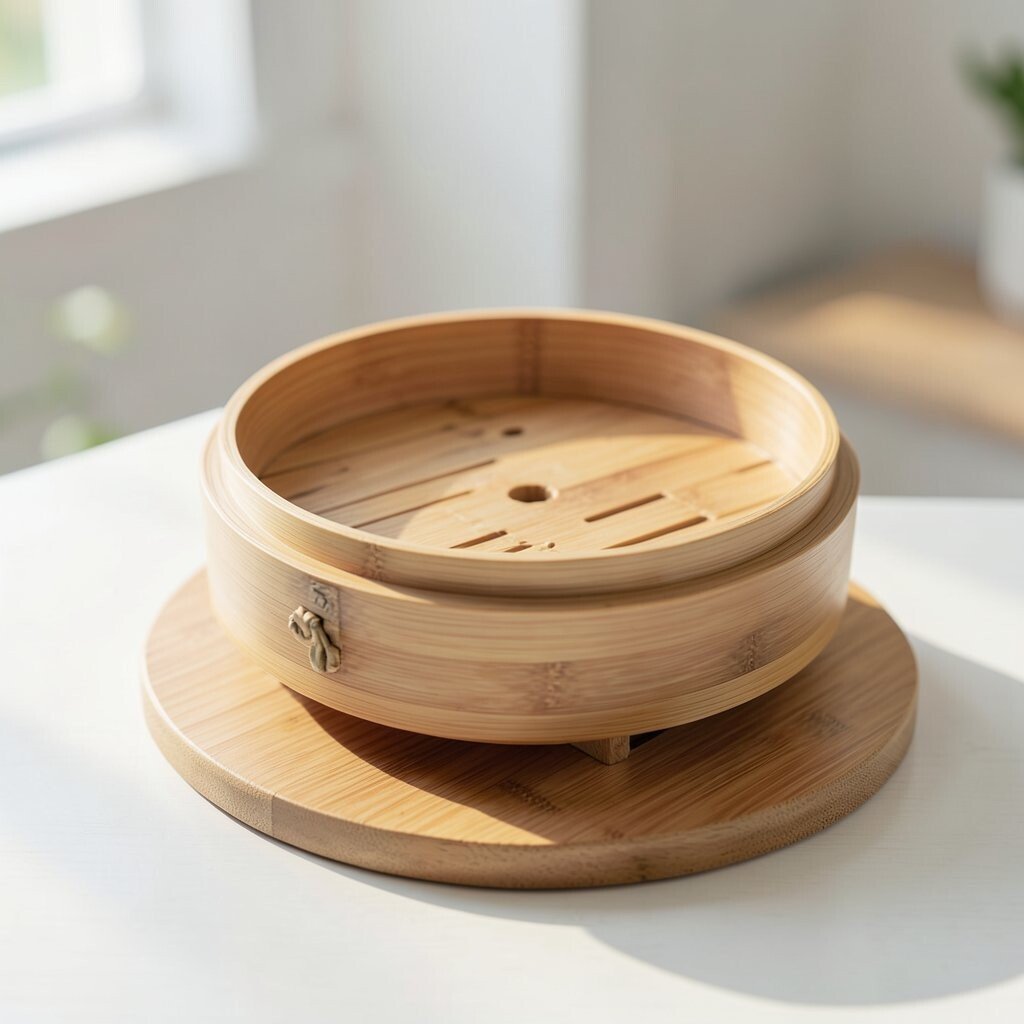
Use a bamboo steamer tray and build a small frame underneath to lift it for serving or display. Add four short legs and wrap the leg bases with twine for a neat, handmade look.
This stand gives you an easy surface for snacks, fruit, or even a mini spa setup. It feels light, so it works in tight spaces, and the bamboo look stays on-trend with natural materials. For personalization, stain or dye the frame and add a removable liner so cleaning is easy.
9. Scrap Wood Picture-Led Stand
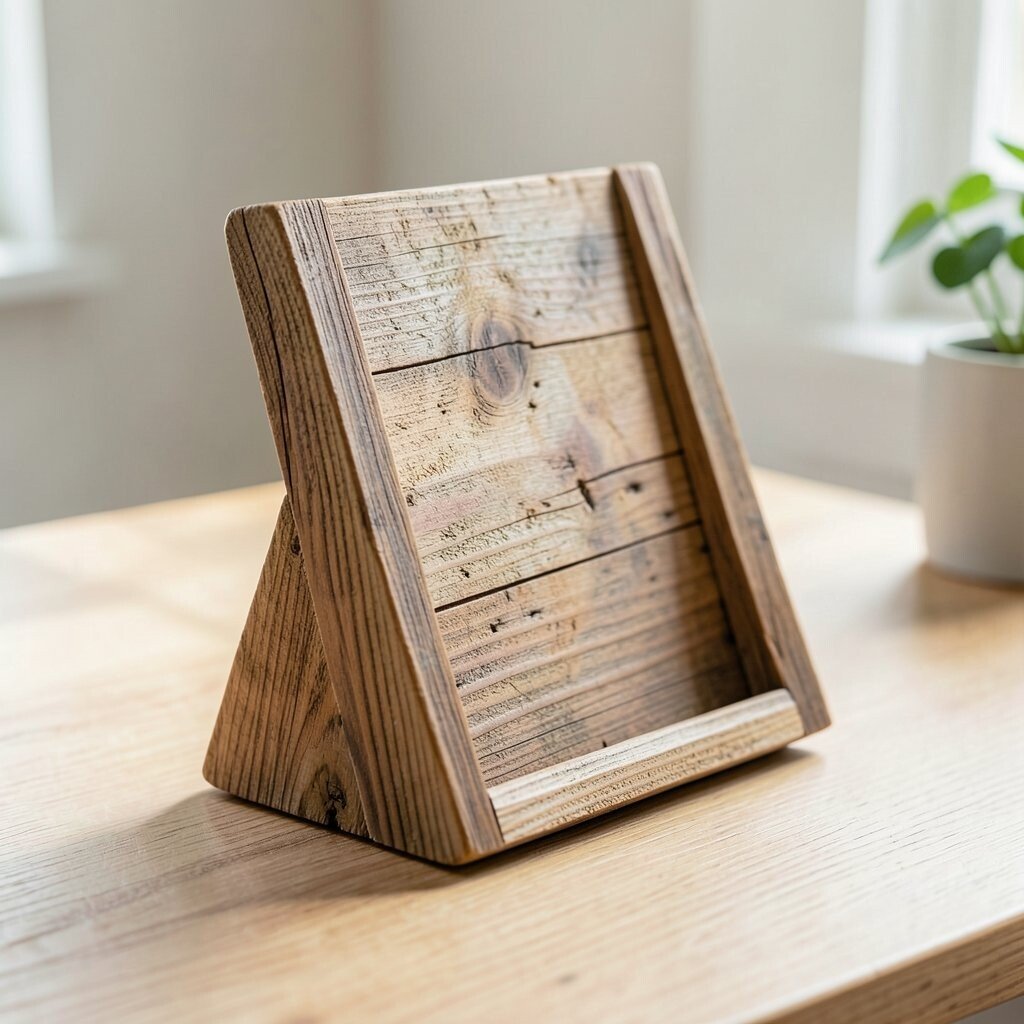
Stack thin scrap strips into a stepped base that holds a photo frame or a small LED candle. Cut a backing board and sand everything so the steps look intentional, not accidental.
Drill a small channel behind for a wire, then place a warm LED light strip for a cozy glow. This stand is unique because it mixes practical storage with soft ambience. Add painted numbers, tiny hand-drawn lines, or a small stamped pattern so it matches your decor.
Keep it cost-friendly by using what you already have, and focus your spending on sandpaper, wood glue, and a clear protective coat. Secure the frame with a light bracket so it won’t wobble when you move the stand.
10. Upcycled Tabletop Riser from a Chair
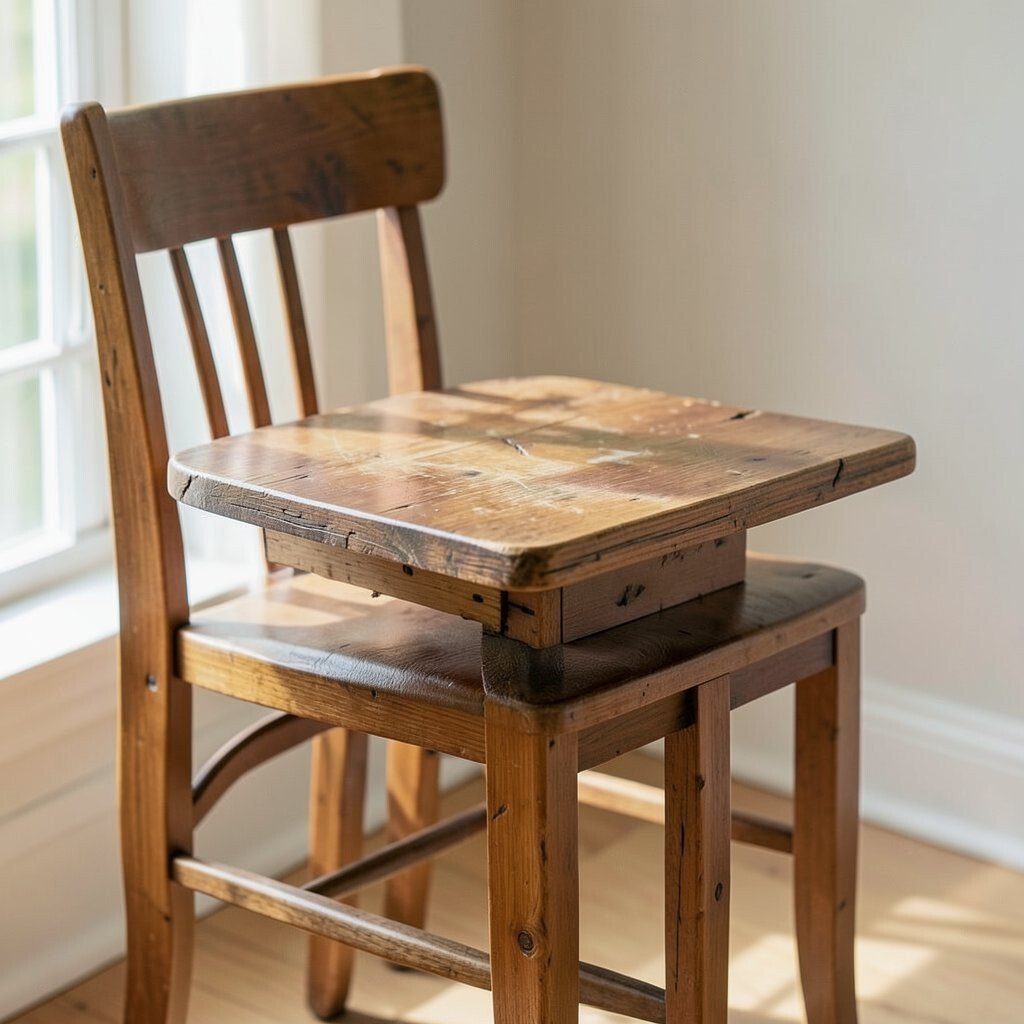
Find a broken chair seat or old stool and reuse its legs to make a simple riser stand. Remove loose parts, sand down rough spots, and attach a sturdy top board.
The visual is instantly charming because you can see the character of the old wood. Use it as a plant stand, a cup and coaster station, or a decorative pedestal for a vase. For personalization, paint the legs one color and keep the top natural, or add a bold color block to match current accent wall trends.
11. Metal Pipe and Wood Side Stand

Build a side stand using simple metal pipes and wood planks for a strong, industrial look. Use flanges and threaded fittings so everything feels solid and purposeful.
This style is great for holding a small hamper bag, extra folders, or a tall plant pot. Paint the metal in matte black or brushed silver depending on your decor theme. Add rubber sleeves on the ends and a wooden base plate so it doesn’t scratch your floors.
12. Waterfall-Edge Candle Stand

Create a candle stand with a flat base and a layered “waterfall” top made from thin wood or heat-safe acrylic. Cut several pieces with staggered lengths so the edge looks like falling water.
Choose a finish that feels current, like warm honey stain or cool gray wash. This stand brings a cozy glow and makes candles look like a design piece instead of a small item you forget. Personalize it by engraving tiny dots or painting a subtle pattern on the underside.
For safety, keep candles on heat-safe surfaces and avoid direct flame near any loose materials. If you want a modern trend, place a battery LED candle inside a glass cup on top.
13. Ceramic Tile Coaster Stand with Grid
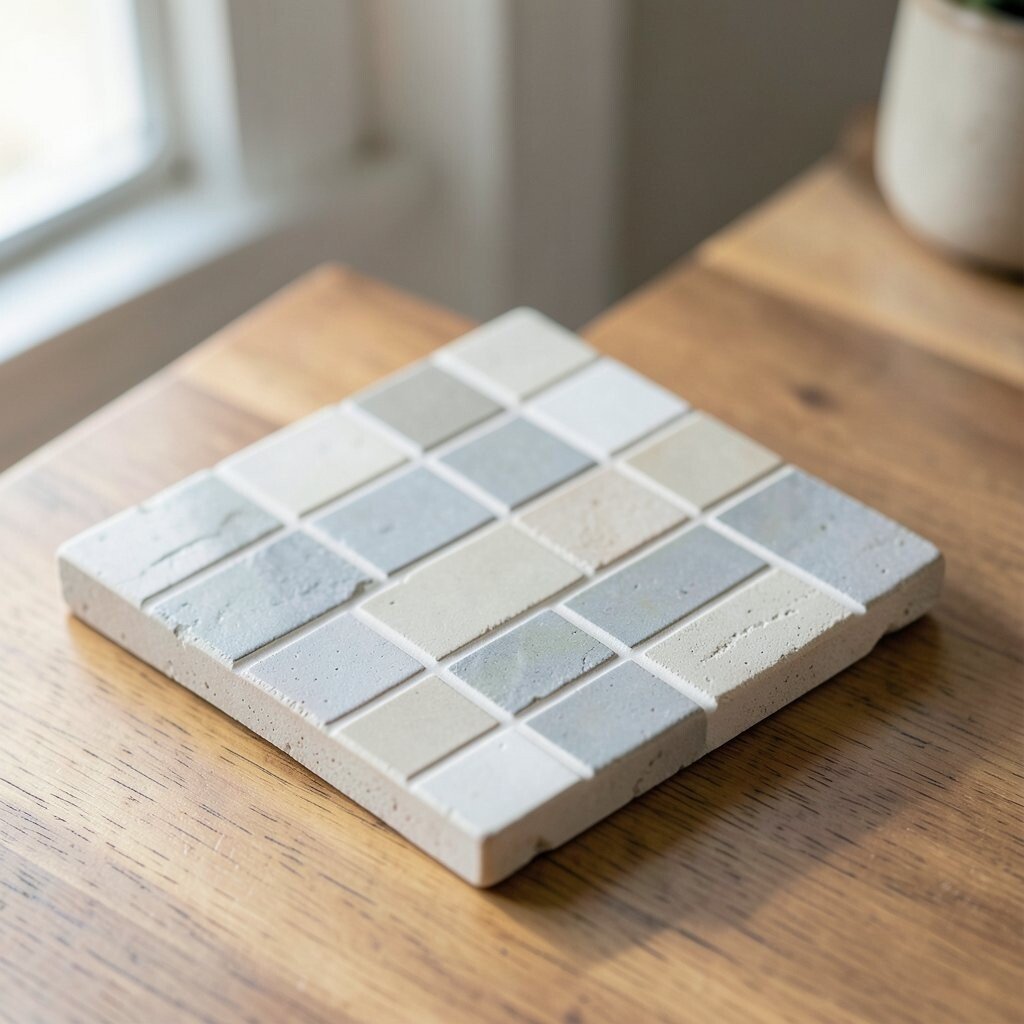
Make a stand by stacking a few small wooden sides around a tile base, then add a grid of dowels or thin sticks inside. The tiles add color, and the grid keeps coasters or small items from sliding.
This is a practical stand for coffee corners because it keeps everything tidy and easy to grab. Look for tile prints that match today’s styles, like soft marbled patterns or tiny repeating florals. Personalize it by mixing tile colors in a checker-like arrangement and sealing the tile so spills wipe right off.
14. Foldable Fabric Storage Stand

Build a lightweight stand frame from thin wood strips or metal rods, then sew or attach fabric panels for holding items. Use sturdy canvas so the shape stays firm and doesn’t sag.
This is a great choice for closets, dorm rooms, or kitchens where you want quick organization. Add snaps or Velcro so the stand folds flat when you need more space. Personalize it by choosing fabric with a current pattern, like small geometric shapes or gentle botanical prints, and add label tags for your own style.
15. Turntable Spinner Snack Stand

Create a snack stand with a lazy-susan base from a thrifted lazy Susan or a cheap hardware kit. Attach a sturdy round top made from plywood or a serving tray, then sand and finish it for a smooth surface.
The visual makes hosting feel special because everything spins into reach. Use small dividers cut from wood strips to separate snacks, or add removable cups so you can switch from candy to veggies easily. For cost control, use your best finish on the visible top and keep the base simple, then add felt underneath for quiet movement.
Make it feel unique by painting the rim a bold color or stenciling a pattern that matches your table theme. Tighten all screws and test the spin before loading it heavy items.