Good access is more than ramps and doors. It shapes how welcome feels the moment someone arrives.
When design choices are thoughtful, people can move with dignity, safety, and independence while enjoying every program.
1. Switchback Ramp With A Garden Edge
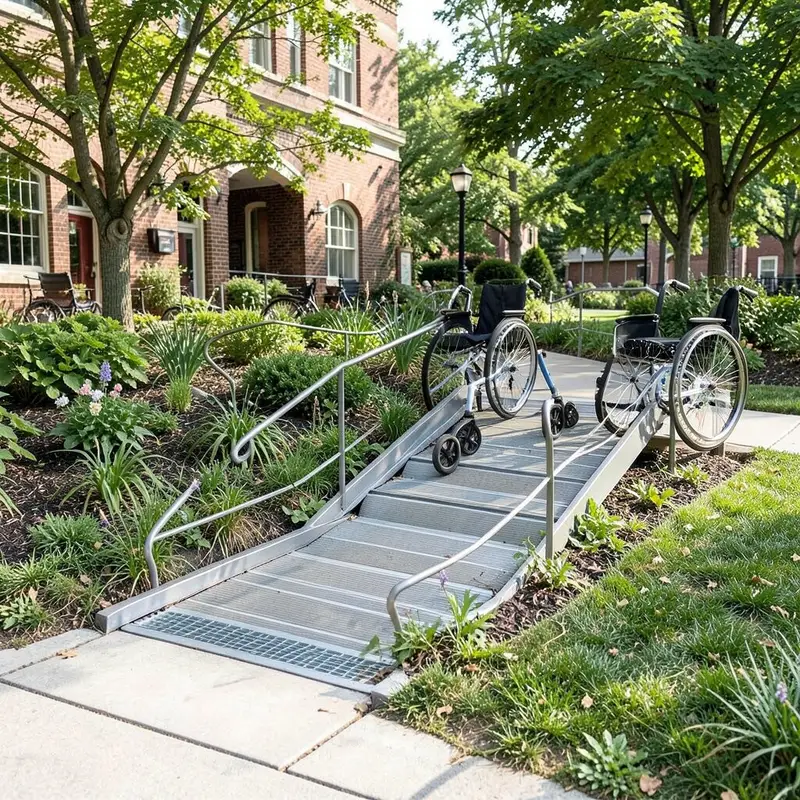
A switchback ramp hugs the landscape like a gentle S-curve, with planters that soften the look of concrete. Each landing feels like a small pause, and the route is easy to read at a glance.
Adding handrails, textured ground strips, and non-slip surfaces helps people roll confidently in any weather. Short segments reduce fatigue, and the garden edge makes the ramp feel calmer. Personalize with seasonal flowers, painted wayfinding blocks, and tactile markers that match the color of nearby signage.
2. Level Entry Plaza With Slip-Resistant Flooring

Make the front door step-free by shaping the entry as a wide, level plaza that blends indoors and outdoors. Smooth pavers with strong grip catch the eye, and the path looks inviting rather than clinical.
When the surface is slip-resistant and slopes are kept minimal, wheeled mobility becomes simpler for everyone. Consider a durable flooring pattern that drains well, plus clear curb lines to prevent wheel wobble during rain. Install grab bars near the doors and choose door hardware that is easy to reach from a seated position.
For cost control, start with repairs to existing walkways and upgrade only the most worn areas first. Many centers also use portable temporary mats during construction to keep programming running. Choose a welcoming color palette that matches community branding, then add subtle tactile strips that align with the accessible route.
3. Automatic Sliding Doors With Wide Clear Openings
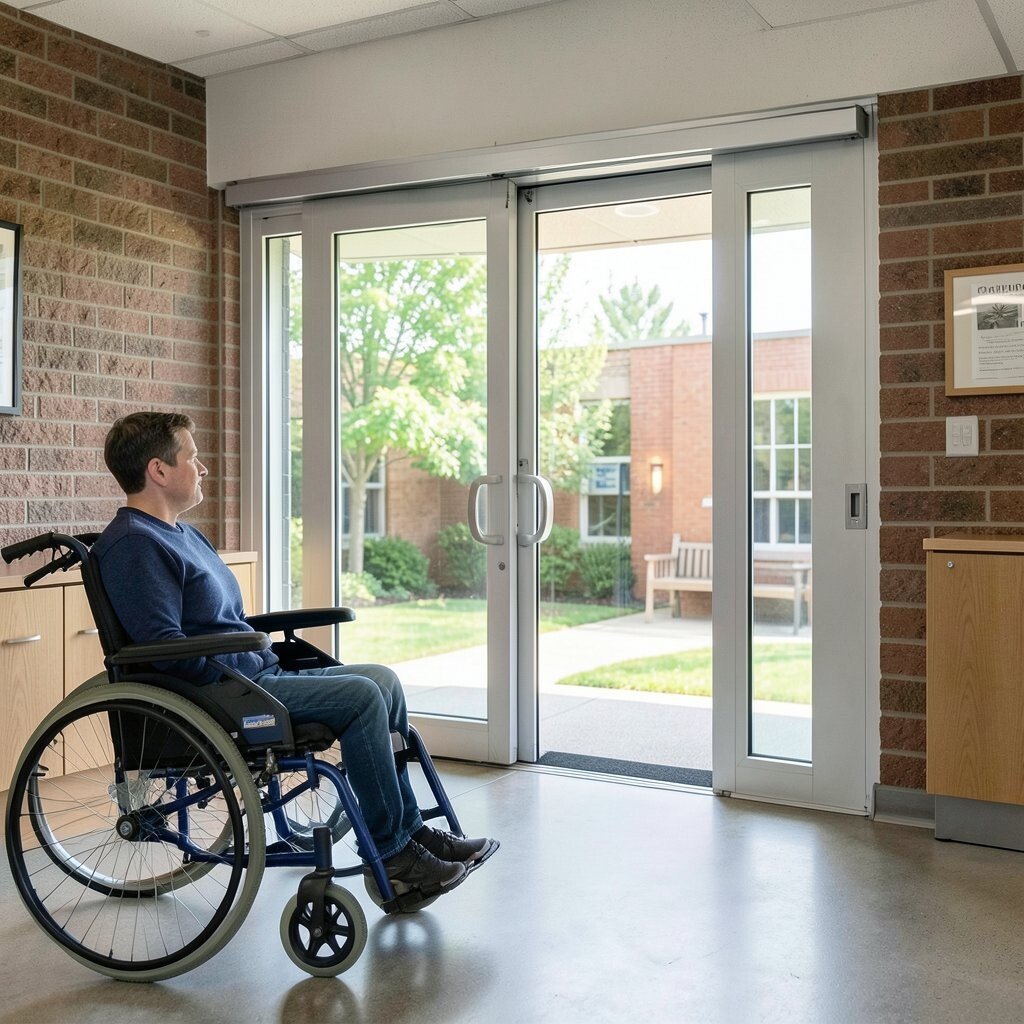
Wide, automatic sliding doors glide smoothly and give the entry a modern, friendly feel. The glass panel placement lets people see inside before reaching the hardware.
Choosing sensors that respond quickly reduces the effort needed for someone pushing a chair or using a power mobility device. Pair the doors with stable flooring transitions so wheels do not catch or rattle at the threshold. A practical upgrade is adding a longer push-button reach height and placing controls on the side that matches the main traffic flow.
For personalization, you can tint the glass with subtle community colors or add vinyl decals that show directions and program names. Budget-wise, replacing doors may feel big, so plan for phased upgrades by starting with the busiest entrance. Current trends also favor quieter motors and motion detection that avoids accidental activation by passing carts.
4. Accessible Route Wayfinding In Clear, Bold Colors
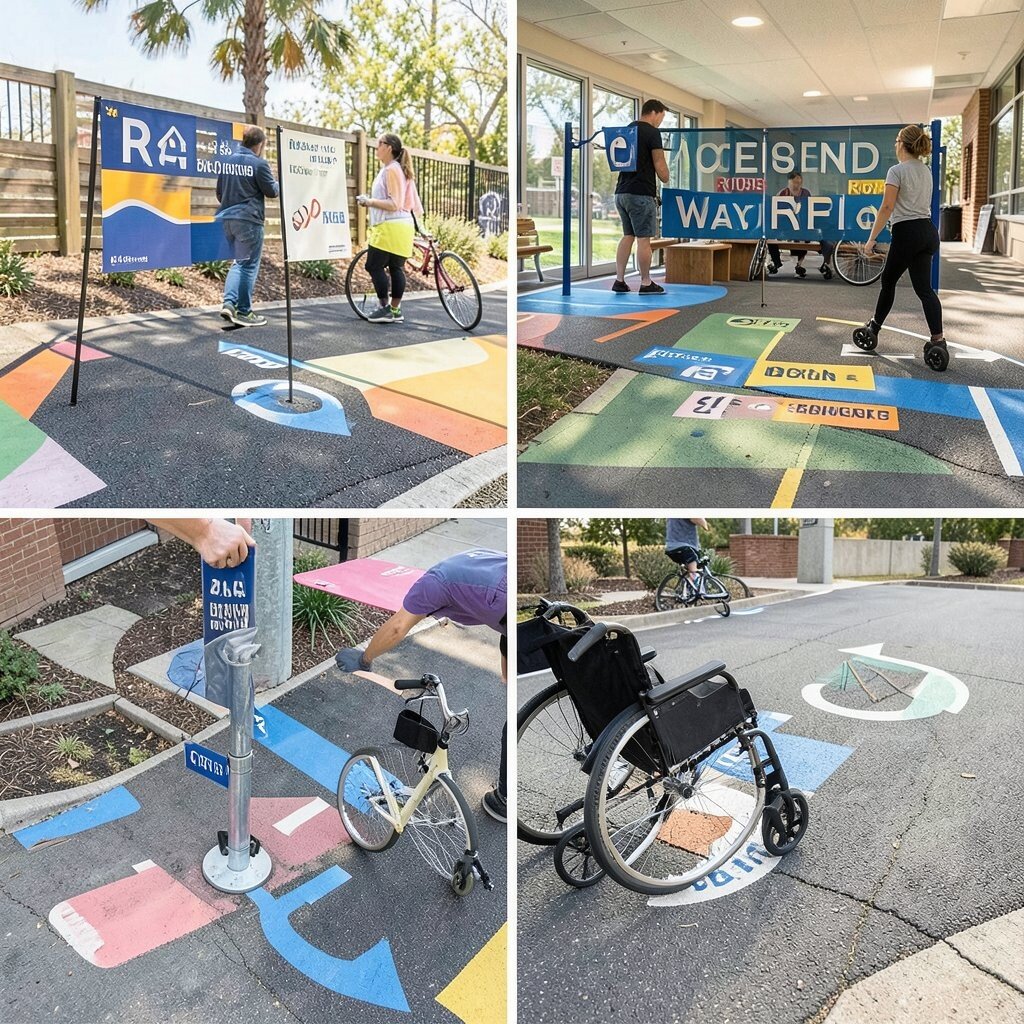
Use bright, high-contrast floor and wall markers to guide wheelchairs like a friendly trail. Arrows painted at eye level and repeating icons near doorways help everyone understand where to go.
Good wayfinding reduces stress and improves safety by preventing people from circling awkwardly. Place labels where people can reach them from a seated position, and keep the font large and readable at a glance. For practical impact, line the accessible route with consistent colors and add tactile cues near key turns.
To personalize, align the color set with your programs, such as youth, senior services, or fitness classes. Consider using removable signage for events, so the route can change without a major rebuild. Many community centers are now blending digital maps with simple physical markers for a dependable experience.
5. Elevation Changes Handled By A Curbless Ramp And Seating Bay
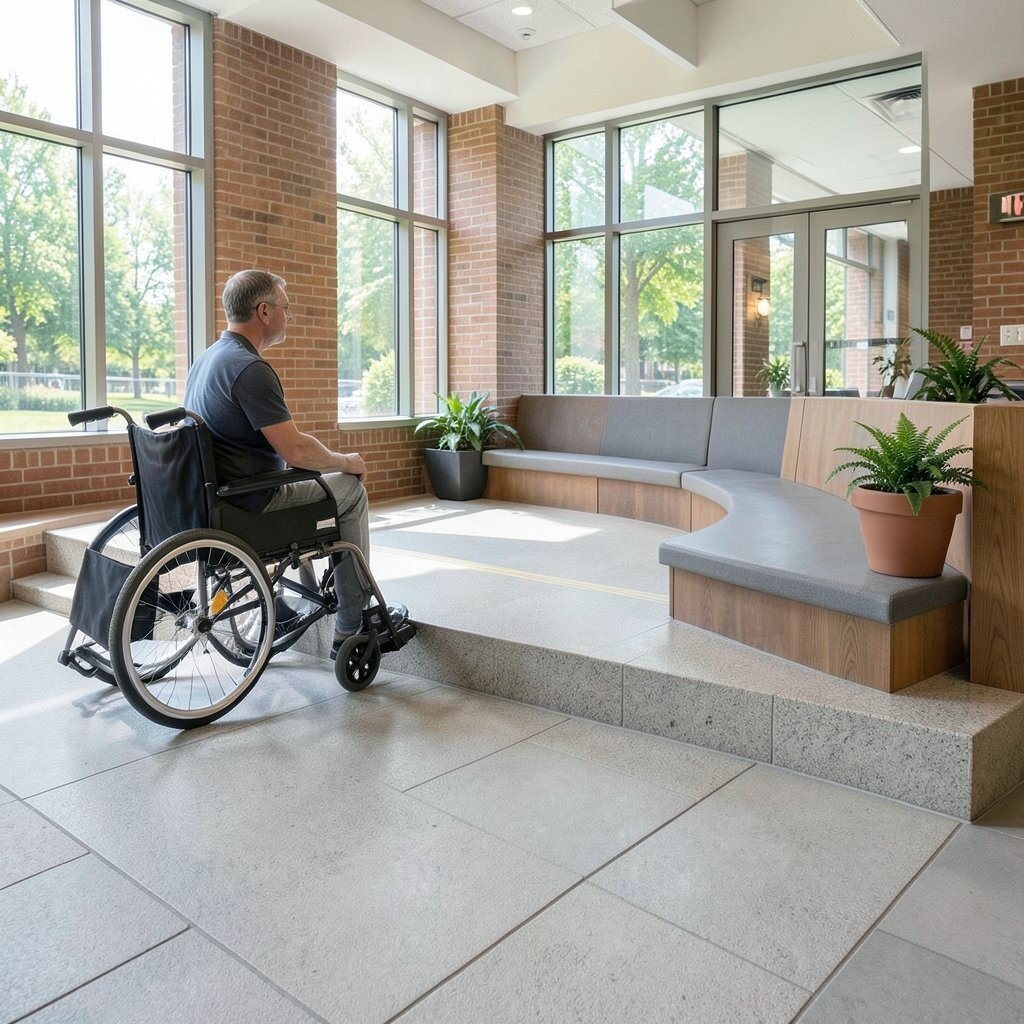
When there are small elevation differences, a curbless ramp with a gentle slope keeps movement fluid and avoids sudden bumps. Along the ramp, a seating bay creates a visible rest spot without blocking the pathway.
Rest opportunities matter because they support pacing and reduce strain for anyone using mobility aids. Add supportive lighting so the ramp is bright at night, and use edge protection that prevents wheels from drifting off the track. Personalize the seating bay with community art panels or a local history mural backdrop.
Cost considerations can be managed by using existing site grading where possible and upgrading surface finishes only where needed. Many centers also keep spare foldable chairs near the bay to support caregivers and companions. A current trend is placing rest zones on the route, not hidden off to the side, so they feel part of the accessible journey.
6. Wide Corridors With Flexible Furniture Layouts
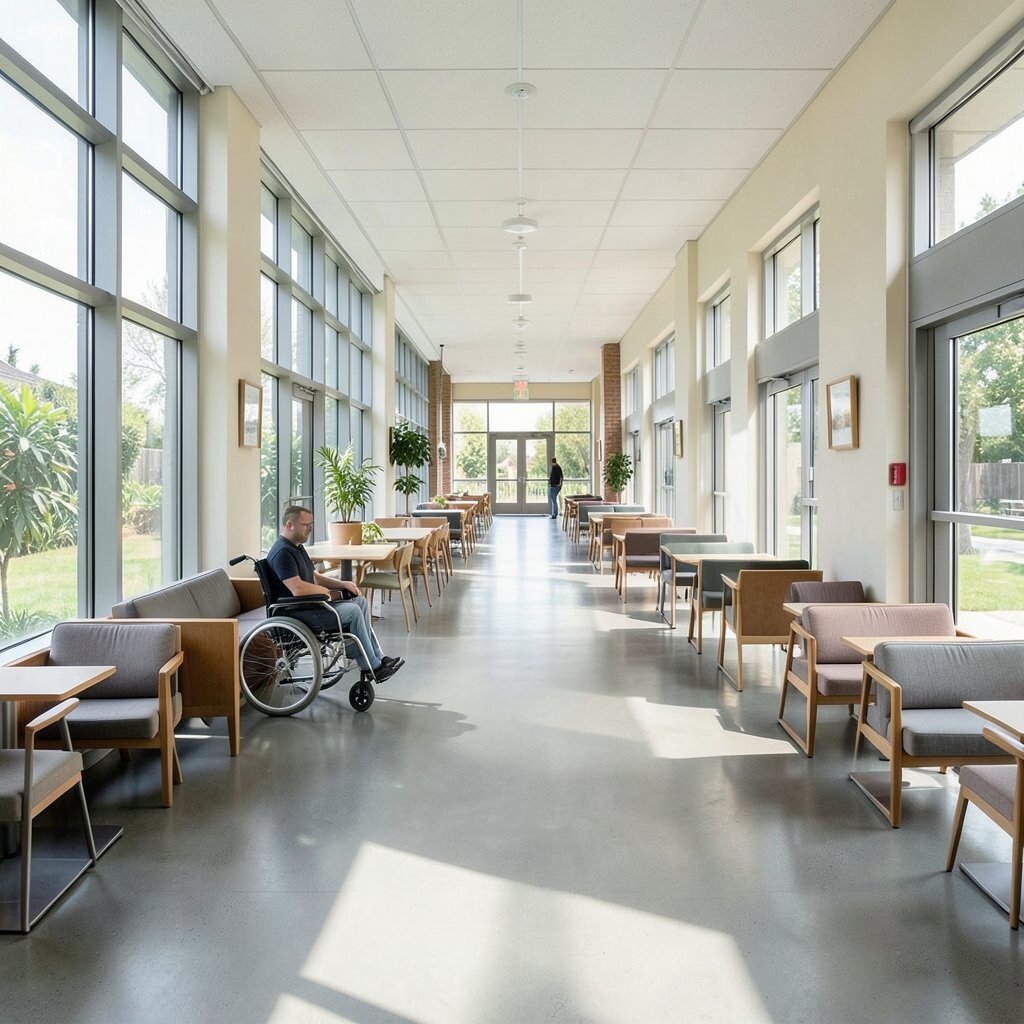
Design halls and corridors to feel generous, with enough width for turning and passing comfortably. Choosing furniture on wheels or with adjustable spacing makes the space flexible for events.
Clear pathways reduce friction and make it easier to move in groups, which is common for classes and meetings. Create a predictable circulation pattern so people can navigate without guesswork. Add practical floor markers that show where to stop for queues, like at check-in or water stations.
For personalization, match furniture colors to the room’s purpose, such as calming tones for support services. Keep storage accessible so staff can rearrange quickly for accessible seating layouts. While costs vary, prioritizing width and durable flooring often saves money on future modifications.
7. Turnaround Loops For Classrooms And Meeting Rooms
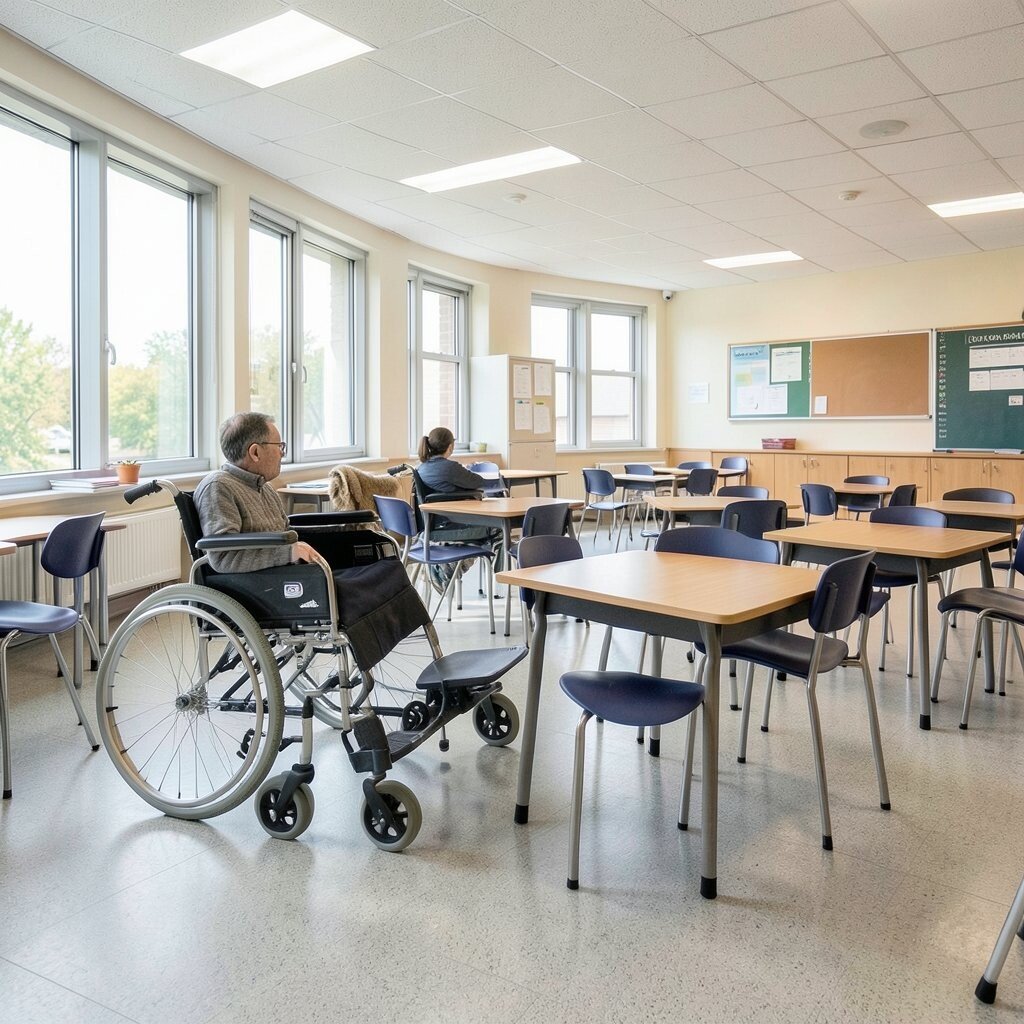
Plan doorways and room entries with turnaround loops so wheelchairs can enter, stop, and maneuver without backing up. You can visualize the loop as a soft oval that guides movement in a calm rhythm.
This design helps people participate in events with less stress and fewer awkward repositioning moments. Place accessible seating near the front and side so different body positions feel included. A practical tip is to ensure the loop connects to a clear, step-free path from the main corridor.
Personalize by marking the loop with subtle icons that match the room type, like a book icon for the library corner. Consider cost by reusing existing room dimensions and adjusting furniture first before changing walls. Current trends also focus on multi-use spaces, so loops help support changing layouts across schedules.
8. Bathroom Access With Larger Turning Space And Support Bars
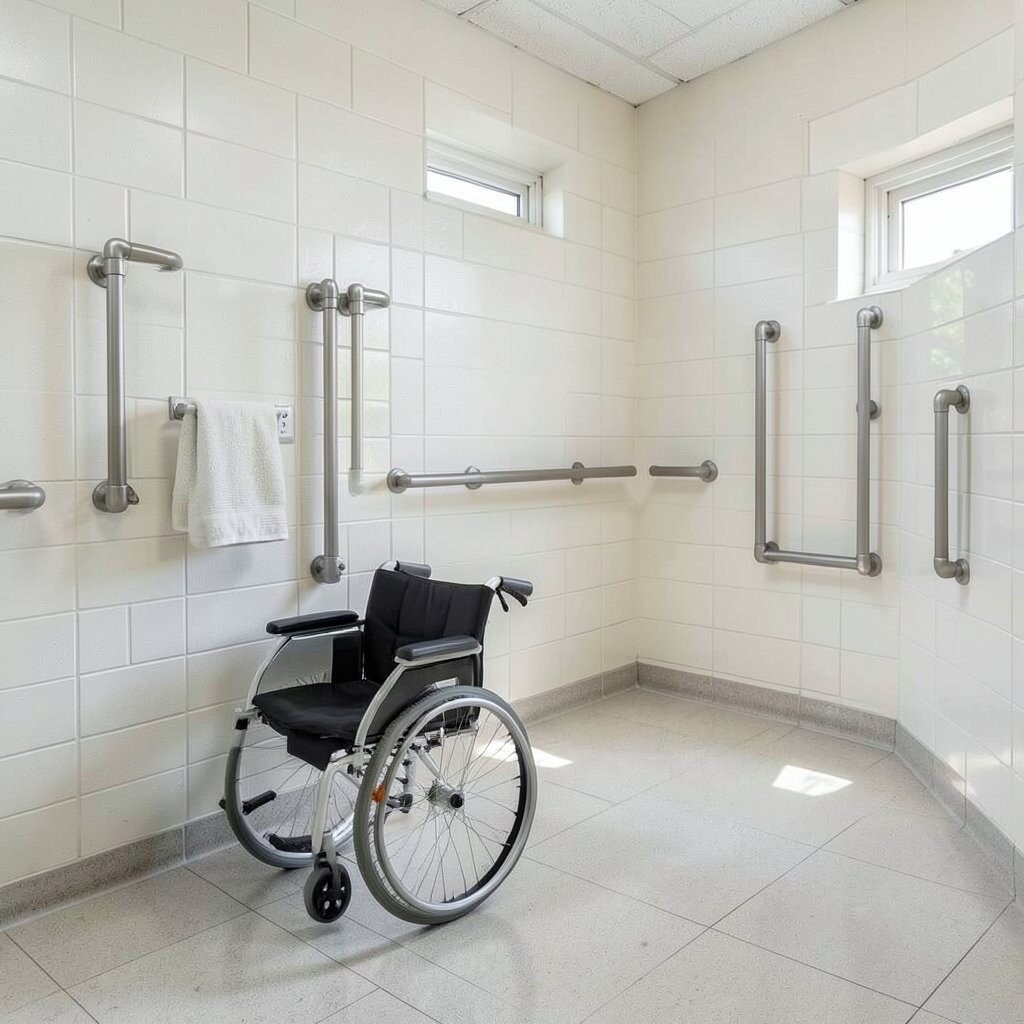
Accessible bathrooms should feel spacious and steady, with turning room that supports confident movement. A well-lit, uncluttered design makes the space feel calm and safe.
Install grab bars with secure backing so they can support transfer and stability when needed. Use sinks with clearance for knees and choose faucets that are easy to operate. Keep counters and paper dispensers within comfortable reach from a seated position.
For personalization, use warm colors and graphics that feel welcoming rather than institutional. Cost can be kept reasonable by upgrading key fixtures first and adjusting placement where the wall structure already allows it. Many centers also use modern, easy-clean surfaces that stay durable even with heavy daily use.
9. Adaptive Drinking Fountains With Reach-Friendly Heights
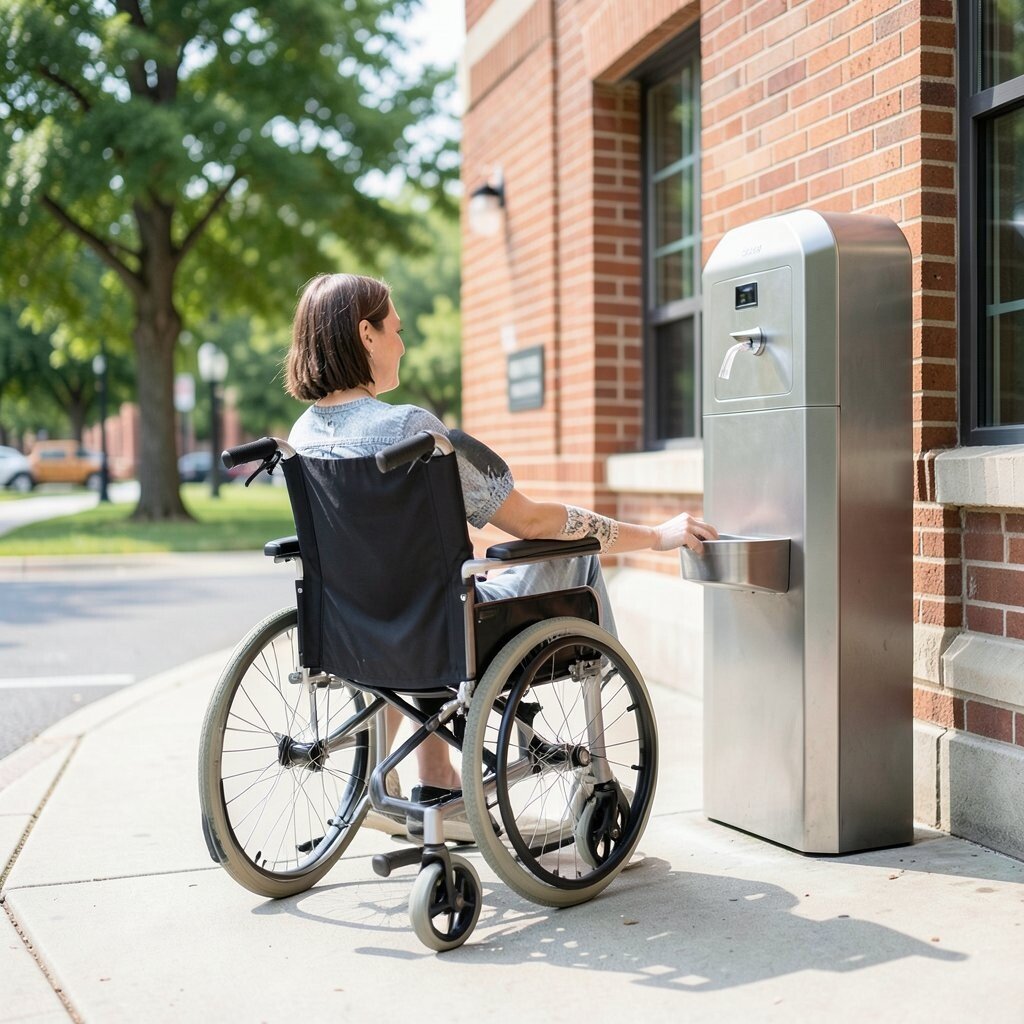
Reach-friendly drinking fountains can be placed so seated visitors can access them comfortably. Imagine a clean, modern fixture set into the wall with clear visibility and simple controls.
This small change supports independence and signals that the center expects everyone to participate. Add a drinking bottle filler if you want a practical convenience for staff and visitors. Consider installing a tactile guidance strip that leads from the main corridor to the fixture.
Personalize with seasonal signage about hydration programs or local sports leagues. Cost is often moderate because upgrading fixtures is usually simpler than major remodeling. A current trend is using combo units that save space and reduce the number of touchpoints for busy areas.
10. Tactile Door Hardware And Smart Latch Placement
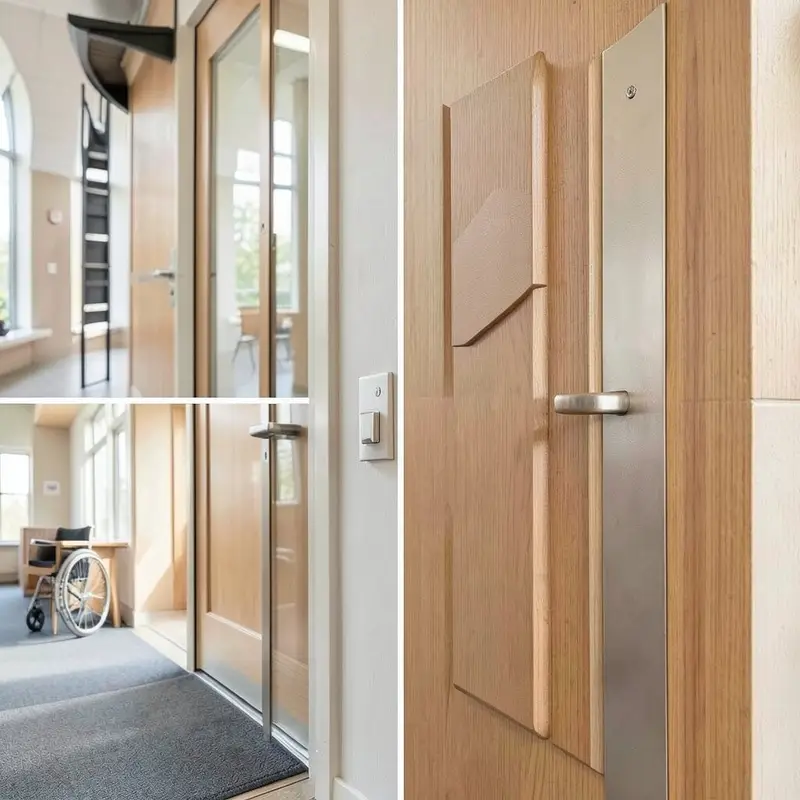
Update door hardware so it is easier to grip and easier to reach, with controls that feel distinct by touch. Tactile labels and properly placed latches help visitors open doors confidently.
When hardware is positioned correctly, people spend less time guessing and more time moving forward. Choose lever handles over knobs, and add clear visual contrast between the handle and door color. A practical tip is to test reach height with real wheelchairs and different staff roles, because habits vary.
Personalize with engraved icons for restrooms, meeting rooms, and program halls. Keep cost in check by prioritizing high-traffic doors first, such as main entry, accessible restroom doors, and staff-to-public corridors. Many centers now also pair tactile cues with consistent branding so signs and hardware reinforce each other.
Consider adding door-closing delay if the doors swing too quickly, which helps people crossing slower. For added safety, ensure doorways do not narrow due to decorations or temporary barriers.
11. Covered Accessible Drop-Off With Clear Path Lighting
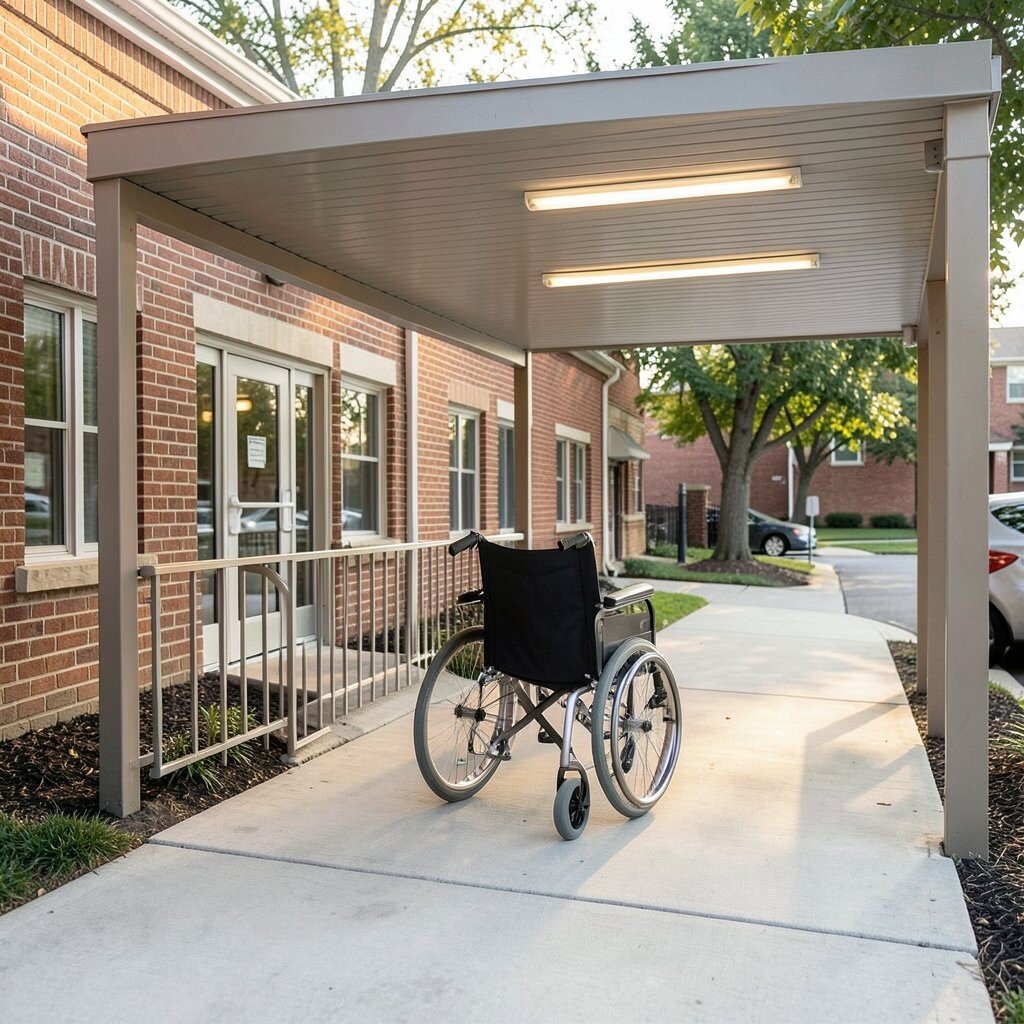
A covered drop-off area makes arrivals feel organized and less stressful on rainy days. Picture a canopy over the accessible parking side, with lighting that guides wheels toward the entrance.
Good illumination improves safety and reduces trips during early morning programs. Use pathway lighting that casts even light across the route, and keep glare controlled so it does not blind drivers or pedestrians. Place accessible signage near the curb and ensure it can be read from a seated height.
Personalize with a welcoming mural on the nearby column, or add community event posters that rotate monthly. Cost considerations can be managed by using existing parking light poles and focusing on targeted lighting upgrades. Current trends often include motion-activated lighting to save energy while keeping the route bright when needed.
12. Multi-Sensory Waiting Nooks Near Program Check-In
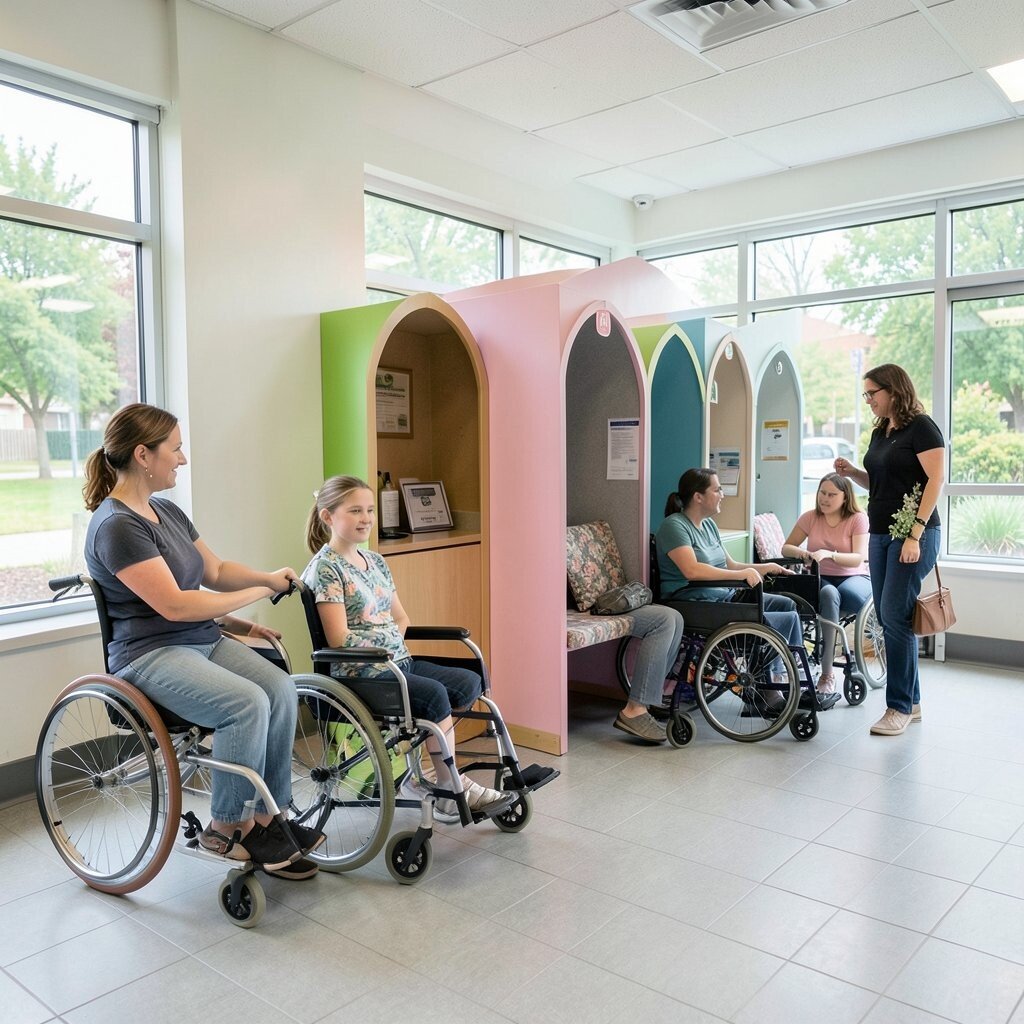
Waiting areas can feel friendly and accessible with a comfortable seating nook and clear space around it. Think of a quiet corner with low visual clutter, soft textures, and strong lighting for easy visibility.
When a nook is sized for wheelchair circulation, people can wait without feeling stuck behind a row of chairs. Add seating with varying heights so caregivers and elders can rest too. A practical tip is to keep the route from the door to check-in wide and direct, with no furniture blocking the turn.
Personalize the space with calming artwork, such as local landscapes, and include a small accessible charging station for devices. Cost varies, but many upgrades can be done with furniture selection and careful placement. Current trends include sensory-friendly design choices, which can help people who have anxiety or sensory processing needs.
13. Adjustable Height Service Counters For Help Stations
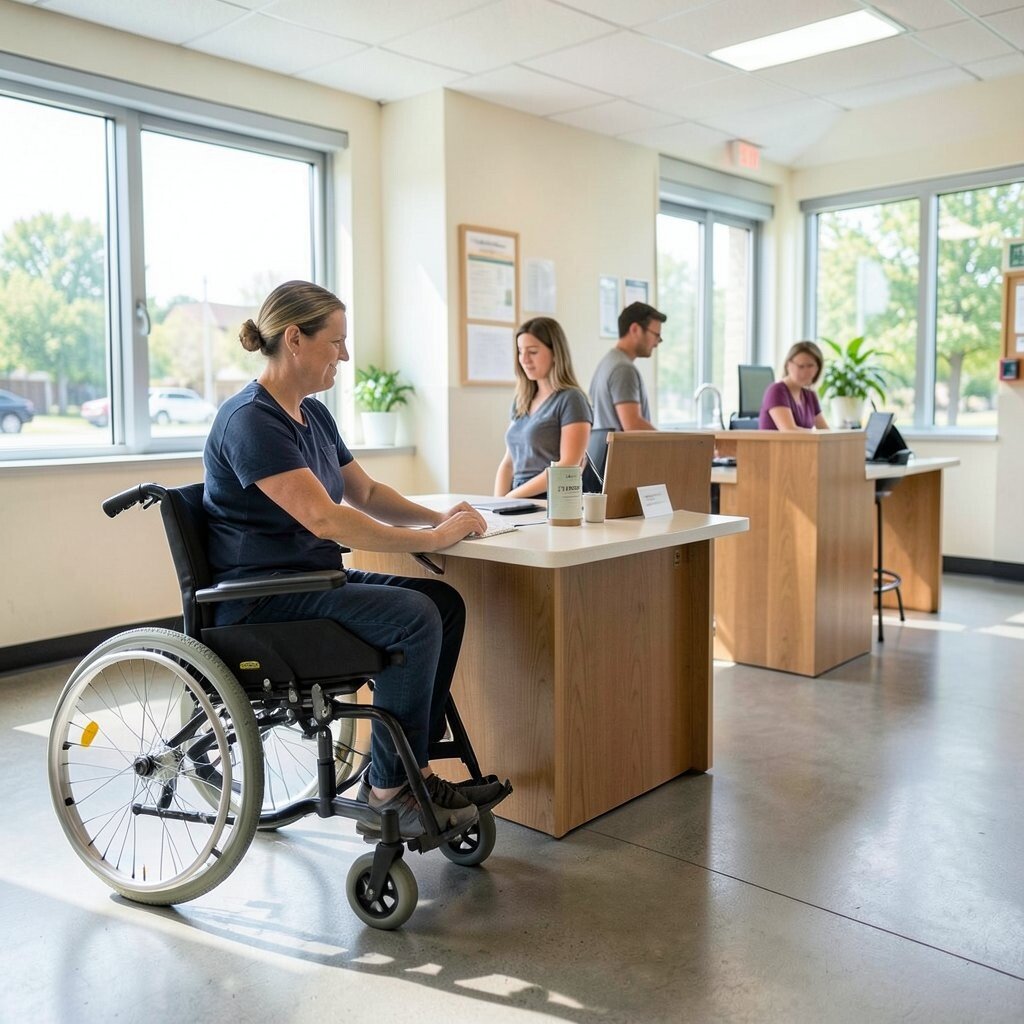
Service counters work better when at least part of them is reachable from a seated position. Visualize a counter with a lower section and clear space for knee clearance, so staff can help without leaning.
Accessible counters improve independence for registration, distribution, and information requests. Use stable, non-slip surfaces and consider a clear panel layout that reduces glare and improves sightlines. A practical tip is to ensure the counter area remains open enough for a wheelchair to pull in comfortably.
Personalize by matching counter finishes to the rest of the building, so accessibility upgrades feel like style. Costs can be managed through partial retrofits, such as adding a lower pass-through section instead of replacing the entire counter. Many community centers are now designing for both in-person and quick service needs, which makes adjustable heights especially useful.
14. Accessible Play Zones With Smooth Transfer Paths
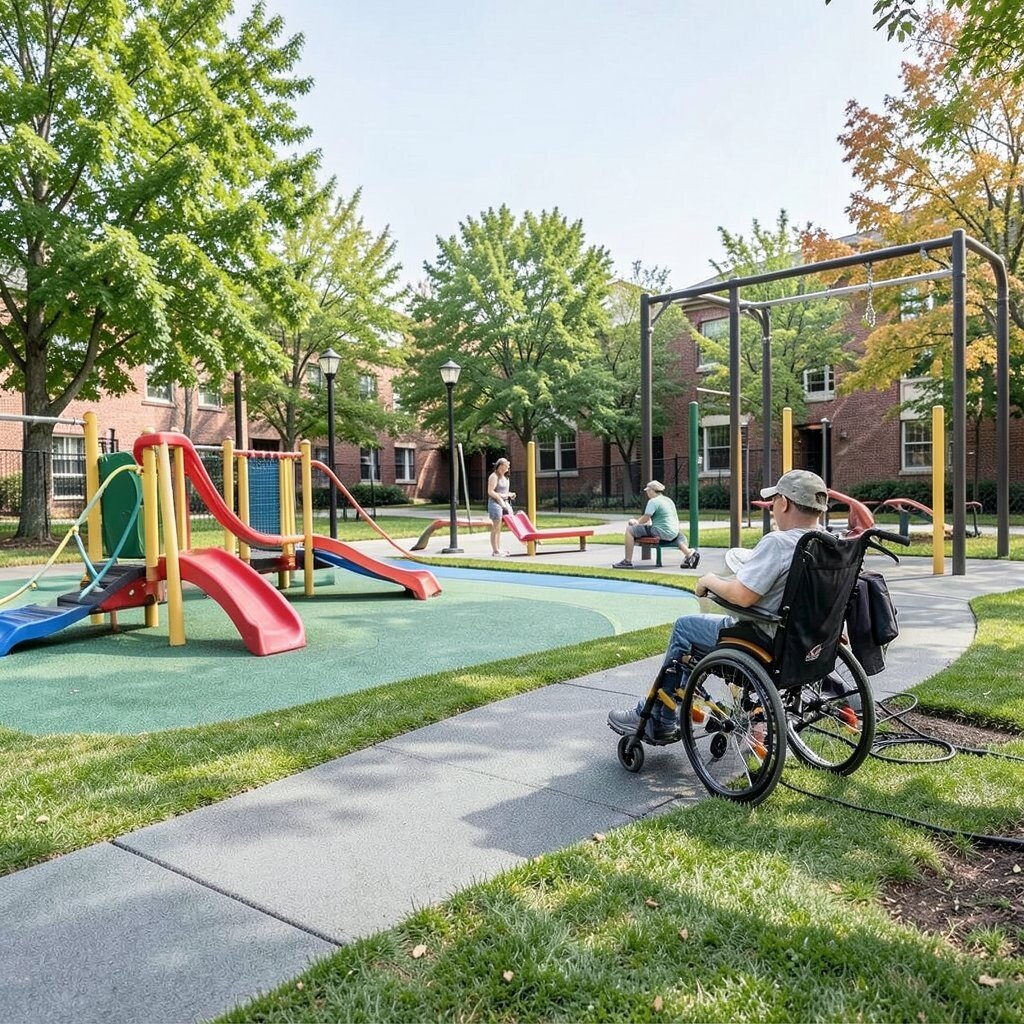
For centers with youth spaces, accessible play should feel safe and exciting. Imagine a soft, durable surface with clear, smooth paths that connect mats, activity tables, and sensory elements.
When play zones include barrier-free movement, kids can join games without waiting for help. Use raised activity surfaces that match different reach heights, and ensure there is enough turning space near popular stations. A practical tip is to design transfer paths that line up with seating, so caregivers do not have to maneuver awkwardly.
Personalize play with themed ramps, musical panels, and tactile storyboards that encourage interaction. Cost considerations can be handled by choosing modular flooring and swapping inserts as programs change. A current trend is using sensory-focused equipment that benefits many abilities, not only mobility needs.
15. Storage Strategies That Keep Walkways Clear And Predictable
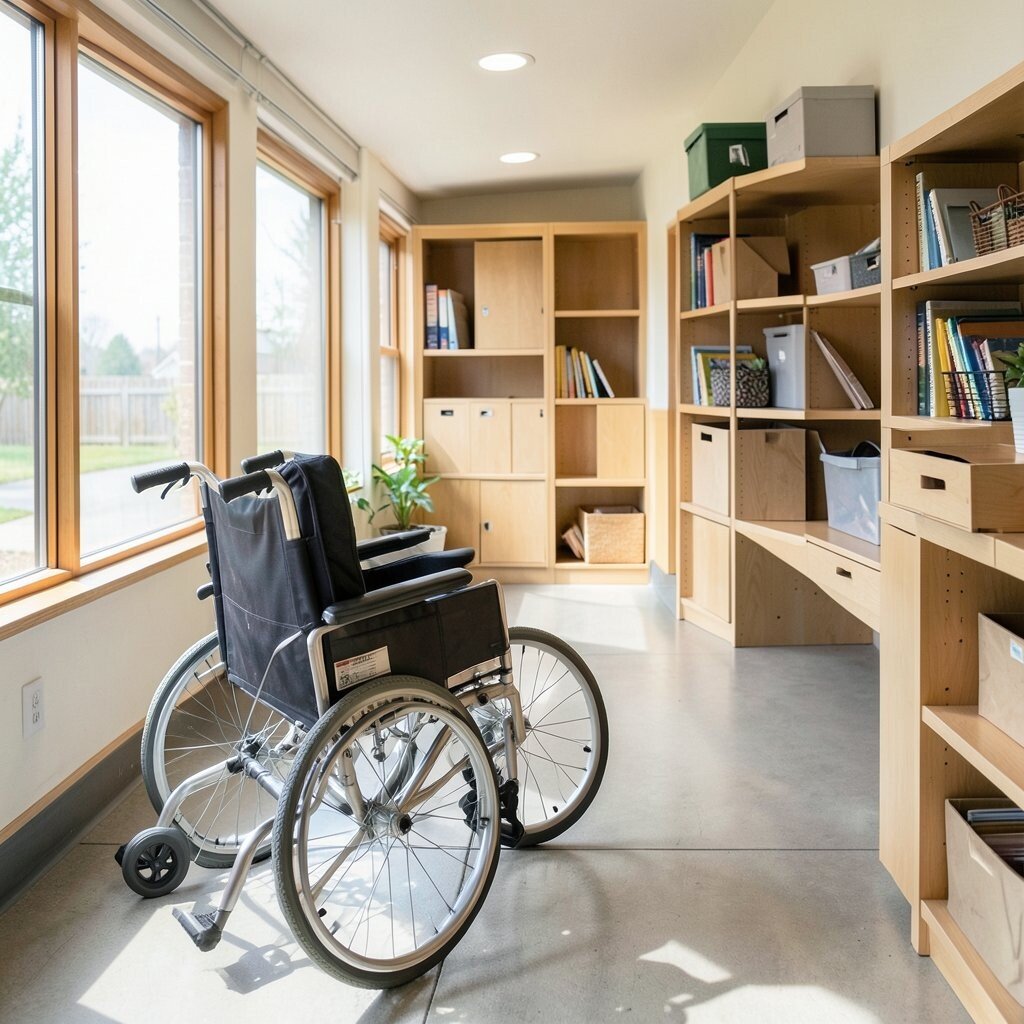
Storage can either help access or block it, so design it to keep routes open. Picture cabinets and shelves that hold items neatly without spilling into the corridor.
When walkways stay clear, wheelchairs move more smoothly and everyone avoids hazards. Use pull-out storage at reachable heights and consider bins with labels that are easy to read. A practical tip is to store cleaning carts and supplies in a dedicated closet near the service area, not in the main hall.
For personalization, choose storage colors that match your wayfinding system so visitors can intuit where things belong. Cost can be kept reasonable by reorganizing existing spaces first and then upgrading shelving where it fails. Many centers now prioritize “access first” operations, because the best design still needs daily habits to work.
16. Stair-Adjacent Rescue Lifts With Strong Emergency Signage
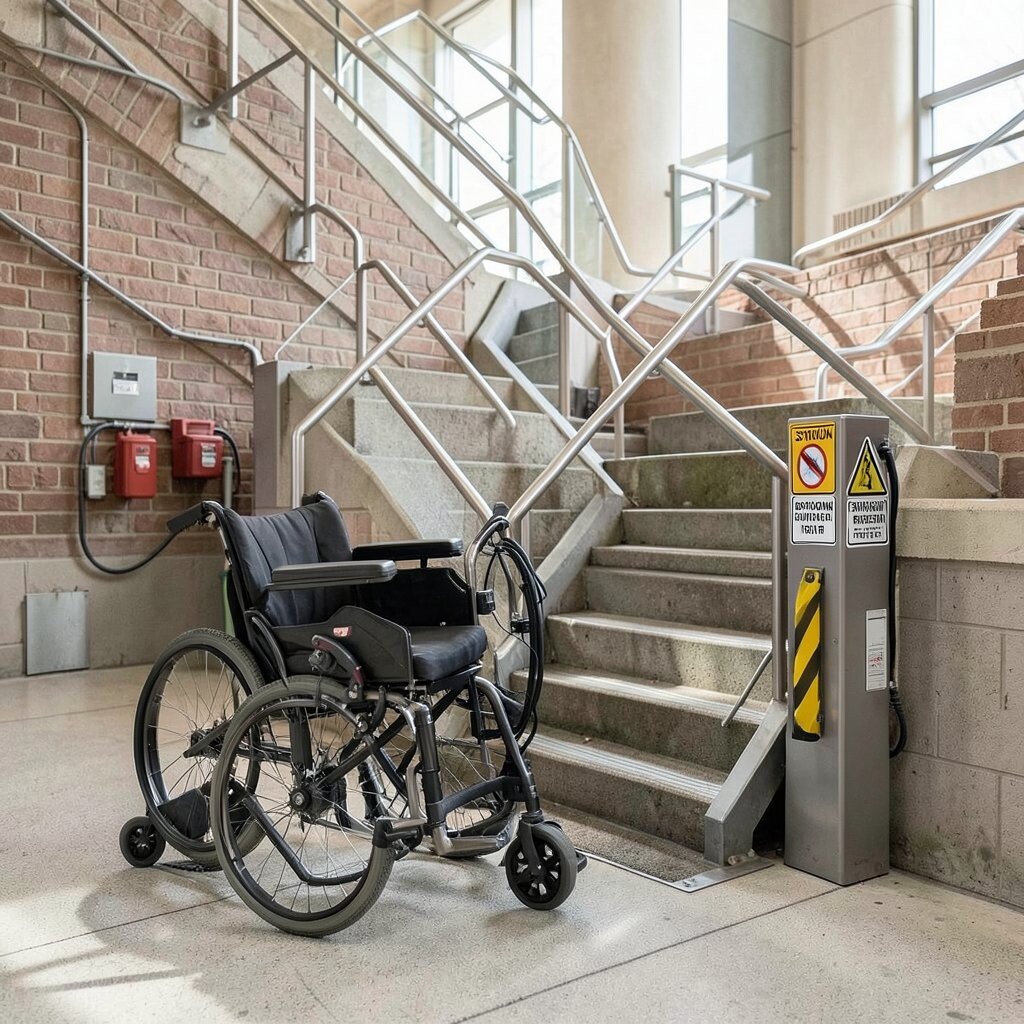
When stairs cannot be avoided, a rescue lift offers a safety-focused option for moving between levels. The visual presence can be subtle, but it should look clean, sturdy, and easy to understand.
Emergency-capable lifts support safety planning and can reduce barriers to participation in upper-level rooms. Pair the lift with clear signage that is readable from a distance and includes high-contrast colors. A practical tip is to schedule staff training for smooth operation so the system is reliable when it matters.
Personalize with a discreet, branded panel that explains what the lift is for and who to call. Cost considerations depend on site requirements, so consult for the most appropriate lift type and plan maintenance early. Current trends favor systems with intuitive controls and remote monitoring for quick response.
17. Safe Outdoor Seating Along Pathways With Footpath Continuity
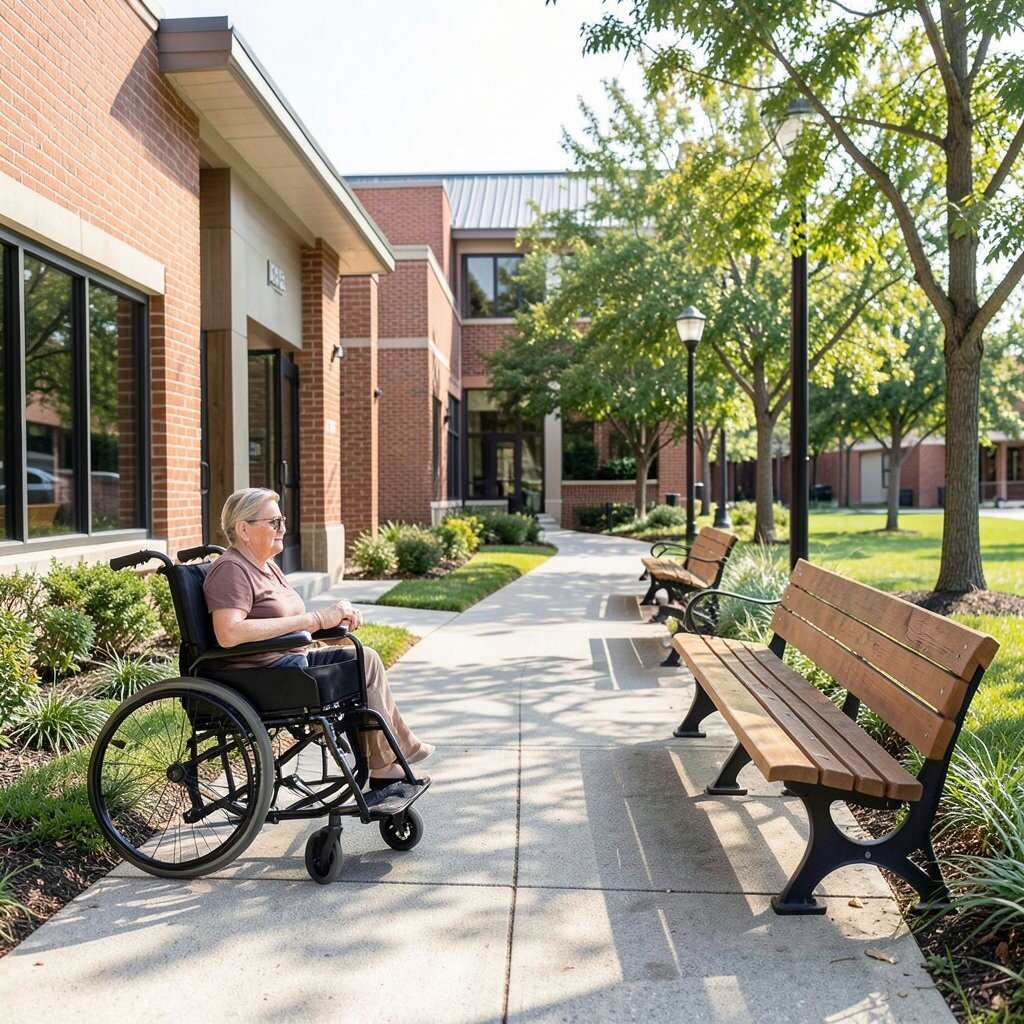
Outdoor pathways should include seating that is accessible and placed along the route, not tucked away. Imagine benches with armrests and nearby ground space for wheelchairs to pause comfortably.
Seating breaks make longer visits feel manageable, especially for seniors and families. Choose seating that provides back support and keep clear circulation space around it. A practical tip is to align benches with lighting and ensure the footpath stays continuous without narrowing near posts.
Personalize with community-made signs, such as names of local parks or sponsor acknowledgments. Costs can be moderated by adding a few high-quality benches instead of large landscaping rebuilds. Many centers now use durable materials that resist weathering, so the seating stays usable for years.
18. Accessible Parking With Marked Routes And Support From Staff
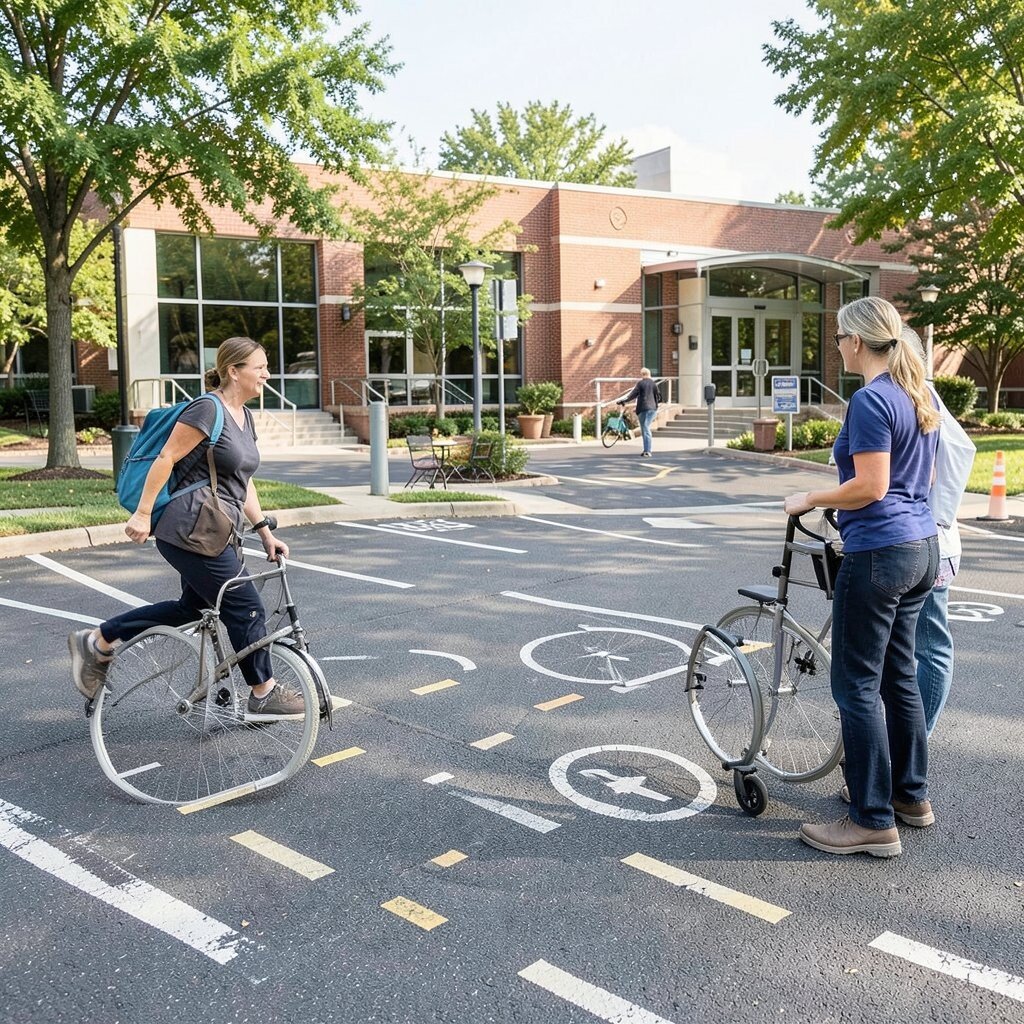
Accessible parking should be more than a spot; it should connect to the building through a clearly marked route. Think of bright pavement markings and a direct path that guides wheels from car to door.
When the route is predictable, people spend less energy navigating uneven ground or confusing intersections. Keep the accessible path wide and avoid placing planters that narrow circulation. A practical tip is to match the route markings with indoor wayfinding colors so visitors feel continuity.
Personalize with a welcoming sign near the lot that explains accessible entry points and where help can be found. Cost considerations include pavement paint and minor curb adjustments, which are often lower than major construction. Current trends also include staff greeters and QR codes for quick navigation assistance when appropriate.
Consider seasonal changes, such as snow clearing priorities, because access is only good when the route stays usable.
19. Raised Planter Edges And Horticulture Tables For Seated Participation
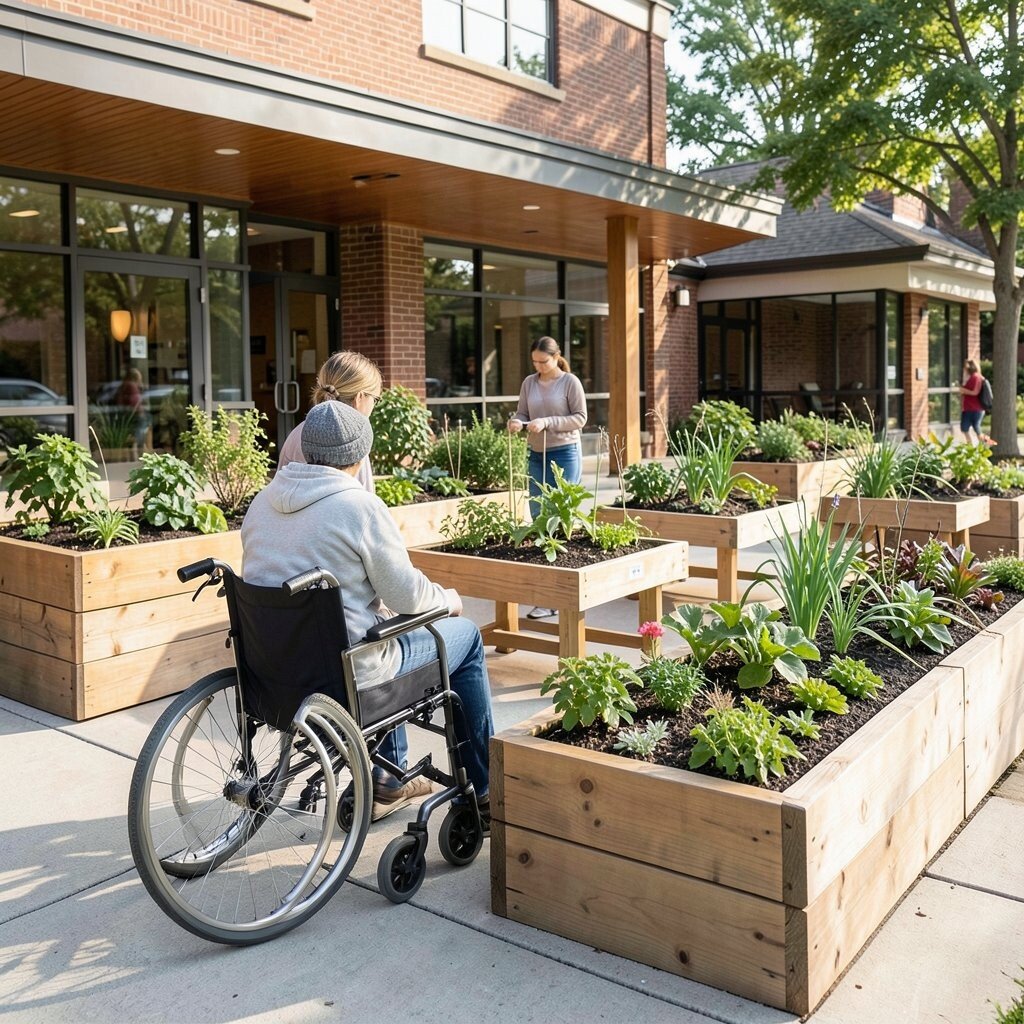
Community gardens and outdoor programs can include raised planters and horticulture tables at comfortable heights. Picture smooth-edged beds with tool storage and seating spaces that match the viewing angle from a wheelchair.
Raised features let people participate in gardening with less bending and less strain. Provide stable, non-slip surfaces for transferring and include reachable tool hooks so tools do not require standing. A practical tip is to keep the work surface depth consistent, so elbows rest comfortably during tasks.
Personalize the planters with engraved community messages or nameplates for youth groups and sponsors. Costs can vary, but built-up raised beds often use simple materials and can be phased over time. Many centers are trending toward inclusive “garden-by-design” spaces that invite participation from many mobility levels.
20. Flexible Seating Platforms With Removable Rail Or Low Barriers
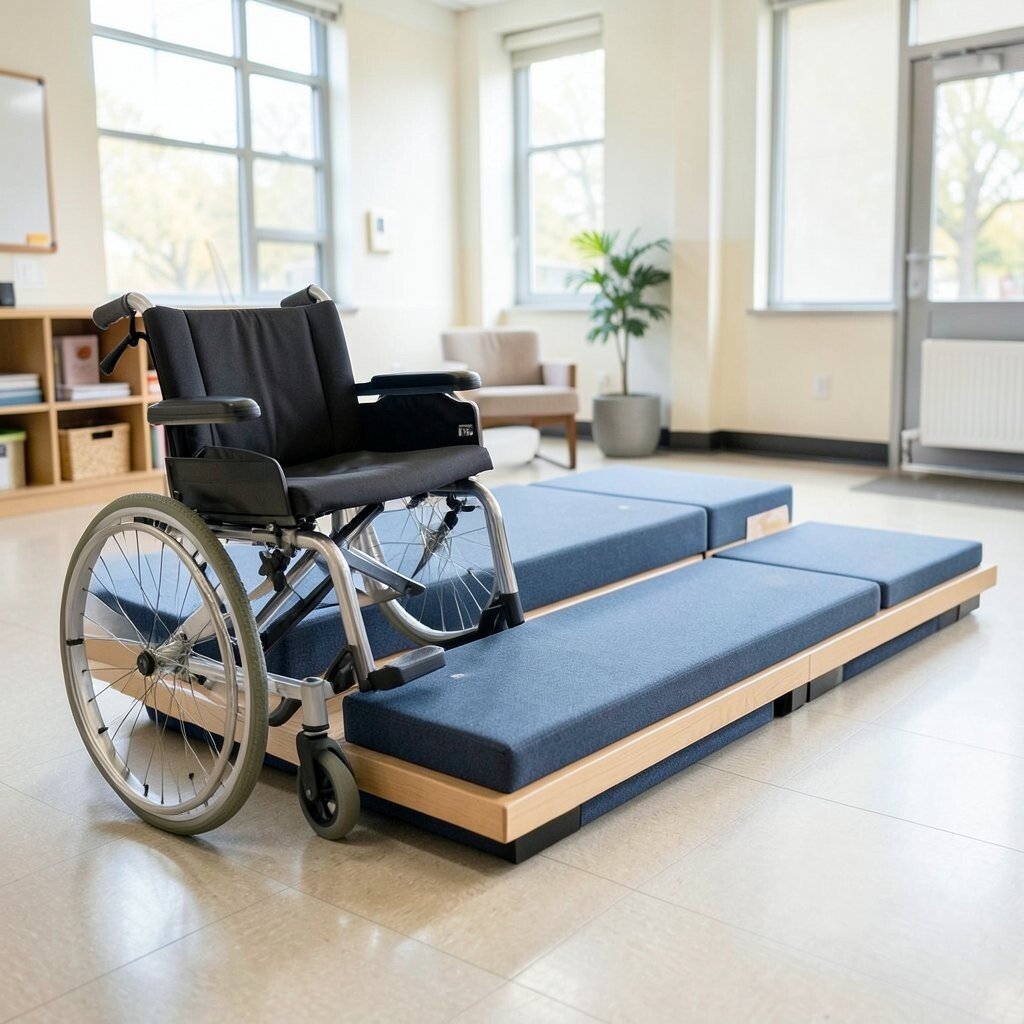
For auditoriums and multi-purpose rooms, seating platforms can provide accessible viewing without locking people into one position. Imagine a low platform with an open floor plan and removable barriers that can adjust for different events.
This design gives people choice and comfort, whether they are watching a performance or joining a workshop. Choose platform surfaces with grip and set them so wheelchairs can roll in smoothly. A practical tip is to align platform space with stage sightlines and test it during real program setup.
Personalize with event-specific overlays, like seasonal color bands or logo decals on the platform edge. Cost considerations depend on whether you retrofit existing flooring or build new platforms, but phased installation can help manage spending. Current trends focus on universal design and reconfigurable layouts, which lets your center serve more people with the same space.
For accessibility confidence, include clear staff guidance during setups and keep emergency paths unobstructed at all times.