That moment your feet cross from one surface to the next can feel tiny, or it can feel messy. With the right transition, your whole room can look calm and finished.
Below are practical ways to make every hallway, living space, and kitchen line up beautifully.
1. Flush Reducer Strips For Clean Level Steps
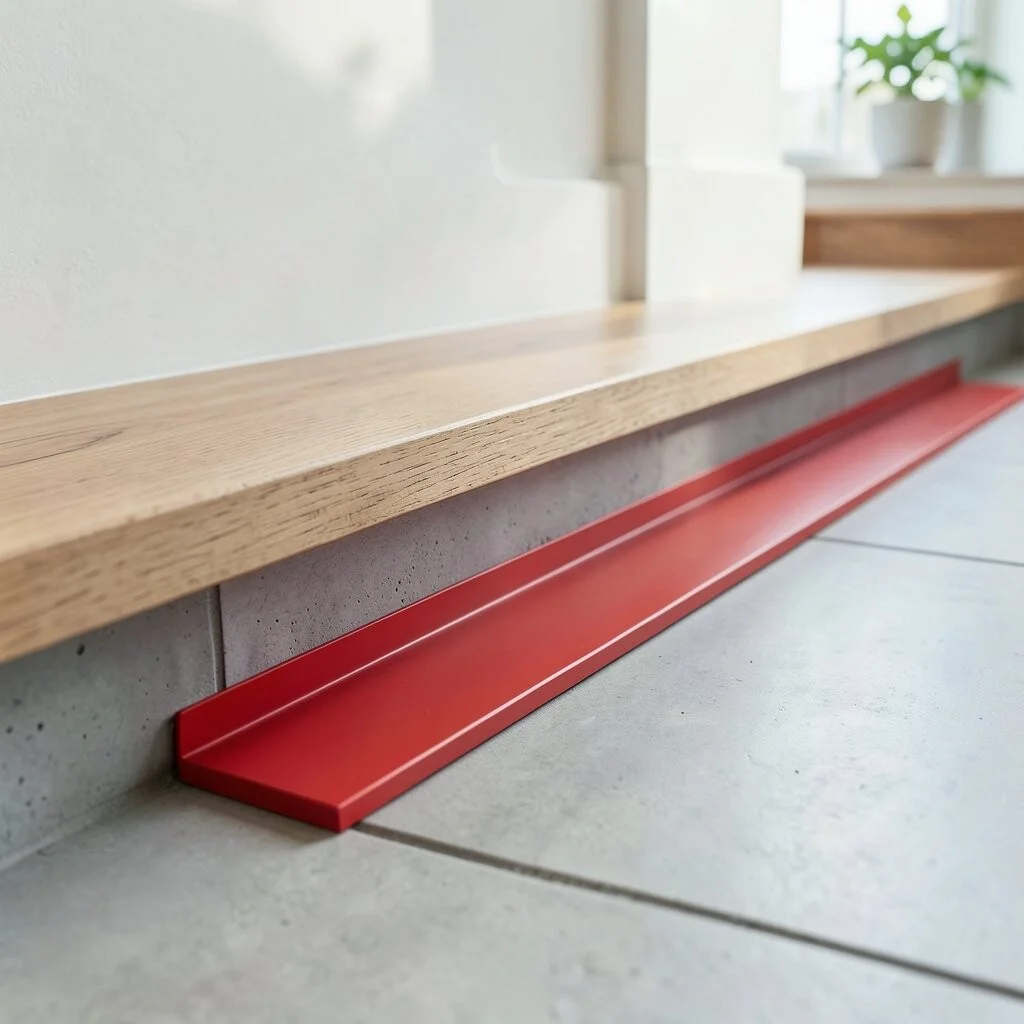
A flush reducer strip helps keep two floor heights looking even, with no awkward lip to catch your shoes. You’ll notice how the line feels neat as your eyes glide from one surface to the other.
Choose a reducer that matches your floor tone or your metal fixtures so it looks intentional. Measure the height difference carefully, especially if one side has underlayment, and use transition profiles designed for your flooring thickness.
2. T-Molding For Smooth Joints Between Rooms
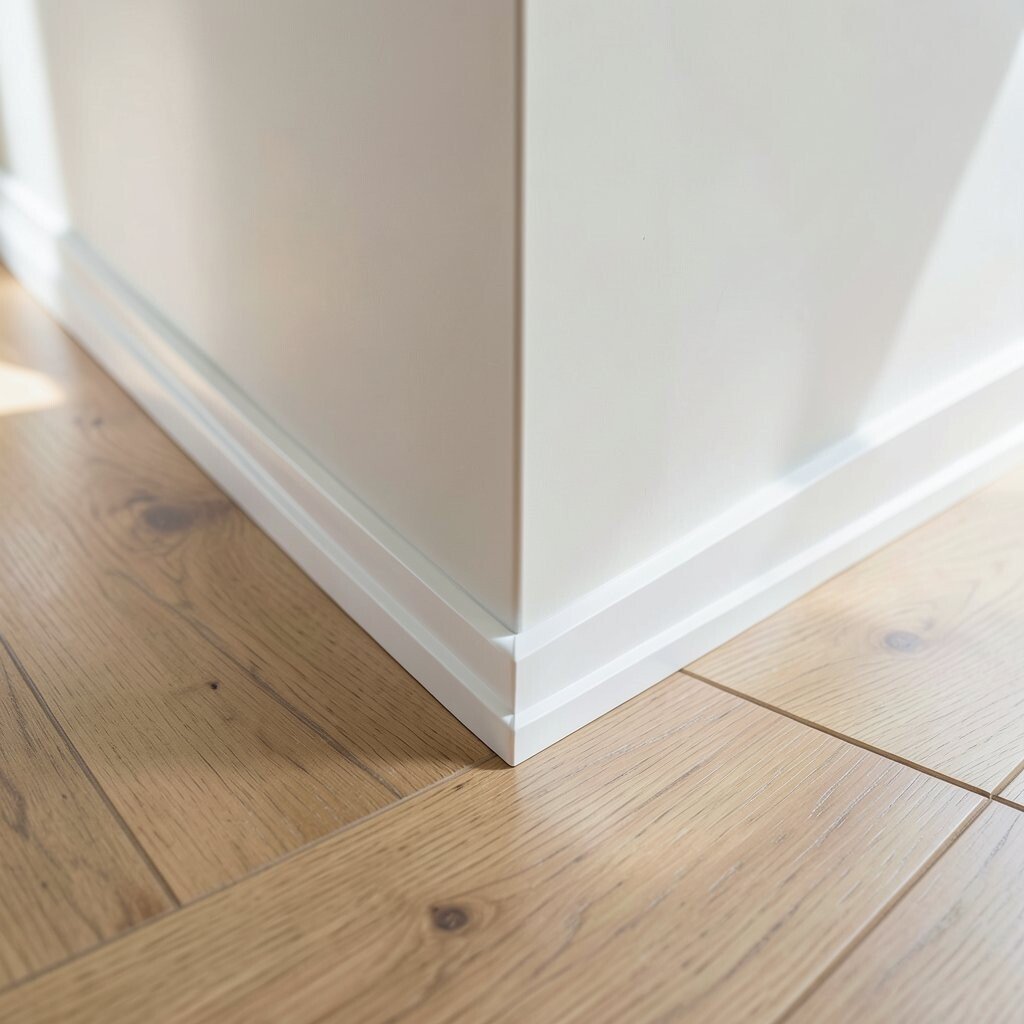
T-molding works like a small bridge between two floors, with a center seam that stays tidy. When it’s installed well, the joint looks crisp, like the floor was made as one.
Pick a finish that matches your hardware, such as brushed nickel or warm brass, to keep the style cohesive. For best results, use proper expansion gaps on both sides so the floors can move without buckling.
To keep the look personal, paint or stain adjacent wood trims so the transition blends naturally into your style. T-molding is often a budget-friendly option because it doesn’t require rebuilding the whole floor edge.
3. Matching Wood Thresholds For Warm Entryways
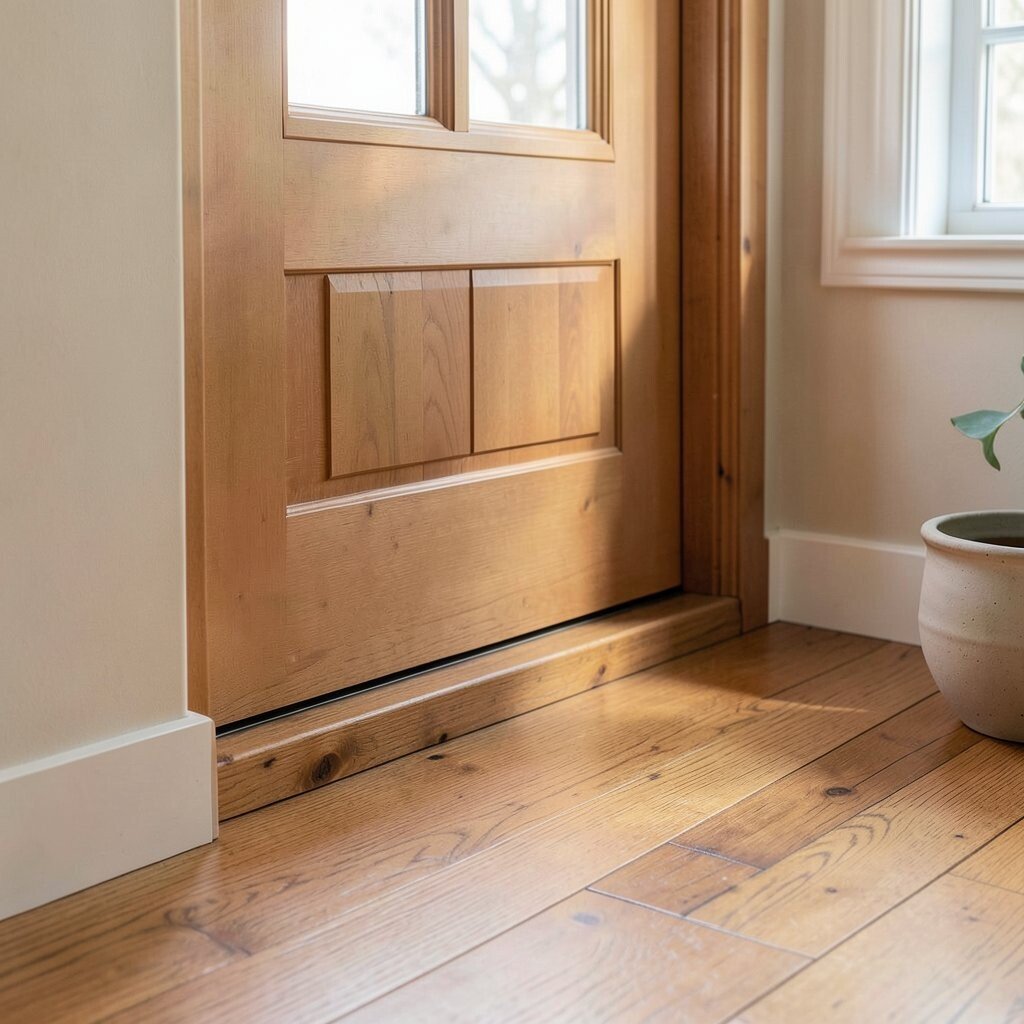
A matching wood threshold gives entrances a welcoming, finished feel right where people step in. The grain pattern can echo your interior doors, creating a consistent style across the home.
Opt for a threshold height that’s comfortable for bare feet and easy on moving furniture. If you’re using hardwood in one space and tile in the next, a wood threshold can soften the contrast while still defining the boundary.
For personalization, choose a wood species with a similar undertone, like honey oak or darker walnut, so it doesn’t look mismatched. Plan on slightly more effort than metal strips since wood may need staining and sealing, but the warmth is worth it.
4. Metal Schluter-Style Profiles For A Modern Edge
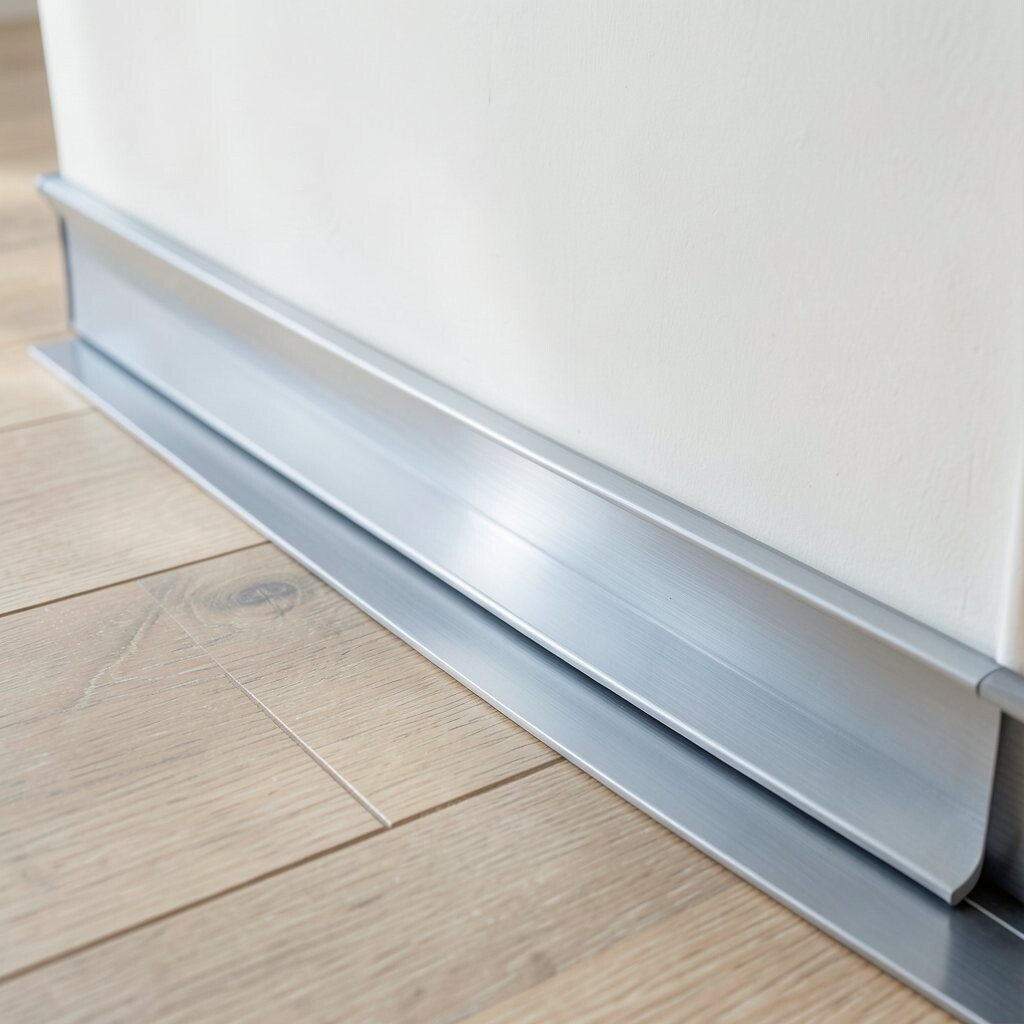
Metal profiles create a sleek, modern border that looks especially sharp at tile transitions. You’ll see the clean line as light reflects across the surface, adding a polished feel.
Use profiles designed for your tile height and mortar bed, because the fit matters a lot for visual alignment. A current trend is choosing satin finishes, which resist fingerprints and still look bright in everyday lighting.
5. Stair Nose Transitions For Safer, Smoother Steps
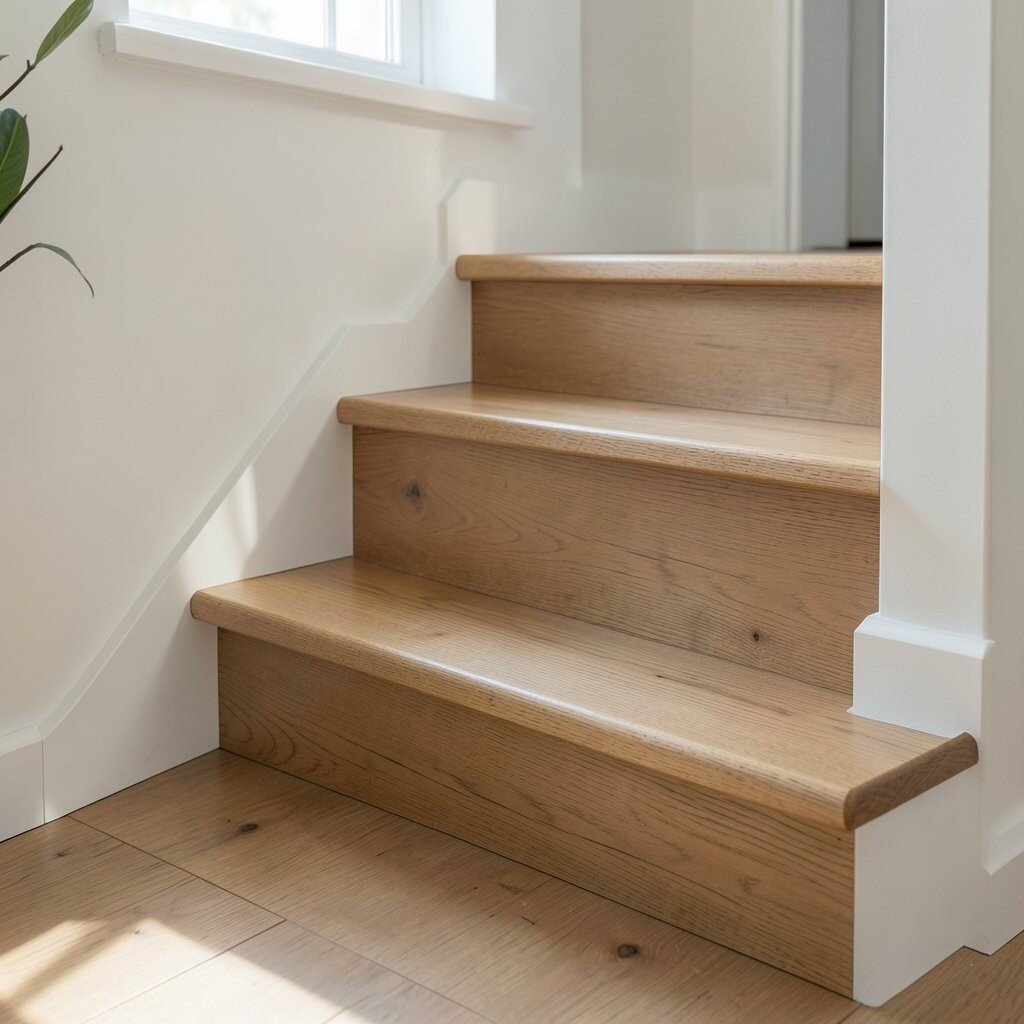
Stair nose transitions help cover small height changes and protect the front edge of each step. When the nose is sized right, the stairs look uniform and feel safer underfoot.
Pick a nose with a gentle slope and a grip-friendly finish, especially for homes with kids or older adults. For a desirable upgrade, coordinate the nose color with handrails and baseboards so the stair area feels part of the same design story.
Budget wisely by installing noses only where needed rather than replacing every step tread. If you’re doing DIY, double-check the rise and tread measurements before ordering to avoid gaps that can snag shoes.
6. Accordion-Style Transition Rolls For Flexible Flooring

Transition rolls can be a smart choice where flooring is slightly uneven or where you need flexibility. You’ll appreciate how the rolled surface can bridge small gaps without looking patchy.
They are commonly used for transitions that involve flexible materials, like certain vinyl or rubber floors. To personalize, choose colors that echo your rug palette, such as charcoal, oatmeal, or muted green.
Keep comfort in mind since softer transitions can feel better underfoot. A practical approach is to test a small section first, because surface prep and fit determine how clean the seam looks.
7. Custom-Built Thresholds For Older Homes With Quirks

Older homes often have slightly crooked floor lines, and custom thresholds can make everything look intentional. When the piece is shaped to your exact doorway, the seam disappears into a smoother visual rhythm.
Work with a trim carpenter or use a template so the threshold matches the exact width and angle of the opening. This uniqueness helps your transition feel like it belongs, even if the subfloor isn’t perfect.
Costs can be higher than pre-made strips, but the result is usually worth it in tricky layouts. If you want to keep it affordable, ask about a simple wood threshold with a stain you already have or a matching finish to your existing trim.
8. Cork Underlayment Transitions For Quieter Floors
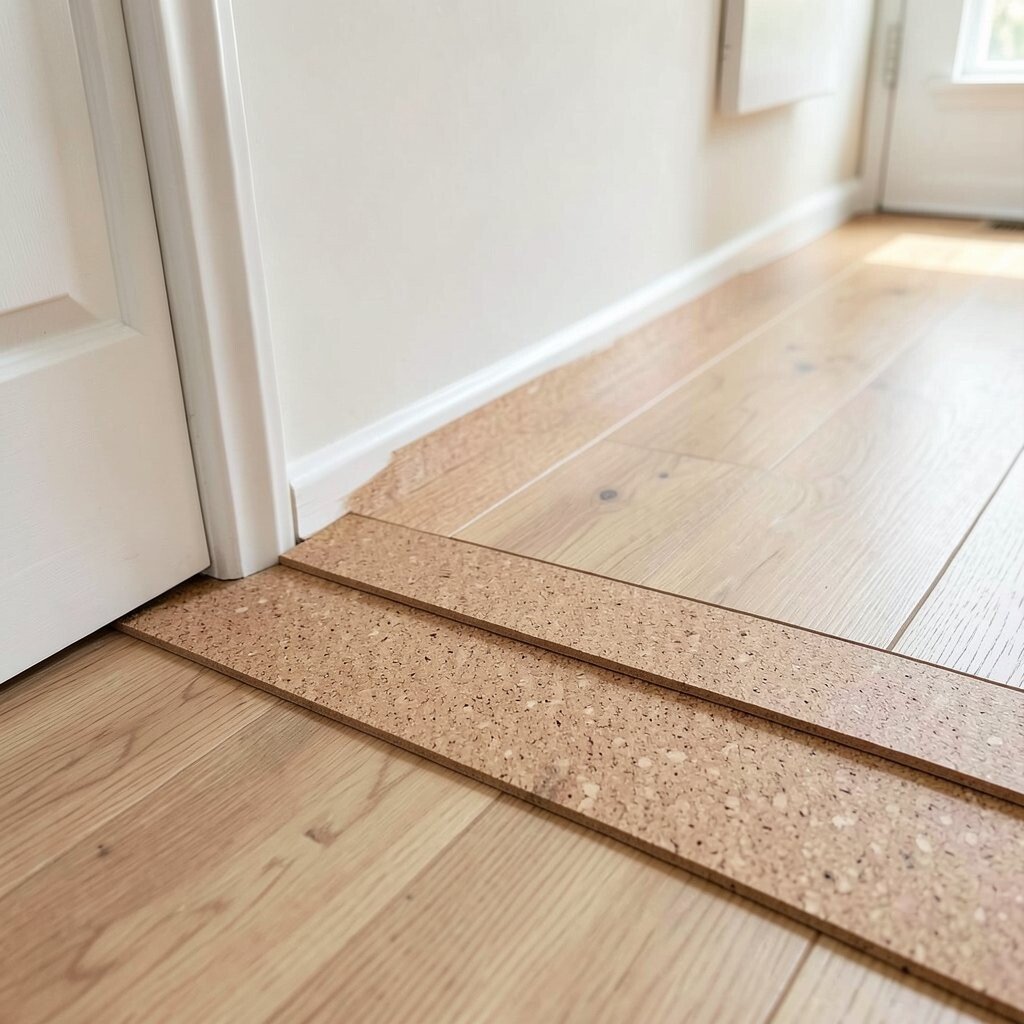
Cork underlayment can reduce noise where floors meet, especially between rooms with different flooring types. You’ll notice the calmer feel as footsteps sound less sharp across the transition line.
It also helps smooth minor height differences, which can prevent uneven joints from looking messy. For practicality, use cork with flooring systems that allow it and verify that your transition strip still covers the edge neatly.
To personalize the comfort level, combine cork with a transition strip that has the right profile for your flooring height. This approach can cost a little more upfront, but it can save you from future problems like squeaks and uneven wear.
9. Recessed Transition Edges For No-Obstruction Flow
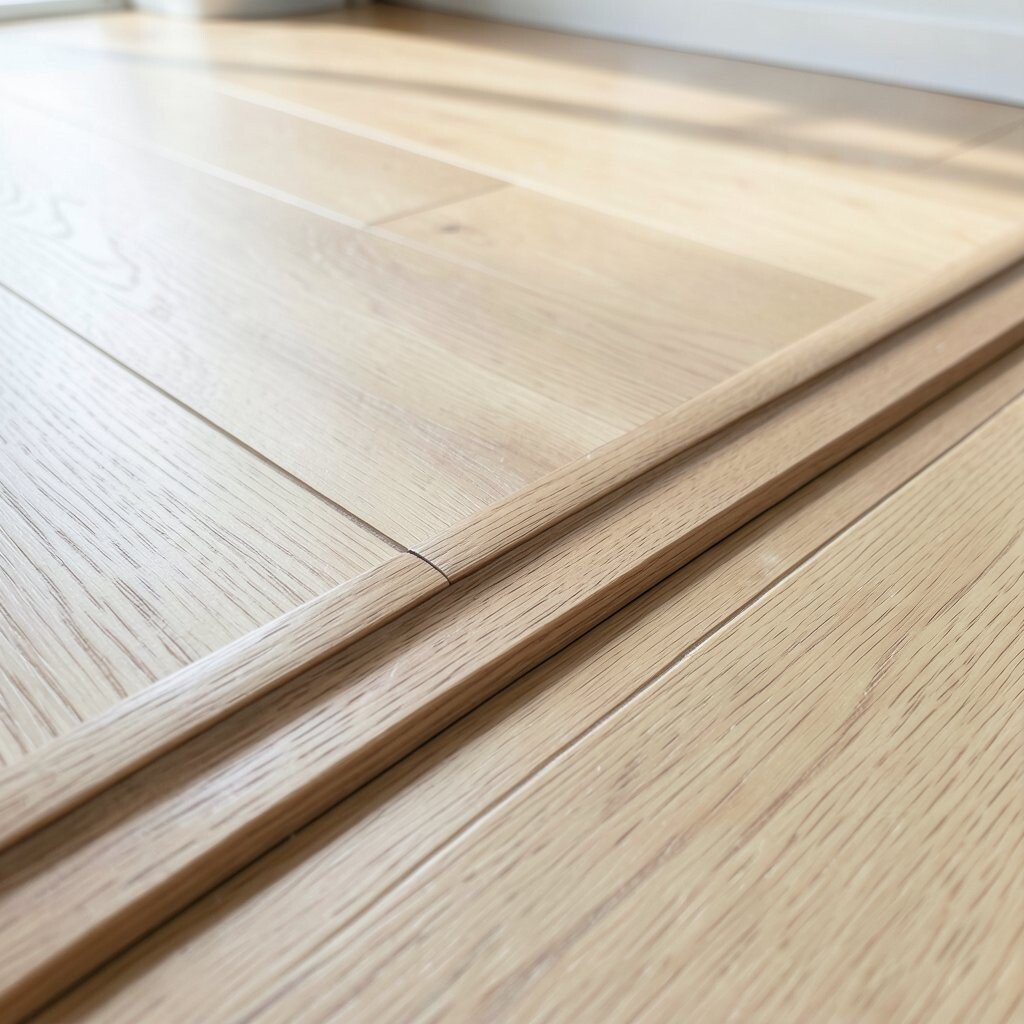
Recessed transition edges sit lower and create a near-seamless look between floors. The visual effect is smooth, and you don’t feel a bump when moving through a doorway.
They work well in high-traffic routes like kitchen to dining or living to hallway. To get it right, plan for the extra prep work because the subfloor may need shaping so the profile sits flush.
10. Color-Matched Laminate Reducers For Consistent Lines
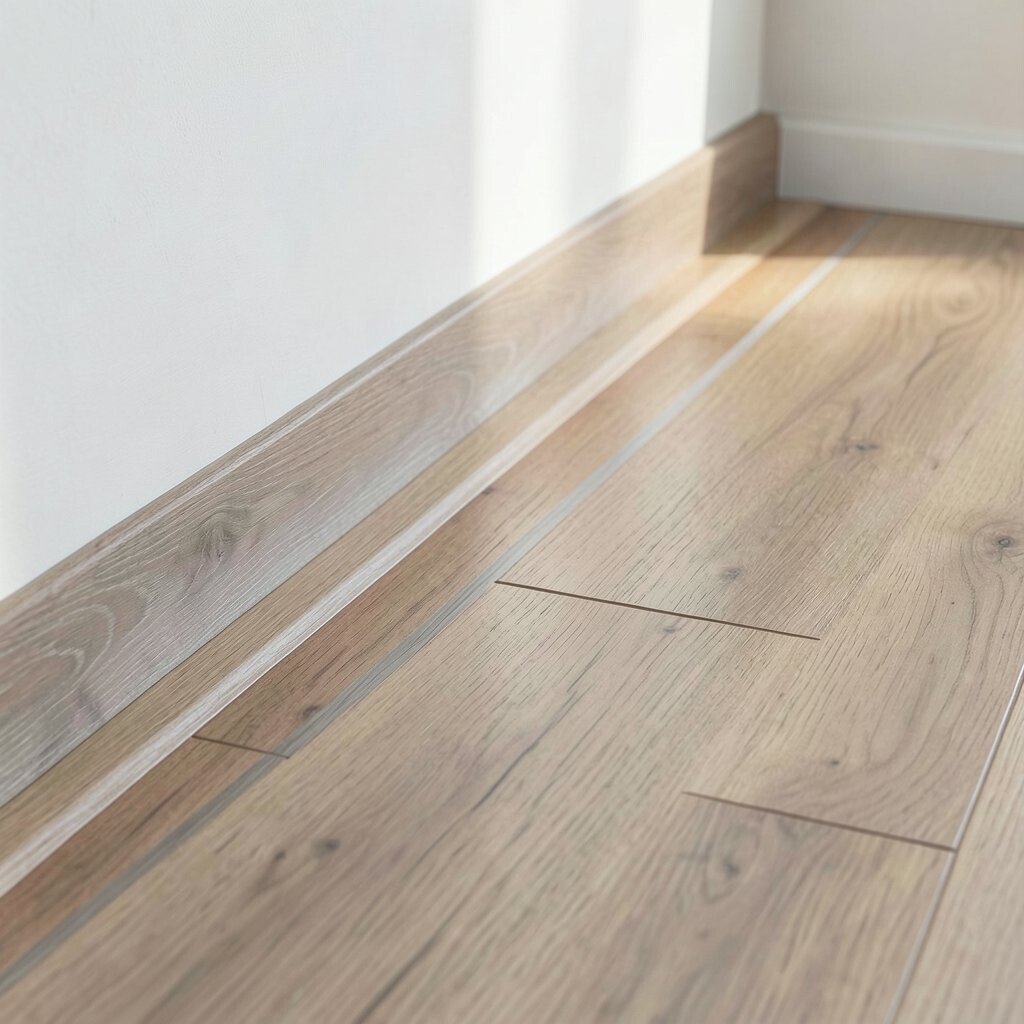
Color-matched laminate reducers make transitions feel like they belong to one continuous floor. The moment you cross the seam, your eyes stay calm because the shade and sheen match.
Choose reducers that have similar texture and wear layer look, not just a similar color name. If you have small variations, consider a slightly lighter reducer to avoid harsh contrast in bright rooms.
This idea is popular right now because it keeps open-concept spaces looking cohesive. Budget is often friendly since many reducers come in multiple finishes that don’t require custom milling.
11. Stone-To-Wood Transitions With Clean Metal Joints
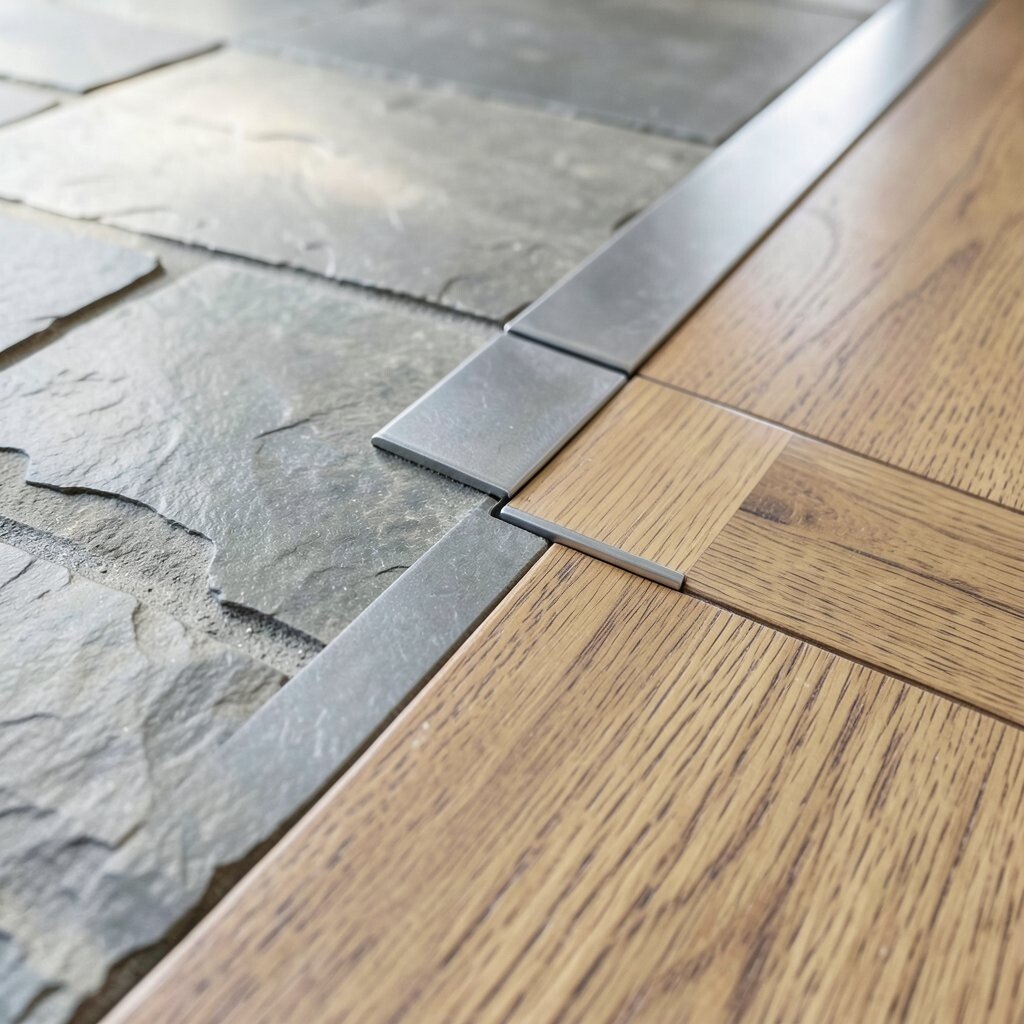
When stone meets wood, the visual contrast can be beautiful, and the right transition keeps it balanced. A clean metal joint frames that difference so the flooring surfaces feel like they’re working together.
Choose a metal color that ties into your room elements, like cabinet pulls, light fixtures, or shower hardware. For practical comfort, pick a profile that bridges the gap without creating a toe-catching edge.
If your stone is honed, look for matte or brushed metals to keep the texture story consistent. Custom profiles can cost more, but standard metal transitions often do a great job if your height difference is within their range.
12. Matte Black Transitions For Bold, Graphic Contrast
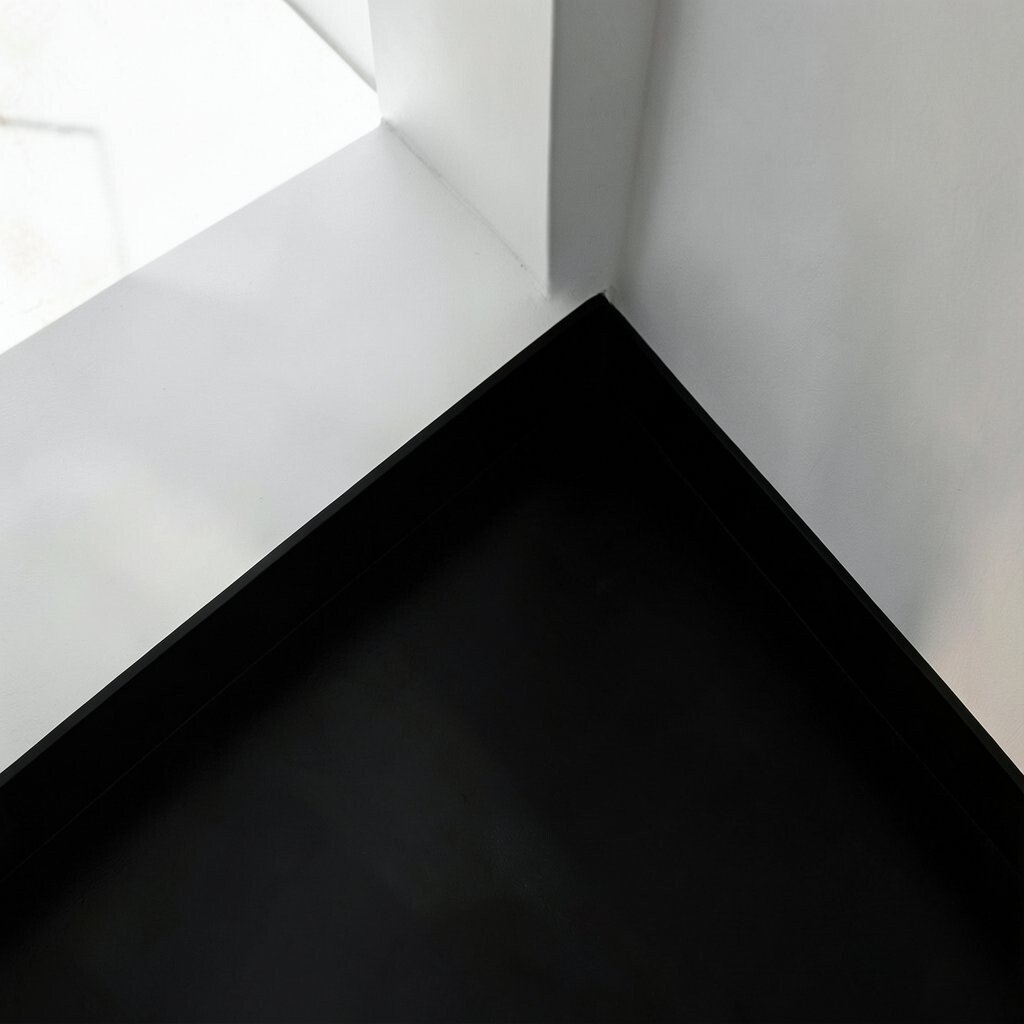
Matte black transitions make a strong design statement that looks crisp and modern. In daylight, the finish looks intentional and graphic, especially between neutral floors.
Pair matte black strips with black frames, faucets, or lighting for a cohesive look that feels stylish rather than random. To keep it practical, wipe the seam with a gentle cleaner because matte finishes can show dust more than glossy ones.
This is a current trend in many kitchens and baths, where the contrast feels clean and high-end. You can control cost by using matte black only on the most visible doorways while matching the rest to your flooring tone.
13. Bronze Or Brass Transitions For Soft, Luxe Warmth
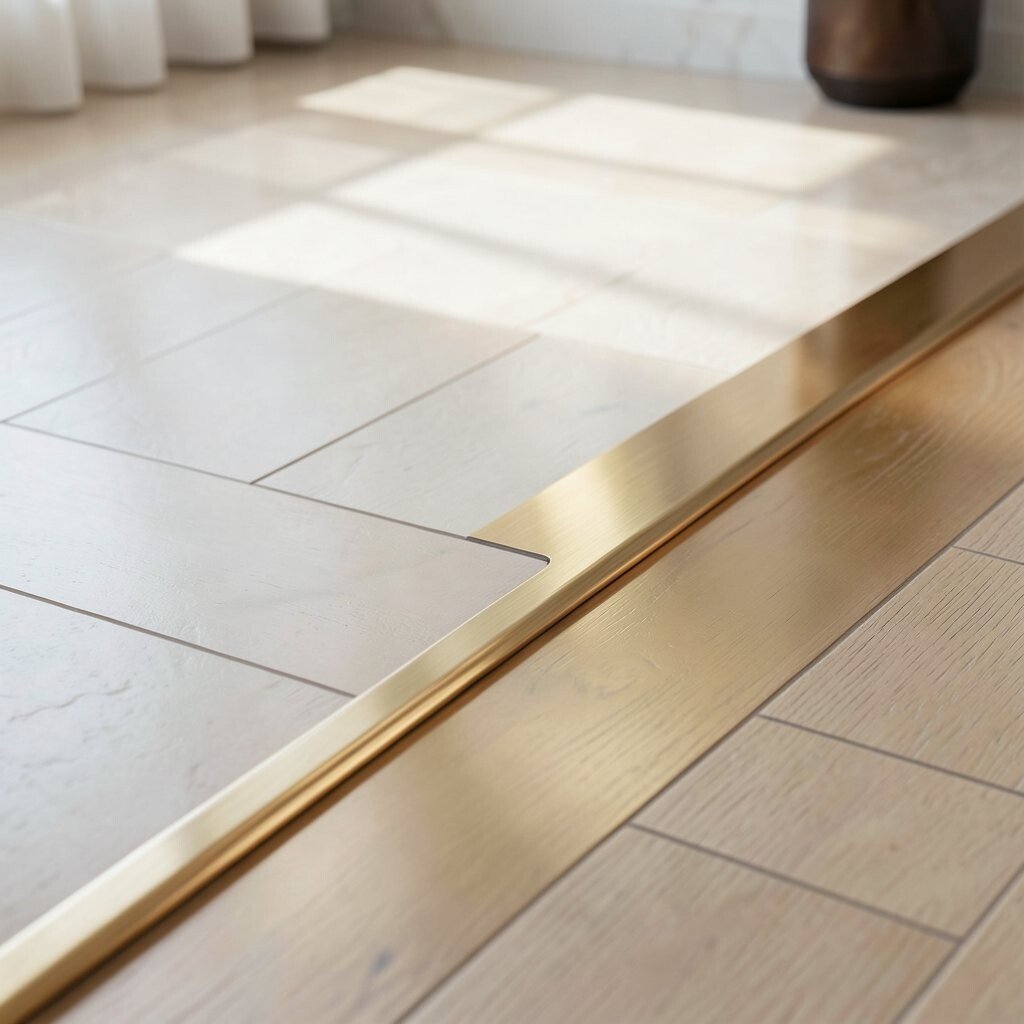
Bronze and brass transitions add a warm glow that makes floors feel more curated. The golden undertone pairs nicely with wood, warm tile, and even creamy stone colors.
Pick a finish that matches your faucets, cabinet hinges, or door handles so the whole home feels coordinated. For personalization, choose aged bronze if you want a softer look, or choose brighter brass if you like a more modern shine.
Cost can vary because brass-toned profiles may cost more than basic silver metal, but the warmth often elevates the whole space. When installed neatly, it looks like a designer upgrade even if the materials are straightforward.
14. Vinyl-To-Carpet Transitions For Cozy, Neat Edges
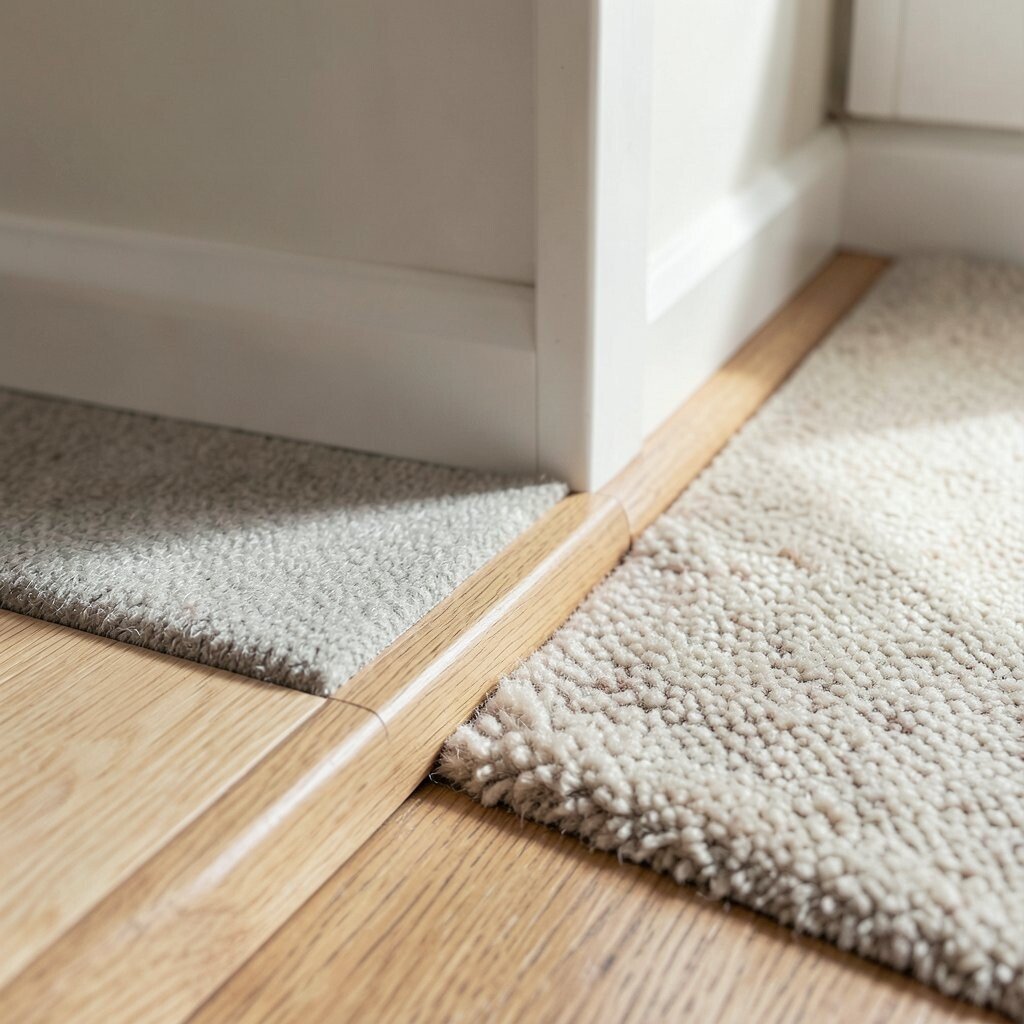
Vinyl-to-carpet transitions help your rooms feel cozy while still looking tidy. You’ll see a clean border that prevents carpet fibers from fraying at the doorway.
Use a transition piece that accommodates carpet thickness, including the padding you actually use. It’s smart to measure the carpet pile because transitions that are too shallow can lift or catch on feet.
For personalization, pick a finish that matches your baseboards so the transition blends into the overall wall line. Many of these options are budget-friendly, and they make day-to-day movement feel smoother.
15. Carpet Edge Reducers For A Sleek, Low-Profile Look
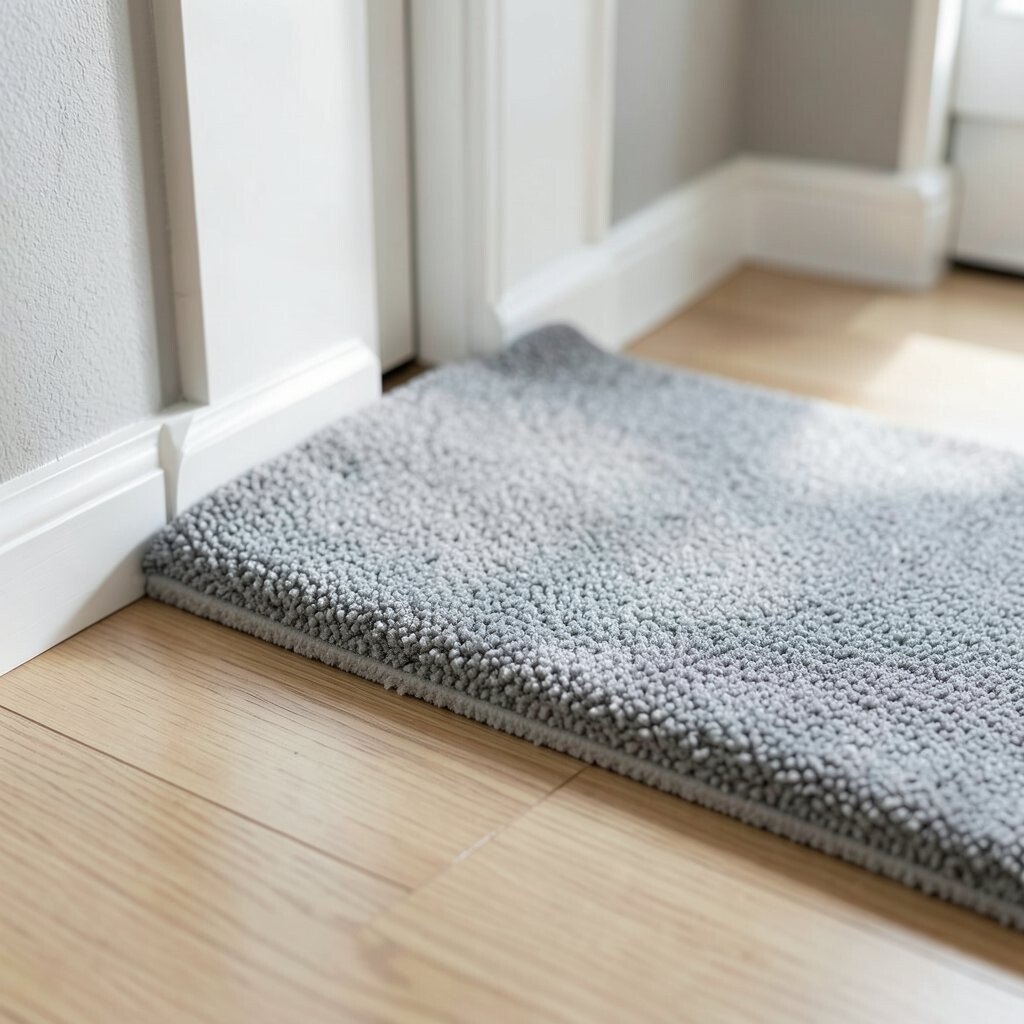
Carpet edge reducers create a low-profile finish that helps floors feel seamless. When you walk from carpet into hard flooring, the shift feels gentle and tidy rather than abrupt.
Choose a reducer with a stable base so it doesn’t shift as people walk. For practical upkeep, pick a profile that’s easy to clean since doorway transitions collect dust and tiny debris.
If you want a modern feel, select a minimalist piece in brushed steel or a tone close to your carpet’s undertone. This kind of upgrade usually costs less than replacing flooring, yet it can change the look a lot.
16. Waterproof Thresholds For Kitchens And Bathrooms
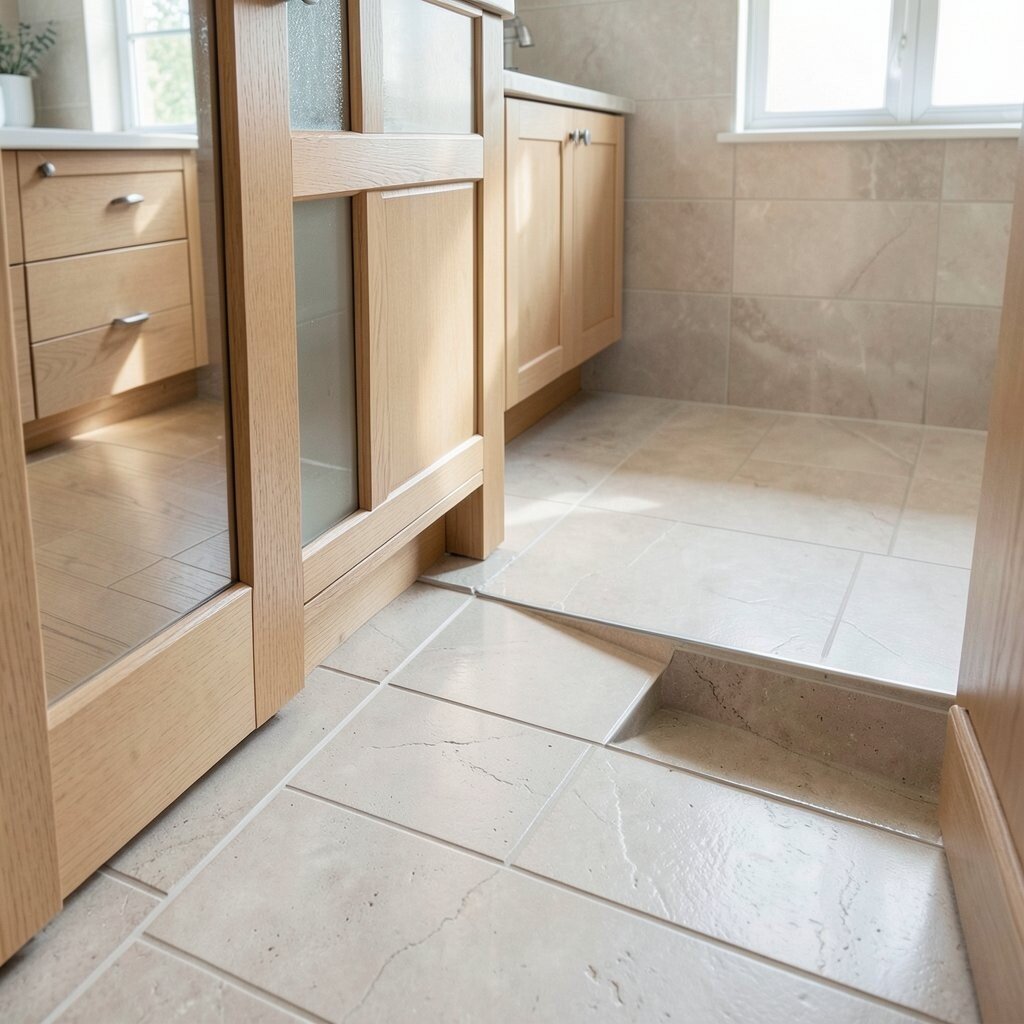
Waterproof thresholds are built for the places that see spills, splashes, and wet shoes. The visual payoff is a neat edge that stays protected, so the seam doesn’t get swollen or stained.
Look for profiles that seal well and match the height of your tile or vinyl so water can’t sneak under. A practical tip is to check that the threshold works with your subfloor type and that any sealant you use is compatible with your materials.
To personalize, choose a finish that matches your bath hardware and faucet style. This can cost a bit more, but avoiding water damage is one of the best long-term savings you can make.
17. Heat-Warp Resistant Transitions For Radiant Floors
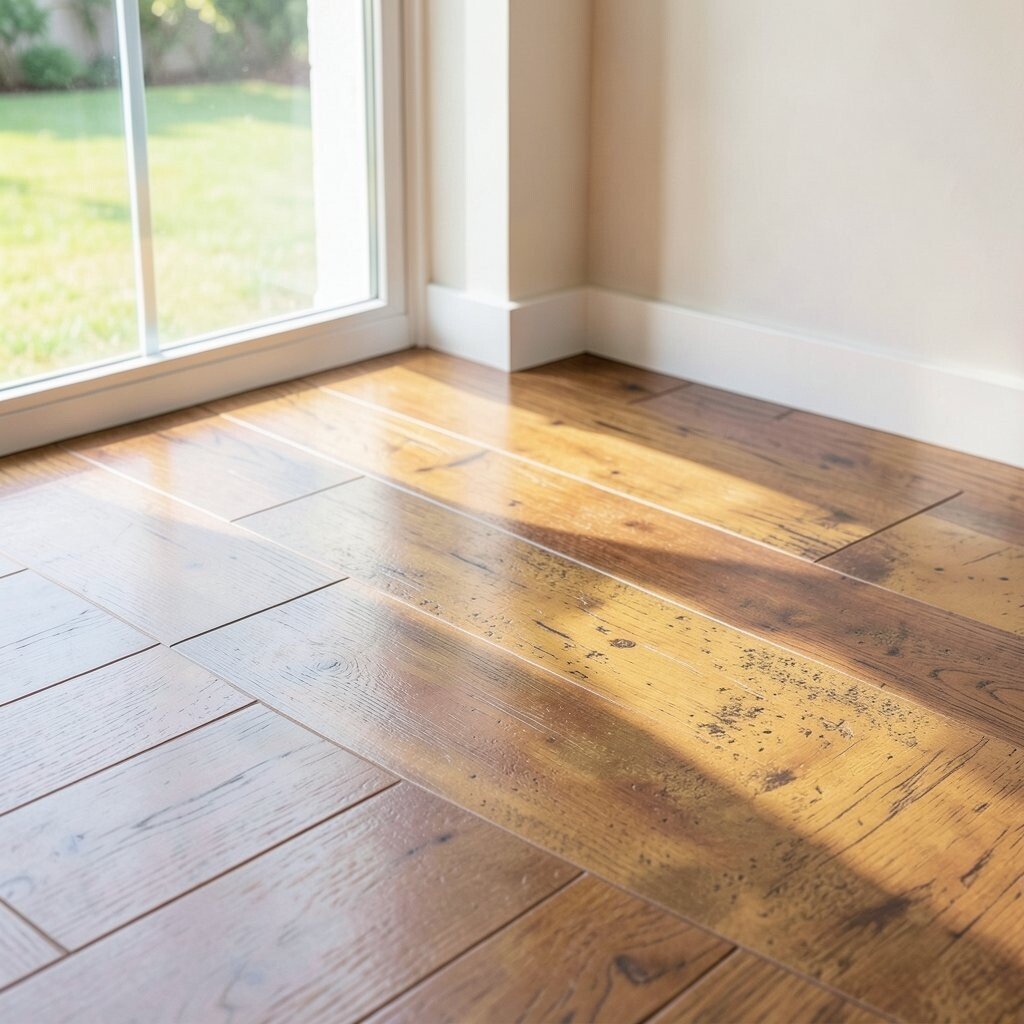
If you have radiant heat, the transition needs to handle temperature changes without warping. A well-chosen profile keeps the seam aligned, so the flooring looks smooth even after long winter mornings.
Consider transition pieces rated for floor heating systems, and ensure the installation leaves proper movement room. For uniqueness, you can match the profile color to your trim so the heated zones feel visually consistent.
Plan ahead for installation timing because radiant systems often require careful curing steps. While specialized parts may cost more, you can prevent future gaps that are annoying to fix.
18. Two-Surface Inlay Borders For Designer-Like Detailing

Two-surface inlay borders add a decorative line that turns a transition into a design feature. Instead of hiding the seam, you frame it so the boundary feels like intentional styling.
Think about using thin wood inlay between tile and hardwood, or a slim stone border between vinyl and laminate. For a practical approach, keep the pattern simple so it doesn’t overpower busy rooms.
This option is unique because it can echo your backsplash, fireplace tile, or bathroom niche details. Costs can run higher since inlay work is more labor-intensive, but the effect looks custom and timeless.
19. Seamless Micro-Bevel Transitions For Ultra-Fine Edges
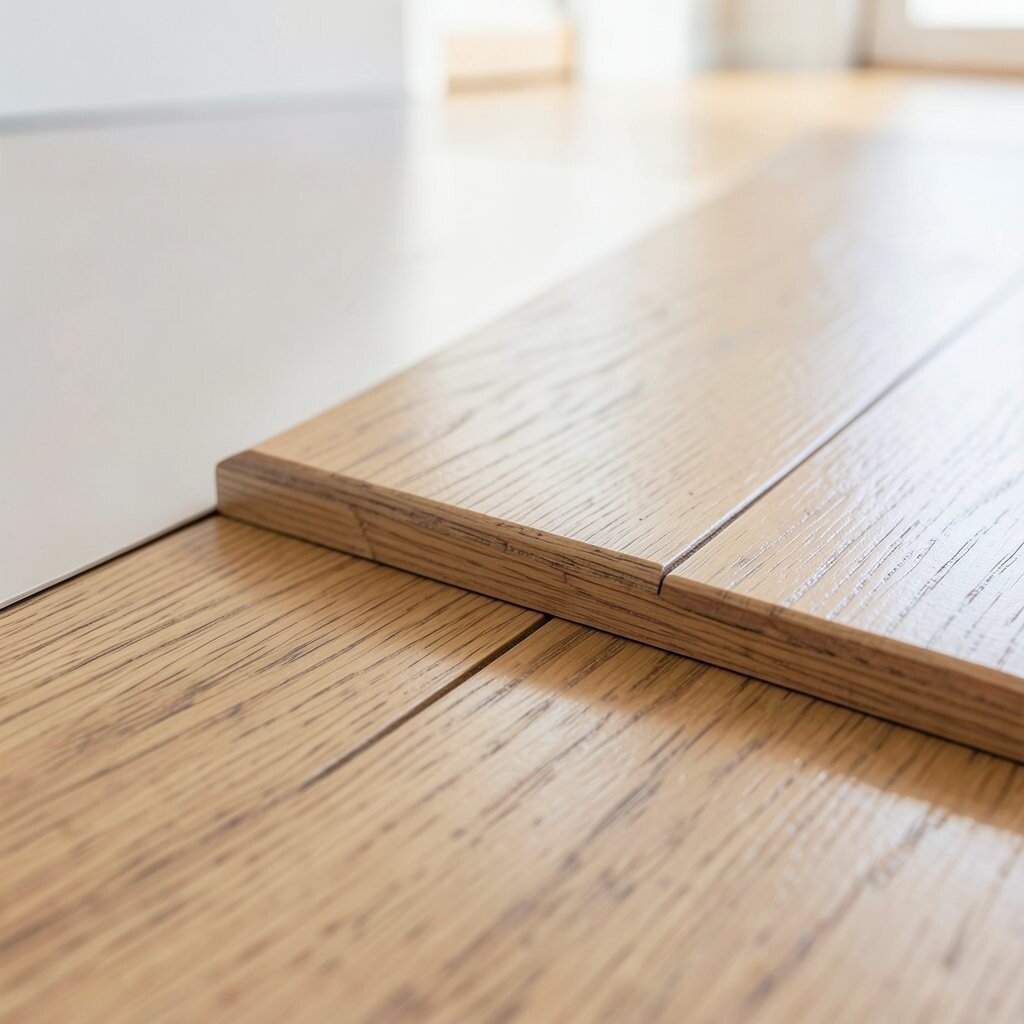
Micro-bevel transitions create a subtle shadow line that makes floors look polished and neatly finished. The tiny chamfer helps soften the edge so the connection feels smooth instead of blunt.
This approach is popular in modern flooring because it keeps the transition visually crisp without adding bulky profiles. If you’re pairing planks or sheets of different materials, choose transition pieces that match the bevel style so the seam looks consistent.
For personalization, match the color undertone closely and consider lighting since micro-bevel edges show shadows differently at night. While costs can vary, this look often relies on choosing the right profile rather than rebuilding the entire floor, which keeps the project manageable.