The air changes when flowers show up in your hands. These crafts turn that feeling into something you can keep.
From paper petals to living arrangements, you can make designs that look special and feel personal.
1. Watercolor Petal Postcards
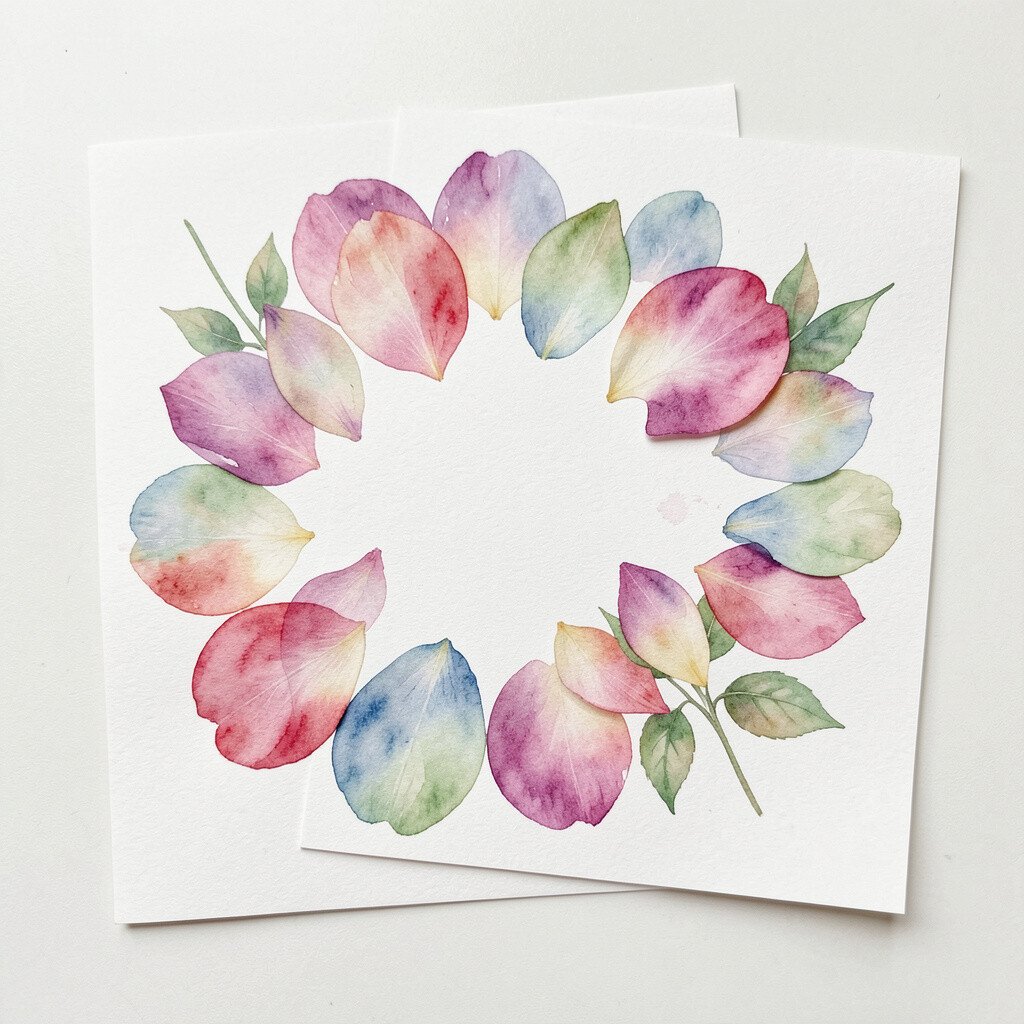
Paint loose watercolor petals on thick paper, then cut and fold them into postcard shapes. Add a few deep greens and gentle blush tones so the blooms look like they are floating.
Use a fine brush for veins, and dab a paper towel at the edges to soften the color. The benefit is that these look artsy without needing fancy tools, and they dry flat for easy mailing. For personalization, write the recipient’s name in light pencil, then trace over it with a tiny brush once the petals have set.
2. Pressed Flower Bookmark Collage
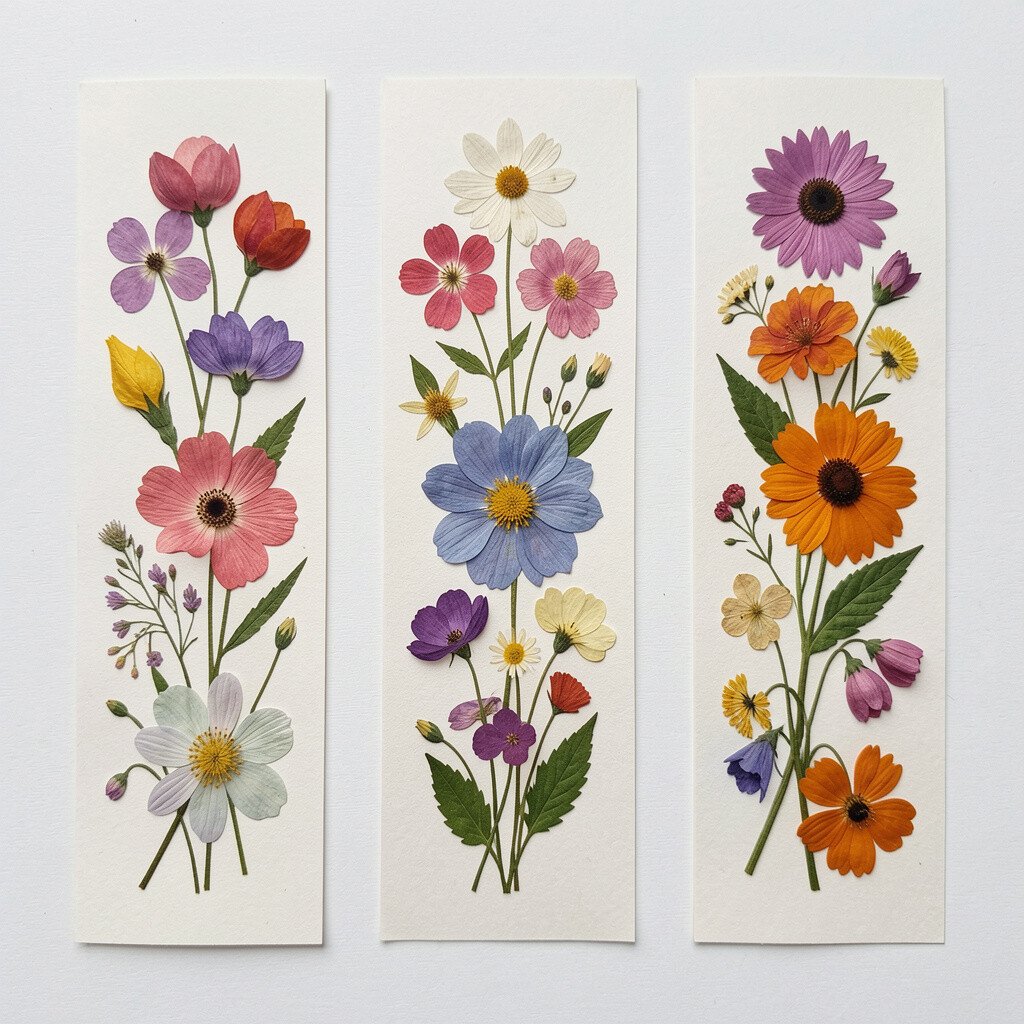
Press small flowers between book pages, then arrange them on a clear contact sheet or laminated paper. Layer petals and leaves so the bookmark has a mini garden feel.
Choose flowers with different sizes so your collage has depth and texture. Seal everything under laminate to protect it from moisture, which keeps your craft looking crisp longer.
For a practical touch, trim the edges with a craft knife and round the corners for comfort. If you want to keep cost low, press backyard blooms and use inexpensive transparent film from a craft store.
3. Tissue Paper Bloom Wreath
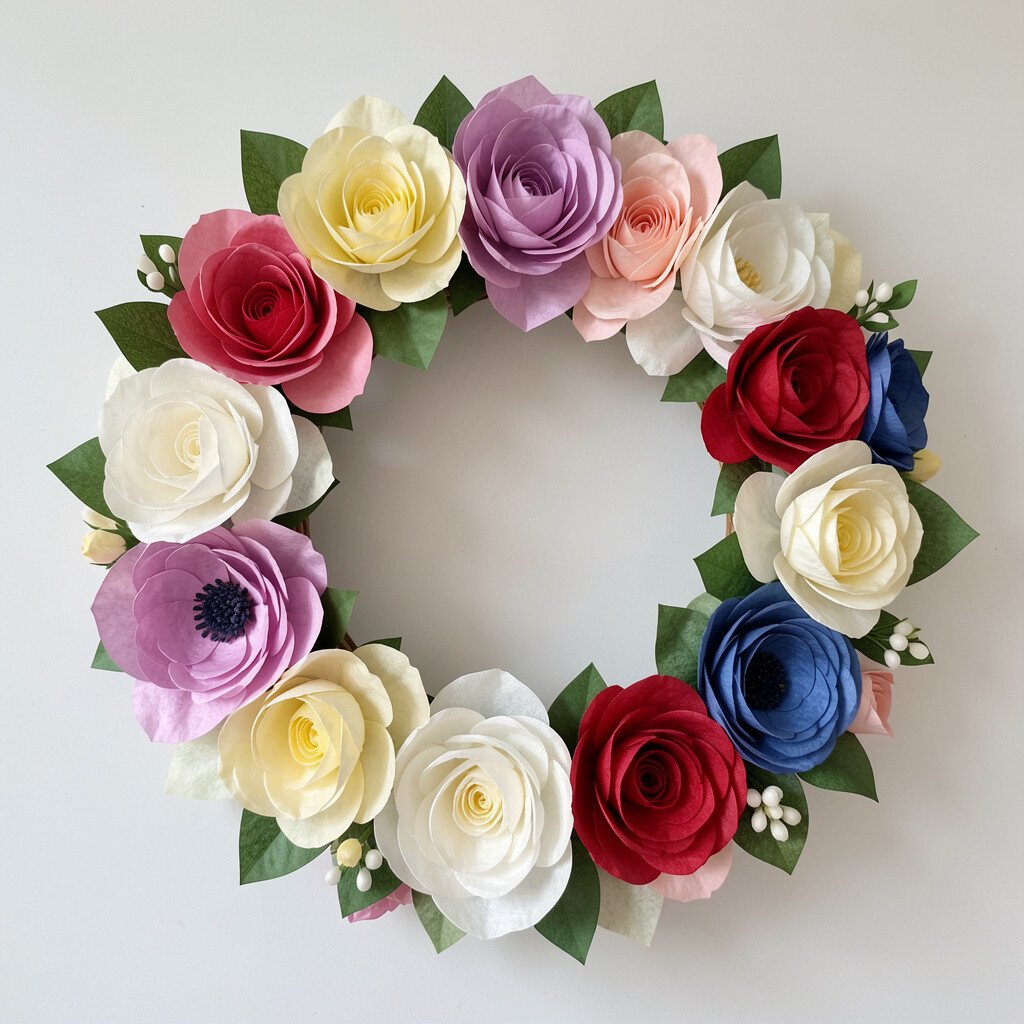
Cut tissue paper into petal shapes and fray the edges slightly for a fluffy look. Build them onto a simple wreath base so the flowers pop like soft puffs of color.
Pick one main color and one accent color to keep the design clean, especially for wreaths displayed at the door. This craft is unique because tissue blooms can look bold from far away yet delicate up close.
Use a hot glue gun for quick bonding, and start with the center so you control the shape. If you prefer a budget approach, reuse an old wire hanger as the base and layer tissue until it looks full.
Current trends favor airy, oversized textures, so going big on petal size helps your wreath feel modern. Finish by adding a small ribbon bow in a complementary shade.
4. Rolled Paper Rose Garland
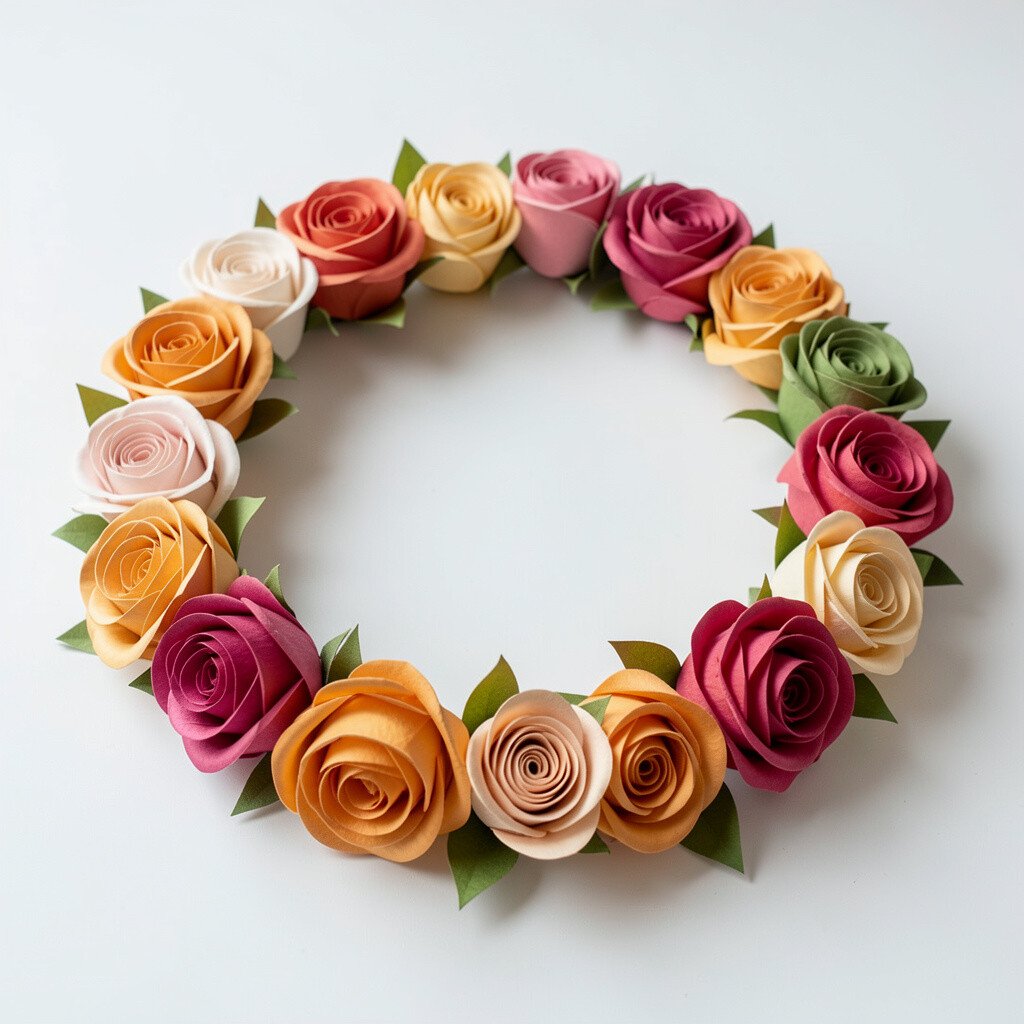
Roll strips of paper into tight coils, then loosen them slightly to form rose shapes. Thread the roses onto twine so you get a charming garland that sways gently.
Try using scrapbook paper with small patterns and metallic highlights for a fresh look. This is practical for decorating shelves, party tables, or even a bedroom wall without spending much.
5. Clay Flower Pot Place Card Holders
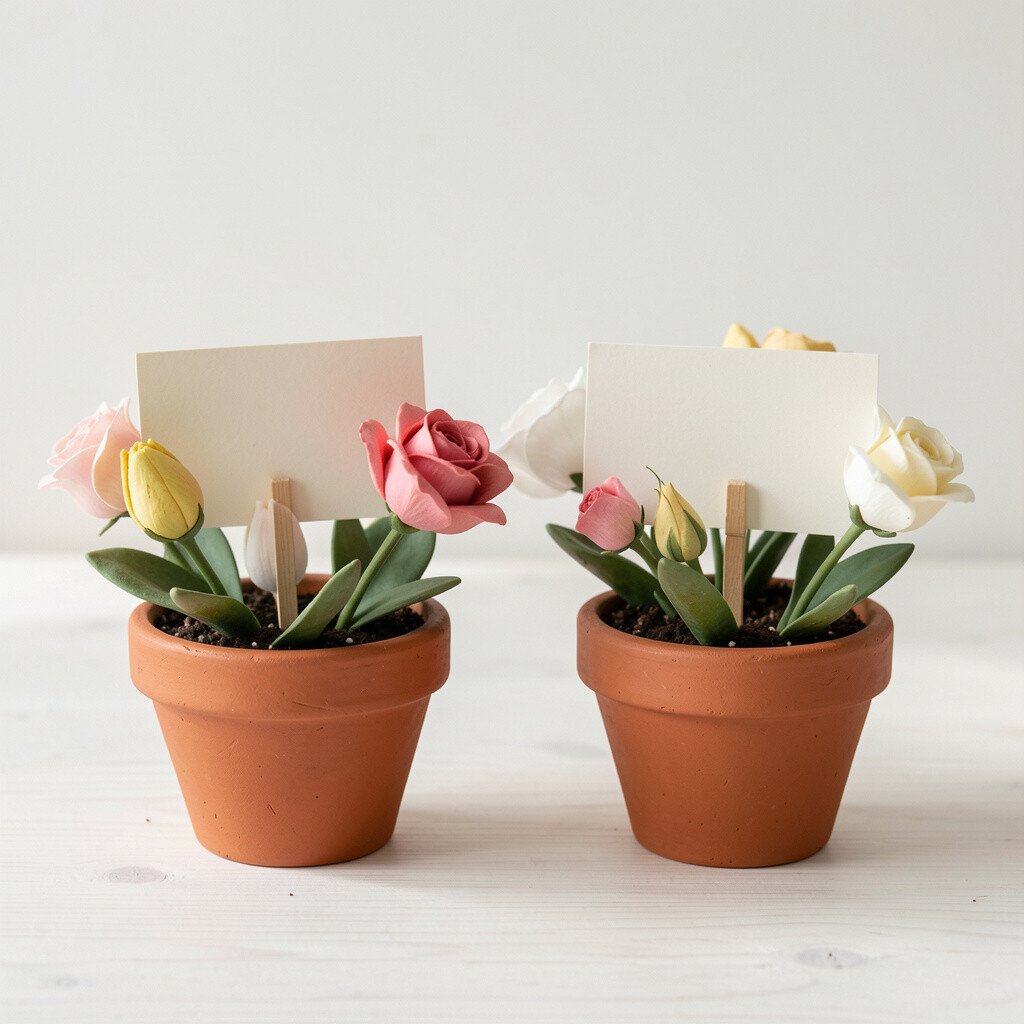
Sculpt tiny flower pots from air-dry clay and press small imprints for texture on the rim. Make mini blossoms and attach them to the side so each holder looks cheerful.
Paint after drying with acrylic paint, then add a thin layer of varnish for a smooth finish. These little holders feel special at gatherings because guests can use them as keepsakes, not just table décor.
For personalization, match each pot to the guest’s favorite color or add a small painted initial. You can keep cost in check by using basic paint colors and air-dry clay instead of expensive modeling tools.
6. Fabric Scraps Appliqué Flower Coasters
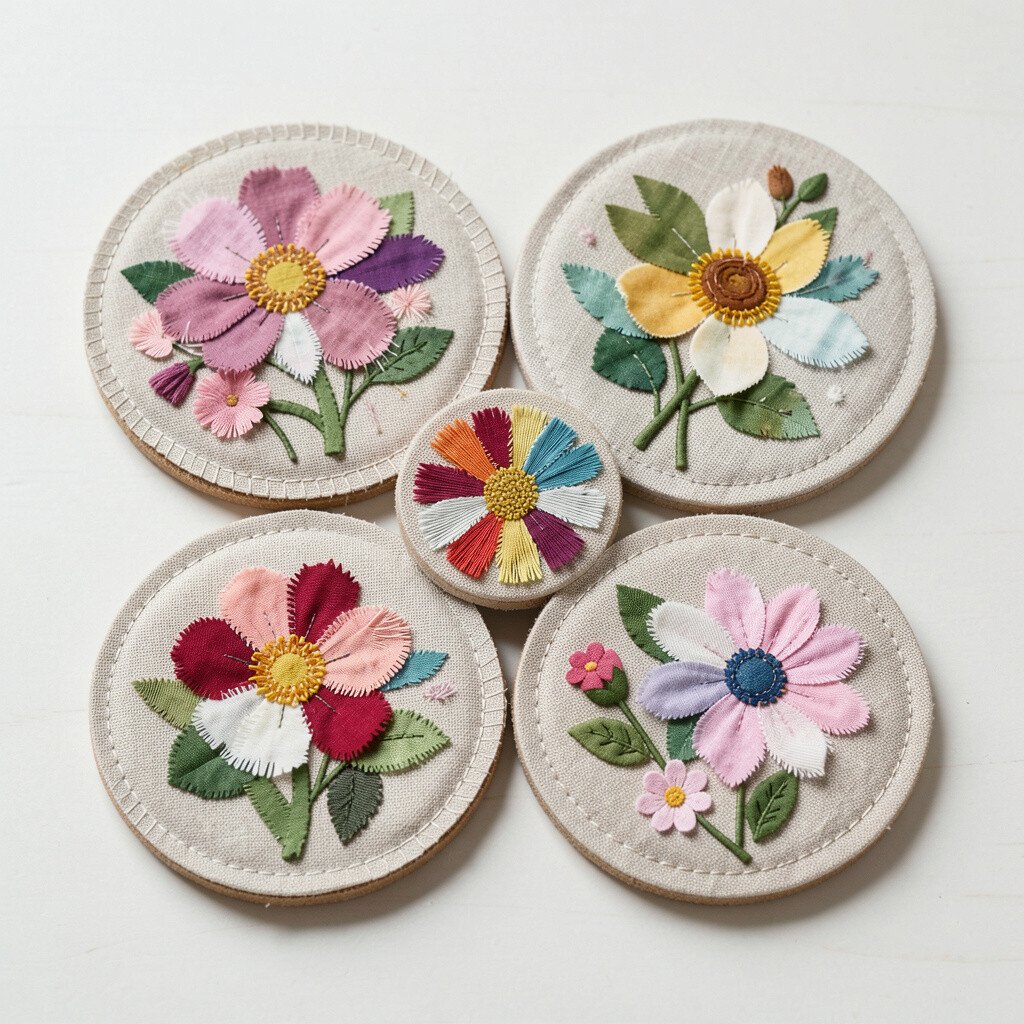
Cut fabric scraps into petal and leaf shapes, then stitch or iron-fuse them onto plain coaster circles. Choose contrasting thread so the flower outlines show clearly.
These coasters are unique because they look like handmade quilts, and they handle everyday spills with care. After applying, add a protective backing or use a heat-resistant seal to keep the fabric stable.
Use spring-themed prints like small florals or soft stripes for a current, cheerful vibe. Keep it practical by washing test a small piece first, and skip very delicate fabrics if you want them to last.
7. Bottle Cap Flower Magnets
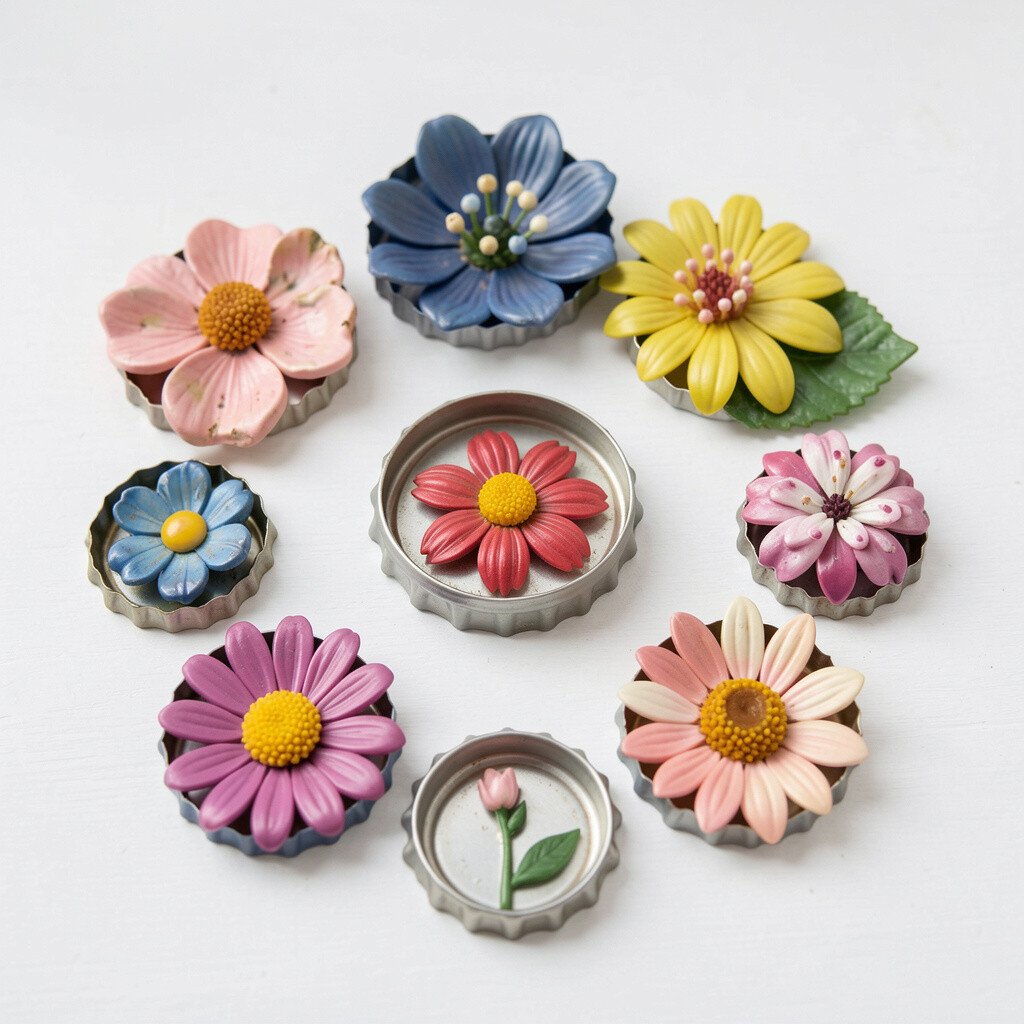
Paint bottle caps in bright colors and glue a tiny printed flower or cutout circle on top. Seal with clear craft glue so the surface looks glossy.
Attach a magnet to the back, and you instantly have fridge-friendly decorations. This craft is quick, budget-friendly, and especially fun if you save caps from drinks over time.
8. Suncatcher Flower Stained Glass Panels
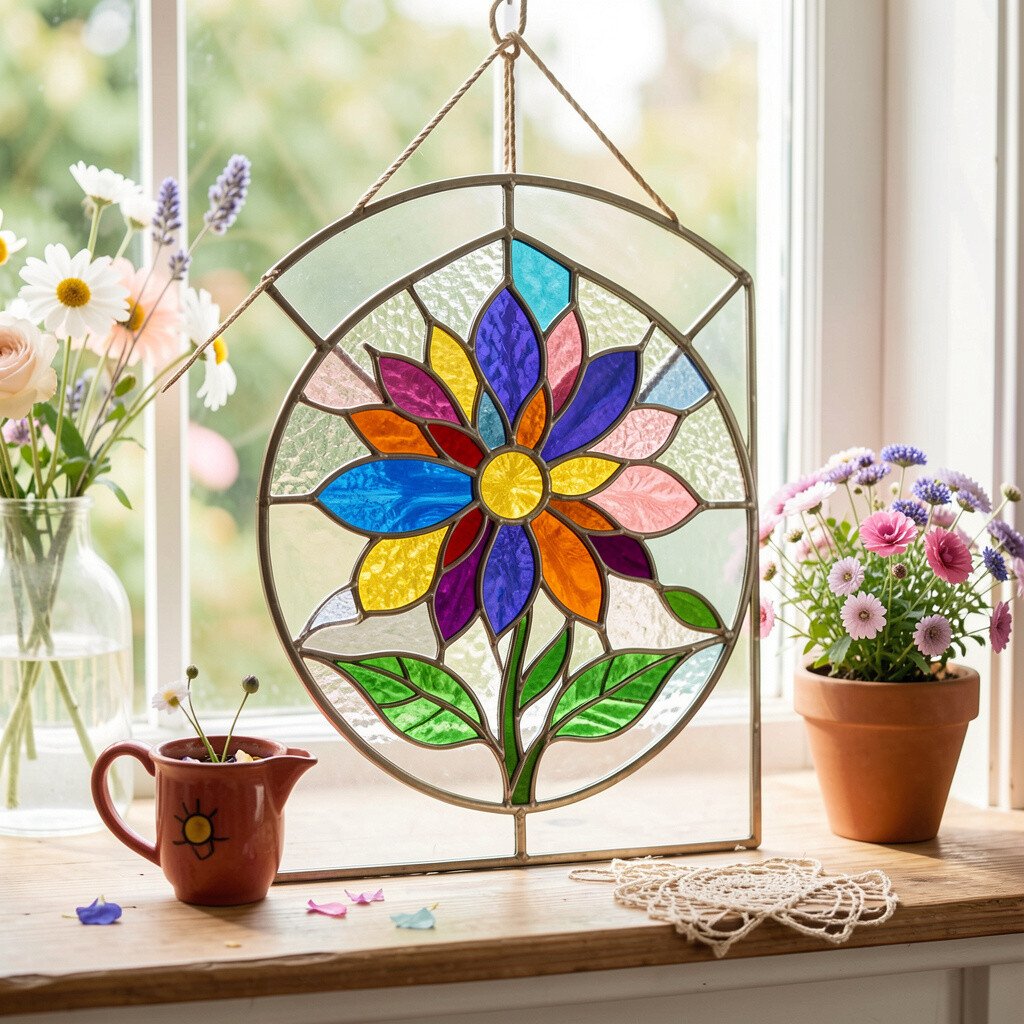
Trace flower shapes onto clear plastic sheet, then fill the lines with tissue paper pieces or stained-glass-style paint. Build layered edges so light catches the design from different angles.
Hang the finished panel near a window where sunlight can shine through. You’ll enjoy the benefit of a glowing effect, and it feels unique because the “glass” look comes from your own layering choices.
For personalization, add a name strip or tiny star accents in the corner. If you want cost control, use household plastic packaging and simple craft paints rather than buying specialty sheets.
9. Seed Paper Flower Gift Tags
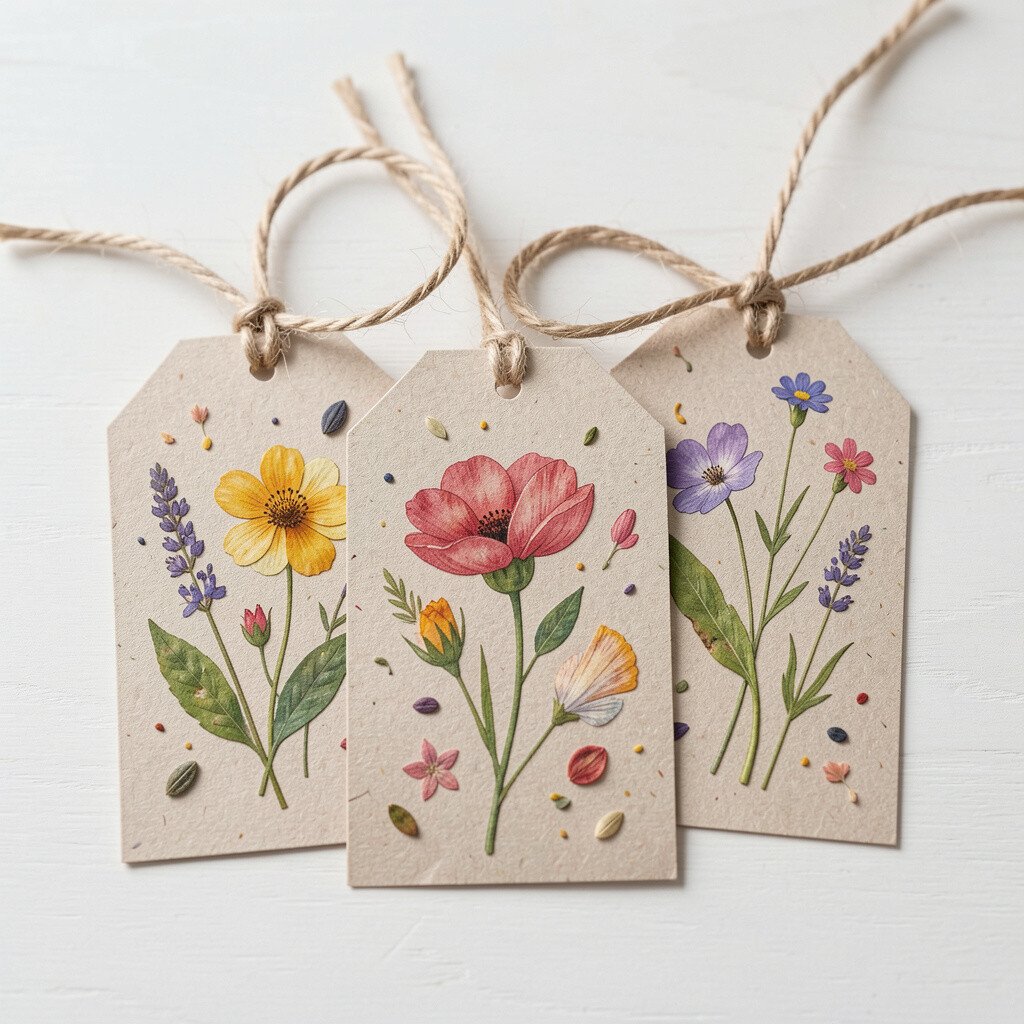
Create tags from seed paper or make your own seed sheet by mixing paper pulp with seeds. Cut flower tag shapes, then write a short message on the back.
When planted, the tags become flowers later, which makes the gift feel extra meaningful. This idea is unique because it turns a small label into a future bloom.
Keep practical tips in mind by using lightweight seeds suited to your climate and letting the sheet dry fully before cutting. For personalization, choose seeds that match the color theme of your card or event.
10. Easy Paper Flower Photo Frame

Build a simple photo frame from cardboard, then glue paper flowers around the border. Use layered petals so the edges look dimensional.
Pick a theme like daisies for a clean look or roses for a cozy vibe. This craft is beneficial because it upgrades a plain frame into a personalized keepsake.
To keep it neat, dry-fit the flowers first so you don’t cover your photo. If you’re working on a budget, use scrap paper and household glue, and choose one hero color plus neutrals.
Current trends like soft maximalism and mixed textures fit paper blooms perfectly, so don’t be shy about layering.
11. Pinecone Flower Centerpieces
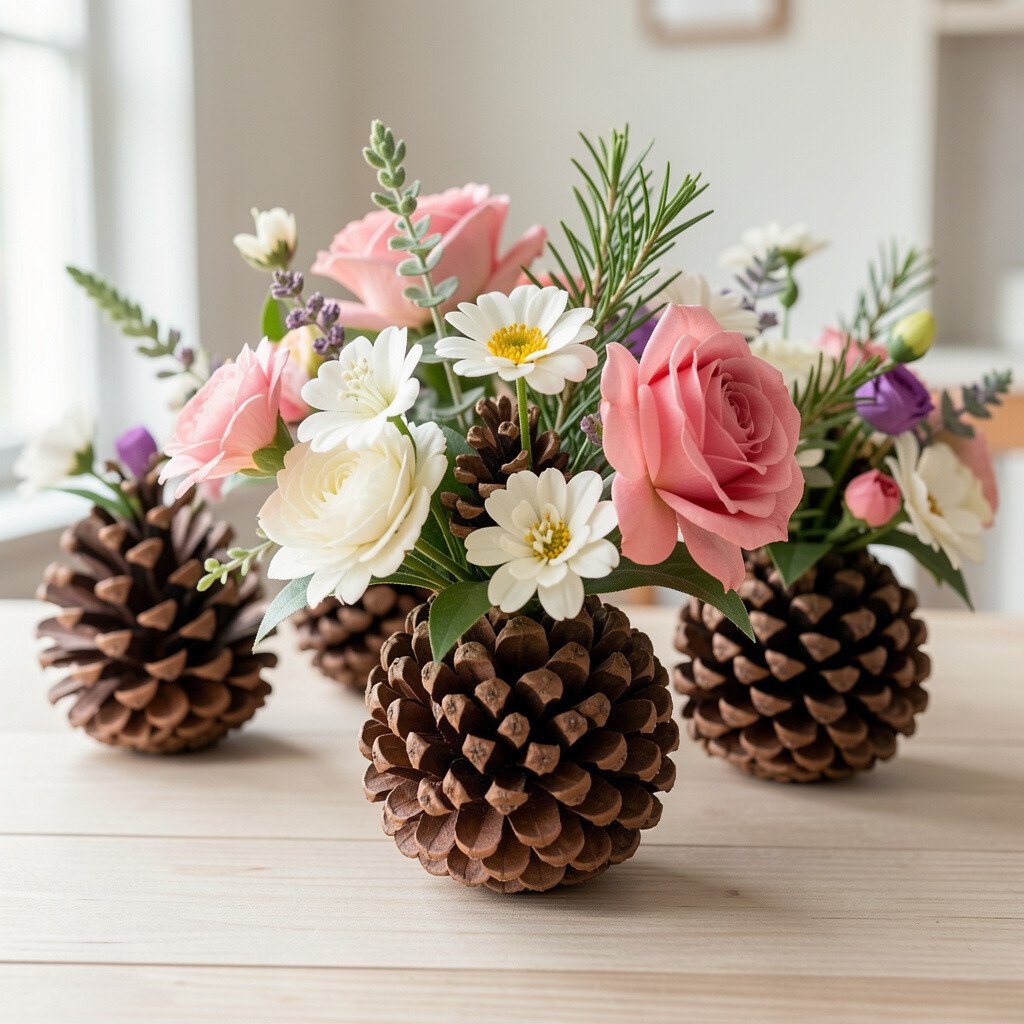
Cover pinecones with spray paint or acrylic paint, then decorate them with small fabric petals or dried flowers. Add a swirl of ribbon around the base for a warm, rustic look.
This centerpiece idea feels unique because pinecone texture already has a natural “flower-like” shape. The benefit is that pinecones are affordable and last a long time, so your centerpiece stays pretty for weeks.
12. Wax Paper Pressed Leaf Art
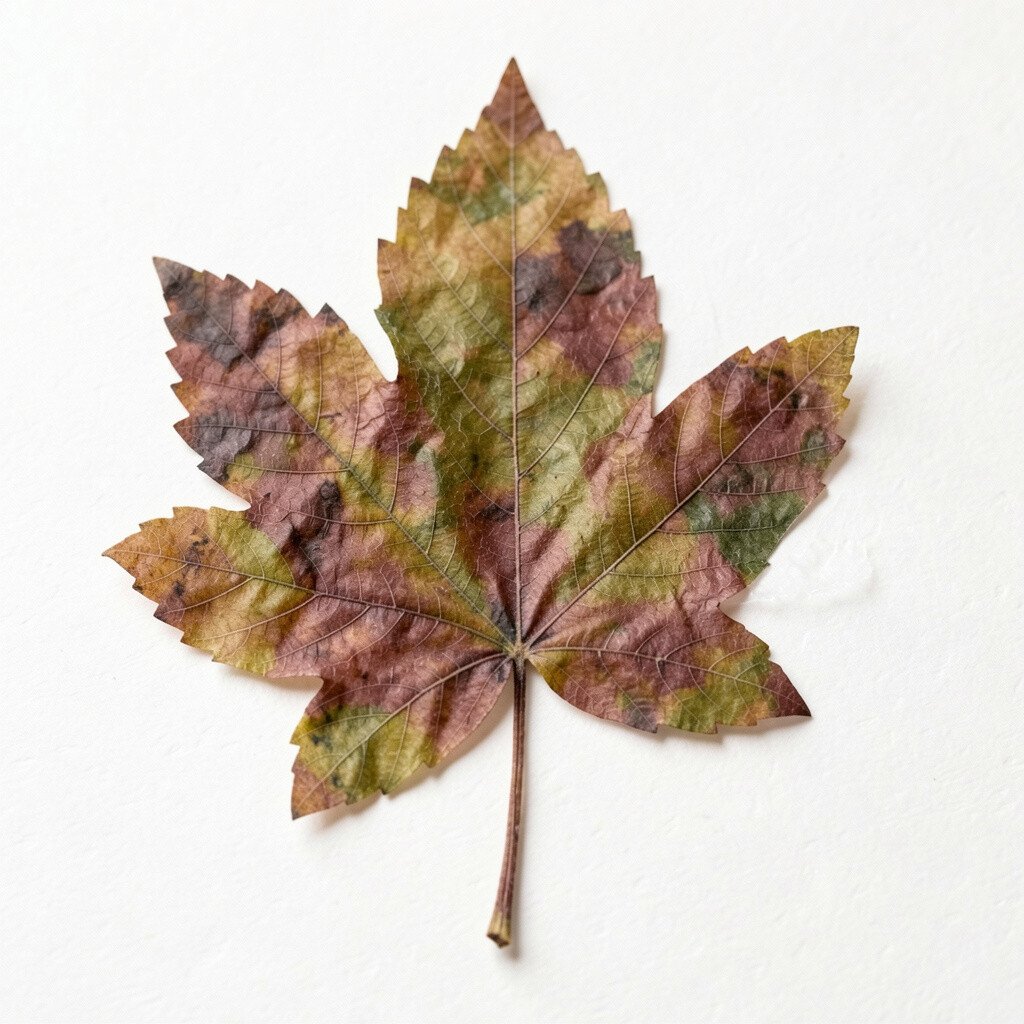
Place leaves and thin flower petals between sheets of wax paper, then press them using a warm iron with a protective cloth. Let the pieces cool so the shapes flatten into clear, delicate art.
Frame the finished art or hang it like a small window panel. You get the benefit of lightweight décor that looks thoughtful, and the result feels one-of-a-kind because each leaf has its own veins.
For personalization, add a border in a contrasting color by painting the outer edge of the wax paper. Keep safety practical by using an ironing setup with supervision and avoiding too much heat on thin materials.
13. Crochet Mini Flower Keychains
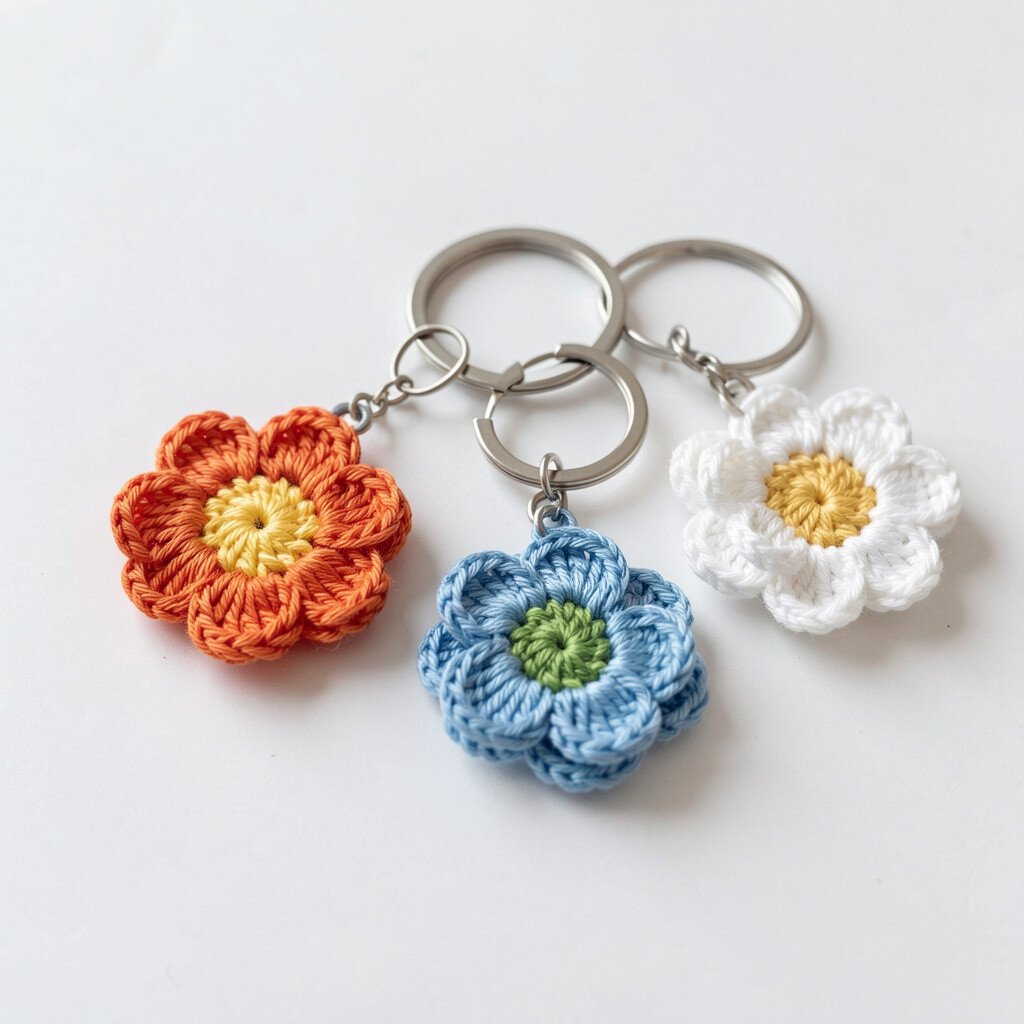
Use basic crochet stitches to make small flower rounds, then add a loop for a keychain. Choose yarn colors that match your bag or school items for an easy daily upgrade.
Crochet flowers are unique because they feel soft and handmade every time you touch them. The benefit is that you can make a set of keychains without needing large supplies.
Personalization is simple with tiny beads in the center, and you can tailor the size by using thicker or thinner yarn. For cost considerations, pick leftovers from craft bins, since small projects use only a little.
14. 3D Paper Flower Napkin Rings
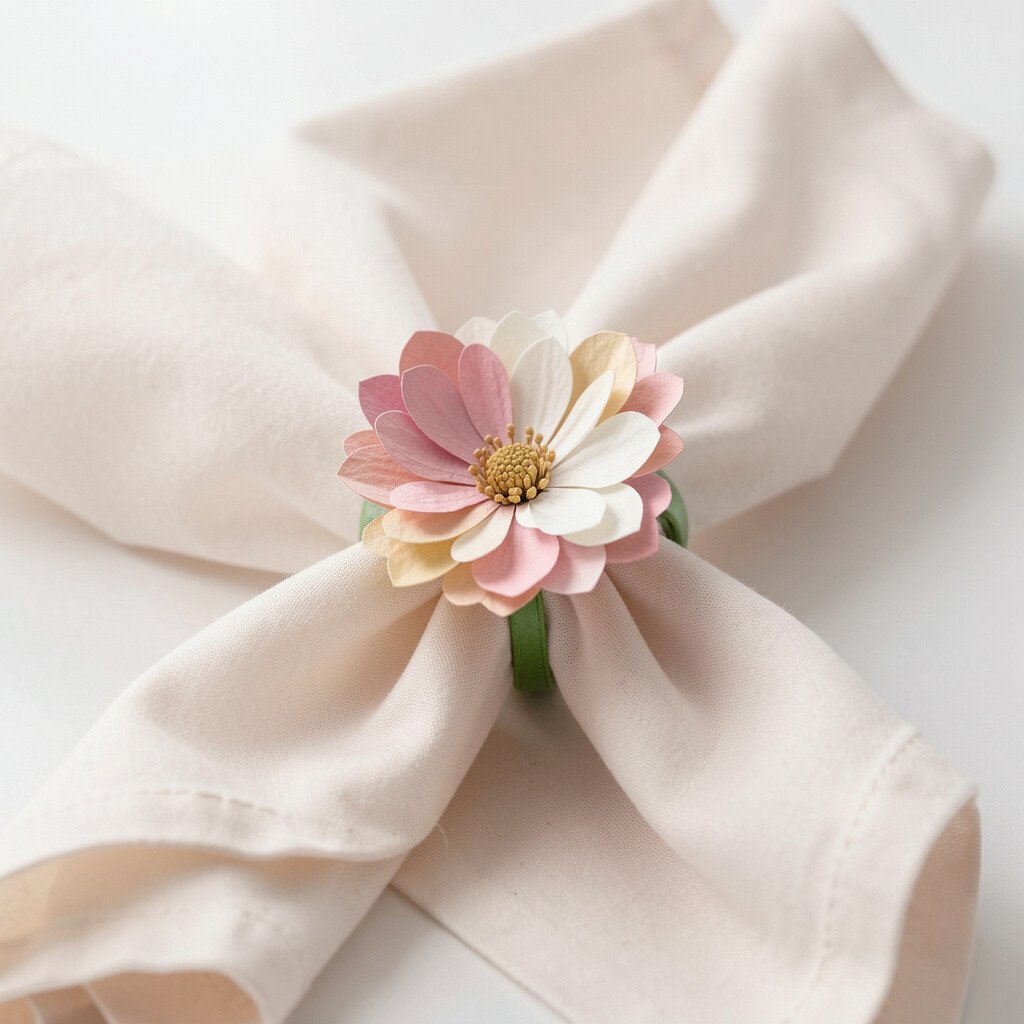
Cut flower shapes from cardstock, then fold petals outward to make a little 3D bloom. Glue small strips around the ring area so the napkin ring holds securely.
These rings make a table feel dressed up even for simple meals. The benefit is that they look fancy while using inexpensive paper and glue.
For personalization, add a metallic dot center or a tiny ribbon tail that matches your plates. This craft also fits current party trends, where handmade details and color coordination matter.
To keep them practical, reinforce the ring with an extra strip so they survive repeated use.
15. Natural Flower Bath Bomb Hearts
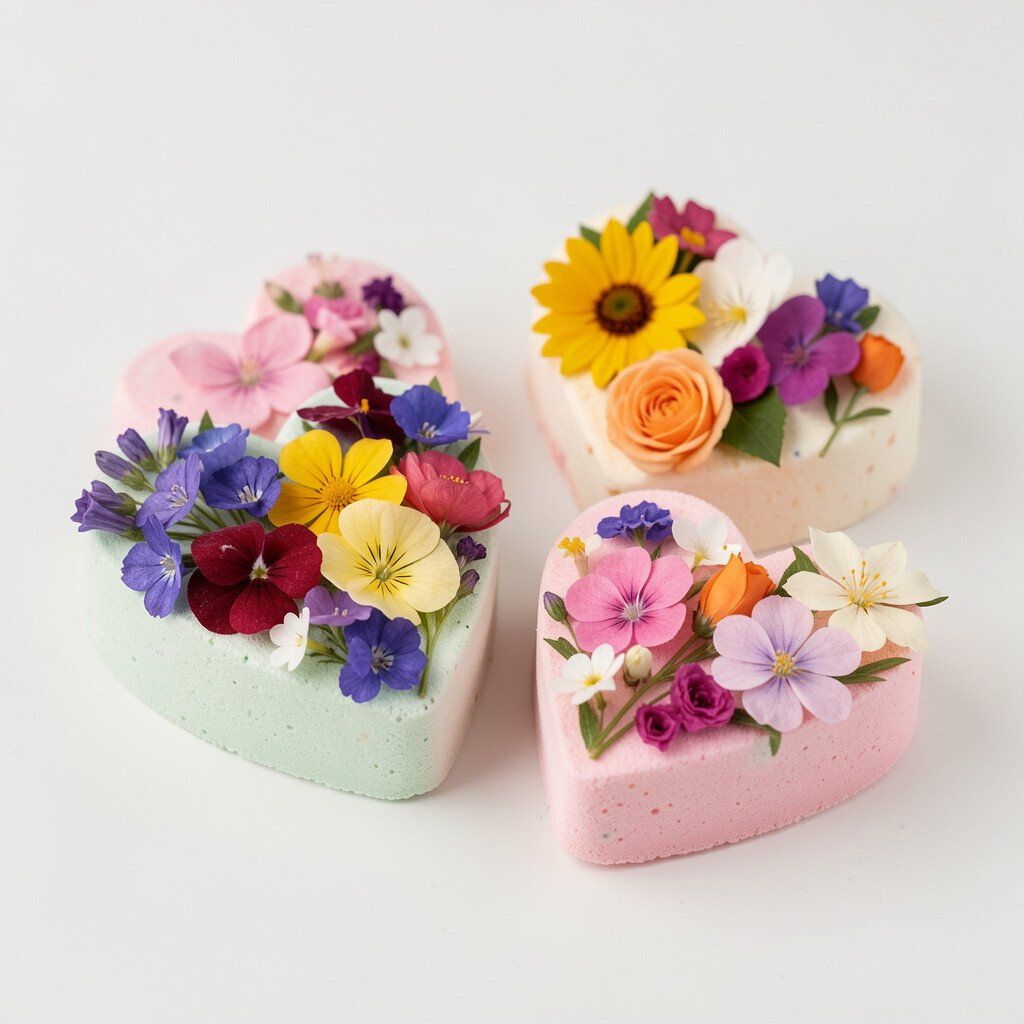
Mix baking soda, citric acid, and a little oil, then fold in crushed dried flowers for a gentle look. Mold the mixture into heart shapes and let them set until firm.
The visual benefit is the speckled flower pattern, like tiny petals floating inside. This craft can feel unique because no two flower mixes look exactly the same.
For safety and personalization, use flowers known to be safe for skin and only add a small amount of botanicals. Keep cost in mind by using bulk ingredients, and save essential oils from small bottles when possible.
16. Flower Loom Friendship Bracelet with Petal Ends
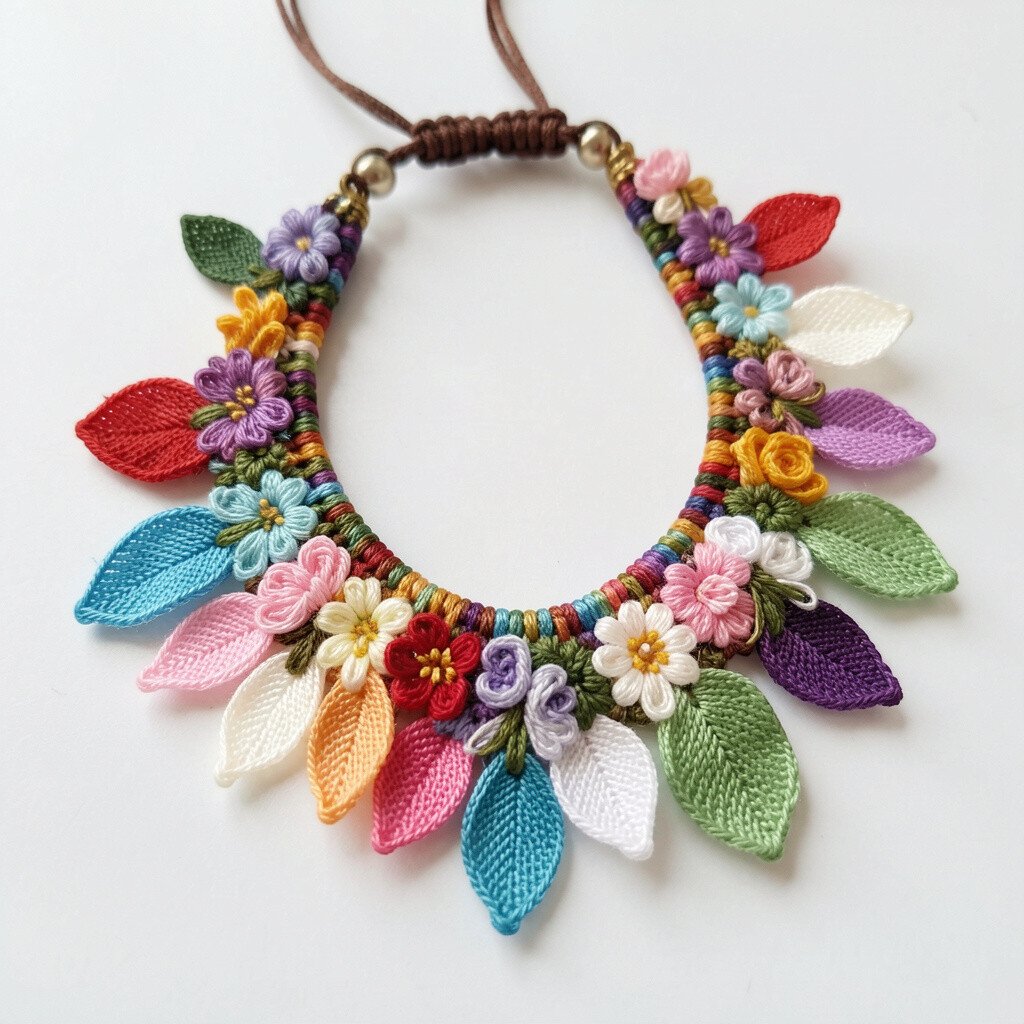
Use a simple loom or even a knot method to weave bracelet strips, then add petal-shaped end charms. You can make the charm from shrink plastic or felt for a softer look.
This craft is beneficial because you get a wearable design and a clear pattern you can customize. It feels unique when the ends resemble petals, turning a normal bracelet into a flower-themed accessory.
17. Giant Crepe Paper Tulip Arrangement
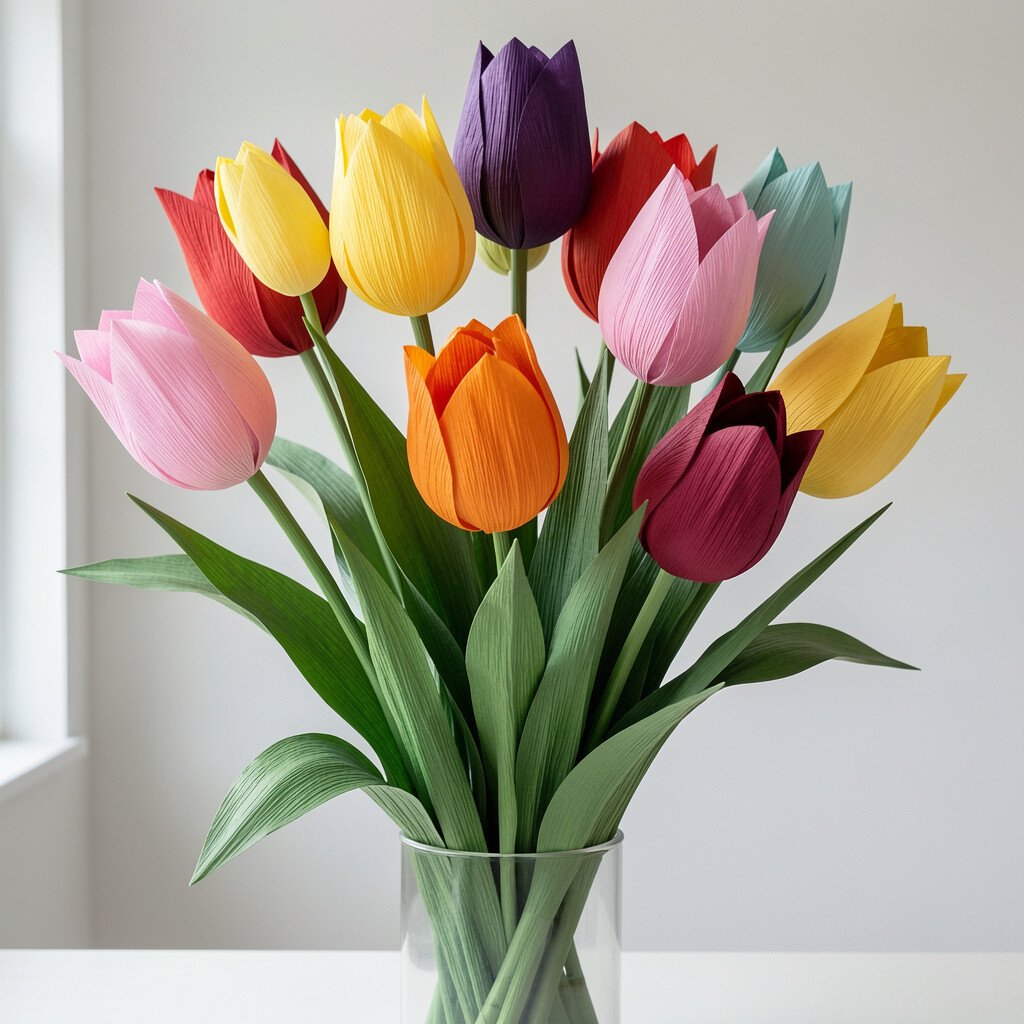
Cut crepe paper strips for petals and twist the edges slightly so they curve like real tulips. Shape a stem from floral wire and wrap with green tape, then cluster multiple blooms together.
You can make these tulips look lifelike by varying the petal sizes and adding a deeper color band near the base. The benefit is that crepe paper flowers last much longer than fresh ones and still look bright.
For personalization, use colors that match your room, like warm peach, cool lavender, or classic red. Cost considerations are helpful here since one pack of crepe paper can create several blooms if you plan petal sizes ahead.
18. Floral Stamp Linocut Style Cards
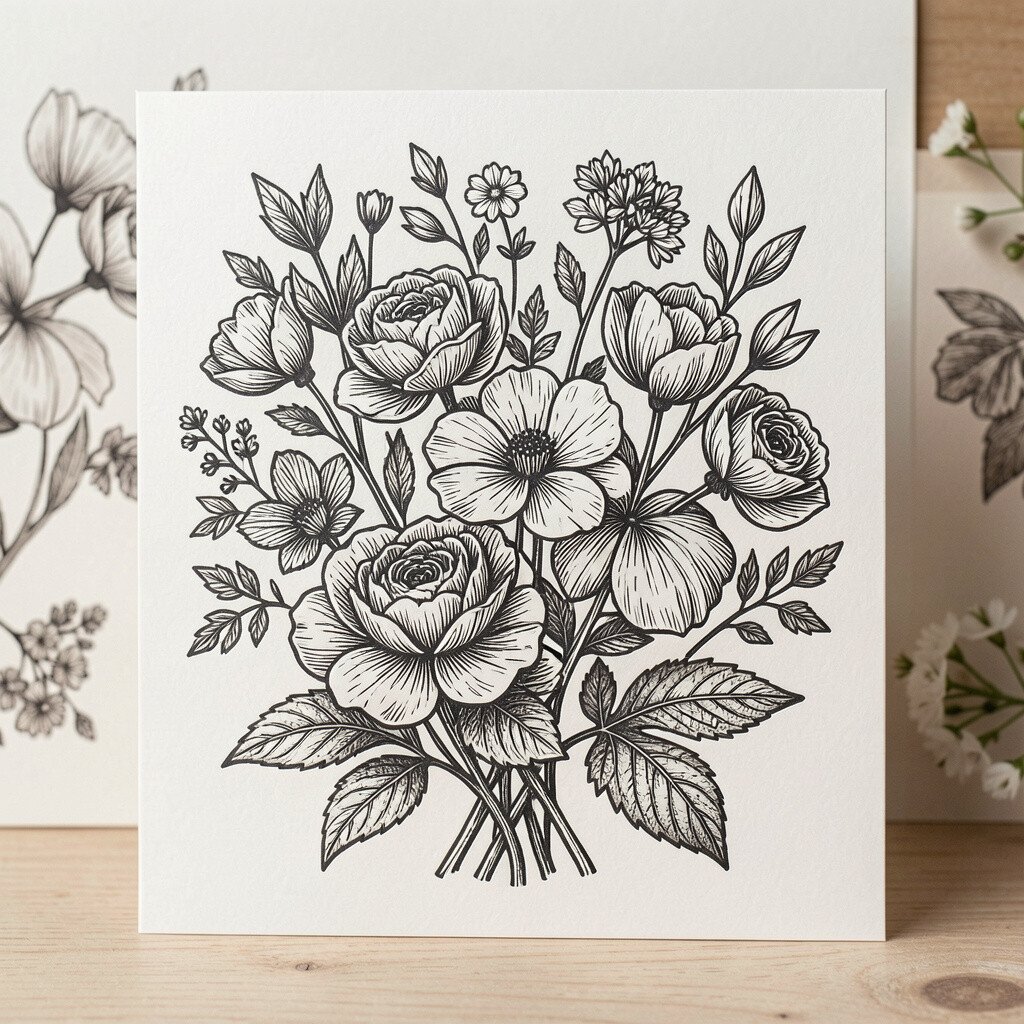
Draw simple flower outlines on a thin carving sheet or foam block, then cut the lines carefully. Ink the raised areas and press onto card stock for a linocut-style print.
This technique is unique because your carved texture shows up as bold, handmade lines. The benefit is that once you carve the stamp, you can repeat the pattern on multiple cards quickly.
For personalization, carve different petal sizes into one stamp so each print looks slightly varied. Keep cost low by using brayer ink or stamp pads and by reusing card stock scraps.
Current stationery trends lean toward bold line art, so a flower stamp design fits right in with modern, minimalist looks.