
Your guests will notice the moment the tablescape starts to feel alive. Layered napkin folds turn everyday fabric into a small, stylish performance.
With a few simple moves, you can make centerpieces look thoughtful, coordinated, and just a bit magical.
1. The Fan-Through-Layers Classic
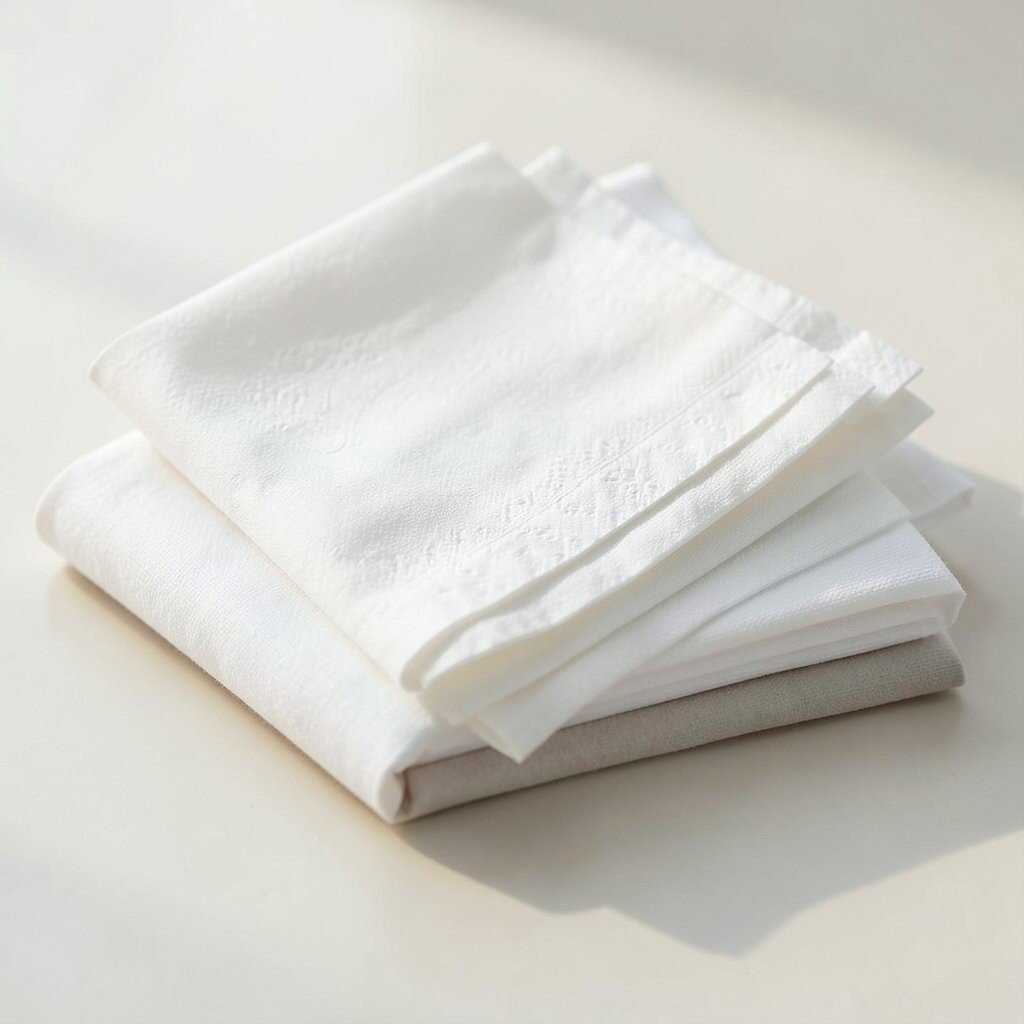
Fold your napkin into wide, even pleats, then slide the layers forward like a handheld fan. As you do, the outer edges catch the light and show off a soft gradient of color.
Place the fan upright in a holder or on a plate, and tuck one corner slightly under the stack to keep everything neat. This style looks polished without feeling fussy, and it helps keep napkins off the table surface for a cleaner look.
2. The Crisscross Ribbon Ring Fold
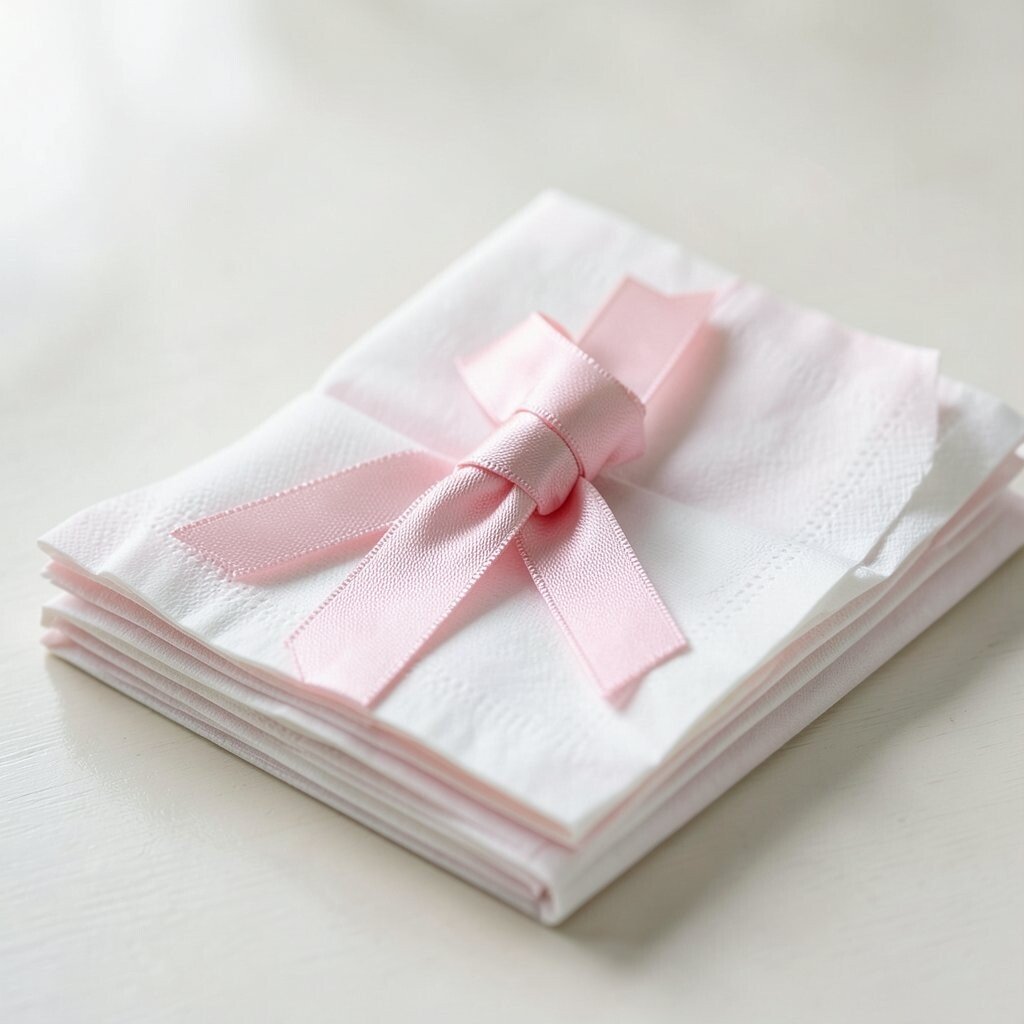
Start with a square napkin, then create a tight diagonal fold so the layers line up like stripes. Bring the folds together and wrap the outer edge around itself to form a ring shape.
Slide the ring onto a fork, or balance it near a menu card so it frames the place setting. It’s unique because the crisscross edges peek through at different angles, giving extra texture that photographs well.
Choose a contrasting napkin shade or add a subtle metallic thread by securing a tiny twist tie inside the fold. You’ll get a high-end look for a low cost, especially if you reuse plain napkins and dress them with a matching accessory.
3. The Layered Waterfall Wallet
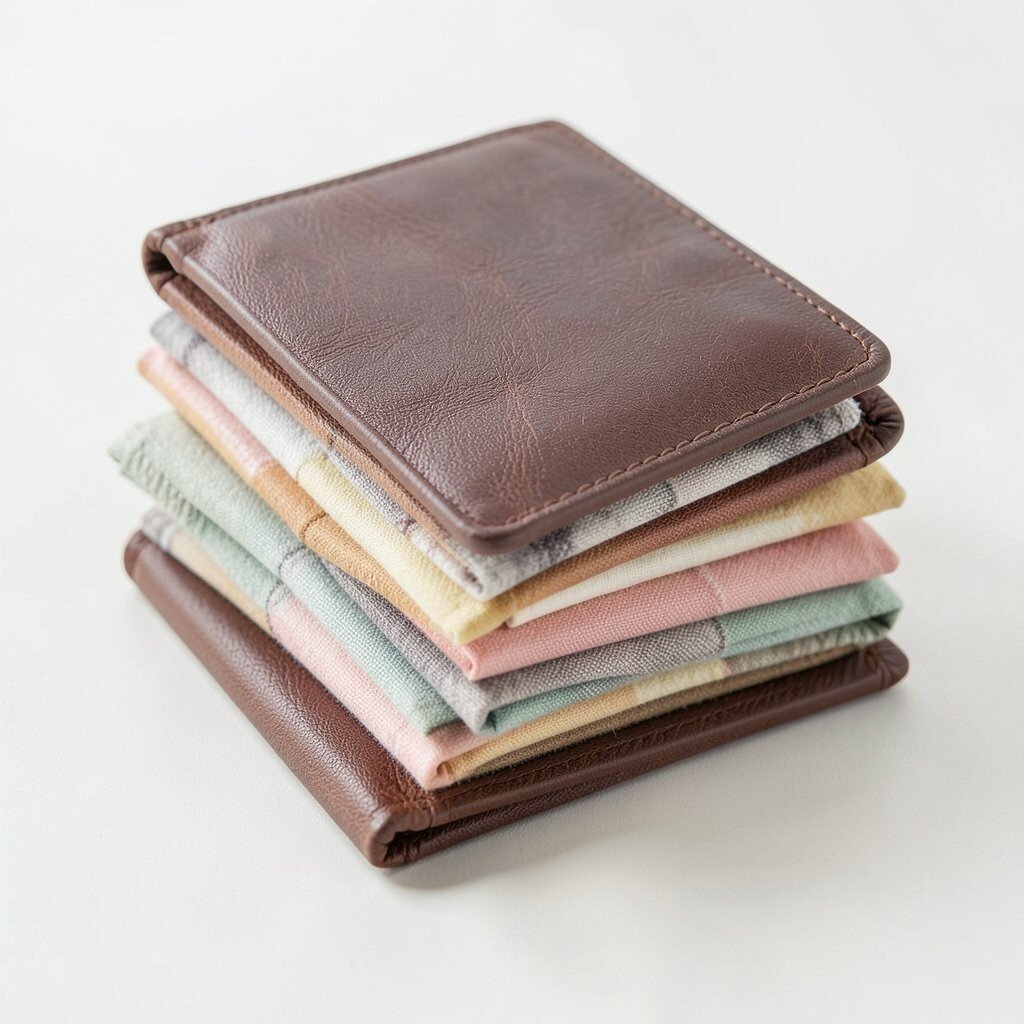
Fold the napkin into long thirds, then fold again so you get a slim strip that can wrap around itself. Leave a little slack at the top so the layers cascade downward like a waterfall.
Wrap it gently around a small roll of bread napkin or a utensil bundle, and tuck the bottom layer underneath. The visual payoff is in how the top edge reveals multiple thicknesses, making the napkin look like it has depth.
For personalization, place a tiny sprig of herb under the fold before you tuck it in. Guests will feel the care, and the layered structure keeps the greenery from sliding.
Use cotton or linen blend napkins for this fold because they hold shape better after pressing. If you’re working with slippery fabric, lightly starch it or iron it once so the layers stay crisp.
4. The Double-Pocket Tuck
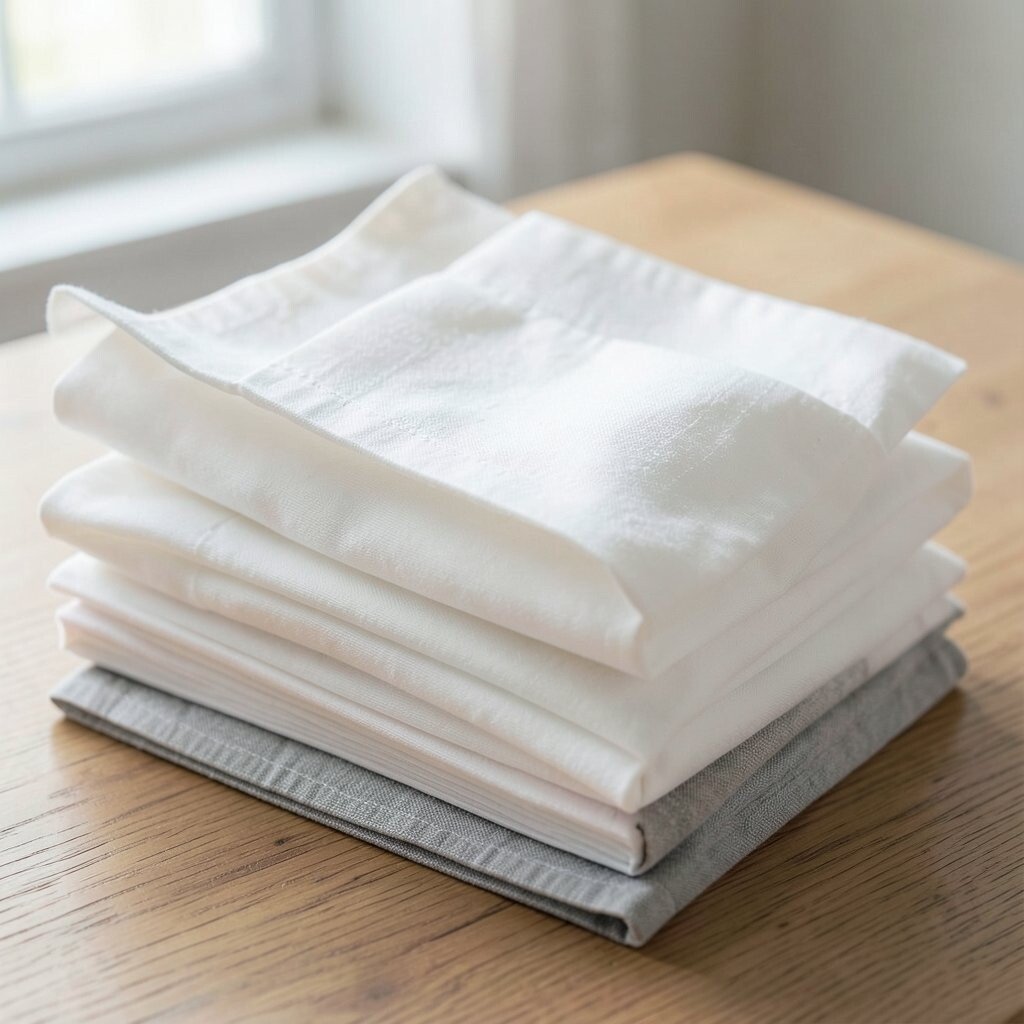
Create two parallel folds, then fold the napkin into a rectangle that can slide into itself. Make one side slightly wider so it becomes a pocket, and insert the opposite fold to lock the layers.
When you stand the napkin upright, it forms a subtle vertical arch with a pocket opening at the center. This is practical because it can hold a small card, a single flower, or a packet of condiments.
Pick napkins with a pattern that matches your meal theme, like checks for comfort food or solids for fine dining. The uniqueness comes from the layered opening, which reads like custom-made stationery.
For cost, you can often use napkins you already own and simply iron and press them more carefully. Even plain fabric looks intentional once it’s folded with clean edges.
5. The Spiral Layered Rose
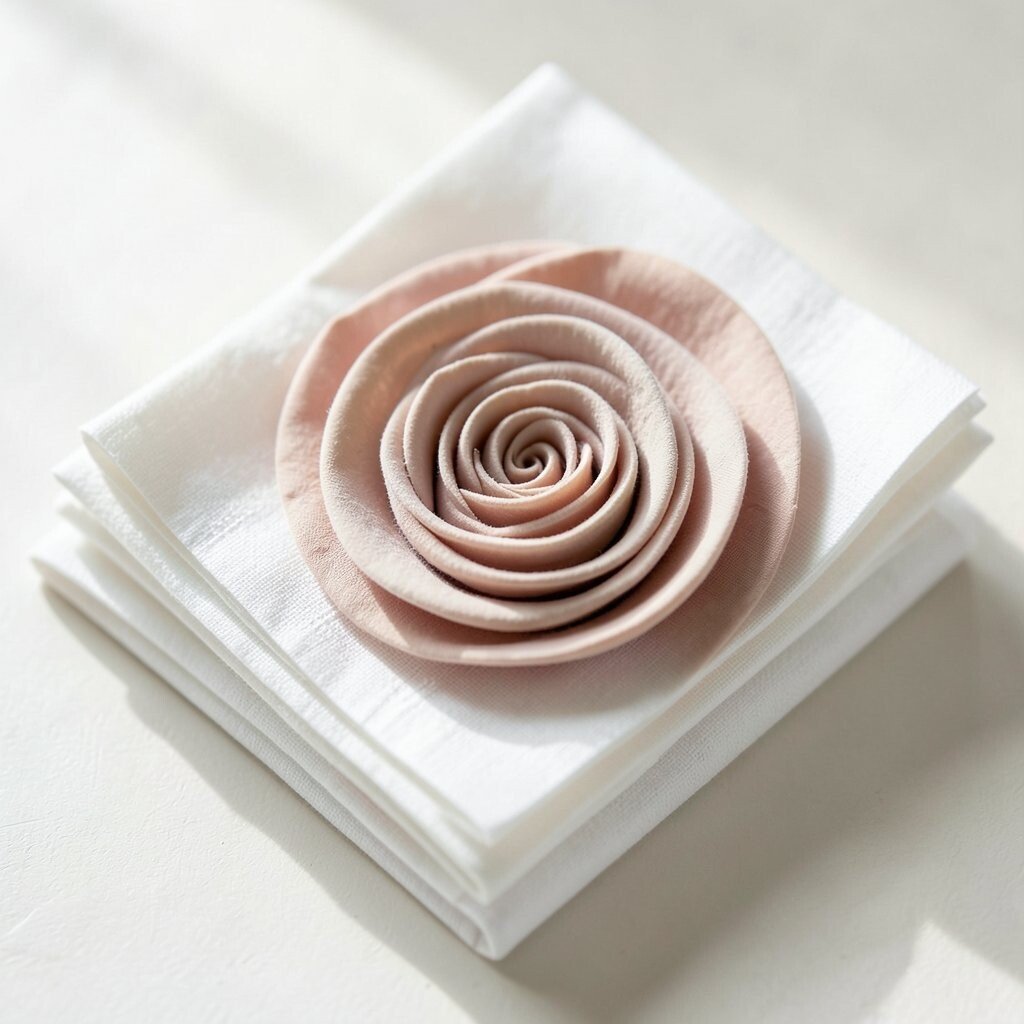
Lay the napkin flat, then roll it tightly from one corner toward the center. As the roll tightens, gently pull the outer edge so it unfurls slightly, forming a spiral with visible layers.
Wrap a thin strip of the same napkin around the base to secure the rose shape. The look feels romantic and modern, and the layered ridges make the fold look fuller than a single-roll napkin.
Personalize it by using two-toned napkins, with the outer layer a darker shade for depth. This trend of “garden table” styling works beautifully for spring dinners and baby showers.
To make it stable, set the rose on a small saucer or directly on the plate rim. If your fabric is lightweight, use a second pin at the back side so the spiral stays firm.
6. The Accordion Cross-Over

Fold the napkin in crisp accordion pleats, then stack the pleats so they cross in the middle. Slide one folded end through the overlap to show layered edges like a ribbon bridge.
Set it beside the plate so the crossing point faces outward, giving a clear view of the through-layers effect. It’s beneficial because the structure makes the napkin stand up tall without extra holders.
For a trendy look, choose napkins with small geometric patterns and align the folds so stripes and shapes repeat. The uniqueness comes from how the cross-over creates a layered “window” that keeps changing as people move around the table.
If you’re planning a larger gathering, prepare several napkins ahead of time and keep them stacked flat in a breathable bag. Folding ahead reduces last-minute stress and helps everyone enjoy the meal sooner.
7. The Layered Bow Tie Fold
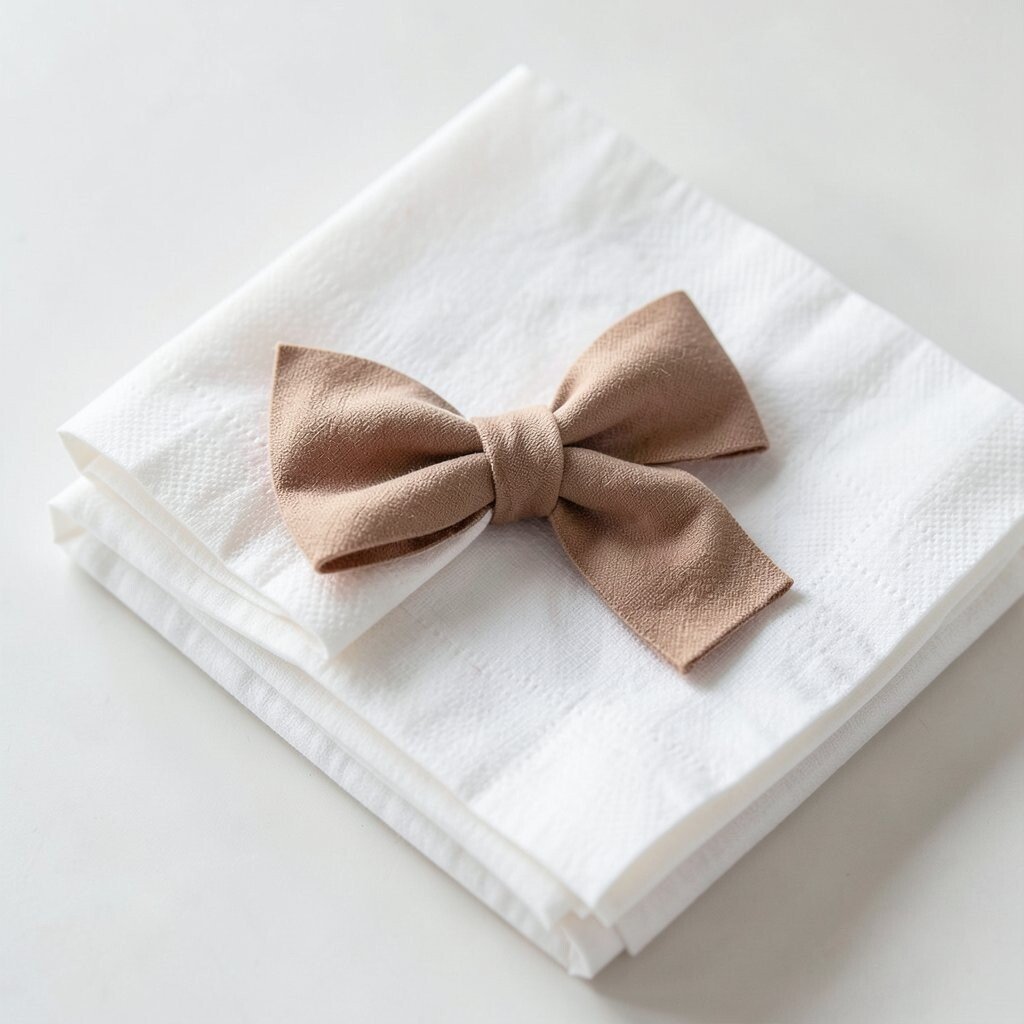
Fold the napkin into two symmetrical loops by pinching the center and bringing ends back toward it. Create stacked layers by folding each loop again so the bow edges look thick and dimensional.
Secure the center using a matching fabric strip or a hidden tuck under the layers. This fold feels festive, and the layered bow looks playful while still neat.
Personalize it for holidays by changing the napkin color, like red and gold for celebrations or white and green for a fresh seasonal table. If you want a premium effect, use slightly textured fabric so light bounces off the layers.
8. The Lantern Fold With Peek Layers
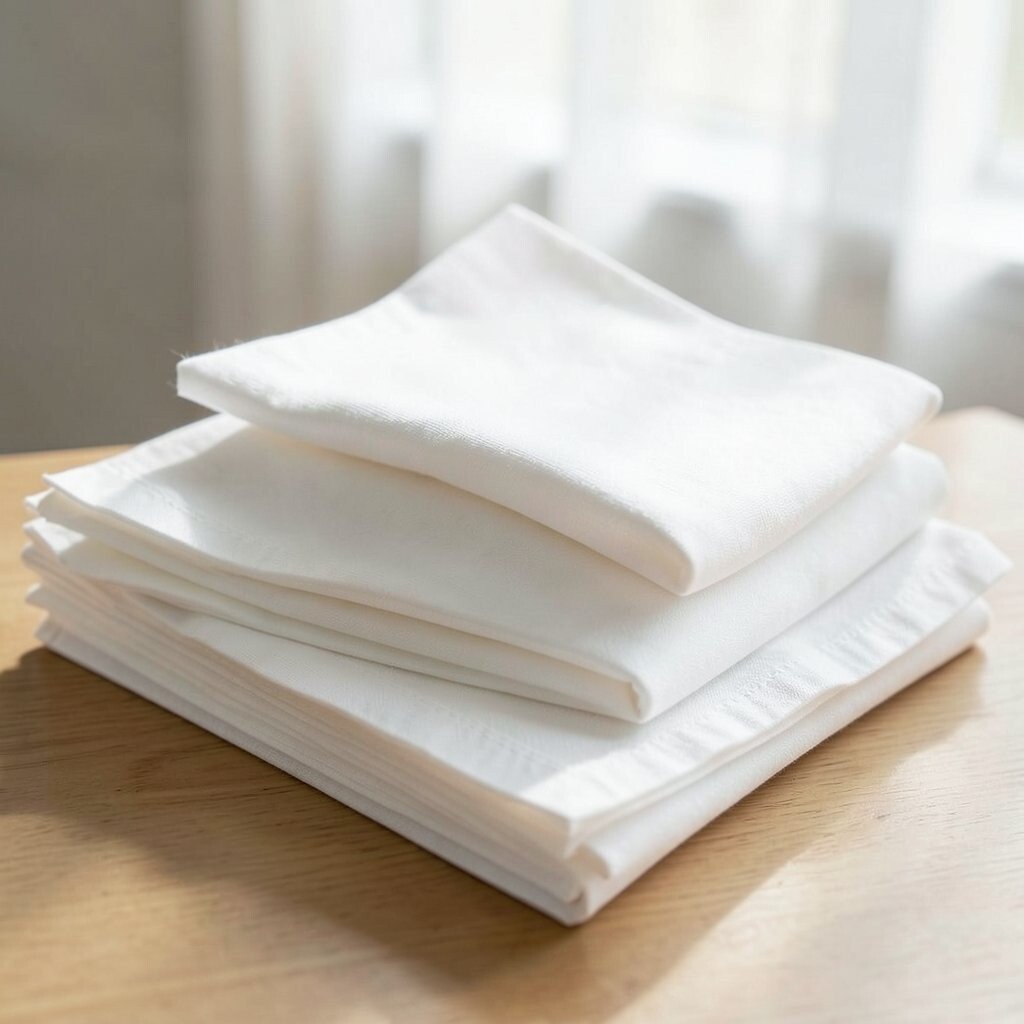
Form a rectangle, then fold each side inward so the napkin becomes a structured box. Tuck the top edge down and leave one corner slightly visible so layers peek out like a little lantern window.
Stand it upright and press the corners gently so the shape stays even. This looks unique because the inner fold line shows through, giving a “double wall” appearance.
For practical use, add a tealight on a drip-safe plate nearby, but keep the napkin away from open flame. A faux candle works perfectly and keeps things cozy without any safety worry.
If you want to reduce cost, use a single bold napkin print and repeat it across the table, then keep the rest of your decor simple. One strong fabric choice can carry the whole look.
9. The Rolled Edge Through-Layer Sleeve
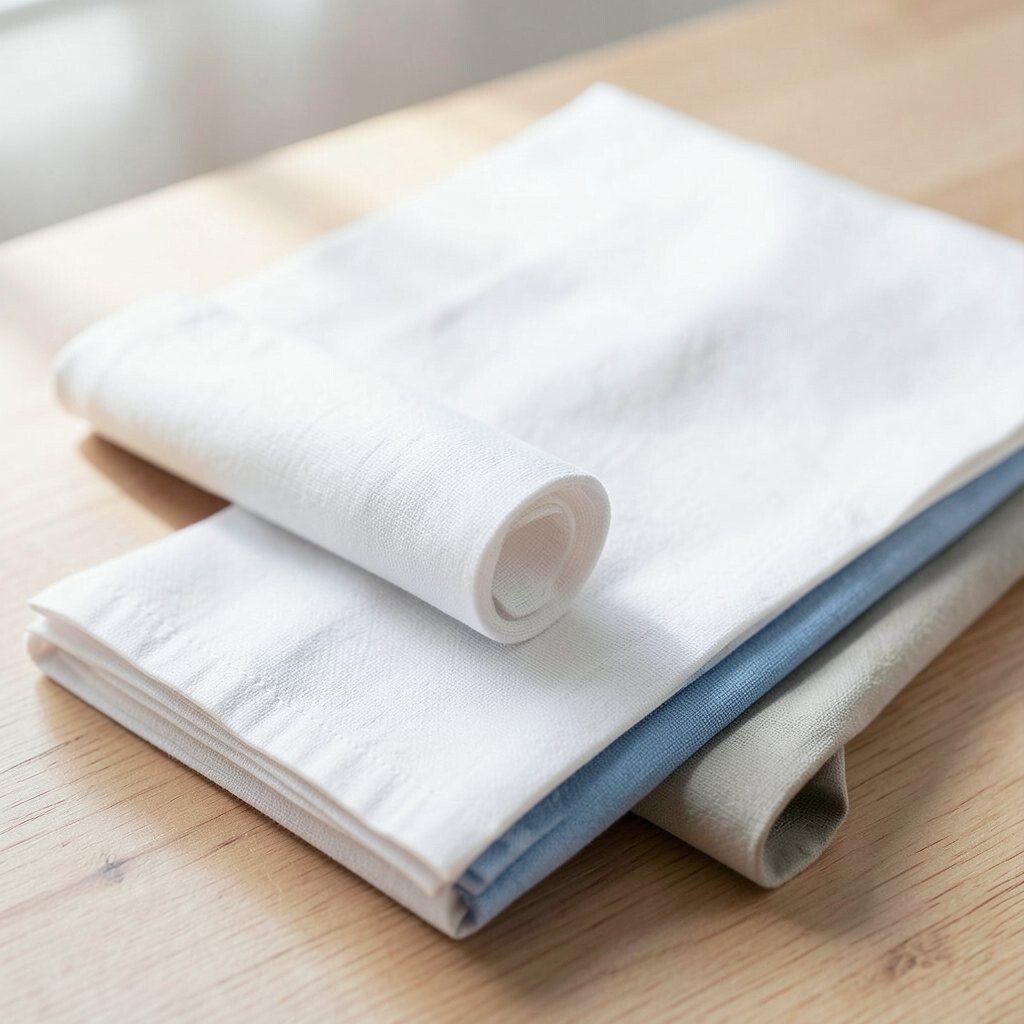
Roll the napkin from one side to make a smooth cylinder, then fold the remaining edge over it like a sleeve. Create the through-layers effect by sliding one corner under the rolled cylinder at an angle.
This fold is great for place settings because it stays tidy and won’t flop. The layered sleeve adds a clean frame around the roll, making the napkin look deliberate and styled.
Try personalization by adding a short ribbon loop around the sleeve before you tuck the end. If you prefer no ribbon, you can use a small fabric clip in a matching tone.
For cost control, keep the napkin material simple and spend a little on one coordinating ribbon color. Small upgrades are often what make the whole table look “designer.”
10. The Pocketed Triangle Reveal
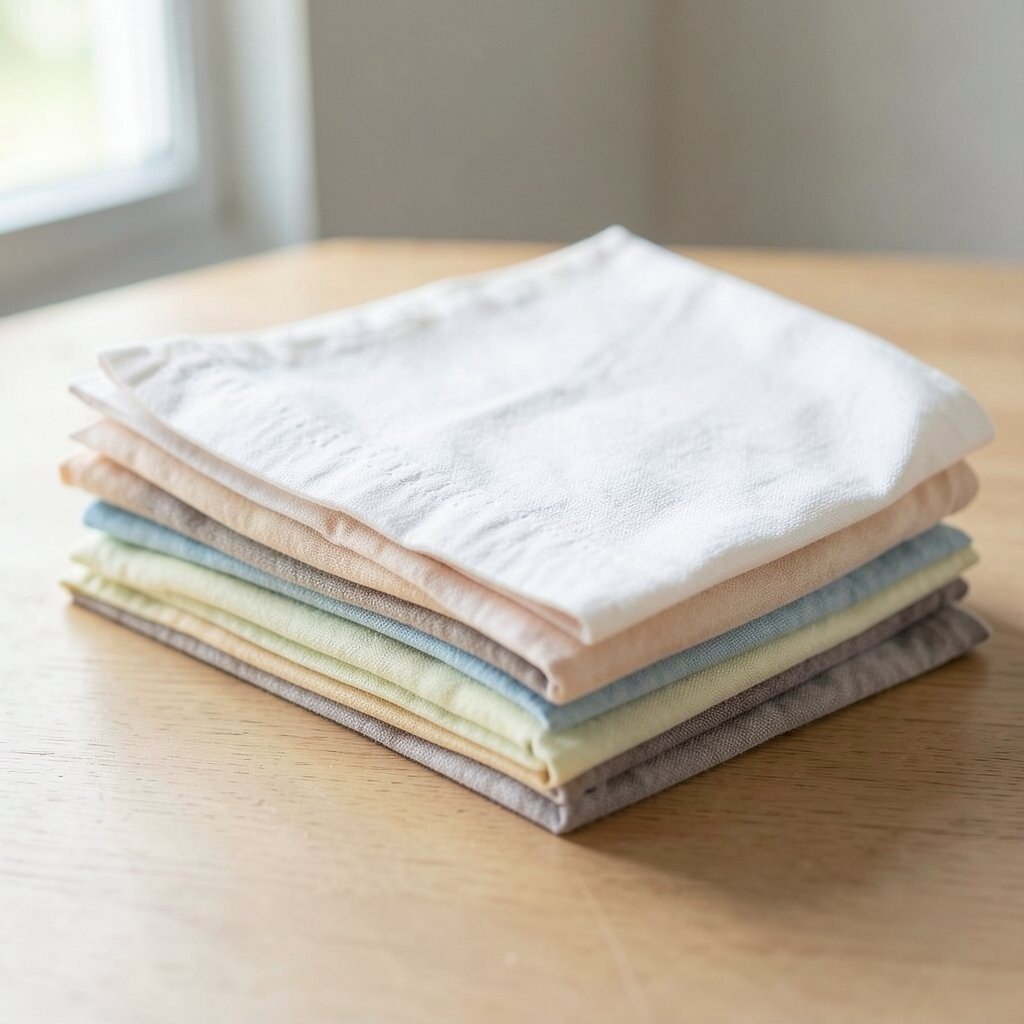
Fold the napkin into a triangle, then fold again to form a thinner triangle. Create layers by tucking one side edge into the pocket formed by the opposite fold.
Place it with the point facing outward so guests see the little reveal opening. It’s practical for everyday meals because it helps keep napkins neatly stacked and easy to unfold.
Use napkins with contrasting edges, like a border pattern, so the reveal looks crisp and intentional. The uniqueness shows up in the layered triangle outline, which looks like folded paper art.
If you’re hosting outdoors, this fold works well since it holds better in light breezes than loose folds. Press the fabric firmly with your hands for a stronger hold.
11. The Layered Bow Fan Combo
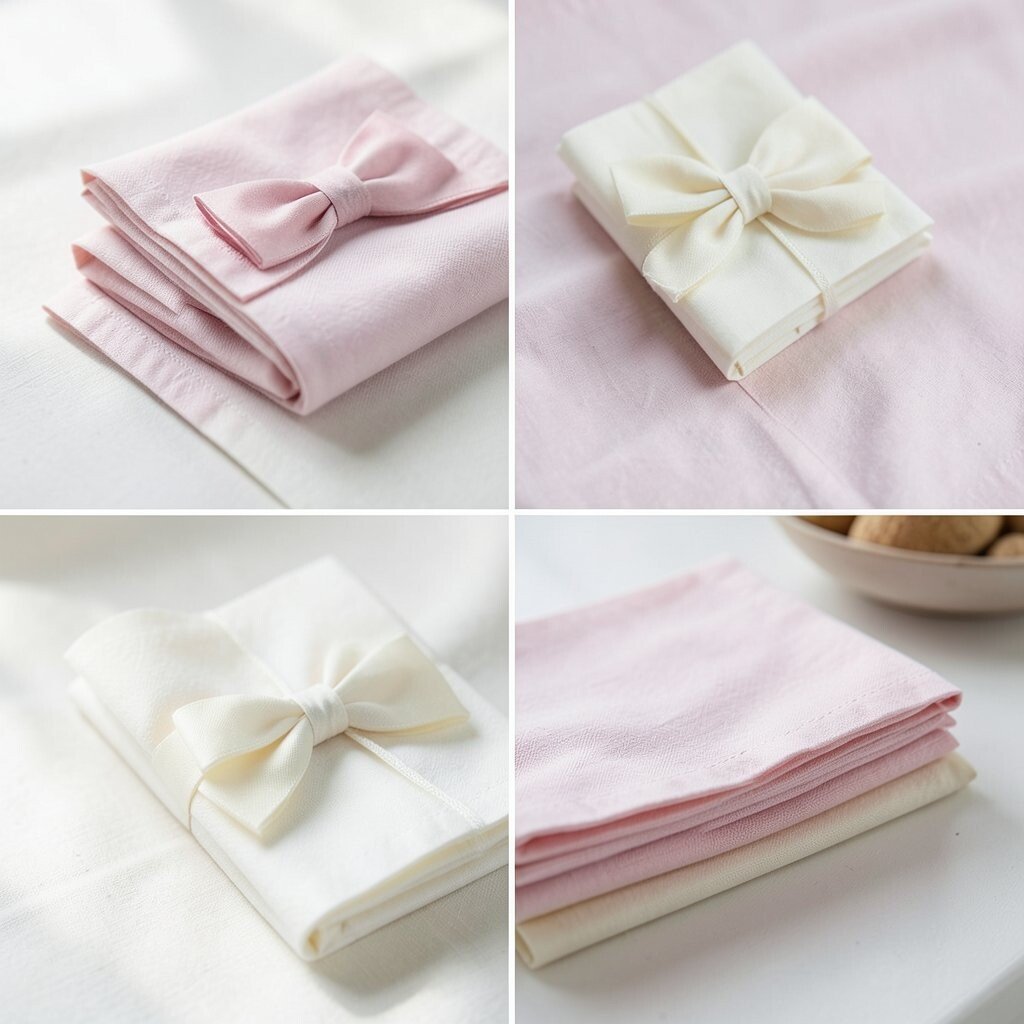
Start with an accordion pleat, then tie the center with a small strip so it forms a bow-like fan. Fold one side inward through the center so the layers peek out like a hidden lining.
Set the bow fan on top of the plate or beside it, then adjust the outer pleats until they look balanced. Visually, it’s energetic and celebratory, and the layered peek creates a “surprise” moment.
For personalization, choose two napkins of the same pattern family, one lighter and one darker. The trend of “tone-on-tone styling” makes your table look layered and modern without feeling busy.
12. The Stacked Rectangle Surprise
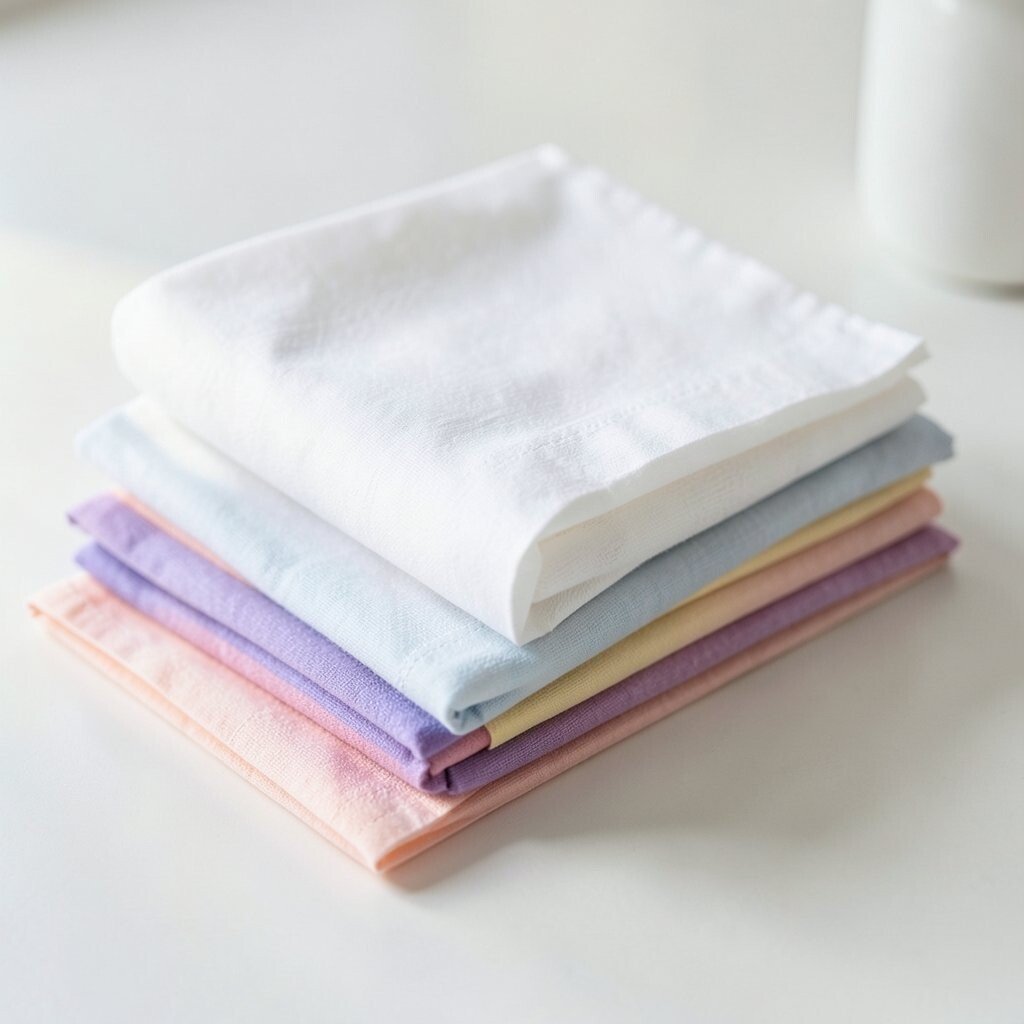
Fold the napkin into a compact rectangle, then fold it one more time so you get a stack with multiple thicknesses. Slide a corner under the top flap to create a through-layer window on the side.
Lean it slightly against a plate or place it standing inside a napkin ring. This is beneficial because the structure is stable and works even when you’re serving multiple courses.
For cost considerations, you can use your most affordable napkins and still make them look upscale with strong pressing. A crisp edge makes a huge difference, and you’ll see it instantly in photos.
Personalize the window with a tiny address-style card or a name tag that matches the season. Even a simple letter font looks elegant in that layered opening.
13. The Through-Layers Diamond Twist
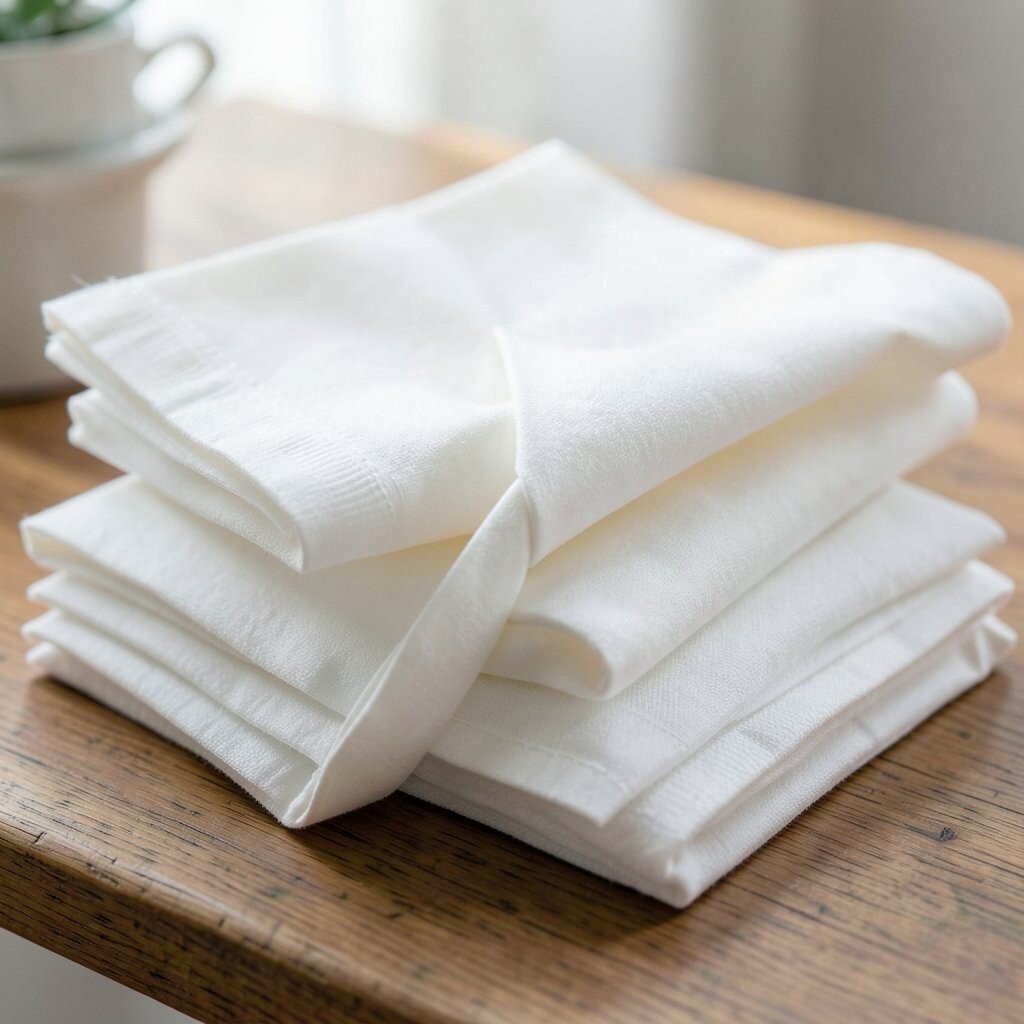
Fold the napkin into a diamond shape, then twist the top layer slightly before tucking the sides. The twist creates a spiral-like ridge that shows through multiple layers.
Place the diamond fold so the twist faces the table center, which helps everyone see the texture. This fold feels unique because it looks like a folded lantern or a small sculpture.
Try adding a wooden toothpick or skewer under the twist to help it hold, then remove it after serving starts. It’s a practical trick when working with very soft fabric.
For personalization, match the twist direction to your place setting, like all twists pointing inward for a cohesive look. A coordinated direction makes the table feel designed, not random.
14. The Double-Loop Layered Knot
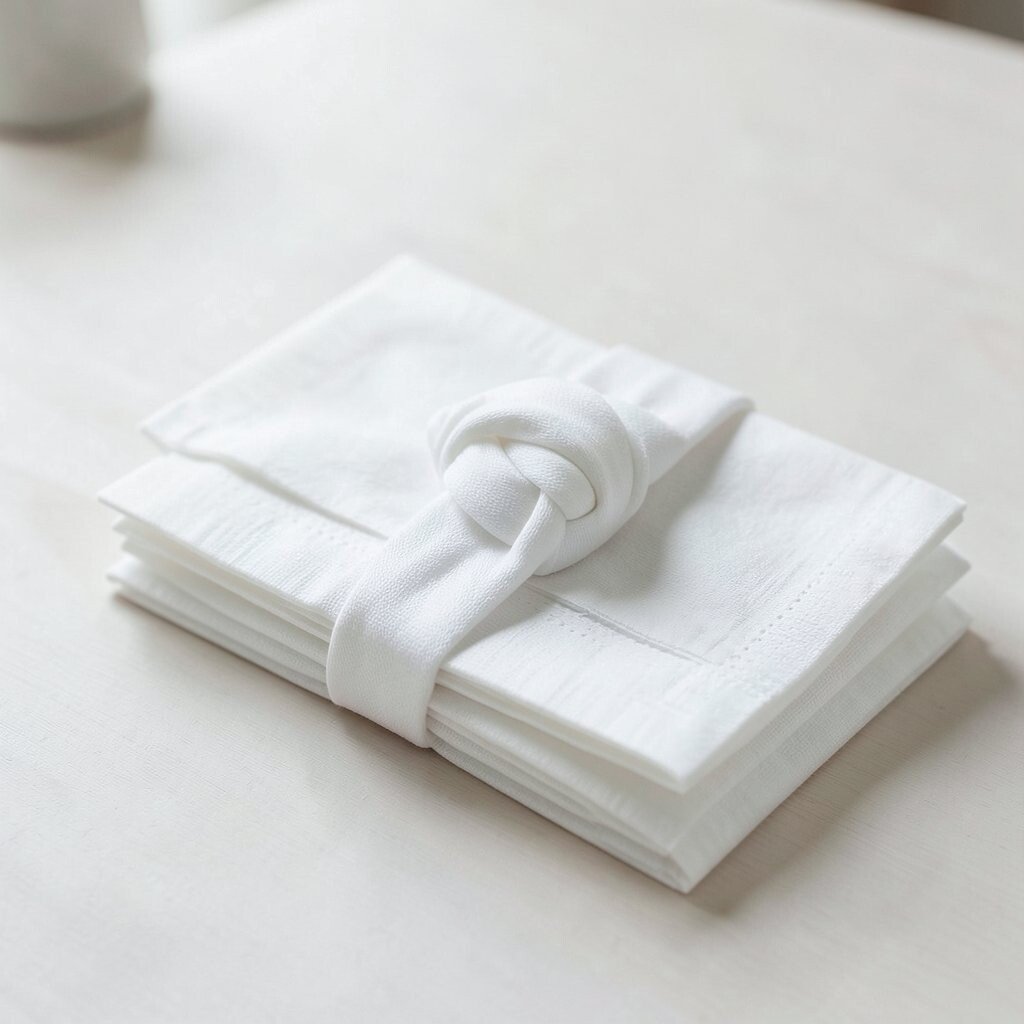
Fold the napkin into a long strip, then tie it into two loops by folding it back and forth. Layer the loops by inserting one loop under the other instead of tying a full knot.
When you set it down, the loops create a hollow center that looks stylish and keeps the napkin from flattening. The benefit is that it stays visually open, which makes the table look light and not cluttered.
Use a solid color napkin if you want a clean, modern vibe, or use stripes for a playful twist. This style is trending because loop shapes look great with minimalist dinnerware.
Cost-wise, you don’t need extra accessories because the napkin itself does the styling. If you want extra flair, add a small coordinating button pin at the back to hold the loops.
15. The Waterline Half-Moon Tuck
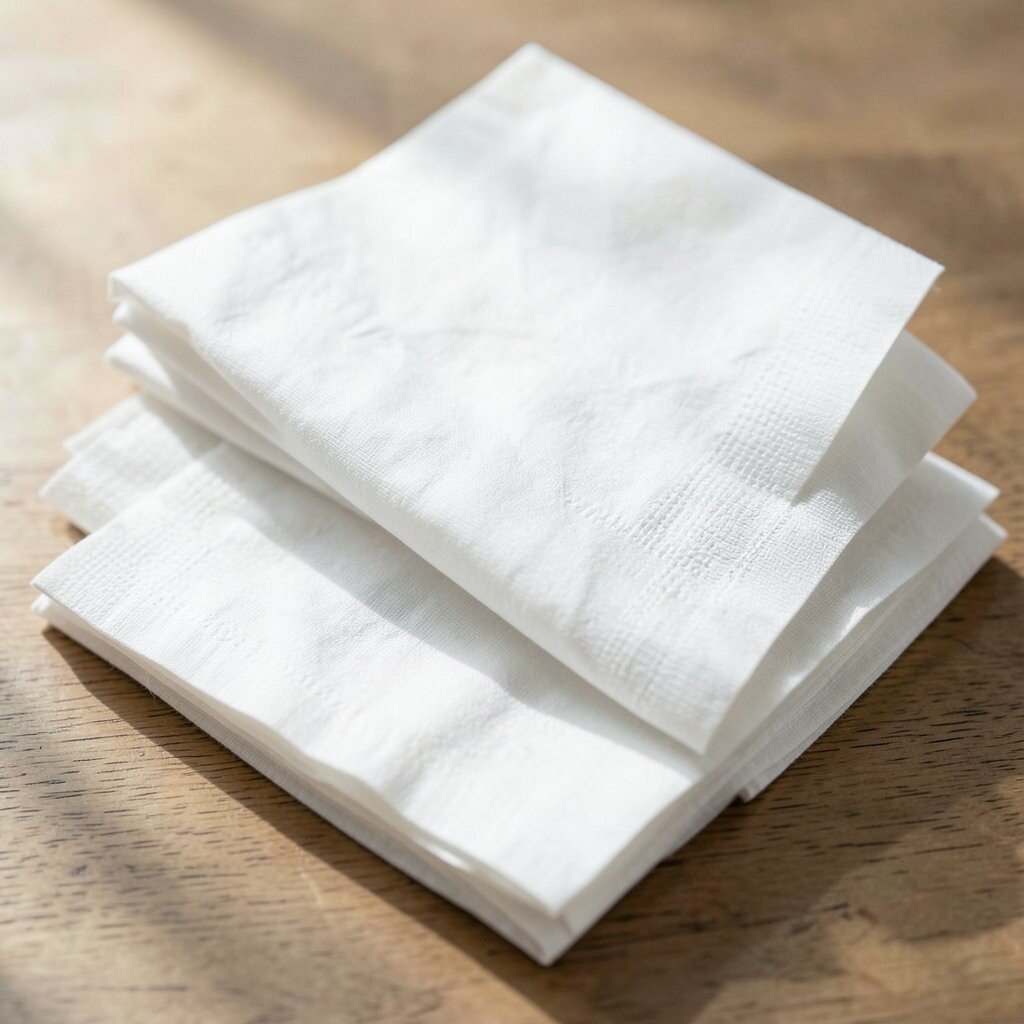
Fold the napkin in half, then roll the open edge inward slightly to create layered bands. Tuck one side underneath to form a half-moon shape that reveals thickness along the front.
Set it on the plate so the layered “waterline” edge faces upward and catches light. It’s a gentle look that feels refined and works well with lighter spring menus.
Personalize by choosing napkins in ocean tones, like teal, seafoam, or pale blue. If you’re serving seafood, this fold looks instantly on-theme without extra decorations.
Press the roll before tucking, and you’ll get sharper through-layer lines. With practice, you can fold these quickly for party nights.
16. The Layered Envelope With Vertical Ridge

Fold the napkin into a square, then bring each corner toward the center to form a compact envelope. Create the through-layer effect by folding the top flap down in a way that leaves a vertical ridge showing the layers underneath.
Slide it under a menu or card so the ridge acts like a spine. This is practical because it holds a small item securely and keeps the setting tidy.
For personalization, use one napkin pattern for the envelope and another small solid color for the card. Mixing fabric tones is a current trend and looks curated rather than chaotic.
To keep cost low, stick to one designer-like pattern and repeat it across napkins only. You’ll look intentional without buying too many extras.
17. The Pleated Sleeve With Hidden Layer
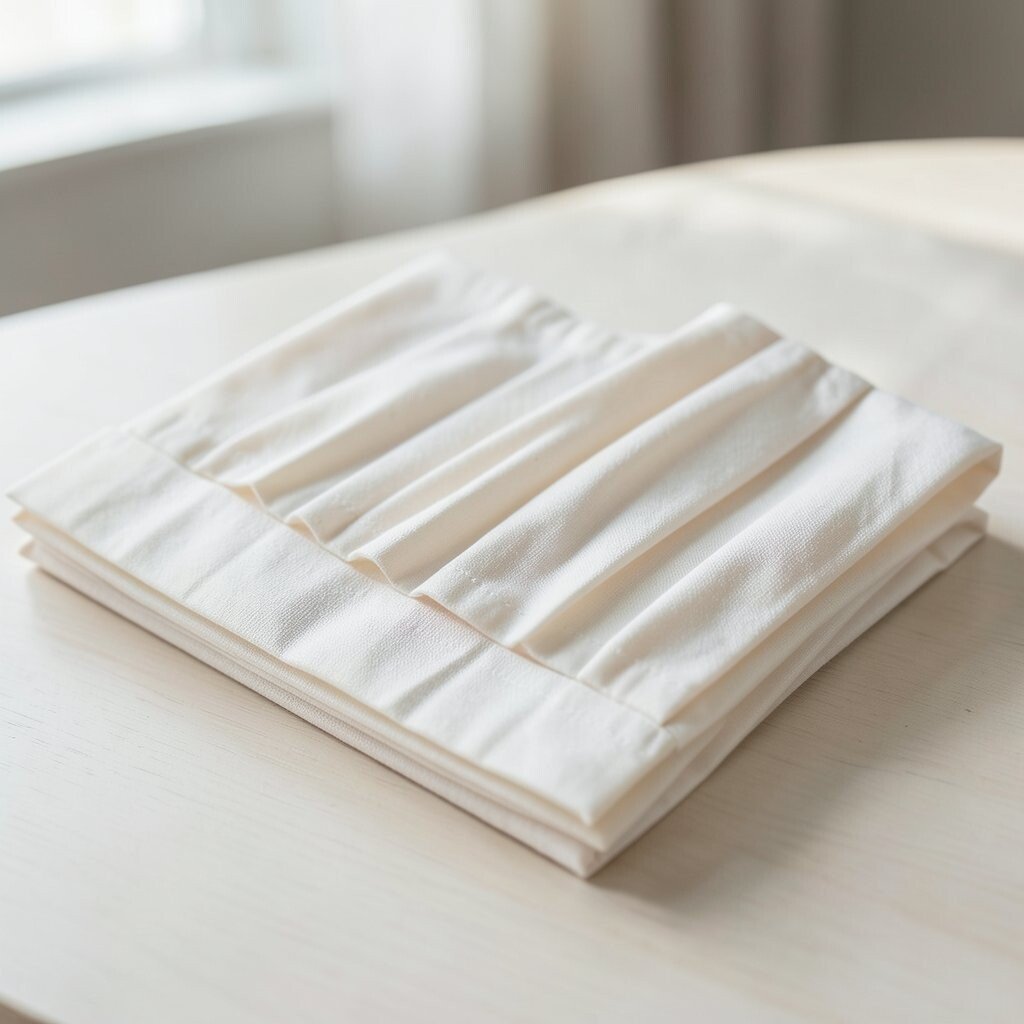
Accordion fold the napkin, then wrap it into a sleeve shape using a leftover strip of fabric from the same napkin. Tuck the strip under the layers so it disappears, leaving only the pleated edge visible.
Stand the sleeve upright and angle it slightly so the hidden layer effect shows from the side. This uniqueness makes the fold feel like a secret design detail.
Personalize by weaving a tiny ribbon through the side seam before the tuck. Choose ribbon that matches your napkin’s theme colors, and keep it short so it doesn’t tangle.
For cost considerations, use inexpensive narrow ribbon from a craft store and replace it per season. It’s a small investment that gives a fresh look every time you host.
18. The Layered Fan Stack on a Ring
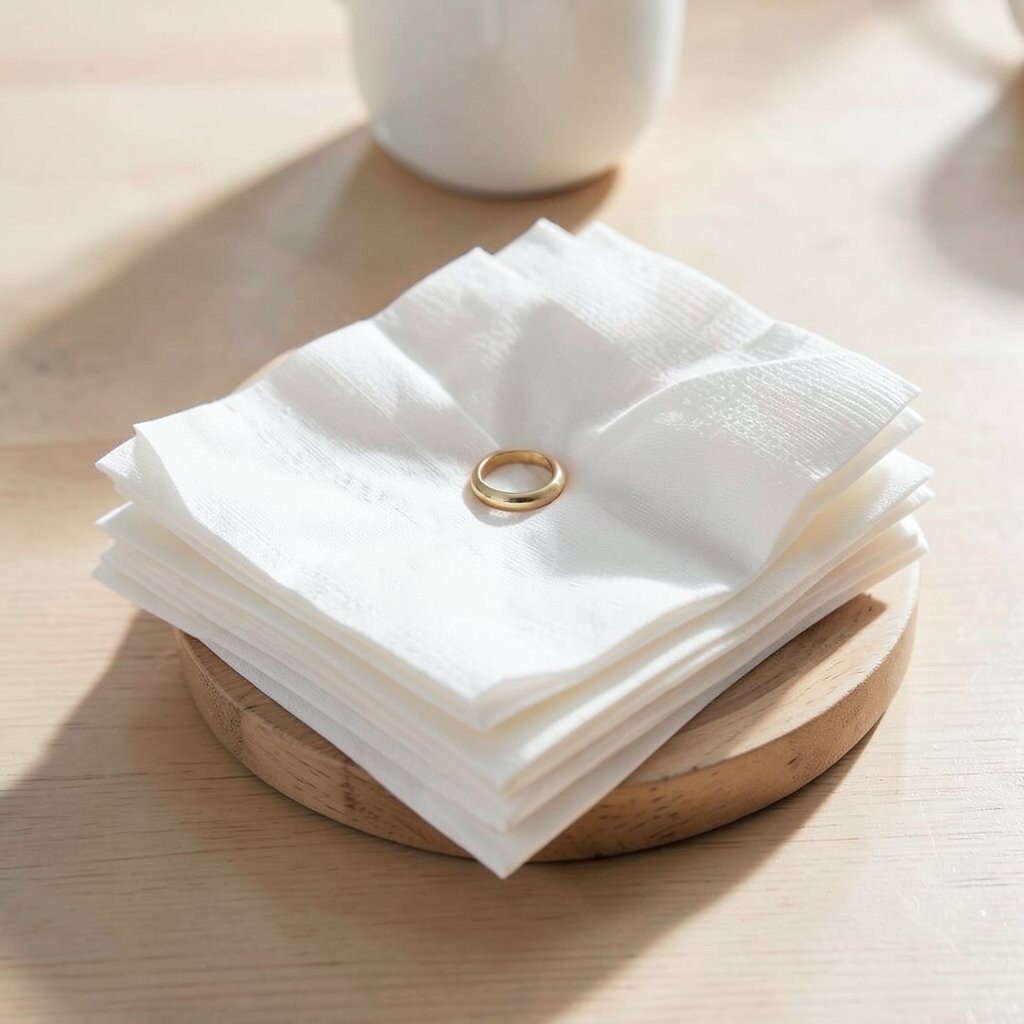
Fold multiple accordion fans by making wide pleats, then stack them so one fan slides over the next. Place the stack inside a napkin ring, tightening gently so the layers stay evenly spaced.
This fold is beneficial for larger tables because it stays consistent and easy to set up. When guests open their napkins, they can see the careful layers, which makes the serving experience feel special.
To personalize, pick a ring style that matches your tableware, like gold for warm tones or black for modern contrast. Trends right now lean toward mixed metals, so a bold ring can modernize even simple napkins.
If you don’t have rings, use a thin strip of napkin as a tie and secure it around the stack. It costs nothing extra and still looks refined.
19. The Through-Layer Accordion Pyramid
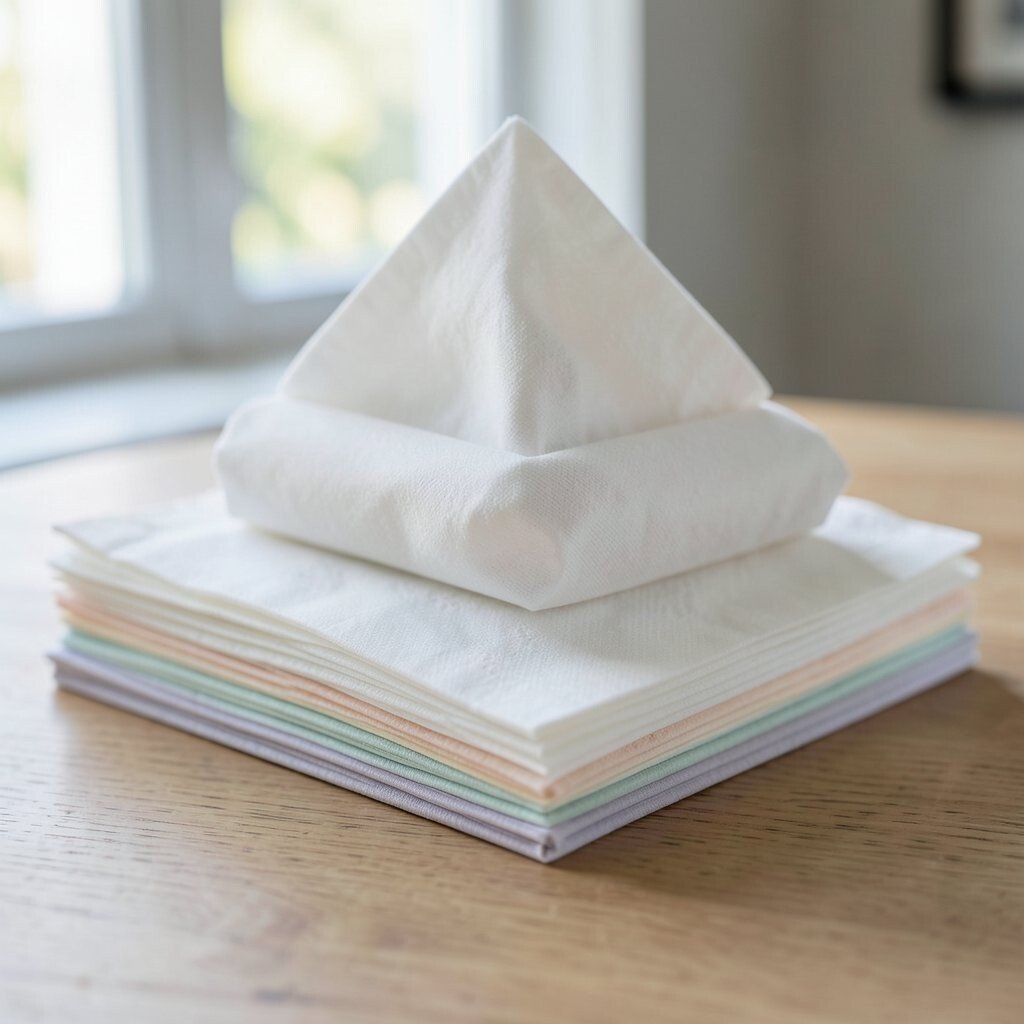
Accordion fold the napkin into equal pleats, then pinch the center so it becomes a base for a small pyramid. Fold the outer pleats inward so layers overlap and form a triangular silhouette.
Place it upright in the center of the plate and adjust the edges until the pyramid looks symmetrical. The benefit is that it creates height without bulky accessories.
Personalize the pyramid by using a patterned napkin with a motif placed near the center. When the fold compresses the fabric, the motif appears twice across layers, which looks clever and intentional.
For cost considerations, press your napkins well and use fewer decorations around the plate. A strong fold does the heavy lifting, so you can save on extra decor.
20. The Layered Star Burst Corner Tuck

Fold the napkin into a square, then bring corners in slightly to form a star-like base. Tuck one corner through the center while the other corners remain visible to show layered edges.
Set the napkin so one star point faces the guest, giving an easy-to-see focal point. This style feels unique because it looks like a tiny burst, with through-layers showing at each tucked edge.
Personalize by choosing napkins that match your season, like warm browns and creams for autumn or bright pastels for celebrations. The current trend of seasonal color storytelling makes tables feel connected to the moment.
If you’re preparing for a big meal, fold only the outer shape ahead of time and do the final tuck closer to serving. That keeps the fabric from relaxing and losing its sharp star edges.
21. The Layered Arch With Hidden Tie
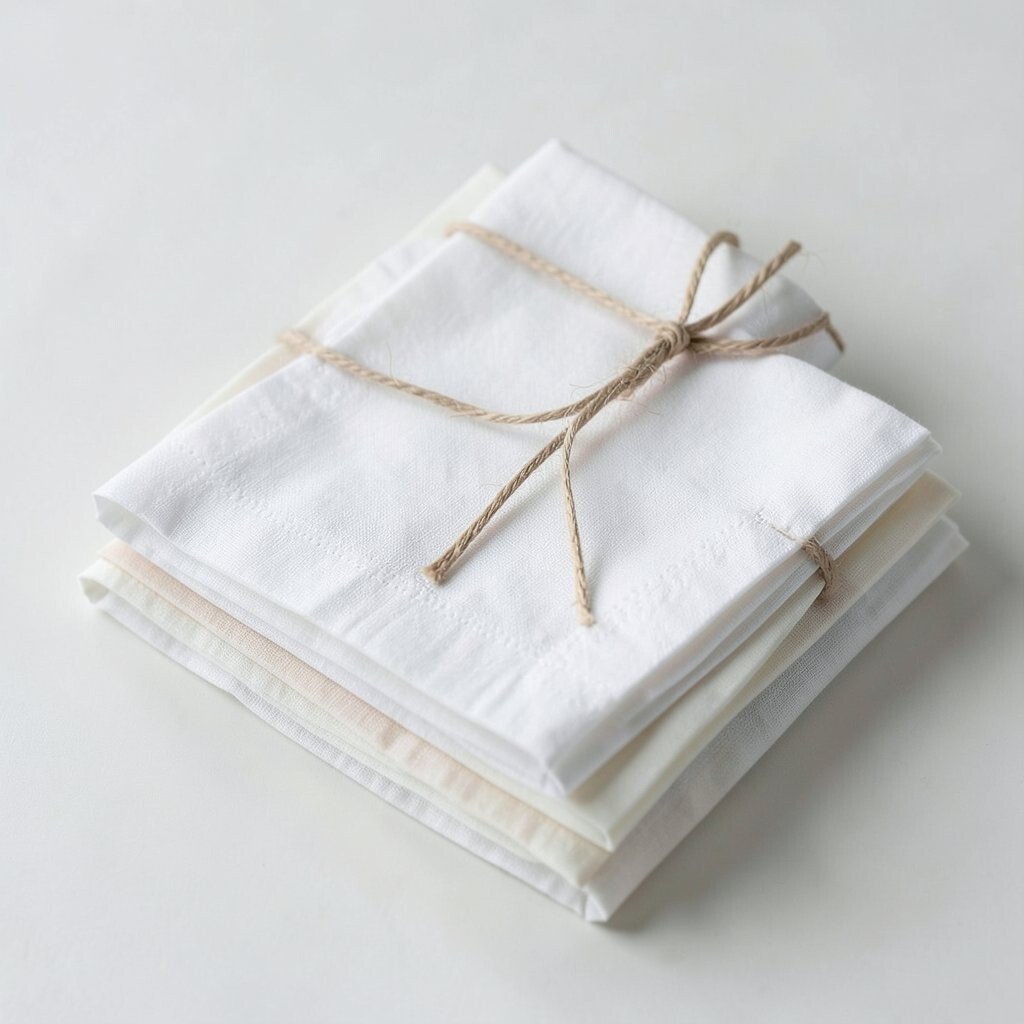
Create a slim folded strip, then shape it into an arch by bringing both ends upward. Tuck one end through a small loop formed by folding the base, so the tie disappears inside the layers.
Place it next to a plate or on top of a small roll so the arch looks like a doorway. It’s beneficial because the hidden tie keeps the napkin secure while still looking light and airy.
Personalize by pairing the arch with a matching napkin ring or a single flower at the base. The layered arch is a stylish choice for weddings, brunch, and dinner parties because it looks elegant yet approachable.
Cost considerations are gentle here since the fold itself does most of the work. If you already own plain napkins, use color coordination with table linens and one small accent to get a high-impact result.