You can make a wall feel like a storybook without spending weeks on it. The frames you choose can turn everyday memories into something you look forward to every day.
From clean gallery layouts to quirky, colorful moments, your photos can work hard for your style. Keep reading for fresh ideas that feel personal and doable.
1. The Classic Symmetry Moment
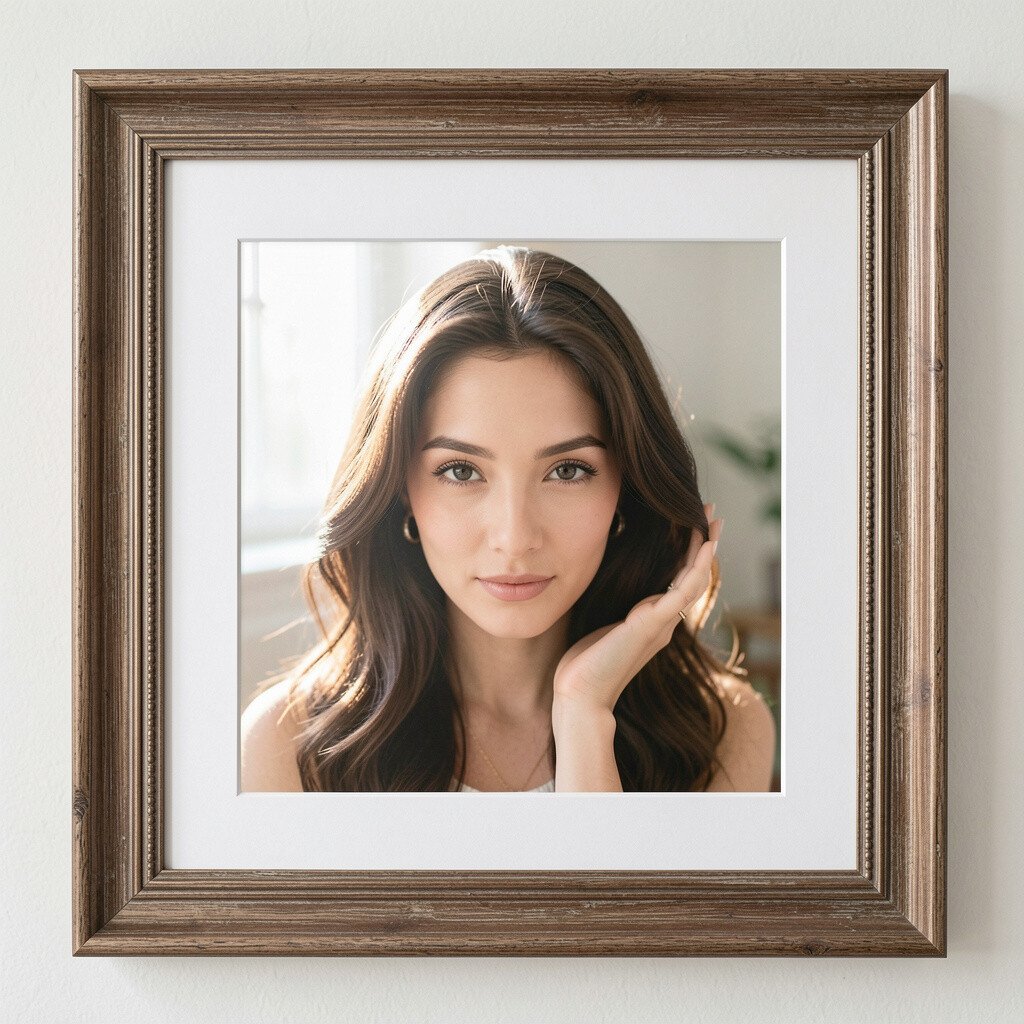
Pick one photo size and repeat it in a neat grid. Use matching frames in the same finish for a calm, balanced look.
Choose pictures that share a theme, like family portraits or travel highlights. Hang them at eye level so the set feels intentional instead of random. Use a level and painter’s tape to map spacing before you drill.
2. The Color-Blocked Frame Wall
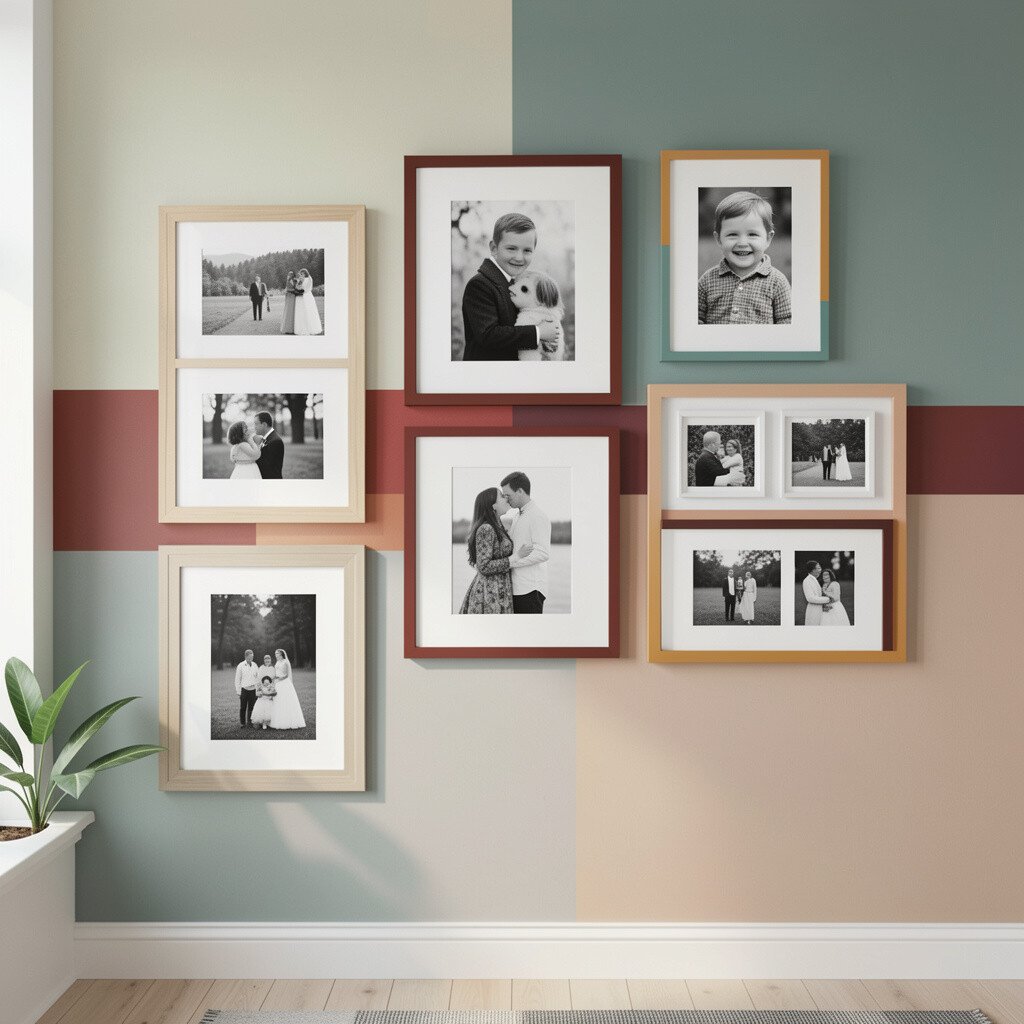
Group frames by color instead of by photo type. Imagine a wall where soft pastels, bold primaries, or earthy tones each take their own corner.
This method makes your photos feel like part of the room’s design. Try using mats in complementary shades to tie everything together. If you want an easy upgrade, spray paint a few frames the same color for a matched pop.
For practicality, keep heavier frames on the top rows and lighter ones on the bottom. It also helps to pick one frame color you love and stick to it so the wall doesn’t look busy. Your pictures will still be the focus, but the grouping will make them feel curated.
3. The Vintage Photo Collage With Mismatched Frames

Use frames that look different on purpose, like thrifted finds or hand-me-downs. Pair them with photos that have warm lighting or nostalgic vibes.
Uneven frames create a cozy, lived-in mood that feels full of character. Mix frame widths, but keep the overall palette similar so it doesn’t get chaotic. When you hang the collage, step back often and adjust until it looks balanced.
For personalization, include one or two “in between” moments like a candid laugh or a backyard cookout. If you want to save money, refresh old frames with a simple sand-and-paint makeover. This style also works great with black-and-white prints, which hide small differences in texture.
4. The Floating Shelves for Tiny Frames
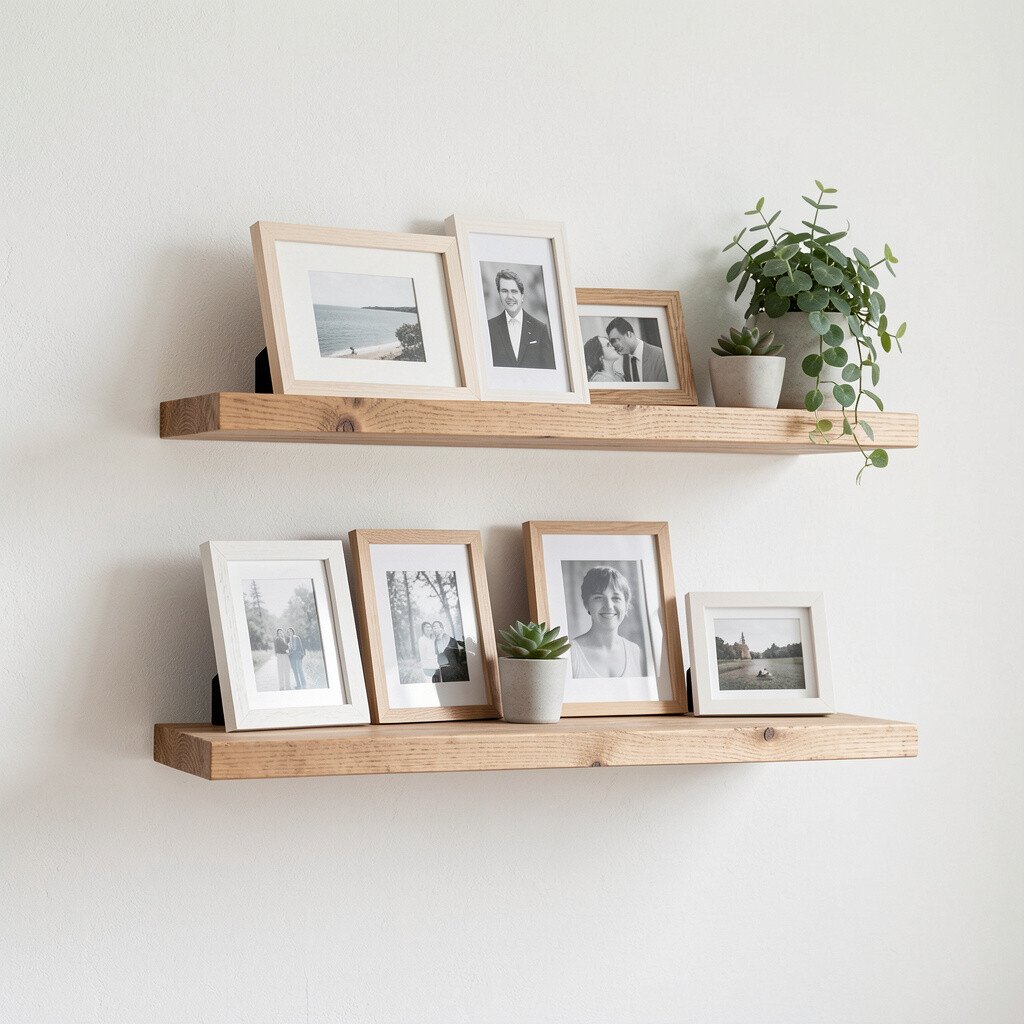
Small frames look extra charming when they sit on floating shelves. Choose frames that are narrow and light, then style them like little photo showcases.
Because shelves can hold more items without drilling a lot of holes, they are practical for renters. Mix portrait and landscape shots so the display has variety. For a clean look, keep mat colors consistent even if the photos differ.
5. The Oversized Statement Frame
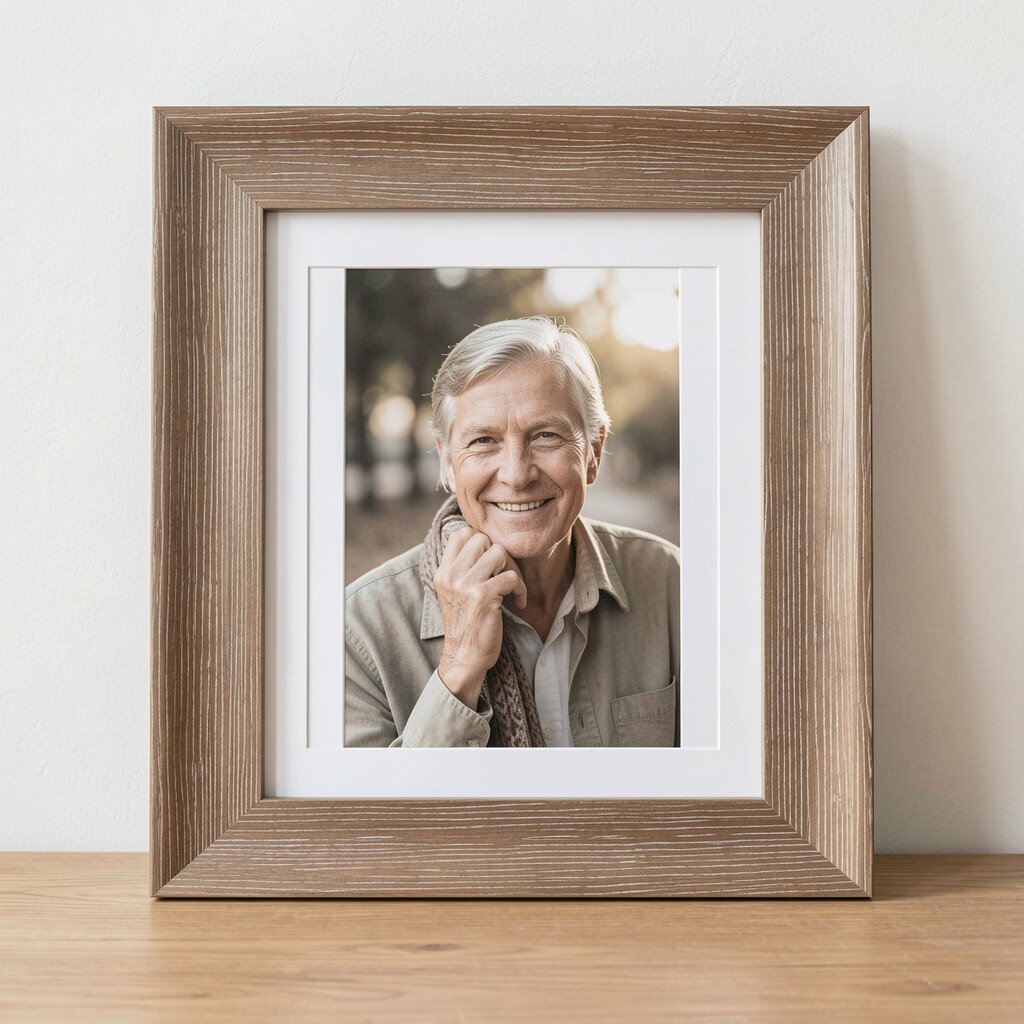
Pick one favorite photo and give it the spotlight with a large frame. A single big image can anchor the whole wall and make the space feel finished.
This approach is great when you want impact without many decisions. Choose a photo with strong composition, like a clear focal subject or dramatic lighting. Mount it securely so it feels stable, especially if you have a higher ceiling.
If you want a modern touch, use a thin black frame or a simple wood frame. You can also add a mat for extra polish. Many people choose their wedding picture, a favorite landscape, or a child’s milestone for this role.
6. The Timeline From Then to Now
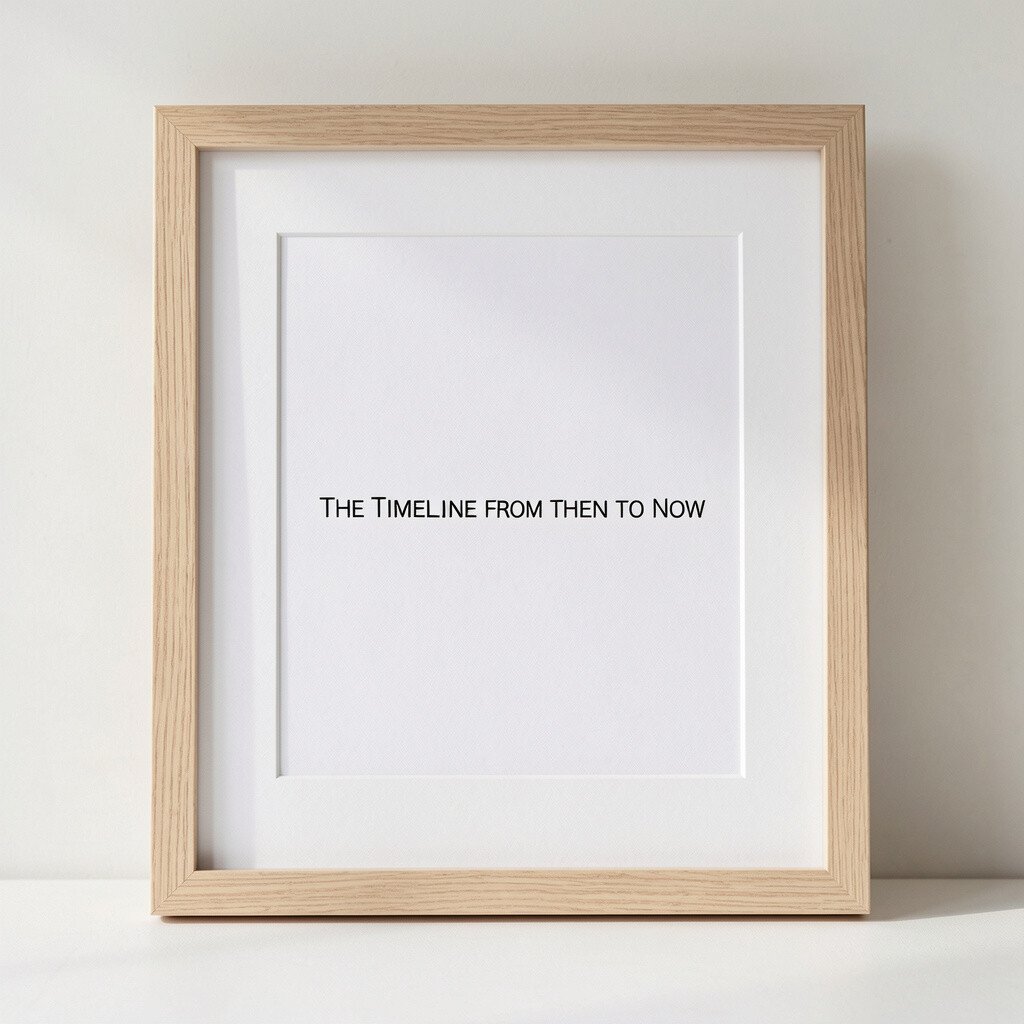
Create a photo timeline that shows how something changes over time. It can be your family’s growth, a renovation journey, or even your pet’s life.
Arrange frames in a line from left to right so the story feels easy to follow. Even without text, the sequence tells a clear message. This is a unique way to make your wall meaningful, not just pretty.
For practical hanging, leave a little extra space between years so it doesn’t feel cramped. Choose dates by picking photos that clearly match each stage, like a clear “before” and “after.” If you like current trends, this storytelling style fits right in with modern gallery walls.
7. The Gallery Wall With Unequal Heights
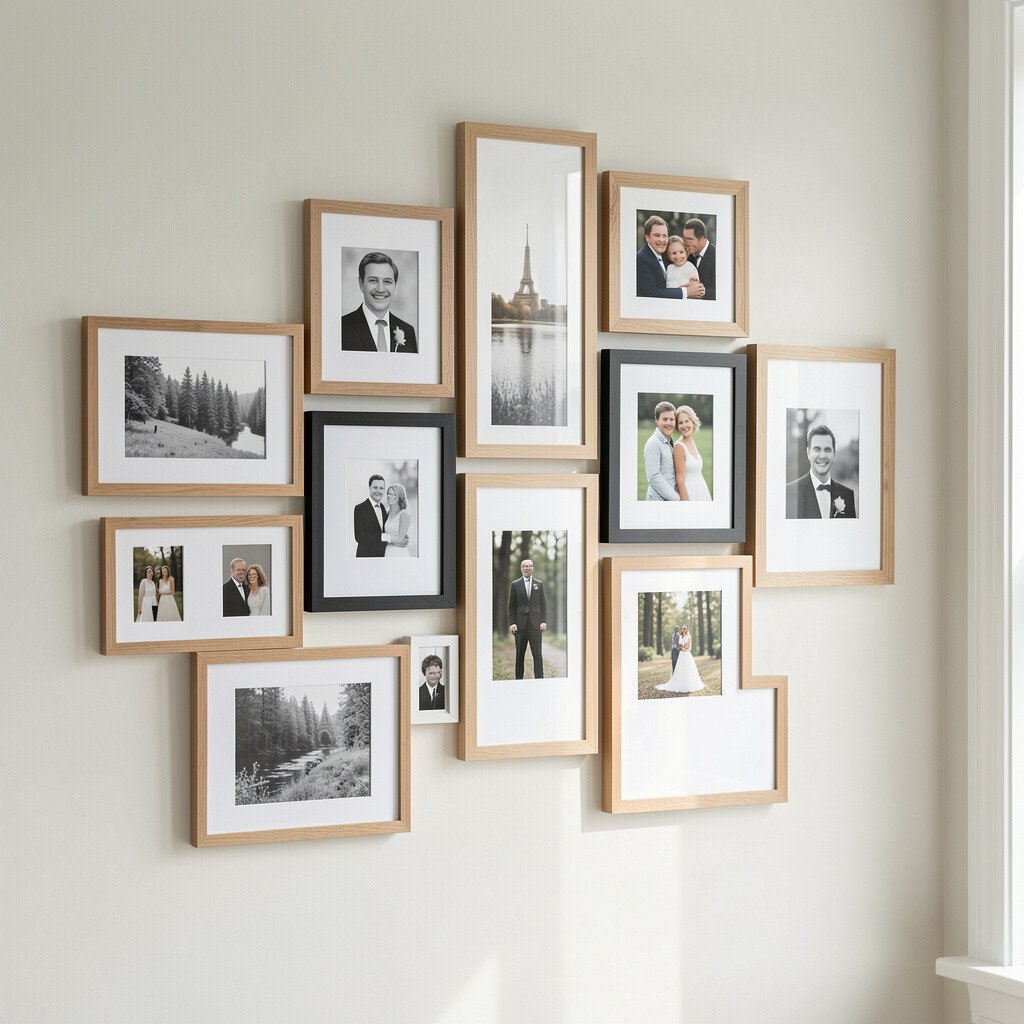
Instead of a perfect grid, mix frame heights for a relaxed gallery feel. Overlap the visual rhythm by using some taller pieces next to slightly shorter ones.
This design makes the wall look curated, like you browsed a boutique exhibit. It also helps you use frames you already own, even if they aren’t identical sizes. Try centering the tallest frame first, then build outward from there.
8. The Black-and-White Theme Gallery
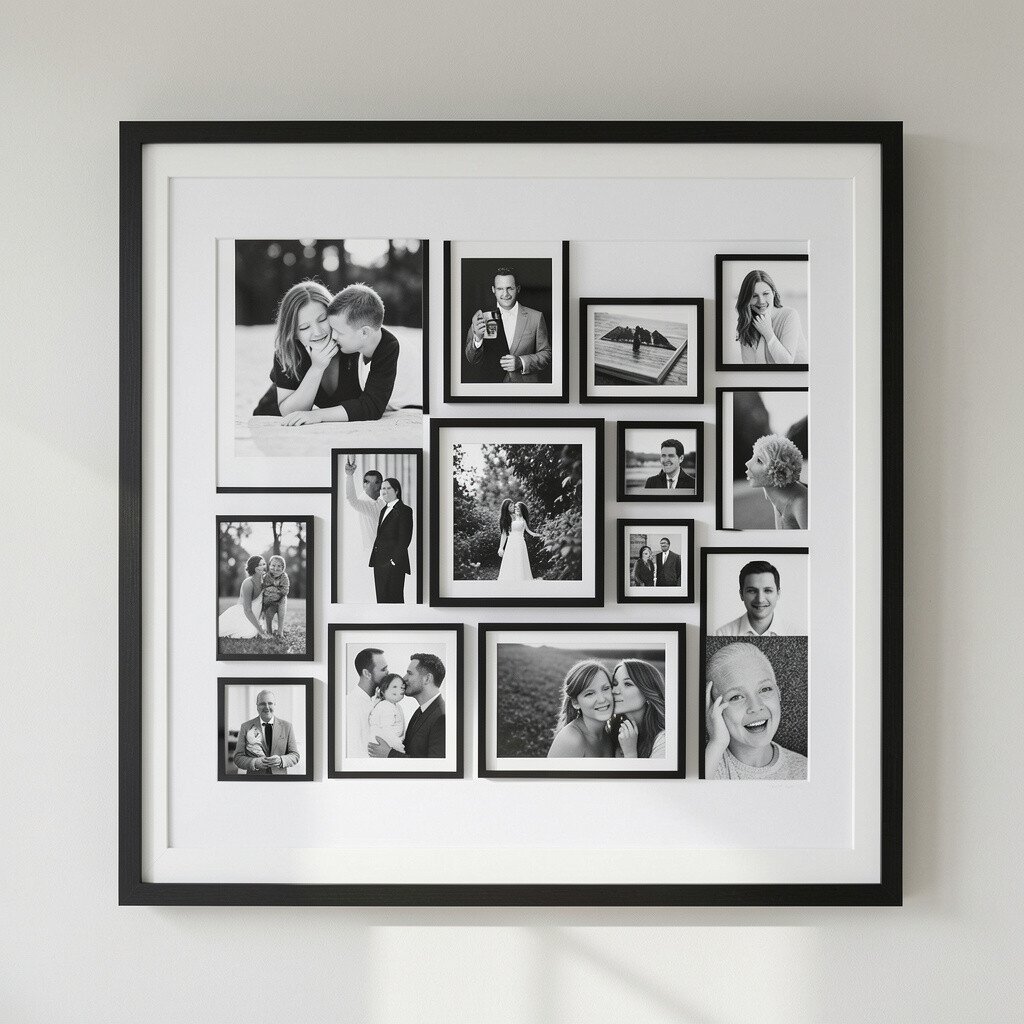
Choose black-and-white photos for a timeless, elegant effect. The wall feels cohesive even when the moments are very different.
Monochrome images can make faces pop and background distractions fade away. It is also a great option if your photos have mixed lighting quality. For personalization, select a few frames with strong contrasts, like sunny outdoor scenes and indoor portraits.
To keep it practical, match frame tones and mat colors so the collection looks intentional. You can also add one small color photo among the black-and-white for a subtle surprise. This trend still stays popular because it works in almost any room.
9. The Polaroid-Style Photos With Rounded Frames
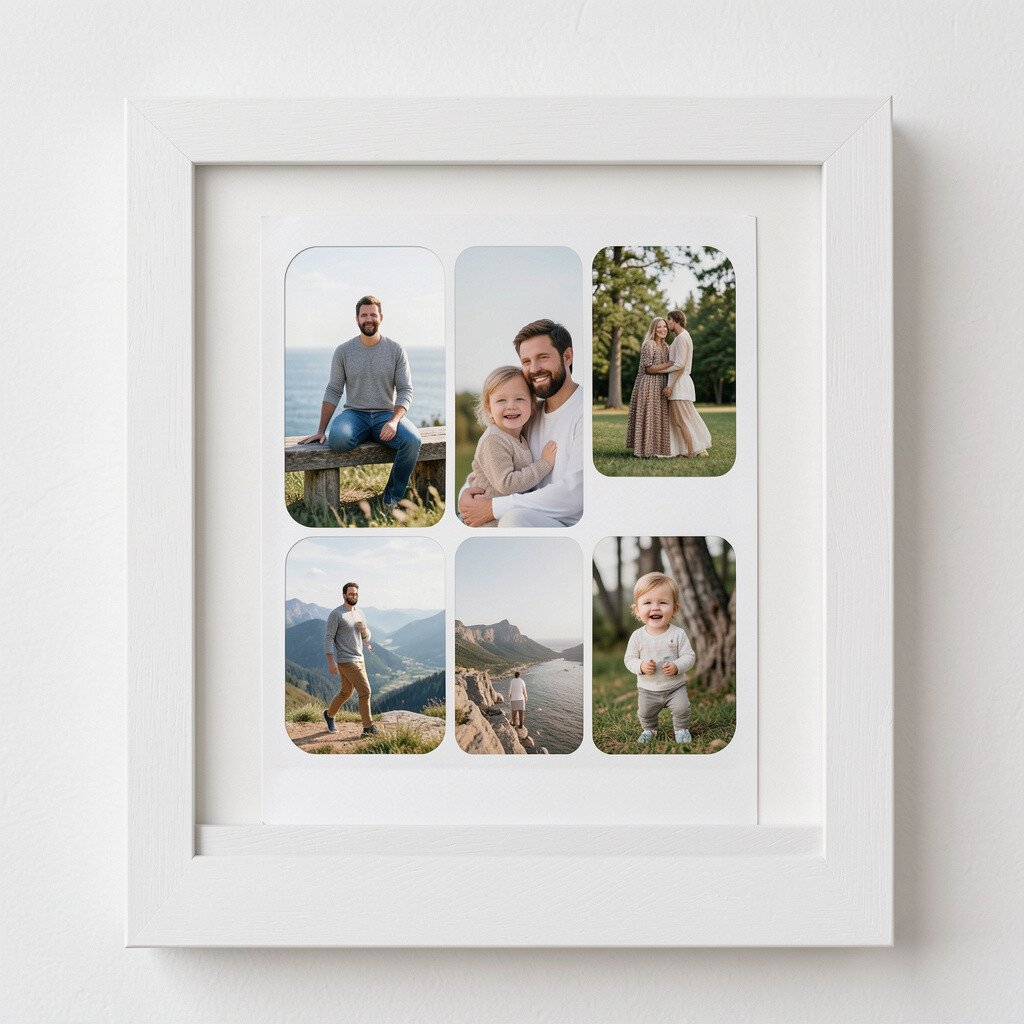
Polaroid-style pictures bring a playful, throwback vibe to your wall. Use frames that mimic the white border look, or use a mat that gives the same feel.
This style feels modern and fun, especially in home offices and creative spaces. It also makes it easy to switch images later without redesigning everything. For an easy setup, measure the frame openings and keep photo sizes consistent.
You can personalize by adding a few photos that show your hobbies, like cooking, gardening, or music. If you want to control cost, buy frames in bulk or use a few larger frames that can swap prints. Rounded corners also soften the overall look so the wall feels friendly.
10. The Colorful Childhood Milestone Wall
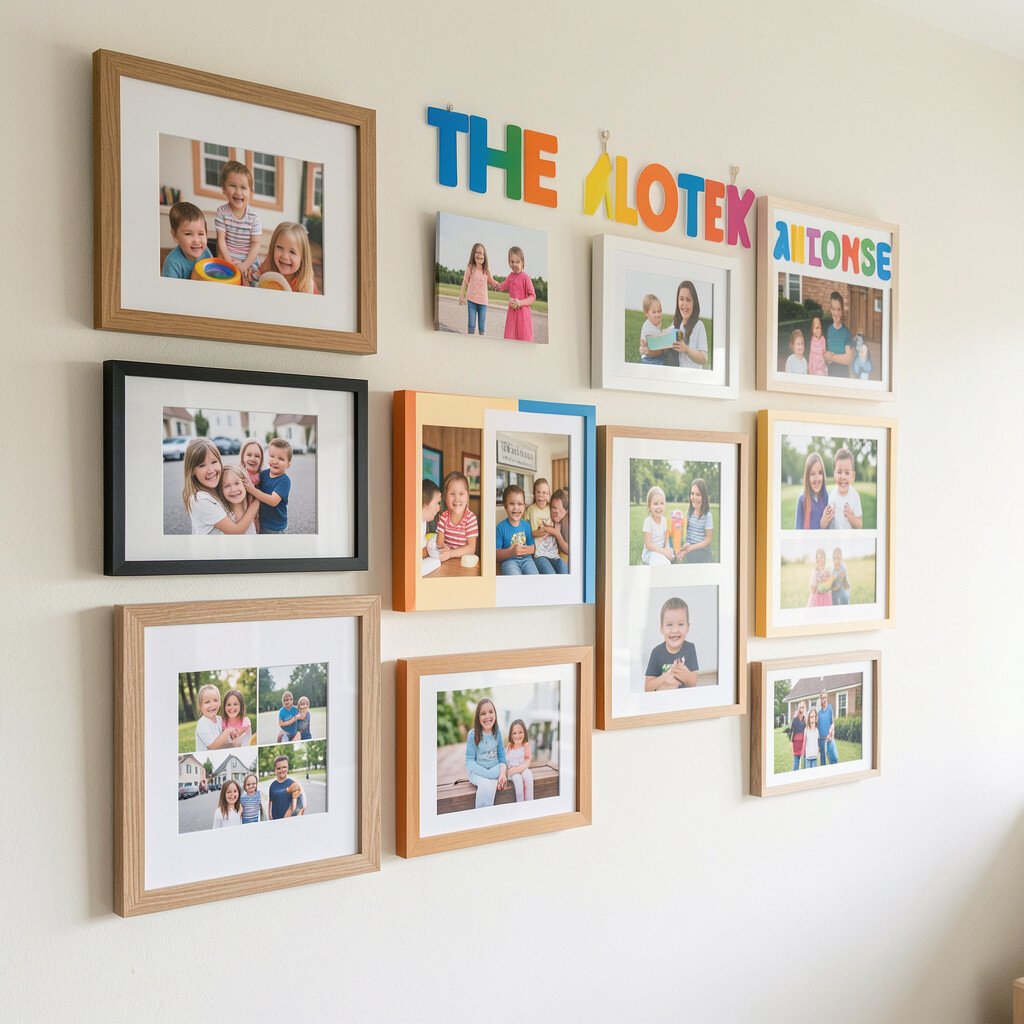
Dedicate part of your wall to milestones that matter, like first days, birthday photos, or school portraits. Use bright frames to match the energy of the memories.
This is a heartwarming way to keep family history visible. When guests visit, it’s an instant conversation starter without needing explanation. For practical results, hang the set where you’ll see it often, like a hallway or stair landing.
To personalize, include a mix of big moments and small details like artwork drawings or a favorite uniform shot. Consider matching frame sizes so it looks tidy, even with many pictures. As for cost, you can start with a few frames now and add more as you print new photos.
11. The Nature-Themed Frames With Matching Matting
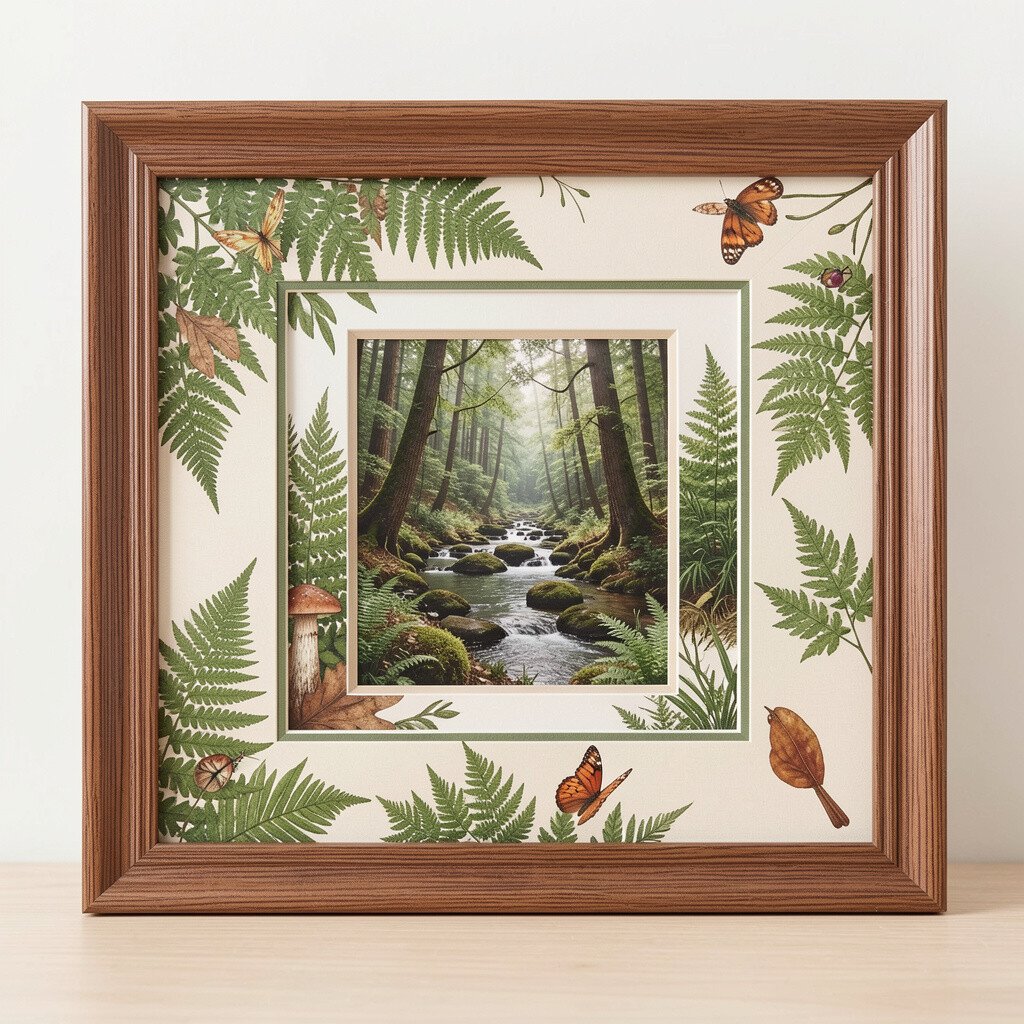
Use photos of trees, flowers, mountains, or beach scenes and keep the matting consistent. Matching mats make the wall feel calm and designed, even when the photos vary.
Nature images are soothing, and they make rooms feel airy. This is especially helpful for spaces that need a bit of softness, like bedrooms. Choose frames in light wood or simple gray for a current, clean look.
12. The Travel Photo Map With Hinged Frames
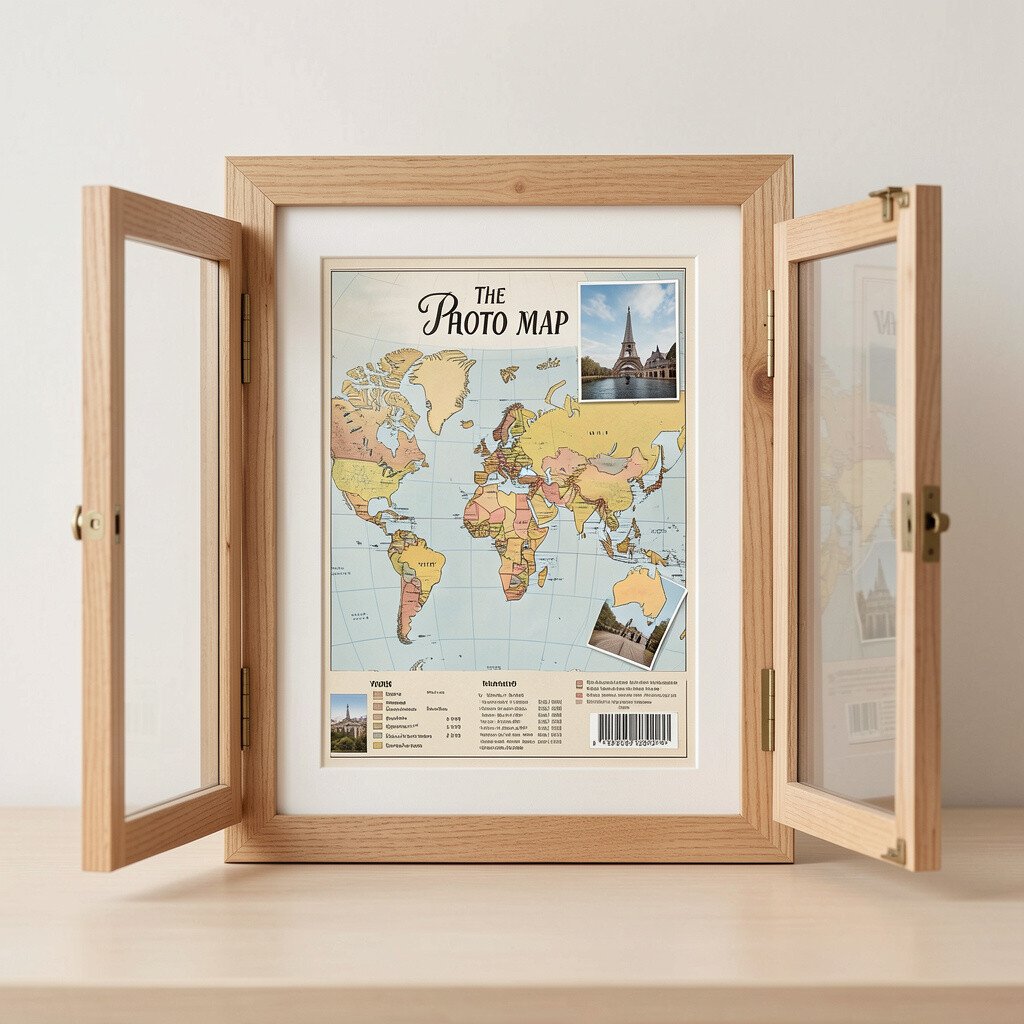
Turn your travel photos into a “where we’ve been” style display. Pair a map aesthetic with frames placed near locations, even if you don’t add pins.
This gives your photos a context that feels thoughtful. It is also unique because it turns a wall into a mini memory board. For practical setup, keep frames slightly smaller so the layout stays readable.
You can personalize by selecting photos that show both landmarks and everyday moments, like street food or sunsets. If you want to control cost, print photos in a consistent size and use one frame style in different colors. Seasonal updates are easy too, since you can add new frames after trips.
13. The Minimal Monochrome With One Pop of Color
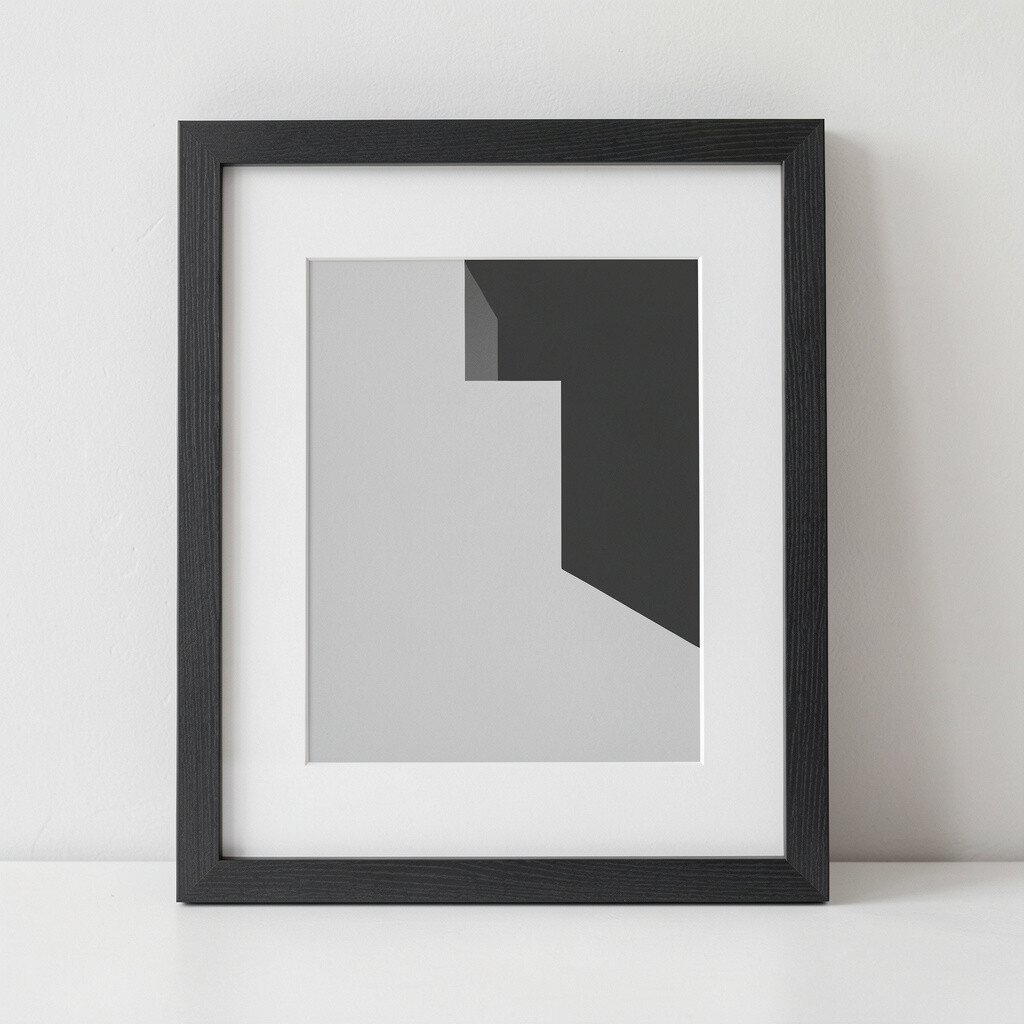
Choose mostly neutral or black-and-white photos and then add one image with strong color. That small contrast becomes the visual magnet of your wall.
This approach keeps things modern while still letting you show off your personality. It works well in living rooms where you want calm decor. When arranging, place the pop-of-color frame near the center or near a focal area like a sofa.
14. The Frame Wall With Different Photo Sizes But Matching Frames
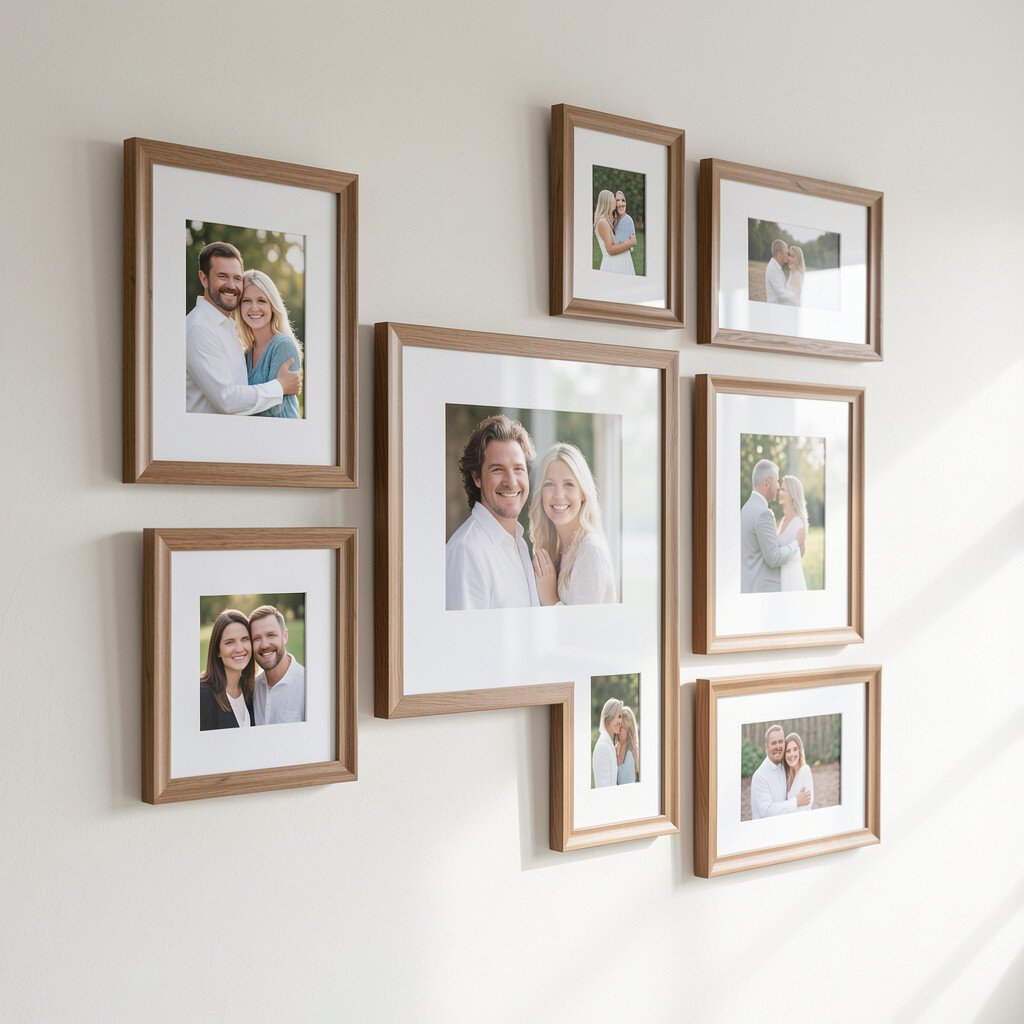
Use the same frame model for every photo, but vary the picture sizes. The uniform frames create order, while the different interior sizes add visual movement.
This is a practical way to mix what you already have with what you plan to print. It also helps if some photos were shot in different orientations and you want a simple way to fit them. To personalize, choose one “hero” photo in a larger size and surround it with smaller supporting shots.
For stability, use a consistent mat thickness or none at all so the wall stays clean. If your budget is tight, buy fewer frames and size prints to match what you can afford. This style feels very current because it looks designed, not random.
15. The Patterned Layout Inspired by Scrapbooking
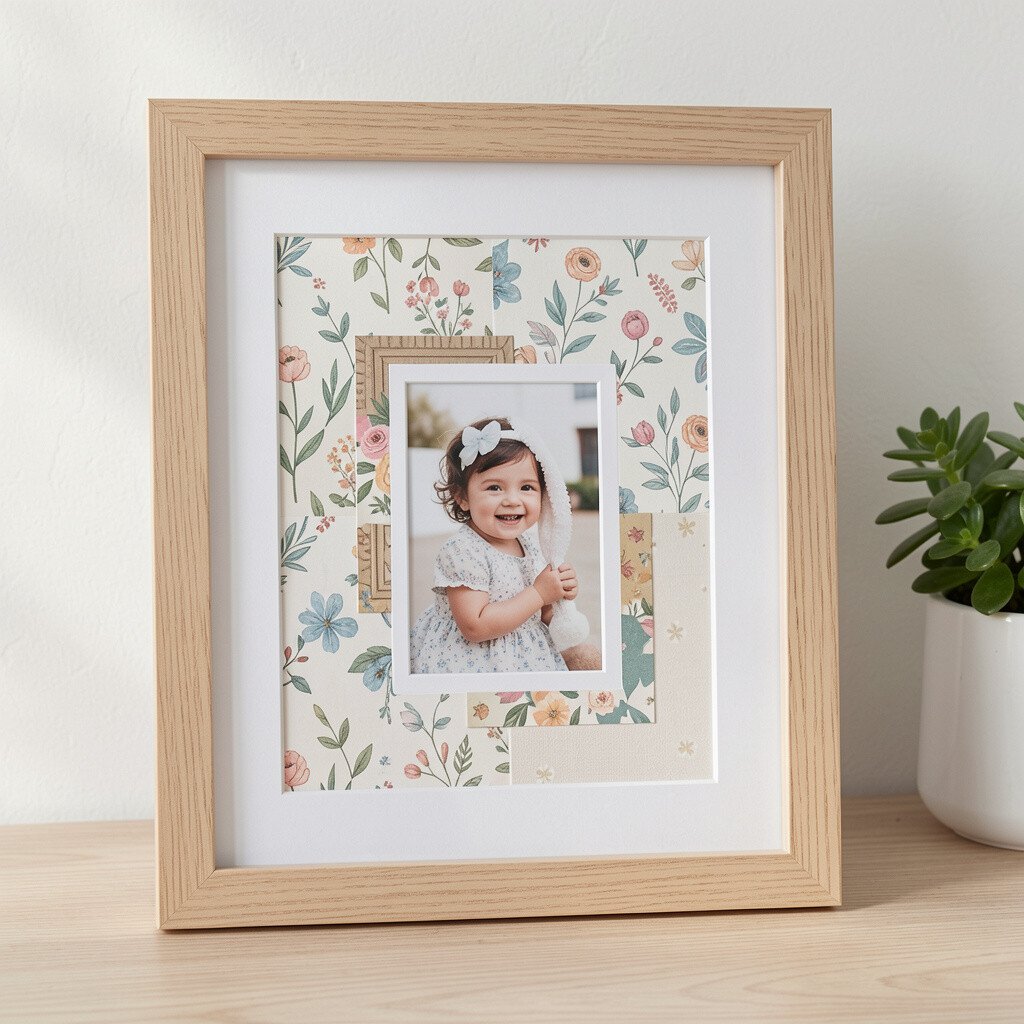
Think of a scrapbooking page, but hang it on your wall. Use photos that overlap slightly and alternate between portrait and landscape shots.
This creates a lively look that feels creative without needing fancy tools. You can personalize by including close-ups like hands holding flowers or a favorite book cover photo. For practical tips, use template paper to plan spacing so frames align nicely.
If you’re worried about cost, print smaller photos and use mats to make them look bigger. This also lets you add more moments without buying more large prints. The result is warm, fun, and full of personality.
16. The Framed Family Handwriting and Photos Combo
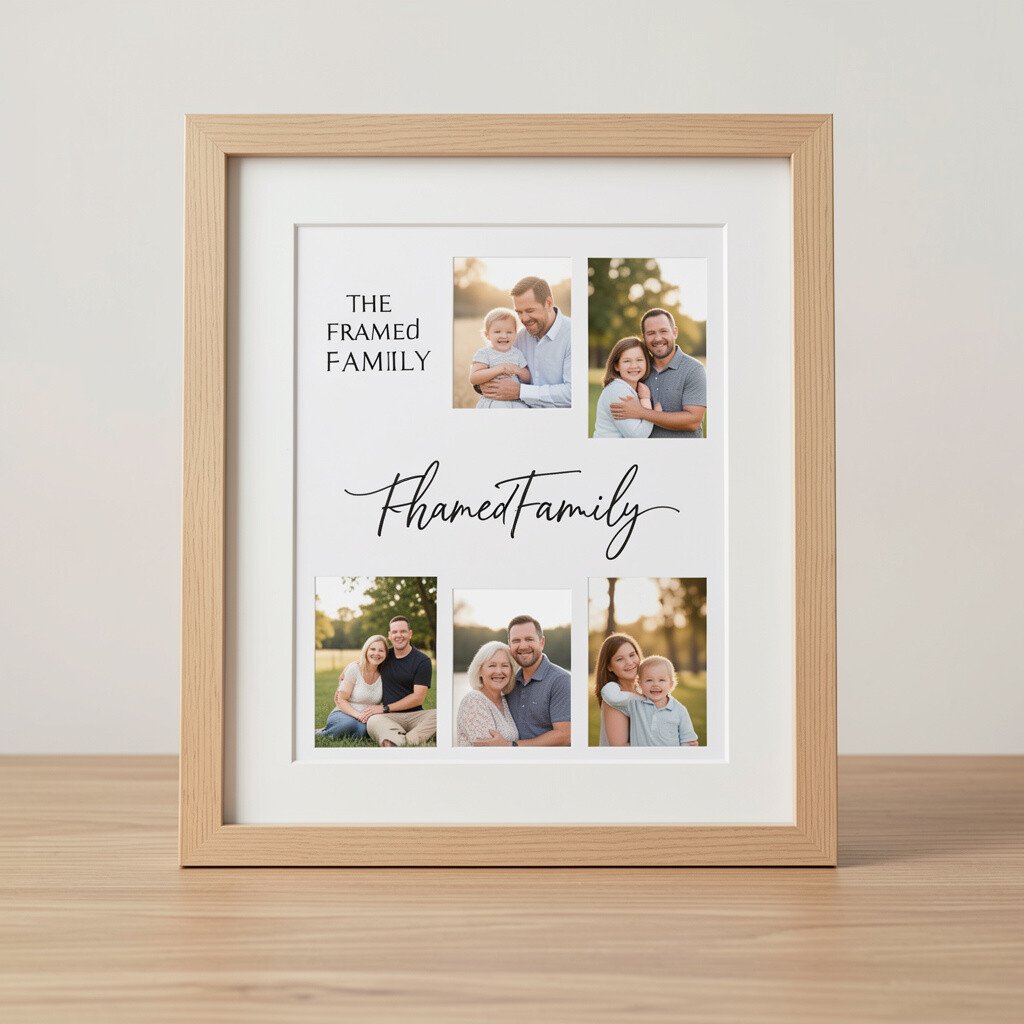
Pair a framed photo with a small piece of handwriting, like a note, a child’s drawing, or a favorite quote. Use frames that match so the set looks intentional.
This turns your wall into a memory archive you can feel. Even when photos are small, handwriting adds heart and context. For personalization, choose items that match the photo mood, like sweet notes with soft portraits or playful scribbles near birthday shots.
Cost can be controlled by printing photos yourself and using inexpensive frame mats. You can also laminate important handwritten pieces if you want extra protection. This trend is growing because it blends sentiment with decor in a modern way.
17. The Monogram or Initial Frame With Family Photos Around It
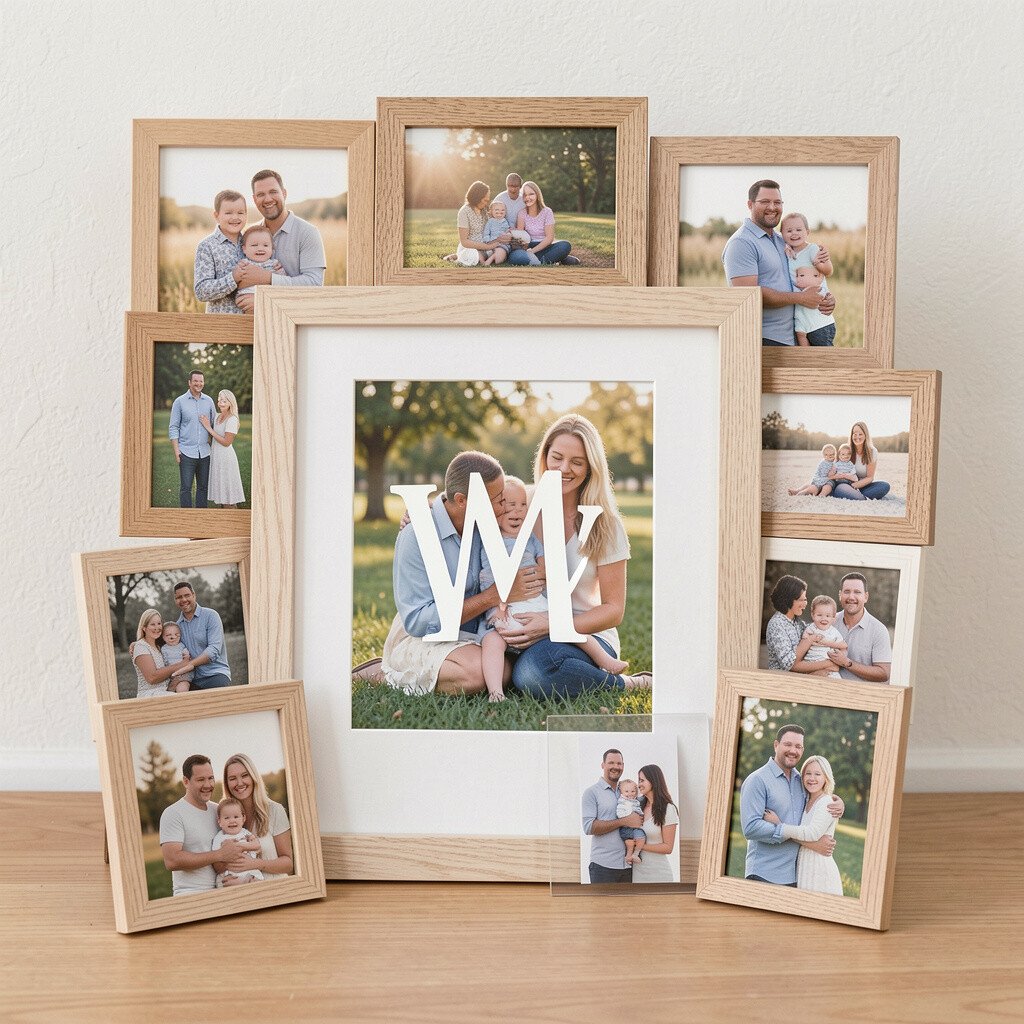
Make your wall feel personal by adding an initial frame in the center. Then surround it with photos that connect to your family, like vacations, pets, and portraits.
The monogram acts like a visual anchor, so the layout stays organized. It’s unique because it combines design elements with real memories. For practical hanging, center the big piece first, then build a balanced ring of photos around it.
If you want to save money, use a simple printable monogram and place it in a frame you already own. Keep the photo frame finishes consistent for a polished look. This is a great option for entryways because it sets the mood the moment someone walks in.
18. The Two-Row “Restaurant Menu” Style Layout
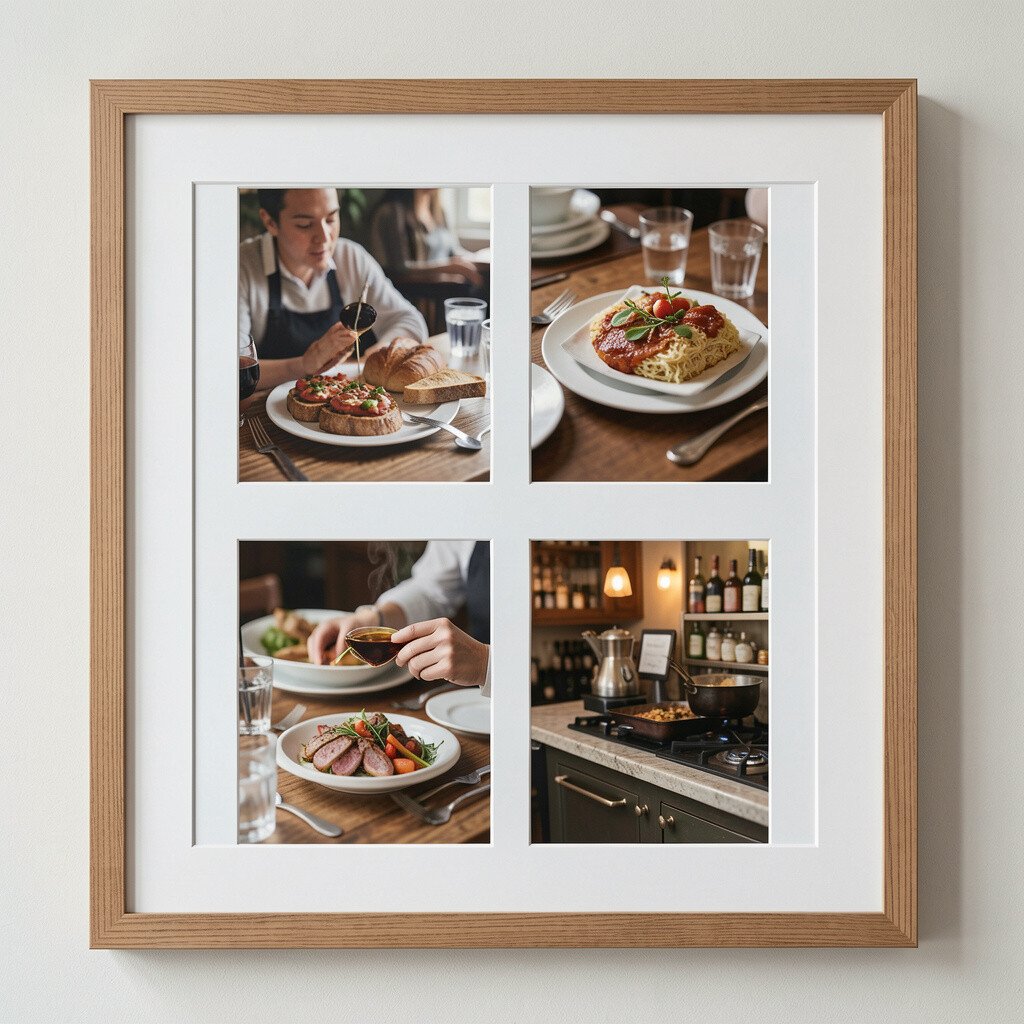
Create a layout that feels like a menu display with photos in two neat rows. Alternate portrait and landscape shots so it looks dynamic but still structured.
This style is great when you want your wall to be tidy and easy to read. It also helps prevent the “too many frames” feeling because everything lines up. For personalization, choose a theme, like family celebrations, seasonal moments, or monthly snapshots.
To keep it practical, measure the total wall width and plan your spacing before buying anything new. If you’re on a budget, use larger frames and insert multiple photos with consistent mat sizing. You’ll get a gallery vibe without spending on tons of frames.
19. The Frame Wall With Mirrored Accents
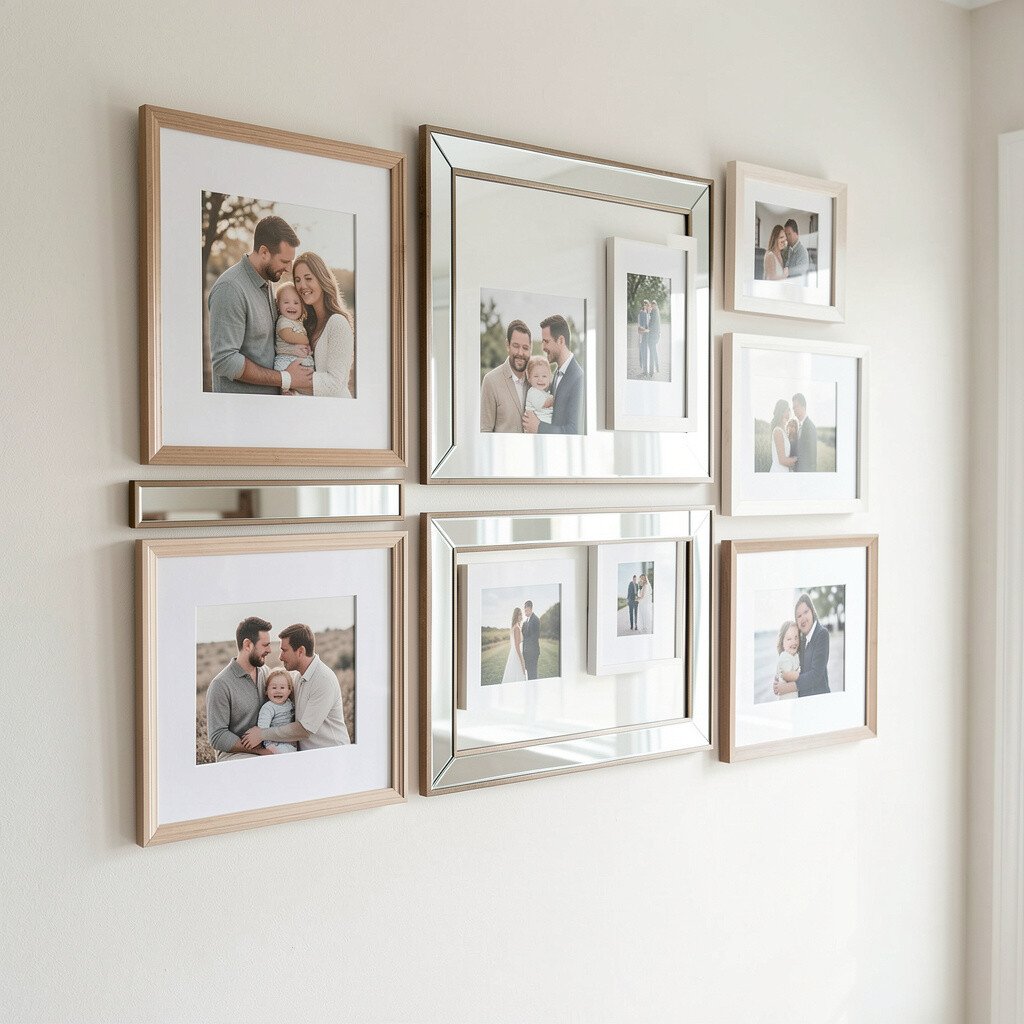
Add mirrors to your photo wall for extra light and a clever layered look. Use small mirrored frames next to photo frames so the wall sparkles.
Mirrors can make a room feel bigger, which is a real benefit in smaller spaces. This also helps when your photos are darker, because the reflections brighten the overall display. For practical tips, keep mirrored pieces evenly spaced so the shimmer feels intentional.
Personalize by choosing mirror sizes that match your frame sizes and keeping finishes consistent. Gold, black, and brushed silver all create different moods, so pick the one that matches your home decor. This look is popular right now because it feels both warm and high-end.
20. The Frames With Captions Using Photo Mats
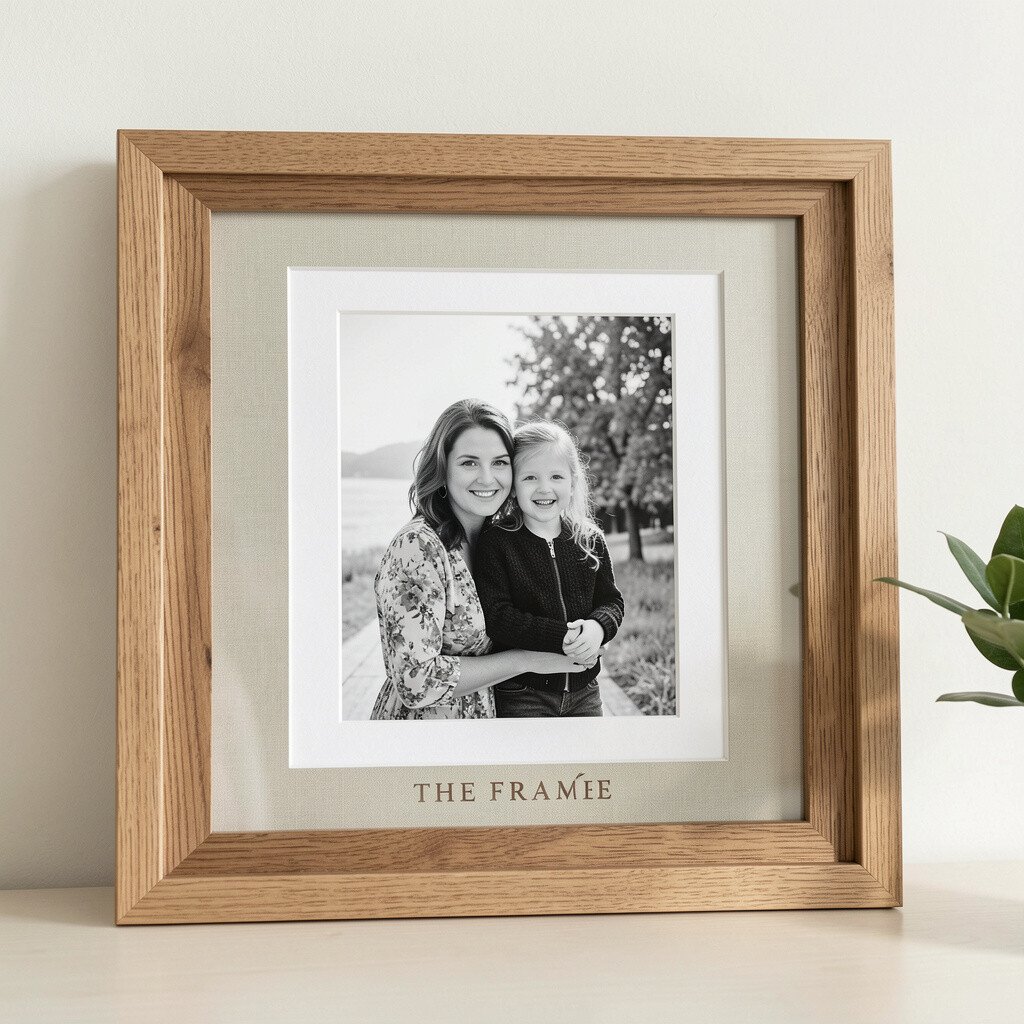
Give your photos gentle captions by using space on the mat or a small label area inside the frame. Short phrases like “Summer mornings” or “First steps” can make the memory easier to recall.
This adds meaning without clutter, especially if you keep the text small and consistent. It’s also a wonderful personalization option for family members who love stories. For practical results, use printed text in a simple font so it looks neat.
If you want cost control, print caption strips at home and insert them with your photo. Keep backgrounds light so the words stay readable. This trend fits perfectly with modern gallery walls because it blends art and storytelling in one frame.
21. The Seasonal Switch-Out Photo Wall
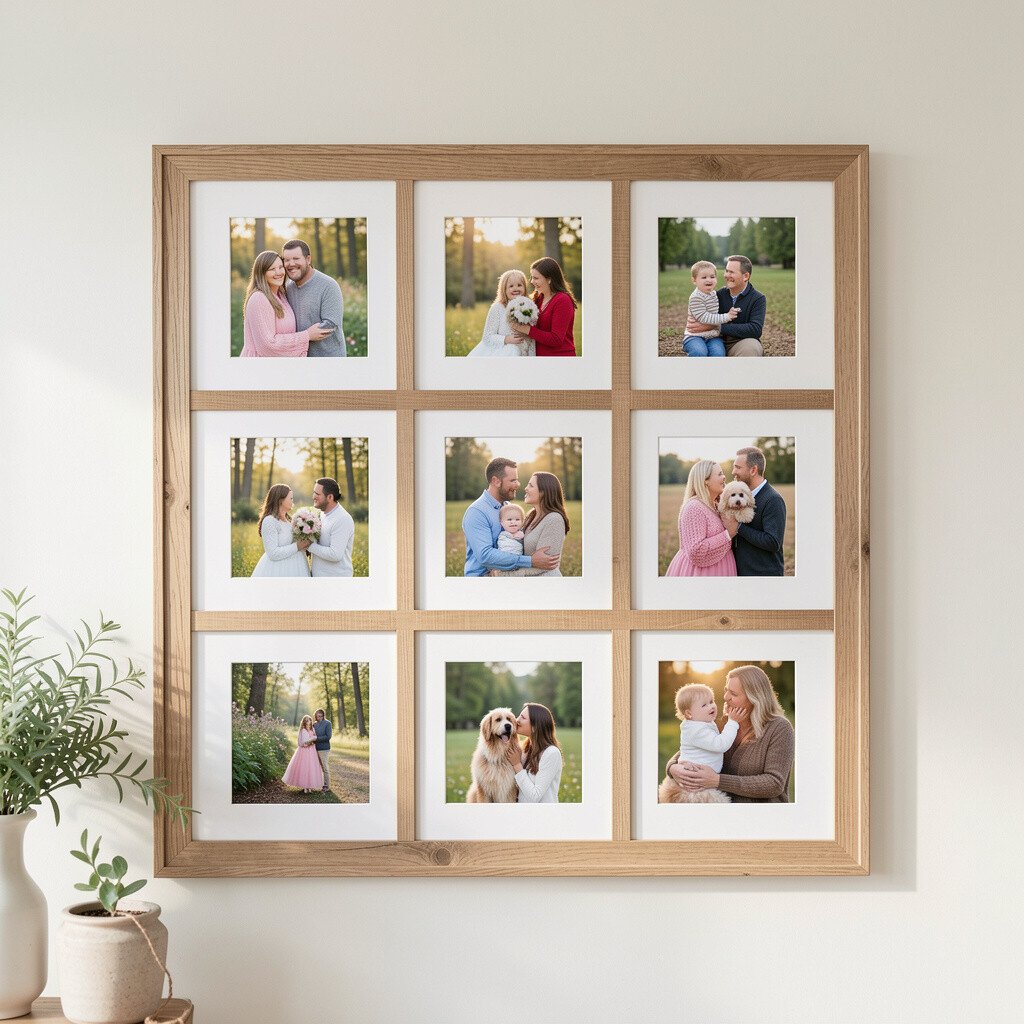
Use a few frames that you can easily open so you can swap photos with the seasons. Think spring florals, summer beach days, fall family events, and winter holidays.
This keeps your wall fresh without requiring a full redesign each time. It’s unique because the display evolves with your life, not just with your decorating taste. For personalization, match seasonal photos to the colors already in your room.
From a practical standpoint, choose frames with removable backs and easy clips. Use consistent photo sizes so swapping is quick and painless. While it can cost a bit upfront for quality frames, the long-term benefit is that you avoid buying new wall sets every few months.
22. The Event Photo Countdown With Circular Frames
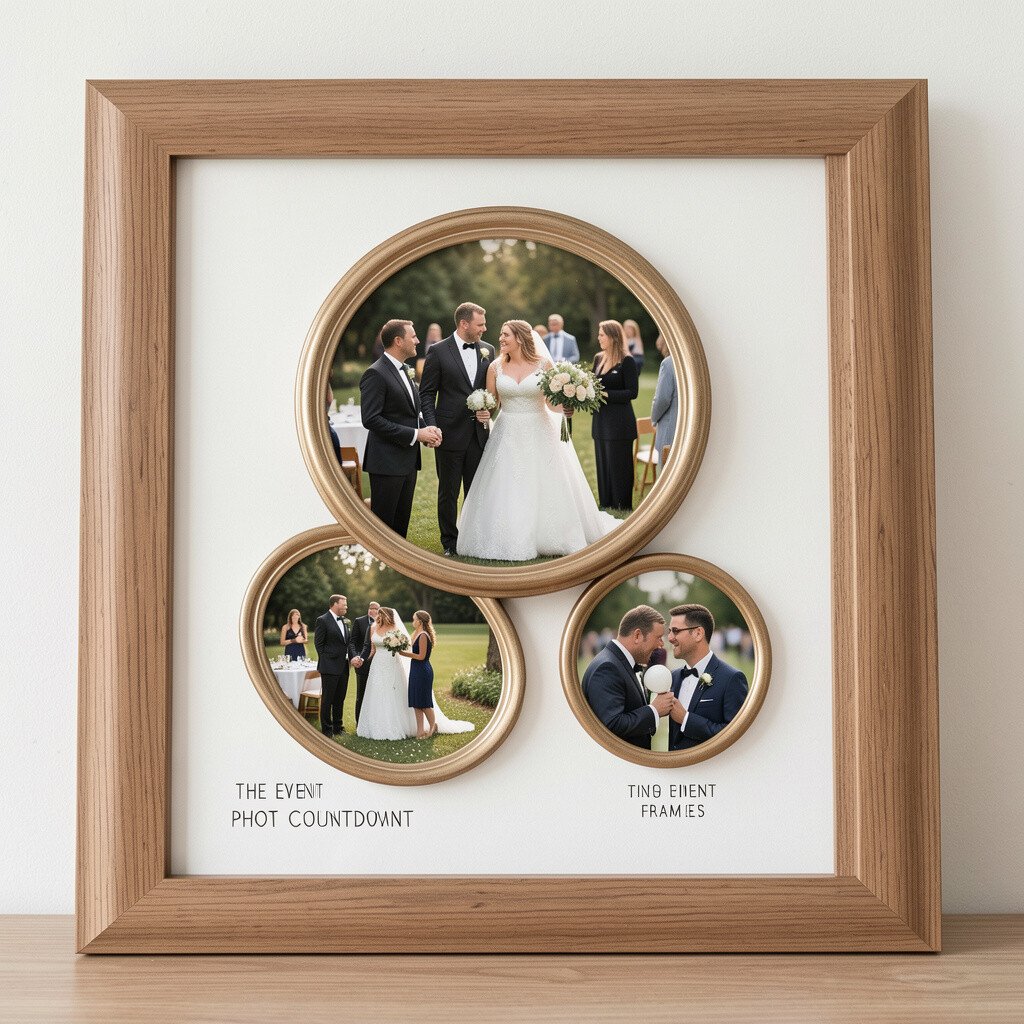
Create a countdown vibe using circular frames that step around your wall like a wreath made of photos. Arrange them in a curve or in a loose circle so it feels playful and modern.
Circular shapes soften the look of a wall full of rectangles and help the display feel fresh. This is a unique choice that stands out while still being easy to style. For practical tips, keep the circles similar in size and use consistent spacing so the pattern stays balanced.
Personalize by choosing event photos, like graduations, big games, weddings, or even a “year in snapshots” set. If you want to manage costs, use a mix of frame sizes and fill gaps with smaller prints. This style matches current decor trends because it brings an artsy, gallery-like feel with a friendly twist.