Your favorite shirt can last longer than you think. Small tools make quick repairs feel surprisingly satisfying.
When you keep the right supplies nearby, a tiny snag or loose seam stops being a crisis. You can also match repairs to your style, not just to what happens to be on hand.
1. Sewing Needle Assortment
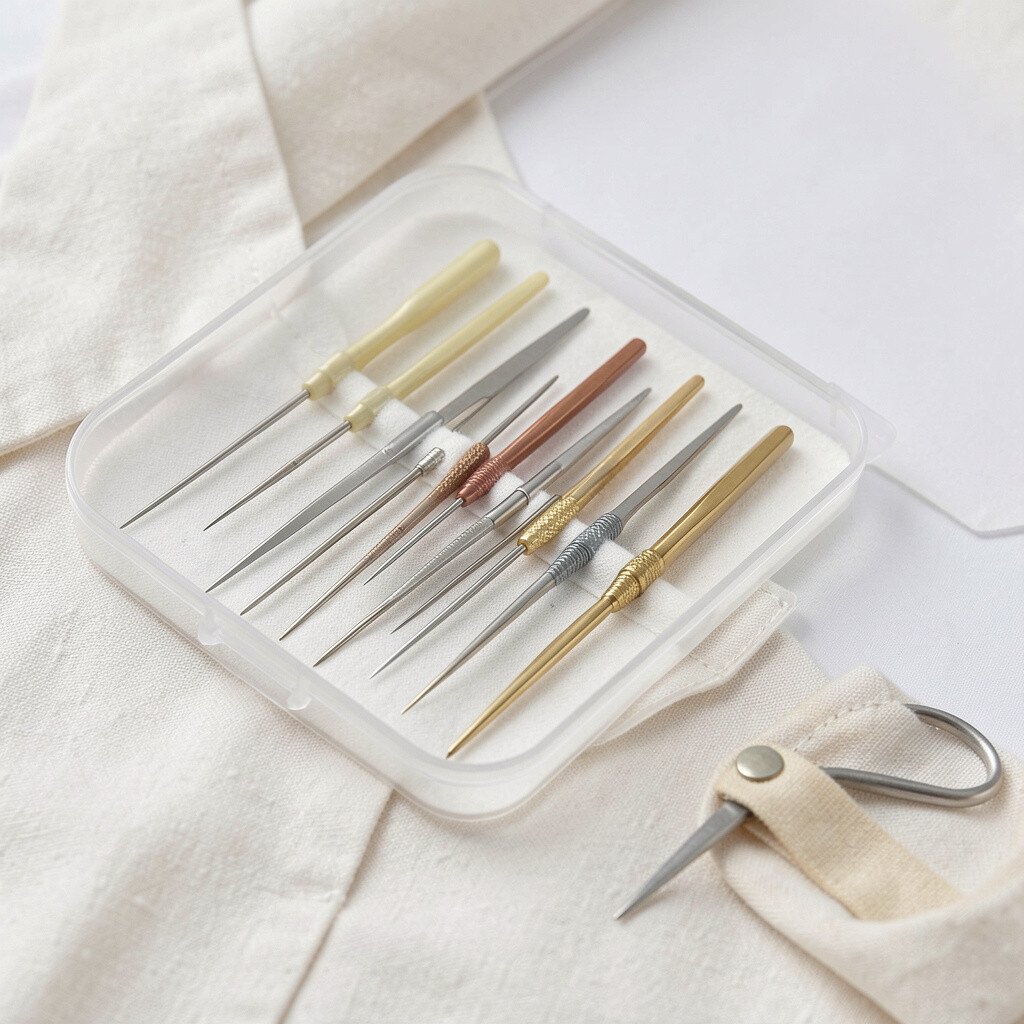
A good needle set looks simple, yet it can save you on busy days. You will notice how smooth the fabric feels when the right needle matches the weave.
Pick a few sizes for different weights, like thin needles for light cotton and sturdier ones for denim. Keep them in a small case so you can grab what you need fast. For repairs on buttons and small hems, a mixed kit helps you avoid tugging holes that grow larger.
2. Thread in Matching Shades
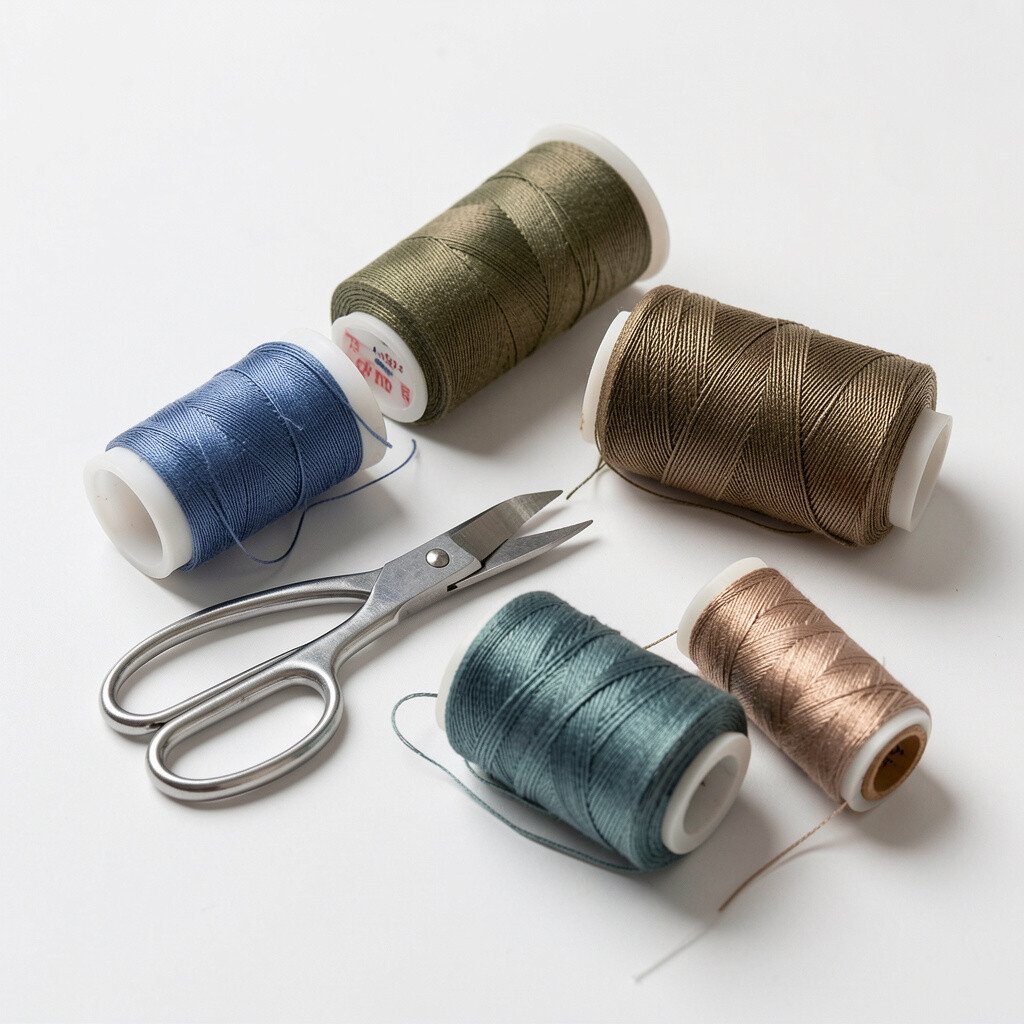
Thread is the quiet hero that makes repairs look neat instead of obvious. When you hold the spool up to the fabric, the best match blends like a whisper.
Use regular thread for most everyday cotton, and consider polyester thread for extra strength. If your closet holds many colors, buying a basic palette beats constantly redoing stitches. For personalization, wind a tiny sample bobbin in your favorite shade so you can test a match before starting.
3. Seam Ripper for Clean Undoing
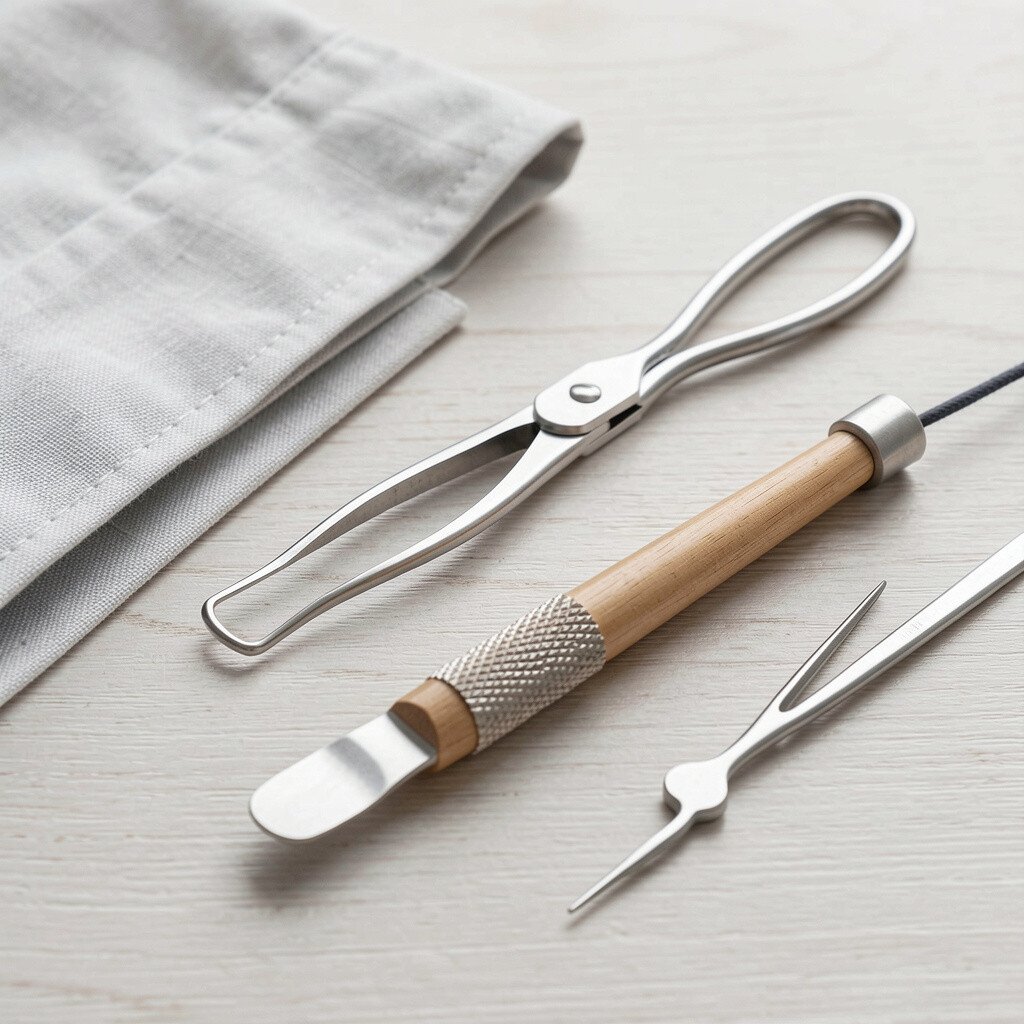
A seam ripper is one of the fastest ways to fix mistakes without damaging fabric. You can spot how easily it slides under old stitches.
Use it gently along the seam, then press the area so the fabric lies flat again. This tool is unique because it helps you correct repairs that are uneven or stuck in the wrong place. It can also save money by preventing you from replacing a whole garment over one removable section.
If you have delicate fabrics, keep a smaller ripper on hand and work slowly. For a trendier look, you can remove only the top rows of stitching to redo a visible hem with cleaner alignment.
4. Fabric Scissors with Sharp Blades

Good scissors change everything when you need tidy edges. With sharp blades, the fabric cuts cleanly instead of fraying as you go.
Choose a pair made for fabric, not paper, and keep the blades aligned. Store them in a safe spot to avoid dullness from tossing them into a drawer. You will save time because trimmed threads and loose fabric pieces stay under control while you sew.
5. Tailor’s Chalk or Fabric Marker

Tailor’s chalk leaves soft lines that guide your stitches without shouting. When it rubs off easily, you get a neat finish and fewer surprises later.
Use chalk for quick basting marks and a fabric marker for longer-lasting guides on darker cloth. If your fabric is slippery, lightly sketch the seam path so the stitch line stays steady. For personalization, mark repair dates discreetly inside a cuff or hem so you can track which fixes worked best.
Keep a couple colors, because matching your line to your fabric makes the job feel calmer. This small tool can also reduce rework, which matters for cost when you want one repair to truly hold.
6. Measuring Tape for True Alignment

A measuring tape helps your hems land at the same height on both legs or sleeves. You will love how a simple measurement prevents lopsided results.
Use it to check sleeve length, pant breaks, and button spacing before you sew. For stretchy fabrics, measure while wearing the garment or after you steam it, so the fit matches real life. Keeping a tape in your repair kit is also budget-friendly since you can adjust without buying new clothes.
7. Thimble for Safer Hand Sewing
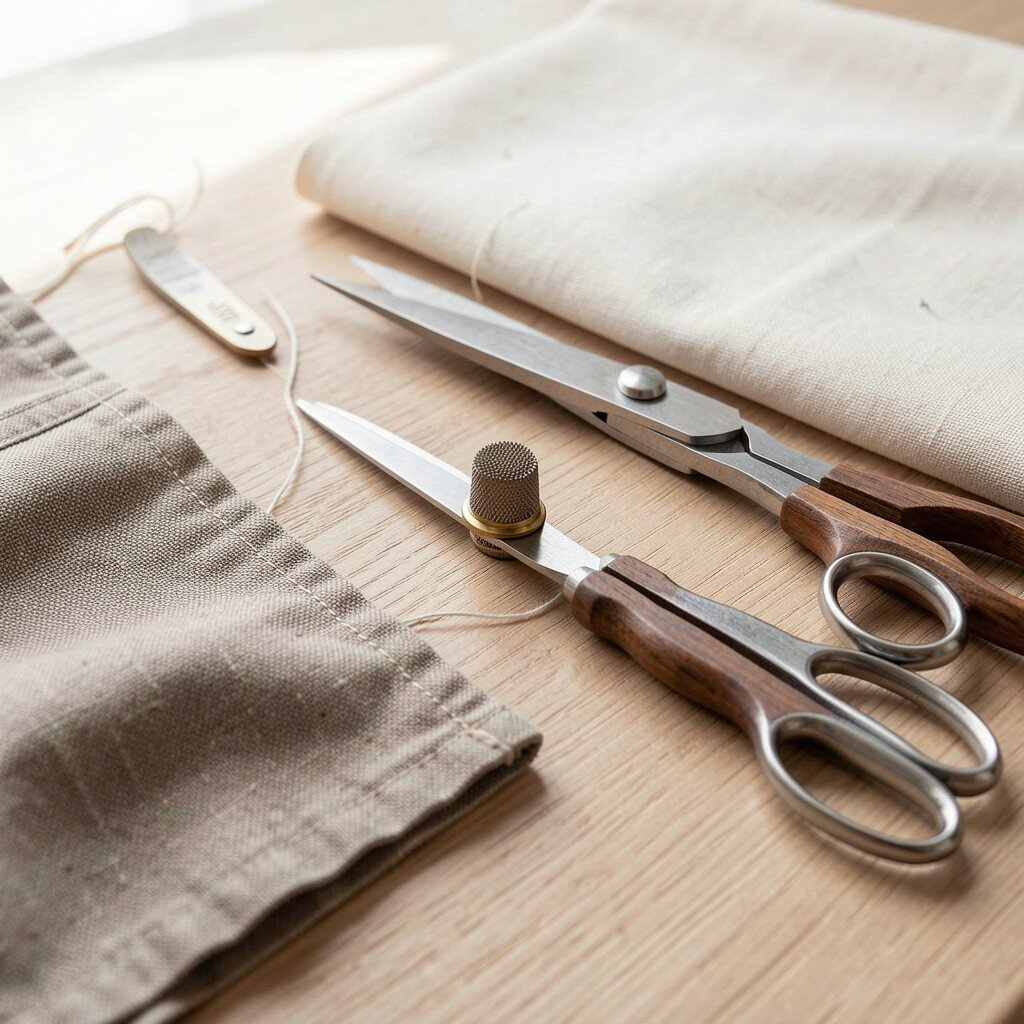
A thimble feels like a tiny shield for your finger. When you push needles through thick layers, it helps you stay in control instead of getting sore.
Choose a thimble that fits your thumb or middle finger comfortably, not loosely. It is unique because it improves accuracy while reducing the chance of tiny punctures that slow you down. For practical repairs on jeans pockets or reinforced seams, a thimble can turn a frustrating job into a smooth one.
8. Iron and Pressing Cloth

Pressing is what makes repairs look professional, and an iron makes it possible. When you press the seam flat, the fabric starts behaving like it always belonged there.
Use a pressing cloth to protect delicate fibers from shine or heat marks. Steam can relax stubborn wrinkles so stitches settle without puckering. This tool is a trend favorite too, because many repair styles now focus on neat finishing and clean lines.
9. Button Repair Kit
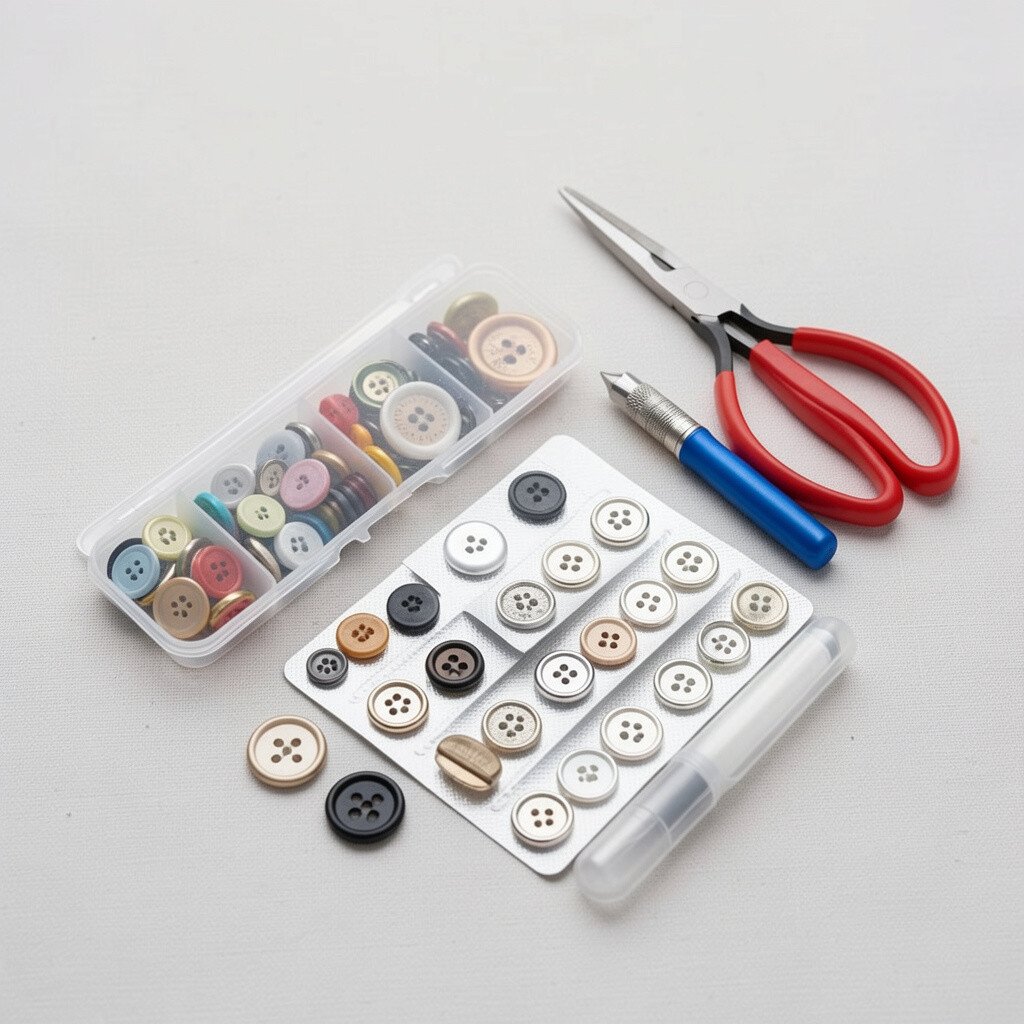
A button repair kit makes fixing closures feel fast and dependable. The moment you lay out matching buttons and threads, the garment looks ready again.
Choose buttons in the same style and size, and include thread colors that blend. For uniqueness, consider adding a slightly different button shade on a hidden placket where it shows only when you move. This can make an old item feel new without spending on a full replacement.
If you are replacing a missing button, measure the original placement first and mark lightly before sewing. You will also avoid extra cost because a proper kit helps you buy exactly what you need once.
10. Hook-and-Loop Tape for Quick Fastening
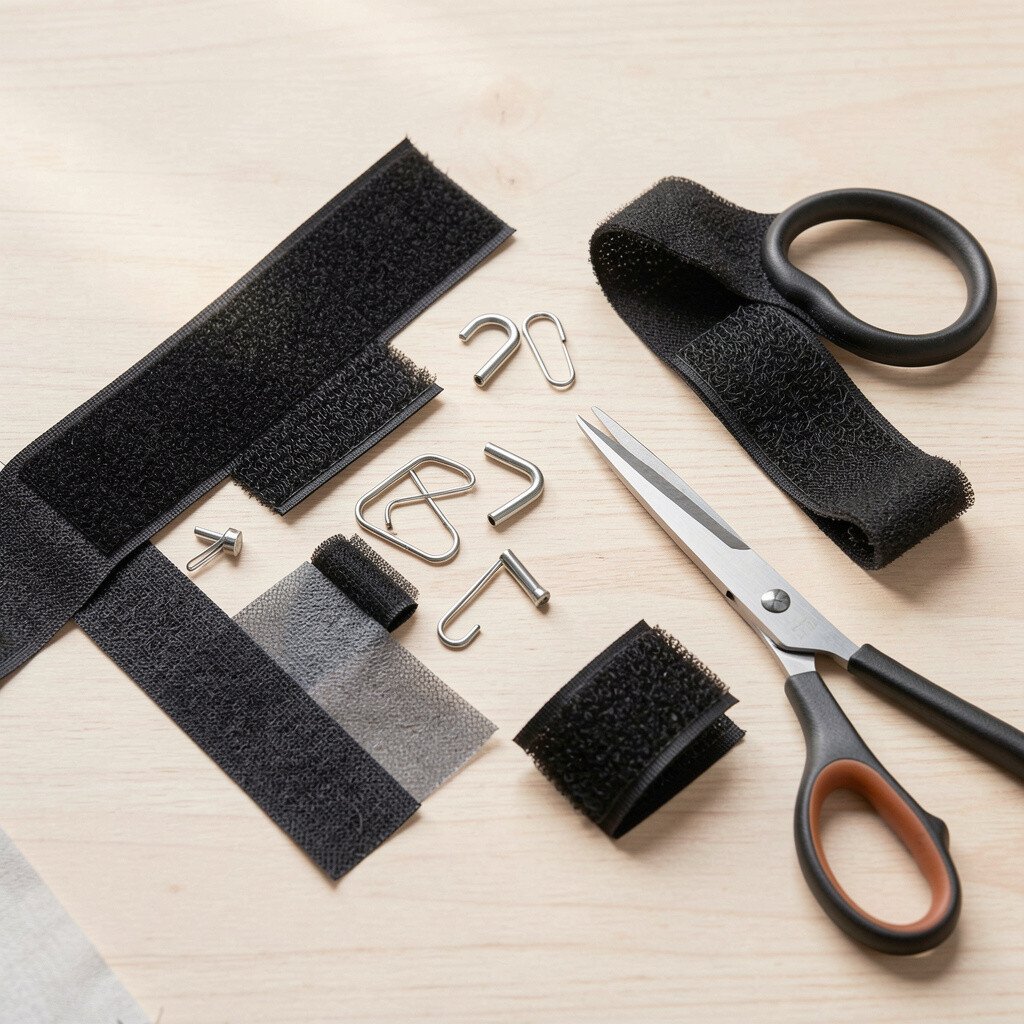
Hook-and-loop tape is great for quick fixes and comfort-based clothing. You can see instantly how the pieces stick together and hold through daily use.
Use it for uneven closures, small costume adjustments, and easy reattachments on bags or inner layers. It is unique because it adds function even when you do not want permanent stitching. For practical tips, sew only the edges of the tape when possible, since the center can lift with wear.
11. Fusible Web for Hem Repairs
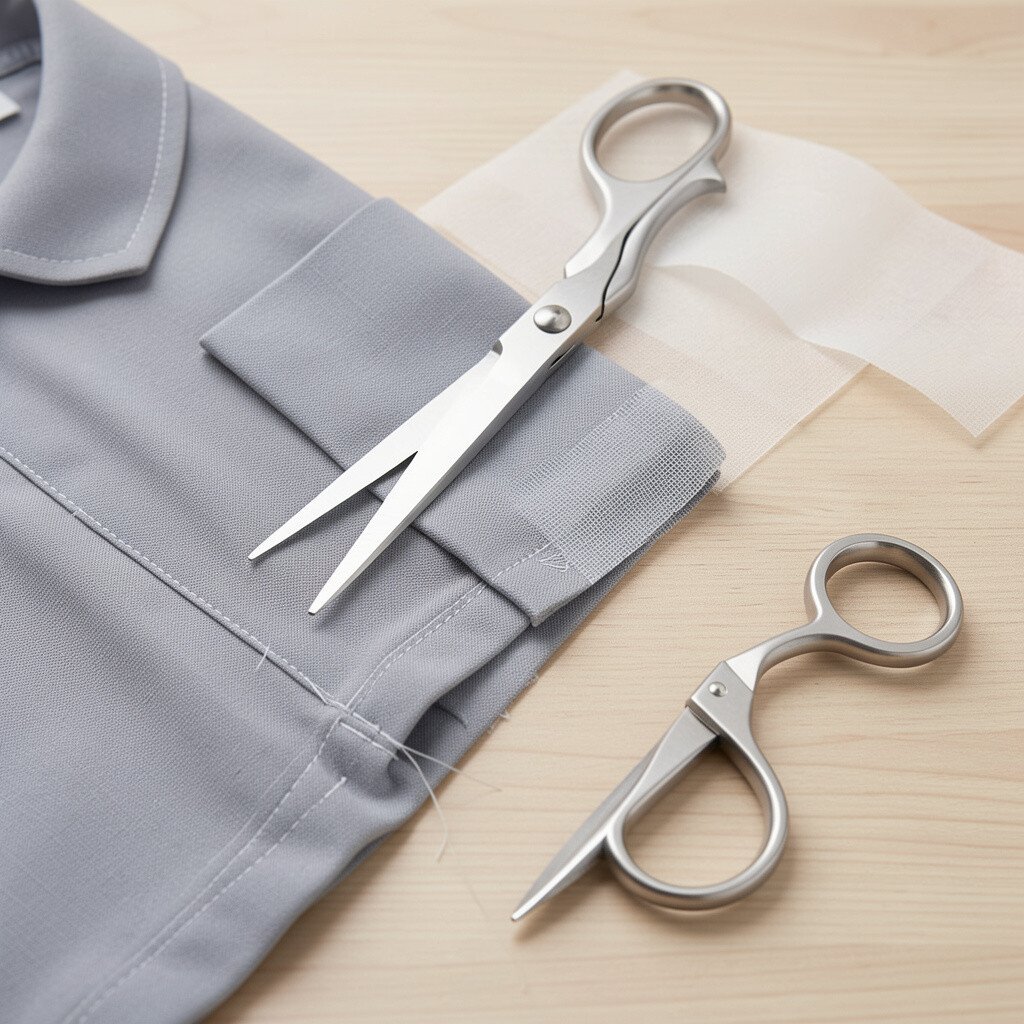
Fusible web is like a stitch shortcut for hemming when you need a flat, neat edge. When it melts under heat, it bonds quickly and helps fabric stay aligned.
Test the web on a scrap piece because different fabrics react differently. For stretchy knits, pick a type meant for knits so the repair moves with you. This tool feels especially helpful for cost control, since a quick hem fix can prevent full garment replacement.
If you want personalization, choose a web that bonds without heavy stiffness so the fabric drape stays true. After applying, press again and check the edge from both sides for a clean, even bond.
12. Small Craft Tweezers
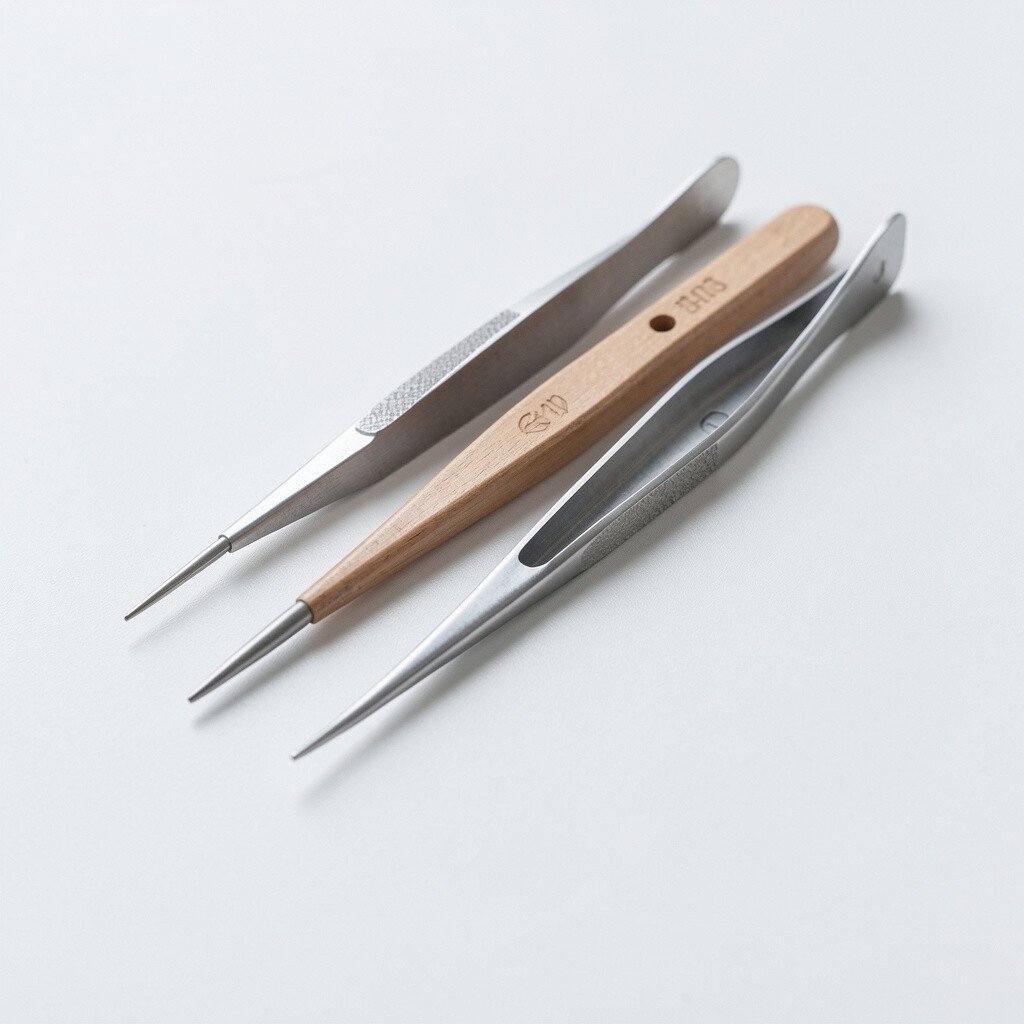
Reliable tweezers help you pull threads, guide needle tips, and set tiny pieces in place. You will notice how much easier it is to handle threads that want to slip away.
Use pointed tweezers for small thread ends and rounded ones for smoother handling near fabric surfaces. They are unique because they work like an extra set of hands when you are working in tight spots, like near zippers. With careful tweezing, you can reduce mistakes and keep repair work looking tidy.
13. Zipper Repair Tools and Slider Set
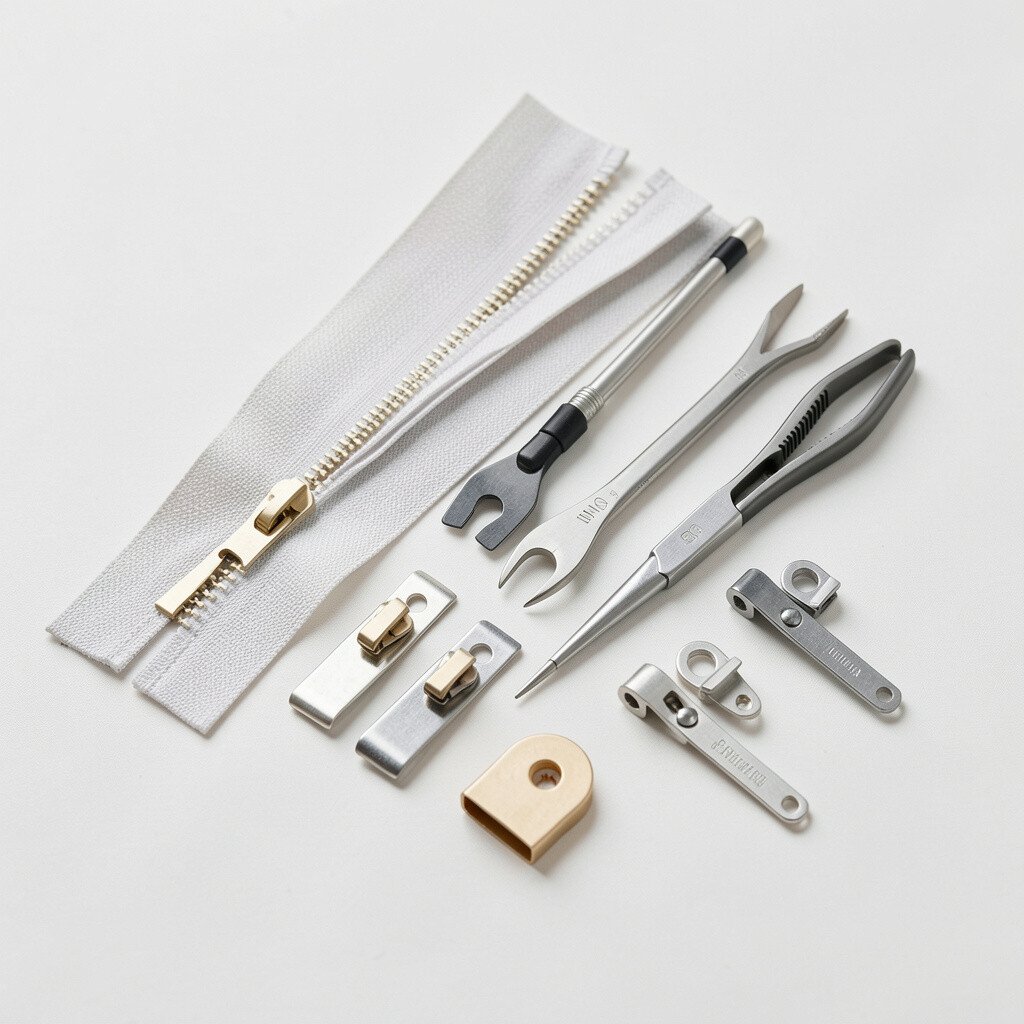
A zipper slider that wanders or a track that catches can be fixed without full replacement. You can feel the difference right away when the teeth align and glide smoothly.
Use a zipper repair kit with sliders, replacement stops, and small tools for aligning tracks. For practical tips, test the zipper with the garment on before locking the stops, so the fit matches how you wear it. This approach often saves money compared with replacing an entire jacket or bag.
For uniqueness, you can switch the slider to a slightly different finish that matches your style. Current repair trends also favor keeping original fabrics, and zipper fixes help you do that with confidence.
14. Fabric Glue for Temporary and Reinforcement Fixes

Fabric glue can hold things in place when you are between repairs or need a gentle temporary fix. You will see how it tacks edges down without requiring immediate stitching.
Use it for hems you plan to stitch later, small patch placement, or reinforcing areas near seams. Make sure the glue is labeled for fabric and allow proper drying time before wearing. It can be budget-friendly when you stop a tear from getting worse while you plan a longer repair.
For personalization, glue can help you position decorative patches cleanly before you stitch them permanently. When you choose a glue that stays flexible, the repair feels comfortable instead of stiff.
15. Repair Patches and Iron-On Reinforcement
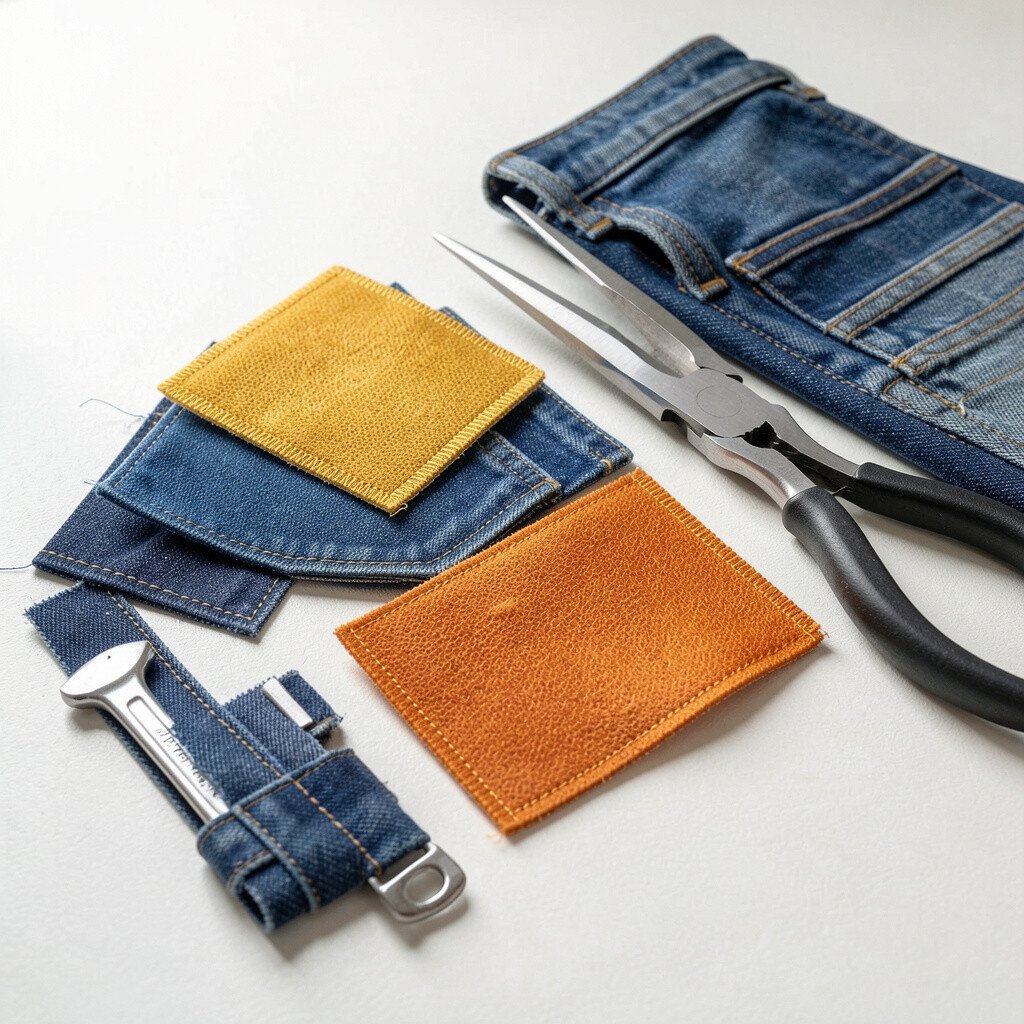
Patches give your garment strength where it needs support, and they can also look stylish. When you line up the patch carefully, the repair feels like part of the design.
Choose patches that match your fabric weight and color, or pick a contrasting style for a bolder look. Reinforcement is unique because it supports stress points like elbows, knees, and pocket corners before wear spreads. For practical tips, clean the area well and press it so the patch bonds evenly.
If you want cost control, buying a small mixed pack of patches can help you handle many future repairs. Many people enjoy the current stitched-and-patched vibe, and iron-on reinforcement makes it easier to get that look quickly while keeping clothing usable.