
The right home bar turns ordinary evenings into something special. Small changes can make your space feel designed just for you.
1. The Corner Cabinet Tasting Bar

You can tuck a small bar into an overlooked corner and make it feel intentional. A cabinet with glass doors instantly gives you that “host ready” look without taking over the room.
Pick a spot near your main hangout area so refills feel easy and quick. Add a tray for bottles, a few matching glasses, and a tiny bottle opener on a hook. Finish with a warm light inside the cabinet so your drinks look inviting even when the room is dim.
2. A Wall-Mounted Bar Shelf With Hidden Storage
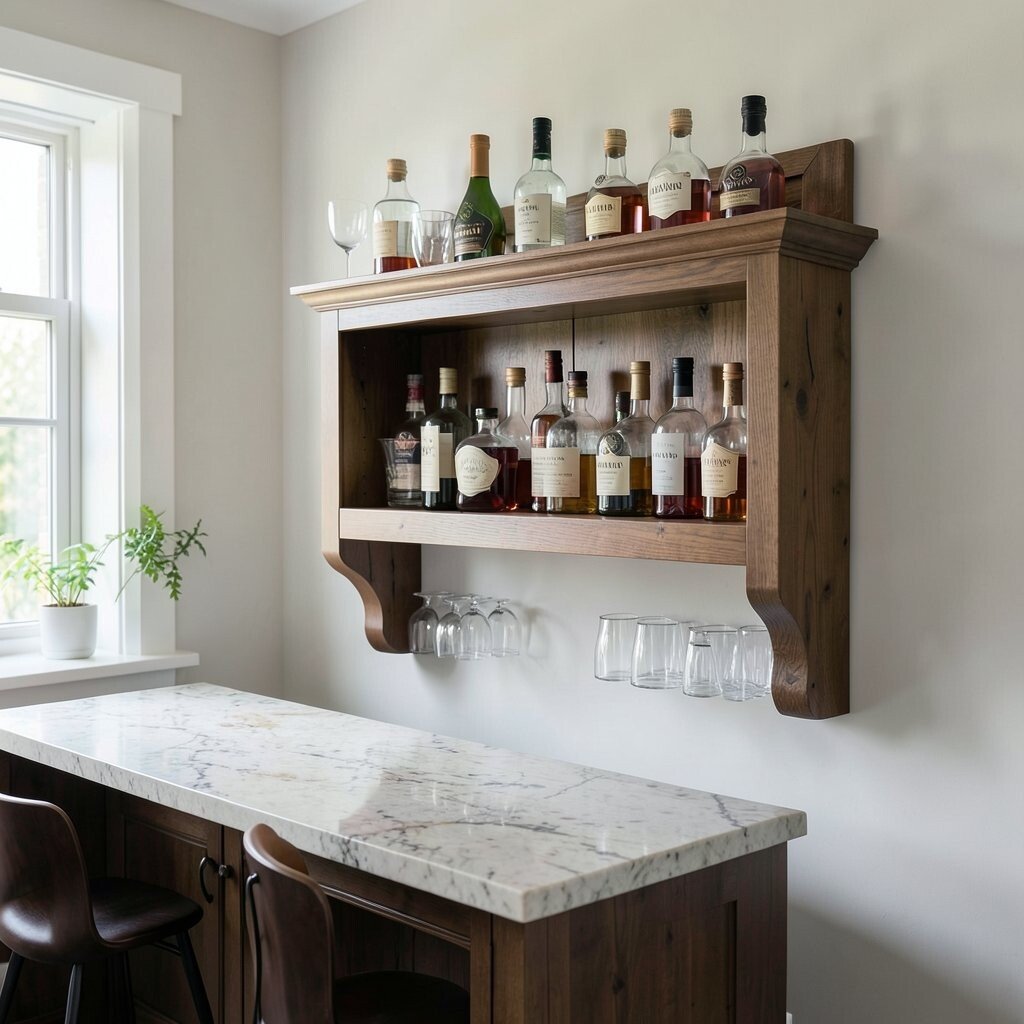
Floating shelves give your bar a clean, modern vibe. They also make your wall look styled instead of cluttered.
Use deeper shelves for bottles and shallower ones for glasses so everything stays visible. Add a concealed drawer under one shelf for bar tools, straws, and extra napkins. In tight spaces, this setup keeps your counters clear and helps you move faster when guests arrive.
For a personal touch, match the shelf finish to your room trim or furniture. Consider a small strip light under the top shelf to highlight your display. If you prefer budget-friendly upgrades, thrift a bar tool set and pair it with new hardware for a polished feel.
3. Repurposed Furniture With a Countertop Twist

A vintage sideboard or dresser can become a one-of-a-kind bar with very little work. The moment you add a bar top, the piece starts working like it was made for hosting.
Choose a countertop that suits your style, like butcher block for warmth or stone-look laminate for easy cleaning. Seal wood well and ensure drawers still open smoothly so you get real storage. Storing bottles in the lower drawers keeps them cool and out of sight, while glassware can live on the surface or in upper compartments.
To personalize it, paint the body a calming color and keep the bar top natural. You can also add small hooks for a jigger and a citrus zester so your routine feels effortless. This idea can cost less than buying a brand-new bar because you’re upgrading what you already own.
Style your shelf with a few height differences, like a tall bottle, a small tumbler stack, and a carafe. It creates visual rhythm and makes the bar feel curated, not random.
4. A Statement Pendant Light Over Your Drink Station
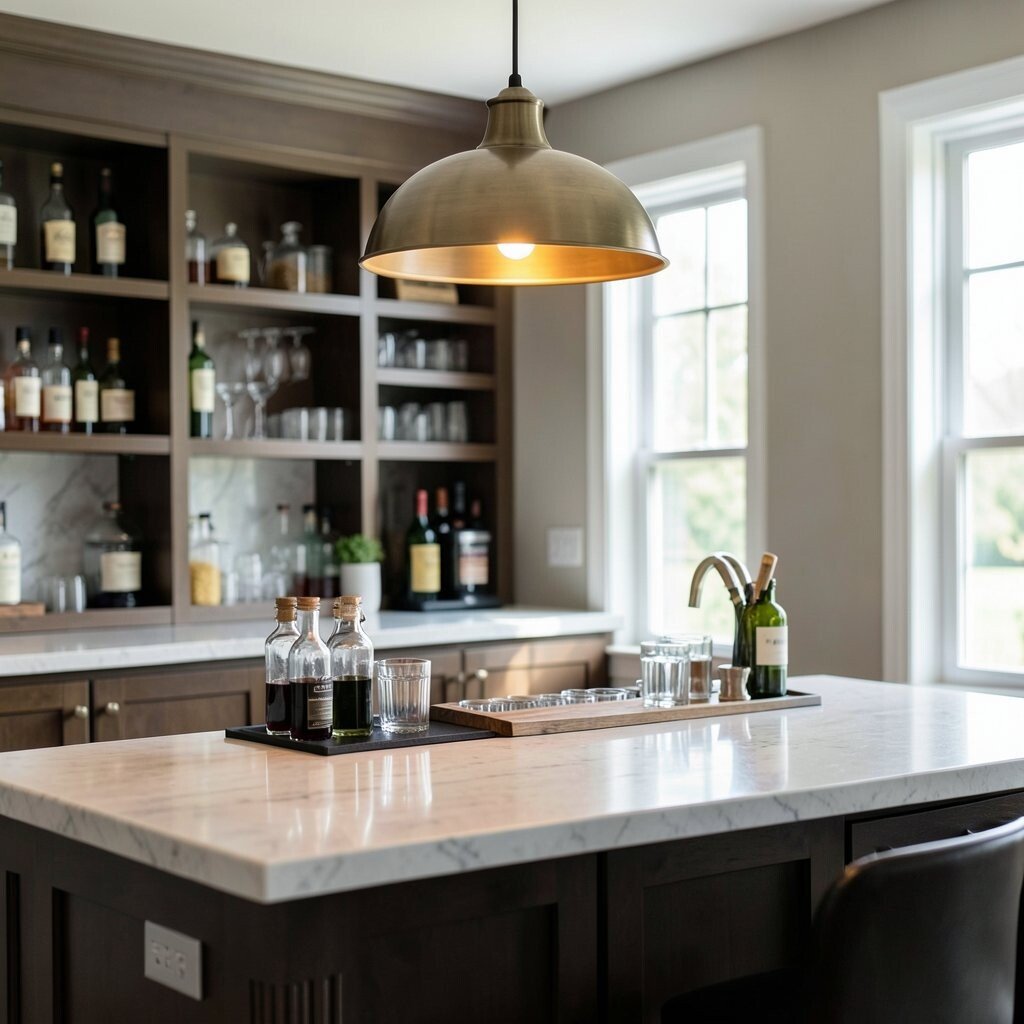
Good lighting changes everything about a home bar. A pendant light placed above a small station makes your setup feel like a real venue.
Choose a shade that flatters glassware, such as amber or warm white, so drinks look rich and golden. Keep the bulbs slightly dimmer for cozy evenings, and aim for a height that doesn’t crowd your bar tools. Hang it over a console table, kitchen island section, or even a narrow wall shelf.
5. The Beverage Bar Drawer Organizer System
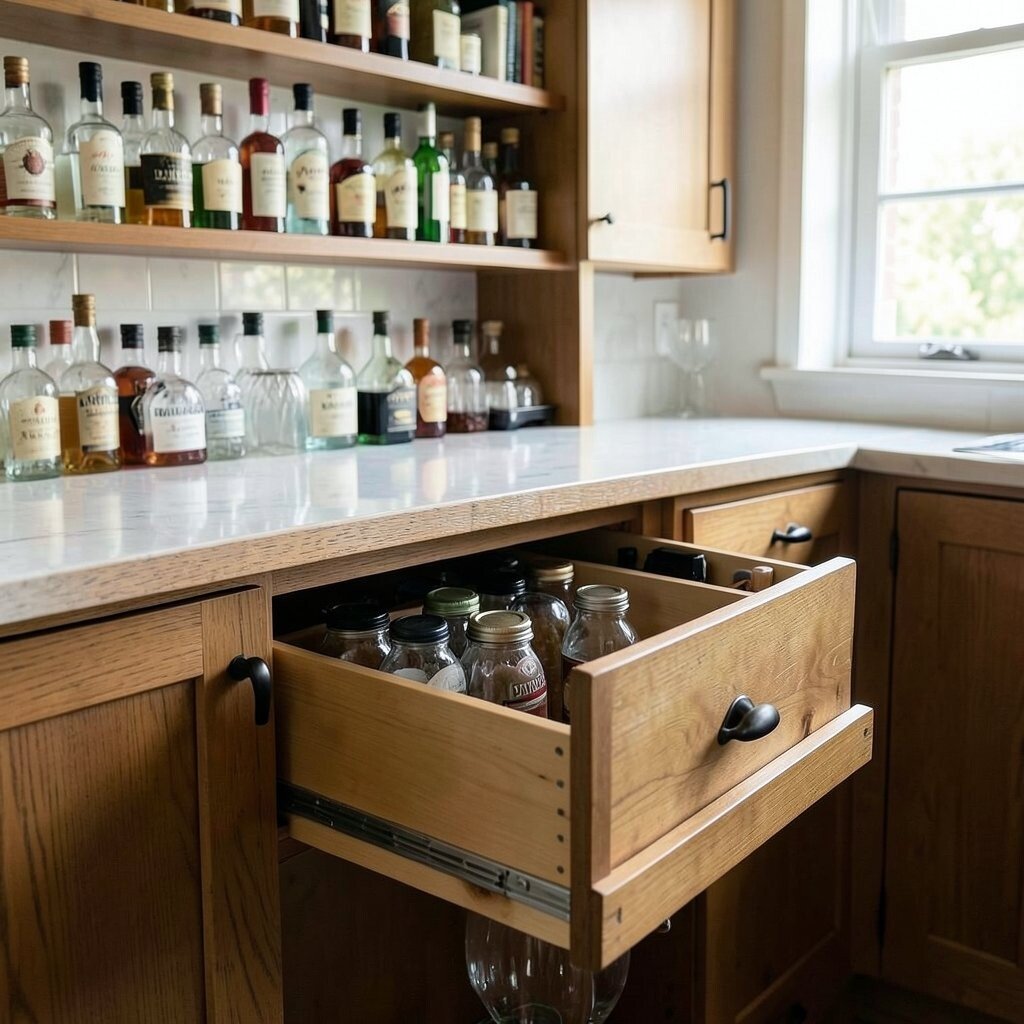
If you love tidiness, build your bar around smart organizers. A drawer filled with neat compartments makes it easier to mix drinks without searching.
Use foam inserts or small labeled sections to hold bottle openers, pour spouts, stir sticks, and bar spoons. Keep a separate area for cleaning supplies so the whole bar stays fresh. Glasses can also be stored vertically in a drawer-style rack if your space allows.
For personalization, use colors that match your glassware or the theme of your hosting style. This approach can be surprisingly affordable since drawer organizers come in many sizes and you can start with just the essential tools. When everything has a home, your bar feels calm and ready all the time.
6. A Home Bar Nook With Cozy Upholstered Seating

A bar nook feels extra special when you pair it with comfortable seating. Even a small upholstered bench makes people want to stay and chat.
Place the bar on one side and a compact seat on the other so it becomes a mini hangout zone. Add a small side table for coasters and a basket for extra towels or napkins. Choose fabric that’s easy to wipe down, like performance linen blends.
To make it feel custom, match throw pillows to your bar colors or your favorite cocktail vibe. You can also hang a small piece of art above the bar to make the nook look finished. While seating can raise cost, thrift shops often have strong options, and reupholstering can be a worthwhile upgrade.
7. Open Shelving With Glassware-First Styling
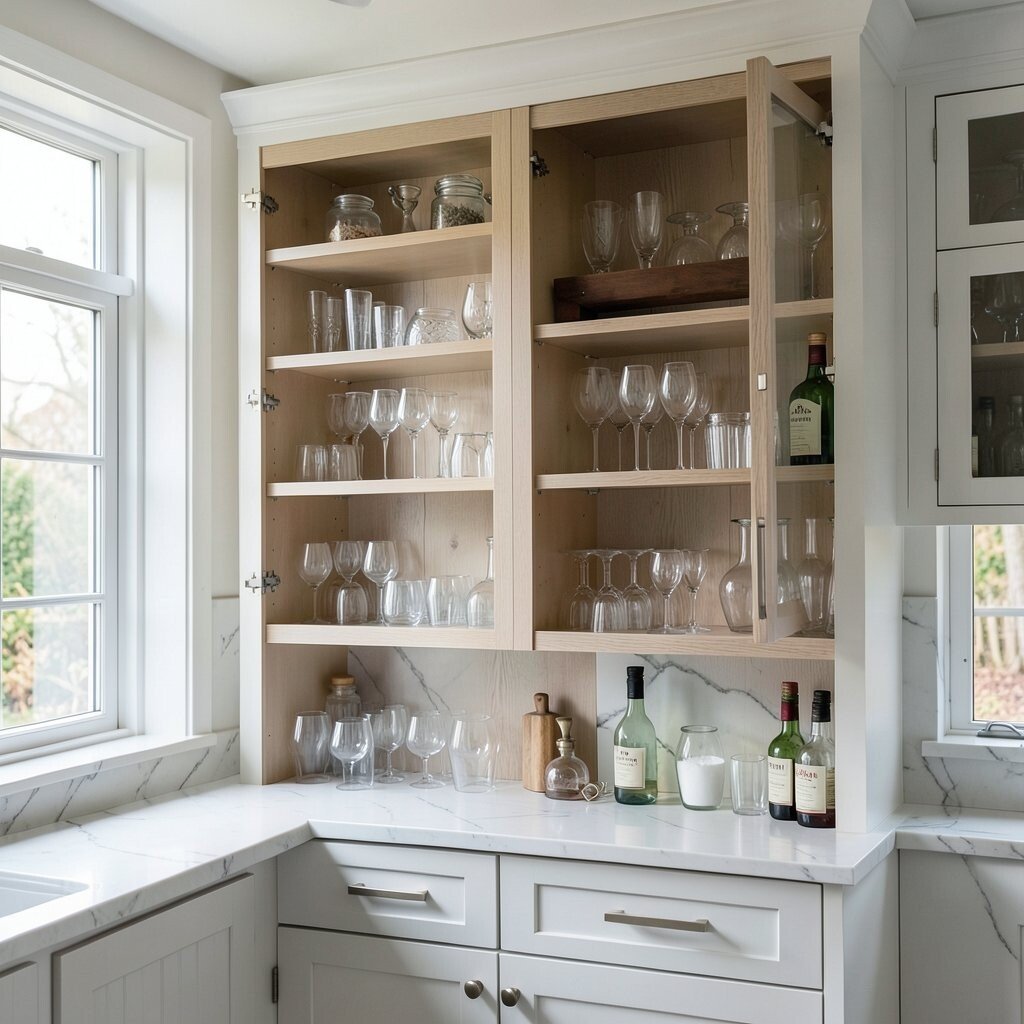
Show your glassware like it’s part of the decor, because it really can be. Open shelving turns your bar into a visual display rather than a hidden corner.
Start by arranging glasses by shape, like tumblers together and wine glasses together. Add a small shelf liner in a subtle color to keep things from looking bare. Place your favorite bottle front and center, then balance with smaller bottles for an eye-catching lineup.
Keep shelves practical by using a drip-friendly tray under bottles and a small cloth nearby for quick wipe-downs. This makes maintenance easier and keeps the look crisp. If you’re budget-minded, mix a few splurge pieces with everyday glassware, then upgrade your bar tools later.
8. A Steam-Painted Drink Wall for Color and Character

Painted drink walls make a home bar feel like a design moment. A rich color behind your bottles can instantly add warmth and drama.
Choose a shade that flatters your glassware, such as deep green, navy, or muted terracotta. Add a simple ledge for bottles and glasses, then keep the rest of the wall clean so the color stays the star. For extra charm, you can paint a small arch or curved detail where a bar sign might go.
To keep it practical, use a finish that wipes easily since bar areas get fingerprints. Pair the wall with simple decor like a small tray, a citrus bowl, and a decanter for a more layered look. This can be cost-effective because paint plus a few accessories often beats buying full furniture.
Don’t forget current trends like warm, earthy colors and vintage-inspired textures; they still look great year after year.
9. The Portable Bar Cart With a Themed Moment

A bar cart is one of the easiest ways to bring personality to your home. You can roll it to where guests are, then tuck it away when you want a calmer room.
Pick a theme based on your taste, like sleek black metal with clear glass for a modern mood or wood with brass accents for a classic feel. Add a mirror-backed tray or a pretty shelf liner to make it look styled from every angle. Keep essentials together so you can serve quickly without doing multiple trips.
For personalization, build a rotation of seasonal garnishes, like peppermint, citrus slices, or fresh herbs depending on the time of year. Cost can vary, but even a basic cart looks upgraded with a high-quality tray and cohesive glassware. If you enjoy the trend of flexible spaces, a cart fits perfectly because it works in different rooms.
10. Countertop Corner With a Built-In Cutting Board Top

A bar doesn’t have to be a full cabinet to be useful. A countertop corner with a cutting board top gives you a dedicated space for prepping garnishes.
Use a butcher block or thick board for chopping citrus, muddling herbs, and slicing garnishes safely. Keep a small bowl for peels and a separate one for used picks so your process stays clean. This setup also helps you avoid doing prep on a busy kitchen surface.
To make it feel like a real bar station, add a small rack for bottles and a hook strip for tools like tongs and a zester. Choose a tray that matches your kitchen hardware so it feels coordinated. Budget-wise, adding a quality board can be less expensive than building new cabinetry.
11. A Minimalist Monochrome Bar With Textures
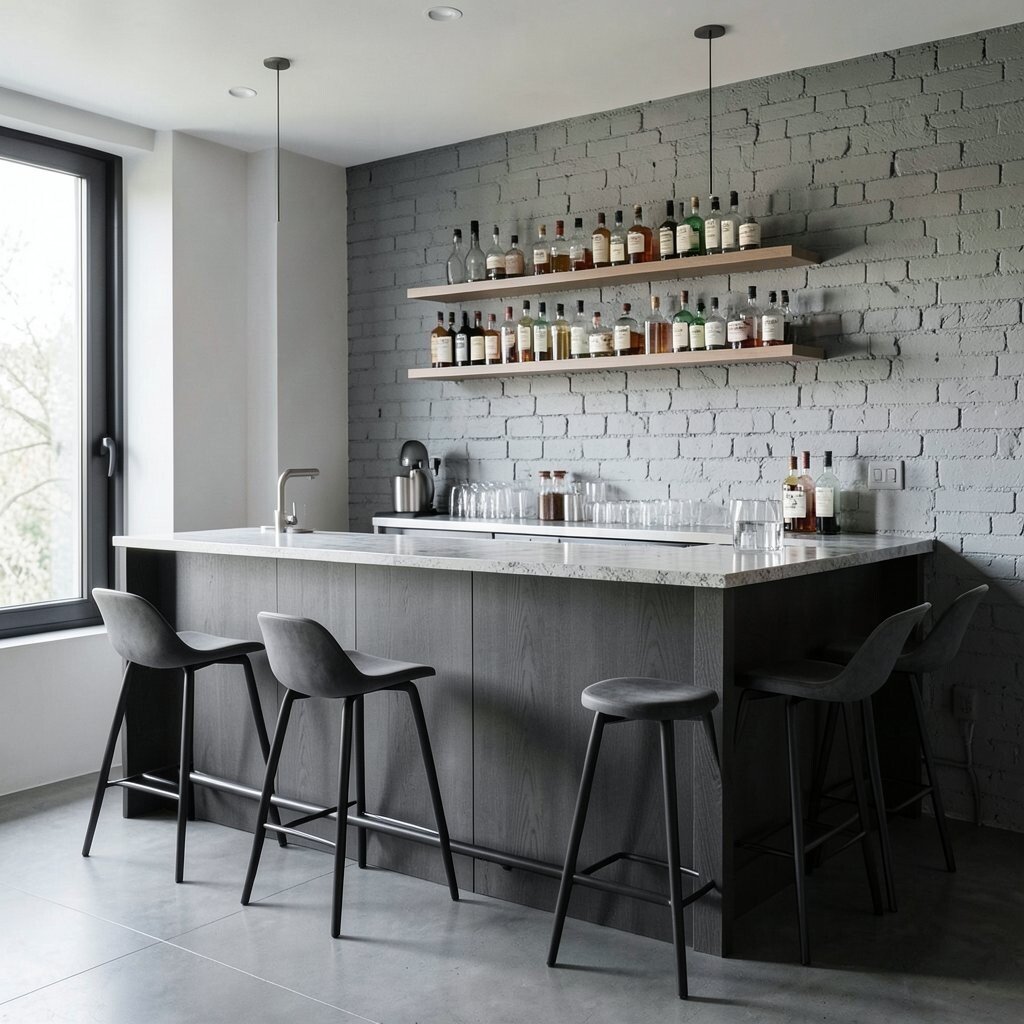
Minimalism can still feel fun when you mix textures instead of colors. A monochrome bar looks stylish and lets your bottles and glassware stand out.
Choose black, white, or a single neutral tone for the base, then add contrast using materials like matte ceramic, brushed metal, and linen coasters. Keep only a few bottles on display and store the rest so the area stays calm. This makes serving feel focused and keeps you from cluttering the surface.
For practical tips, wipe down spills right away and keep a small cleaning kit tucked nearby. Personalize with one meaningful item, like a framed photo, a bar spoon from a trip, or a small art piece that matches your home style. If you’re watching cost, start with a few standout pieces and add more slowly as your bar grows.
12. Vintage Beverage Wall With Repurposed Frames

You can turn a plain wall into a vintage beverage gallery with repurposed frames. It adds charm without requiring a full renovation.
Use frames to hold menus, old cocktail recipes, or simple print artwork that matches your drink theme. Arrange a few frames around a small shelf where you can place a decanter and glassware. When everything is aligned, the bar feels curated and thoughtful.
For a practical touch, choose frames with glass to protect paper from splashes and steam. Keep the shelf surface easy to wipe, and use a tray for garnishes so cleanup stays quick. This idea can fit a range of budgets since thrifted frames plus a few small upgrades often look impressive.
13. The Back-of-Pantry Bar for Hidden Hosting

If you like surprises, create a bar behind a pantry door. Guests get a fun “reveal” when you open it, and you keep your main space tidy.
Inside, mount shelves for bottles and glasses and add a fold-out bar tool tray. Keep a bin for mixers and a small container for garnishes so everything stays easy to grab. For best results, use lighting inside the door so the area is bright when you host.
Personalize the interior with contact paper or peel-and-stick wallpaper that matches your style, like subtle stripes or a classy pattern. This can be budget-friendly because it uses your existing storage and adds targeted upgrades. It also matches the current trend of hiding functional features in everyday spaces.
14. Outdoor-Ready Bar on a Patio Side Wall
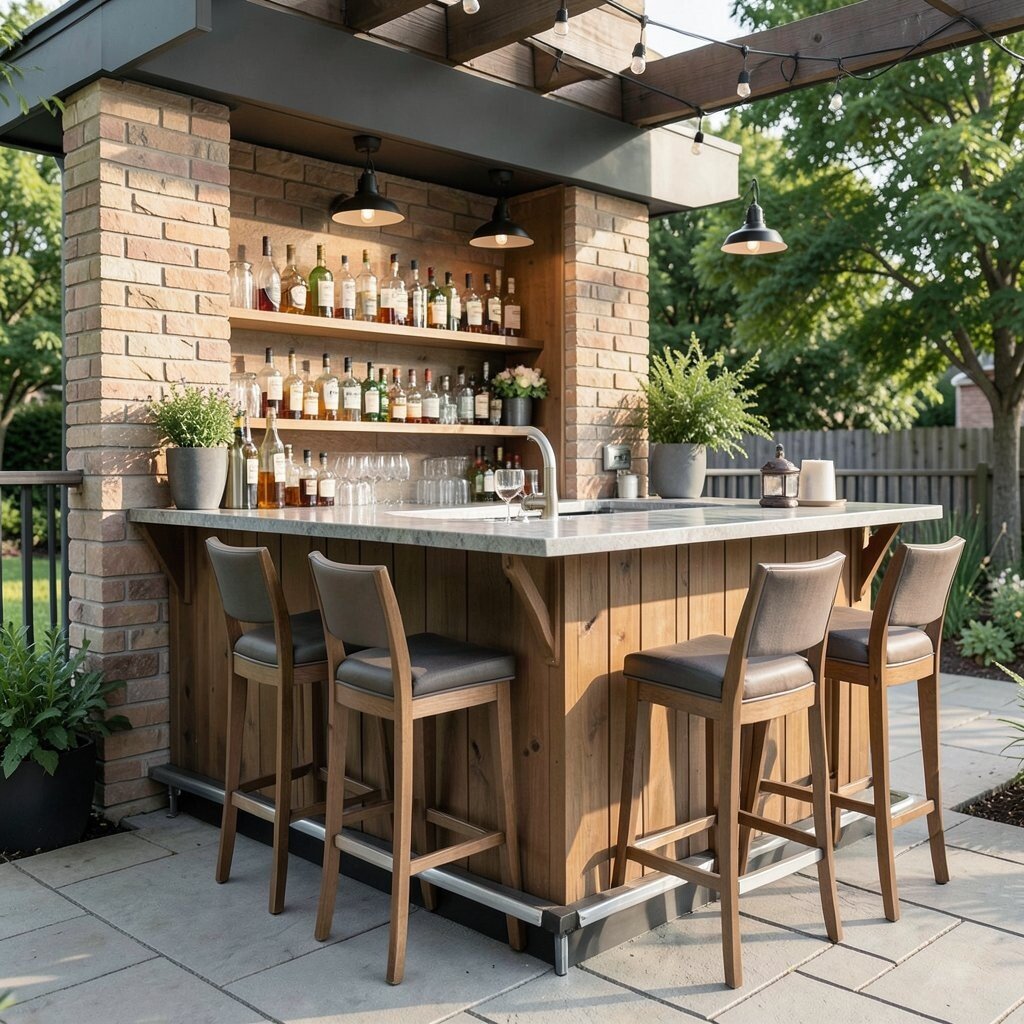
Bring the bar outside so summer gatherings feel effortless. A patio bar makes it easy to serve cold drinks without running back inside.
Build a small station with weather-friendly materials, like sealed wood, rust-resistant hardware, and outdoor-rated lighting. Add a covered cooler for ice and a shelf for glasses, then place a waterproof mat under the prep area. Keep tongs and a bottle opener within reach on a hook strip.
To personalize, use outdoor lantern lighting or string lights that match your home’s vibe. Cost can be managed by starting with the essentials, like a small table, cooler, and a few durable glasses, then upgrading over time. When you build for the elements, your bar stays useful and looks great for longer.
15. Kitchen Island Bar Setup With Built-In Coaster Zones

Your kitchen island can become the heart of your home bar. When it’s set up well, it supports everything from quick cocktails to mocktails for family nights.
Create coaster zones by placing a coaster caddy in a consistent spot and using a small tray for each drink station area. Keep mixing tools in a drawer near the island so you don’t carry items across the kitchen. This helps your hosting flow and prevents messy counters.
For personalization, style the island bar with a rotating centerpiece like a bowl of citrus or a small herb pot. Trend-wise, people love combining functional prep areas with beautiful display accents, and islands are perfect for that. If you’re cost-conscious, buy organizers first, then add decor after you see what you use most.
16. The Photo-Friendly Mirror Bar Display
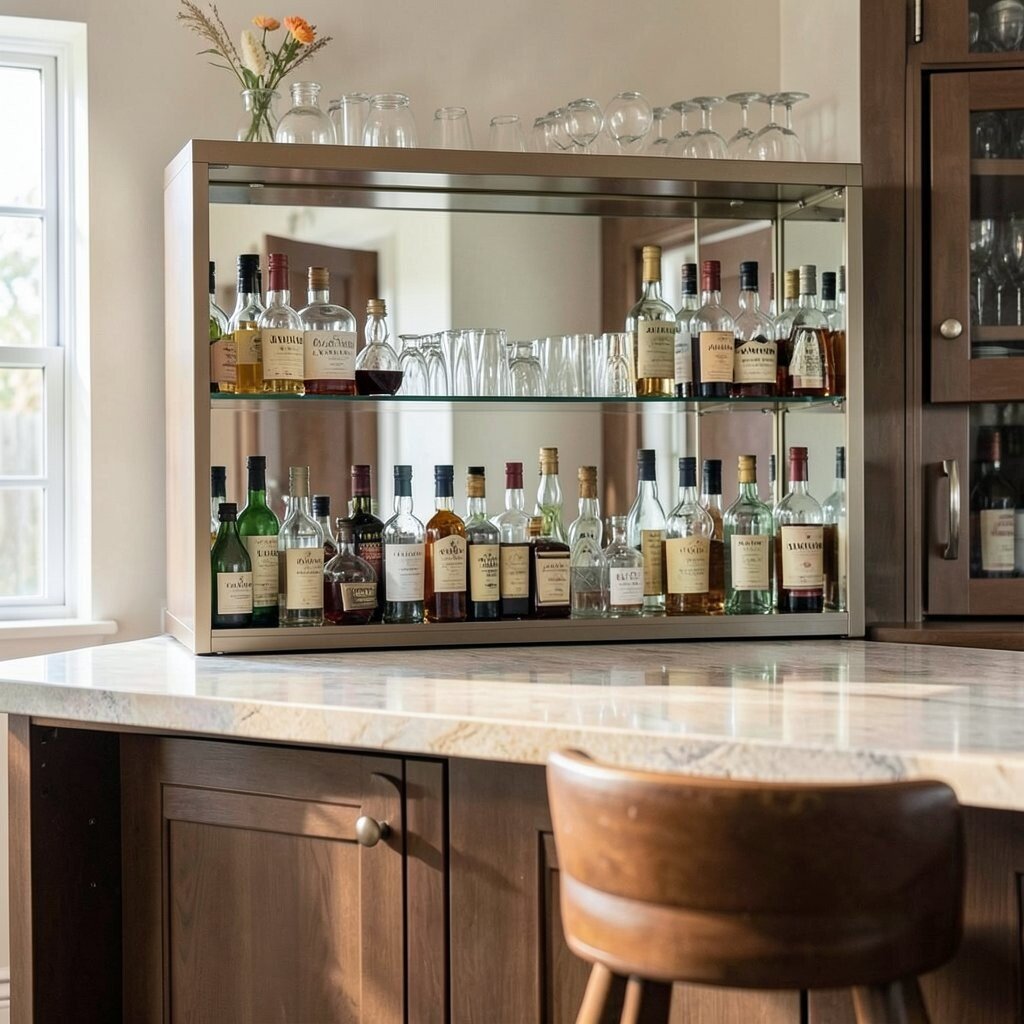
A mirror can make your bar look bigger and brighter. It also reflects bottles and glassware so the whole setup feels more styled.
Place a mirror behind a narrow shelf or inside a cabinet door so your display gains depth. Add a small light or warm bulb nearby to prevent dull reflections. This works especially well in rooms with limited natural light because it gives your bar extra glow.
Personalize the mirror frame to match your decor, like wood for warmth or metal for a sleek look. Keep the surface practical by using a drip tray and cleaning glass fingerprints quickly. While a high-quality mirror can cost more, a thrift find often delivers the look for less.
17. The Herb-Led Garnish Station With Mason Jars
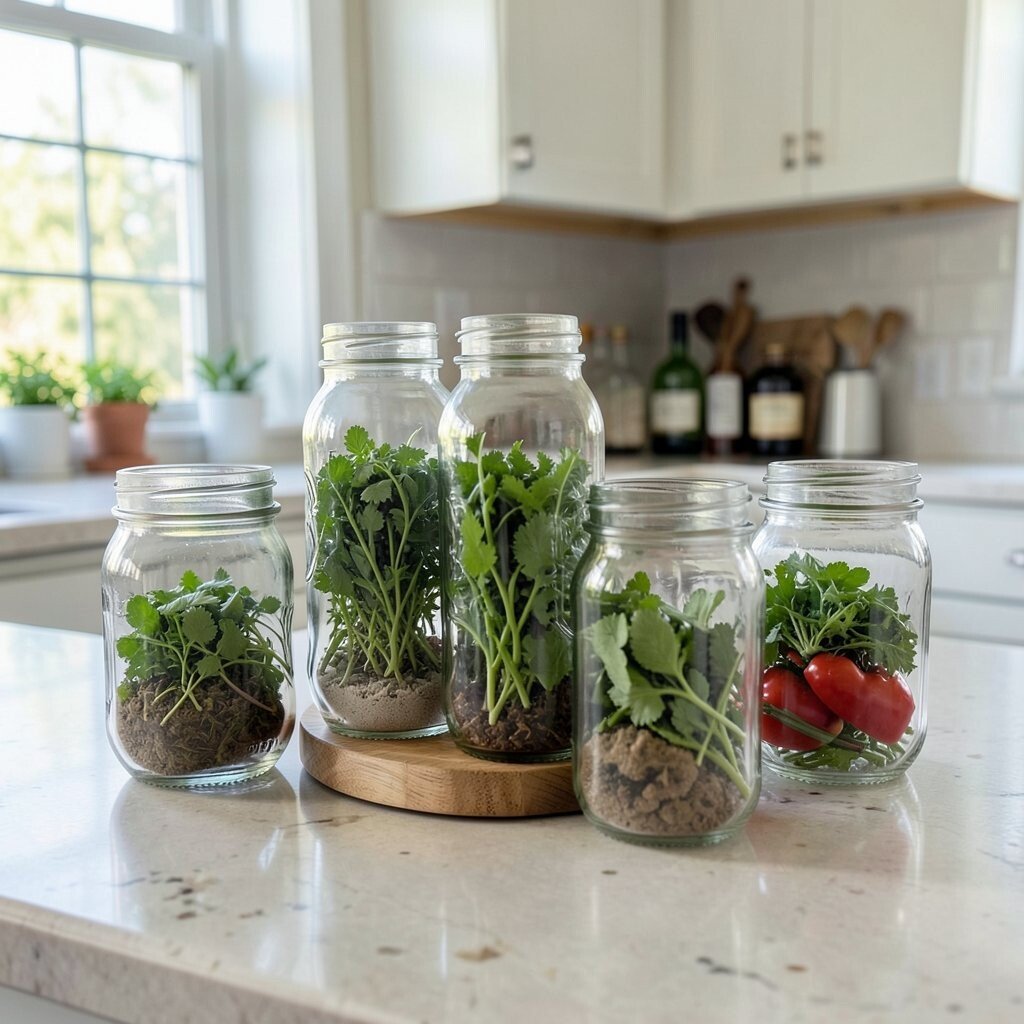
Fresh garnishes make drinks taste better and look prettier. An herb-led garnish station gives your bar a lively, garden-like energy.
Use mason jars or small glass containers for herbs, citrus slices, cherries, and stir-ins. Arrange jars on a tray so you can carry them easily and keep the bar surface neat. Add a small scoop for herbs and a separate container for peels to keep everything organized.
For personalization, label jars with simple names using removable tags so you can update them as your menu changes. Current trends favor natural textures and fresh ingredients, and this idea fits right in. Cost considerations are friendly here since mason jars are affordable, and you can grow herbs at home or buy small bunches as needed.
To keep it practical, store jars in a way that won’t tip and use a quick rinse method after parties. When your garnishes are easy to access, your drinks feel more “special” even when the recipe stays simple.