Stairs can look amazing without draining your wallet. With a few smart choices, you can make every step feel like home.
You’ll be surprised how much style you can add with simple, budget-friendly updates.
1. Measure Like a Pro Before You Buy Materials

Start by measuring the total run and the height your stairs rise. Write down each tread width and the distance from the nose of one step to the next.
When your measurements are accurate, you waste less and buy only what fits. That means fewer trips to the store and less leftover material. You also get straighter cuts and a cleaner, finished look.
2. Paint Risers for a Big Look on a Small Budget
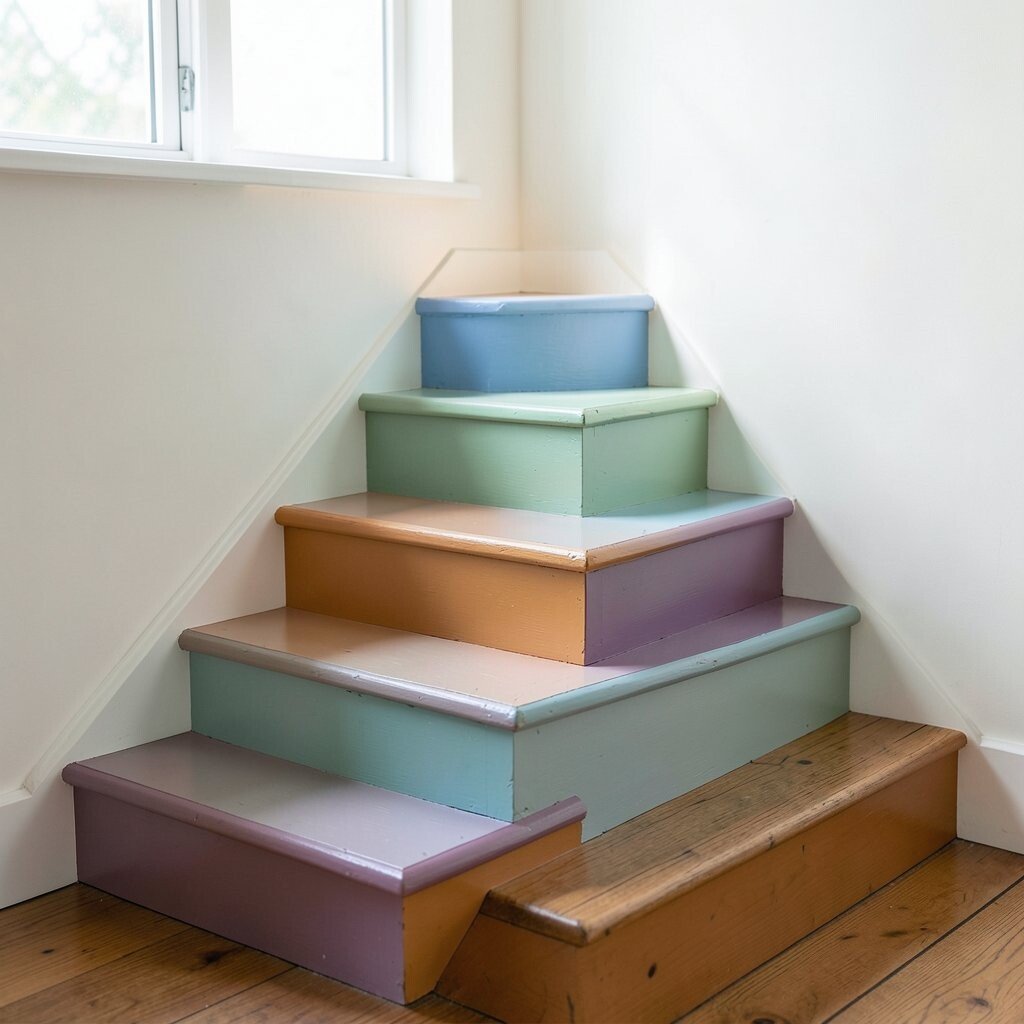
Fresh paint on stair risers can make the whole staircase feel new. Choose a color that matches your walls or your trim for an easy, tidy vibe.
Use a foam roller for smooth coverage and painter’s tape for crisp edges. For a stronger style, pick a contrasting shade so each step looks defined and neat.
If you love a modern feel, consider a matte finish. You’ll hide scuffs better than glossy paint and it stays looking fresh longer.
3. Add Stick-On Treads for Instant Grip and Style

Self-adhesive stair treads give you traction and style right away. They’re great for renters or anyone who wants changes without heavy work.
Look for textured surfaces so your shoes don’t slip. Many options come in wood tones or patterns, so you can match your existing floors.
Before applying, clean the stairs well and let them dry fully. Press firmly along the edges so the corners stay put, even after regular foot traffic.
4. Use Budget Carpet Runner Tricks That Don’t Look Cheap

A runner can soften sound and make stairs feel cozy. You can still keep it budget-friendly by choosing a simple, durable fabric and measuring carefully.
Opt for a low pile option that resists wear and vacuum marks. Secure the ends with good-quality grips, so the runner stays in place and looks intentional.
5. Stain Only the Face of Each Step for a Smart Finish

If you have wood stairs, you can refresh the visible faces without refinishing everything. Sand the tread top surfaces lightly so the stain grabs well.
Pick a stain close to your current color for a natural blend. This keeps the budget lower because you won’t need multiple coats to hide mistakes.
Seal with a clear protective coat so daily wear doesn’t dull the finish. You’ll get a warm, clean look that still feels like your home.
6. Swap Old Balusters with Thrift-Store Finds

Sometimes the best stair upgrade starts with the railing area. You can search local resale shops for wooden spindles, metal pieces, or decorative elements that match your style.
Bring a photo of your staircase and measure what you need before you buy. When you find parts that fit, the result looks custom without custom pricing.
Lightly sand rough surfaces and paint or stain them to match. That extra step makes mismatched finds look like a single, unified design.
7. Choose a Single Theme Color for the Whole Staircase

A consistent theme makes stairs look designed, not patched together. Pick one main color for risers, one neutral for treads, and one accent for railing details.
For example, warm wood tones plus a soft cream and a dark accent can feel inviting. This helps every upgrade, big or small, look like it belongs.
If you want a calm look, keep the accent subtle. Even a small repeated shade on the railing can tie the steps together beautifully.
8. Create a Checkerboard Effect with Budget Materials

A checkerboard pattern can turn plain stairs into a focal point. You can make it using inexpensive paint, vinyl decals, or small pre-cut tiles.
Start by marking guidelines so each square lines up evenly. Use painter’s tape for sharp edges and let each layer dry before adding the next.
The visual payoff is huge because the pattern reads clearly from the bottom and top of the stairs. It also lets you personalize with your favorite color pairings.
9. Frame Each Step with Simple Trim for a Custom Look

Even without fancy carpentry, trim can make stairs look built-in. Add thin wood strips along the edges of treads and risers to create a framed effect.
This gives depth and makes the surface look more polished. It also helps hide small imperfections like uneven edges or minor chips.
Choose trim that’s easy to cut and cheap per piece. Paint or stain it to match your theme so the whole staircase looks cohesive.
10. Build a Budget Stair Niche Using Scrap Wood and Lids

You can add charm by carving out a small storage space near the stairs. A basic niche can hold shoes, candles, or extra décor without cluttering the hallway.
Use scrap wood boards and inexpensive back panels to keep costs down. Secure everything well so it stays sturdy under regular use.
Style it with a few items that match your color theme. The niche becomes a visual anchor and makes the stair area feel thoughtfully planned.
11. Upgrade to Non-Slip Nosings with Easy Installation
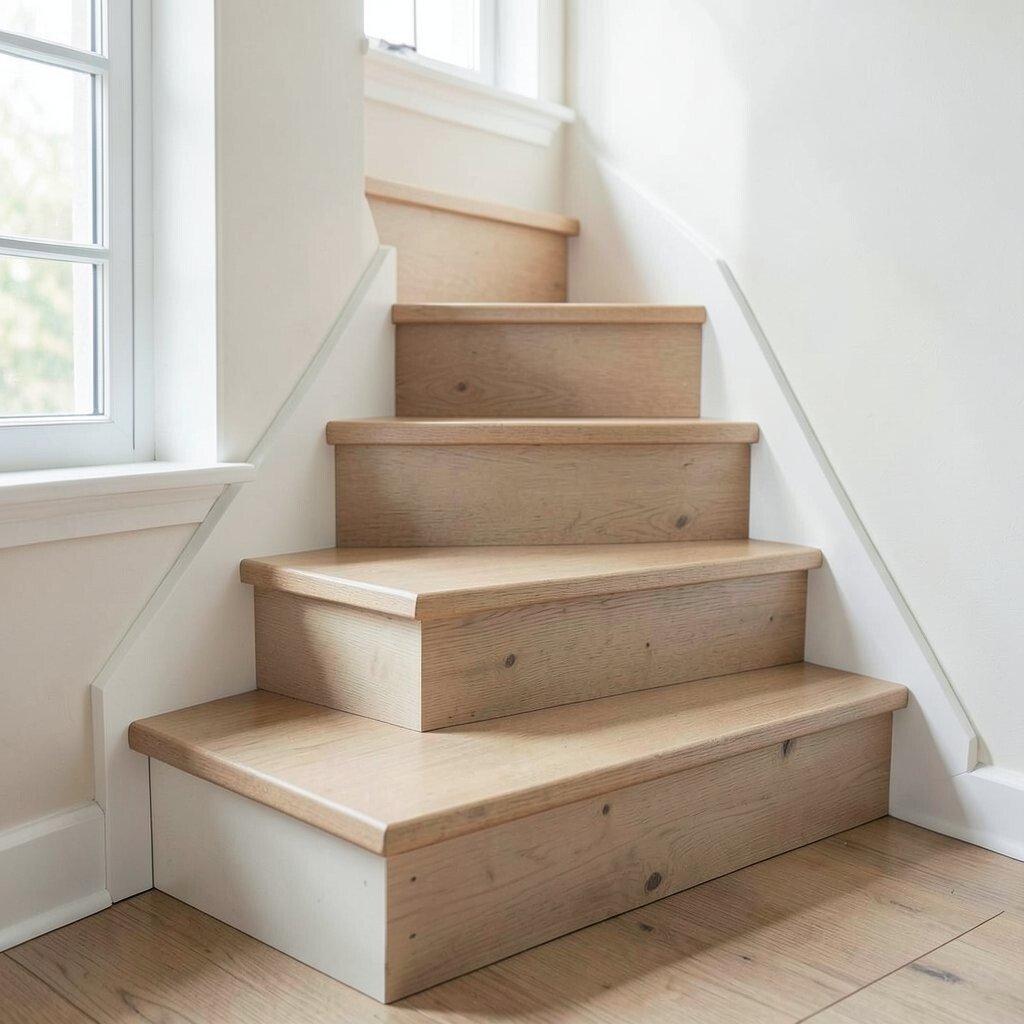
Stair nosings add grip at the edge where slips most often happen. Many products install with adhesive or simple screws, so you don’t need a big renovation.
Select a color that matches your tread tone for a clean, integrated look. If you prefer contrast, pick a darker edge so each step is easier to spot.
When you install, align carefully and press firmly for good adhesion. This small upgrade improves safety and gives your stairs a sharper, more finished appearance.
12. Use Removable Wallpaper to Style the Stair Wall

The wall beside stairs can be a perfect place for personality. Removable wallpaper lets you add texture and color without committing for years.
Choose a pattern that fits the space, like small florals for a cozy feel or simple stripes for a neat, modern look. It also helps stairs look taller because strong patterns guide the eye upward.
Press out bubbles carefully and use gentle smoothing so the design stays crisp. If you change your mind later, you can swap it for something new.
13. Try a Painted Gradient That Looks Like Natural Wood Movement

A gradient paint effect can mimic the way real wood changes tone. You can paint risers from lighter at the top to deeper at the bottom, or the other way around.
Use a sponge or soft brush to blend shades so the transition feels smooth. This creates a flowing visual that looks artistic instead of patchy.
Test your colors on a scrap board first to match your light levels. In daytime, the staircase should look bright and lively, not muddy.
14. Add String Lighting Along the Railing Post for Night Ease

Lighting makes stairs feel welcoming and helps people move safely in dim rooms. String lights or rope lights along the railing area can create a soft glow without complex wiring.
Choose warm white for a cozy effect that pairs well with most colors. Use clear clips or small anchors so the cord stays tidy and doesn’t snag.
If you want a cleaner look, hide the wire behind a railing edge when possible. This adds charm and improves visibility at night in a budget-friendly way.
15. Refinish Only One Set of Stairs First to Reduce Risk

If your home has more than one staircase, focus on the one you use most. Starting here helps you learn what products work for your stairs’ surface.
You can test color, sheen, and adhesion methods without feeling rushed. This careful approach saves money because you fix problems early rather than after everything is done.
Once you see how it holds up, you’ll feel confident repeating the plan elsewhere. It’s a smart way to stay within budget while still getting a beautiful result.
16. Make a Nail-Free Upgrade with Peel-and-Stick Decorative Boards

Peel-and-stick panels can add a modern texture to stair walls and under-rail spaces. They’re a great option if you want minimal mess and quick changes.
Choose boards with a wood grain or geometric look for instant character. Measure the wall area and dry-fit pieces so patterns line up in a satisfying way.
Press firmly, then smooth along edges to prevent lifting. You’ll get a stylish finish that feels more expensive than it costs.
17. Personalize with a Monogrammed Sign on the Stair Landing

A small personalized sign can make a staircase feel uniquely yours. You can paint a wood plank, use a vinyl decal letter, or frame a printed design.
Place it near the landing where it’s easy to see when you enter or leave. This creates an emotional touch that no generic renovation can match.
Keep the font simple and match the color theme. Even a subtle monogram in a dark or warm neutral can look classy and calm.
18. Create a Faux Wood-Look Using Paint and Glaze Techniques

Faux wood finishes can give you the warmth of real timber without the cost. You can paint over existing surfaces and then add a glaze to create natural-looking grain.
Use a thin brush and a light hand to drag lines and break up the pattern. Variation is what makes it look believable, so don’t aim for perfect uniform lines.
Seal the finish with a protective topcoat so it stands up to foot traffic. The result looks rich and unique while staying budget-friendly.
19. Choose Durable Materials Based on Foot Traffic Patterns

Your stair routine tells you what needs the most protection. The edges and the center of each tread often wear faster, so plan your materials accordingly.
Select products rated for heavy use, especially for treads and high-touch areas. Even on a budget, durability keeps everything looking good longer.
You can also rotate décor items so the look changes while the surfaces stay protected. Smart placement reduces scuffs and helps your design stay crisp over time.
20. Keep a Small Maintenance Plan So Updates Last Longer

Even the best budget upgrades need a little care. Add a simple schedule for cleaning treads, wiping paint, and checking tape edges.
Use gentle cleaners that won’t strip finishes or lift adhesive. If something starts to peel, re-press quickly or replace only that section instead of redoing everything.
Seasonal touch-ups help you maintain color and keep the staircase feeling fresh. When your stairs stay well cared for, every step looks intentional and inviting.