Clutter doesn’t just look messy; it steals time and peace. With the right storage flow, supplies feel lighter and easier to reach.
1. Start With a “Home Base” for Every Supply
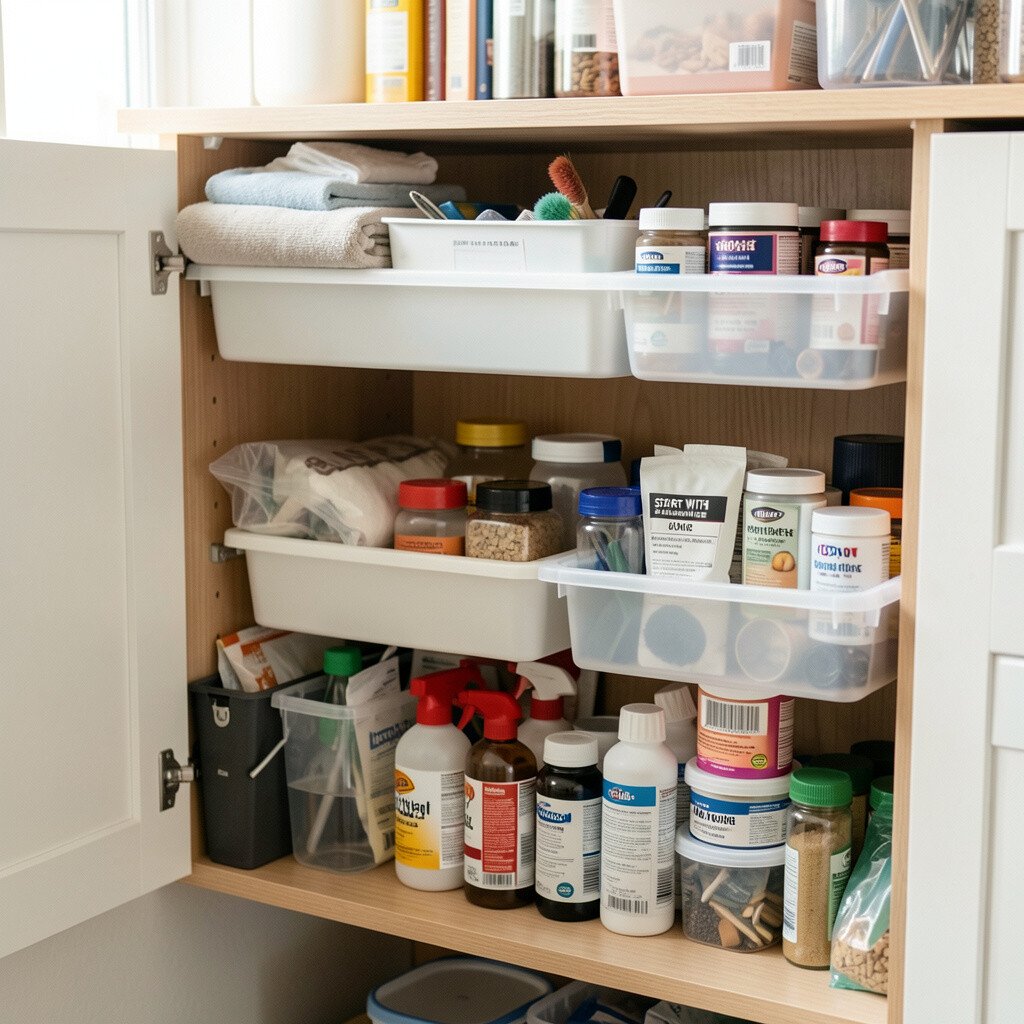
Pick one clear spot where each type of supply belongs. When you open a cabinet or drawer, you should instantly know what goes where.
Use a simple mental map: paper together, pens together, tape together. Even if you have many items, you can still group them by how they’re used. A home base keeps you from re-buying things because you can spot them fast.
2. Use Clear Containers to See What’s Inside
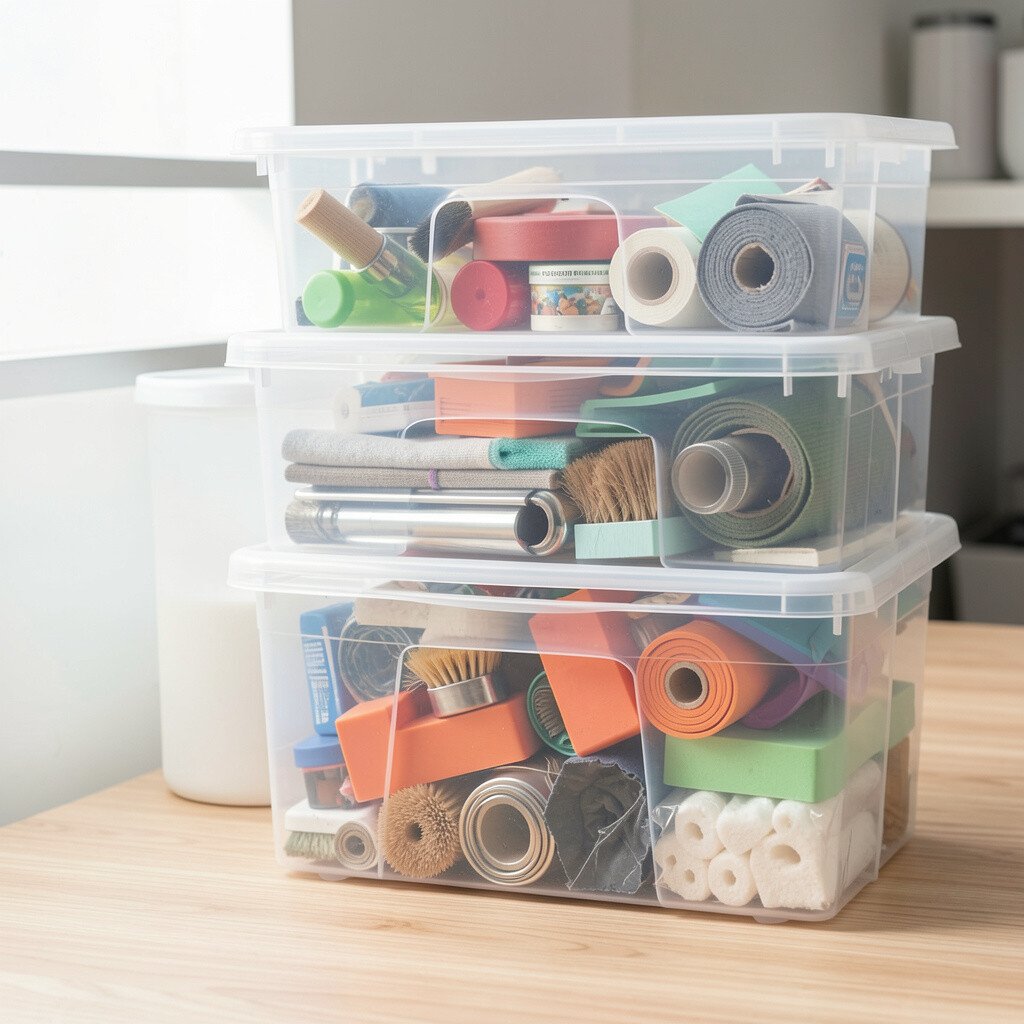
Swap vague bins for clear storage so you can scan at a glance. When the lids match and the contents are visible, picking the right item feels quick and calm.
Try small containers for batteries, fasteners, and craft extras, and larger ones for bulk supplies. Labeling helps, but visibility does the heavy lifting. You will also waste less time searching through mixed bags.
Many people are choosing modular clear boxes lately because they stack neatly and adapt as needs change. You can personalize by adding colored tape bands on the front edge for fast sorting. If cost is a concern, start with just the most-used categories and add more containers over time.
3. Make a “Grab-and-Go” Caddy for Active Projects
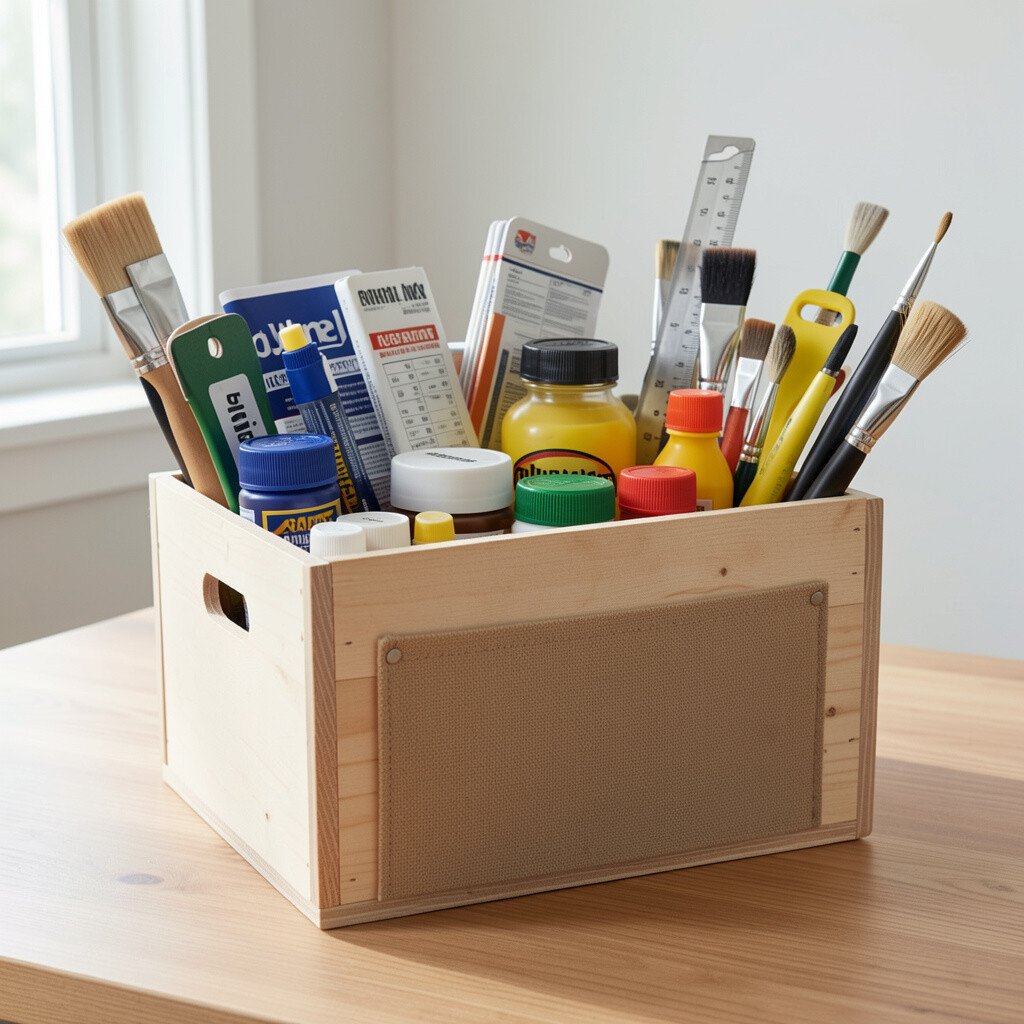
Keep one small caddy for what you’re using right now. It might sit on a shelf or roll to your work spot, so supplies don’t spread out across the room.
Choose compartments or dividers so scissors, glue, and tools stay separated. When everything travels together, cleanup becomes a two-minute habit instead of a big task. You’ll notice fewer items walking away and fewer half-started projects turning into clutter.
To personalize, match the caddy color to your room style or theme. A fabric caddy can hide mess while still looking tidy, and a plastic tray can be easy to wipe clean. For cost-friendly options, repurpose a shoe organizer, tackle box, or shallow tote you already own.
4. Sort by Frequency, Not by “What Looks Pretty”

Think about how often you touch each item. Place daily items at eye level and save rarely used supplies for higher shelves or the back of a closet.
When you store everything by category alone, you often end up digging for what you need most. Frequency-based sorting makes your space feel smarter and calmer. It also reduces the clutter effect caused by overreaching and accidental mess.
5. Create Zones With Shelf Dividers and Trays
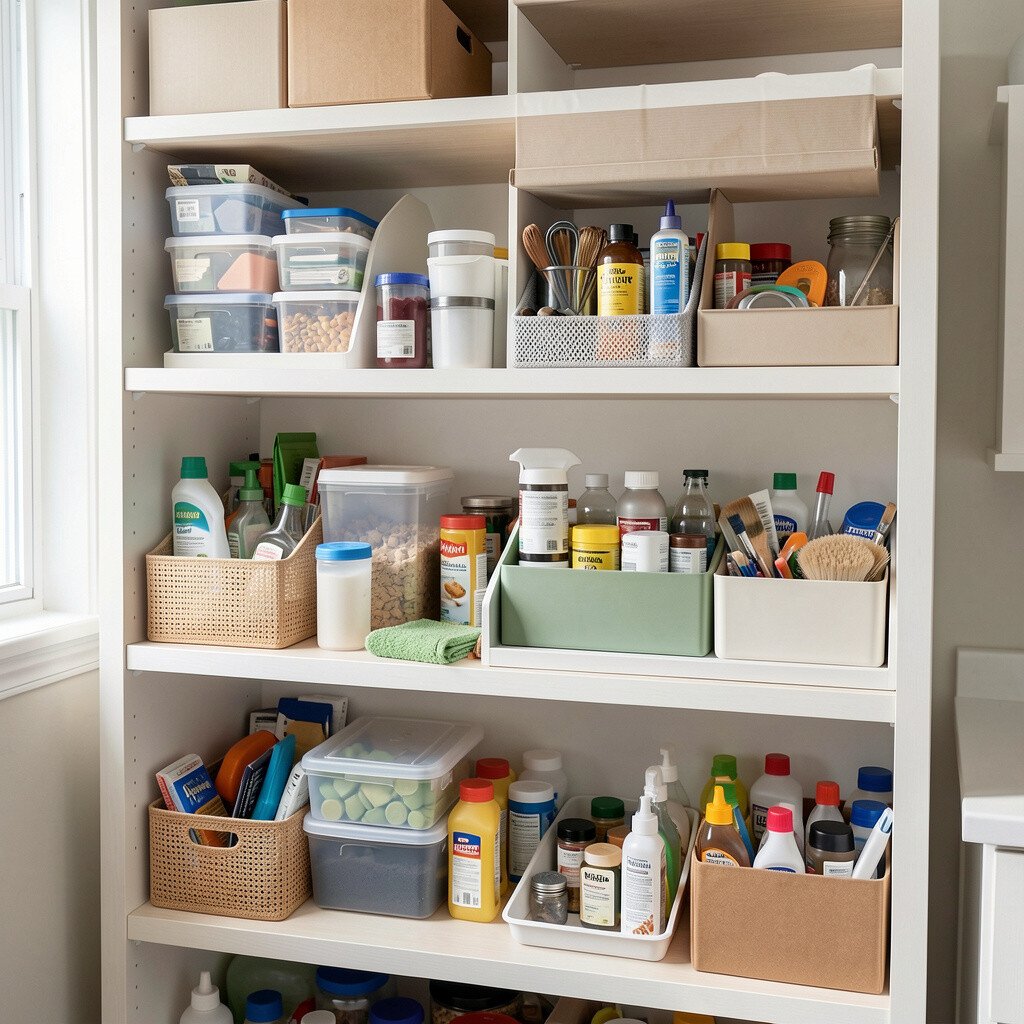
Use dividers to split shelves into tidy sections, like an organized mini neighborhood. Trays keep loose pieces from sliding and give small items a stable place.
For a visual touch, choose dividers in the same color family so the shelf looks even. You can customize sizes by mixing short and long trays to fit your items. This approach helps you keep similar supplies together without needing bigger storage units.
Trays are especially helpful for items like paintbrushes, markers, and measuring tools because they prevent tangles. If you want a lower cost plan, reuse cardboard boxes with liner paper and seal edges so they hold shape. The key is making every zone feel intentional, not random.
6. Adopt the “One In, One Out” for Replacement Supplies
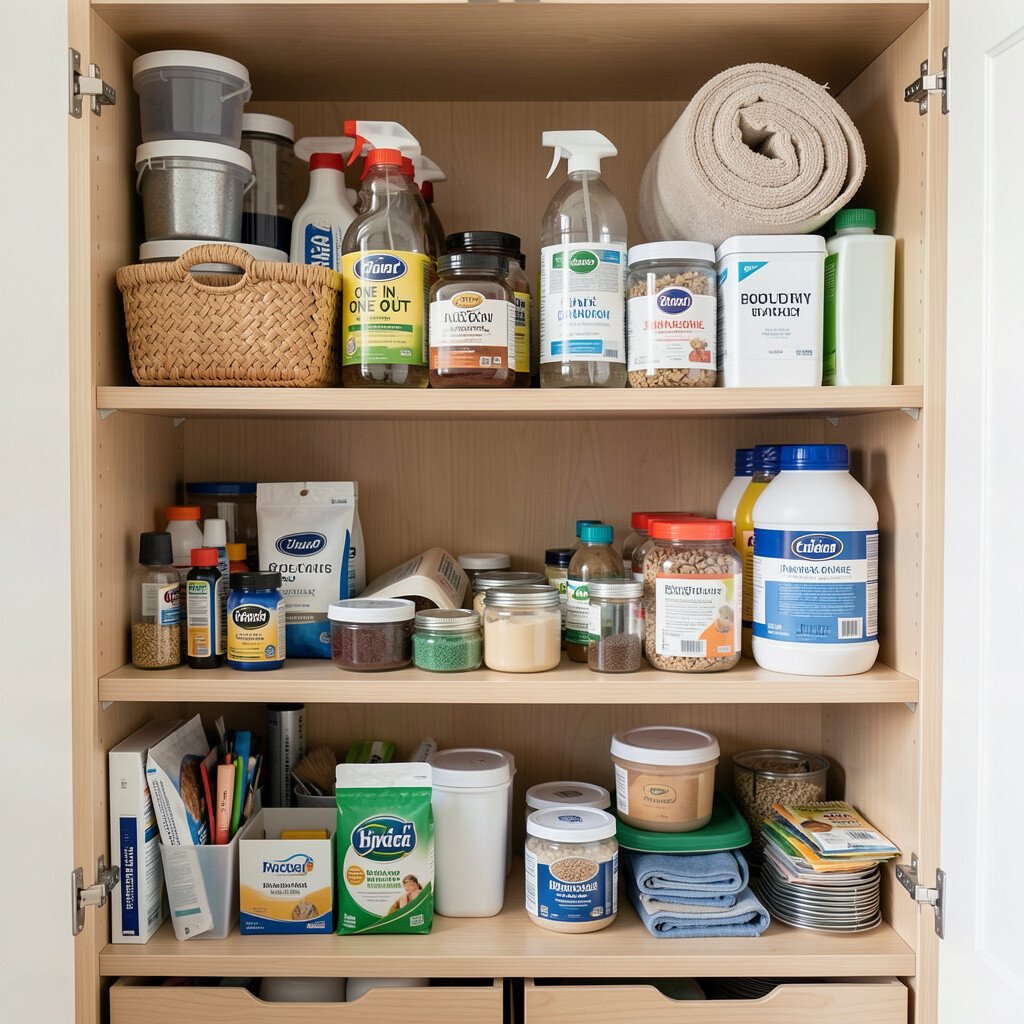
Set a rule that when you bring in a new roll of tape or pack of labels, something similar leaves. This keeps storage from quietly filling up over time.
Keep a small donation bag or recycling bin near your workspace so it’s easy to follow through. When you remove duplicates or expired items, you free up space for what you actually use. The result is a tidy area that stays tidy, which feels great.
This strategy fits well with current habits of mindful consumption and slower, steadier organizing. Personalize it by tracking your rule on a sticky note placed inside a drawer. If cost matters, buying fewer replacements becomes an automatic savings win.
7. Label With Simple Words and Easy Symbols
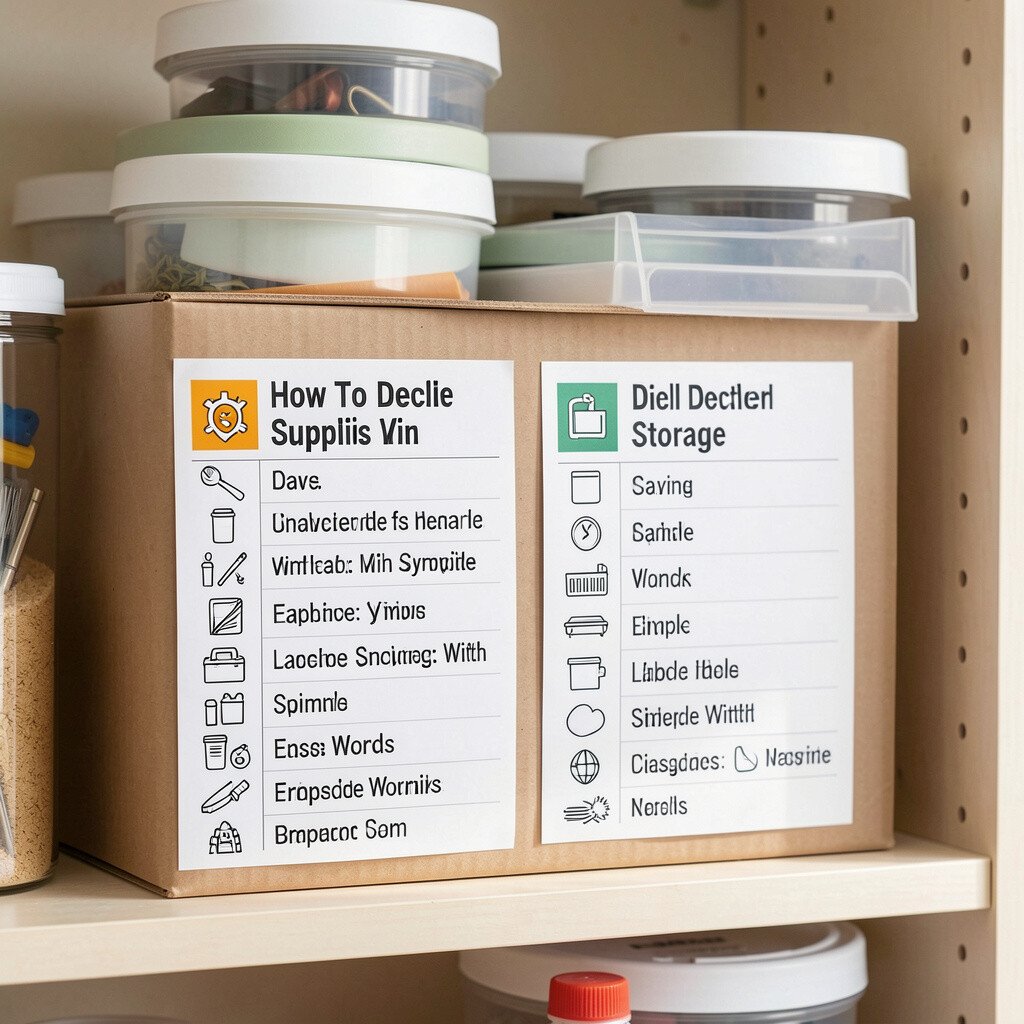
Clear labels reduce guesswork and keep everyone in the home aligned. A quick word and a small icon can guide you even when you’re rushing.
Use readable text on the front and keep labels consistent across drawers and containers. Symbols work especially well for kids or shared spaces, like a scissors icon for cutting tools. This cuts down on re-sorting and stops “mystery bins” from growing.
8. Use Drawer Inserts to Stop Small-Item Chaos
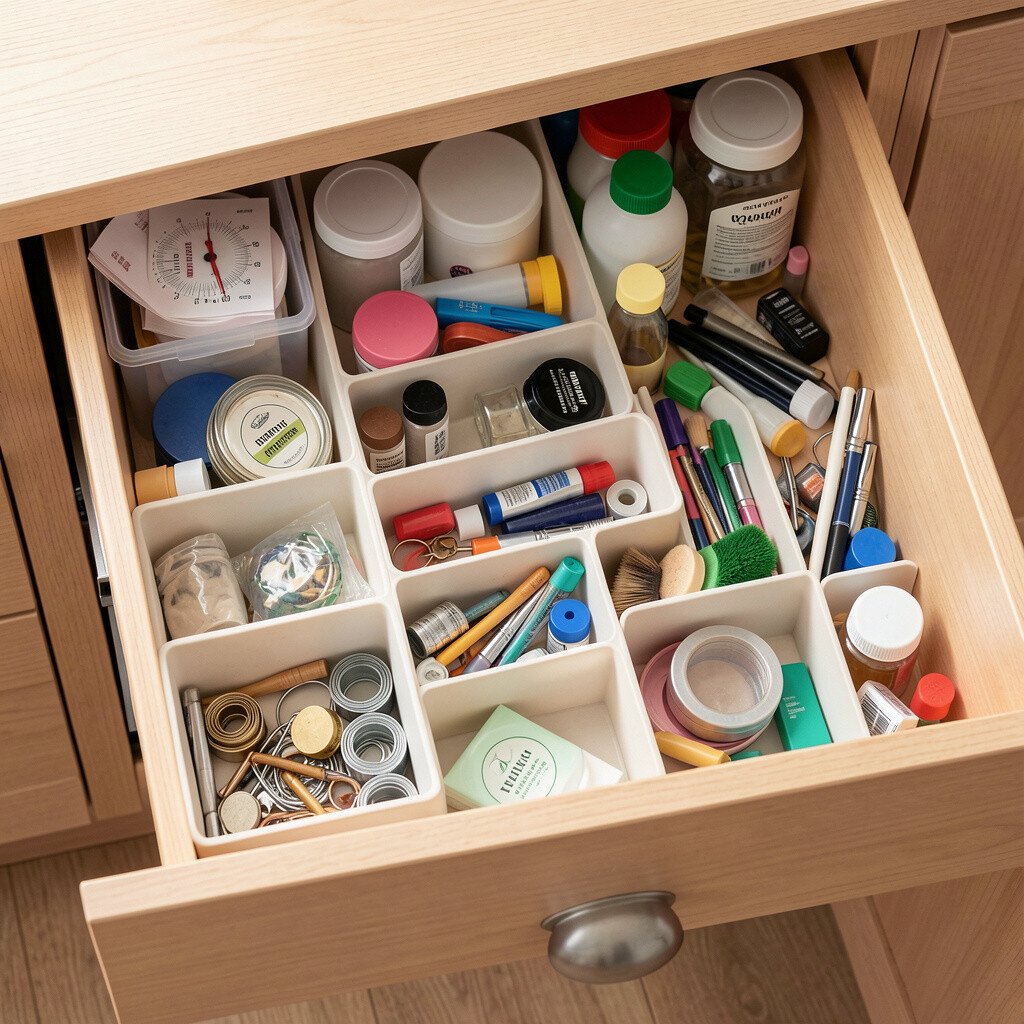
Small items behave badly when they’re piled together, so use drawer inserts. Even a basic set can turn a messy drawer into a neat, repeating layout.
Choose inserts that match your drawer size and adjust compartments for what you store. Keep the most-used items in the front section so you don’t have to dig. When you do this, supplies stay visible and ready, which makes tasks smoother.
9. Turn Bags Into Storage by Using Internal Pouches
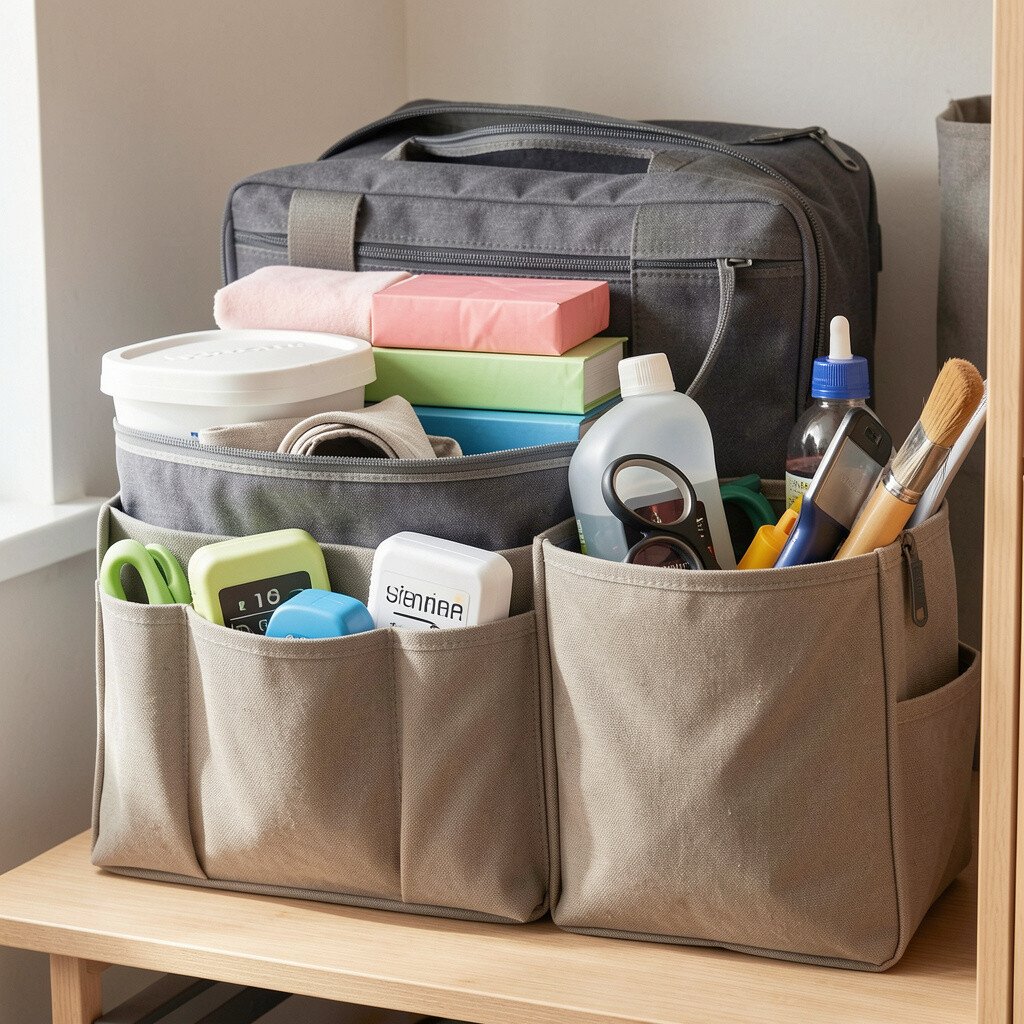
If you already own bins, bags, or tool organizers, add internal pouches to tidy them up. Separate batteries from chargers, and separate tape from cords, inside the same bag.
This approach is great for supplies that travel, like hobby kits, repair kits, or school projects. Instead of dumping everything into one bin, each mini pouch gives items their own corner. You’ll spend less time untangling and more time actually using your supplies.
For personalization, pick pouch colors that help you remember what they hold, like blue for writing tools. This trend of nested organizers is popular because it saves money and uses what you already have. If you’re cost-conscious, repurpose small zip pouches from old travel kits and keep going.
10. Keep Frequently Used Tools Near Your Work Surface

Place the tools you grab every day within arm’s reach of where you work. A tidy space isn’t just about what’s in the storage, it’s also about how smoothly you move.
Consider a wall-mounted rack, a countertop tray, or a small shelf beside your desk. When tools are close, you’re less likely to leave extras out while searching. You’ll also notice your workflow feels calmer and faster.
11. Build a Dedicated Paper System With Folders and Binders
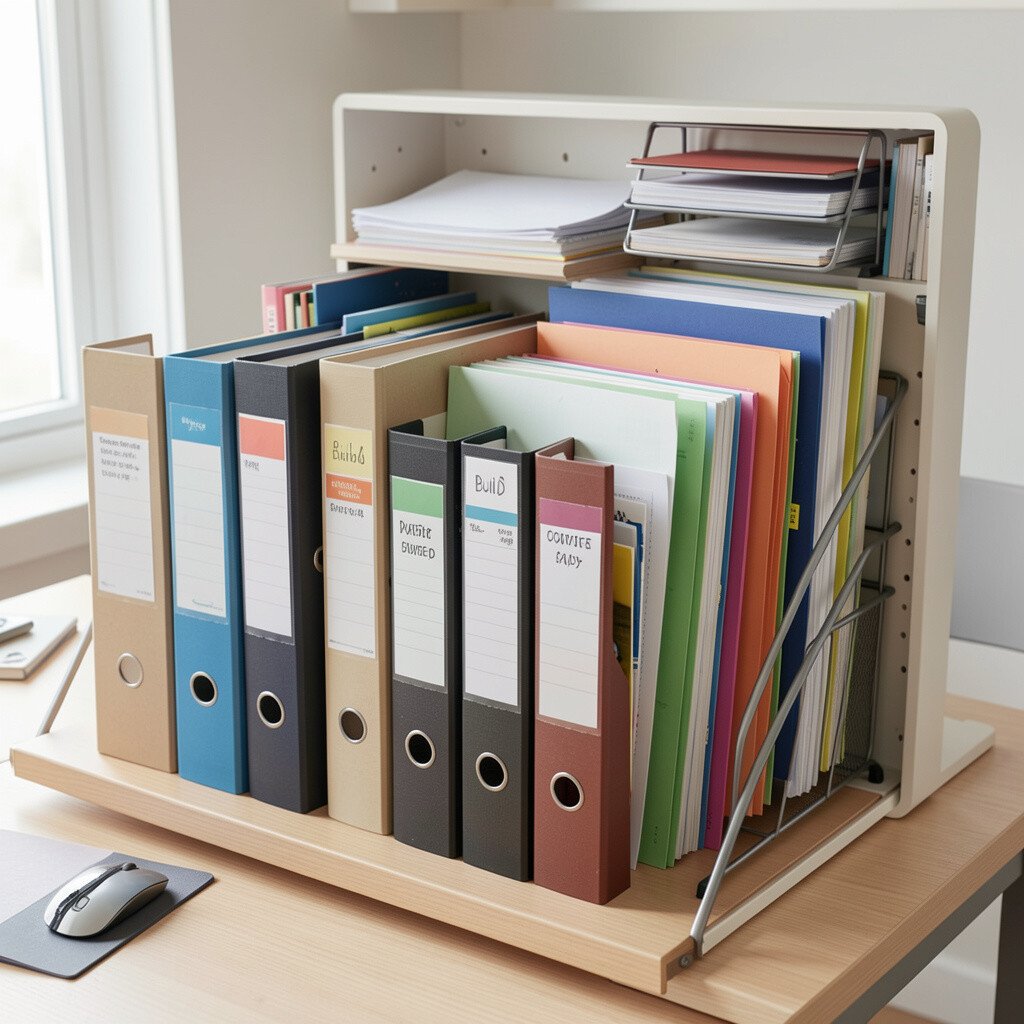
Paper supplies get out of hand quickly unless they have clear boundaries. Use folders for active sheets and a binder for reference materials you revisit.
Keep similar sizes together so you’re not forcing papers into the wrong spot. A simple binder spine label can help you find patterns, instructions, or templates fast. When paper is organized, it stops spilling into drawers and becoming hidden clutter.
People often choose slim, modern binders and expandable folders because they look neat and fit well in tight spaces. You can personalize the system with color-coded spines that match your room. For cost control, recycle old binders and add new labels instead of buying a full set.
12. Control “Loose” Items With Elastic Bands and Clips

Small loose items like cables, cords, and extra fasteners need restraints. Elastic bands, zip ties, and binder clips help them stay together.
Bundle cords by length and clip packages of small parts so they don’t scatter when you open a bin. This keeps your space looking clean even before you start organizing deeply. You’ll also avoid the frustration of searching for tiny pieces.
13. Make a “Return Path” So Things Go Back Immediately
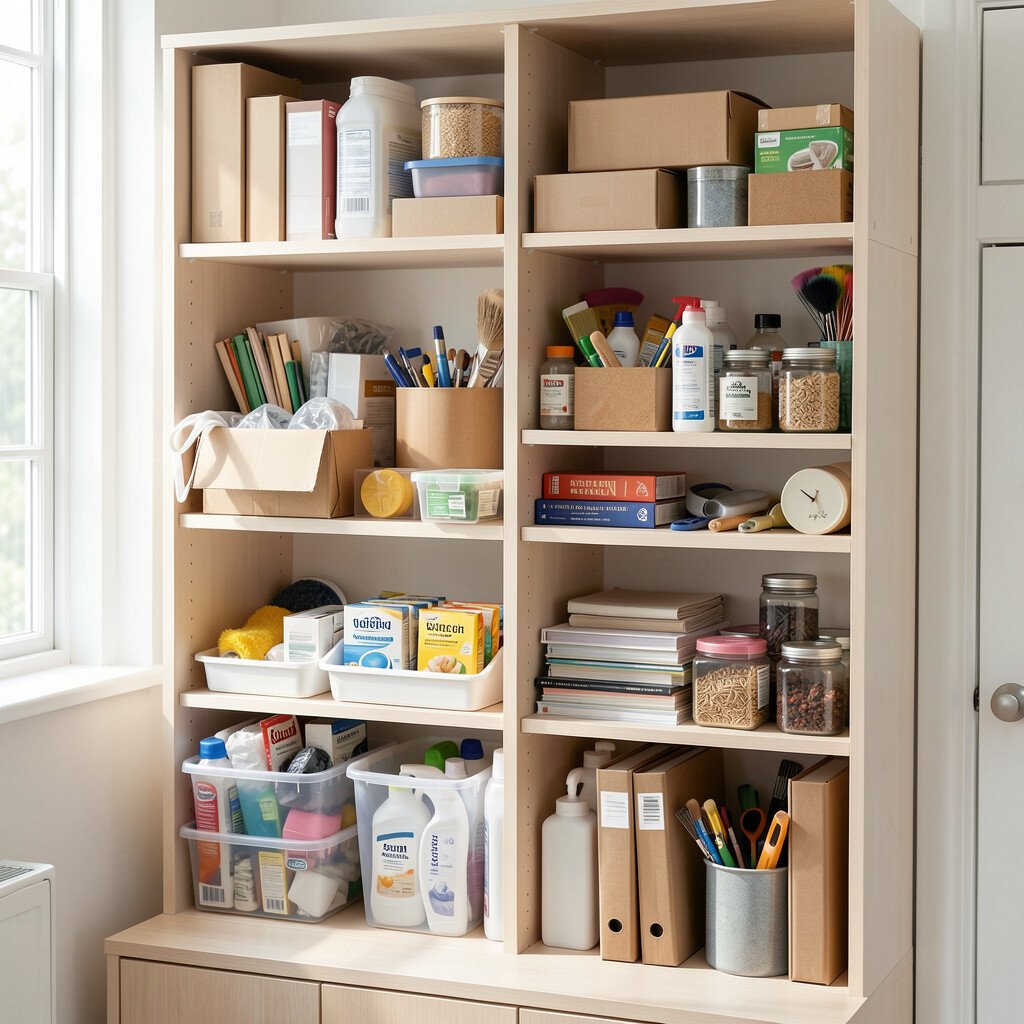
Create an obvious return path by storing items right where you use them. When the storage spot is easy to reach, returning items becomes automatic.
Try placing a small bin near your workspace where you can drop used supplies right away. Later, you can put them into their home base, but the first step keeps surfaces clear. This simple routine reduces the clutter snowball effect that happens when you postpone tidying.
Many organizers now focus on friction-free habits, because the easiest action is the one you repeat. Personalize the return path by choosing a container style that matches your room, like a woven basket or clear caddy. If you want low cost, use a plastic grocery basket or a lidded tub you already have.
14. Declutter by Category Then by Quantity

Start with categories, like writing tools, cleaning supplies, or craft essentials. Then reduce quantities by keeping what fits your real needs.
Pick a practical limit based on how often you use items, not how much you hope to use someday. When you remove extras, you instantly create room for the items you love. You’ll also notice your storage choices become easier because you aren’t planning for “just in case” piles.
15. Use Pegboards or Rail Systems for Vertical Storage
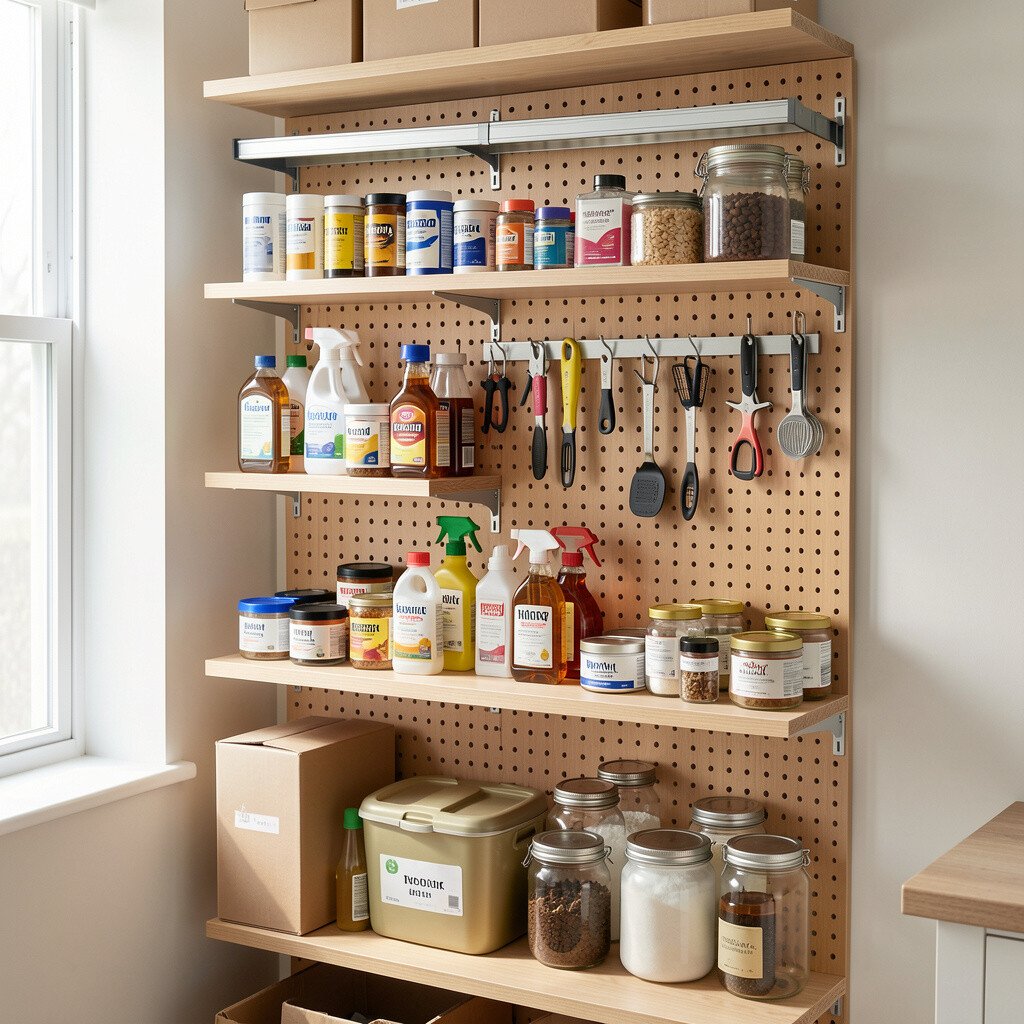
Vertical storage makes a huge difference when floor or shelf space feels tight. A pegboard or rail system lets you hang tools and keep them visible.
It’s visually satisfying to see a neat row of tools, and it helps you remember what you own. Use hooks for everyday tools and small baskets for accessories. When you can spot items quickly, you’re less likely to buy duplicates.
This trend fits modern home organization because it blends function with style. You can personalize by painting the board a soft color or choosing matching hooks. For cost considerations, start with a few rails and expand later instead of buying a full setup at once.
16. Keep Seasonal Supplies in Labeled, Sturdy Totes

Seasonal items should not mingle with daily supplies. Store them in labeled totes so you can swap them in and out when the weather changes.
Use sturdy bins with tight lids, especially for items that can get dusty or damp. When seasonal storage is well organized, it prevents clutter from spreading into everyday drawers. You’ll also find it faster when you need it, which makes the changeover feel easy.
17. Plan Your Storage Around Your Real Routines
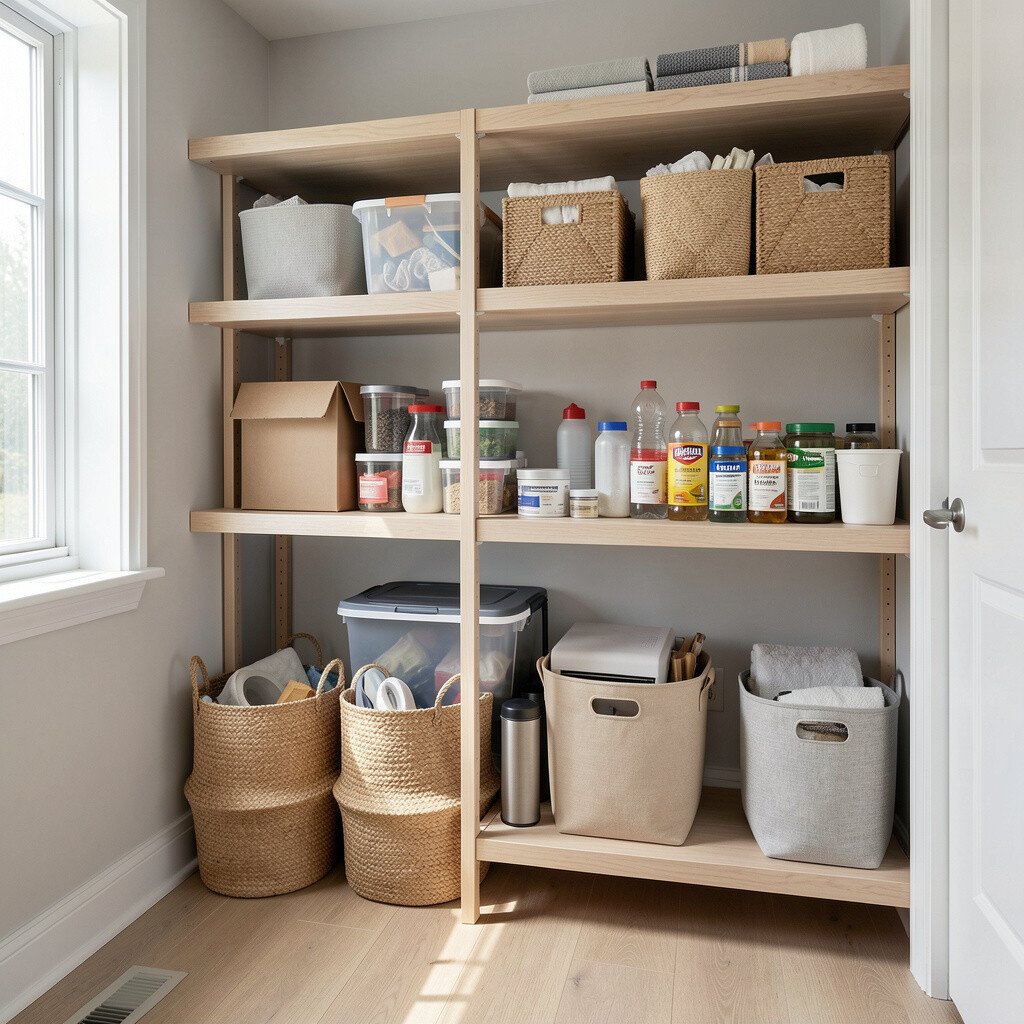
Look at how you actually move through your space during a typical project day. Your storage should match your routine, not a perfect idea from a blog.
If you usually start at a desk and then go to a shelf, keep the most important supplies in that route. When items are placed along your path, you don’t pause to open multiple containers. The space feels smoother, and clutter has less chance to build up.
Personalize by creating a small workflow tray that stays near your main working area. This also fits current organizing trends that focus on usability and daily flow. If you want to manage cost, adjust your existing shelves first and only add new items when a clear gap appears.
18. Choose Storage That Matches Your Style and Accepts Your Limits

A tidy space feels better when storage fits your personality and your lifestyle. You can aim for neat and still choose bins, baskets, or shelves that you enjoy using.
Soft fabric bins can hide clutter and make the space feel cozy, while clear containers create a crisp, modern look. Consider your limits too, such as how much time you want to spend maintaining the system. When storage supports your reality, you’ll keep it going.
To personalize, use colors, textures, and consistent labels that match your home. Many people are combining aesthetic storage with practical rules, like keeping daily supplies in open bins and seasonal items in closed totes. For cost, start with one area you care about most, get it to a tidy baseline, and then repeat the process room by room.