
Your kitchen can feel calmer with the right storage habits. Small changes help you find things fast and keep surfaces clear.
1. Start With a “See-First” Zone That Stays Empty
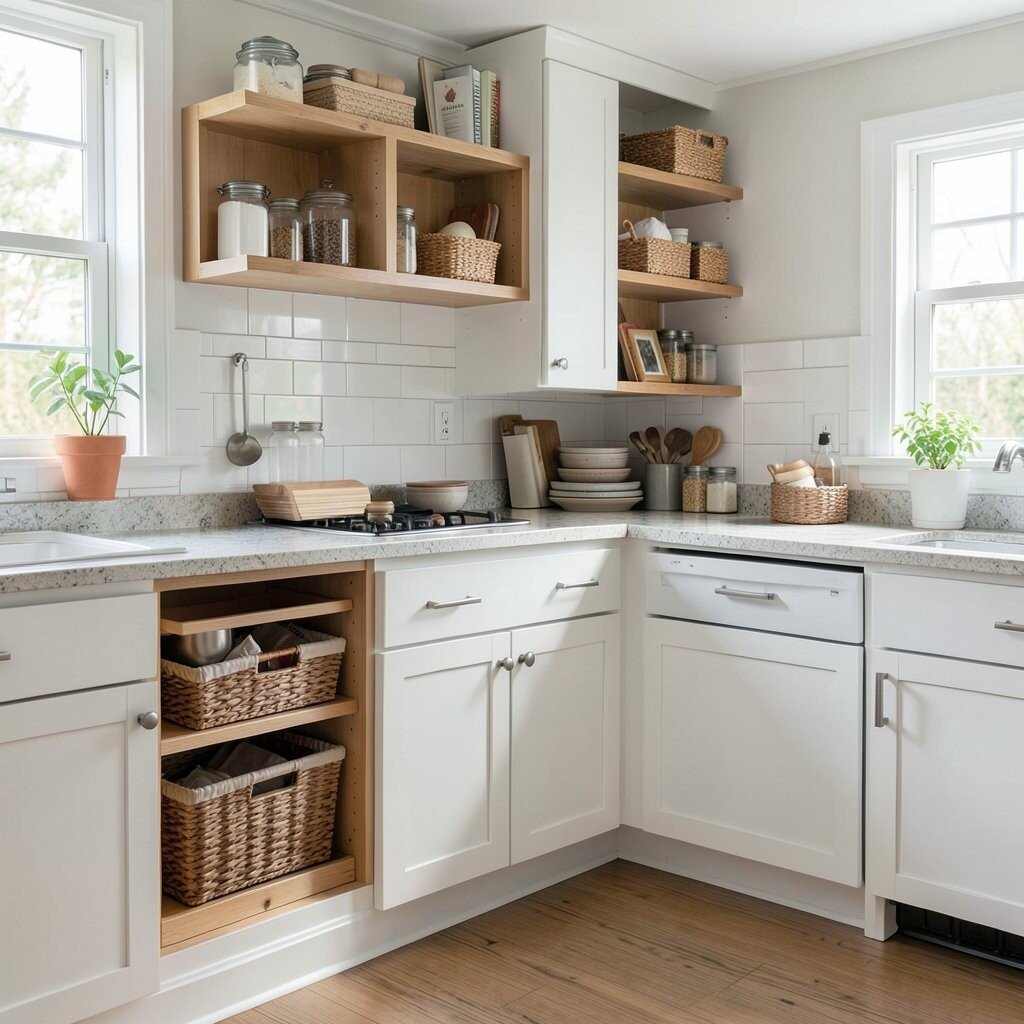
Pick one area on your counter or near the main prep spot and keep it for daily use only. Add only items you touch every day so everything else can live out of sight.
When you glance at the space, you should instantly notice a clean, usable surface. This creates a visual win that makes the whole kitchen feel organized. To keep it working, reset it at the end of the day by returning items to their homes before you leave the kitchen.
2. Use Drawer Dividers That Match Your Daily Rhythm
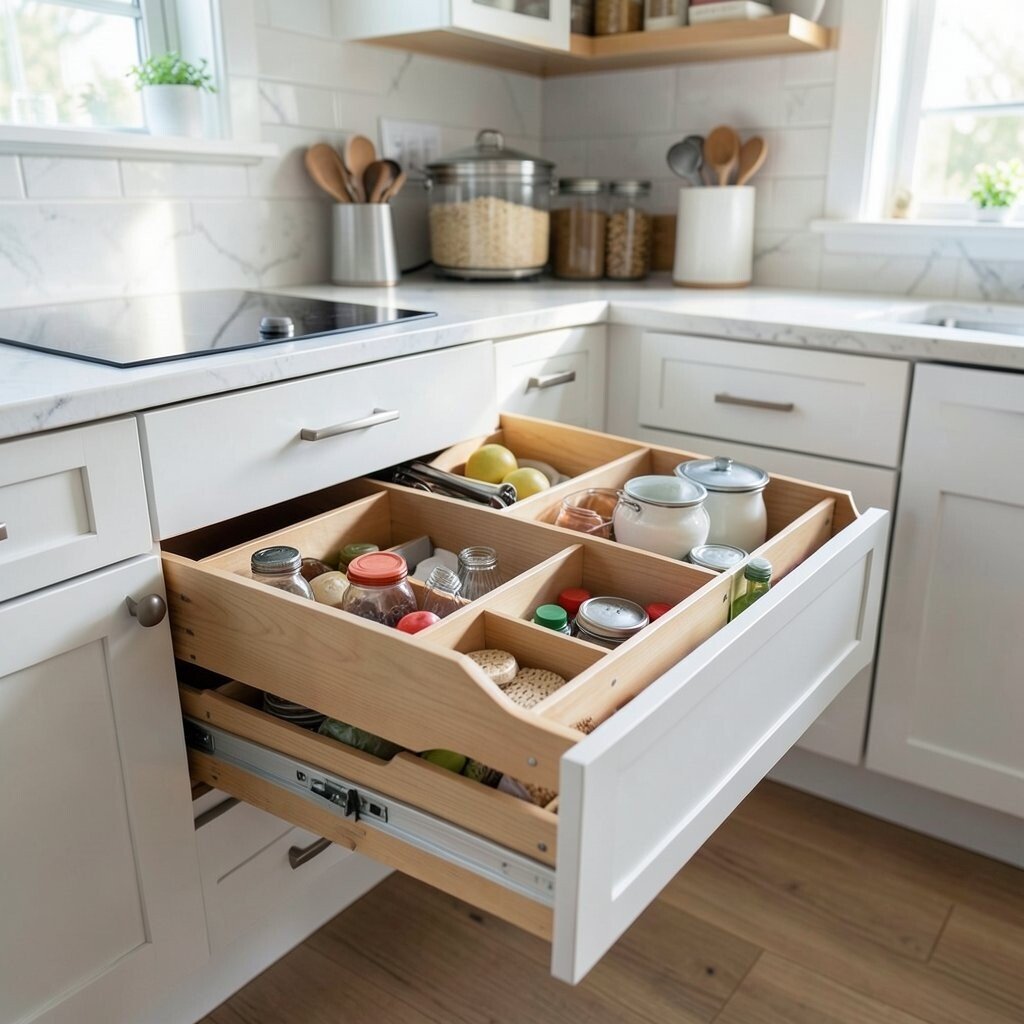
Drawers can look tidy, but only if each item has a boundary. Choose dividers that fit your exact spoon, spatula, and utensil sizes so nothing slides around.
Labeling can be helpful, but you can also sort by how you use things. Keep frequently used tools at the front and keep backups toward the back. When you open the drawer, the layout should feel like it makes sense without thinking.
If you want a budget approach, look for adjustable dividers and measure your drawer width before buying. Clear plastic dividers let you see what’s inside, which can reduce hunting. Personalize the layout by dedicating a small section to special tools like mini whisks or specialty peelers.
3. Turn Cabinet Shelves Into a “Height-Friendly” System

Cabinet shelves often waste space because items don’t fit the same height. Put tall bottles, big containers, and baking tins on higher or lower shelves based on how you reach them.
Place everyday items at eye level so you do less bending and less rummaging. Heavier items feel better on lower shelves, and lighter items can go above. This makes storage safer and faster while keeping everything visually neat.
For a modern look, try stacking containers with matching lids so you get a clean line. Using shelf liners can also help keep things from slipping and makes spills easier to wipe. If you’re working with a tight budget, start with one cabinet and refine it over a few weeks rather than reorganizing everything at once.
4. Create a Lid and Bag Corner That Doesn’t Chaos
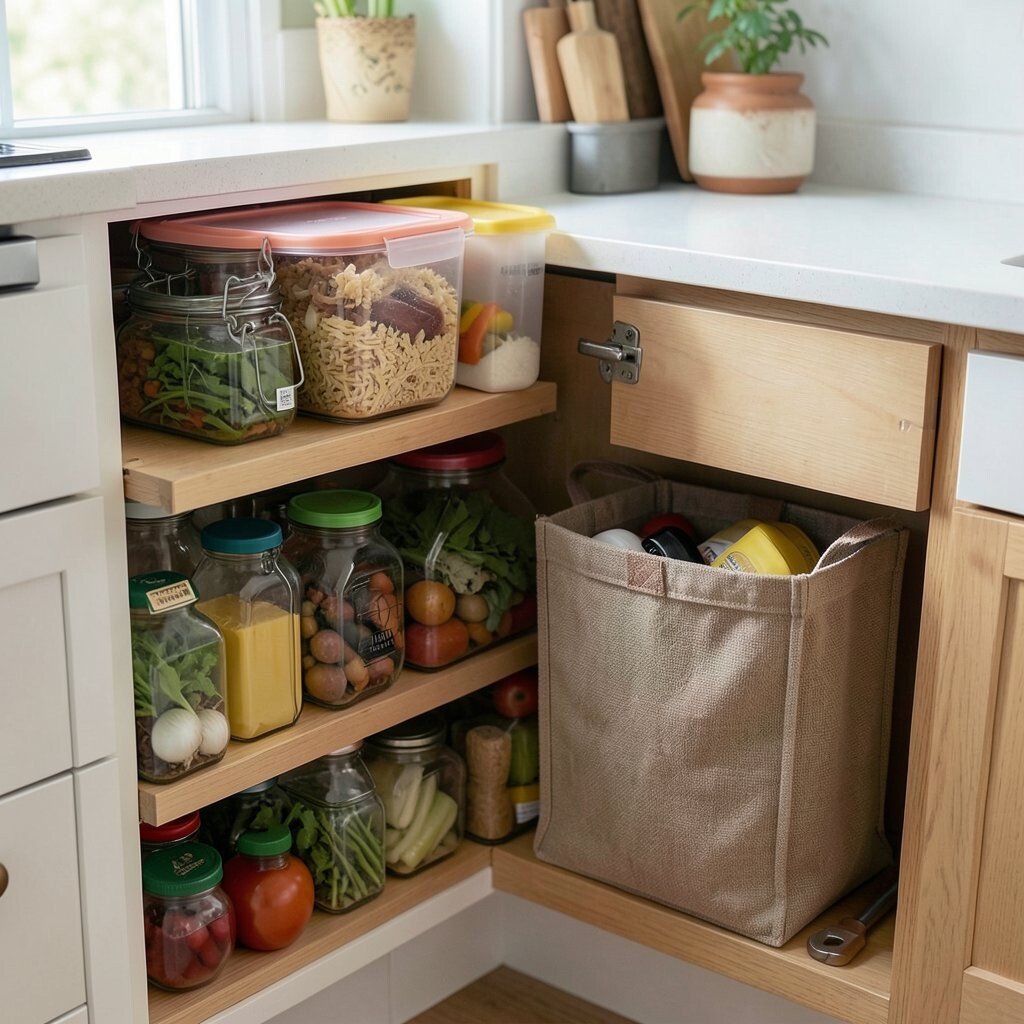
Lids and storage bags are notorious for turning into a tangled mess. Give them a dedicated spot so they stop spreading across cabinets.
Stand lids upright in a slim organizer or use a vertical holder so you can spot the right one quickly. Store baggies in a bin that holds both the bags and the ties, so you never chase missing parts. You’ll save time every meal prep moment because the system stays consistent.
5. Mount a Rail for Tools You Actually Want to Grab

Wall rails and magnetic strips can be a game changer when counter space is tight. You’ll love seeing frequently used tools lined up neatly, like a tidy little workshop.
A rail near your prep area works well for spatulas, measuring spoons, and small utensils. It also helps you keep the counter clear, which makes cleaning simpler and quicker. For trends right now, slim metal rails and magnetic bars in warm finishes look modern and clean.
Choose a mount that fits your wall type and keep heavy items secured. If you don’t want to drill, consider adhesive hooks rated for kitchen tools. Personalize the layout by placing your go-to tools at hand height, so the rail feels custom to you.
6. Group Pantry Items by How You Cook

Pantry organization feels easiest when it mirrors your cooking habits. Group ingredients the way you reach for them during a typical week, not just by category on the label.
Keep baking items together, meal staples together, and snacks together so your brain remembers where things live. When jars and bags stay grouped, you can plan meals faster. Use clear containers where it matters most, like flour, sugar, rice, and pasta, because seeing levels makes refills easier.
7. Make a Landing Spot for Groceries and Refill Runs

After shopping, items can sit on counters until you find time to put them away. Set up a simple landing tray or bin near your pantry so groceries have a temporary home.
As soon as you get home, sort and place things into the bin by where they belong. Then refill your pantry one quick session later, instead of rushing everything right away. This keeps your kitchen from looking cluttered for days and helps you stay consistent.
For a low-cost setup, use an old baking sheet, a shallow crate, or a medium storage box. Personalize it by adding small notches or labels on the outside that match your pantry sections. You’ll feel calmer because the process becomes predictable instead of stressful.
8. Use a Lazy Susan for Spices That You Rotate

Spices can turn into a chaotic lineup because jars vary in size. A Lazy Susan is great for keeping them visible and reachable.
Place it in a corner cabinet or on a shelf so you can spin it and grab what you need. Keep the most used spices at the top and rotate new ones into less used spots. You’ll also notice fewer expired jars because you’ll actually see what’s there.
9. Add Clear Bins for Back-of-Storage Items

Deep cabinets often hide items you forget about until you buy them again. Clear bins make that hidden space easier to manage while still keeping things contained.
Group similar items inside bins, like foil and wrap, baking liners, or cleaning supplies used near food prep. When you can see the bin contents, it’s easier to put things away correctly. This also reduces clutter because the cabinet holds organized “zones” instead of random piles.
Choose stackable bins when space is tight so you can use vertical room. If cost is a concern, start with just one or two categories and expand as you go. For personalization, color-code bins with simple labels or wrap tape around the edges in a style you enjoy.
10. Organize Under the Sink Like a Tight Cleanup Station

The space under a sink can get messy fast because it holds bottles, sprays, and odds and ends. Treat it like a mini station for cleaning so it’s easy to maintain.
Use a caddy for everyday sprays and place heavier items on the bottom. Put a small bin for sponges and scrub brushes so they don’t sit in puddles. Consider waterproof liners or mats to protect the cabinet floor and make quick wipe-downs simple.
11. Build a Simple System for Cooking Sheets and Trays

Cookie sheets, roasting pans, and cutting boards take up a lot of space and can look tangled. A vertical organizer or a stack guide can fix that instantly.
Store them upright or in layered stacks with a separator so items don’t scratch each other. Add dividers between boards so they don’t flop around. You’ll also find that using trays becomes faster because you can see them clearly.
For cost control, you can use a tension shelf insert or an inexpensive rack that fits your cabinet. Personalize storage by adding a small holder for parchment rolls or reusable liners. This keeps baking items close while reducing the scatter across cabinets.
12. Sort Coffee and Tea Supplies for Quick Morning Wins

Coffee and tea can clutter cupboards when each canister lives in a different place. Pick one storage area and keep everything that touches your morning routine together.
Use a tray for filters, sweeteners, and stirrers so you can carry everything in one grab. Store mugs in a nearby location or keep them stacked in a way that matches your daily drink order. Visual organization helps because you can choose your drink without searching.
13. Keep Snacks in a “Grab-First” Shelf and Lock the Extras Away

Snacks look neat when you set one shelf as the main grab space. Fill it with the snacks you actually eat often, and keep the backup in a separate bin or higher cabinet.
This helps avoid the endless pile of bags that never gets sorted. When you run low, refill the shelf from the backup, which keeps things tidy without extra work. Choose clear containers for bulk snacks to reduce packaging clutter while still letting you see what’s left.
If you have kids, personalization matters. Use kid-friendly bins at lower height and keep less-used treats up higher. For a budget option, reuse clean jars and containers you already have so you’re not buying everything new.
14. Rethink the “Most Used” Spots Near the Stove

Instead of storing everything by cabinet location, store by cooking tasks. Think about where your hands go while you cook.
Keep oils, spices, and grab-and-go tools within easy reach near the stove, but avoid crowding the main burners area. Use a small caddy for oil and vinegar, and keep frequently used utensils in a holder where you don’t have to walk back and forth. This reduces kitchen stress and makes cooking feel smoother.
15. Use Vertical Storage for Bags, Wrap, and Foil

Wrapping supplies expand sideways until they take over a cabinet. Vertical storage turns that chaos into an orderly stack you can manage.
Store foil, parchment, and plastic wrap in a holder or upright organizer so rolls don’t unspool. Keep reusable bags in a separate slim section so they don’t get tangled with wrap items. You’ll notice that refilling becomes easier because you can grab the next roll without digging.
If you want to keep costs down, measure your cabinet opening and choose a holder that fits snugly. Personalize it by placing an extra small section for rubber bands or clips. This small detail makes your whole system feel intentional.
16. Add Under-Shelf or Door Storage for Small Things
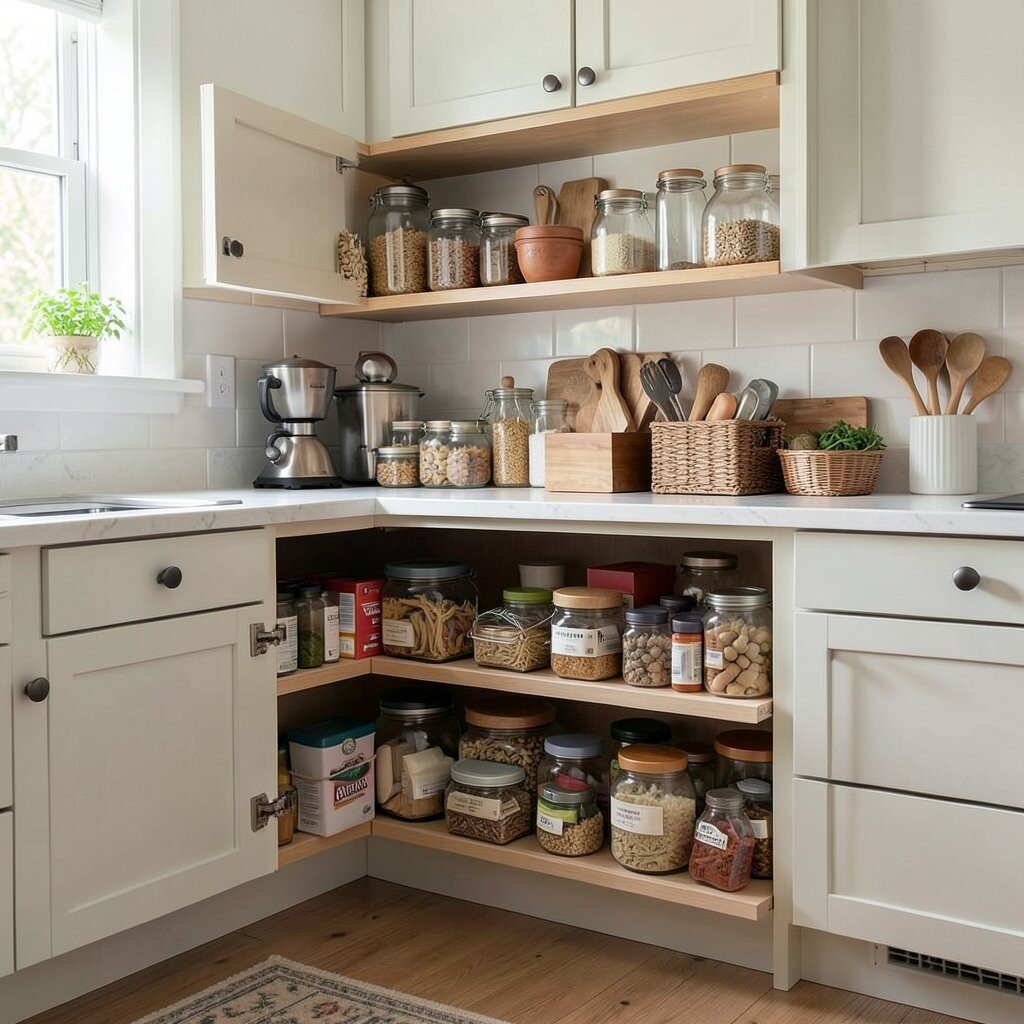
Door space is often ignored, but it can hold small items neatly. When you use it well, the kitchen feels more open and less crowded.
Install a small rack or organizer on the inside of a cabinet door for measuring cups, spice packets, or recipes on cards. Under-shelf hooks can hold cling film tools, dish towels, or a small trash bag roll. Visual tidiness improves because small items no longer wander across shelves.
To keep it practical, make sure the storage doesn’t block cabinet hinges or swing freely. For personalization, choose a finish that matches your kitchen hardware so the door storage looks like part of the design. A budget approach is to start with one door and see how it changes your daily workflow before adding more.
17. Standardize Containers So Your Kitchen Looks Calm

When containers don’t match, shelves look busy even if they’re “organized.” Standardizing sizes and styles creates a calmer look and makes refills smoother.
Choose a few container types for dry goods, like airtight jars for grains and stacked bins for snacks. Keep labels consistent so you can spot what you need in a second. This also supports current trends toward minimal, tidy pantry shelves with clear visibility.
Cost considerations matter, so start with the items you use most and move gradually. If you prefer a more eco-friendly route, reuse glass jars and only replace when needed. Personalize with label colors or simple icons so the pantry feels like yours while still staying neat.
18. Maintain the System With a Weekly Reset Routine

A great storage plan only works if it stays cared for. A short weekly reset stops clutter from creeping back in.
Spend a few minutes checking high-traffic zones like the spice shelf, utensil drawer, and pantry front. Wipe surfaces, straighten bins, and return anything that drifted out of place. You’ll notice that the kitchen feels good to use because everything returns to its intended spot.
To make it easier, keep a small basket for items that need to be returned and empty it during the reset. Personalize the routine by linking it to something you already do, like when you change towels or restock supplies. When systems stay consistent, you save time and reduce frustration every day you cook.