The classroom door is a tiny stage for big feelings. A jungle theme can make kids feel brave, curious, and ready to learn.
With a few materials and some easy planning, you can create a welcoming space that looks playful and stays practical every day.
1. Leafy Border With Friendly Vines
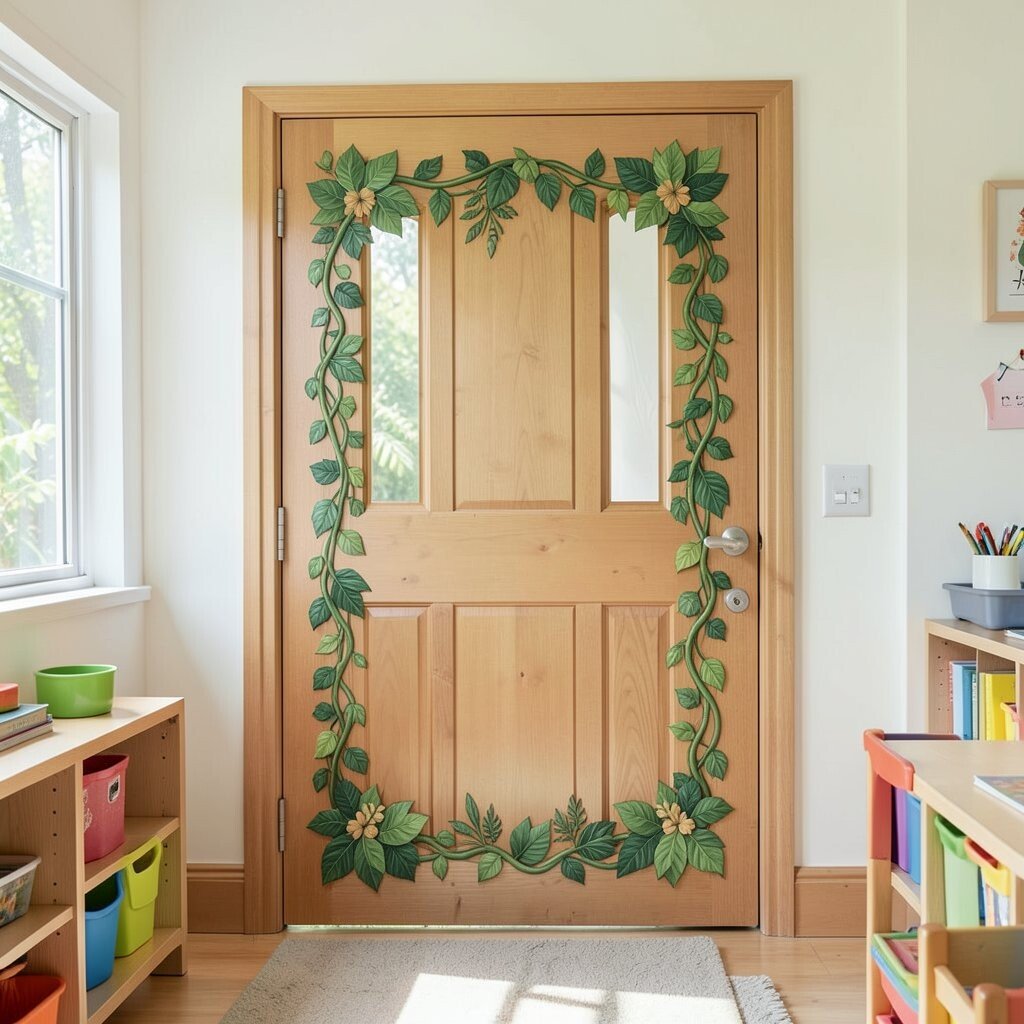
Start with a wide border of paper leaves that hugs the door like a rainforest frame. Pick two or three leaf shades so it looks layered, not flat, and add a few curling vine lines that guide the eye.
Kids will love walking by it because it feels like the door leads somewhere fun. For a practical touch, place the boldest leaves at eye level and keep the edges trimmed so they do not snag on backpacks.
2. Self-Standing Paper Canopy Above the Door
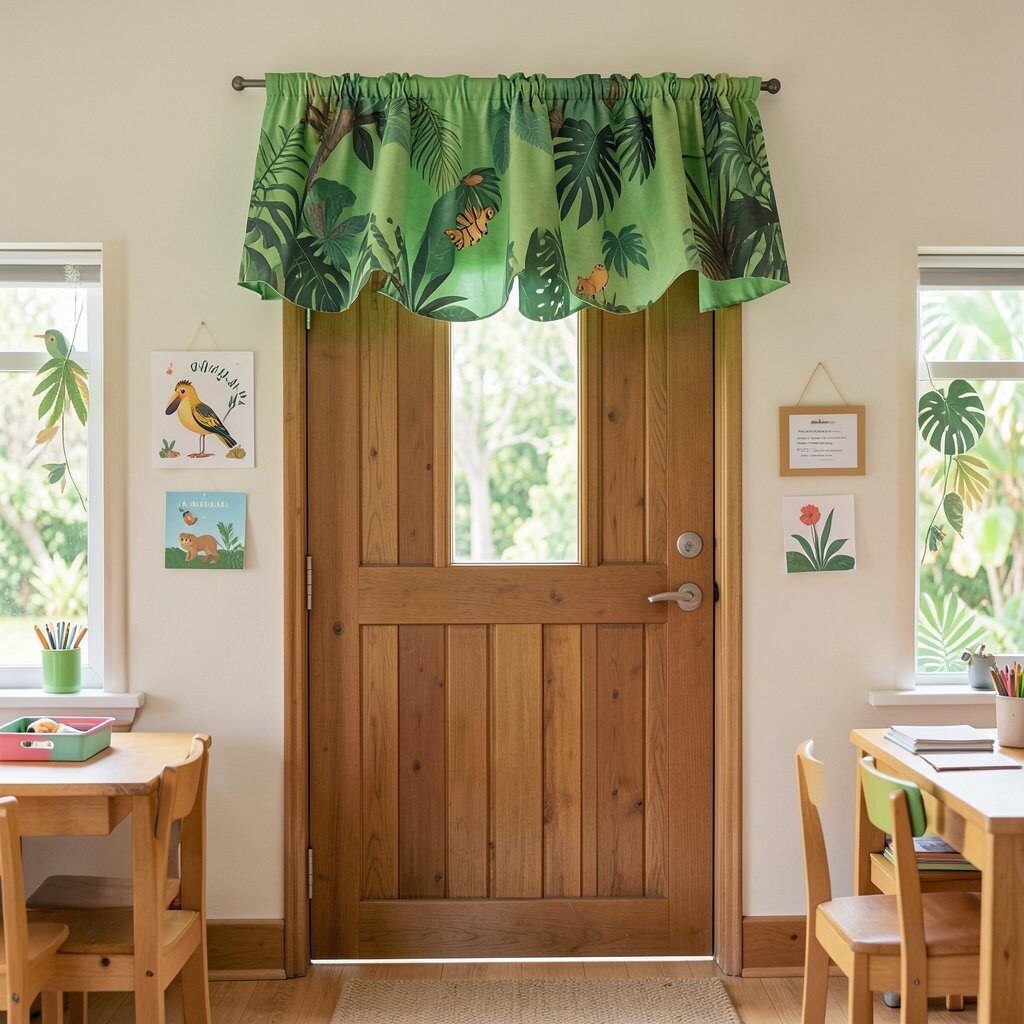
Build a simple arch canopy that sits above the door using lightweight cardboard or foam sheets. Cut fringe “grass” along the bottom edge and mix in hanging paper strips like sunbeams through leaves.
This makes the entrance feel special because it creates a roof-like look right when kids arrive. To keep it safe and durable, tape it only at the top and corners, and use removable adhesive if your classroom rules require it.
Choose patterns that match what you teach, like animal tracks or jungle clouds, and you can swap inserts each month without redoing the whole door.
3. Backdrop Scene With Velcro Animals for Daily Play
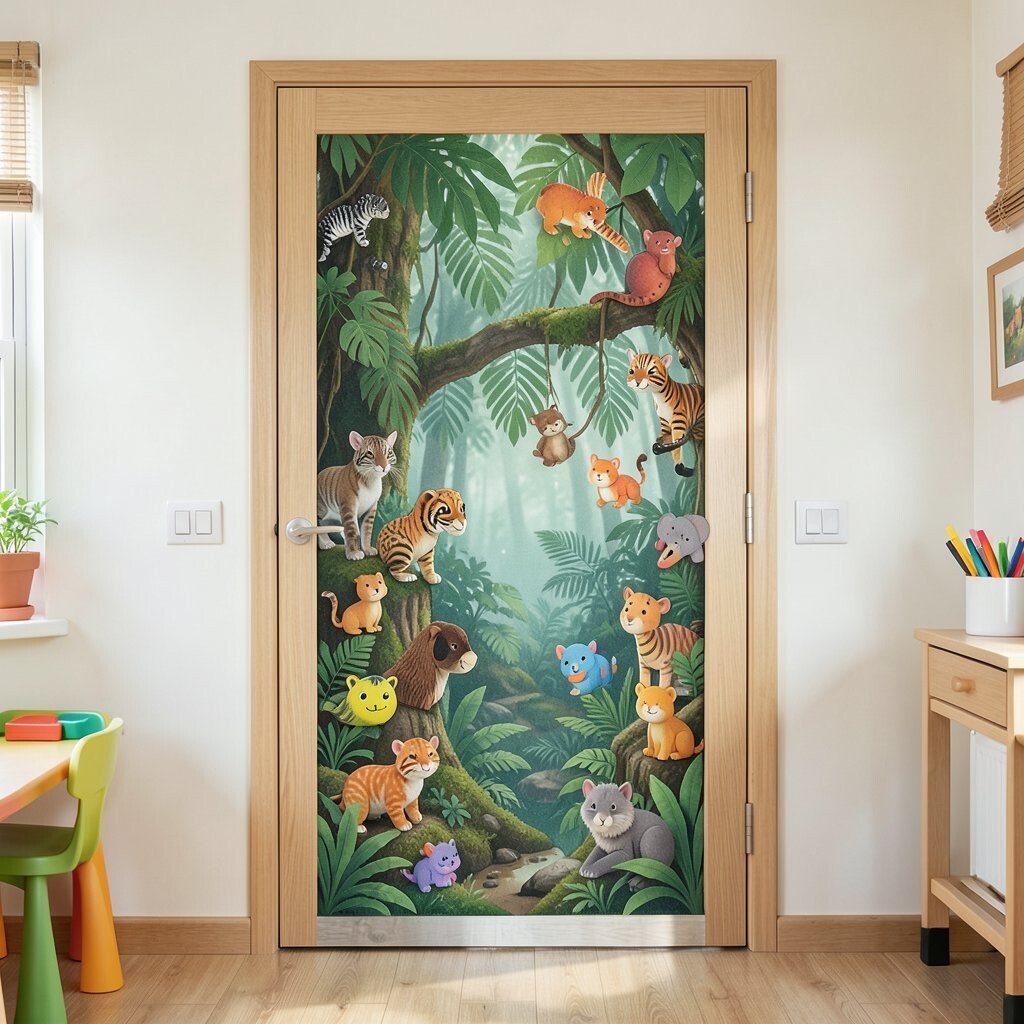
Create a jungle scene backdrop using painted or printed foliage, then add a line of Velcro squares for animals. Place a big-friendly character in the center, like a smiling lion, monkey, or parrot, and leave space for more to join.
Parents and kids will notice how the door turns into a busy play area, not just decoration. Give kids a quick job like moving an animal to match the day’s letter sound or story theme, and it becomes a fun routine.
For cost control, use craft store cutouts, printable animal silhouettes, and inexpensive foam sheets for texture. Personalize by letting your class vote on which animal stays at the top each week, then record their picks on a small label tag that hangs near the Velcro.
4. Animal Trail Welcome Path With Scannable Shapes
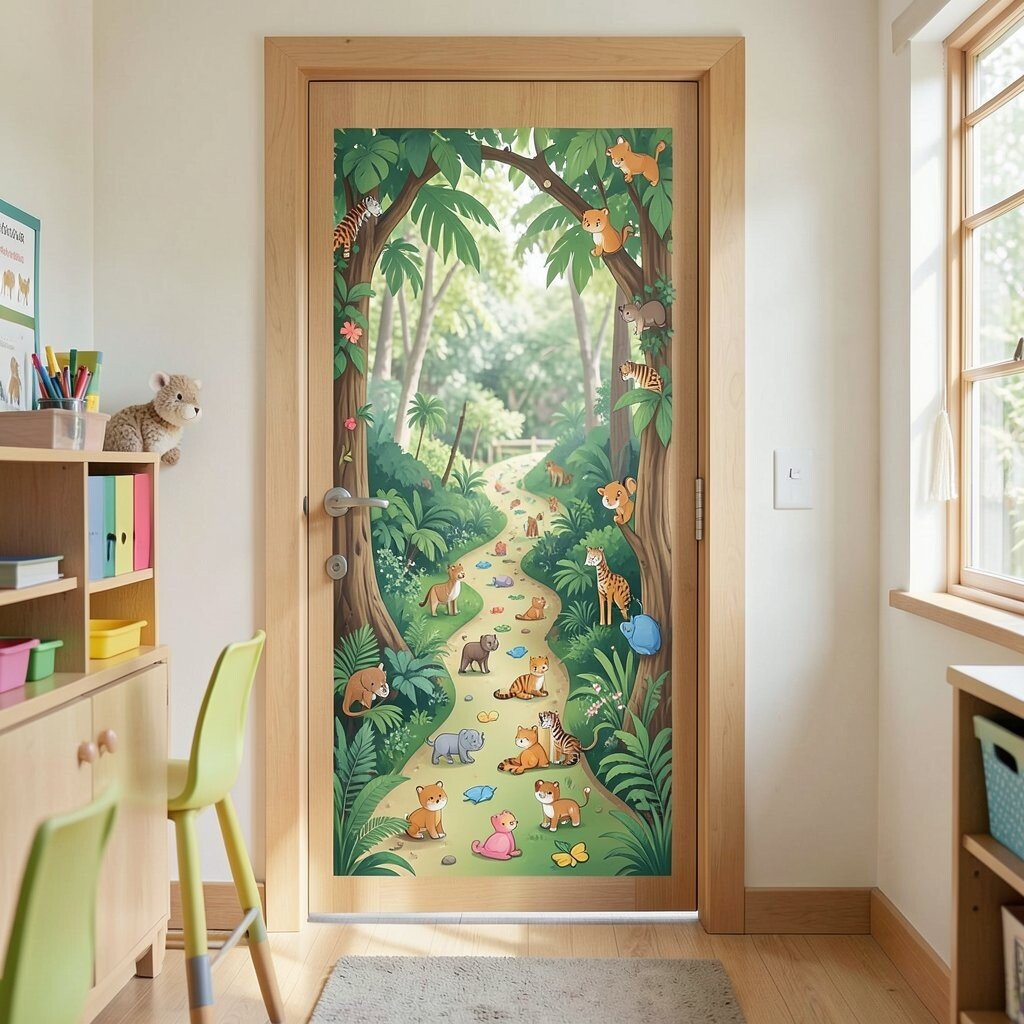
Make a path leading to the door using cut-out animal footprints in repeating sizes. Use bright colors and add small “stop” marks so kids naturally slow down as they look.
This works well because the door becomes a calm entry moment, not a rush past the wall. Use cardstock footprints and trace a few shapes twice so you have a consistent set, then swap the path colors for seasonal days.
5. Fabric Ribbon Vines With Movement When the Door Opens
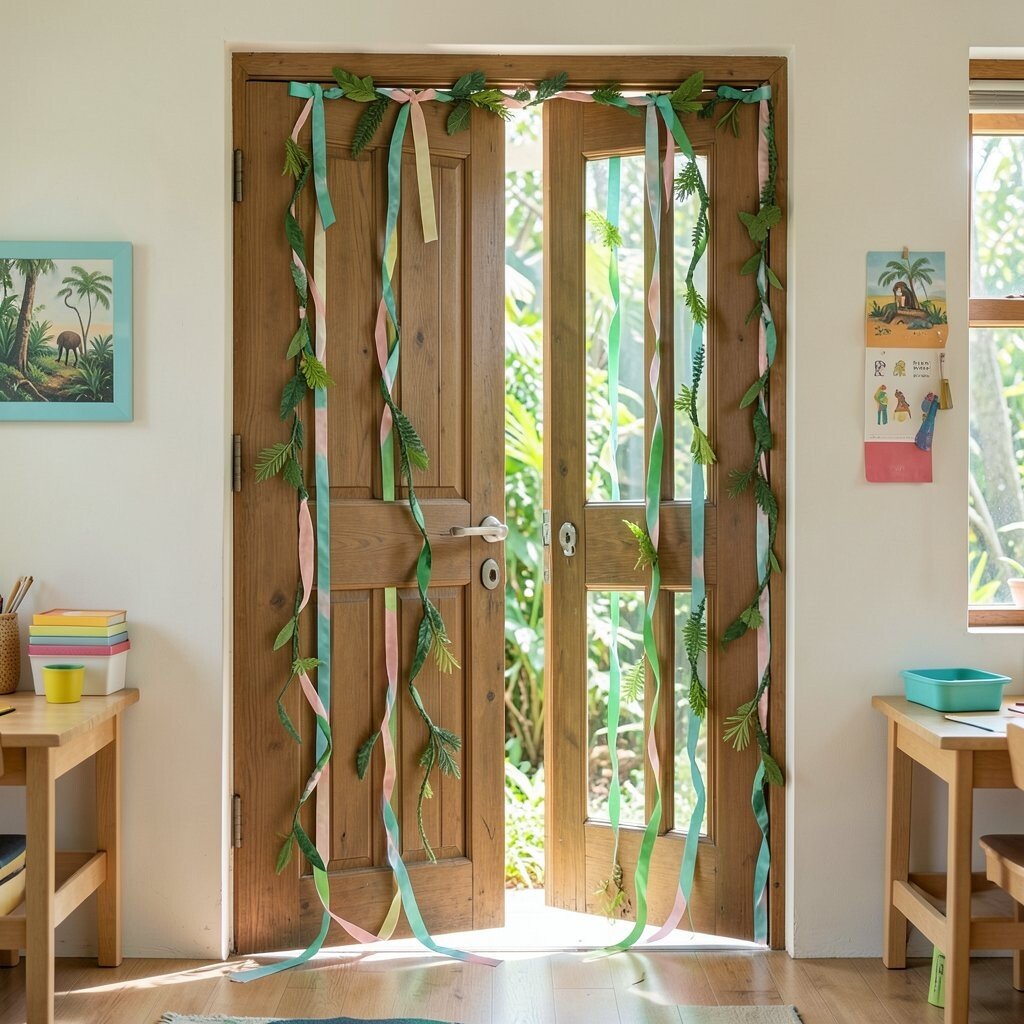
Attach strips of fabric ribbon or crepe paper “vines” along the sides of the door. When the door swings, the ribbons flutter, giving the whole scene a lively rainforest feeling.
The motion helps capture attention, which is great for shy kids who need something engaging while they settle in. Use sturdy tape or sewing tabs so the ribbons stay put, and cut them at different lengths to look natural.
For personalization, choose colors that match your classroom theme, like teal and lime, and tie small knots at the ends to prevent fraying.
6. Stacked Jungle Layers With 3D Paper Leaves
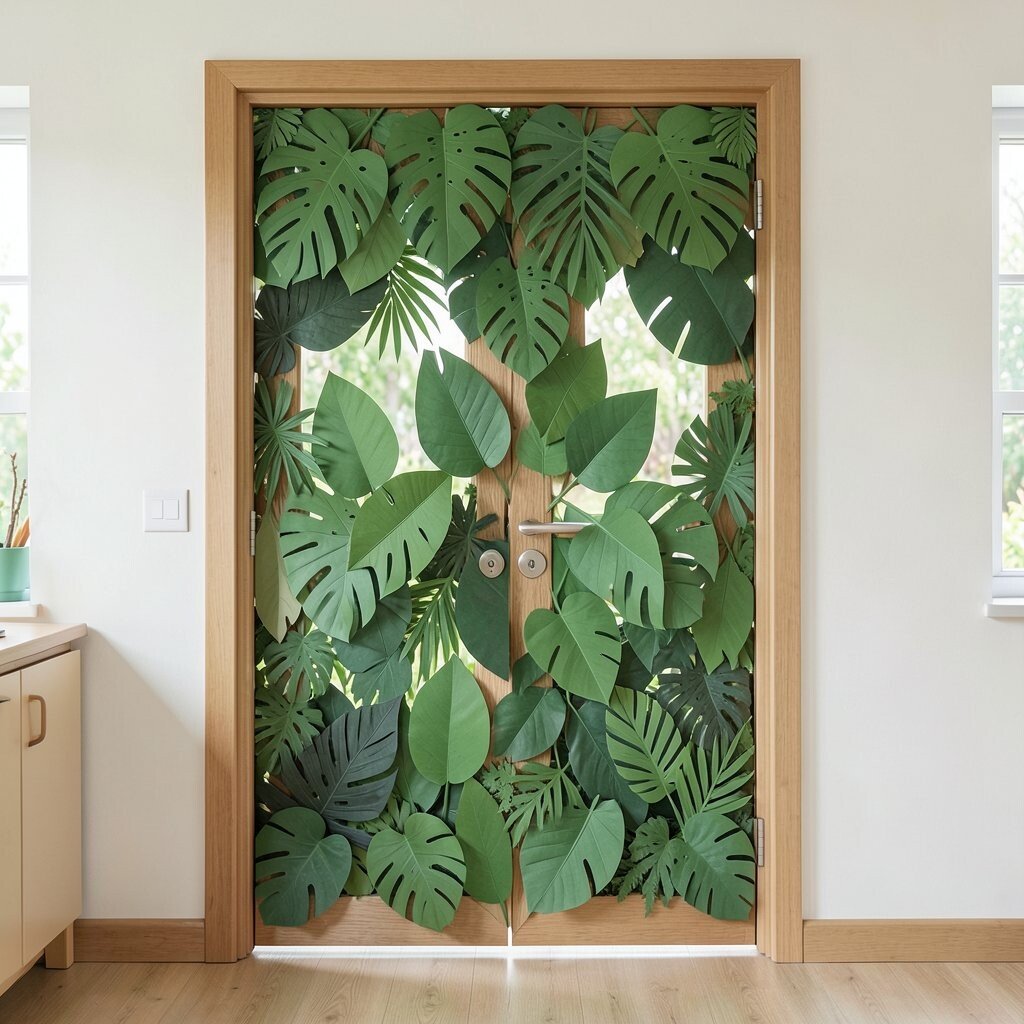
Layer cut leaves at different depths so the door looks like it has real plants growing out of it. You can do this with foam tape, rolled paper vines, or simple cardstock folding.
Kids will enjoy spotting little details as they walk by, and teachers can use the textures for talking about shapes and patterns. Keep it practical by leaving a clear opening area near the door handle so nothing blocks movement.
To keep costs low, raid old scrapbook paper, repurpose wrapping paper with leaf prints, and use leftover cardstock from other crafts. Personalize the top layer with your classroom name in a bold leaf-shaped cutout so it feels like yours.
7. Jungle Weather Window With Rain Cloud and Sun Visors
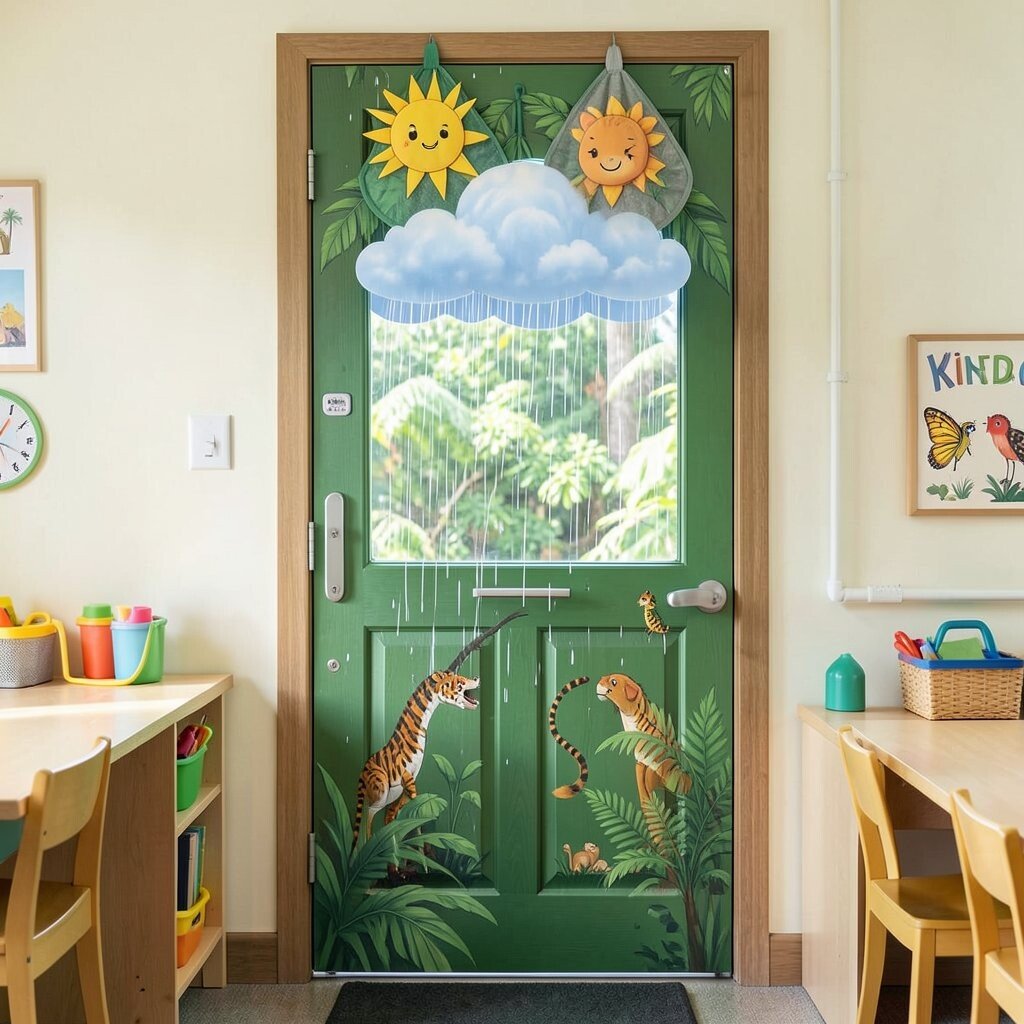
Turn the door into a “weather” board by adding a removable sun circle and a puffy rain cloud. Put the pieces in a pocket or on Velcro so you can switch them quickly each day.
It feels unique because it blends jungle fun with a real classroom job that kids can help with. For practical use, laminate or cover the pieces with clear film so they can handle repeated touching.
8. Fingerprint Parrot Wall That Grows Over the Year
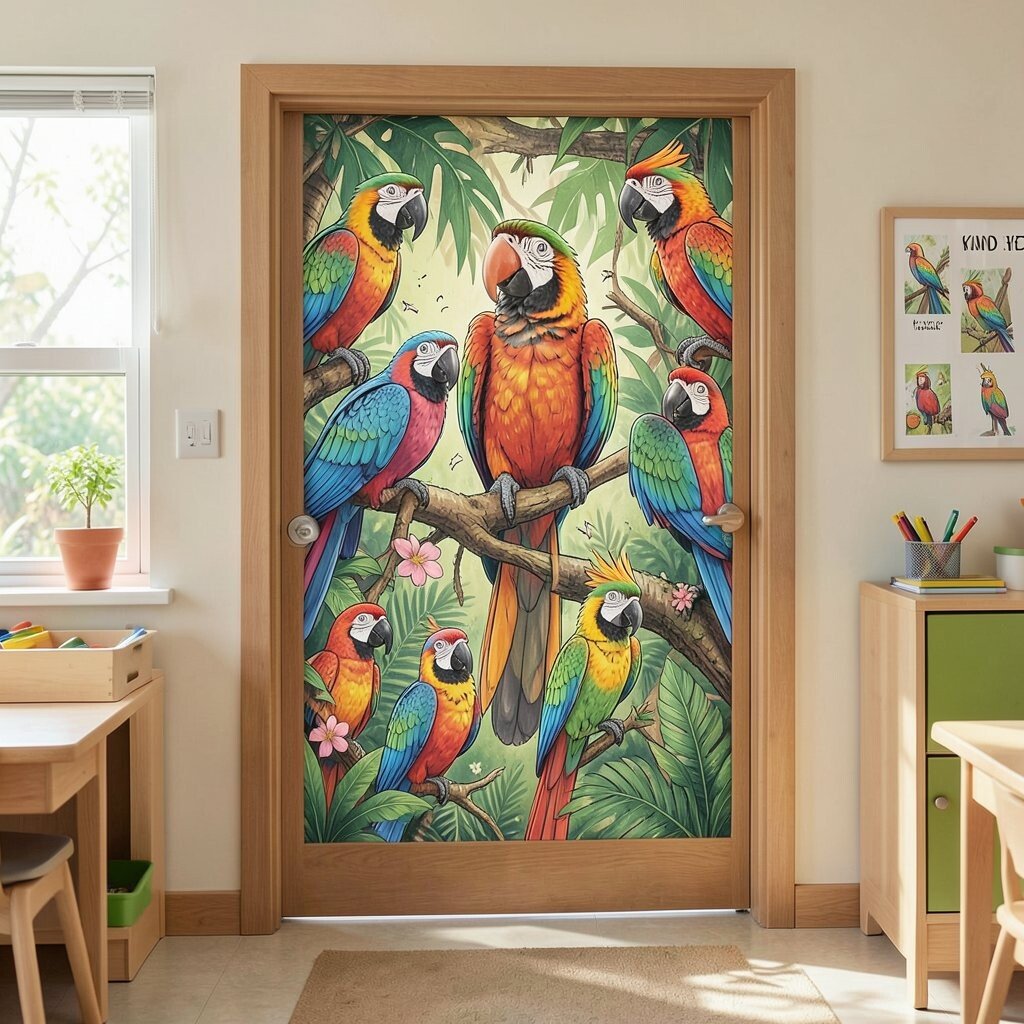
Make a parrot shape from cardstock and add fingerprint feathers using child-safe paint and foam stamps. Each student can leave a thumbprint or fingertip mark that becomes a feather in the growing bird.
This gives the door a warm, personal story while also building fine-motor confidence. Keep the process simple by doing it in short sessions and using a consistent paint color so the bird always looks tidy.
9. Hanging Jungle Lanterns Made From Paper Cups
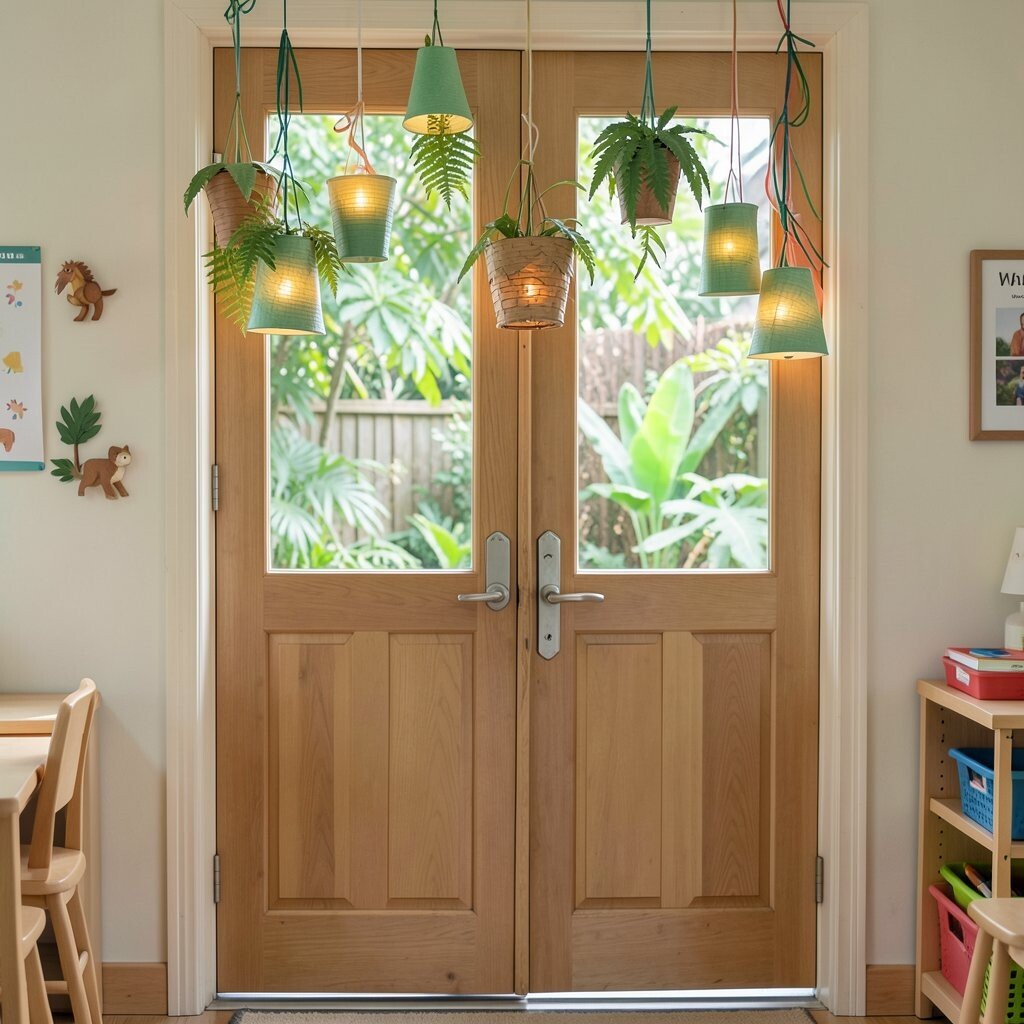
Use paper cups or lightweight paper lantern forms to create “jungle lanterns” that hang along the top trim. Add leaf cutouts around the sides so the lanterns glow in a festive way without needing real lights.
The benefit is that it adds height and charm, which helps your door feel like a whole scene. For safety and durability, hang them with fishing line from the ceiling area only if it is allowed, otherwise attach them firmly with corner tabs to the door frame.
Budget-friendly options include using plain cups from crafts, then coloring them with markers and adding simple cutouts. Personalize by tying each lantern to a classroom goal, like kindness or helping, using small symbols you can change later.
10. Magnetic Leaf Frames With Rotating Artwork Cards
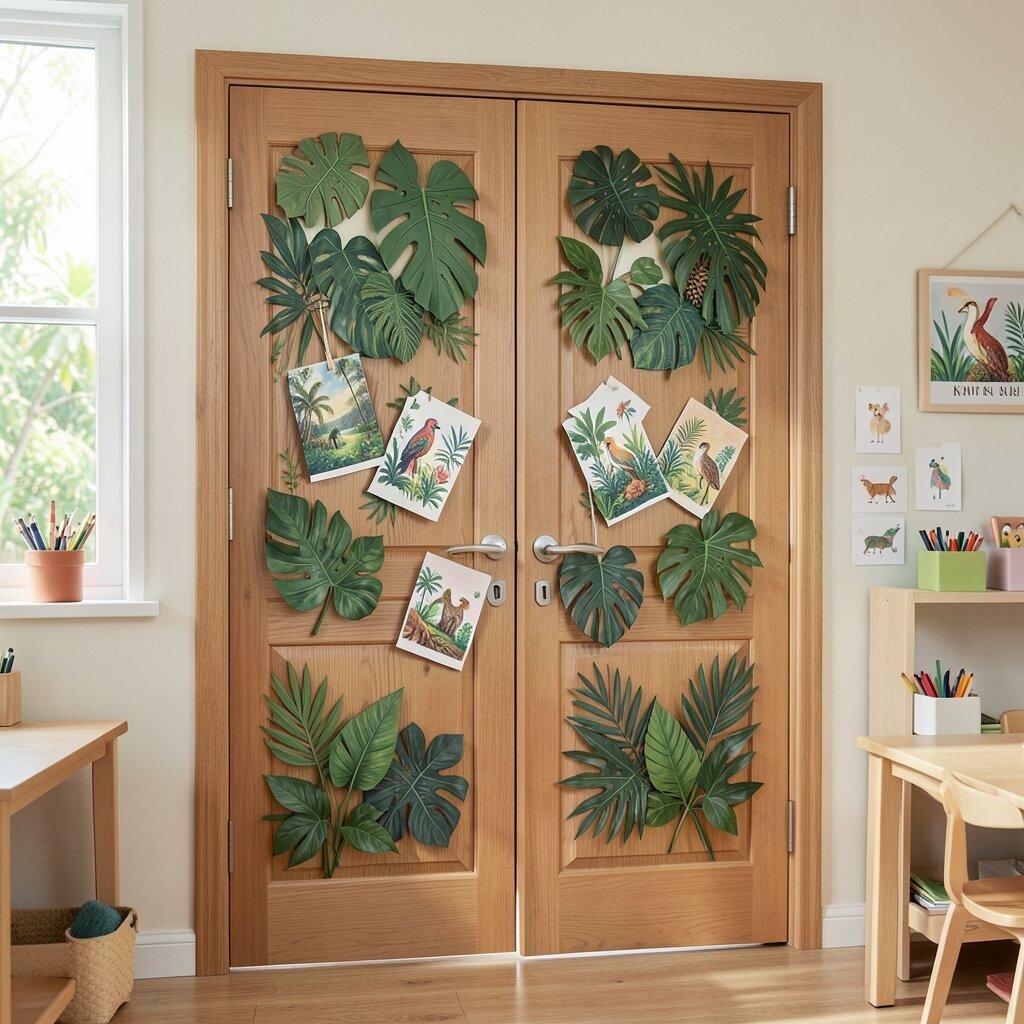
Build a leaf frame around the door and use magnets to hold rotating cards with student drawings. Choose leaf-shaped borders and add a thin strip where cards can slide in and out.
This keeps your door fresh because you can update art without removing the whole decoration. Practical tip is to use clear sleeves or cardstock backing so the cards stay sturdy and can be swapped during busy days.
11. Door Handle “Monkey Clapper” With Sound-Friendly Crafts
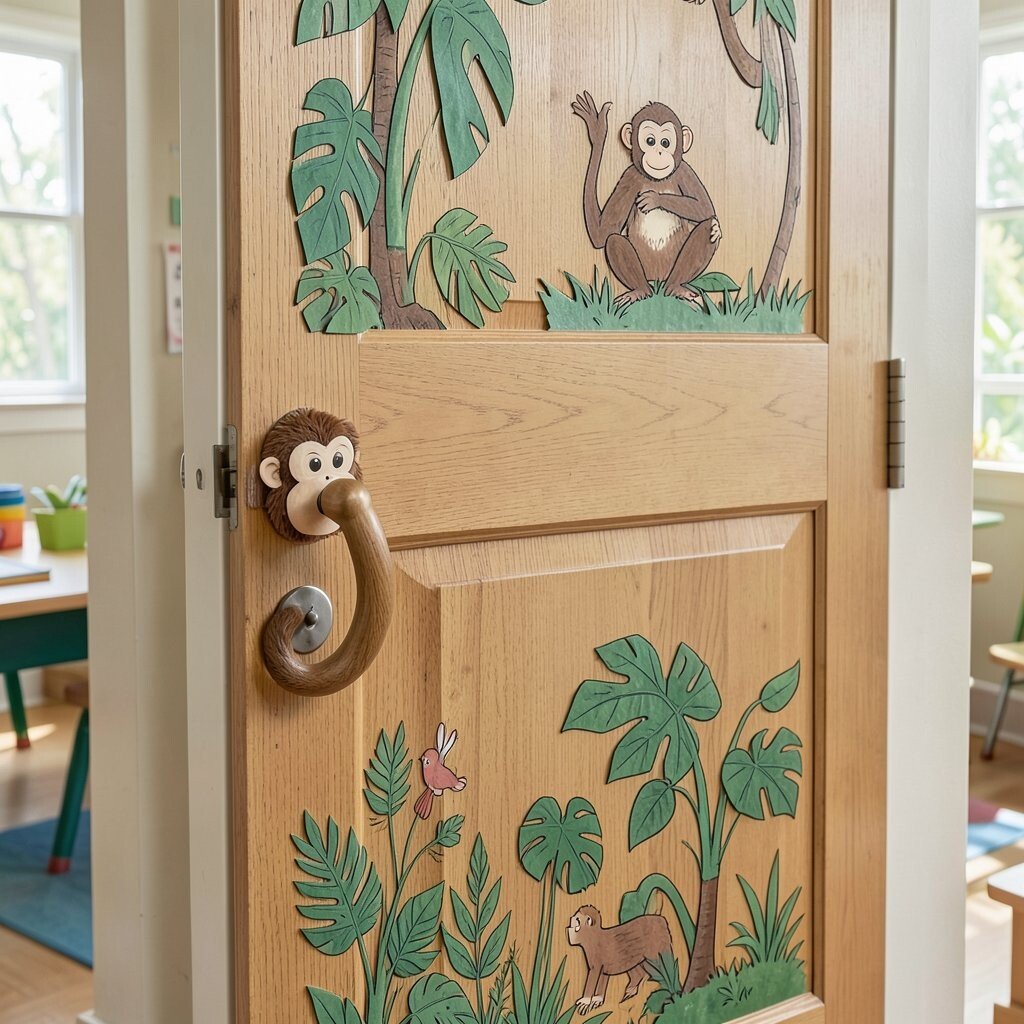
Create a small monkey clapper or sound charm attached near the handle so it moves when kids open the door. Use a lightweight craft pom-pom body, paper ears, and a small ribbon tail to make it cute and safe.
It adds uniqueness through interactive play, and it can help some kids transition because the motion feels like a signal. Keep it manageable by limiting parts, using strong hot glue only where it is hidden, and checking that nothing bumps the handle or snags clothing.
For cost, use scraps from previous projects and aim for simple shapes rather than detailed materials. Personalize by letting students choose a favorite monkey accessory, like a tiny leaf hat or a star tag.
12. Jungle Alphabet or Number Trail With Wipeable Patches
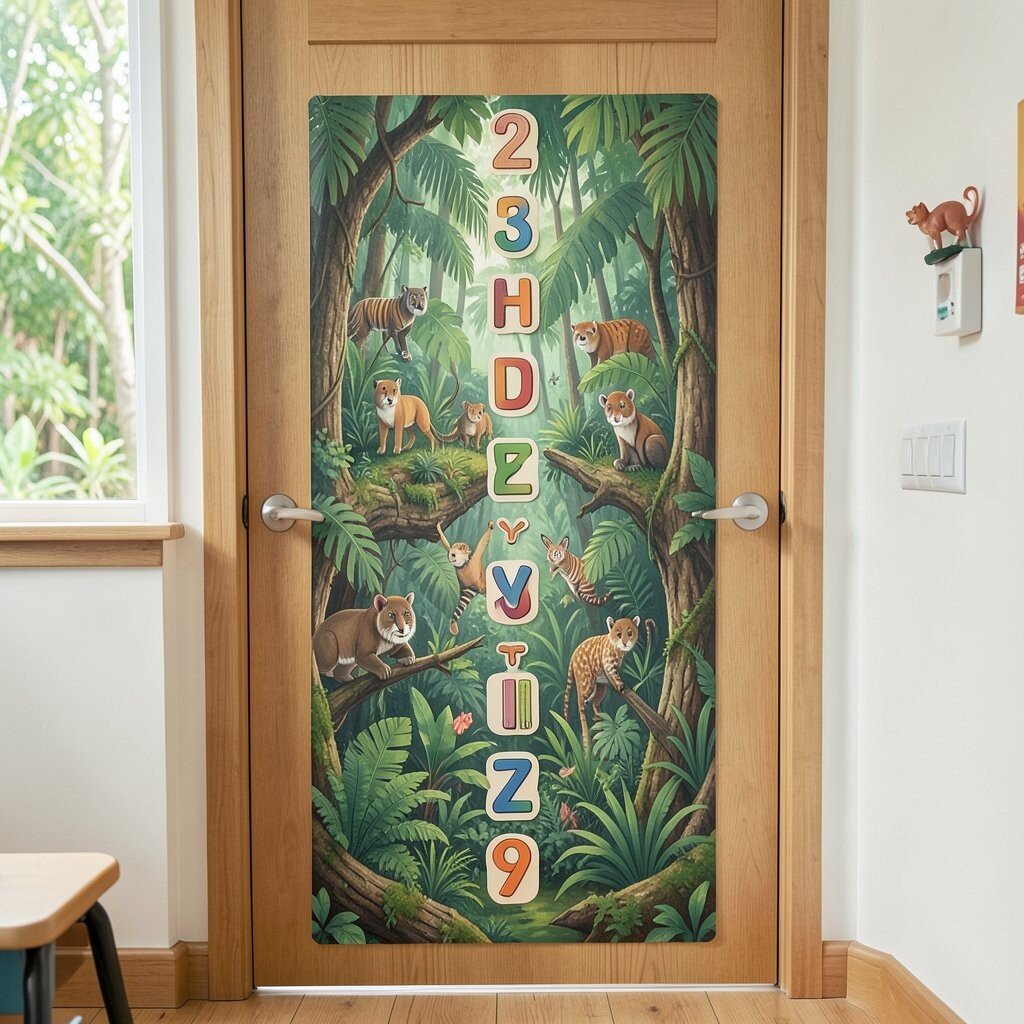
Make a trail of letter or number cards placed along the border so you can write and erase daily. Laminate the cards or put them in clear pockets, then use wipeable markers for quick updates.
This is beneficial because it links the doorway to learning while still looking playful. Practical tip is to write big and leave consistent spacing so the display stays readable from a distance.
Keep trends in mind by mixing bright animal imagery with modern clean fonts, which feels current without being hard to make. Cost consideration is simple here since laminating and using marker-friendly cards often beats printing new sheets often.
13. Themed Door Sock Jungle Critters for Easy Swapping
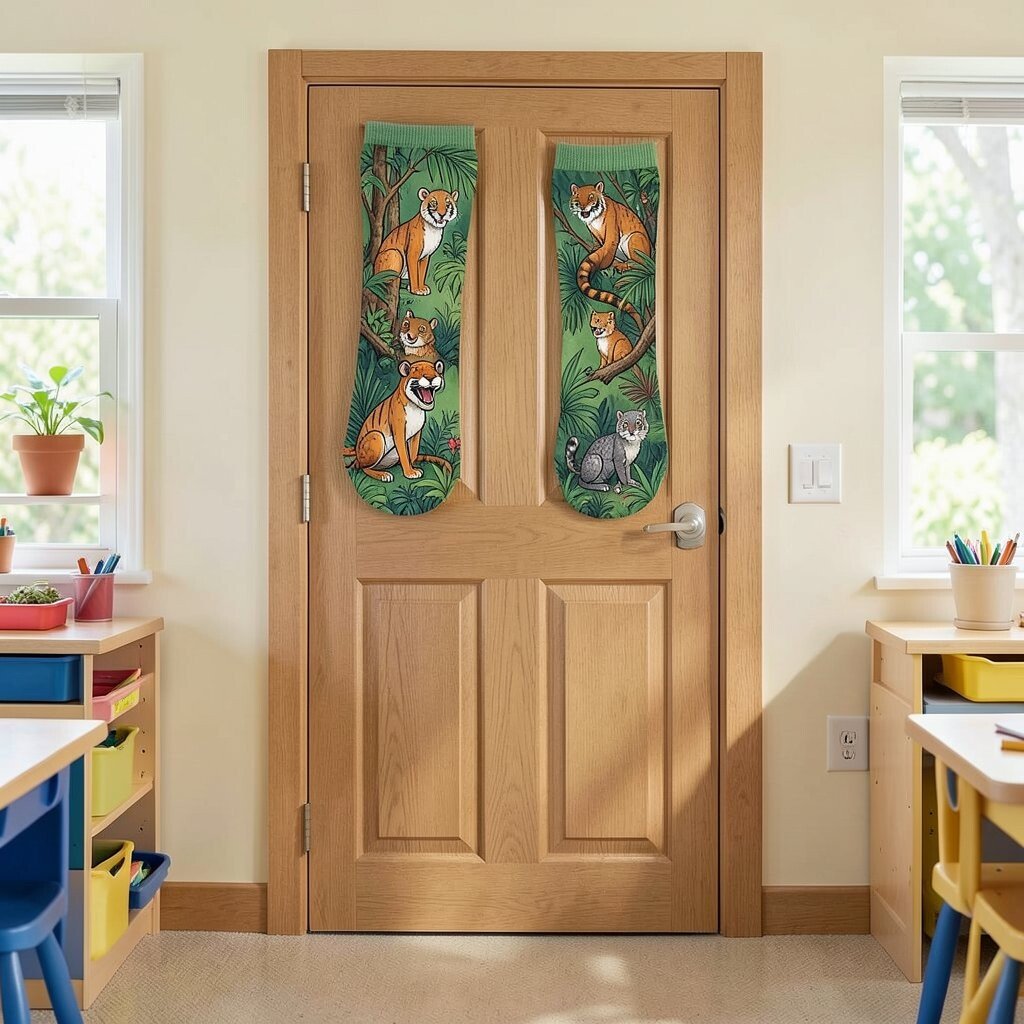
Use old socks or fabric scraps to make small jungle critters like small frogs, lizards, or sleepy cats that fit near the door. Fill them lightly with stuffing or paper so they hold their shape and look cuddly.
This design stands out because it feels cozy and soft, not just paper flat art. For practicality, attach critters with magnets or hook-and-loop so you can swap characters when you change the story theme.
Personalize by choosing fabric prints that match your class personality, like polka dots for the “odd frog” or stripes for a “zippy snake.” Keep costs low by using what you already have and only buying a few materials like felt eyes or small felt mouths.
14. Woven Palm “Gate” Look With Paper Folding Strips
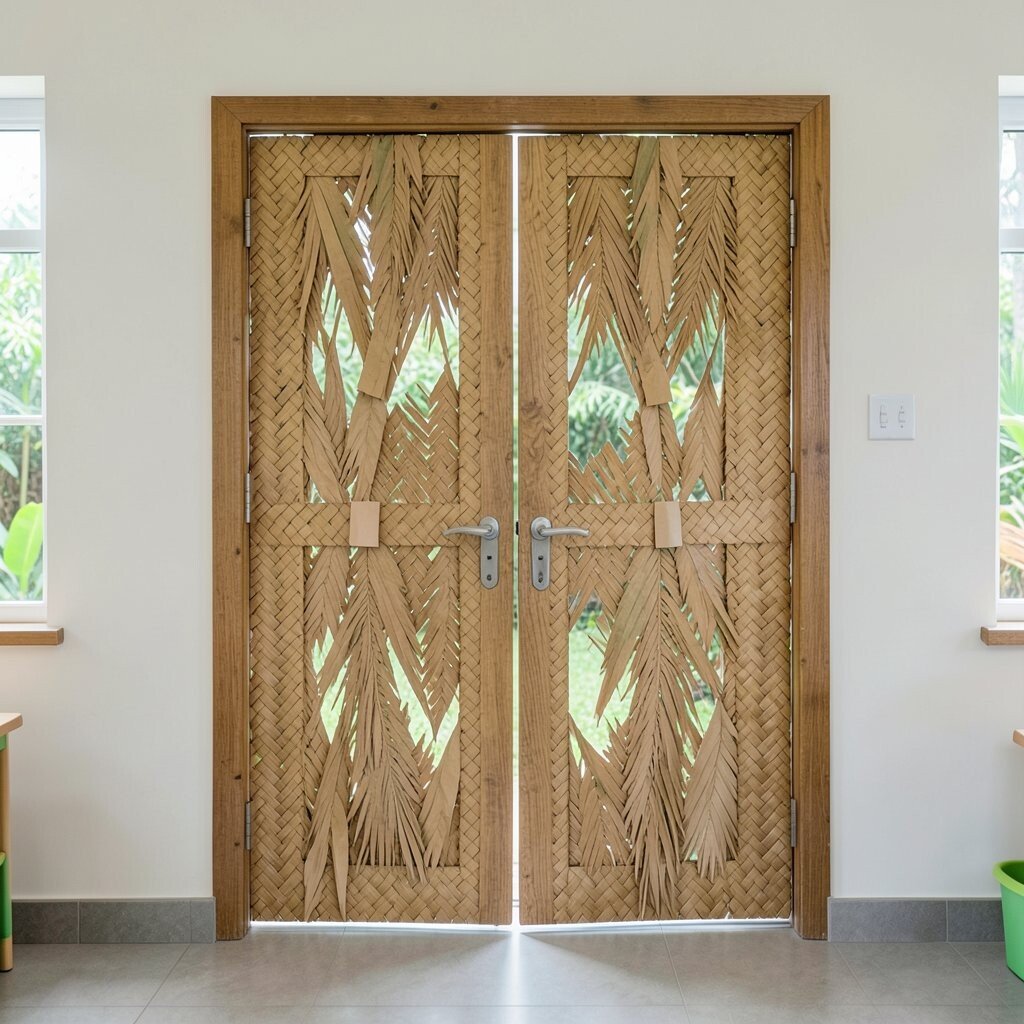
Create a woven gate effect using strips of paper or craft foam folded into an interlaced pattern. Put it in the center of the door so it looks like a palm gate you can walk through.
Kids will enjoy the visual texture, and you get a natural chance to talk about patterns and repetition. A practical tip is to keep the weaving simple with bold stripes, because busy designs can look messy from across the room.
For personalization, add small stamped leaves at the corners and a name banner inside the gate. Cost is usually low since woven designs rely on paper strips, and you can use leftover colorful sheets to build the effect.
15. Jungle Door Storybook Banner With Quote Cards
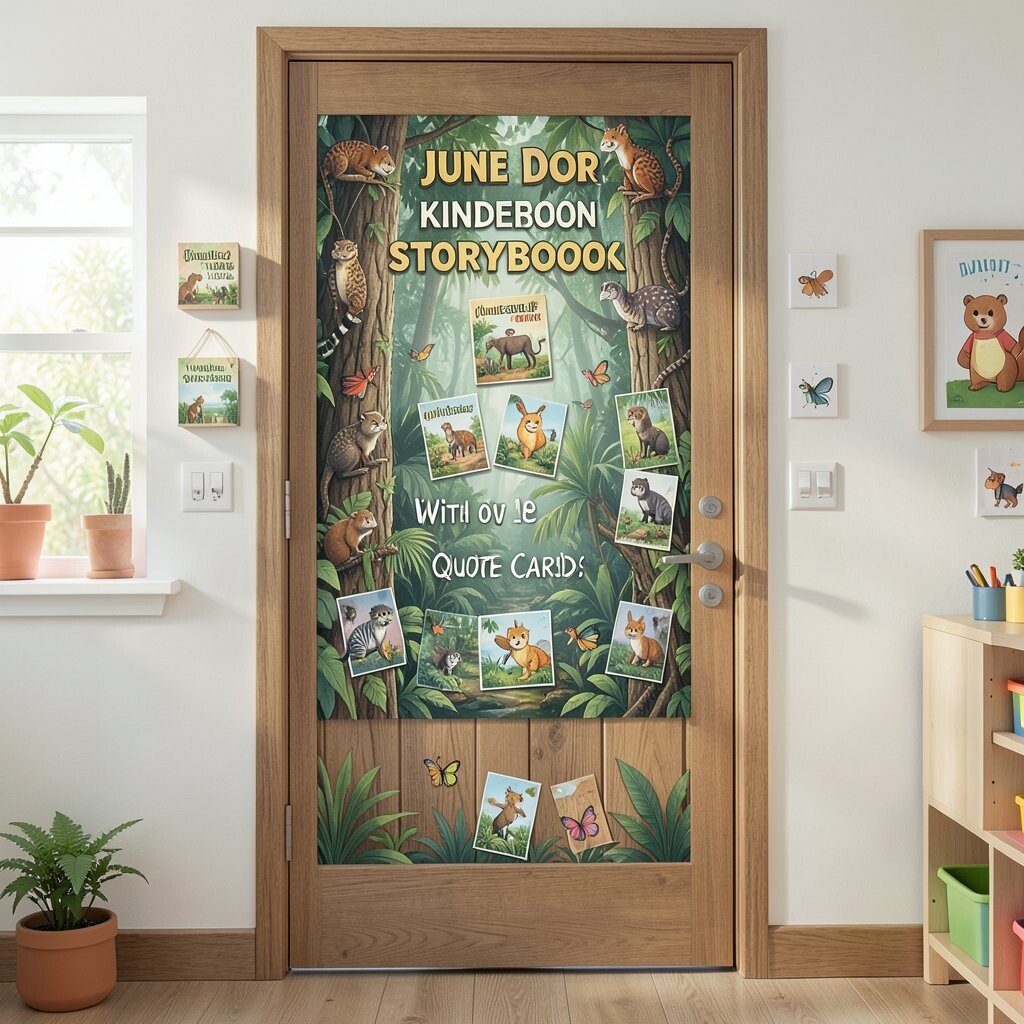
Hang a banner above or along the side of the door that looks like a jungle story frame. Add fabric or paper “pages” with short kid-friendly phrases that match your favorite books or classroom values.
This feels special because it turns the doorway into a mini reading invitation before kids even sit down. Keep it practical by using sturdy cardstock and spacing the words large enough for kids to read from the hallway.
Personalize the banner by adding drawings from your class, like little leaf doodles or animal sketches, so it becomes a shared masterpiece. For cost, print a small set of matching backgrounds, then let students decorate the cards by hand to stretch supplies further.