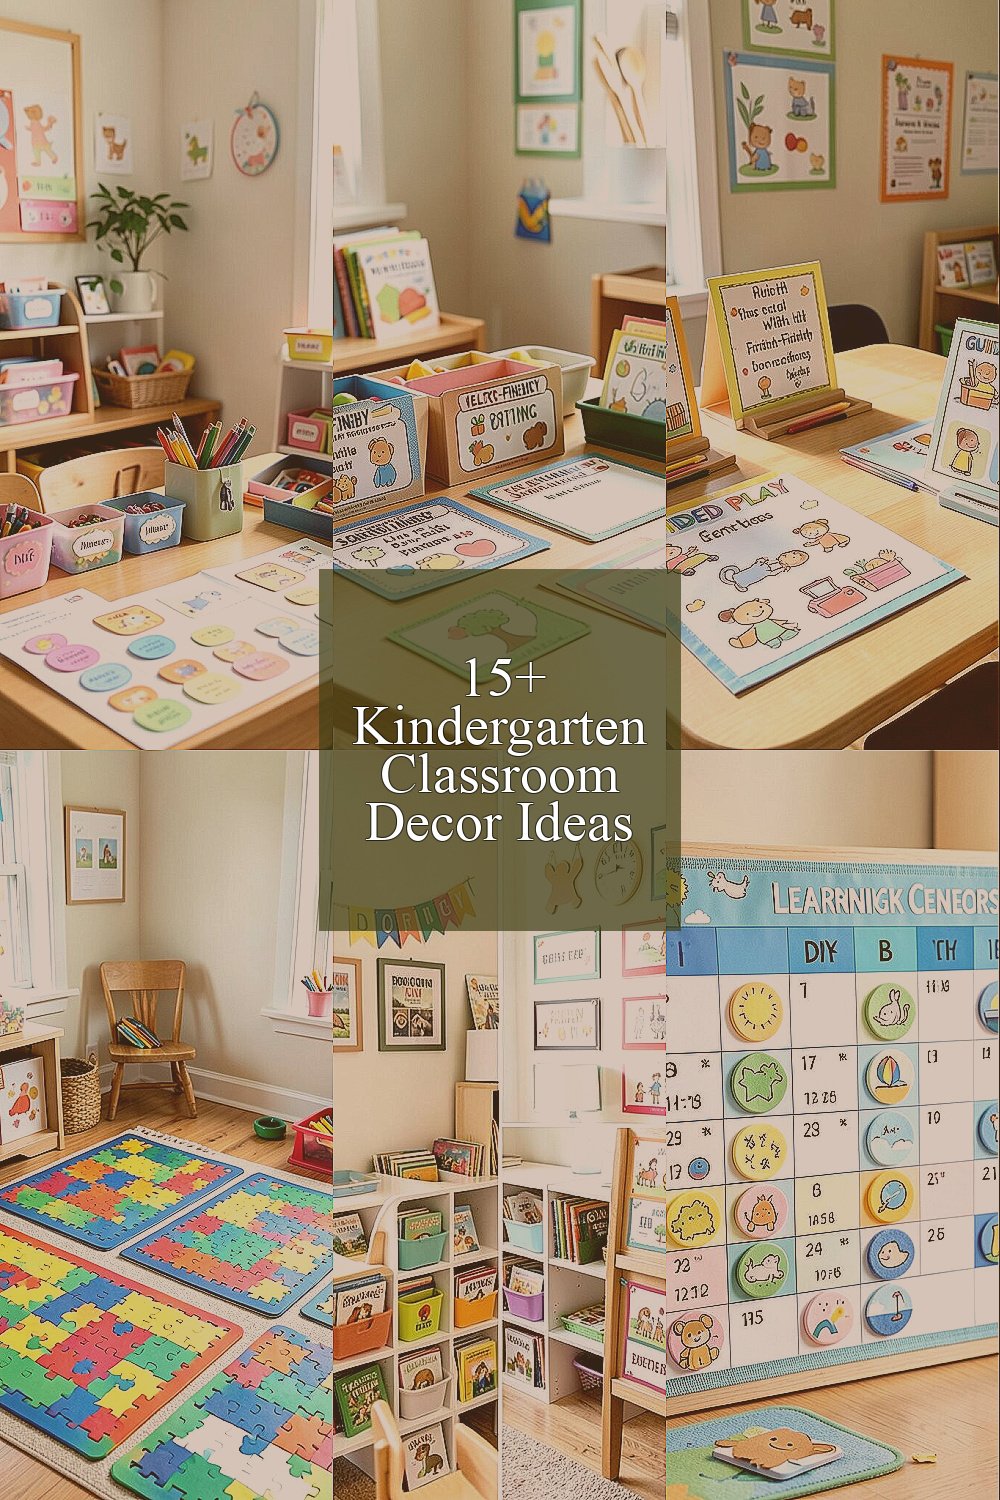
Kindergarten centers feel magical when the space looks inviting and organized. With Cricut crafts, you can make decor that also supports early learning.
These ideas use simple design choices, bold shapes, and kid-friendly materials. Each center idea is meant to be practical, flexible, and easy to personalize.
1. Name Tag Pods for Every Learning Center

Picture a set of bright name tags mounted on small card pockets. Each tag sits in a labeled “pod” style holder so students can find their seat fast.
Use your Cricut to cut cardstock name labels, thick vinyl letters, or heat-transfer designs for durable tags. Add fun icons like crayons, stars, books, or math symbols so children can recognize labels without sounding things out. Rotate the names by pocket or slide so the same system works across the year.
2. Velcro-Friendly Sorting Labels That Teach Patterns
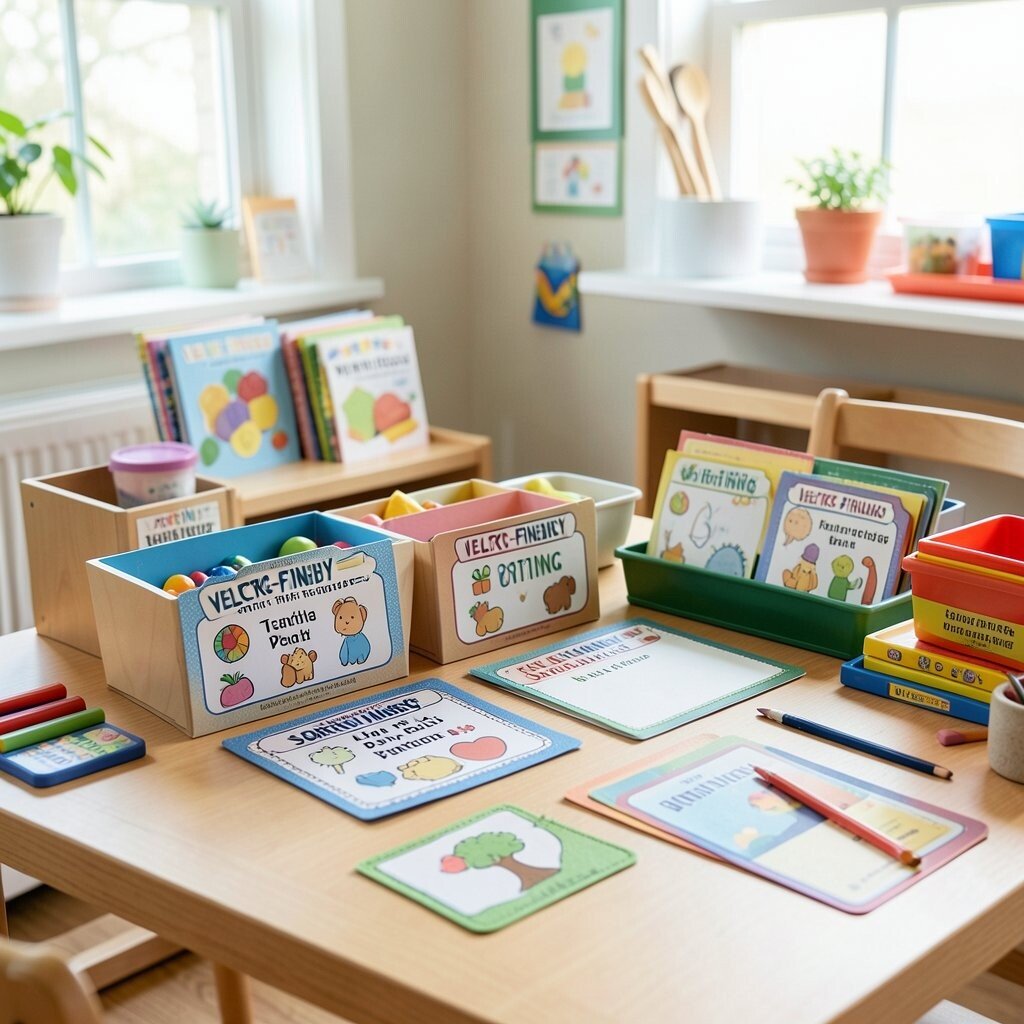
Make sorting labels that children can peel and press onto matching spots. The center looks clean because every piece has a clear place on a pocket chart or acrylic board.
Cut matching shapes and pattern cards with your Cricut, then add Velcro dots or strips to the back. Pair simple patterns like AB, ABB, and AAB with visuals such as circles and triangles. This approach supports language and early logic while keeping pieces from piling up on the floor.
For personalization, swap colors to match your classroom theme, like ocean blues or sunshine yellows. Choose washable materials and laminate if you expect heavy use. Keeping the shapes consistent helps children learn patterns faster.
3. Guided Play Centers Signs With Picture-Friendly Directions
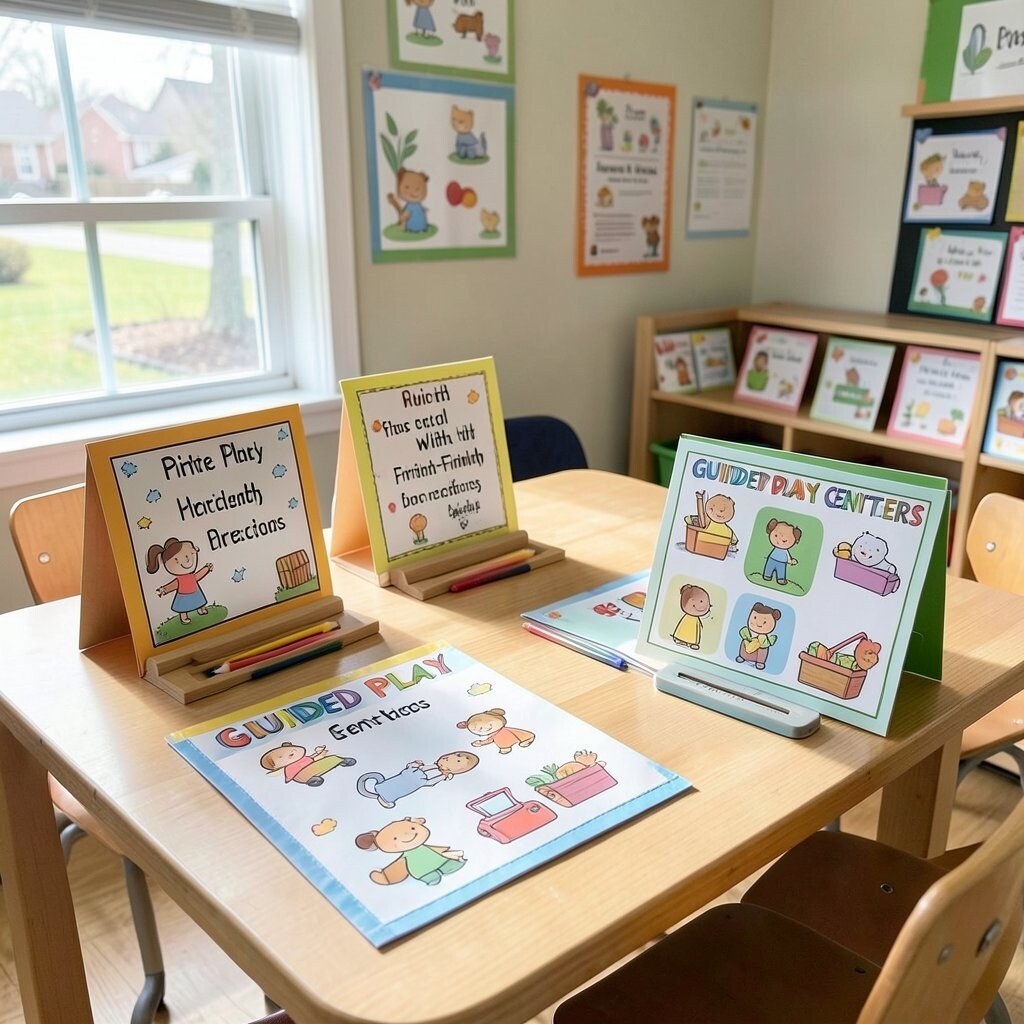
Think of a center sign that looks like a little poster, not a worksheet. It uses big images and short phrases so kids can act independently.
Create “First, Next, Then” cards using Cricut cut vinyl for a whiteboard or printed paper for a frame. Add icons for steps like “choose,” “build,” “play,” and “clean up.” Keep the text minimal and let the pictures do the heavy lifting.
Laminate the signs for durability, and use removable adhesive so you can update them often. This creates a calm routine that reduces calling out and supports social skills. When directions are clear, children spend more time practicing and less time waiting.
4. Pattern Block Mats With Numberless Place Values
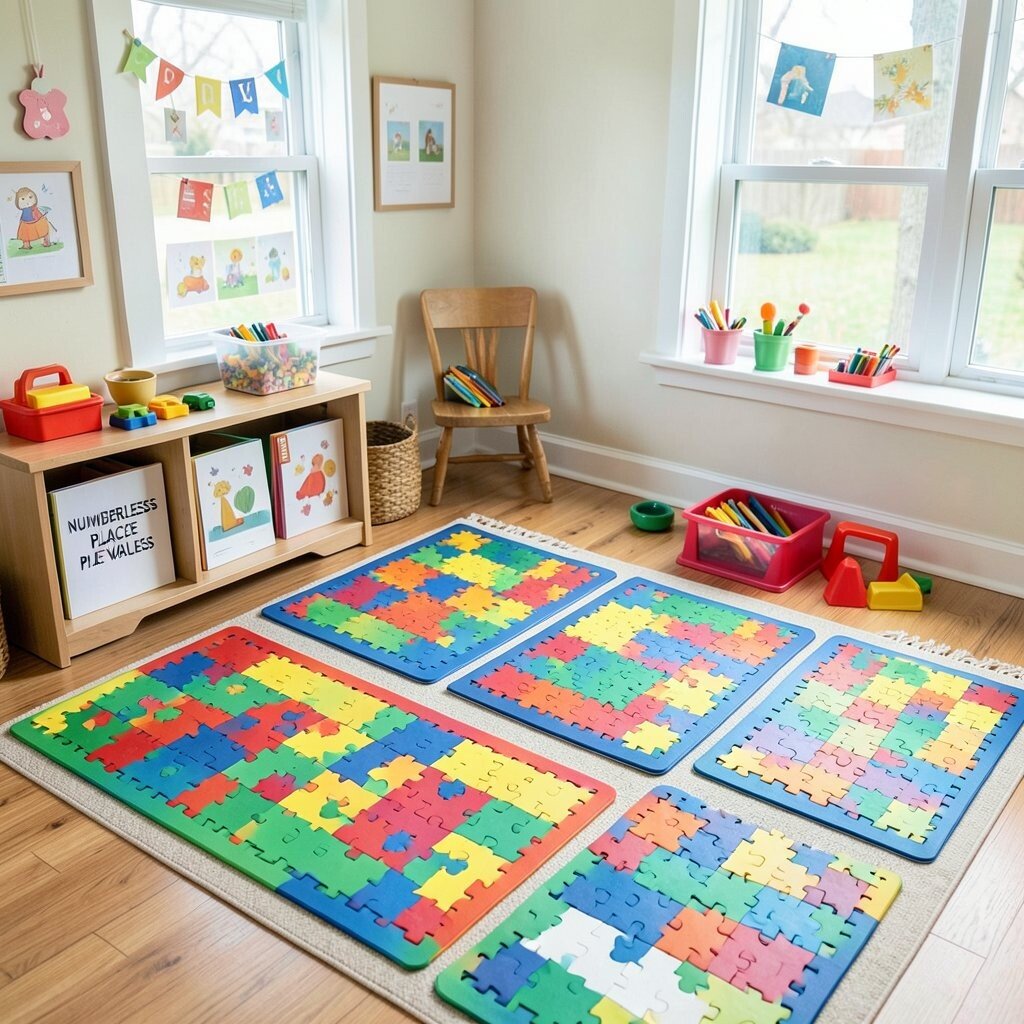
Imagine flat placemats that show where each pattern block belongs. They feel like mini playground maps, with color boundaries that guide learning.
Use your Cricut to cut block outlines on poster board or laminated cardstock, then label with visuals instead of numbers. For example, use a set of icons for “small,” “medium,” and “large” shapes while you teach composing and comparing. You can even add a few challenge icons like a house shape or a star to encourage building.
5. Book Corner Title Cards and Bookmark Banners
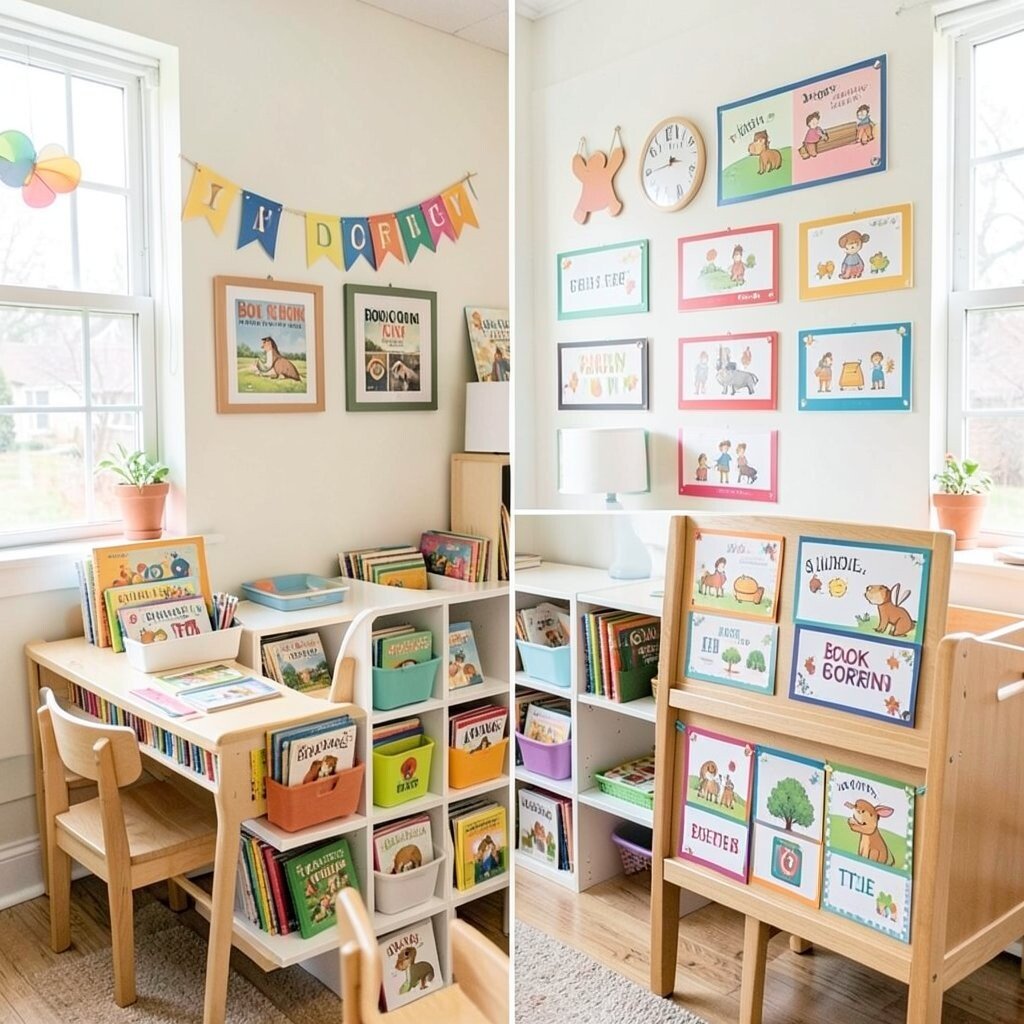
Picture a cozy book corner with a glowing banner above the carpet. The title cards and bookmarks make the area feel special on day one.
Cut book-themed letters with Cricut and place them on a long banner strip, then match the style on bookmarks children can keep. Use thick cardstock bookmarks with a rounded corner so they won’t tear easily. You can personalize bookmarks with each student’s first name or with favorite character colors.
Switch the banner seasonally so it stays current, like “Rainy Day Reads” or “Space Story Time.” A quick change keeps kids excited without buying new decor every time. Use easy-to-read fonts and high contrast so the sign stays friendly for early readers.
6. Calendar Rings With Velcro Days and Weather Chips
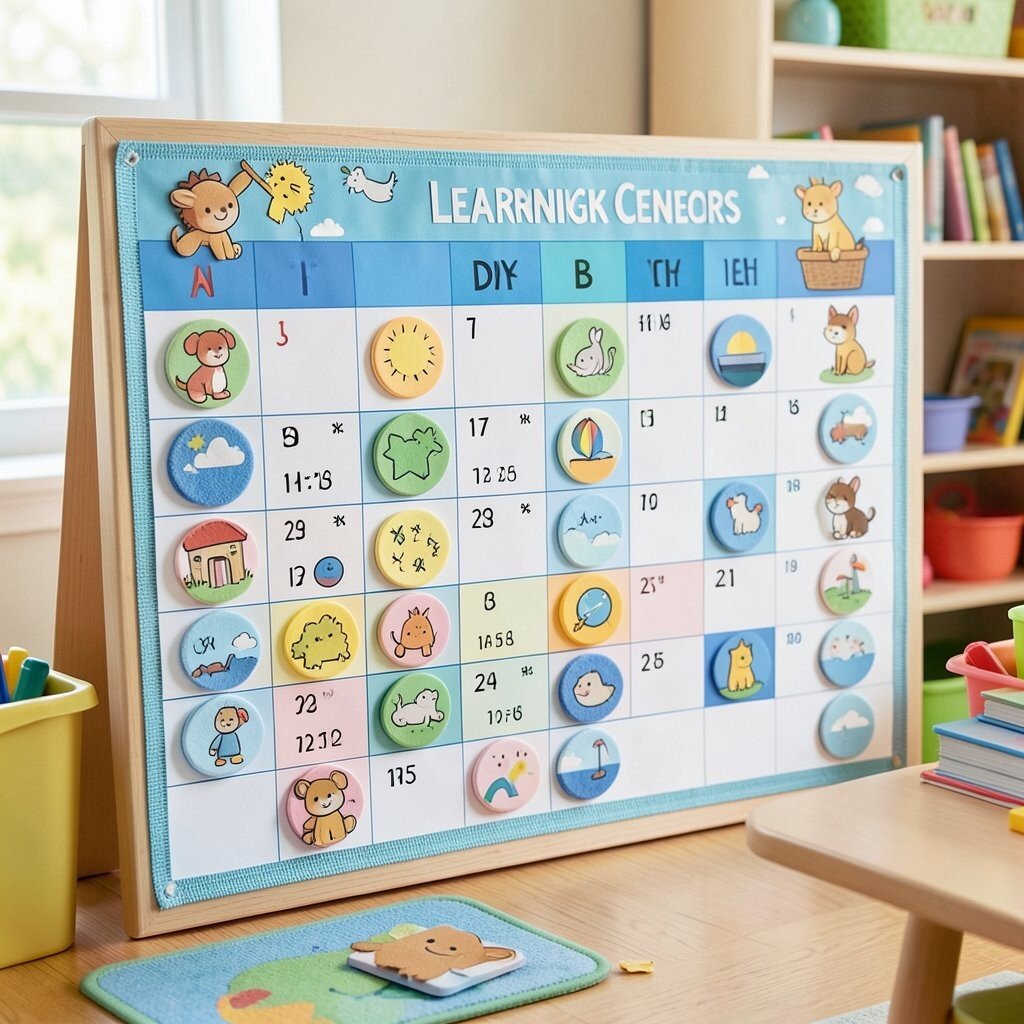
See a circular calendar board that spins smoothly and makes morning meeting feel playful. Small weather chips and day tiles look tidy because they attach in neat rows.
Create day and weather pieces with Cricut, then add Velcro to the back for easy swapping. Make the pieces slightly larger than your hand so little fingers can place them confidently. This center helps with routines, sequencing, and vocabulary practice every single day.
For cost control, reuse the base board year after year and only replace the small tiles you need. You can also add a tiny “today” highlight circle for quick visibility. Choose durable laminate so chips survive daily handling.
7. Sight Word Pocket Cards for Small Group Work
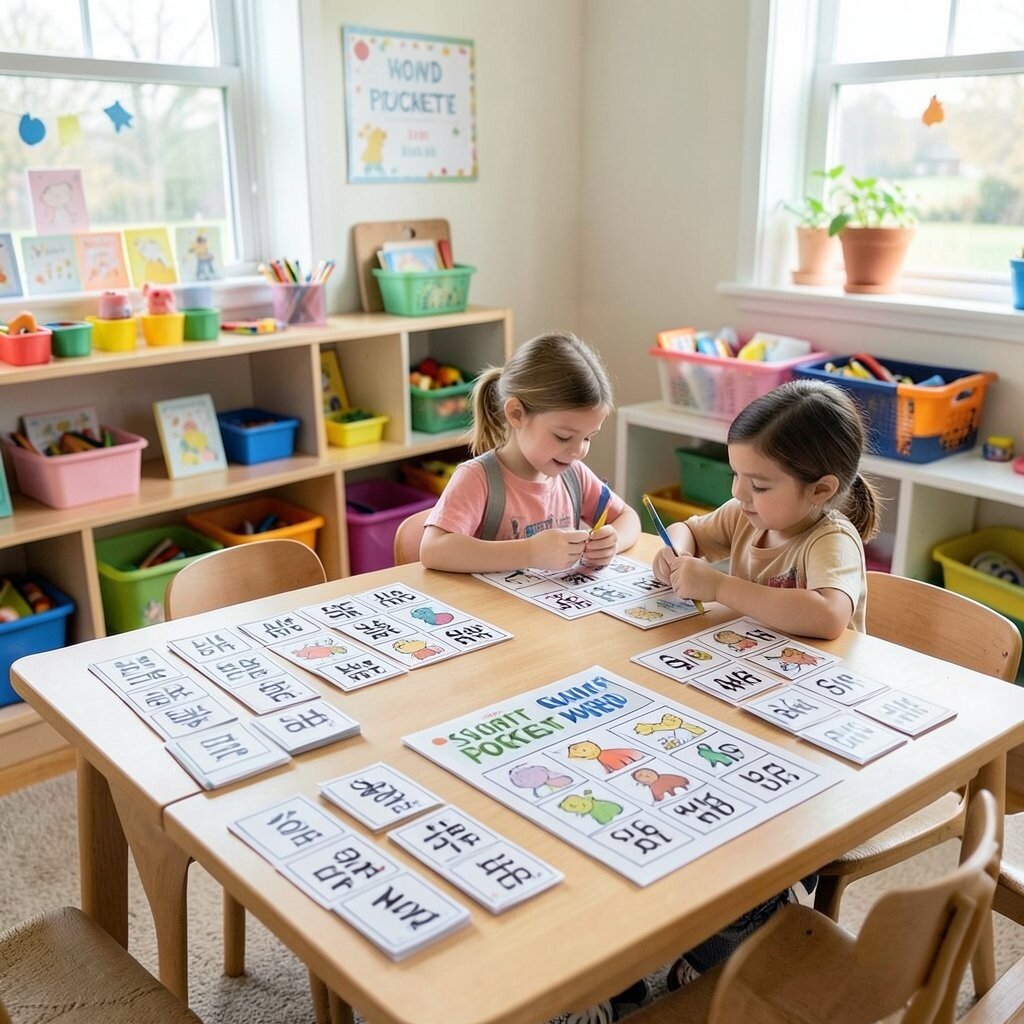
Build a small group area that looks organized and welcoming. Pocket cards let you store sets neatly while showing word cards at the same time.
Use Cricut to cut sturdy pockets and matching card labels, then add clear acetate windows for visibility. Insert cards with sight words, but pair them with simple pictures so kids connect meaning. Change the sets by week so you can meet the needs of different groups.
To personalize, match the pocket colors to your classroom theme and use consistent icons for each word family. Laminate everything to keep it looking fresh even after spills and handling. The tidy layout reduces chaos and supports focused practice.
8. STEM Wall Labels for Sorting Tools and Supplies
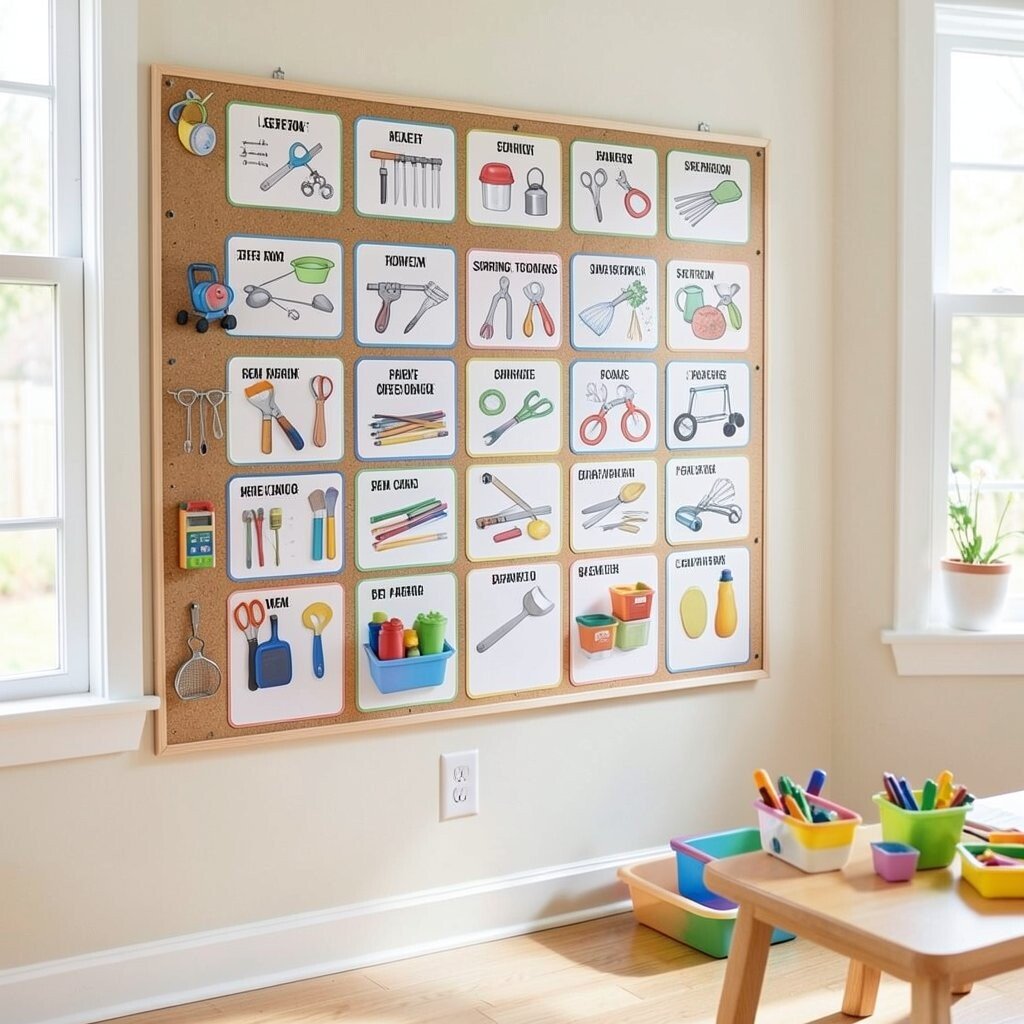
Imagine a STEM wall with labeled bins that look like a colorful workshop. Tools stay easy to reach because each label matches the exact bin shape.
Create bin stickers and arrows using Cricut vinyl or printed label sheets with laminate. Add small picture symbols for items like tape, gears, paper clips, or straws. This makes clean-up faster and helps children learn the habit of returning materials correctly.
9. Math Canister Towers With Cricut Numberless Sets
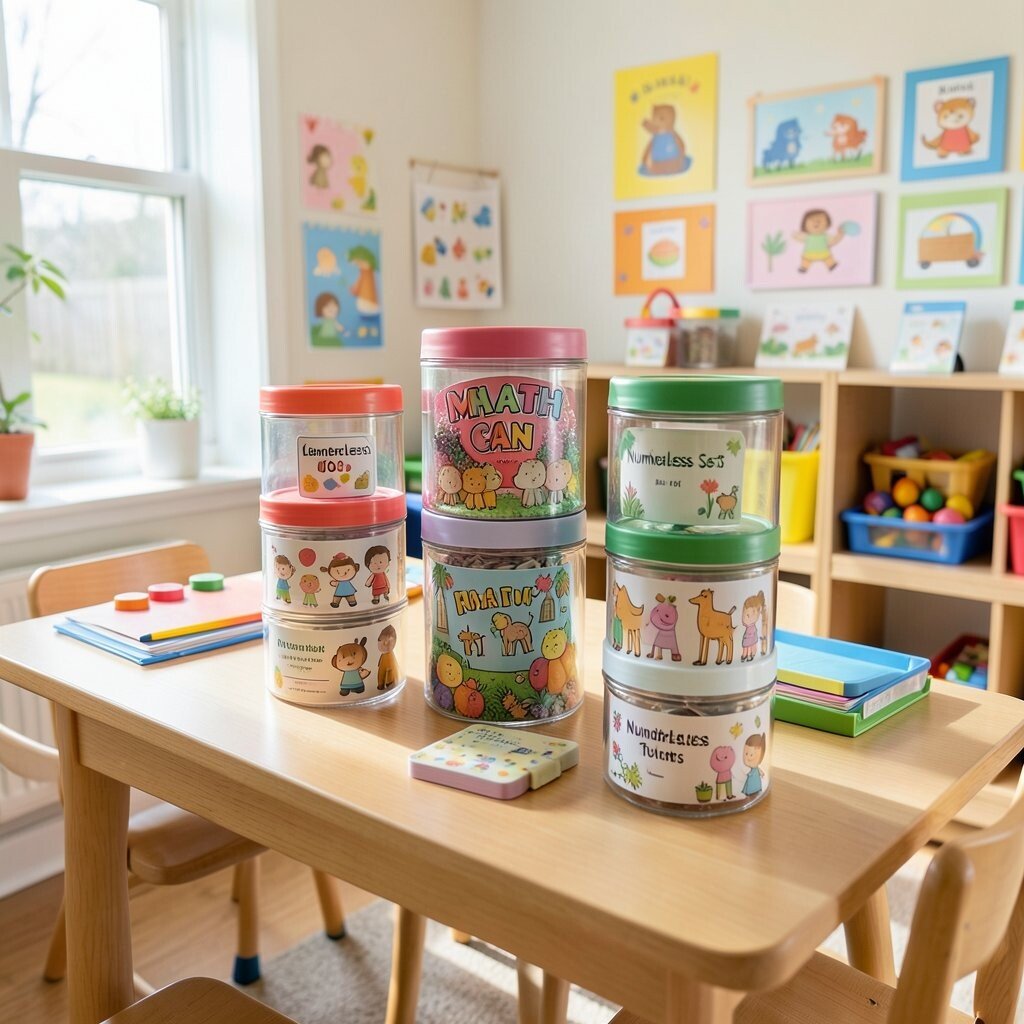
Picture clear canisters stacked like towers, each one holding a sensory math set. The canisters make it easy to see what’s inside without rummaging.
Cut labels with Cricut that use quantity visuals such as dots, ten-frame dots, or numeral-neutral icons. Add matching cards for “more,” “less,” and “equal” using simple illustrations. Students can sort and compare while you observe strategies and encourage language.
Use inexpensive storage canisters you already have, then upgrade with custom lids and labels. Laminate the cards and store them in a pouch for quick replacement. Keep the icon style consistent so children learn the meaning over time.
10. Listening Center Headphone Hang Tags and Sound Icons
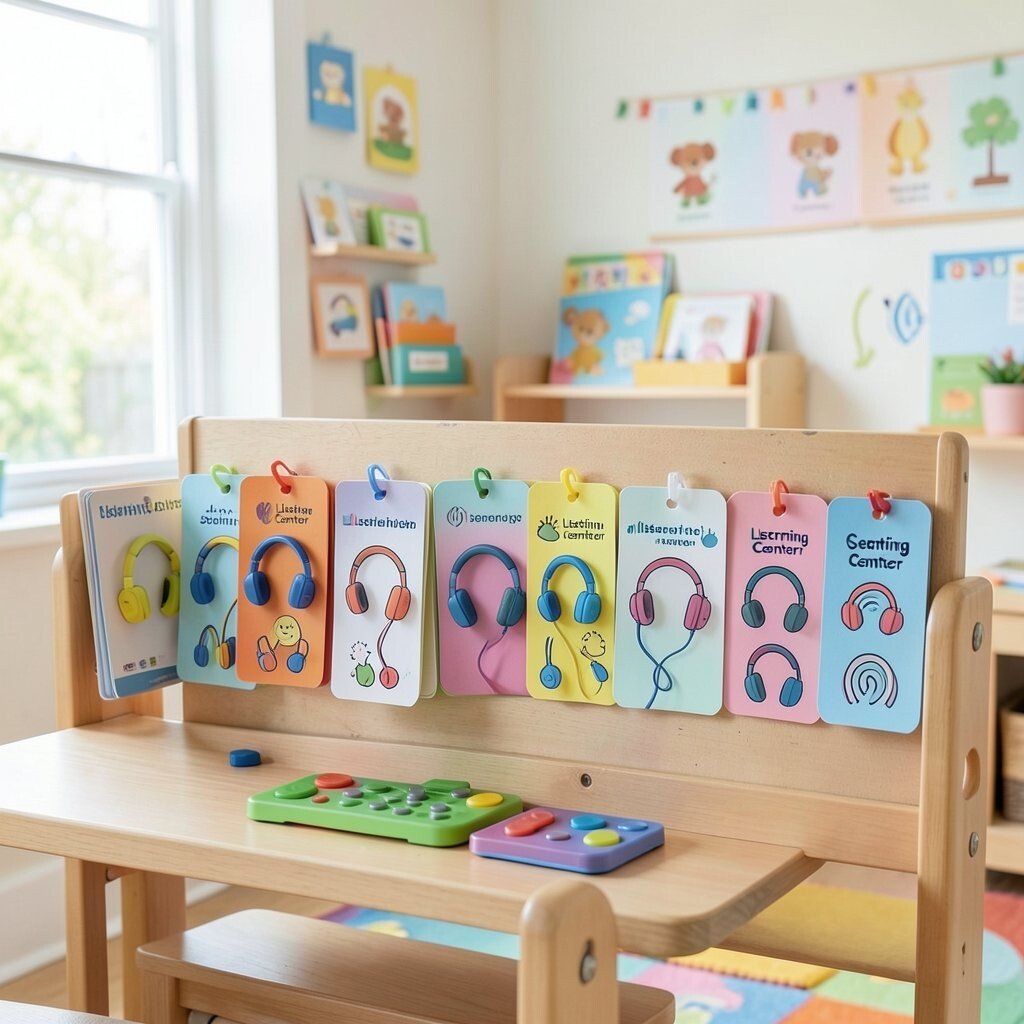
Create a listening center that feels safe and focused, with hang tags that kids can spot right away. A neat rack makes it easy to grab and return headphones without confusion.
Use Cricut to cut sound icon decals like waves, music notes, and speaker symbols for each tag. Add student name tags on clip hangers so kids know where their headphones go. This reduces mix-ups and supports respectful listening routines.
For personalization, match icon colors to learning themes like calm blues for focus or bright rainbow notes for special days. Use wipeable vinyl for durability because this area can get touched often. Clear visuals support independence, especially for children who need quick cues.
11. Dramatic Play Grocery Signs With Price-Free Tags
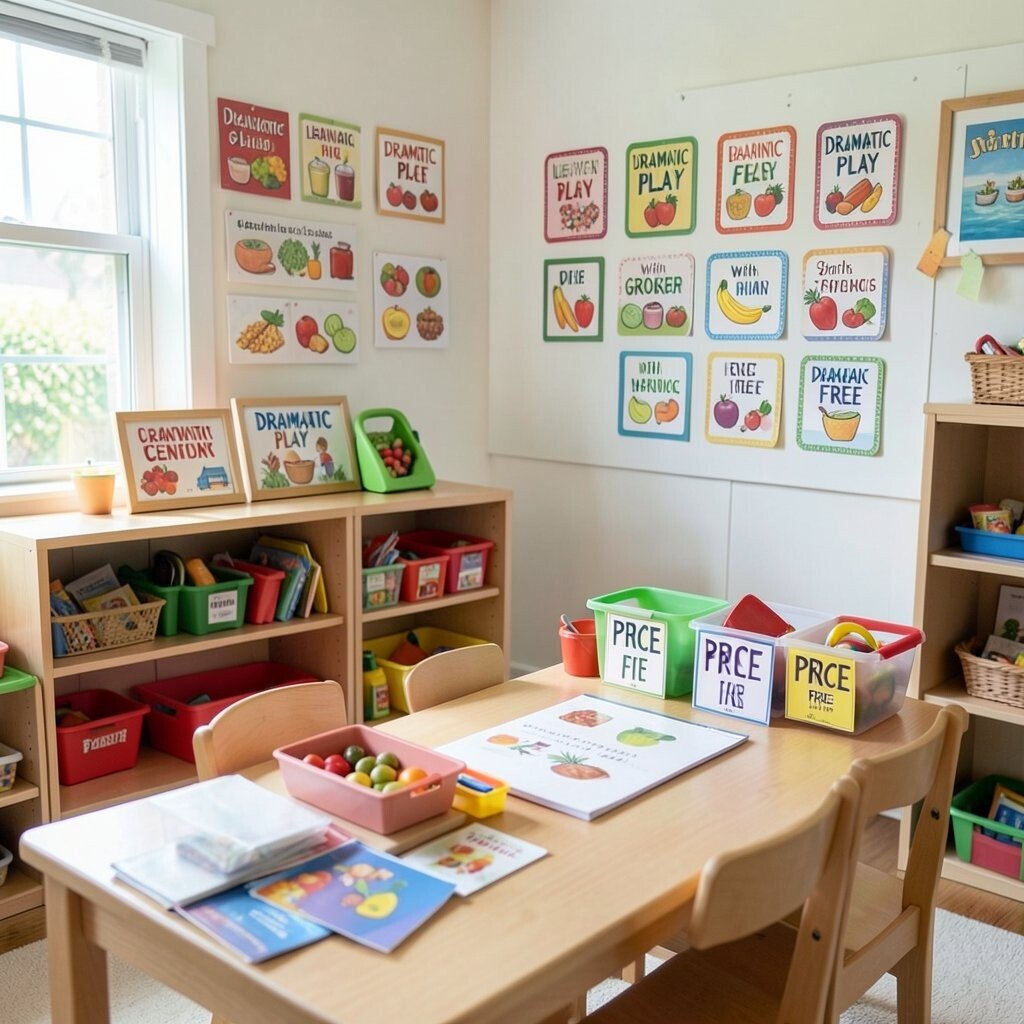
See a dramatic play grocery area that feels like a real store, only kinder and simpler. Colorful signs guide kids to restock shelves and organize items.
Use Cricut to cut shelf signs and product icons for pretend food, like apples, bread, or milk. Skip numbers and use size or category cues such as “fruits,” “dairy,” and “snacks” to keep things age-appropriate. This encourages sorting, vocabulary, and role play without adding stress.
12. Word Family “Family Tree” Chart With Removable Leaves
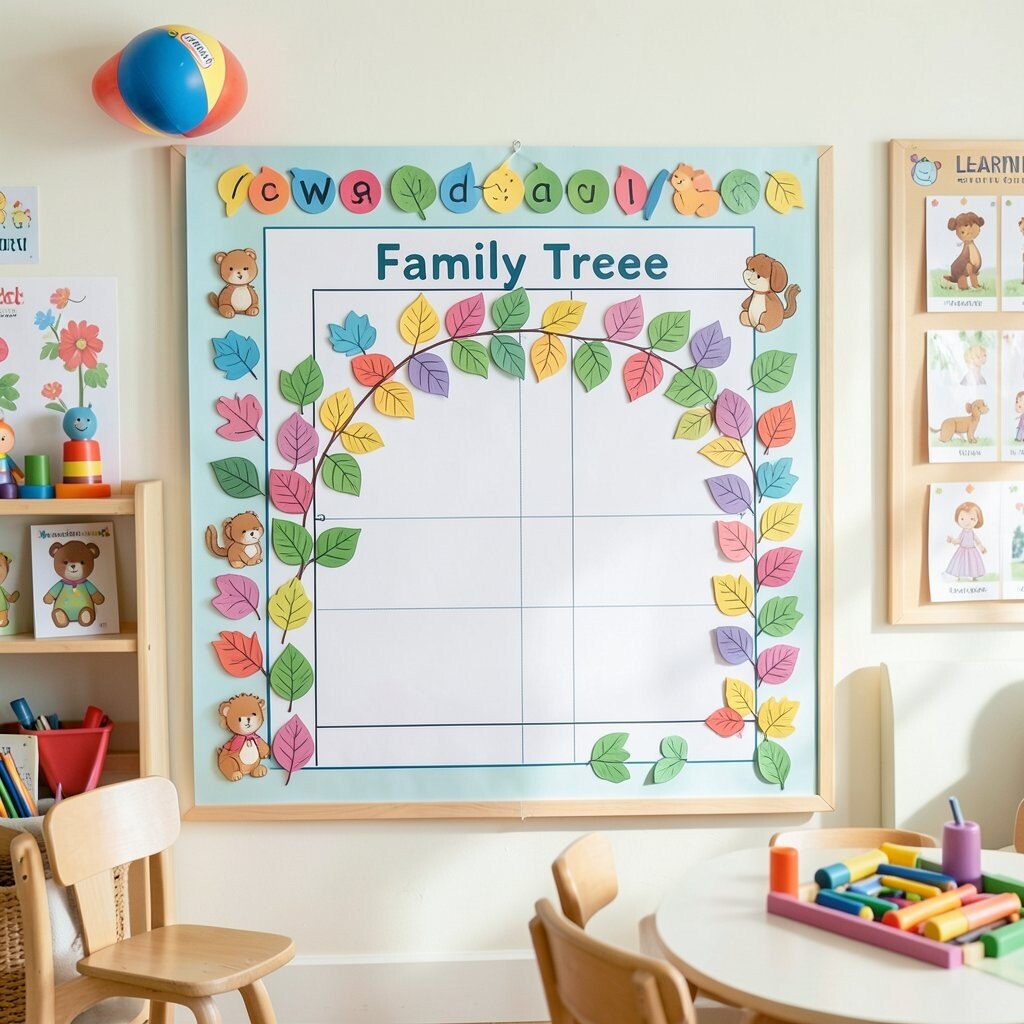
Imagine a family tree wall chart with branches that hold removable leaf pieces. Each leaf shows a vowel or sound picture, making the chart feel alive.
Cut leaf shapes with Cricut and attach them with Velcro so you can rearrange pieces during lessons. Build word families using simple images, like a bat for short-a or a sun for long-u. The ability to move leaves helps kids understand that sounds can change meanings.
Use bright leaf colors for different families and keep the base chart neutral so it doesn’t look cluttered. Laminate leaf cards for repeated use. When you can rearrange quickly, the learning stays fresh and interactive.
13. Quiet Corner Calm Cards With Breathing Shapes
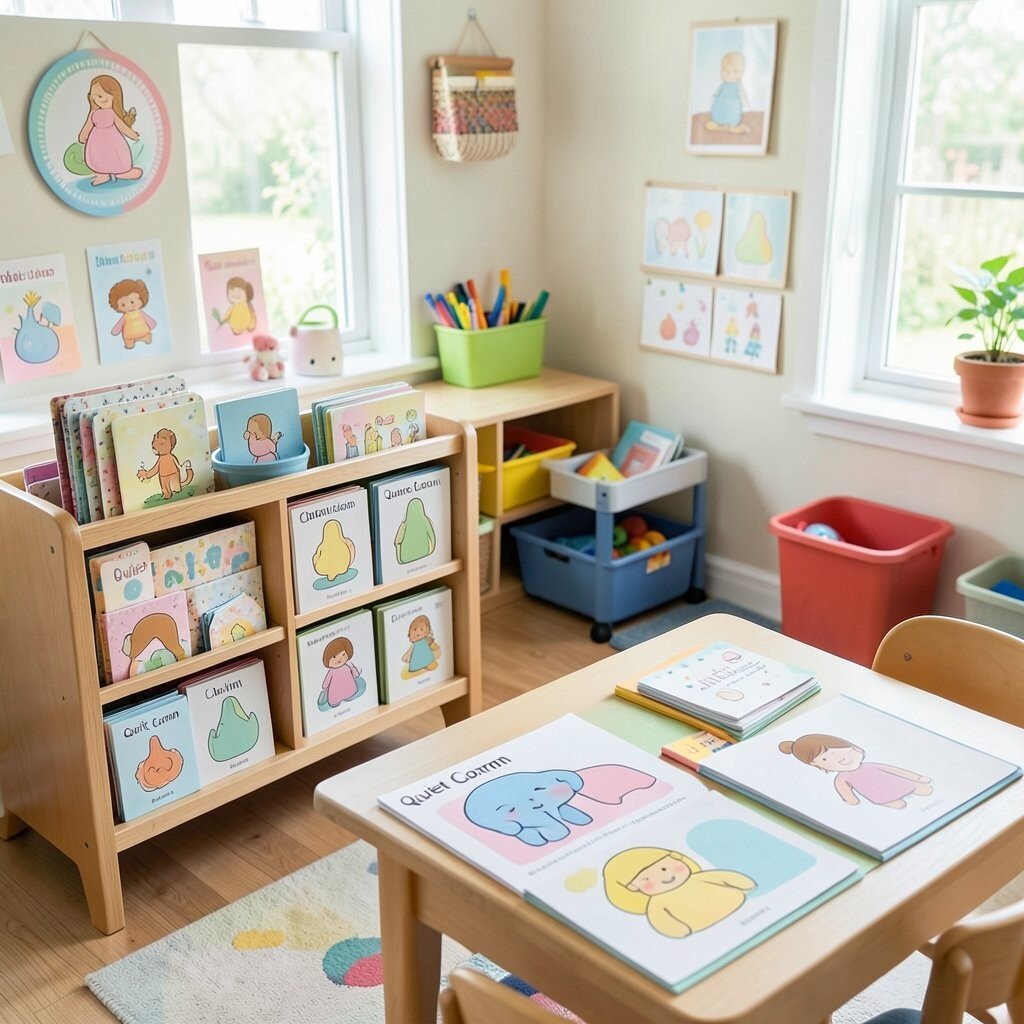
Picture a quiet corner with soft colors and calming signs that feel comforting. Children can follow breathing steps without needing you to explain every time.
Create calm cards with Cricut using simple circle shapes, stars, and wave icons. Add short visuals for breathe in, hold, and breathe out, and place the cards inside a small holder. This supports self-regulation and helps children return to learning with less disruption.
Personalize the set with your classroom colors and include a few “cozy” icons like blankets or hearts. Choose matte laminate to reduce glare under lights. When the routine is consistent, kids learn to calm themselves more quickly.
14. Art Station Frames With Pre-Cut Paper Labels and Color Cues
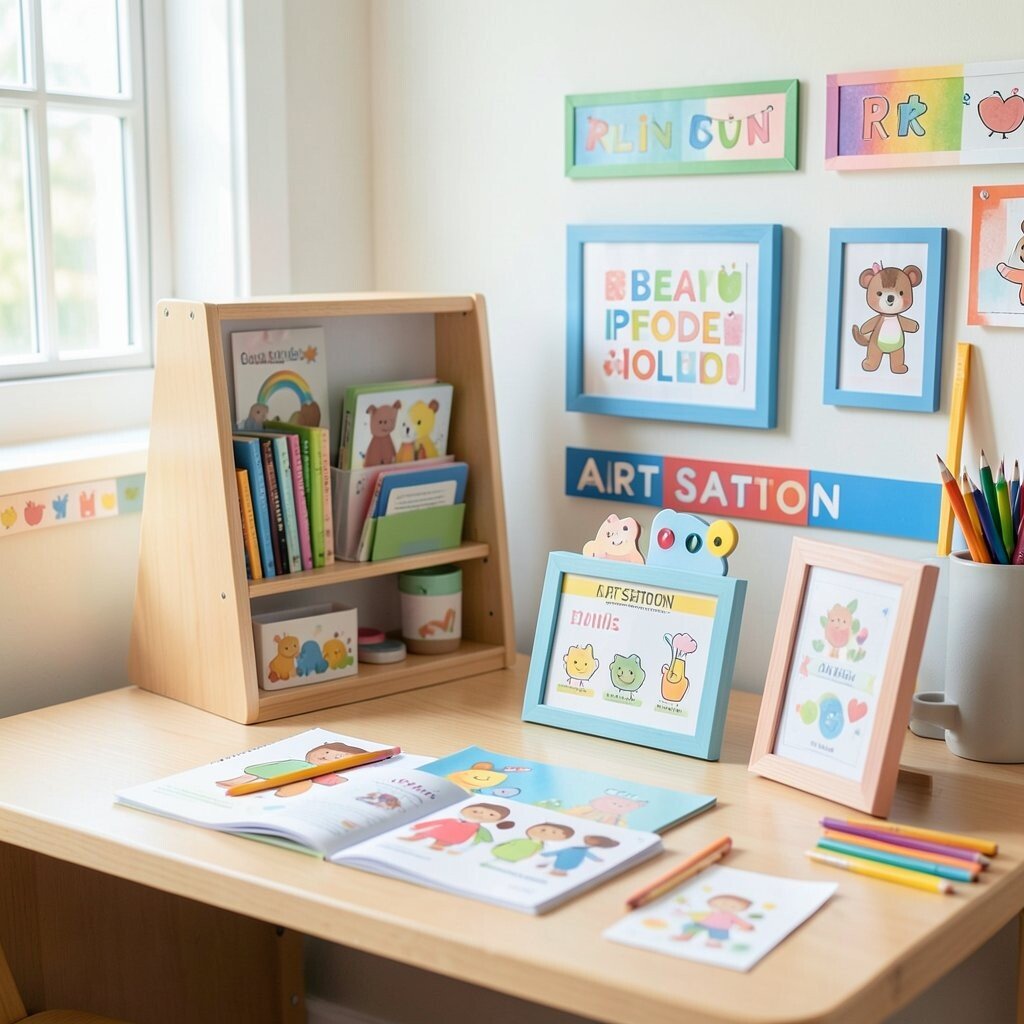
Make the art station look tidy by labeling paper colors and tool areas like a mini gallery. Frames with clear labels help kids choose supplies with confidence.
Use Cricut to cut colorful frames and label stickers for crayons, markers, paints, and paper choices. Add a color cue system using matching shapes, such as triangles for red paper and circles for blue paper. When children can find materials fast, they create more and waste less time.
Consider using removable adhesive so you can update labels whenever you change supplies. For cost, design labels that fit many containers sizes, so you don’t have to remake everything. Laminate key labels so paint smudges wipe off easily.
15. Writing Center Name Tracing Cards With Layered Cut Letters
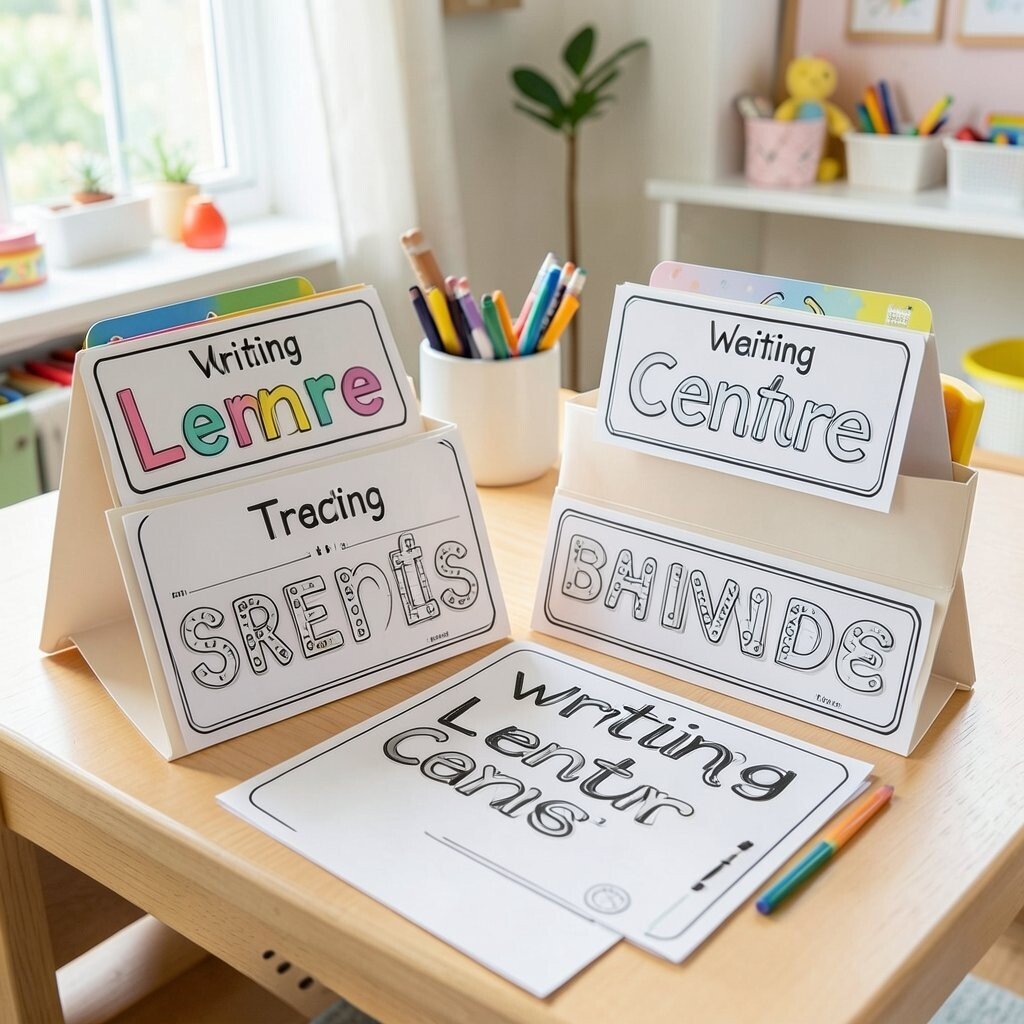
Envision a writing center with layered letters that stand out on a page. The name tracing cards feel smooth and thick, like little keepsakes.
Use Cricut to cut large outline letters for tracing, then layer them for a raised feel. Add a student-name set, plus a few extra practice cards with common words or class themes. Keep handwriting practice gentle by pairing each card with picture prompts.
For personalization, match letter colors to each child’s name color, and store cards in individual folders. Choose sturdy cardstock or laminate to handle frequent use. When tracing is tactile and clear, children gain confidence quickly.
16. Seating Chart “Sticker Trail” With Mini Road Paths
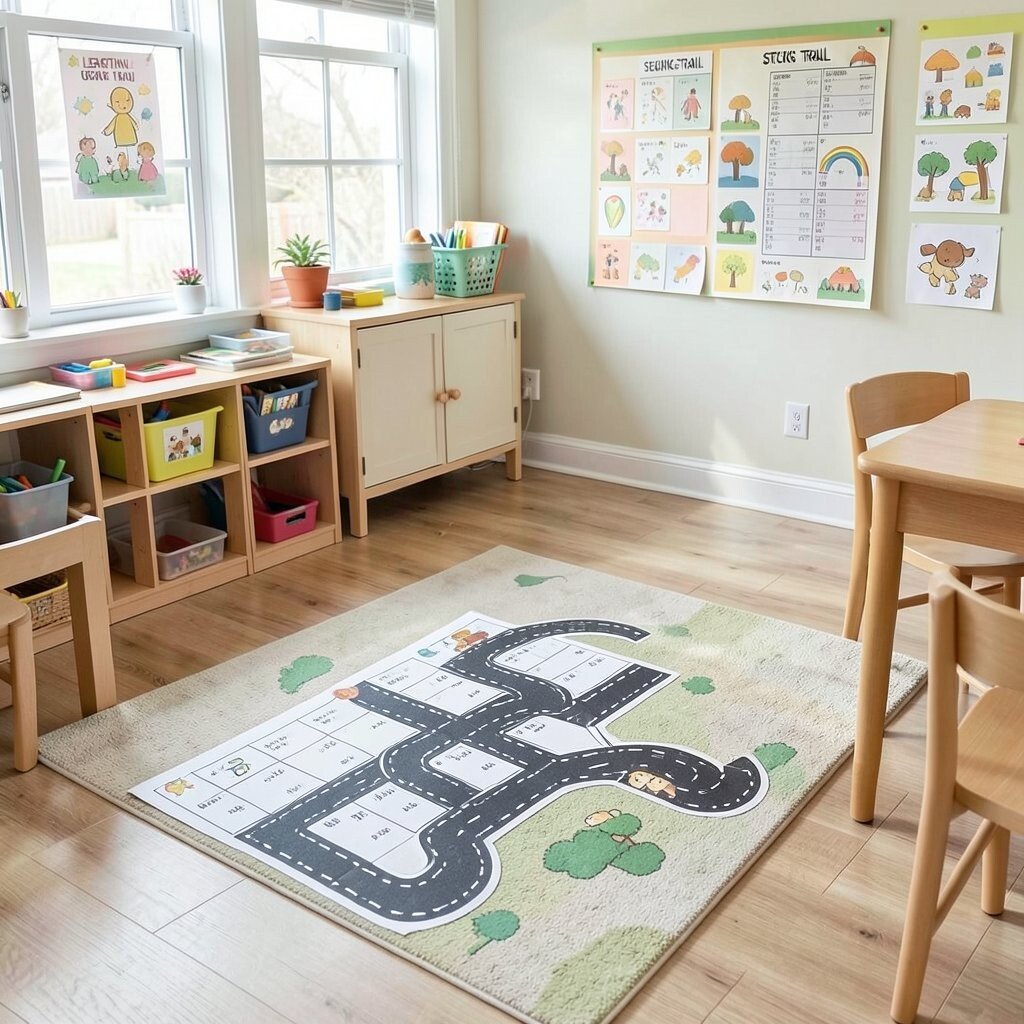
Create a seating system that feels playful, not strict. Small road paths made of stickers guide children to their spot and help them remember where to go.
Cut road shapes and arrow stickers with Cricut and place them on the floor or on individual carpet squares. Add each child’s name sign at the end of the trail so the next seating change is simple to update. This supports independence during transitions and reduces crowding in the classroom.
Use cost-smart materials by sticking with vinyl decals for the main roads and swapping the name tags as needed. Keep the design simple with bold colors and clear arrows so it’s easy to see from the front. A predictable transition routine makes the room calmer for everyone.