Knockdown texture can make walls feel handcrafted instead of machine-made. The right tools help you shape that look with less stress and more style.
Whether you’re working on drywall, plaster, or decorative panels, these ideas will help you pick smarter tools and get a finish you’ll actually enjoy living with.
1. Stomp-Brush Knockdown for Soft Patches
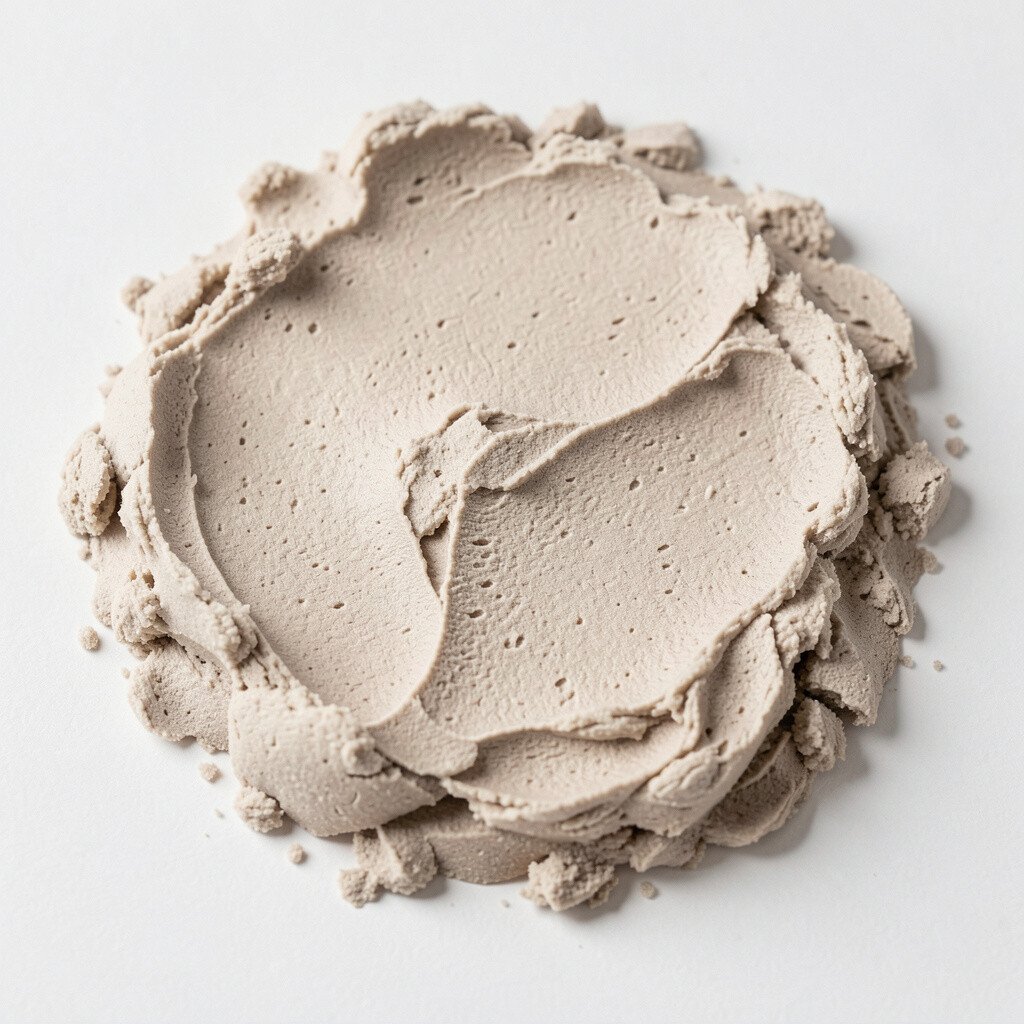
Start by pressing a stomp brush across freshly sprayed or rolled joint compound. Aim for uneven spacing so the knockdown breaks up into gentle islands rather than stripes.
You’ll notice the surface taking on a breathable, suede-like look as the ridges catch the light. This technique is great when you want a calm, cozy vibe and fewer harsh edges. To keep it consistent, work in small sections and re-wet the brush lightly if it starts to drag.
2. Wide-Pan Trowel for Crisp, Fast Knockdowns
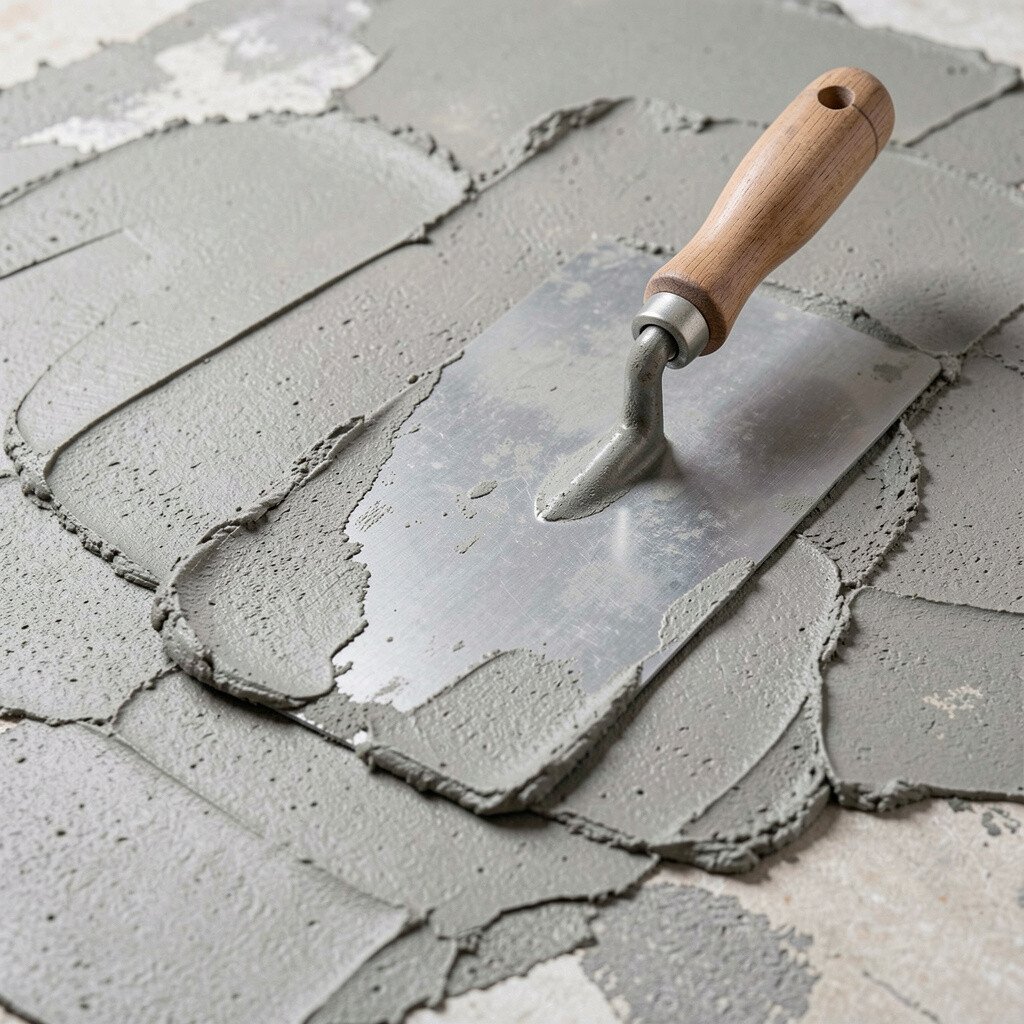
Use a wide-pan trowel to flatten peaks quickly after you apply texture. Keep the blade almost parallel to the wall so you shave down high spots without scraping too deep.
The payoff is a clean, crisp knockdown pattern that looks polished from across the room. It also saves time, which matters if you’re doing multiple walls or trying to beat a deadline. For personalization, try slightly different pressure on the first and second passes to create subtle movement.
If you’re budget-conscious, a durable stainless trowel can last for years with proper cleaning. Pair it with a knockdown compound that sprays well so you spend less effort correcting runs. Work on a test patch first because too much pressure can make the finish look thin.
3. Plastic Knockdown Knife for Light Trails
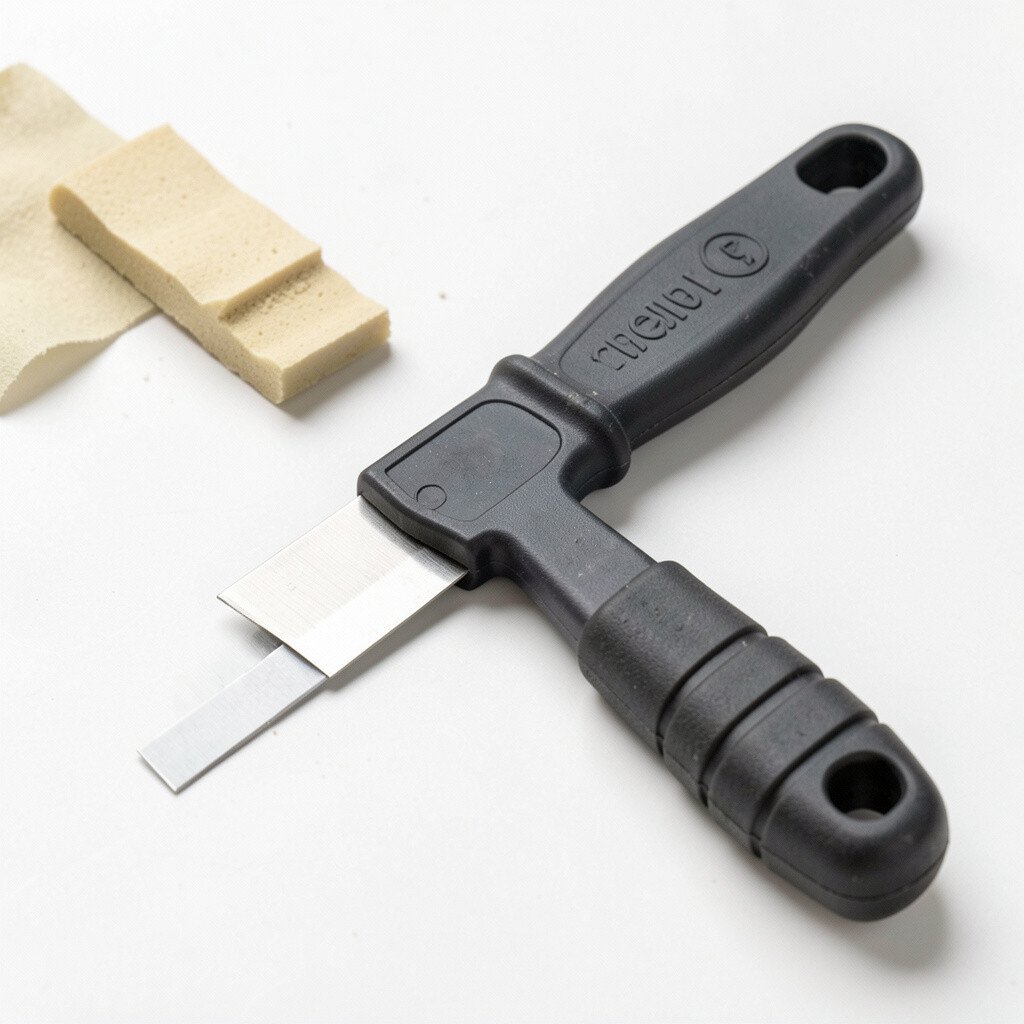
Grab a flexible plastic knockdown knife and glide it over the fresh texture. Use quick, light strokes that barely touch the peaks.
You’ll get faint trails instead of deep ridges, which looks modern and slightly airy. This is a good choice for rooms where you want texture but don’t want shadowy grooves everywhere. For practical results, wipe the knife after every few passes so the pattern stays sharp.
The uniqueness comes from how the plastic resists the compound, creating soft lines that still read as intentional. If you like a smoother finish, use fewer passes and let the wall’s own texture do the rest. Budget-wise, plastic knives are usually cheaper than heavy metal blades.
Right now, many homeowners are pairing subtle knockdown with warm neutrals and matte paint, so this tool fits the trend toward quieter walls. Consider finishing with tinted primer for extra depth.
4. Combo Rollers with Texture and Knockdown
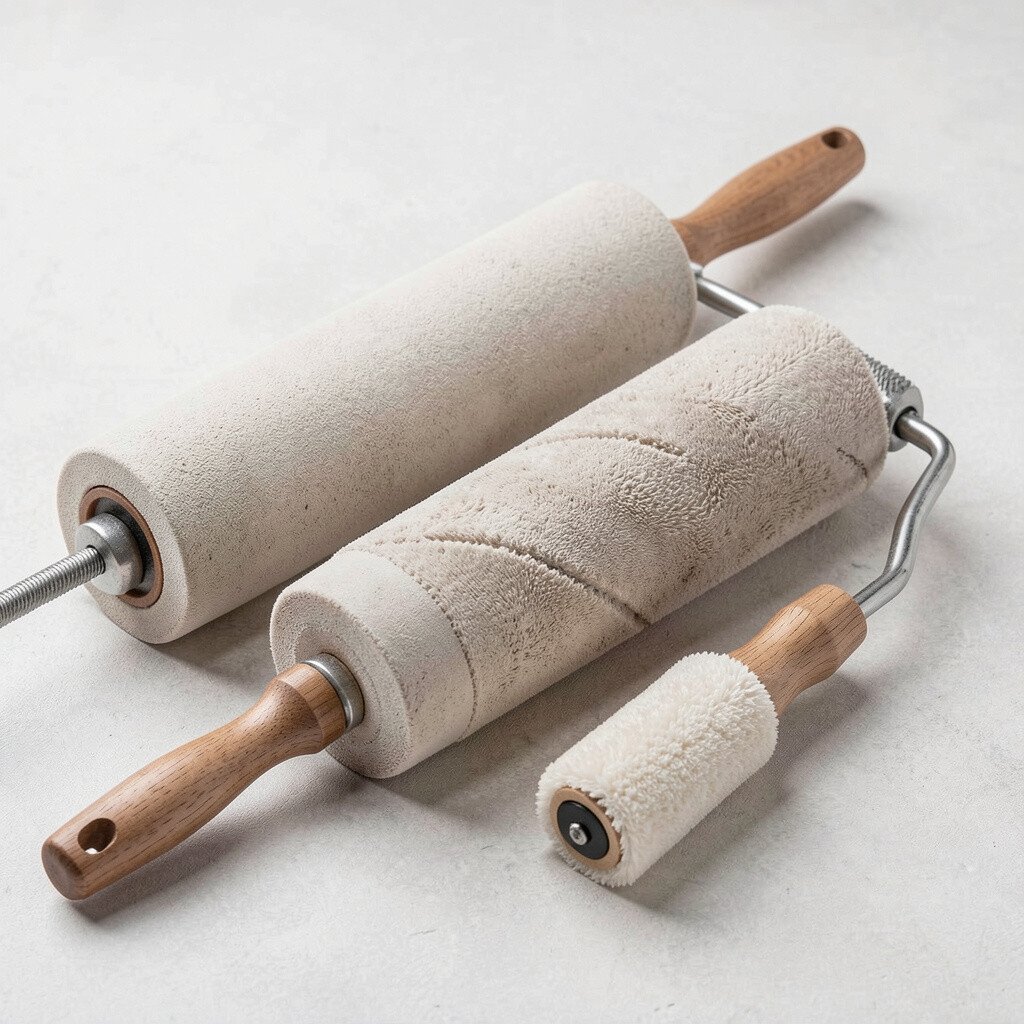
Try a two-part roller system that first lays down a controlled layer and then helps you knock it down. Some rollers have ribs that leave micro-patterns, while others are made to flatten. Roll in even bands so you don’t create thick bumps that take forever to correct.
The benefit is a more uniform texture across big areas. You also get fewer tool marks because the roller guides your coverage. For personalization, overlap bands slightly and vary your roller speed so the knockdown reads organic.
5. 6-Inch Feather Edge Smoother for Hybrid Looks
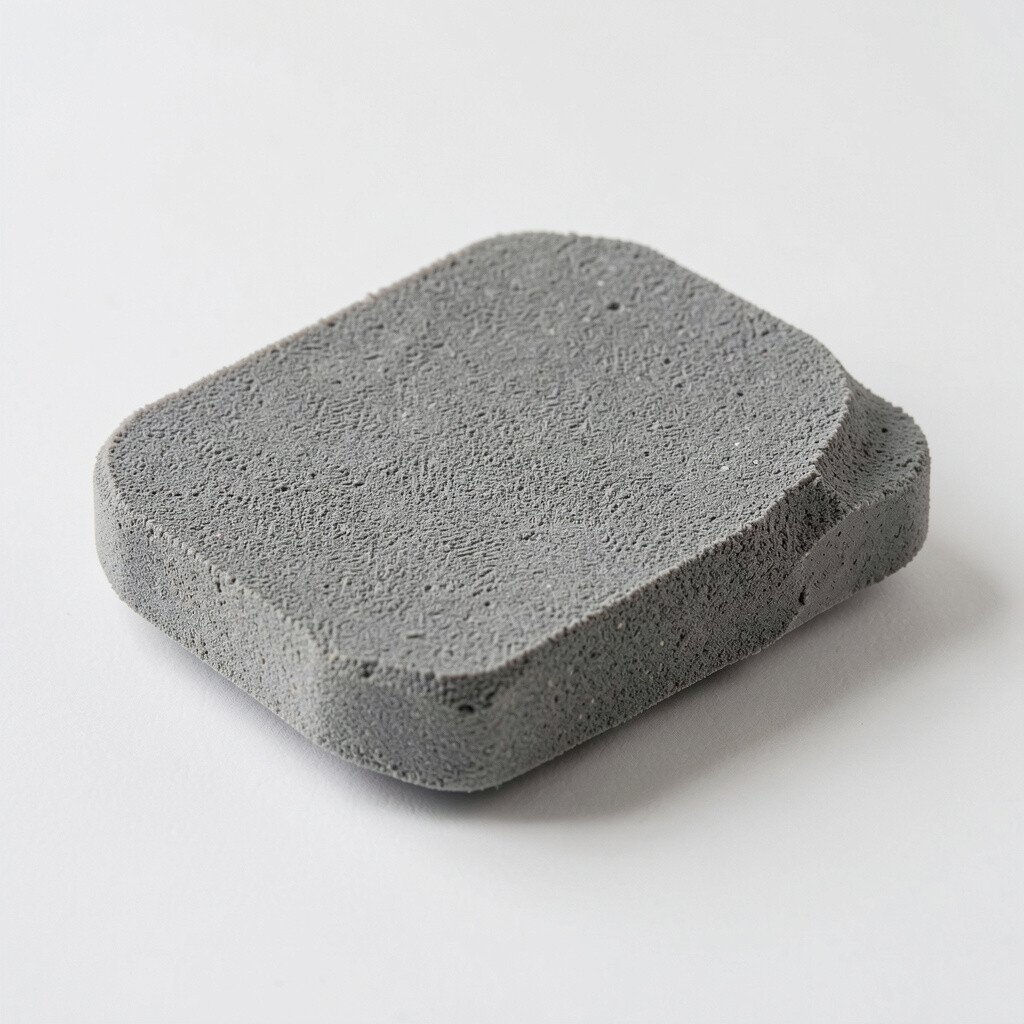
Use a feather edge smoother when you want knockdown blended with gentle smoothing. After applying texture, drag the tool lightly so edges soften without fully eliminating ridges.
This hybrid approach gives a “forged” look that feels custom, not cookie-cutter. It’s especially helpful if your wall has minor imperfections you want to camouflage. Keep a damp sponge nearby to clean the blade so buildup doesn’t create random lumps.
You can personalize the look by changing the angle from steep to shallow during the same wall. If you’re working on a smaller room, the 6-inch width gives you tight control. Cost is reasonable since these tools are often basic and replaceable.
6. Flat Sponge for Knockdown That Looks Like Plaster
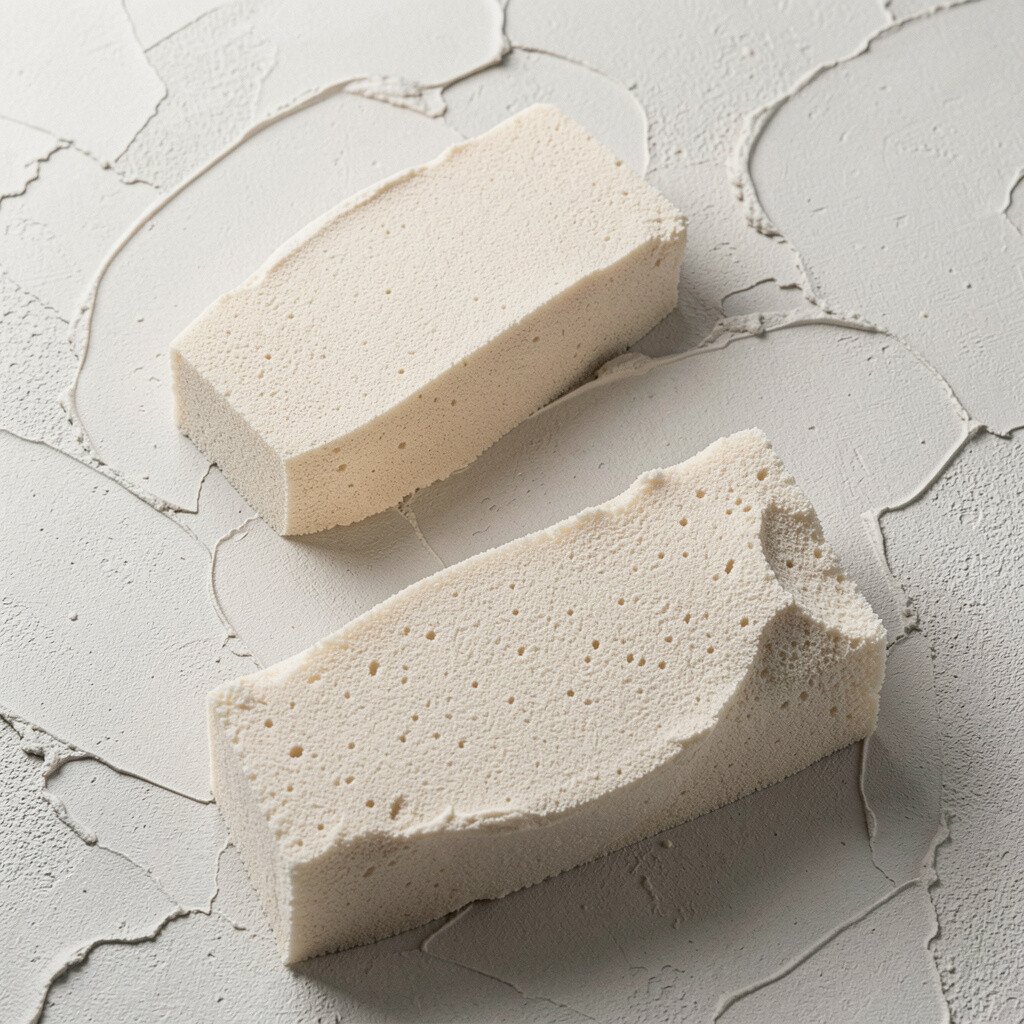
Once the compound reaches a tacky stage, press a flat sponge over the ridges. Don’t scrub hard; instead, tap and lift so the texture breaks in tiny, natural fragments.
The wall will start to resemble old plaster with a warm, mottled feel. This method adds character without needing heavy sanding afterward. For practical tips, wear gloves and keep your sponge damp so it doesn’t absorb too much compound.
To personalize, use different sponge densities or switch between gentle and firm taps across zones. It’s also a great way to hide slight unevenness because the finish blends visually. If you’re trying to stay cost-smart, sponges are cheap, and you can cut them to fit smaller tools.
7. Corner Trowel for Sharp Lines at Edges
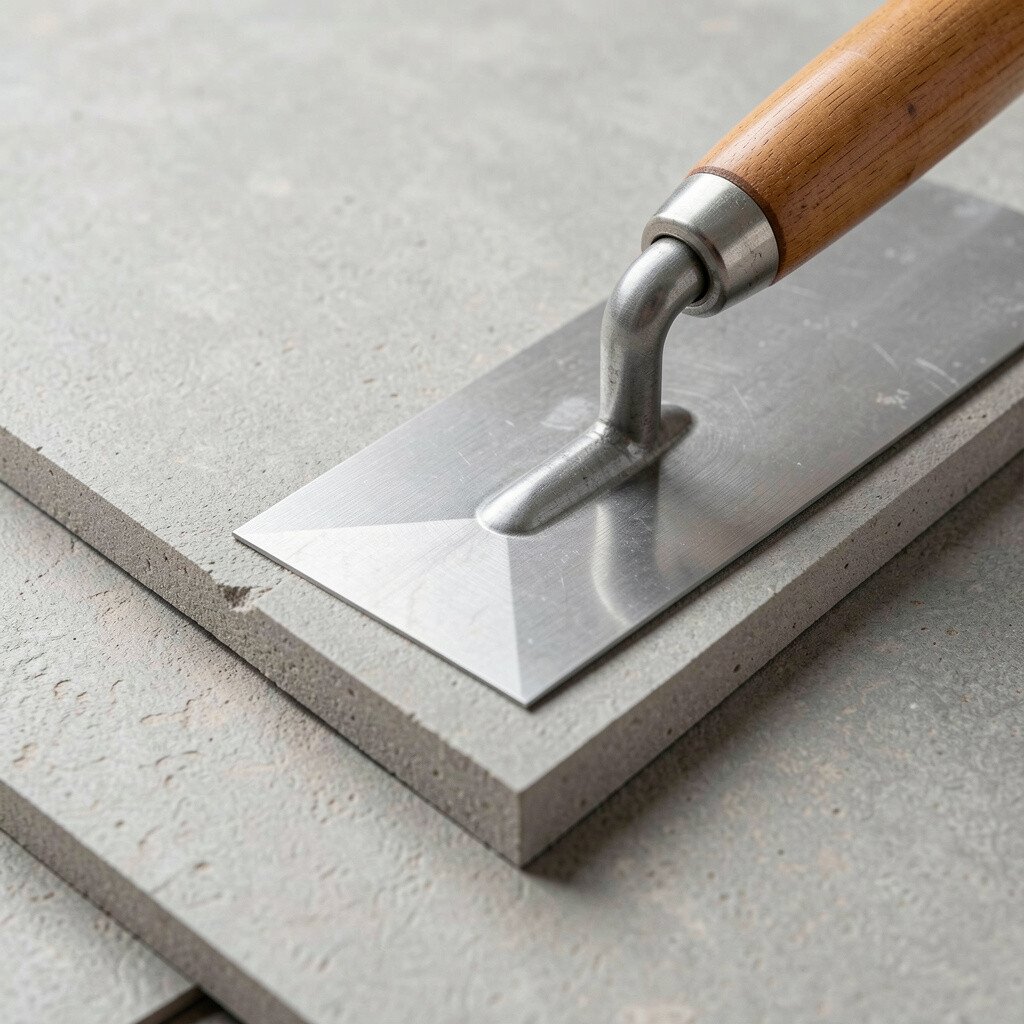
Use a corner trowel to handle inside and outside edges with clean control. Apply texture carefully and knock it down right at the seam so the pattern doesn’t smear into trim.
You’ll get a sharper frame around windows, doors, and baseboards. That sharpness makes the whole wall look more intentional. For uniqueness, you can slightly reduce pressure on one edge so it reads more decorative while the rest stays balanced.
This tool is also practical for messy moments because it helps you avoid overworking corners that usually get bumpy. If you’re working around textured ceilings, matching edge behavior makes the transition look smoother. Costs are usually low compared with specialized specialty blades.
Current trends favor clean borders with organic fields, and this tool supports that style easily.
8. Airbrush Knockdown for Ultra-Light, Controlled Texture
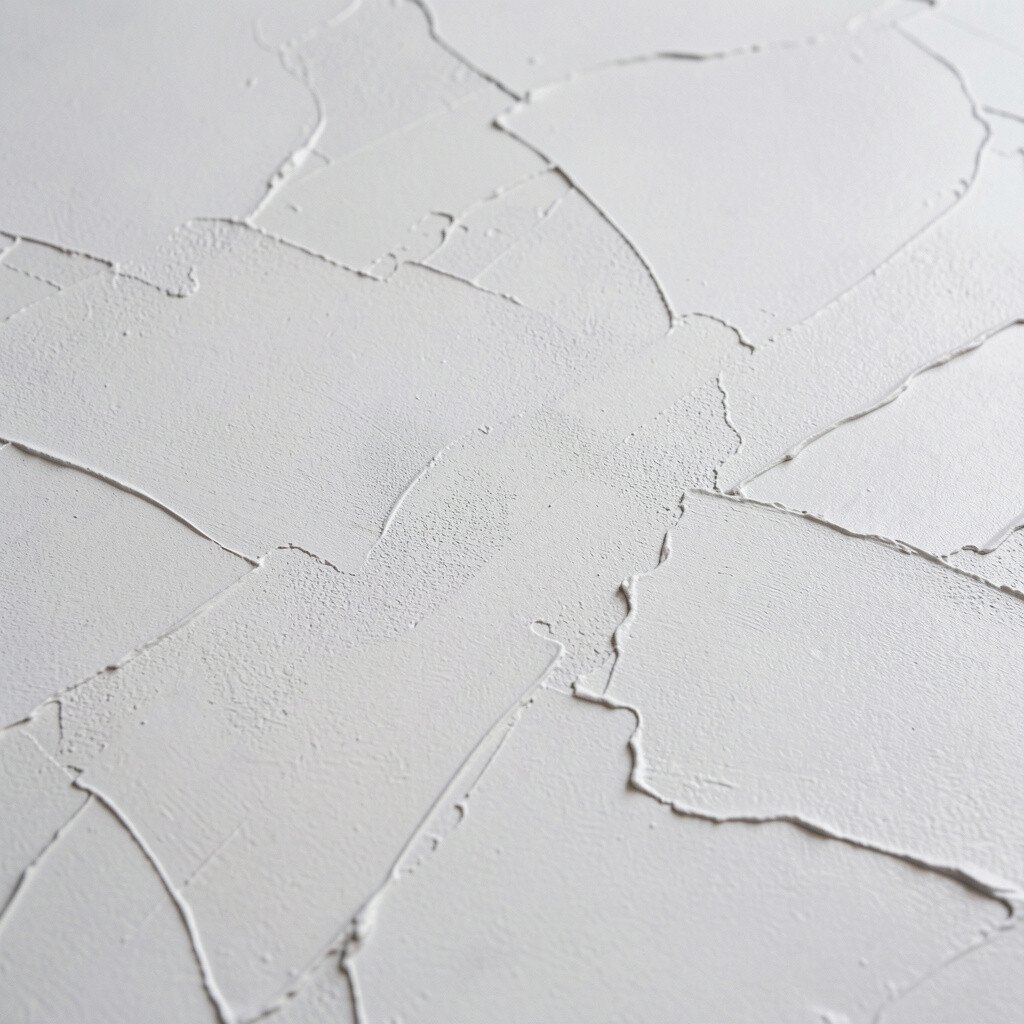
If you have an airbrush or small hopper sprayer, apply a thin layer and then knock it down with a quick pass. Keep the nozzle moving so you don’t create thick pools that require heavy correction.
The result feels delicate, almost like a feathered plaster skin. It’s a great option for textured accent walls where you want the pattern to be noticeable but not overpowering. For personalization, try mixing slightly different compound thicknesses so some areas pop more than others.
9. Metal Scraper for Bold, Chunky Peaks
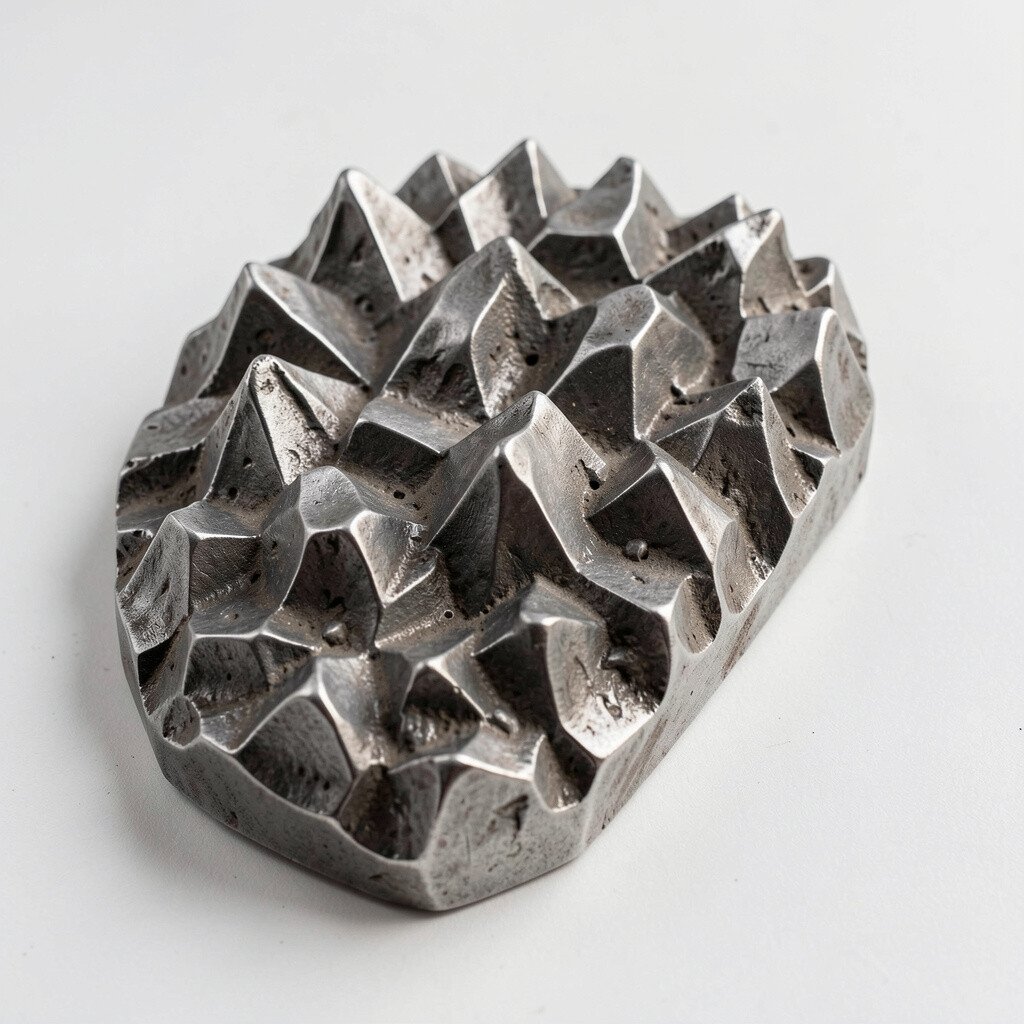
Use a metal scraper to remove compound in confident, chunkier steps. Drag it through the texture just enough to reveal peaks and keep ridges bold.
This creates dramatic shadows and a strong architectural vibe. It’s unique because the pattern looks less like repeating comb marks and more like controlled sculpting. To make it practical, clean the blade often and keep a steady pull so the edges stay crisp.
For cost considerations, a simple scraper is often cheaper than many fancy knockdown tools and can last through many jobs. If you’re doing a feature wall, bold texture works beautifully when paired with solid colors and minimal decor. Right now, people are leaning into statement walls, and chunky knockdown is a reliable choice for that look.
Try practicing on scrap drywall so you learn how far to pull before the peaks flatten too much.
10. Paint Roller Sleeve with Knockdown Cap
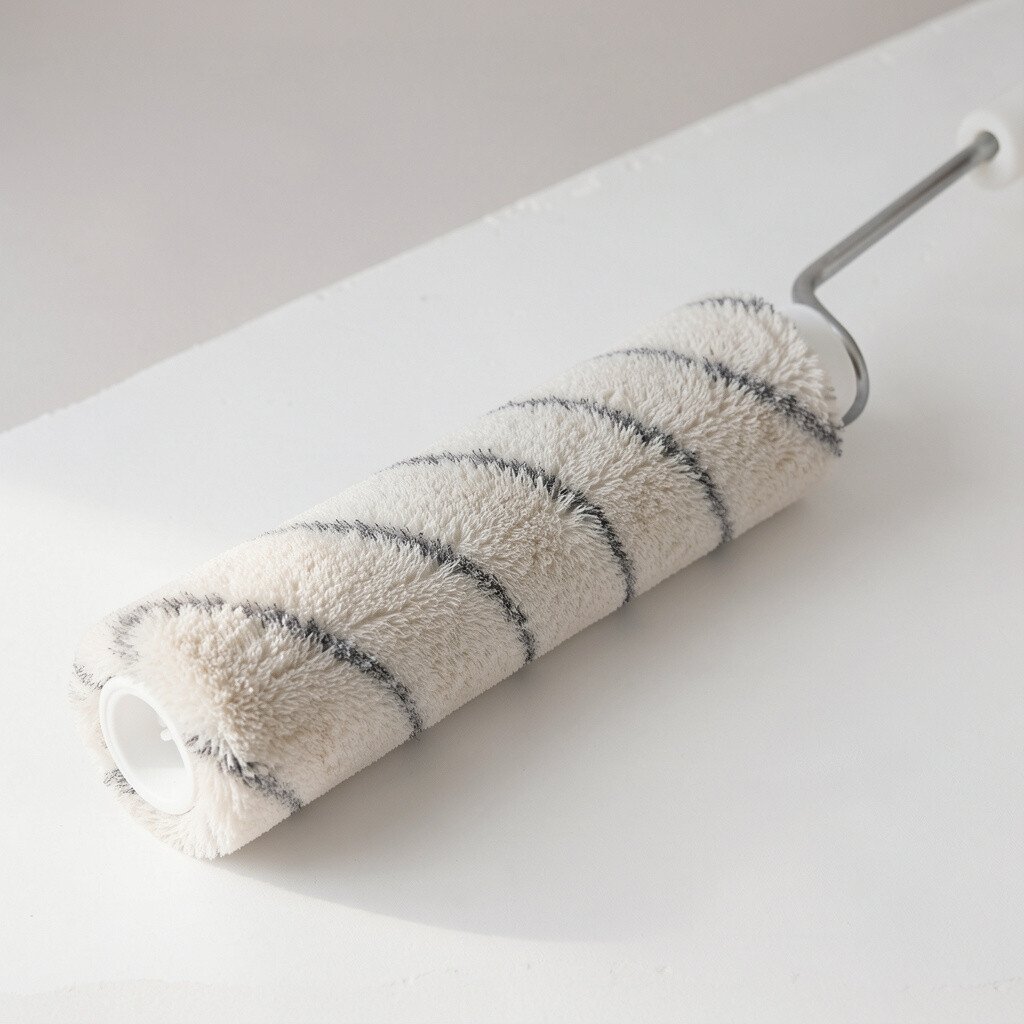
Use a roller sleeve that leaves a consistent “grain,” then finish with a knockdown cap tool. The cap helps you flatten the highest spots without destroying the roller’s pattern.
You get a finish that feels balanced between smooth and textured. It’s also easier for beginners because roller coverage helps you control where compound goes. To personalize, choose sleeves with different nap lengths so the knockdown shadow changes from subtle to bold.
Cost-wise, roller sleeves are inexpensive and you can swap them quickly for test patches. This is also a great time-saving method for bigger rooms because you can keep moving without stopping as often to reposition tools. If you’re following current trends, the look pairs well with warm whites and matte topcoats.
11. Skim-Tap Knife for Tiny, Repeating Knockdowns
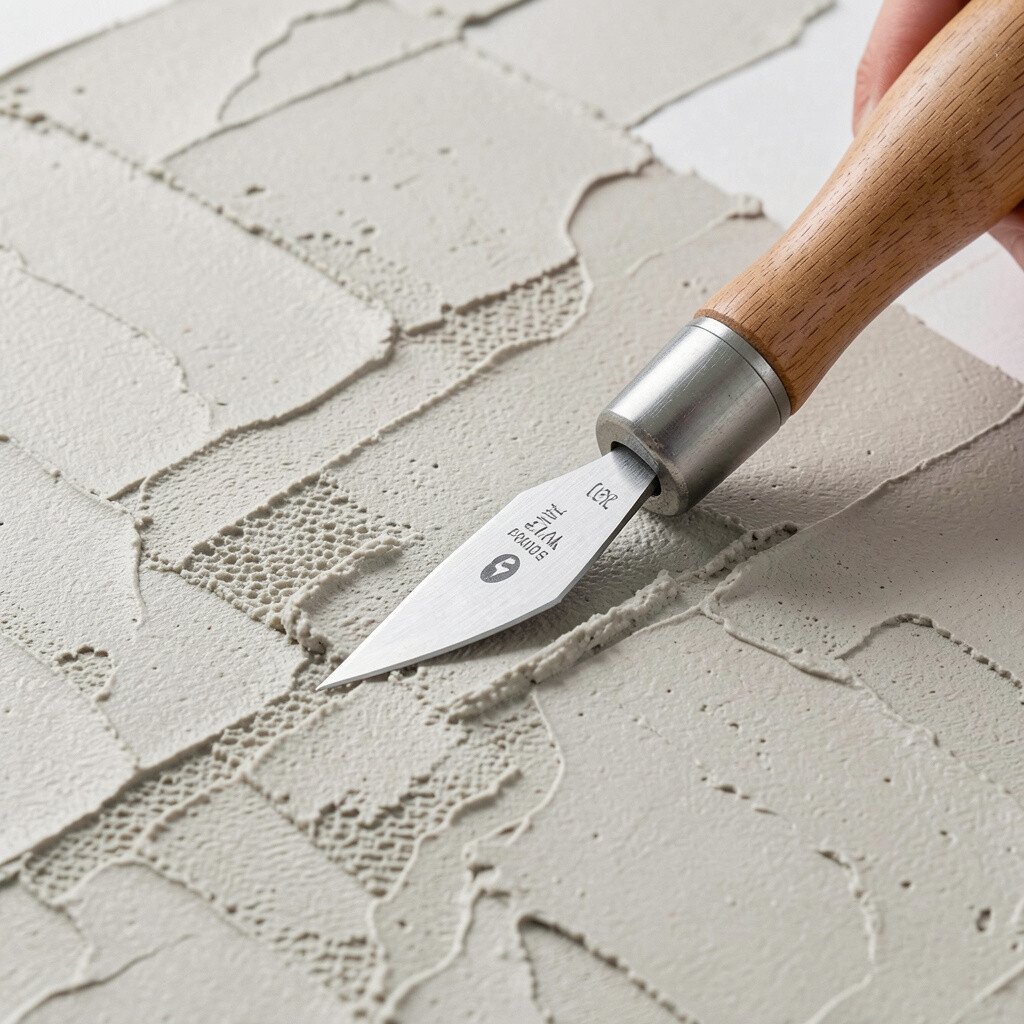
Use a small tap knife and apply texture in thin layers, then lightly tap down the peaks. The goal is micro ridges rather than large chunks.
This technique creates a refined, almost linen-like texture that stays elegant in bright light. It’s practical for hallways, bedrooms, and ceilings where you want detail without heavy shadows. For personalization, vary the tap rhythm so some sections look denser and others more open.
Because you’re using thin material, you may save compound and reduce cleanup mess. That’s a smart cost consideration when you’re watching supplies. If you want a modern feel, keep the texture consistent and avoid dramatic variations across the wall.
12. Flexible Rubber Float for Gentle Flattening
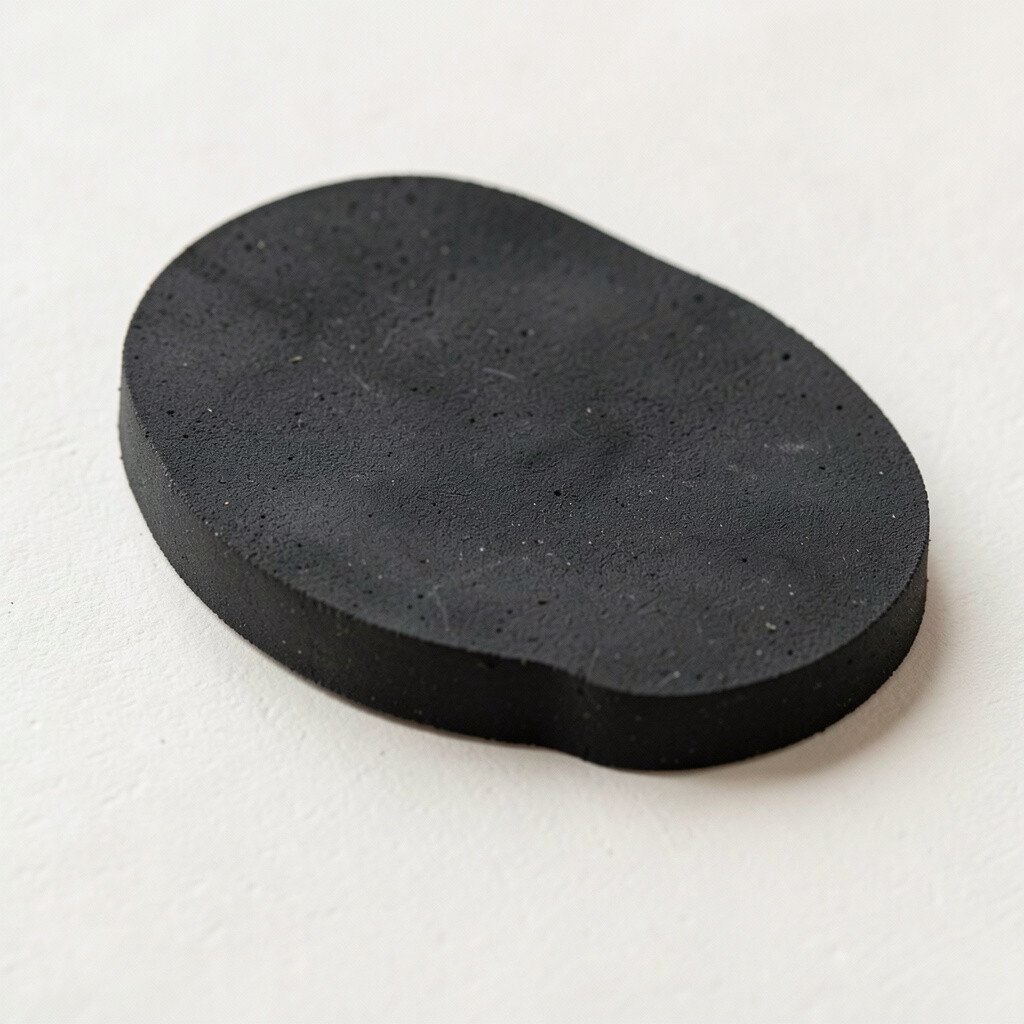
A flexible rubber float lets you knock down texture with soft, even pressure. Press lightly and glide across the wall so the compound relaxes into smoother ridges.
The benefit is a calming, uniform pattern that won’t look jagged or overworked. It’s great when you want texture that reads as refined even after the first coat of paint. For practical tips, keep your float clean and slightly damp to reduce drag and streaking.
Uniqueness comes from the rubber’s give, which creates ridges that look organic instead of tool-sharp. If you’re customizing a room, use the float to even out one side of the wall while leaving the other side more dramatic. This helps create visual balance without fully changing your design.
13. Comb Tool for Directional Knockdown Patterns
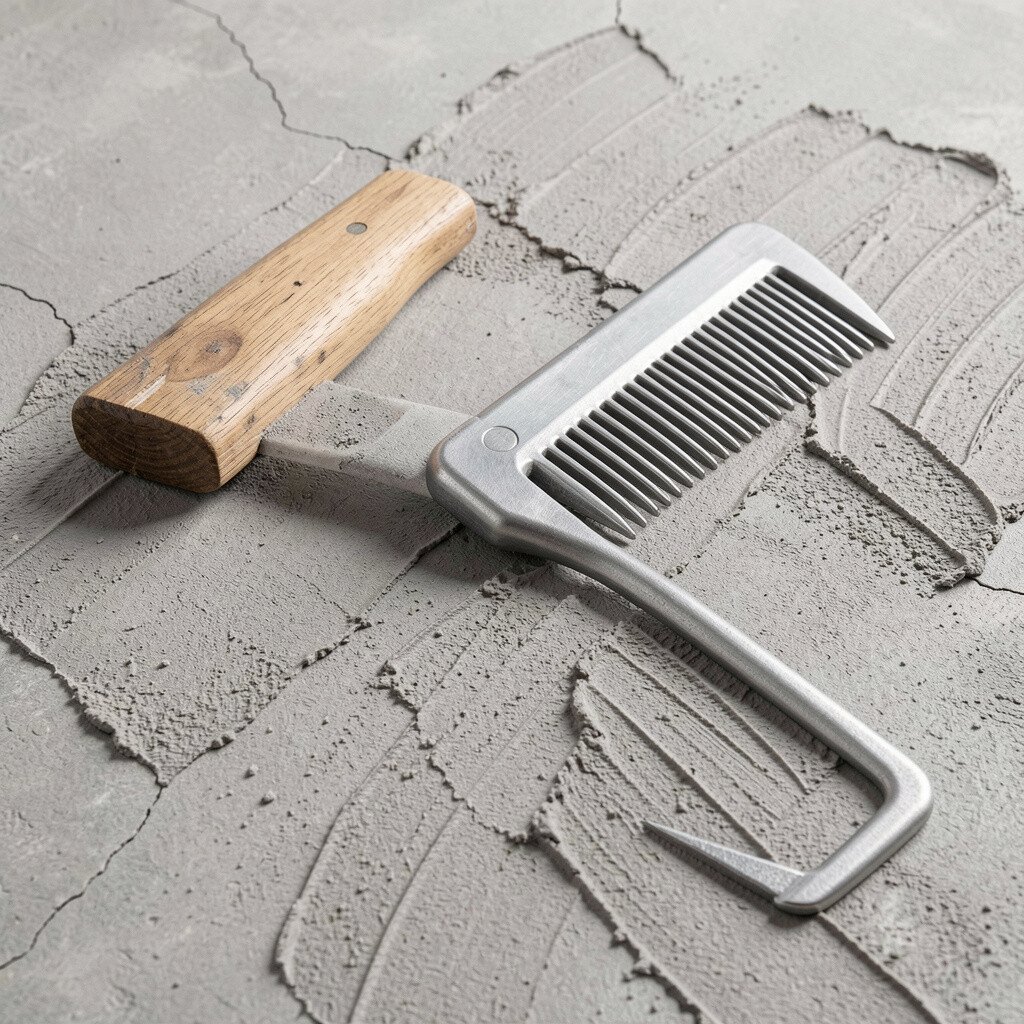
Use a comb tool before knocking down so you build a directional pattern. After the grooves appear, knock the peaks so the comb lines become subtle striations.
This makes the wall feel designed, especially when you align the direction with your room layout. The benefit is control over visual rhythm, which can make spaces look longer or wider. For personalization, try horizontal grooves for calm, or vertical grooves for height.
Cost is usually manageable since comb tools can be simple and inexpensive. If you’re following current trends, directional texture works well with modern furniture that has clean lines. Just remember to keep the initial application consistent so the knocked-down result doesn’t look patchy.
Test on a scrap piece to find the right groove depth before you commit to a full wall.
14. Foam Roller for Soft Knockdown Over Spray
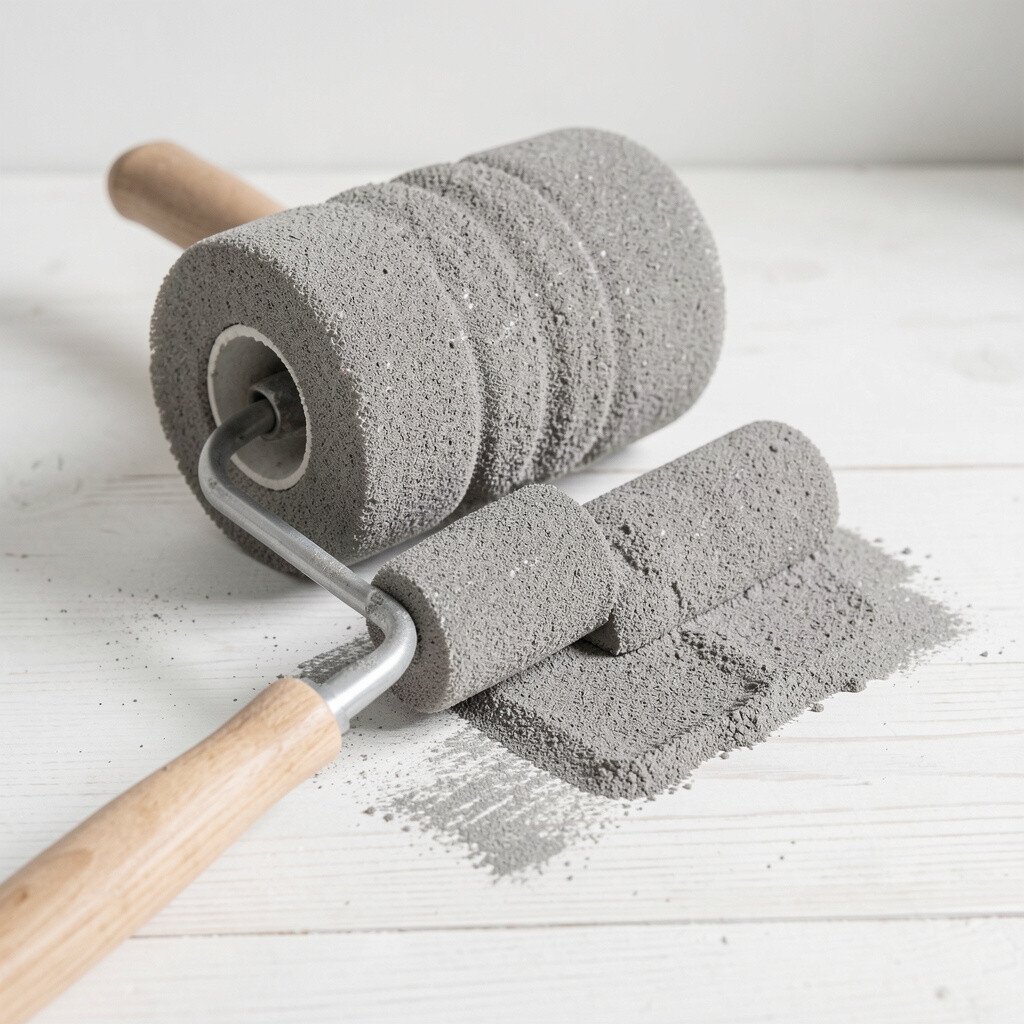
After spraying a thin coat, use a foam roller to knock down the peaks. Keep your hand steady and don’t overwork one spot, because foam grabs quickly.
You’ll get a gentle, soft-focus pattern that still shows texture when the light hits. This is a great option for people who want knockdown without strong shadows. For practical tips, roll in one direction first, then lightly cross-roll for even blending.
Personalization is easy since foam rollers come in different densities and thicknesses. Cost considerations are friendly too, because foam rollers are usually affordable and replace quickly. This technique also fits the trend toward airy, warm interiors with lots of natural light.
15. Textured Stamp for Decorative Knockdown Zones
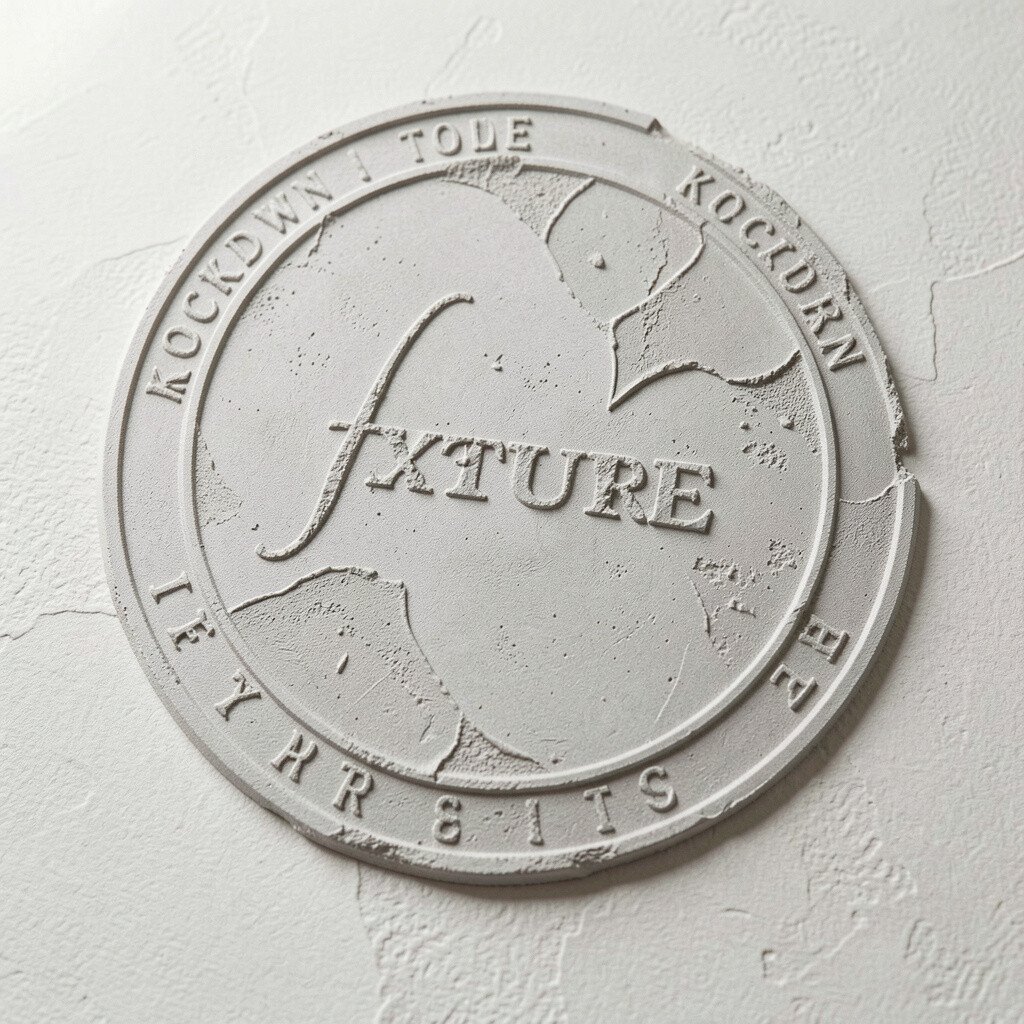
Press a textured stamp into fresh compound right before knocking it down. Focus on creating shapes like arcs or clusters so the texture feels like a design feature, not a whole-wall effect.
The visual description is part relief and part breakage, like a carved pattern that gets softened by the knockdown. This is unique because the stamp gives identity while the knockdown keeps it from looking too perfect. For practical tips, clean the stamp often and work at a consistent pace so the compound doesn’t set too fast.
To personalize, choose stamp styles that match your décor, like geometric for modern rooms or organic textures for earthy spaces. Cost can vary depending on the stamp material, but many stamp tools are reusable. If you’re mindful about spending, start with a small stamp and focus on an accent area.
16. Micro-Brush for Fine, Controlled Knockdown
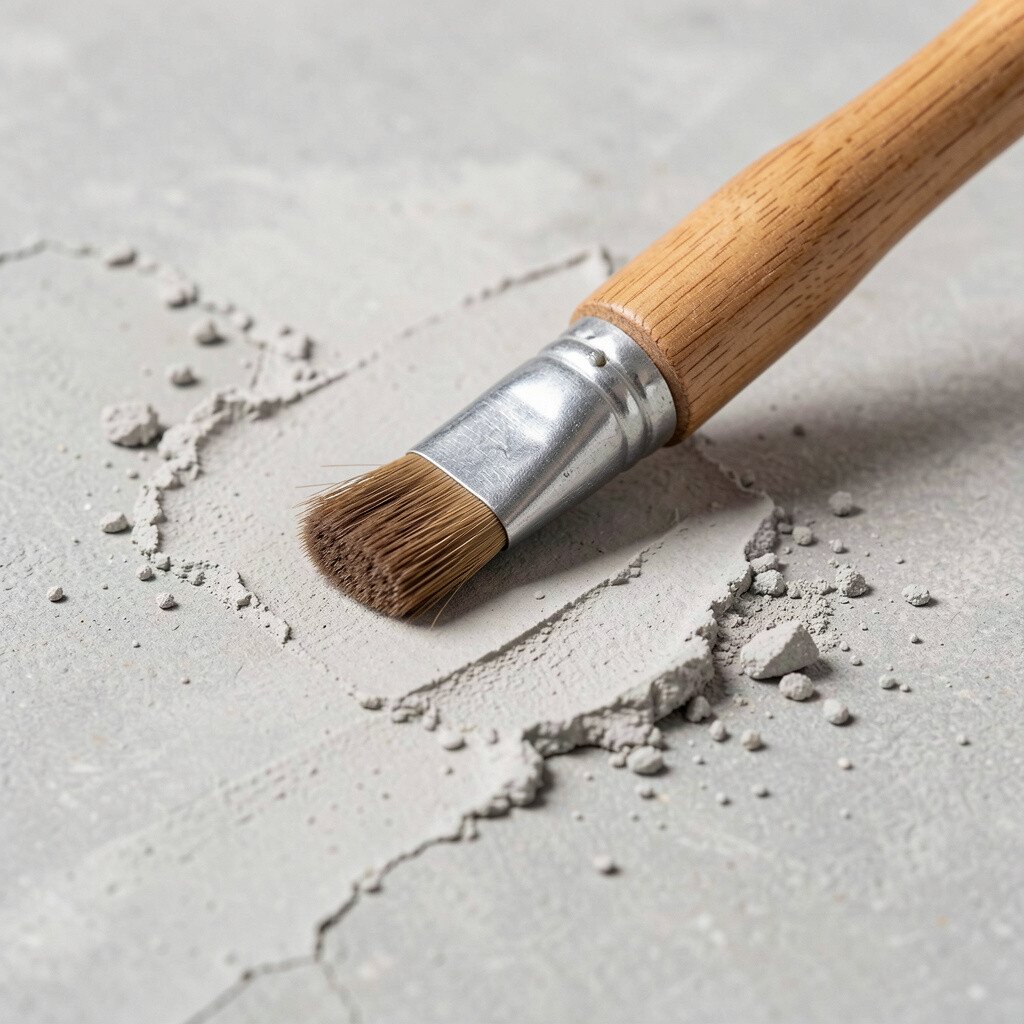
Use a micro brush to guide tiny knockdowns across the texture. Dab lightly at the peaks and let the compound settle into a small pattern.
The benefit is precise control, which is perfect for small repairs or detailed sections near outlets and trim. The look is subtle and tactile, and it helps blend touch-ups with the rest of the wall. For uniqueness, try different dab spacing to create gentle gradients from one area to another.
Cost is low because micro brushes are inexpensive, and you can use them for other finishing tasks too. If you want a personalized finish, match the dab direction to your lighting angle so texture appears where you want it. This technique is also trending in detail-focused interiors that rely on close-up craftsmanship.
17. Knockdown Roller Tray System for Consistent Batches
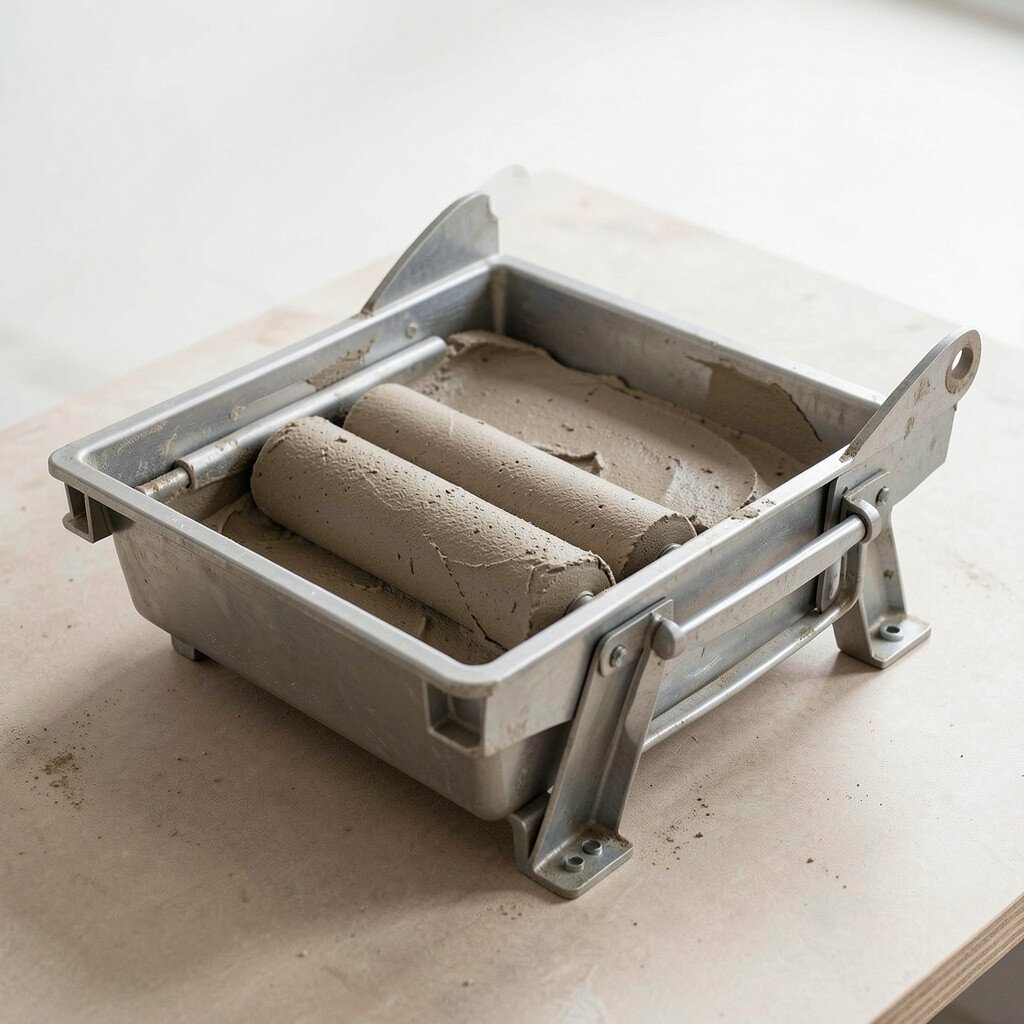
Use a roller tray setup that keeps compound at an even thickness while you work. Consistency matters, so mix thoroughly and pour small batches so you don’t end up with different textures.
With this approach, your knockdown looks even from start to finish, which helps your wall feel professional. It also reduces wasted material because you’re less likely to redo sections. For personalization, you can adjust compound thickness and roller speed to shift the ridge height without changing your tool.
Cost considerations are mostly about buying or upgrading the tray system, but it can save money by preventing mistakes. When trends lean toward smooth-but-not-flat finishes, this kind of consistency helps you land in the sweet spot. Keep a damp towel nearby so roller edges stay clean and predictable.
18. Squeegee Knockdown for Sleek, Modern Ridges
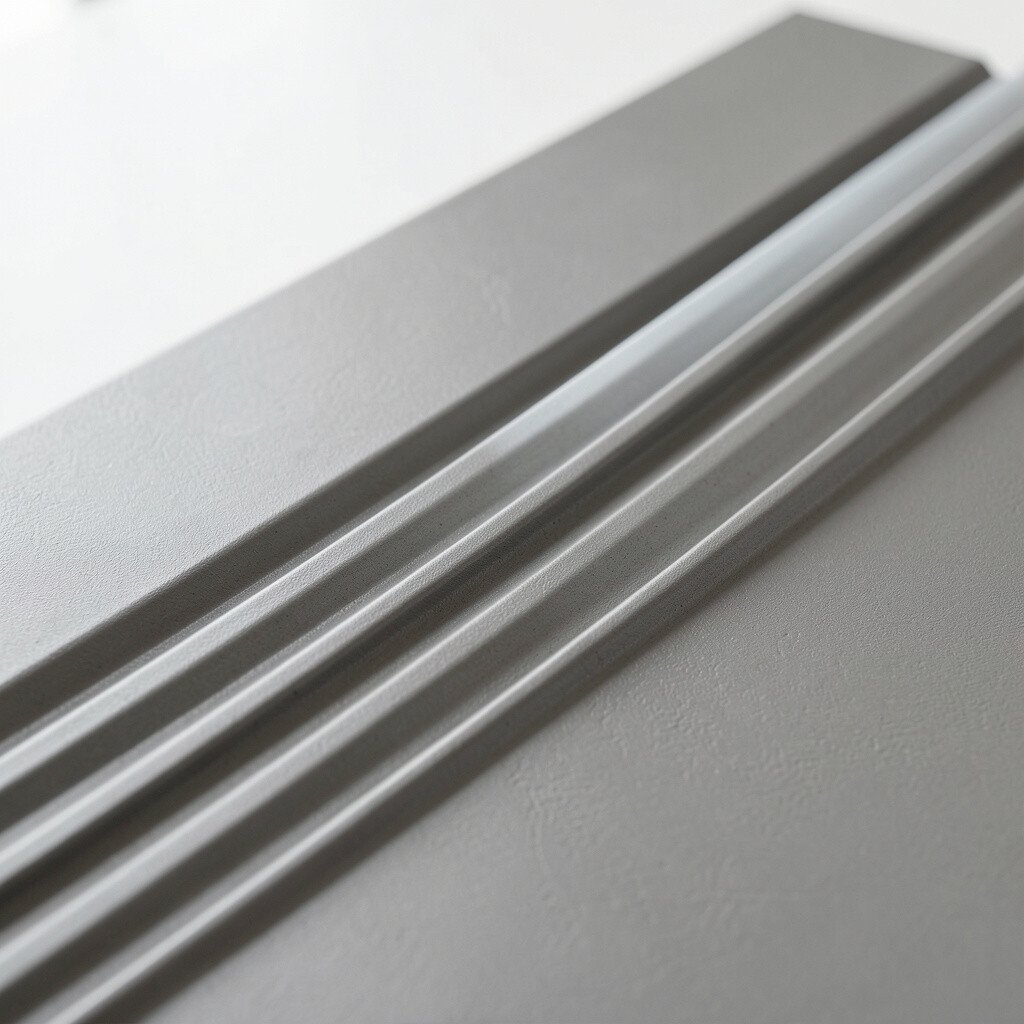
A squeegee can knock down texture with a smoother, more modern direction. Spread the compound thinly first, then pull the squeegee so ridges form in controlled bands.
The result looks sleek, with lines that read like intentional design rather than random texture. This technique is great for contemporary spaces where you want texture but also want tidy visual structure. For practical tips, clean the edge frequently and keep your angle consistent to avoid accidental waves.
Uniqueness comes from how the squeegee creates uniform ridge spacing. If you want personalization, vary the squeegee pull speed so some bands look sharper while others soften. Cost is usually reasonable since squeegees are common tools that can be used for many home projects.
19. Old-Sock Wrap Tool for Organic, Unplanned Texture
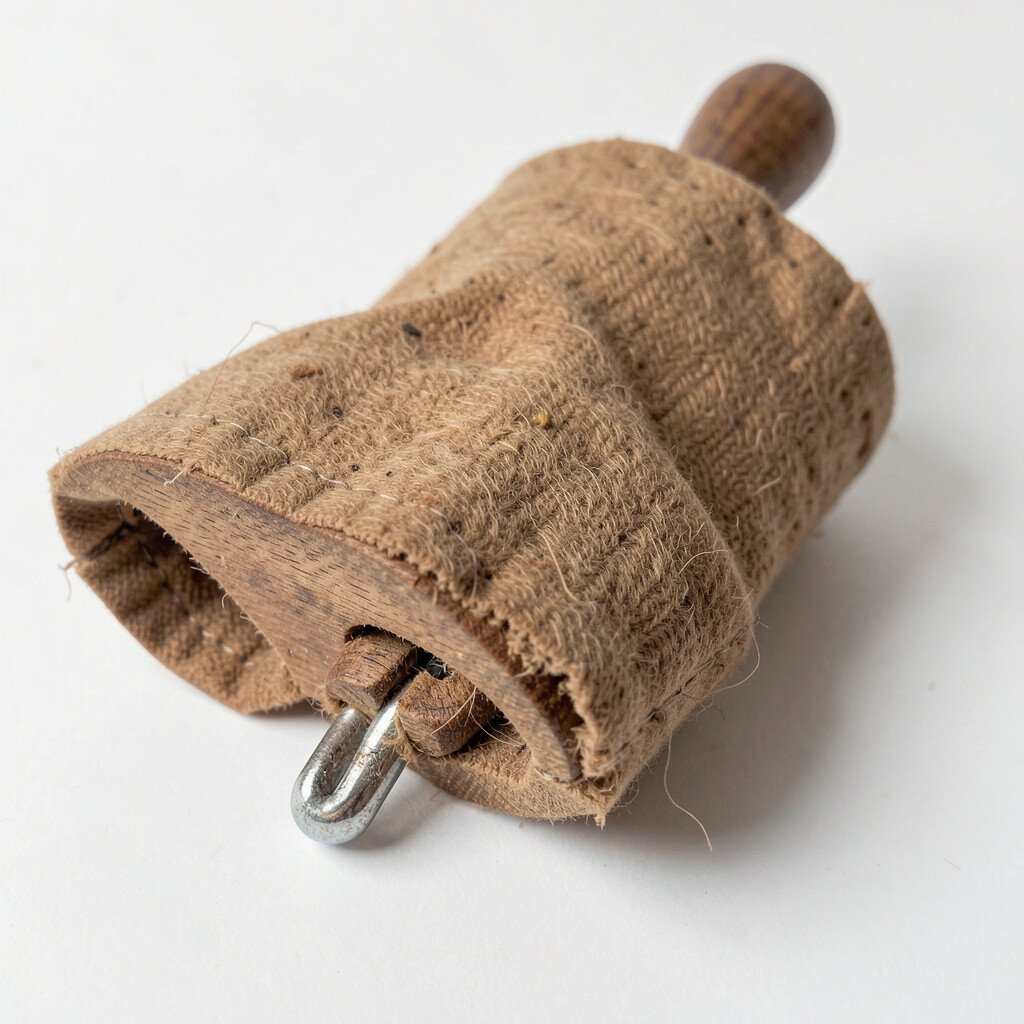
Wrap an old sock around a small block, then use it to dab and knock down peaks. The fabric creates a broken, organic surface because it compresses in different spots each time.
You’ll see irregular stippling that looks handmade and forgiving on uneven drywall. This is a unique approach because the tool is improvised, yet the effect looks intentional once it’s painted. For practical tips, keep the sock from getting too wet and wipe excess compound off the block so it doesn’t leave blobs.
Personalization is easy since fabric type changes the pattern, like terry cloth versus cotton. Cost considerations are great because you may already have materials at home. This method also fits current trends toward imperfect beauty and warm texture that feels human rather than factory-made.
Try a small test strip first so you can dial in how heavy your dabs should be before going full wall.
20. Corner-to-Corner Knockdown with Adjustable Frame Tool
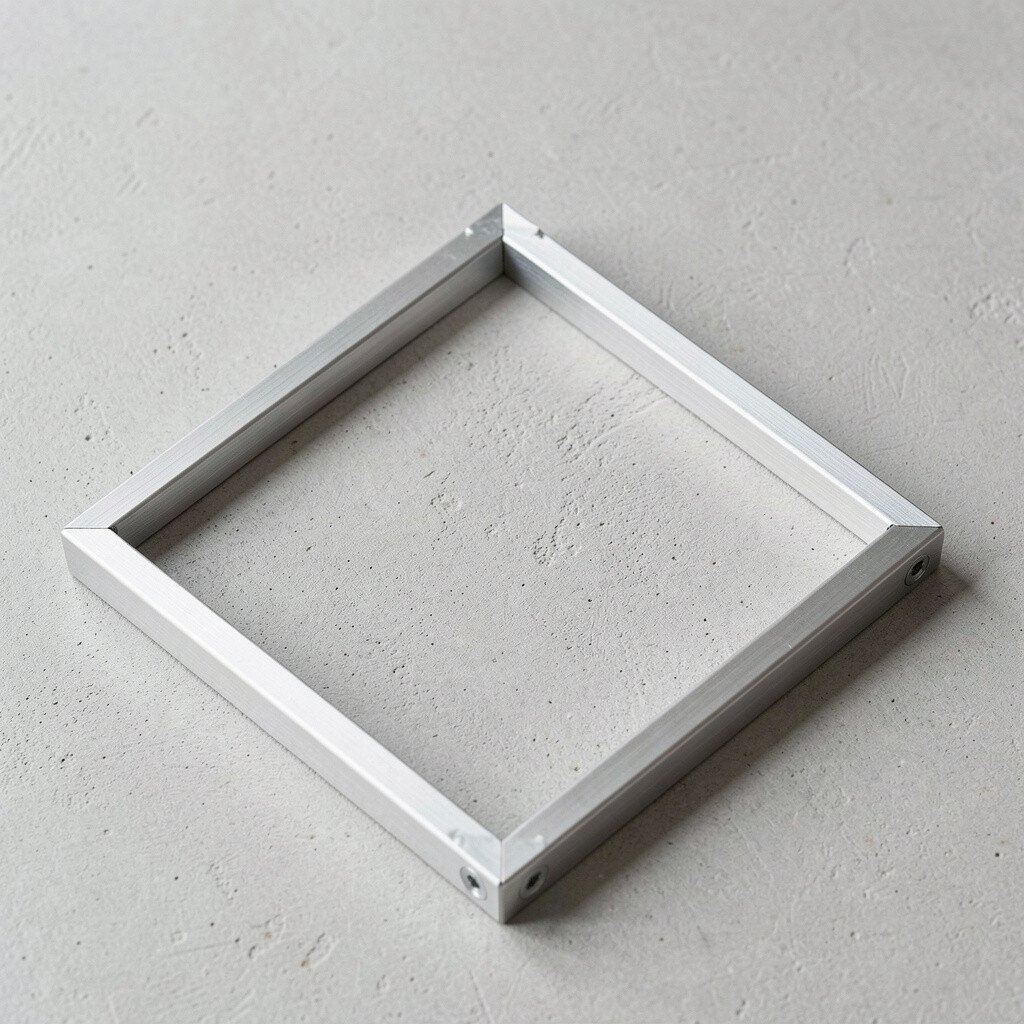
Use an adjustable frame tool to keep your knockdown aligned across large sections. You set the frame so the tool path stays steady, then knock down along consistent lines.
The benefit is layout control, which can make texture look custom even when you’re covering big walls. You’ll also reduce fatigue because the tool guides your movement instead of forcing you to freehand every pass. For practical tips, adjust the frame to match your wall height and do one dry run before you start applying compound.
To personalize, set the frame to create either tight bands for a modern look or wider bands for softer rhythm. Cost considerations depend on the frame tool, but the time saved and reduced rework can make it worth it. If you’re following current trends, people are aiming for consistent texture patterns that pair well with minimalist furniture.
This is especially useful for matching adjacent walls so the room feels cohesive from corner to corner.