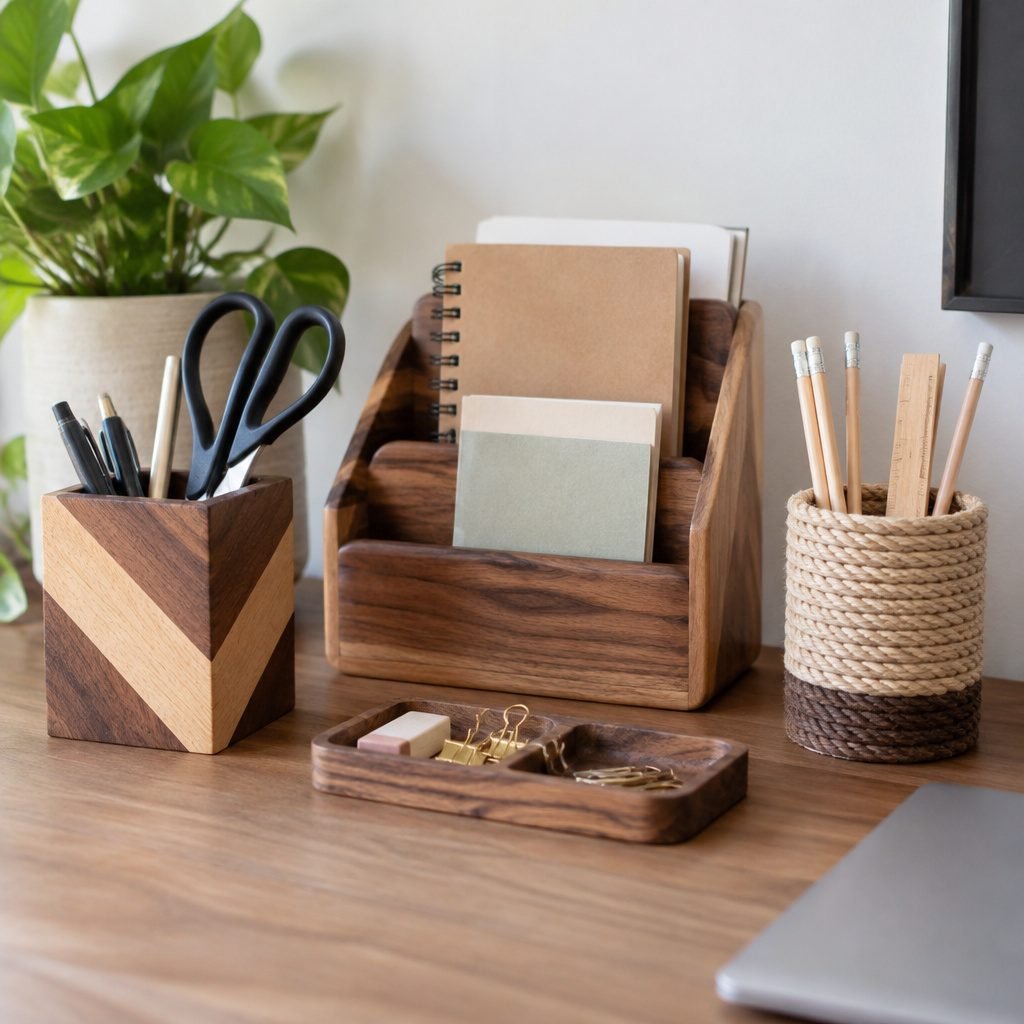
Your desk can look calmer without losing your momentum. Handmade organizers add warmth, function, and a little pride every day.
1. Cork Coaster Catchall
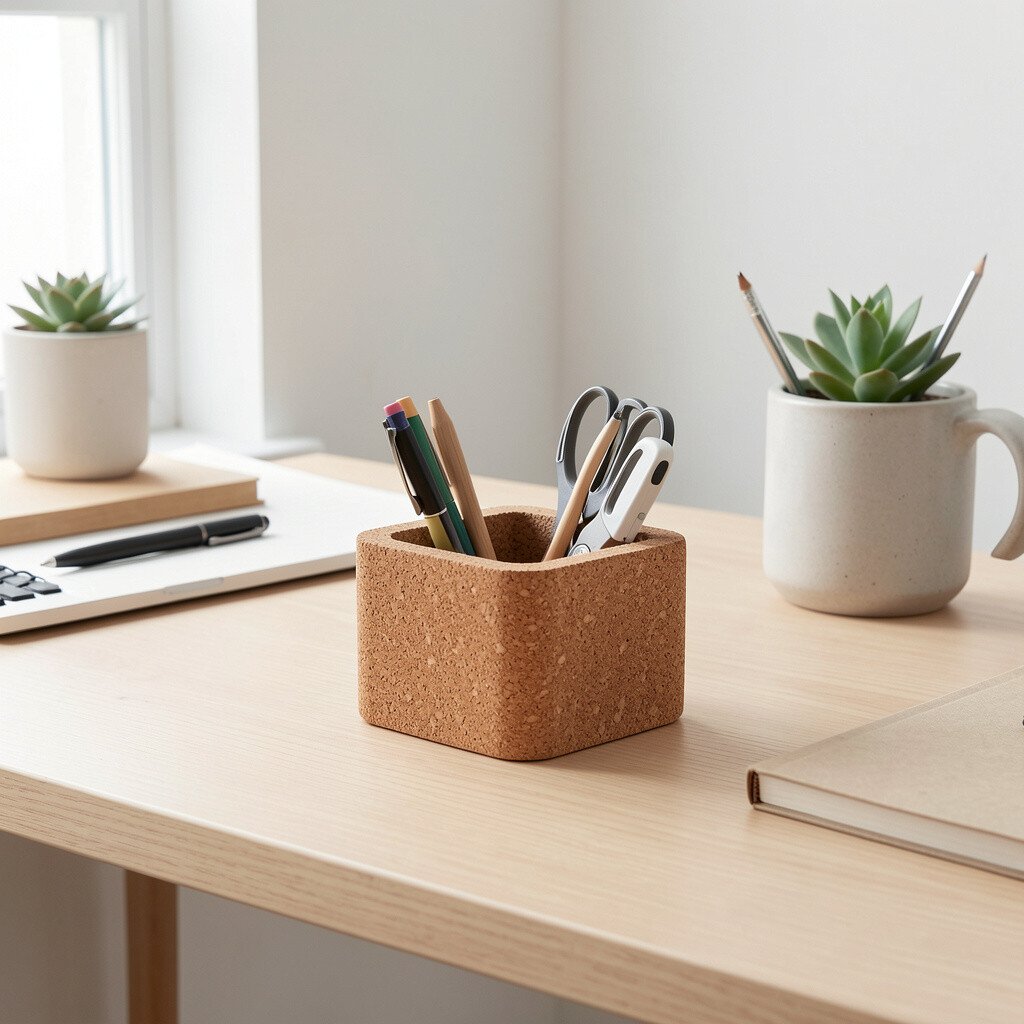
Imagine a neat tray made from layered cork coasters, stacked like tiny stepping stones. It catches paper clips, binder clips, and spare rubber bands so they stop disappearing.
To build it, glue several cork pieces into a shallow base and sand the edges lightly for a smooth feel. Choose a small size that fits beside your keyboard, then add a soft felt pad underneath to protect your desk.
2. Desk Drawer With Felt Dividers
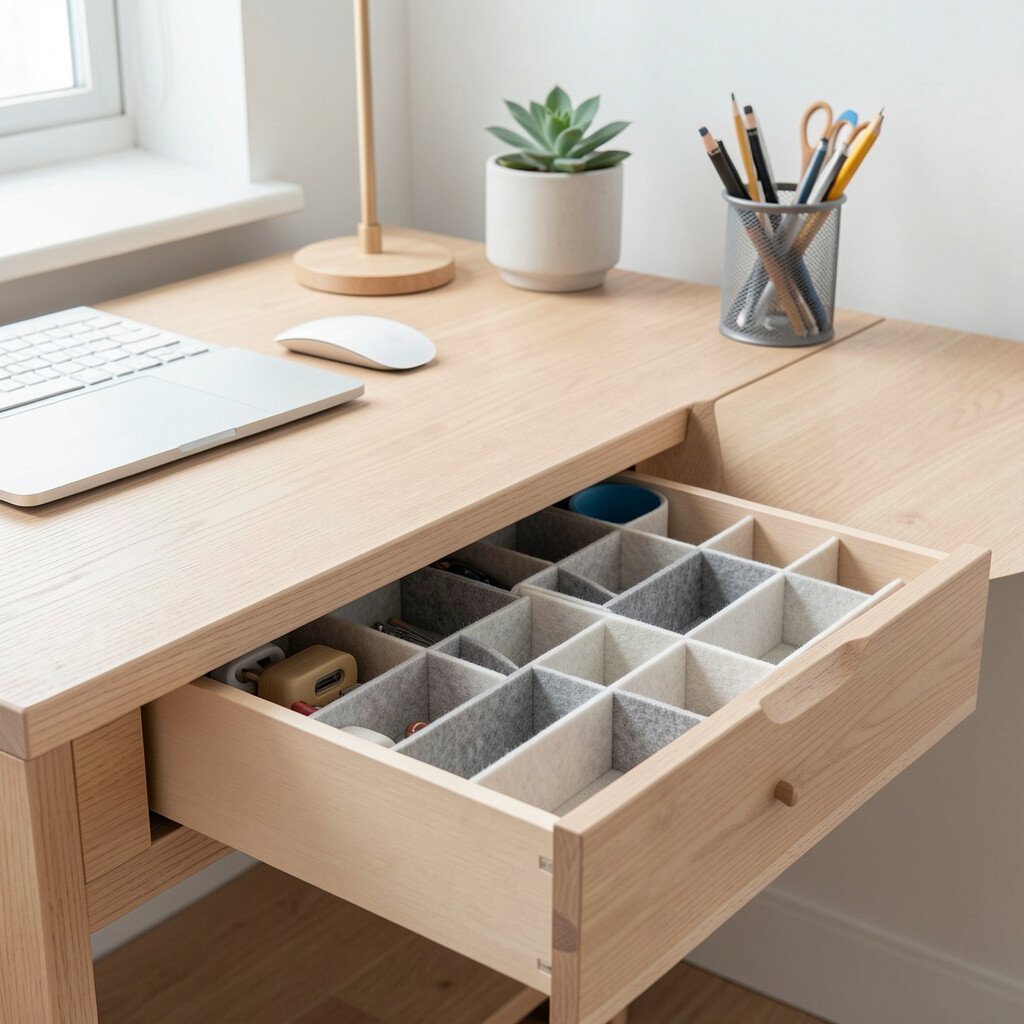
Picture a slim drawer where everything has its own quiet home. Felt dividers hold charging cables, sticky notes, and spare pens without scratching surfaces.
Cut rectangles of felt to match your drawer width, then glue them at small intervals so they flex slightly. Keep one side for daily items and one side for backups so you can grab what you need fast.
For personalization, use different felt colors for different tool types, like warm neutrals for writing and cooler tones for tech. This setup also helps you avoid clutter because each object returns to a specific slot every time.
3. Twine and Clay Pen Stand
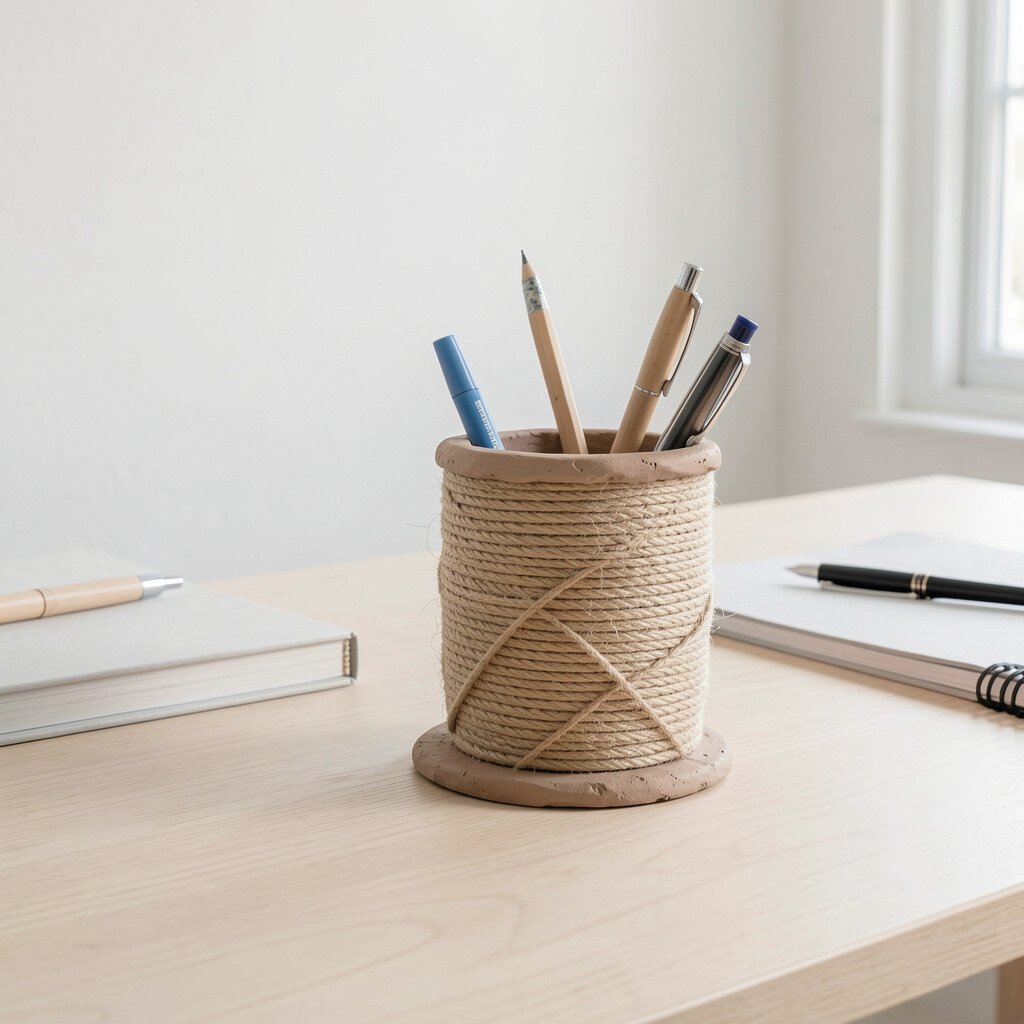
Think of a pen stand shaped from air-dry clay, wrapped with twine for texture. When your tools are visible but contained, your workspace feels focused instead of frantic.
Roll small clay balls, press them into a ring, then bake or air-dry according to your clay instructions. While it’s still workable, poke holes or indent shallow cups for pens, markers, and a favorite pencil.
Wrap twine around the outer edge and tie it with a simple knot so it looks intentional. Choose a darker clay tone for a grounded look, and consider a quick seal if you want it to resist dust.
To keep it practical, place the stand near your writing area and leave just enough room so your hand can move smoothly. Handmade stands feel unique because no two knotted twine wraps come out exactly alike.
4. Minimalist Dock for Sticky Notes
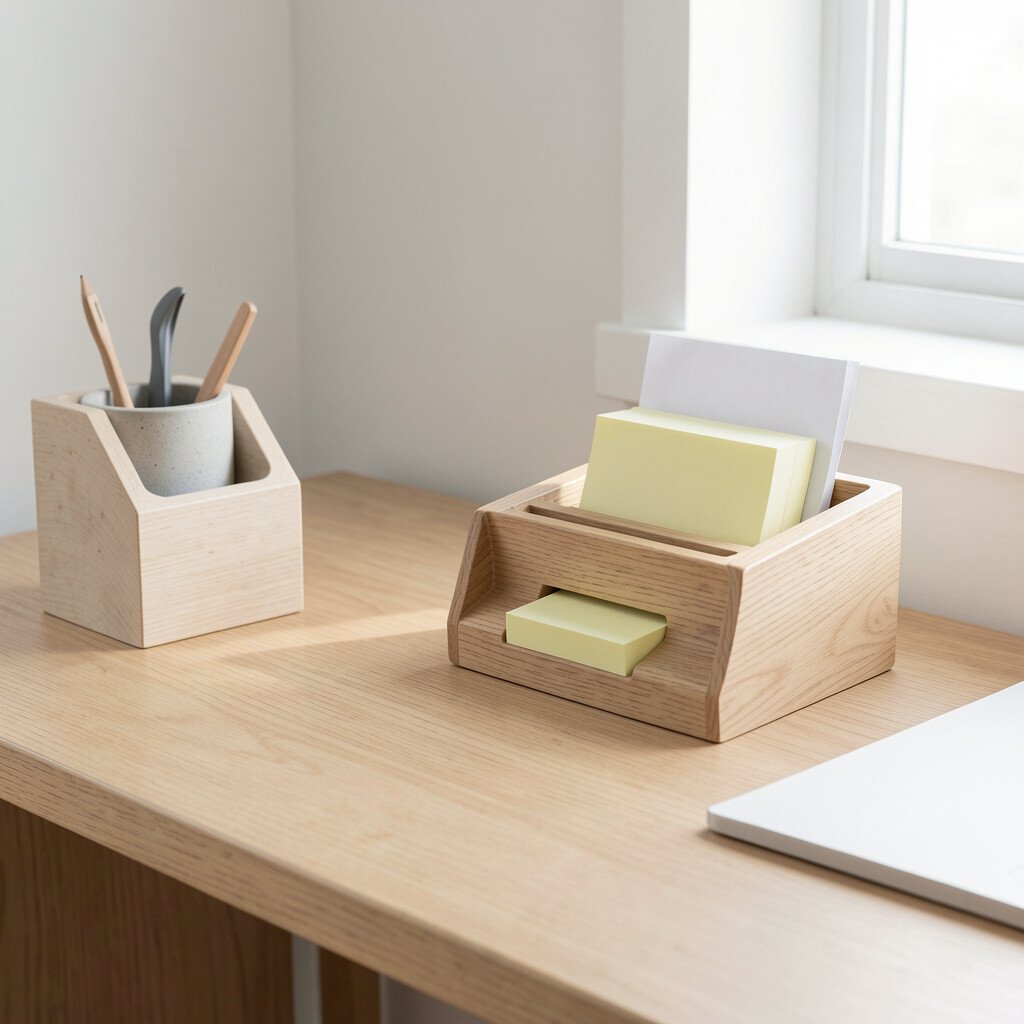
Imagine a small wooden dock that holds sticky notes upright like a tiny book. Your notes stay easy to flip through, and the desk surface stays clean.
Use a thin scrap of wood or a small offcut, then sand it until it feels silky. Glue a strip along one side as a stop, and add a gentle lip so notes don’t slide away.
5. Wall-Mounted Shelf With Pegboard Insert

Picture a floating shelf with a pegboard panel tucked underneath for quick grab-and-go tools. It keeps your desk clear while still putting essentials in view.
Attach a simple shelf to a stud or strong anchor, then cut a pegboard insert to match the underside. Add hooks for scissors, a tape dispenser, or charging adapters, and keep weight modest for stability.
For personalization, paint the shelf the color of your room, then leave the pegboard in a natural tone for contrast. This is a great current trend because more people are using vertical space to reduce desktop clutter.
To keep costs low, use reclaimed wood and thrifted pegboard if you can. The best part is how quickly you can rearrange hooks as your routine changes.
6. Painted Clothespin Cable Clips
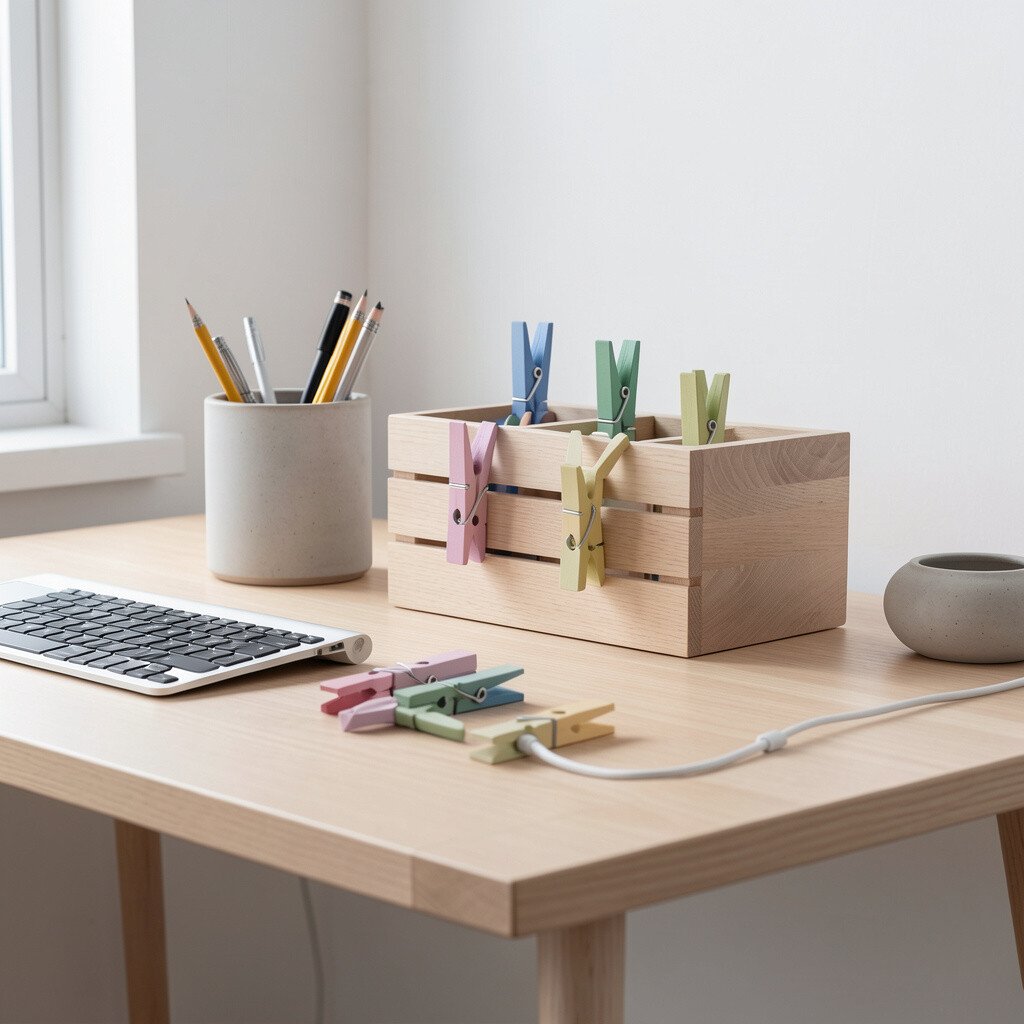
Imagine small clothespins painted in soft matte colors, lined along the back edge of your desk. They hold cables neatly so your keyboard area stays calm and tidy.
Clean and dry clothespins, then paint them with craft paint and let them fully cure. Clip cables in a gentle loop, keeping slack so you can move your devices without yanking wires.
This handmade organizer feels unique because you can match the colors to your monitor stand or notebook covers. For practical results, keep clips grouped by cable type so you can trace power and data lines easily.
If you’re cost-conscious, you can buy a small pack of wooden clothespins and paint only the ones you need. It’s a simple upgrade that makes your setup look designed, not accidental.
7. Stackable Paper Sleeve From Scrap Fabric
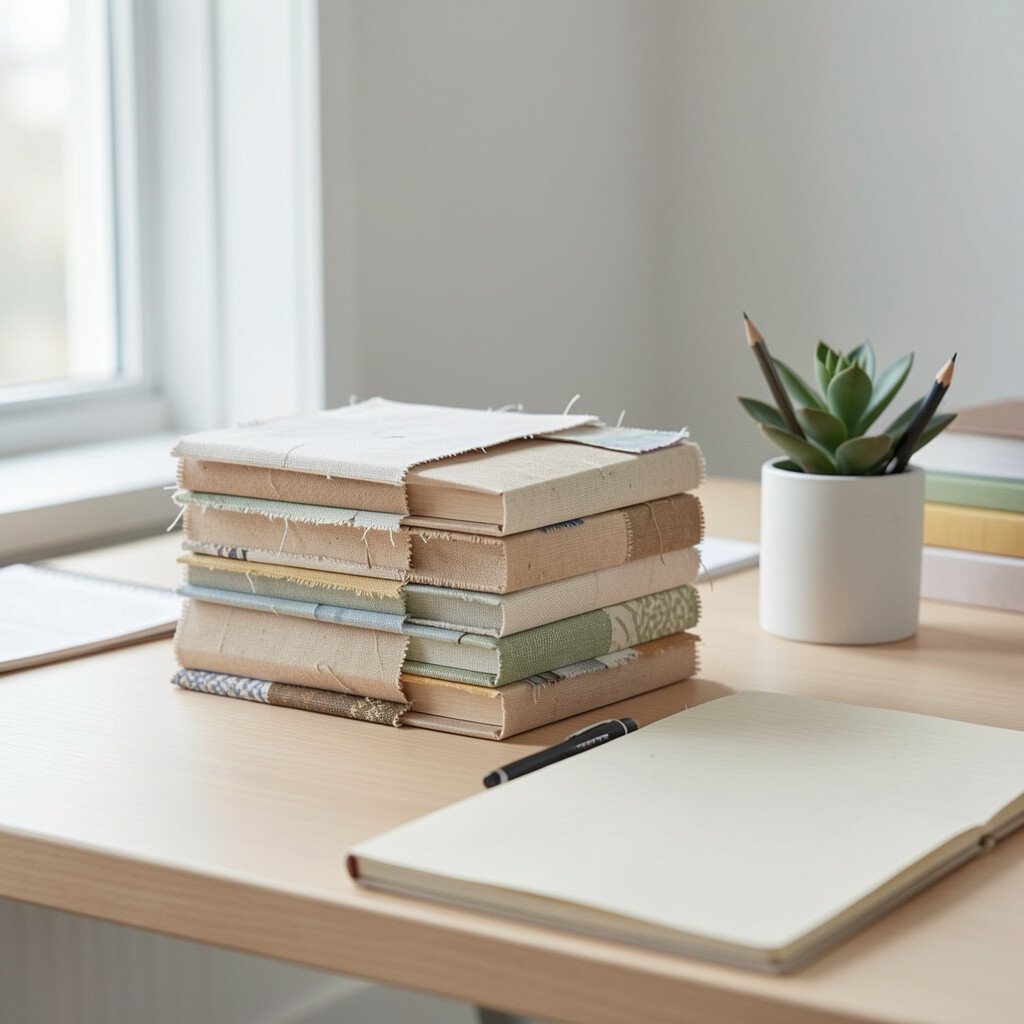
Picture a set of fabric sleeves stacked like tidy books, each one holding a different paper type. Bills, notes, and printed pages stay in the same spot instead of spreading across your desk.
Cut fabric strips, fold edges neatly, and stitch or glue them into sleeves with open tops. Add a fabric tie or elastic band so the pages don’t slide out when you reach for them quickly.
Choose a neutral fabric like linen or cotton canvas for a minimalist vibe, and use one accent color for visual warmth. This design is easy to personalize with embroidery initials or a small stitched patch.
Keep sleeves sized to your paper habits, such as one for in-progress tasks and another for waiting items. The uniqueness comes from your fabric choices and how the sleeves drape naturally.
8. Cut-Leaf Ring Trivet for Hot Tools

Imagine a trivet made from dried leaves pressed into resin or glued into a layered board. It protects your desk surface when you set down a warm device or a hot mug near your workspace.
Start with a firm base, then arrange leaf pieces carefully and seal them with a clear coat. When everything dries, you get a glossy spot that also acts like a landing pad for daily items.
9. Magnetic Box for Tiny Parts
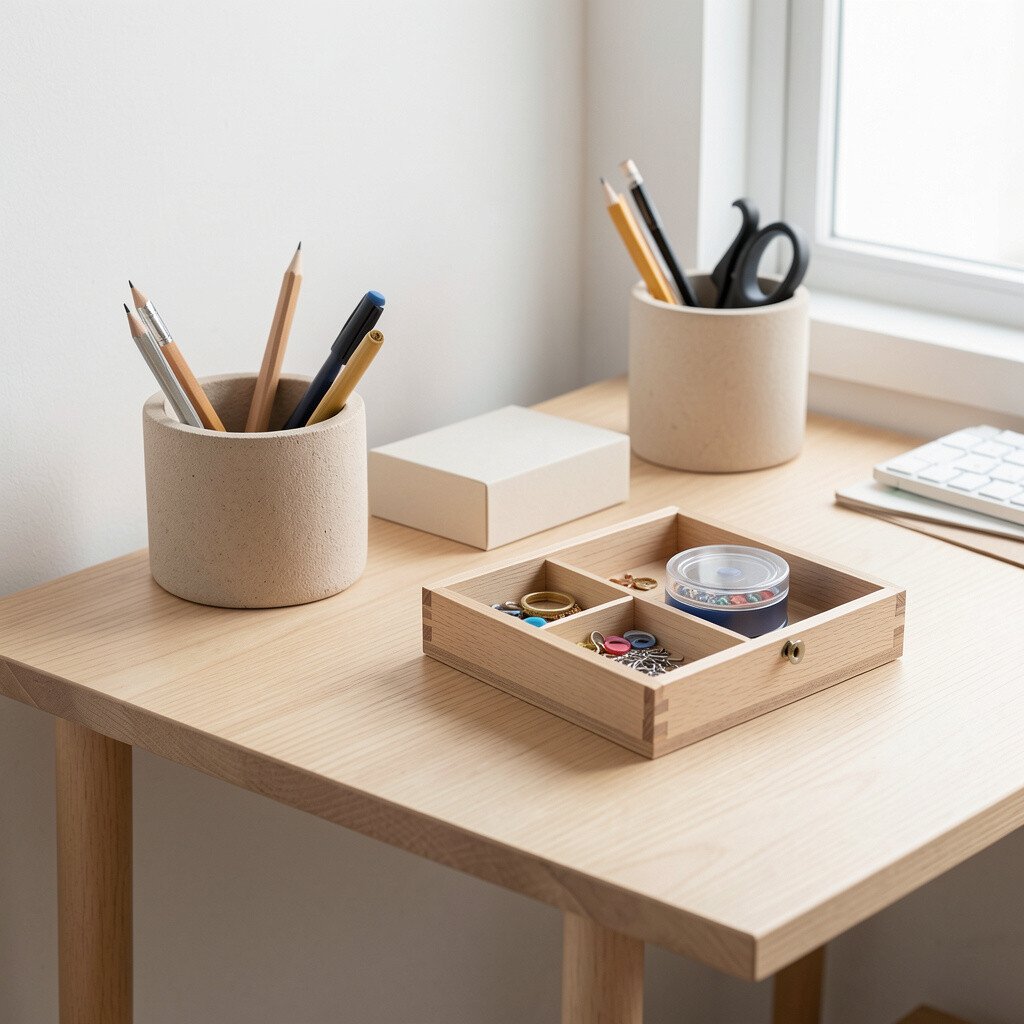
Picture a slim organizer box with a magnetic lid, perfect for tiny parts like screws, USB adapters, or spare headphone caps. It keeps small things from blending into desk dust.
Create a box from cardboard, wood, or a repurposed container, then attach a thin magnet sheet under the lid. Place magnets or a magnetic strip on the inside so items stick lightly and stay put while you work.
For practicality, label only on the outside with a small sticker or handwritten marker so the inside stays clean. This also fits current habits because many people are favoring small, closed storage to keep minimal desks truly minimal.
Cost considerations are friendly here since you can reuse a container and just buy magnets. The uniqueness shows up in how you shape the inside sections for your own tools.
10. Reclaimed Wood Sorter for Inbox Cards
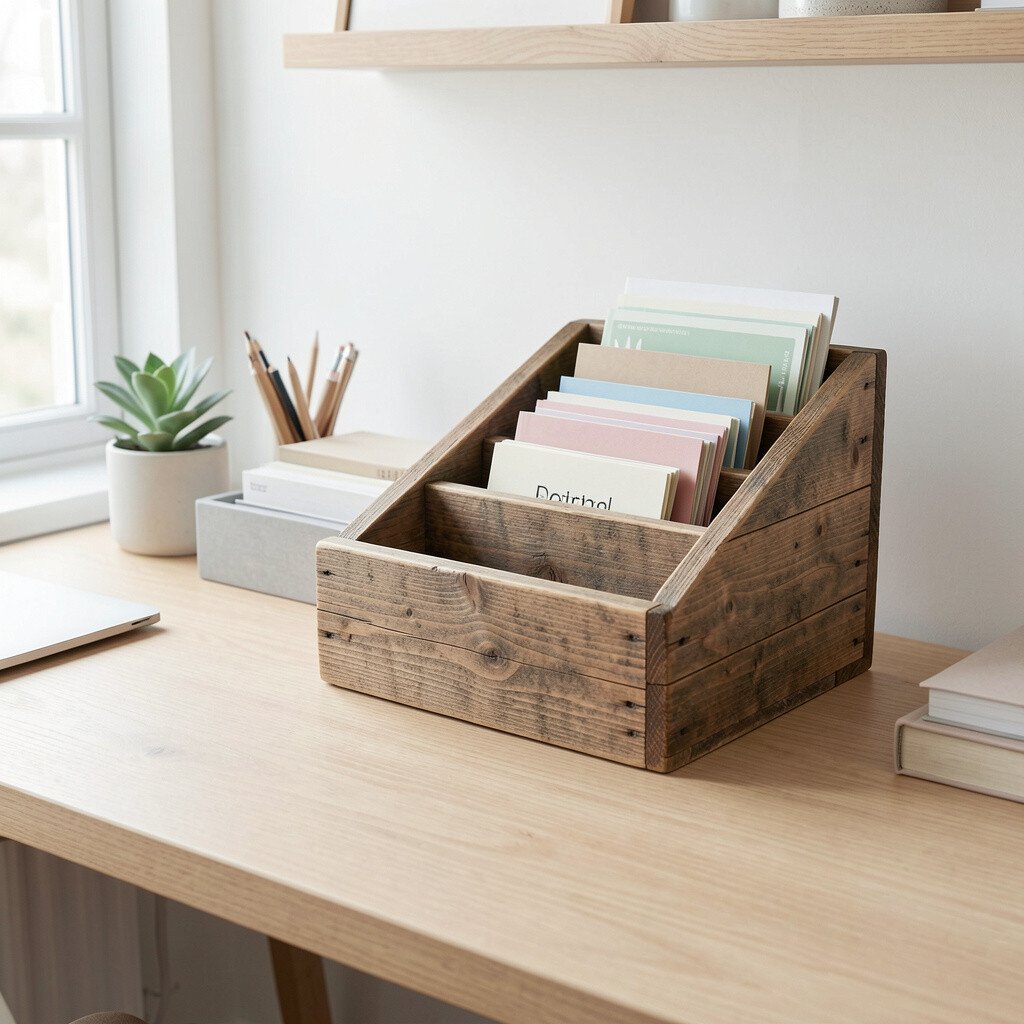
Imagine a reclaimed wood sorter with two or three angled slots for mail and task cards. Your inbox items have direction, and your desk doesn’t turn into a paper pile.
Sand a small plank and cut angled supports so cards slide in and stay visible. Add a front lip so nothing slips off when you grab a note quickly.
Personalize it with a stain that matches your desk, or leave it natural for a lighter look. Keep it near your work zone so you can move items from incoming to ready without walking around your room.
11. Handmade Desk Clock Shelf With Hidden Tray
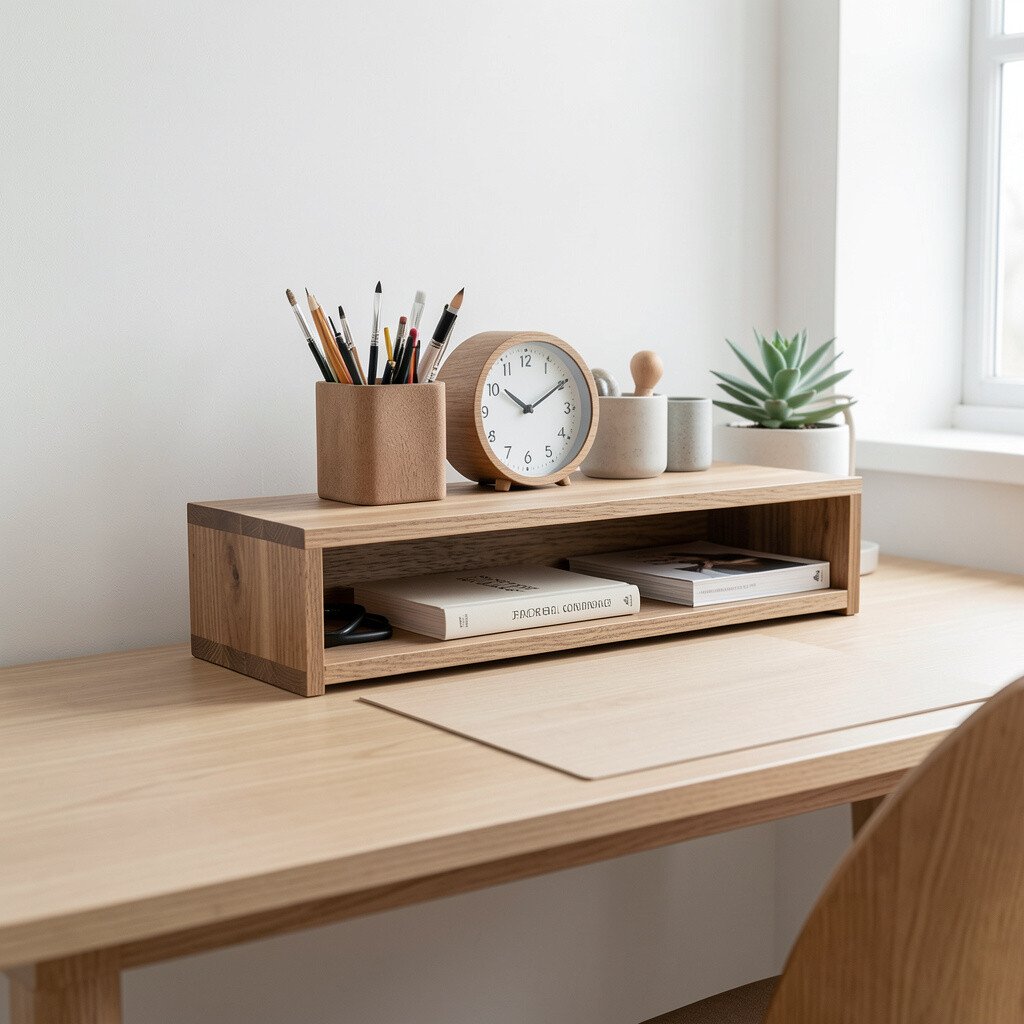
Picture a small shelf that holds a simple clock and also hides a tray underneath for daily essentials. While time stays visible, the surface stays clear.
Build a shallow top with a stable base, then place a small hidden compartment under the shelf lip. Set your clock centered for balance, and leave enough room under the tray to stash a card wallet, keys, or a spare notebook.
For cost savings, you can use a ready-made clock insert and focus on the shelf and tray parts. This idea feels trendy because it blends function with “one-piece” organization, which many minimalist setups aim for.
Uniqueness comes from the wood choice, finish, and how you style the tray contents. Keep it personal by storing only what you truly grab every day, not everything you own.
12. Mini Peg Rack for Tools and Notebooks
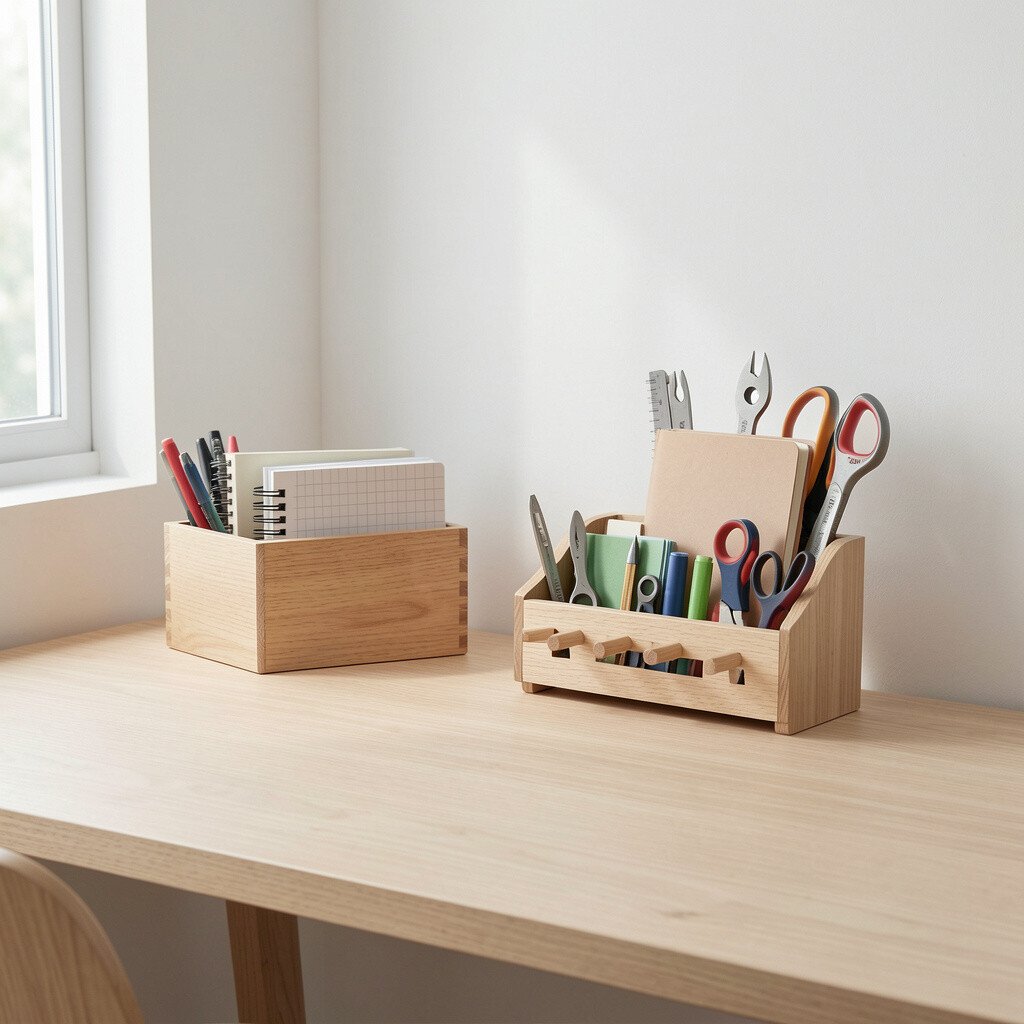
Imagine a compact rack with pegs holding notebooks, scissors, and a ruler in neat rows. It keeps your most-used tools at eye level while leaving your desk surface open.
Mount a small board and add pegs at equal spacing, then hang lightweight items with care. Use removable adhesive hooks if you want a no-drill option, but make sure the board feels stable.
To personalize, paint the rack in a soft neutral and add one hand-drawn mark that matches your style. Keep a simple rule for yourself so it doesn’t become a clutter magnet, like hanging only daily tools and rotating everything else.
Cost considerations are flexible since you can repurpose a picture frame backing or use inexpensive pegboard. The best part is how quickly you can change the layout when your workflow shifts.