Some landscapes feel like they’re calling your name. The right view can make your camera feel alive.
1. The Sunlit Ridge Over Silent Valleys
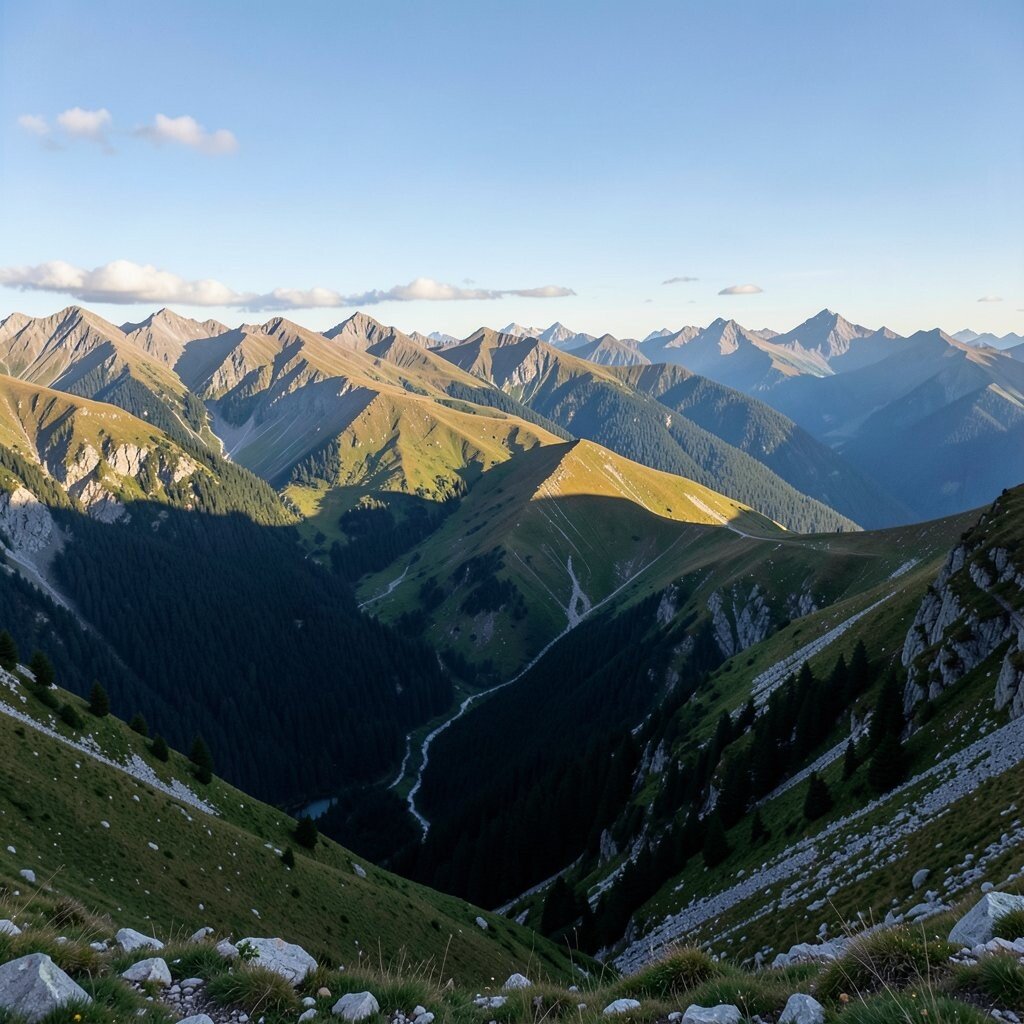
The ridge looks carved by light, with warm colors sliding along the rocks. In the distance, the valley stays quiet, like it’s holding its breath. The scene feels bigger than a single photo, and that’s what makes it special.
Try shooting during early morning when the sun is low and angles feel gentle. Use a slightly lower viewpoint so the ridge leads your eye toward the valley. If you want a calm mood, keep your shutter speed steady and avoid harsh highlights by turning your exposure down a touch.
For personalization, frame a small tree or a lone boulder in the foreground so the image has a “you are here” feeling. A simple phone tripod or a steady brace against a backpack helps a lot. This kind of sunrise work can cost little beyond your time, especially if you already own a camera or phone with manual controls.
2. Layered Blue Peaks Stacked Like Pages

Look across the horizon and you’ll see peaks layered like pages in a thick book. The far mountains go soft and blue, while the near ones stay sharp and grounded. That contrast gives your picture instant depth.
Capture this by using a lens with a medium zoom or by moving a few steps to change your distance from the foreground. Keep an eye on haze, since cool air can blur the far layers, and a clear breeze can sharpen them. If the sky is plain, place the horizon slightly off-center to keep the composition lively.
To make it uniquely yours, try a foreground that adds texture, like grass tufts or a fence line. For cost, no special gear is required; a basic tripod and clean lens wiping cloth are enough. A current trend is using subtle color grading, so try slightly boosting contrast and reducing the saturation just a little for a natural look.
3. A Waterfall Curtain Borrowed From Cloud Mist
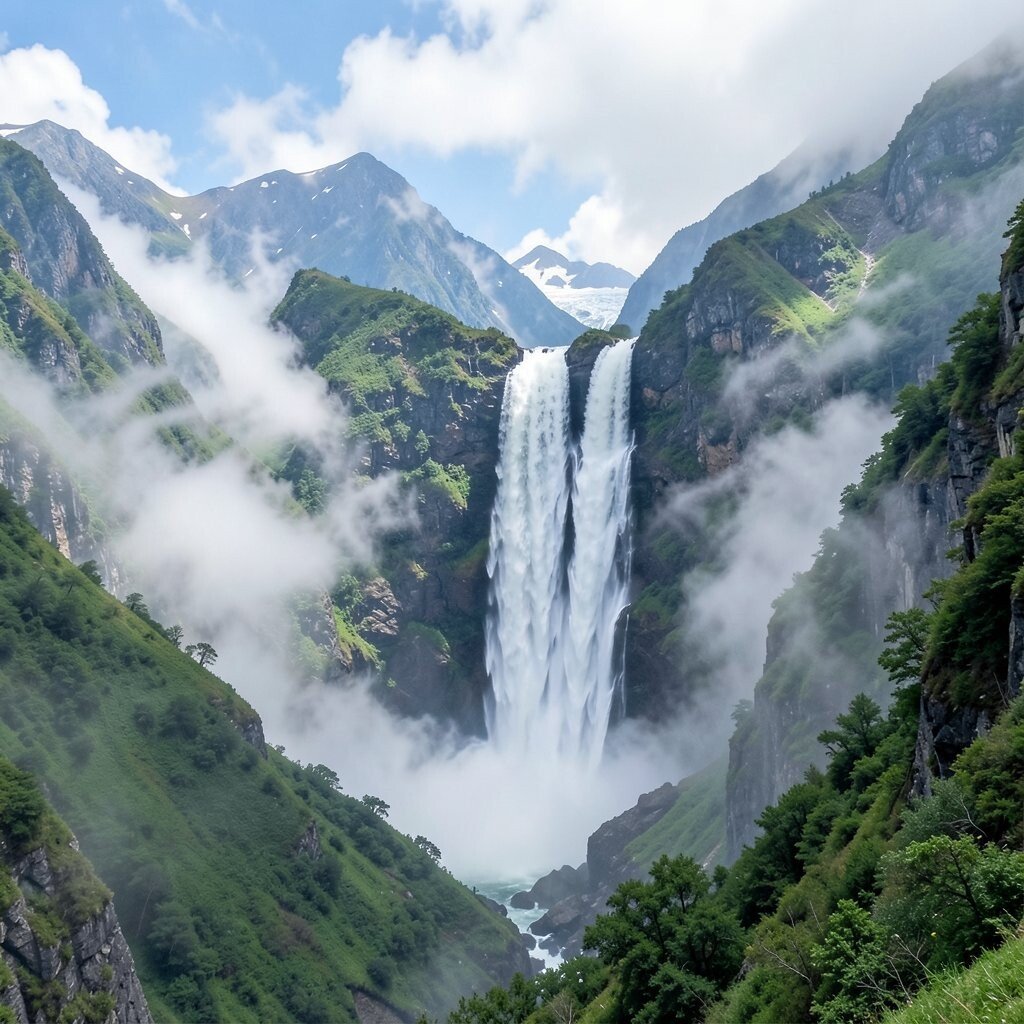
When you spot a waterfall, the air often smells fresh and cool, and your photo can feel instantly dramatic. The water becomes a moving curtain, and the mist makes nearby rocks glow. Even if your path is steep, the reward is loud beauty in every frame.
For practical results, use a slower shutter if you want silky water, or a faster shutter if you want sharp drops. Try a low angle so the falls fill more of the image and the rocks add shape. If you’re using a phone, switching to a “long exposure” mode can help, and wearing a rain cover keeps your gear safe.
Personalize the scene by adding a guide element, like a wet trail or a railing, that points toward the falls. Bring a microfiber cloth since mist loves to fog lenses. This trip can stay budget-friendly because waterfalls are often free to access, though parking fees and transport can add up.
4. The Lone Pine Silhouette Against a Bold Sky
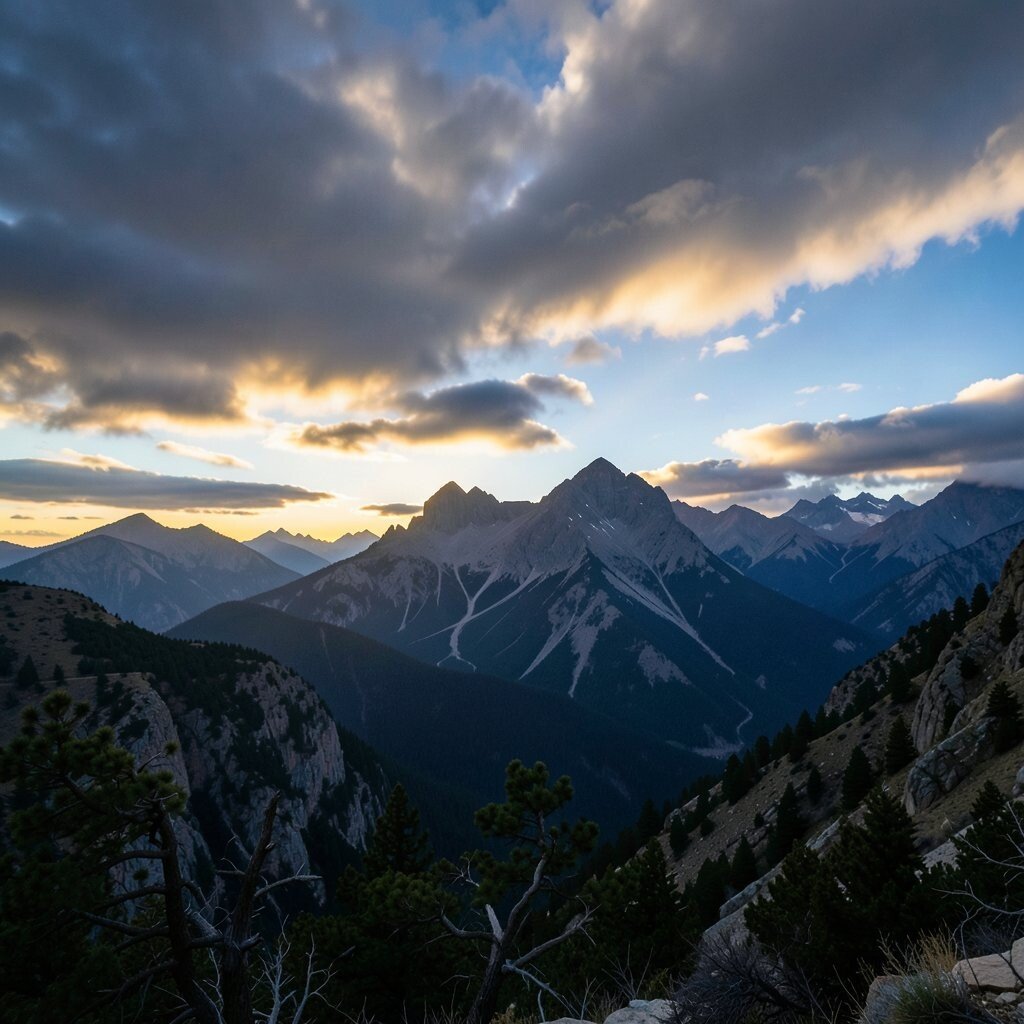
A lone pine can look like a quiet hero when the sky turns bright behind it. The trunk becomes a dark line, and the branches draw delicate patterns against the glow. This view feels simple, yet it can look cinematic.
Wait for the sun to sit low so the backlight creates a strong silhouette. Position the tree where it touches the horizon, then check your exposure so the sky stays bright and the tree stays dark. Turn off extra digital sharpening if you can, because silhouettes look better when edges stay clean.
To personalize, include a hint of ground texture like dry grass or stones to give the silhouette a story. You can use almost any camera for this, so costs stay low. A helpful current habit is reviewing your histogram or using exposure lock, since backlit scenes often fool auto settings.
5. Snow-Dust Peaks With Fresh Tracks in the Foreground
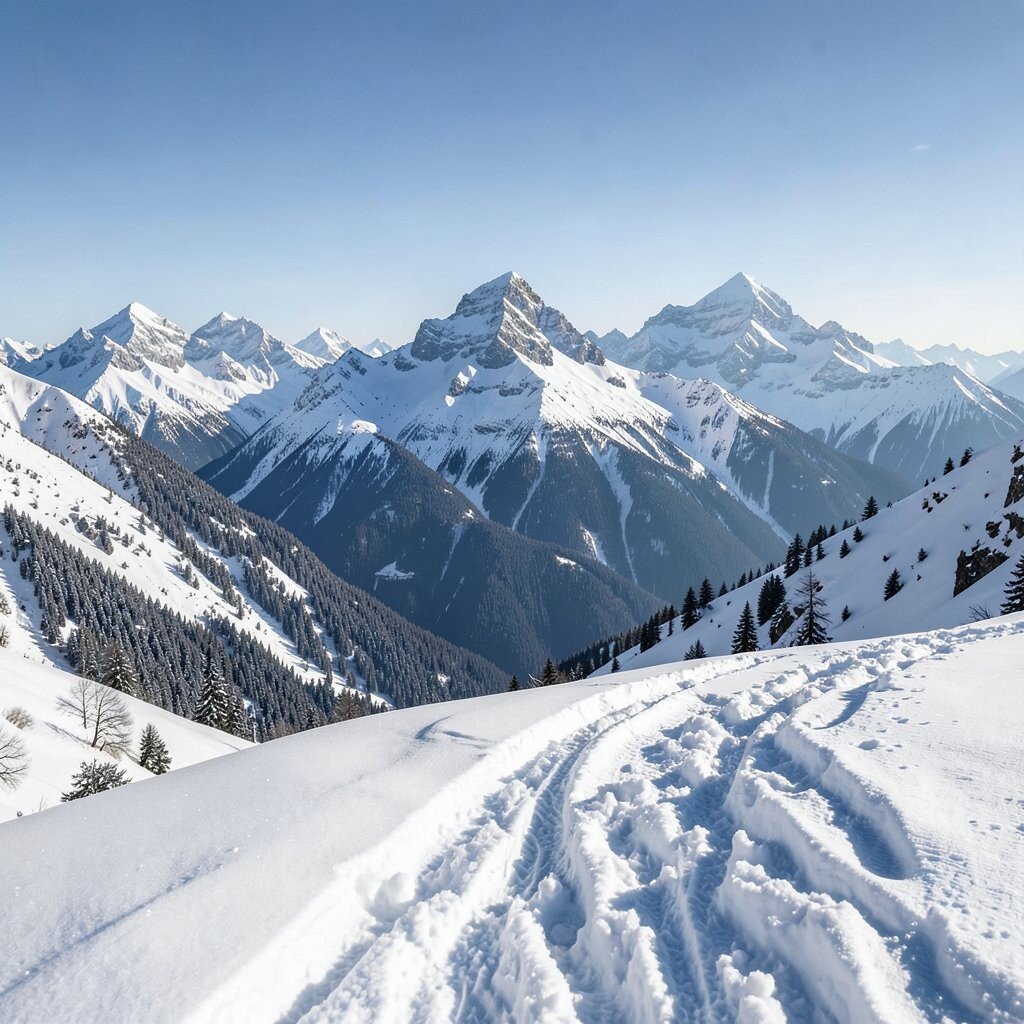
Snow dust catches light like powdered glass, and the whole scene feels freshly made. Tracks in the snow add motion, even when everything looks still. Your camera can capture that “right now” feeling.
Try photographing in the hours after a snowfall, when the light is soft and footprints show up clearly. Use a wider angle to include both peaks and tracks so your photo tells a two-part story. If wind is strong, hold your stance and use burst mode to catch the sharpest frame.
For personalization, look for a small contrast detail, like a scarf trail, a fallen branch, or a boot print near the edge of the frame. Costs are mostly about what you already have, though warm gloves and a lens warmer can prevent annoying fog. A popular trend is adding gentle grain in post, which helps snowy images feel textured instead of flat.
6. A Narrow Pass Framed by Rock Walls
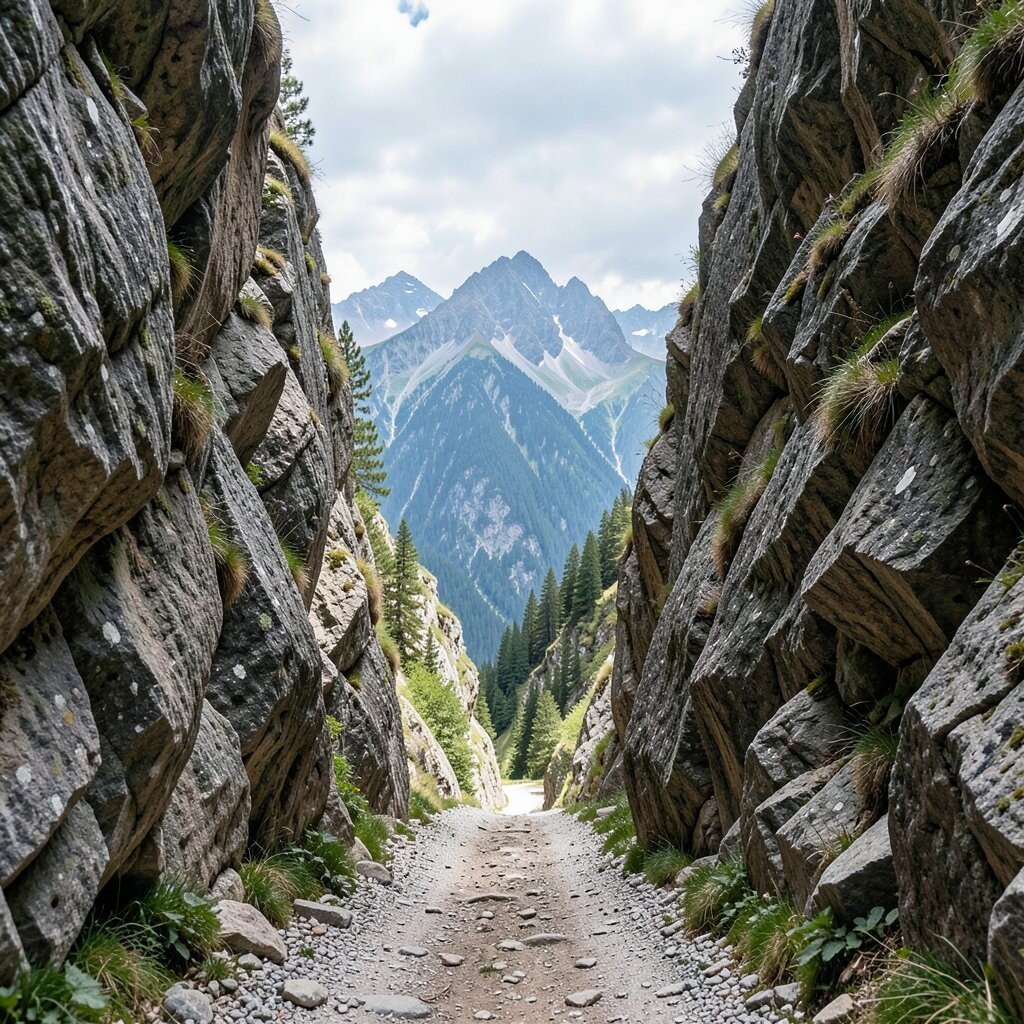
A narrow mountain pass can feel like a tunnel to a new world. The rock walls create natural borders, and the sky at the far end looks like a bright invitation. When you step inside the passage, your perspective gets instantly stronger.
To shoot it well, stand back enough to show depth, then use a slight downward tilt so the pass floor leads toward the opening. Try a panoramic sweep if you want the full corridor, or choose a single strong line if you want a cleaner look. Keep your camera steady because the tight space can tempt you to move quickly.
Personalize the scene by including a person-sized object, like a walking stick or a small cairn, to scale the view. This is usually a low-cost subject, since the best tools are patience and thoughtful framing. For current trends, many photographers like emphasizing leading lines, so let the walls guide the eye instead of adding too many filters.
7. The Ridge With Cloud Shadows Sliding Like Waves
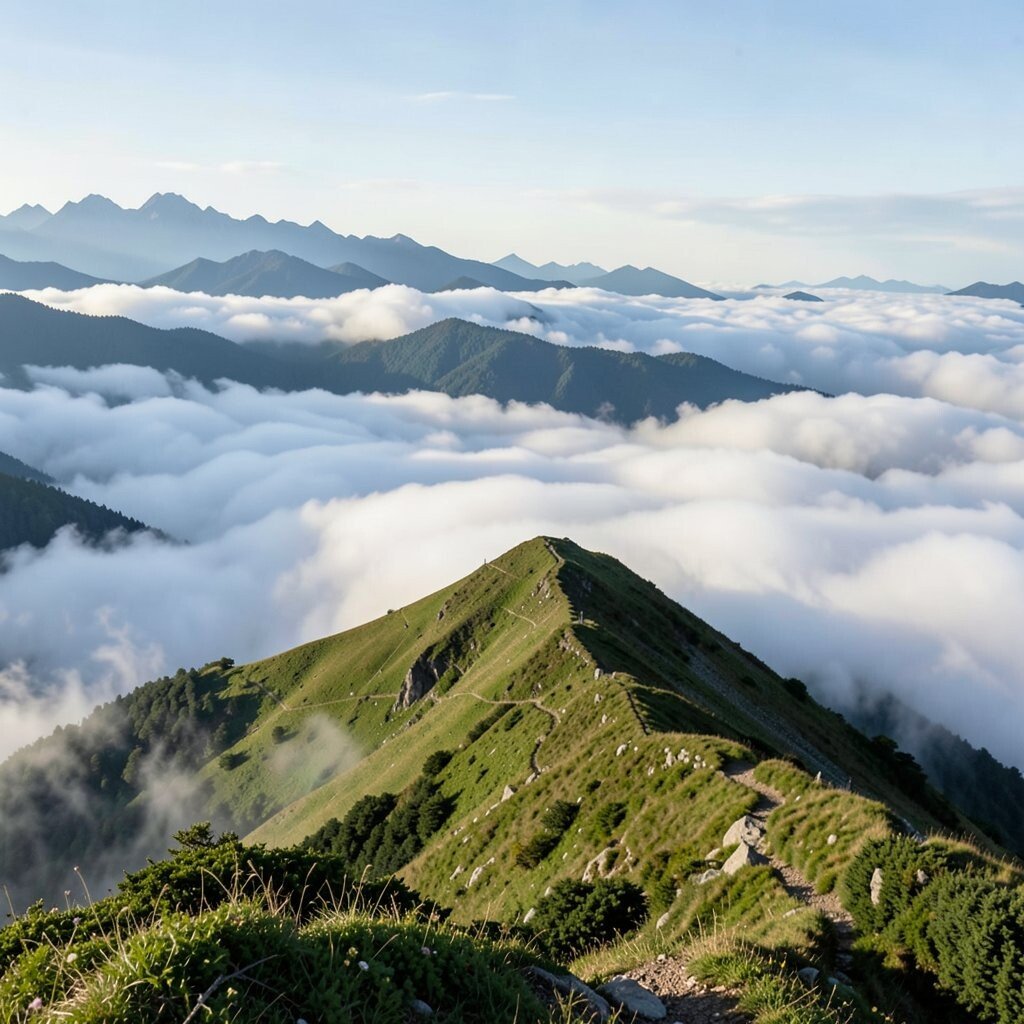
Cloud shadows can move across mountains in minutes, turning the whole landscape into a living painting. Dark bands roll over the slopes, and the sunlit areas flash warm and bright. The feeling is energetic, even when the mountains stand still.
Use a shutter speed fast enough to keep details crisp while clouds race by. Track the motion and time your shot when the shadow creates a clear shape across the ridge. If your camera supports it, try a burst sequence so you can pick the best moment later.
For personalization, choose a vantage point where you can include both shadow and light, then crop to highlight the pattern. Keep costs minimal by using existing gear and focusing on timing rather than equipment. A trend you’ll see often is minimal editing that keeps contrast natural, so resist overdoing clarity and instead adjust exposure carefully.
8. A Meadow Bowl Cradling Wildflowers and Peaks
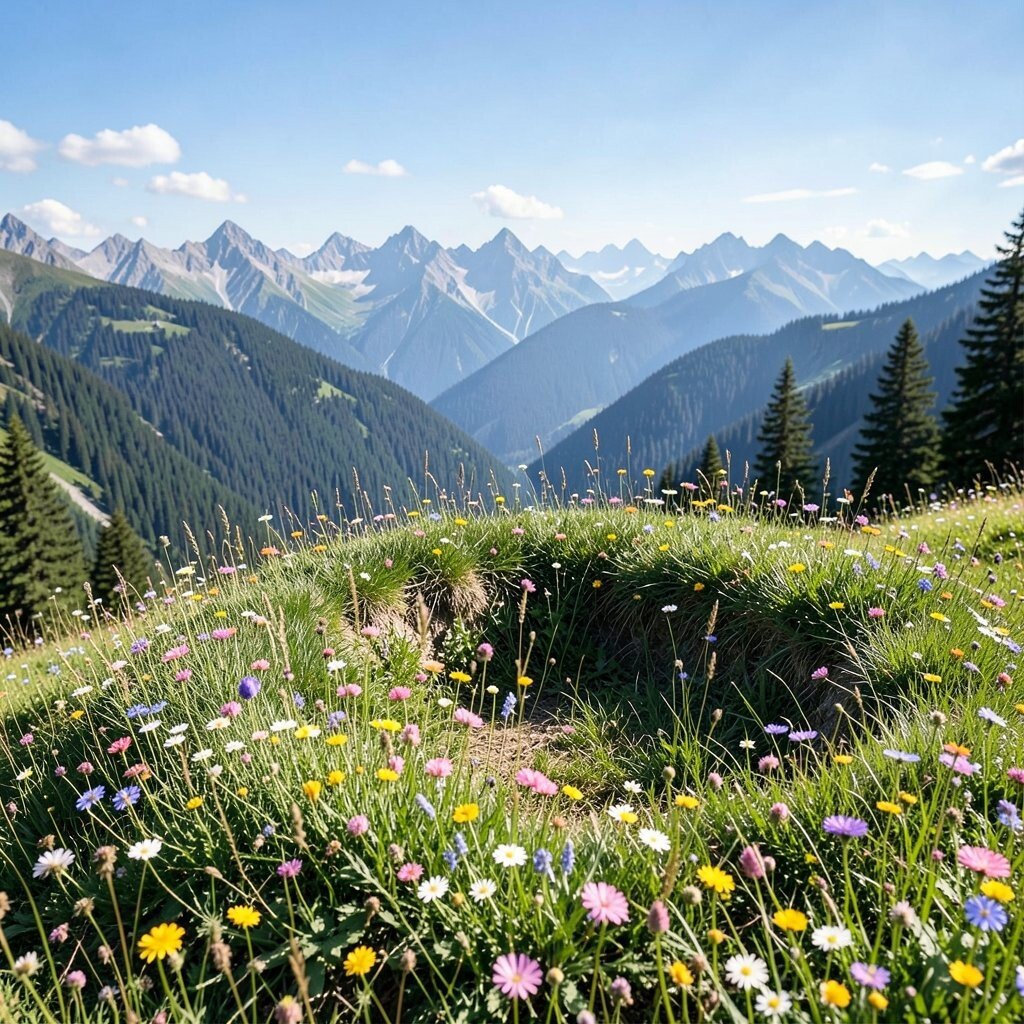
In a mountain meadow, the landscape feels welcoming and soft. Wildflowers can flicker in color, while the peaks stand tall behind them. That mix of gentle foreground and powerful background makes your photo feel balanced.
Get close to the flowers for a layered look, then include enough sky so the peaks still matter. Use a wide aperture if you have a camera, so the closest blooms pop and the mountains stay pleasingly soft. Watch the wind, since even a light breeze can shake stems and blur the frame.
Personalize the photo by choosing one main color theme, like pinks or yellows, and matching it with your editing style. This can be budget-friendly because nature provides everything you need, and a basic lens works well. A current trend is “subject-first” compositions, where the flowers become the star and the mountains are the supporting cast.
9. A Calm Lake Mirroring Mountains Like a Perfect Copy
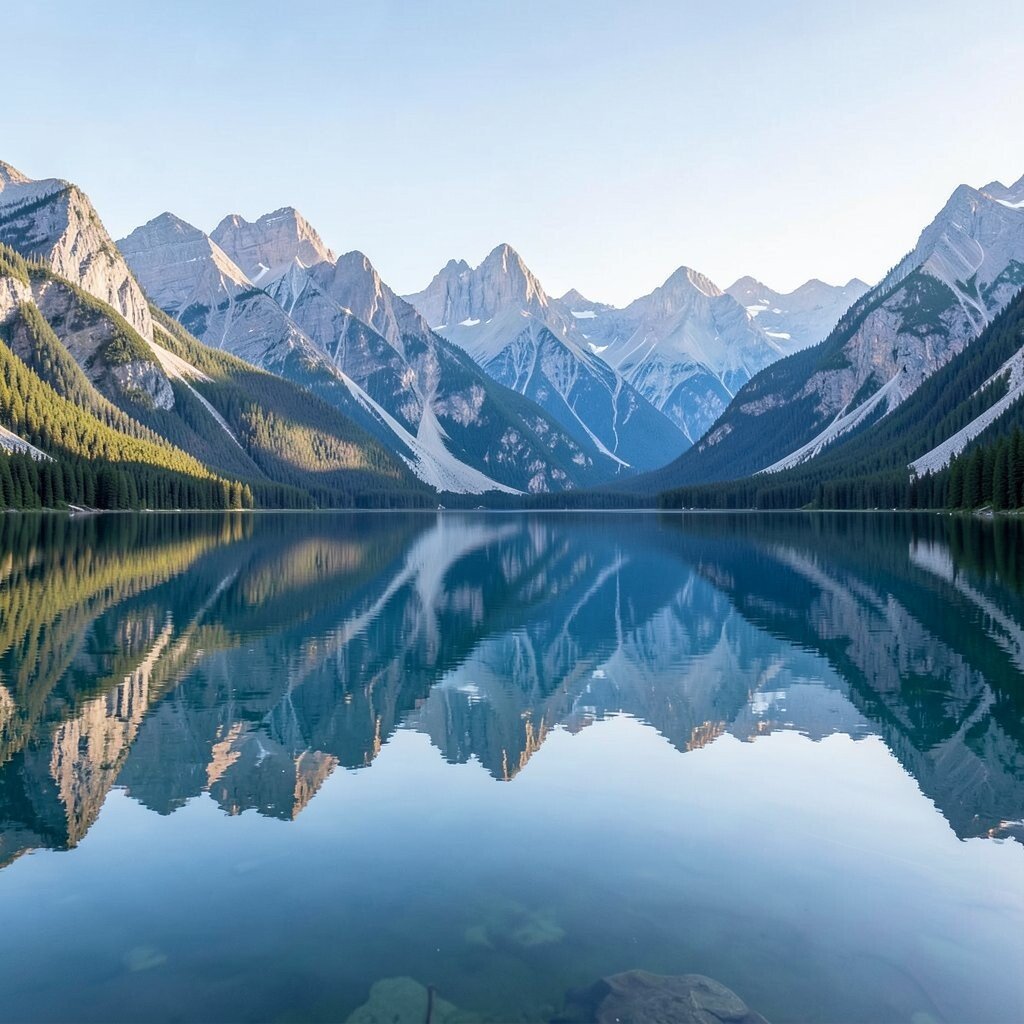
A still lake can make mountains look doubled, creating a mirror that feels magical. The reflections often show subtler colors than the sky, like gentle greens and pale grays. It’s the kind of view that makes viewers lean in to check the details.
Wait for minimal wind so the reflection holds, and choose a spot with a clear, unobstructed angle. Use a lower tripod height so the water takes up more of the frame and the reflection feels deep. If you’re shooting with a phone, turning on grid lines can help you keep the horizon level.
Personalize the scene by capturing ripples that form soft rings, which adds life without destroying symmetry. Costs are usually low because lakes are often accessible, though rentals or shuttle services might apply. A current trend is keeping reflections slightly darker than expected for a moody look, so adjust shadows carefully rather than using heavy contrast.
10. A Scenic Road Cut Through Mountains at Golden Hour
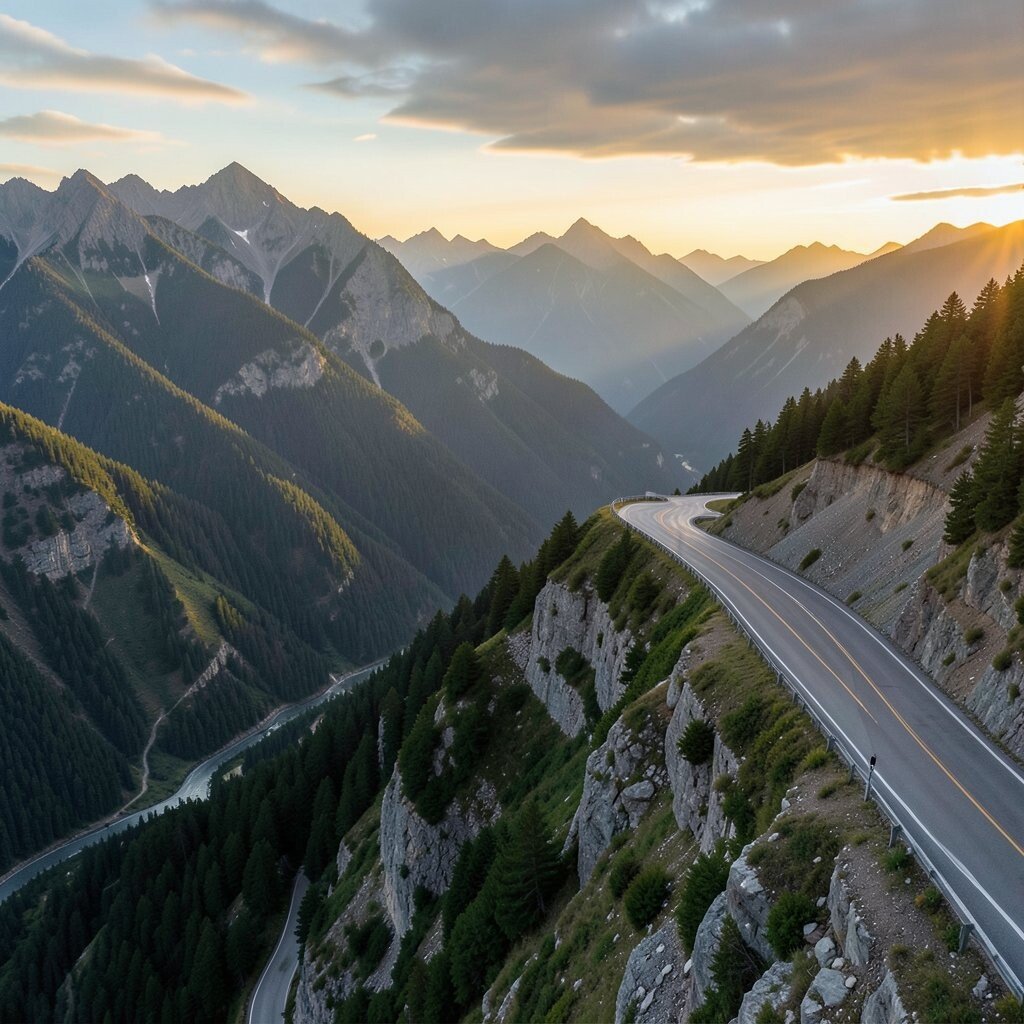
A mountain road can turn a simple view into a story of motion and adventure. Guardrails, switchbacks, and receding lines pull your eye deeper with every step you take. At golden hour, the surface glows, and everything looks warmer and friendlier.
For practicality, pick a safe pull-off spot and aim where the road curves toward your chosen peak. Use a wide-to-normal focal length to include the curve, and slightly underexpose so bright highlights don’t wash out. Try waiting for one car-free moment if you want a peaceful feel, or include a single passing vehicle for energy.
Personalize by choosing your “hero element,” like a bridge, a tunnel, or a distinctive bend, then build the composition around it. If you’re counting costs, you can make this happen with just driving, a phone, and a steady hand. A trend right now is subtle film-like color, so try warm highlights and softer shadows for that classic outdoor vibe.
11. A Craggy Peak With Birds Circling the Edges
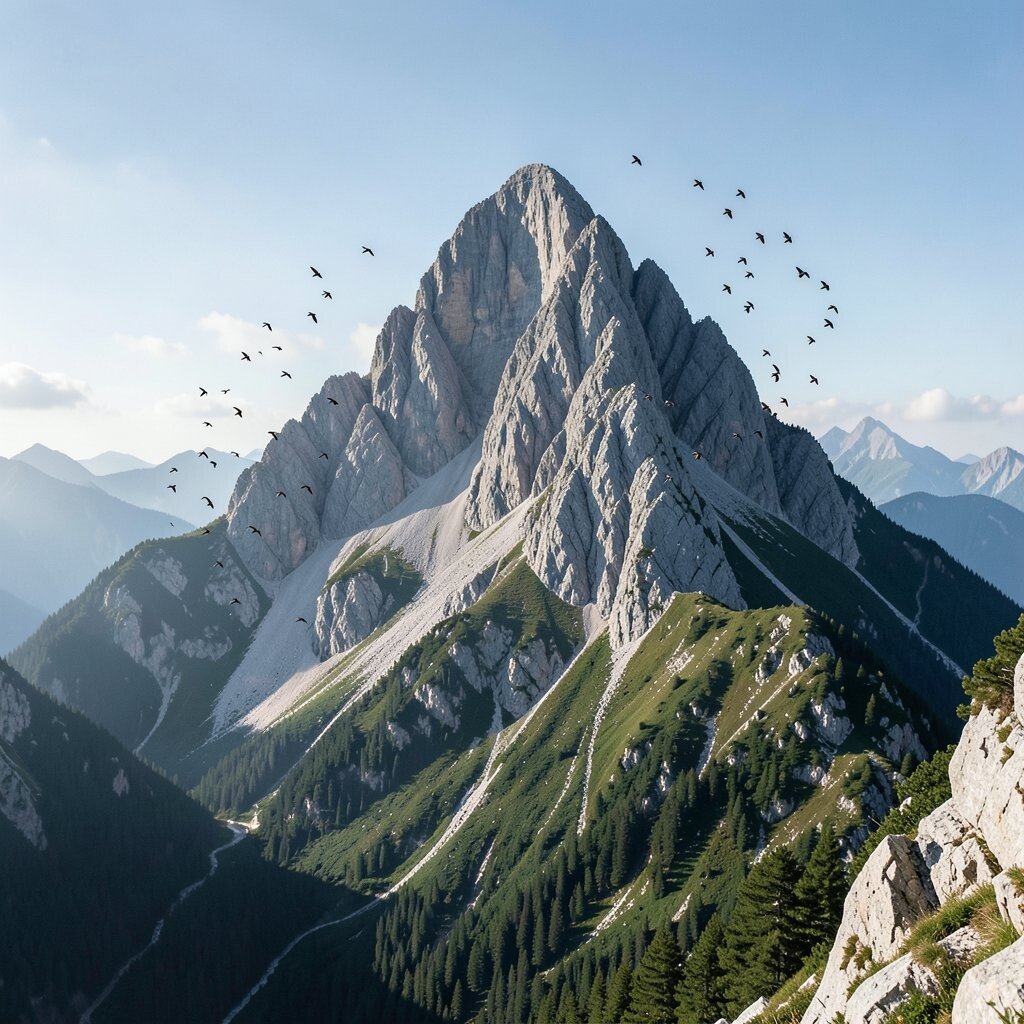
Craggy peaks look bold and rugged, and birds add a sense of scale that’s hard to fake. When you catch them against the stone and sky, the whole image feels alive. It’s also a chance to show how nature moves around the mountains.
To get actionable shots, watch the birds’ path and leave some space in the direction they fly. Use continuous autofocus and try short bursts so you can grab a clean wing position. If the light is strong, reduce exposure slightly to keep the sky from blowing out.
Personalize the photo by using the bird cluster as your subject, with the mountain as the dramatic backdrop. Costs are mostly about how often you can return, not equipment, since birds appear across many mountain viewpoints. A current trend is emphasizing negative space, so let the open sky hold most of the frame and make the action the focal point.
12. A Viewpoint Above the Cloud Line With a Celestial Glow
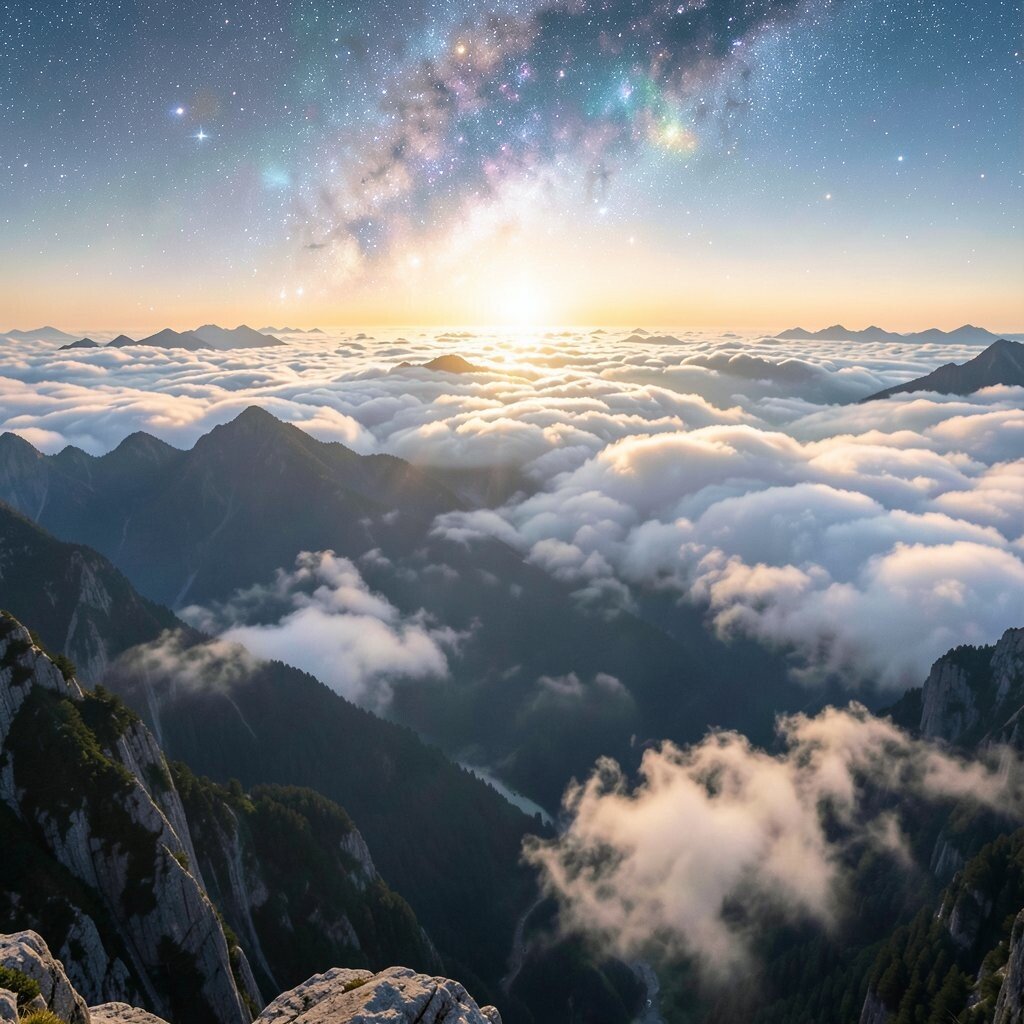
Above the cloud line, mountains can feel like islands floating in a soft ocean. The horizon turns hazy, and light diffuses so the colors look smooth and gentle. It’s dreamy, but it also feels deeply real when you’re standing there.
Use a moderate zoom or adjust your framing so the clouds form a strong base under the peaks. Keep your exposure balanced so both clouds and mountains show detail, then check your screen brightness in sunlight. If you want extra drama, wait for a break in the clouds where a peak edge shines clearly.
For personalization, include your own silhouette or a small gear detail only if it feels meaningful to you. This can be low-cost if you’re hiking to a viewpoint, though some areas have toll roads or entry fees. A trend in mountain photography is using gentle clarity and slight dehaze, but keep it subtle so the clouds still feel natural.
13. Terraced Slopes and Small Farms Winding Up the Mountain
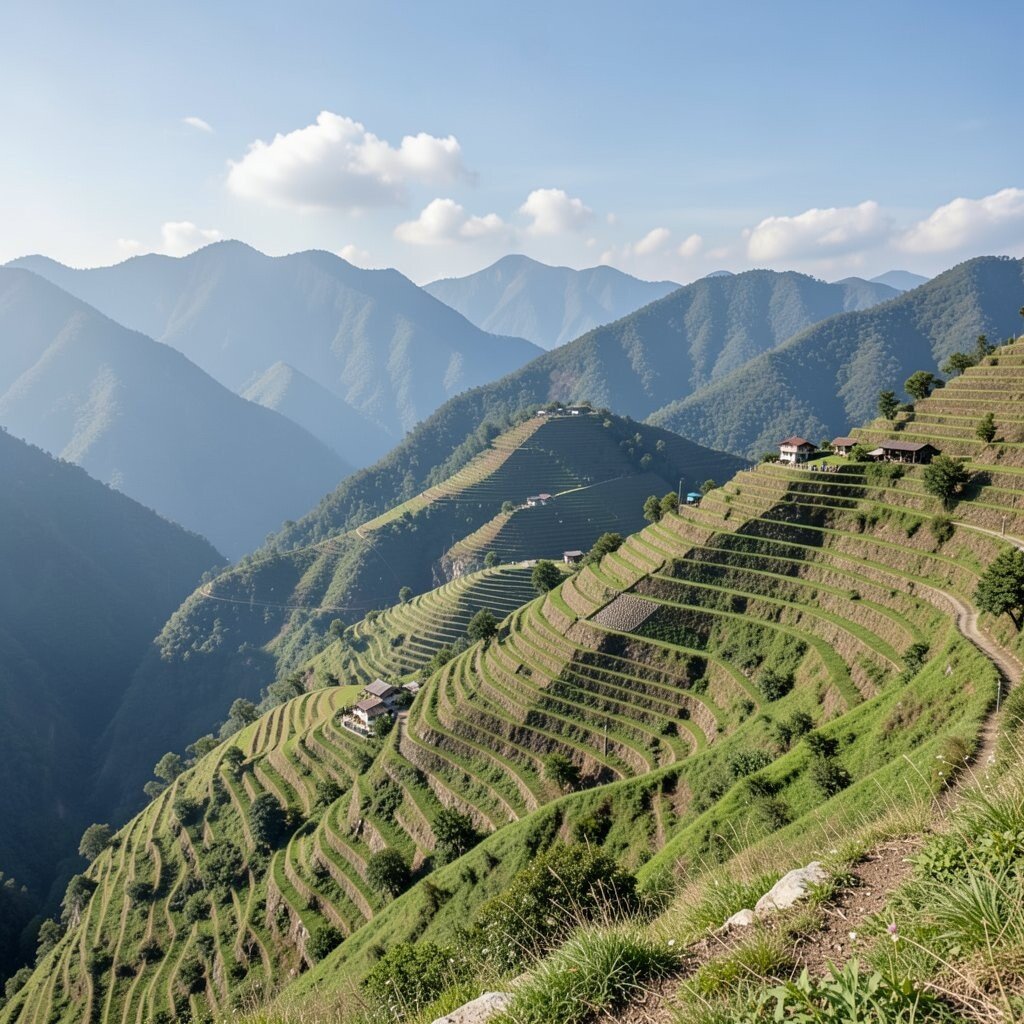
Mountain views don’t have to be only wild and rocky; farms can make them feel warmly human. Terraced slopes create repeating lines that look like handwriting across the hills. When villages sit in the distance, your photo gains a sense of everyday life.
Look for a high vantage point that lets terraces curve through the frame, then shoot while the sun is at an angle to highlight texture. Use a steady stance and avoid zooming too much, since wide scenes benefit from stable framing. If clouds are moving, wait for brief light moments when the terraces look crisp.
Personalize the shot by choosing a color contrast, like deep green terraces against pale stone buildings. Costs can be minimal, and you can add variety by photographing at different times of day rather than buying new gear. A current trend is storytelling through layers, so capture foreground terraces, midground homes, and background peaks all in one image.
14. A Narrow Canyon Staircase of Water Carving Rock
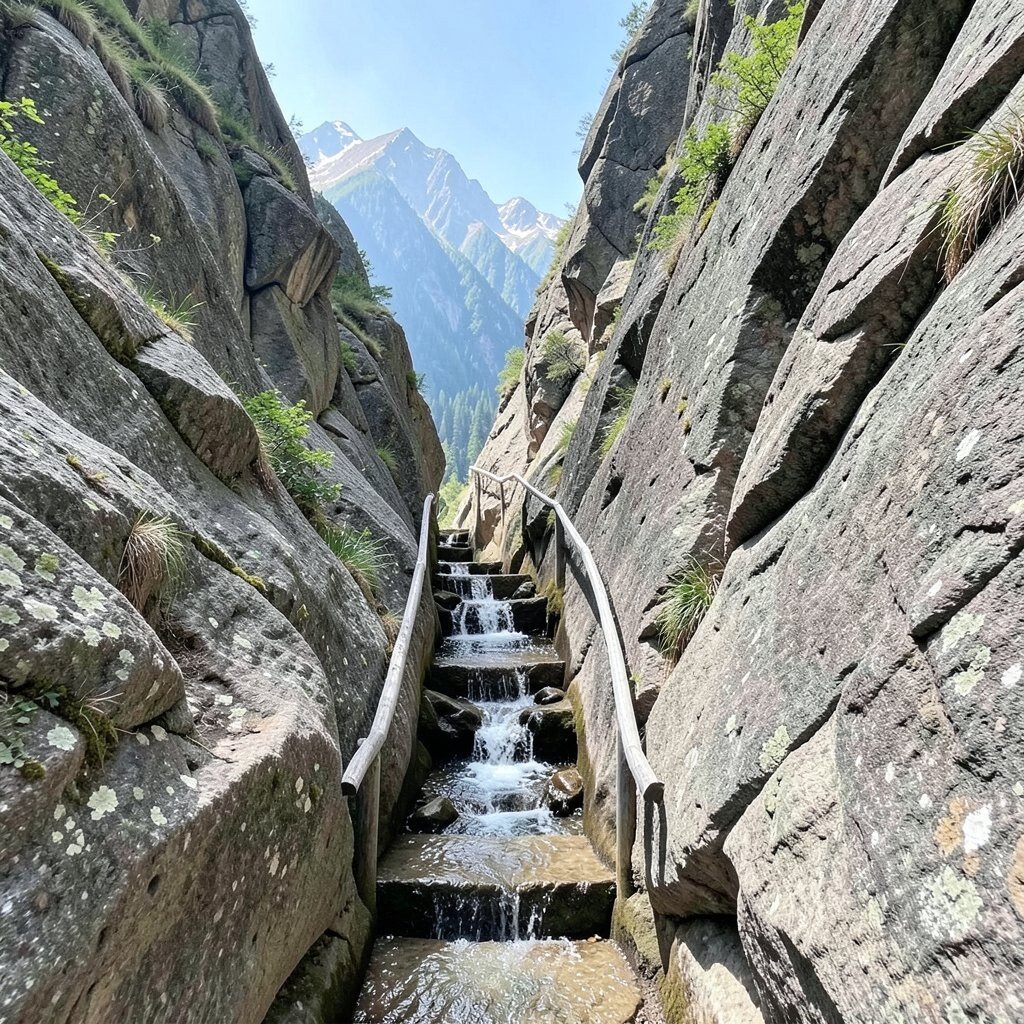
A canyon with water-cut steps can look like nature built a staircase. Light skims along edges, showing textures that feel almost carved by hand. The sound of flowing water adds a calming, grounded feeling to your shoot.
For practical photography, position yourself where you can see the “steps” flow from top to bottom. A slower shutter can smooth the water, but faster settings help if you want crisp movement. If you use a long exposure, keep your lens clean and consider a simple filter only if you already own one.
Personalize by including a unique rock shape in the foreground that frames the steps. Costs depend on your trip, but you can often keep it simple with comfortable shoes and basic protective gear for wet ground. A trend you’ll see is emphasizing texture, so brighten midtones slightly while keeping shadows grounded for a tactile look.
15. A Night Sky Over Mountains With a Soft Star Trail
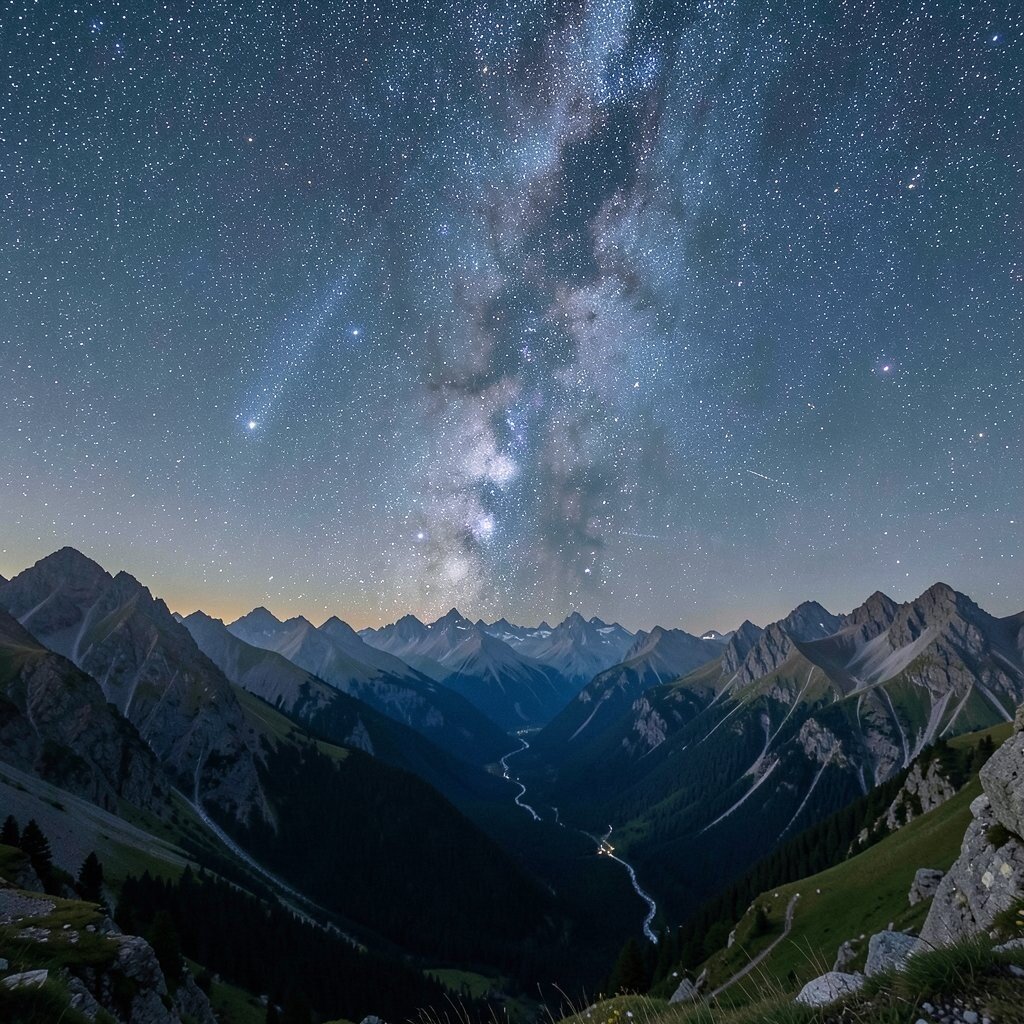
Night mountain views can feel like stepping into a different kind of color. The stars scatter overhead, and mountains become dark silhouettes against a glowing sky. If you capture star trails, the scene becomes both calm and cosmic.
Use a sturdy tripod and set your focus carefully, since darkness makes auto focus unreliable. Choose settings based on your camera, but aim for enough exposure to record stars without turning everything into a blur. If your area is very bright with street lights, move a little farther away to keep the sky clean.
Personalize the image by planning your framing so a peak points toward the brightest part of the sky. This can involve some extra costs if you need a tripod, but many people already own one. A current trend is clean astrophotos with minimal editing, so keep noise reduction gentle and avoid overly blue skies.
16. The Mountain Overlook at First Light With Fog in Motion
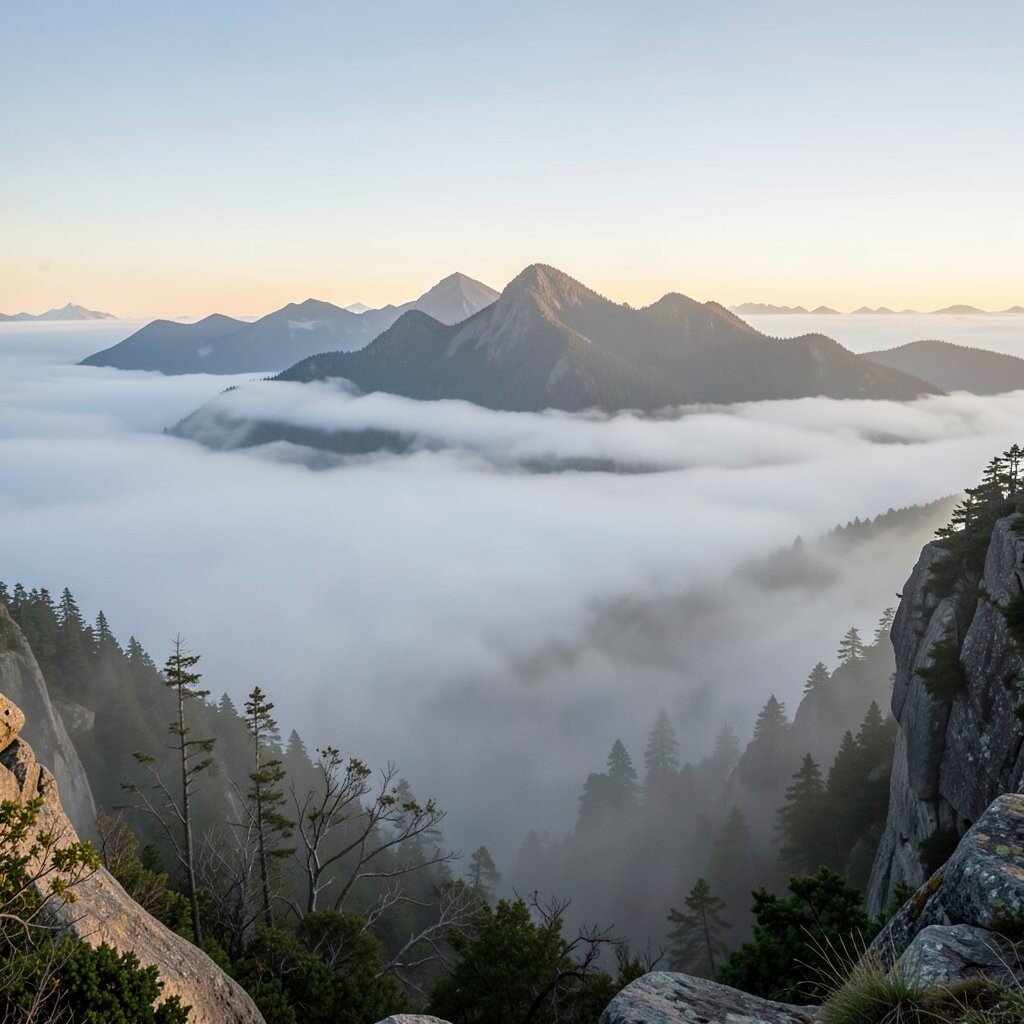
First light can turn a foggy overlook into a soft, shifting dream. The mountains appear and disappear as fog drifts, and each second changes the mood. Your photo can capture that “in between” moment that feels almost alive.
Try shooting from a stable spot and start early so you’re ready when the light hits. Use exposure settings that keep fog bright but still show mountain edges, and shoot in short bursts as the fog rearranges. If you have a lens hood, it helps protect from mist and keeps your glass clearer.
Personalize by composing with a strong horizon line or by framing a single peak so it becomes the anchor. Costs can stay low because the best gear is often timing, a warm layer, and a lens cloth. A trend right now is making fog look silky and natural, so use small adjustments and keep the image looking like it could have been seen by your own eyes.