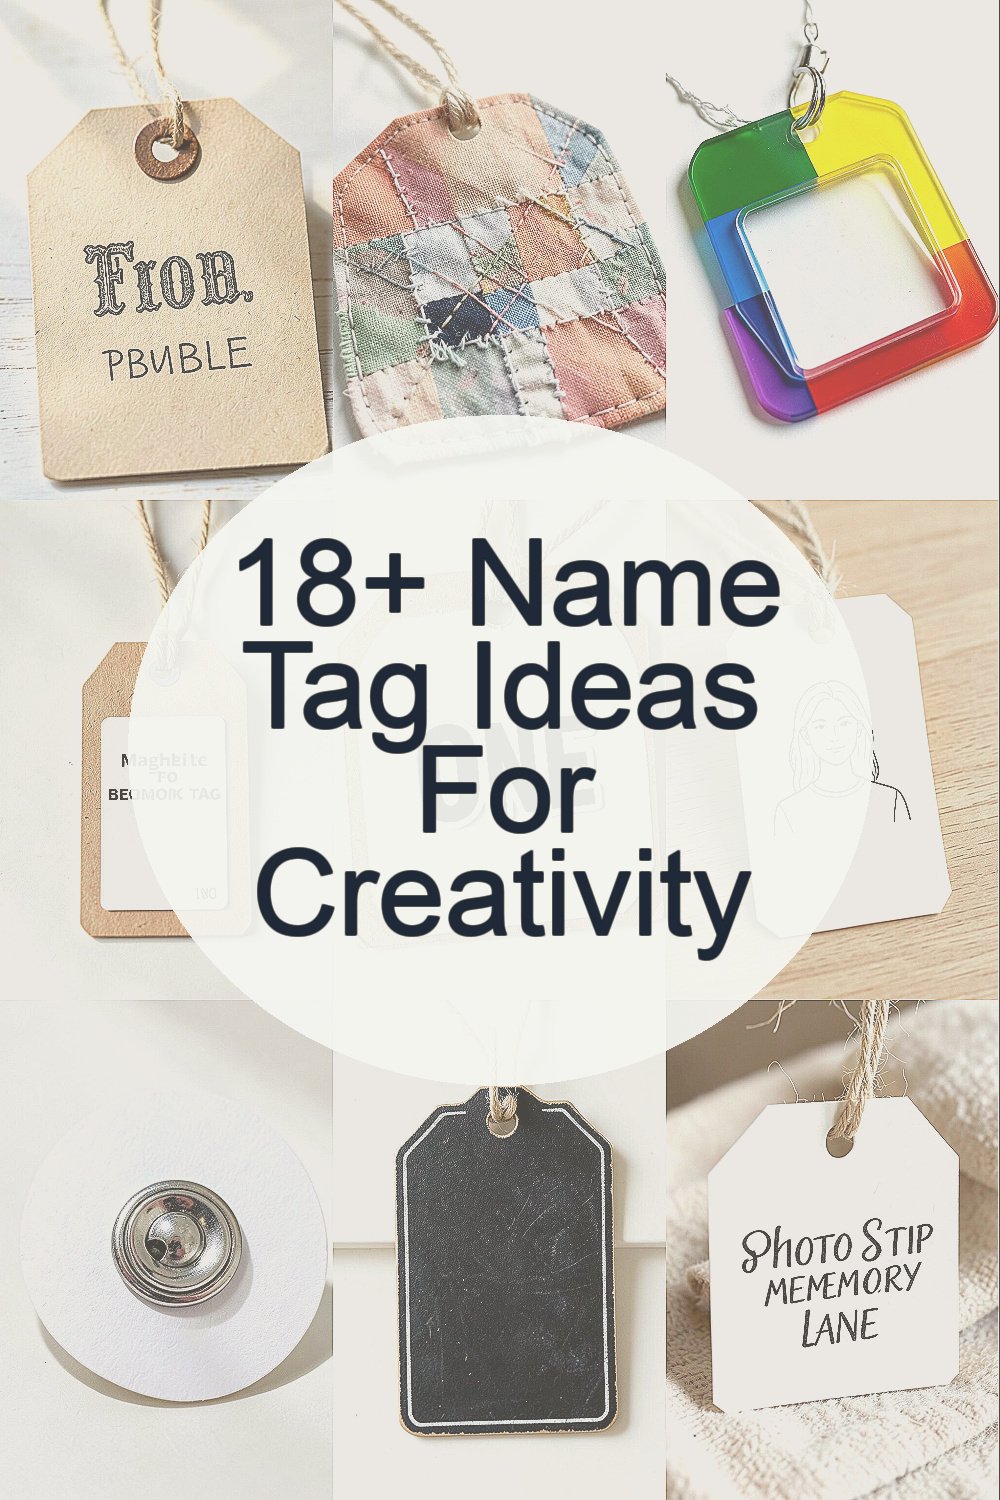
A name tag can feel tiny, yet it can brighten an entire room. The right style helps people remember you, smile, and start conversations.
Below are practical ideas you can make with simple materials and personal touches, so your tag feels like you.
1. Faux Vintage Typograph Bubble
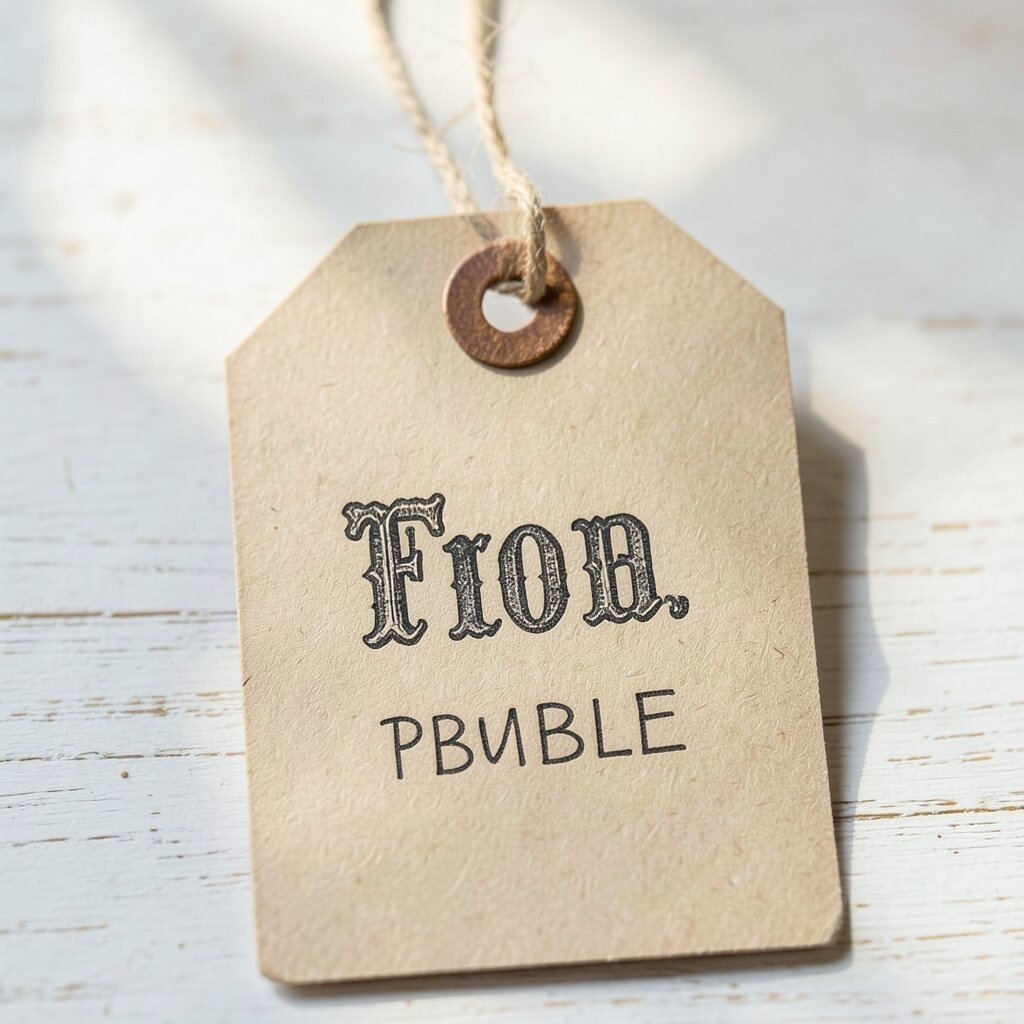
Start with a rounded bubble shape and print your name in a slightly off-center type style. Add a faded “old poster” feel using a muted background color.
For a visual boost, lightly stencil tiny stars or dots around the edges. This look feels unique at a craft fair or meetup because it stands out without being loud.
Use two colors max so it stays readable from a distance. You can print the text, then hand-draw a border to make it feel personal.
2. Fabric Scrap Patchwork With Stitch Lines
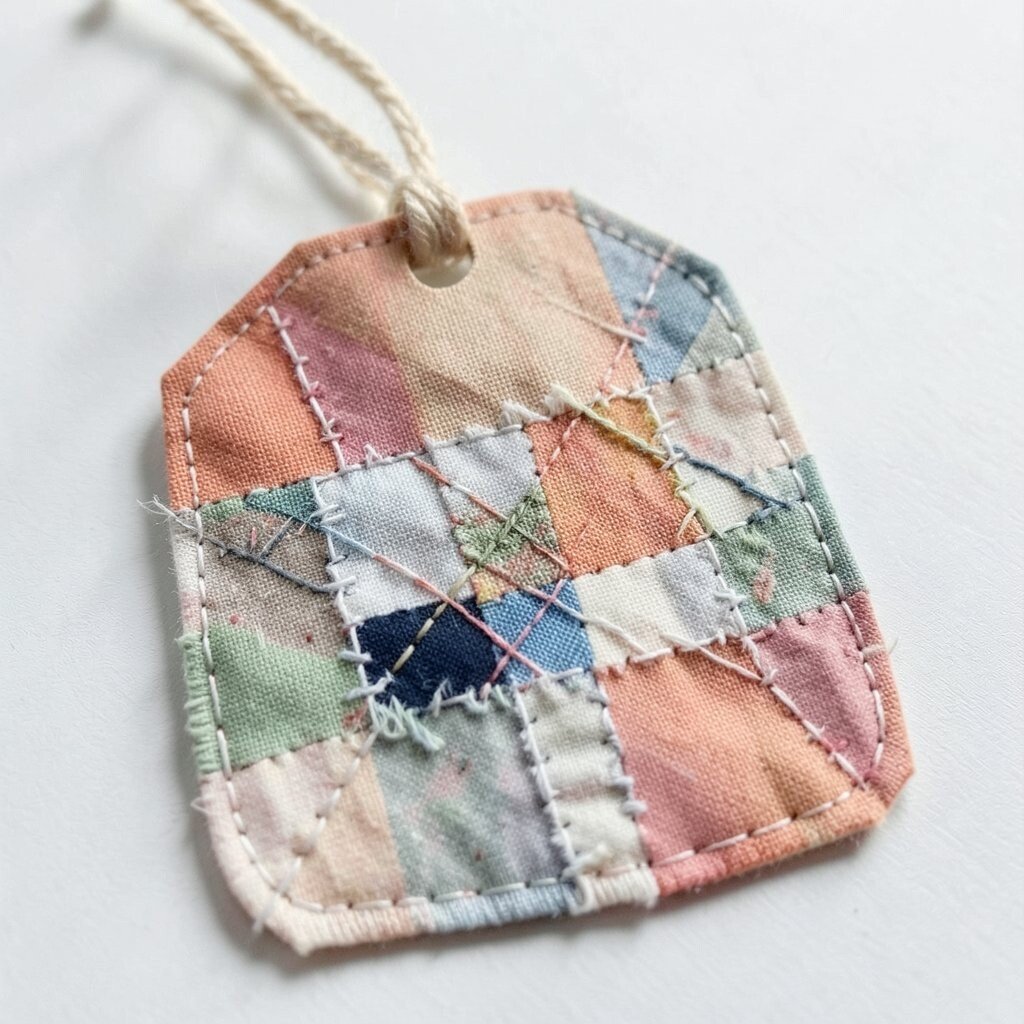
Choose small fabric scraps from old shirts, scarves, or donation finds, then cut shapes like squares and rounded tabs. Arrange them into a patchwork panel behind your name.
To mimic real sewing, draw stitch lines with a fine marker or use fabric paint. People will notice the texture right away, and that helps them connect your name to your face.
Keep the letters bold and high contrast, such as dark text on a light scrap. If you are on a budget, this works even with tiny scraps and scrap ribbon for the strap.
3. Acrylic Color-Block With Clear Window
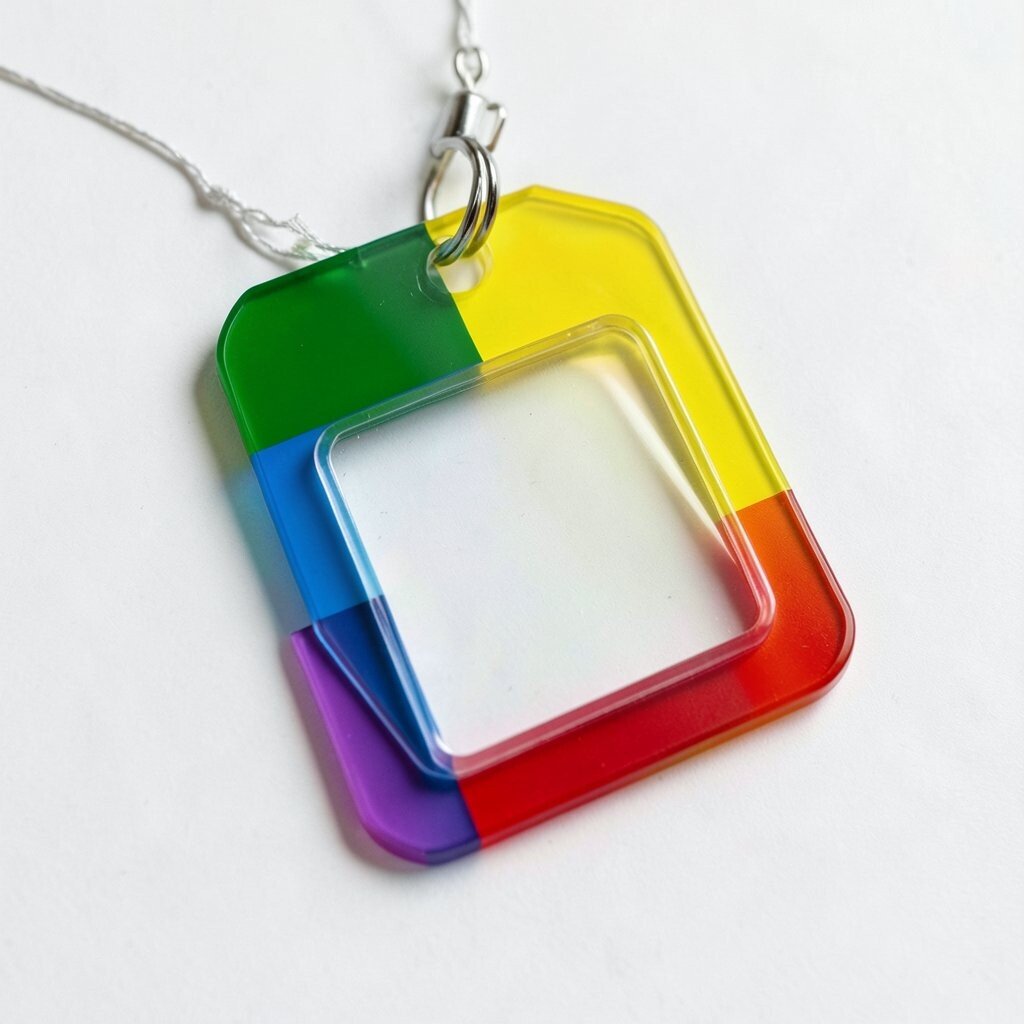
Make a layered tag with bold color blocks, then place your name in a clear window style. You can do this by printing your name on paper and sealing it under clear tape.
The bright blocks create a modern look, while the clear “window” adds a sleek shine. This style feels especially current for tech meetups and maker spaces.
Use colors that match your outfit for a coordinated vibe. If you want it to look more polished, round the corners and use thick tape so the window feels sturdy.
For practicality, laminate or cover with clear adhesive so it survives everyday handling.
4. Magnetic Bookmark Name Tag
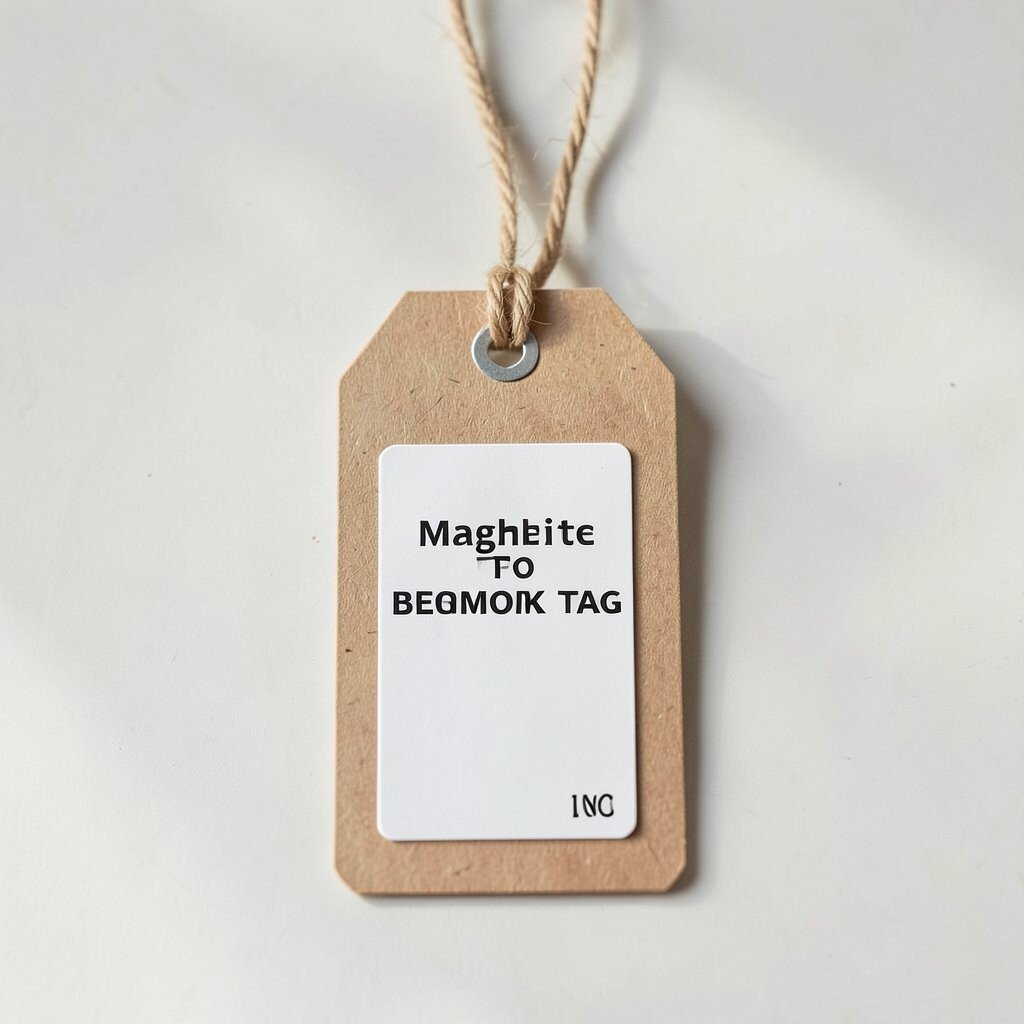
Turn a small card into a magnet bookmark by attaching a magnetic strip at the back. Cut the card into a slim shape that looks like it belongs in a book.
This creates a cozy library-like mood, and the magnet stays secure on jackets and bags. It is a fun choice if you attend reading clubs or school events.
Write your name in a neat font, then add a tiny icon such as a book, leaf, or lightning bolt. You can personalize it by choosing a color that matches your favorite genre.
To keep costs low, use thick paper, a paperclip magnet, or a small adhesive magnet sheet.
5. Sticker Collage With One Bold Name
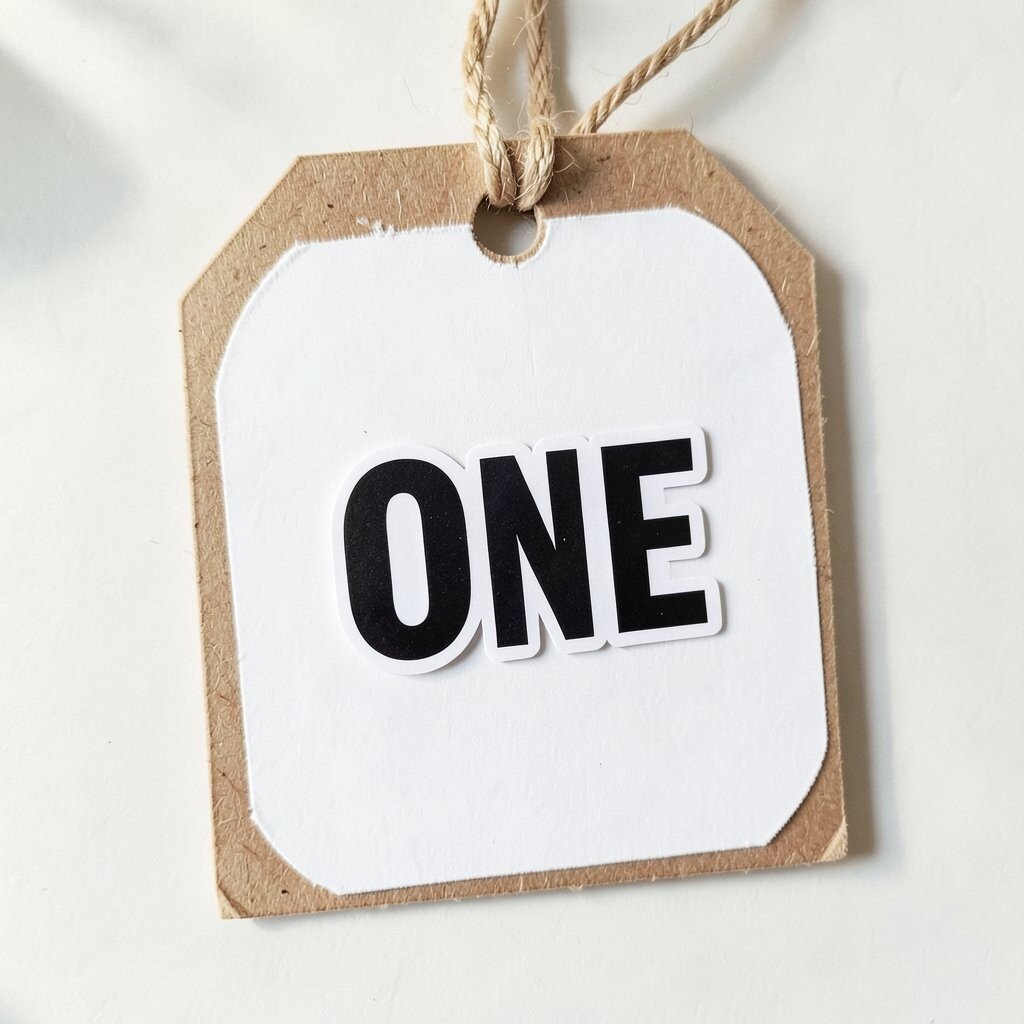
Pick a theme of stickers that match your hobbies, like cooking, gaming, music, or travel. Then place them around your tag, leaving a clean space for your name.
Use your name as the “hero” element with bigger letters so it stays easy to read. This method is popular right now because people love visible personality and playful surfaces.
Choose stickers that are waterproof or seal them with a clear coating if you have one. For an easy upgrade, use a small border made from washi tape to frame everything.
6. Minimal Line-Art Avatar
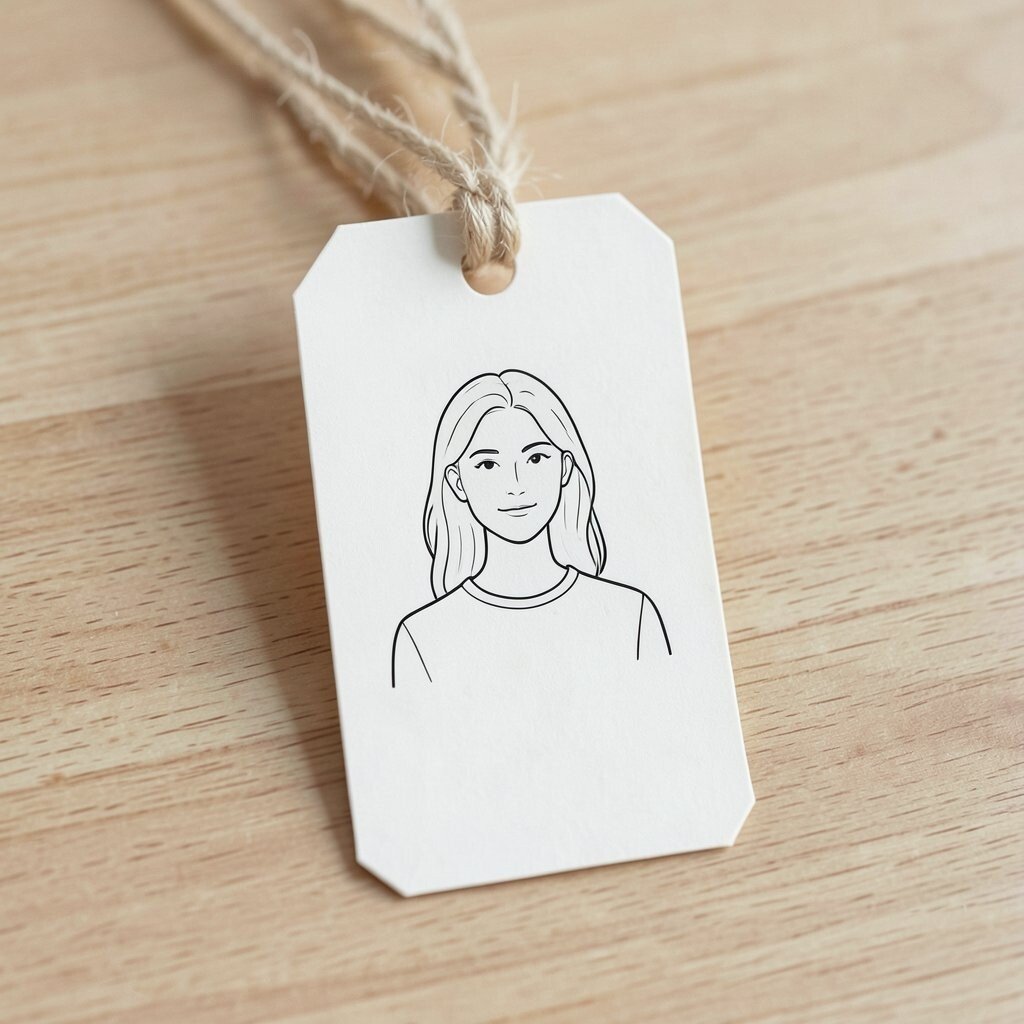
Draw a simple line-art avatar of yourself, like a hairstyle outline or a favorite accessory. Keep it clean with one color, then put your name beside it.
This style looks modern and artistic without taking much time. It also helps people remember you because the line drawing becomes a visual anchor.
Use a marker with a steady tip so your lines look smooth. Personalize it by changing the expression, adding glasses, or drawing your signature hat.
7. Button Backdrop With Metal Pin Shine
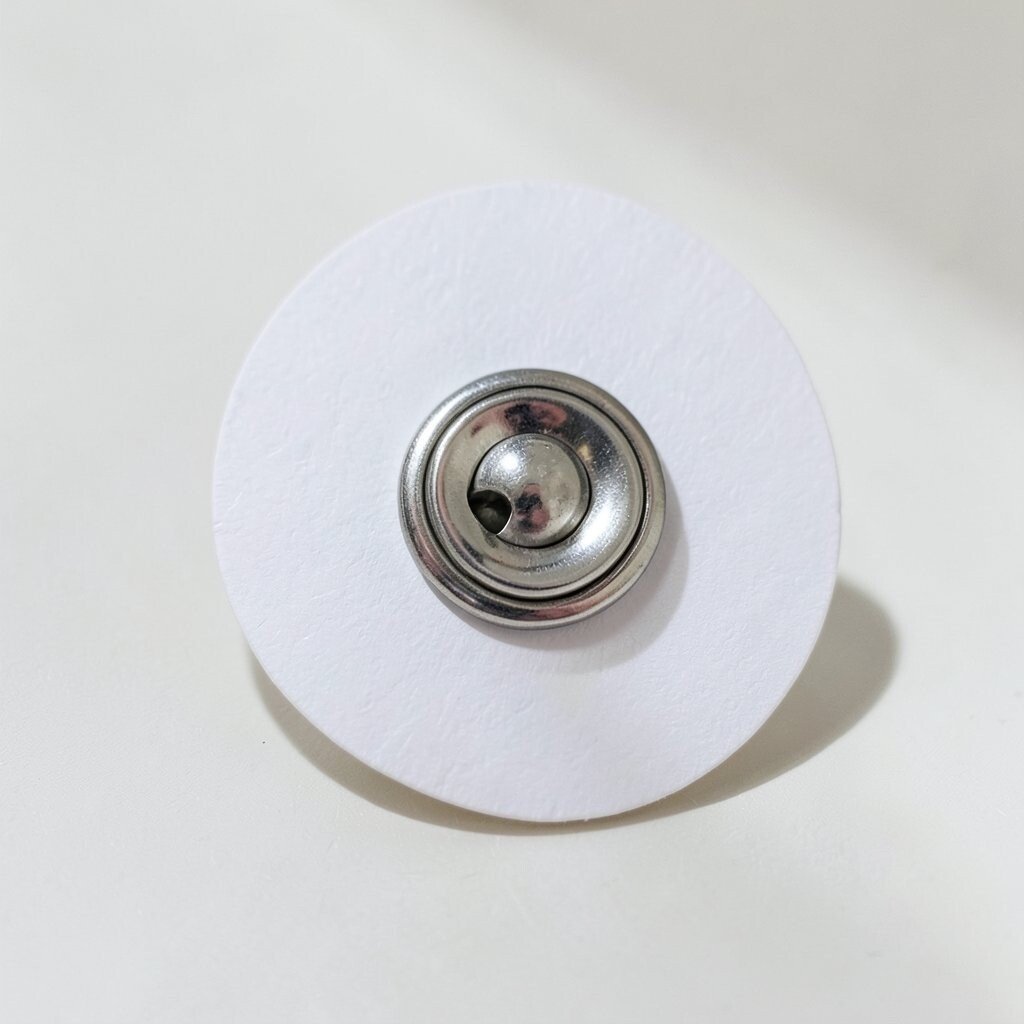
Cover your tag base with small buttons, then attach your name over the top using a label maker or printed text. The tiny shine creates a textured glow under lights.
Buttons feel instantly personal, especially if you choose colors from old coats or craft jars. It is a great conversation starter because people often recognize playful styles.
Keep the name area clear and bold so it does not blend into the buttons. For budget planning, raid thrift stores or use mismatched buttons you already have.
8. Chalkboard-Style Temporary Tag
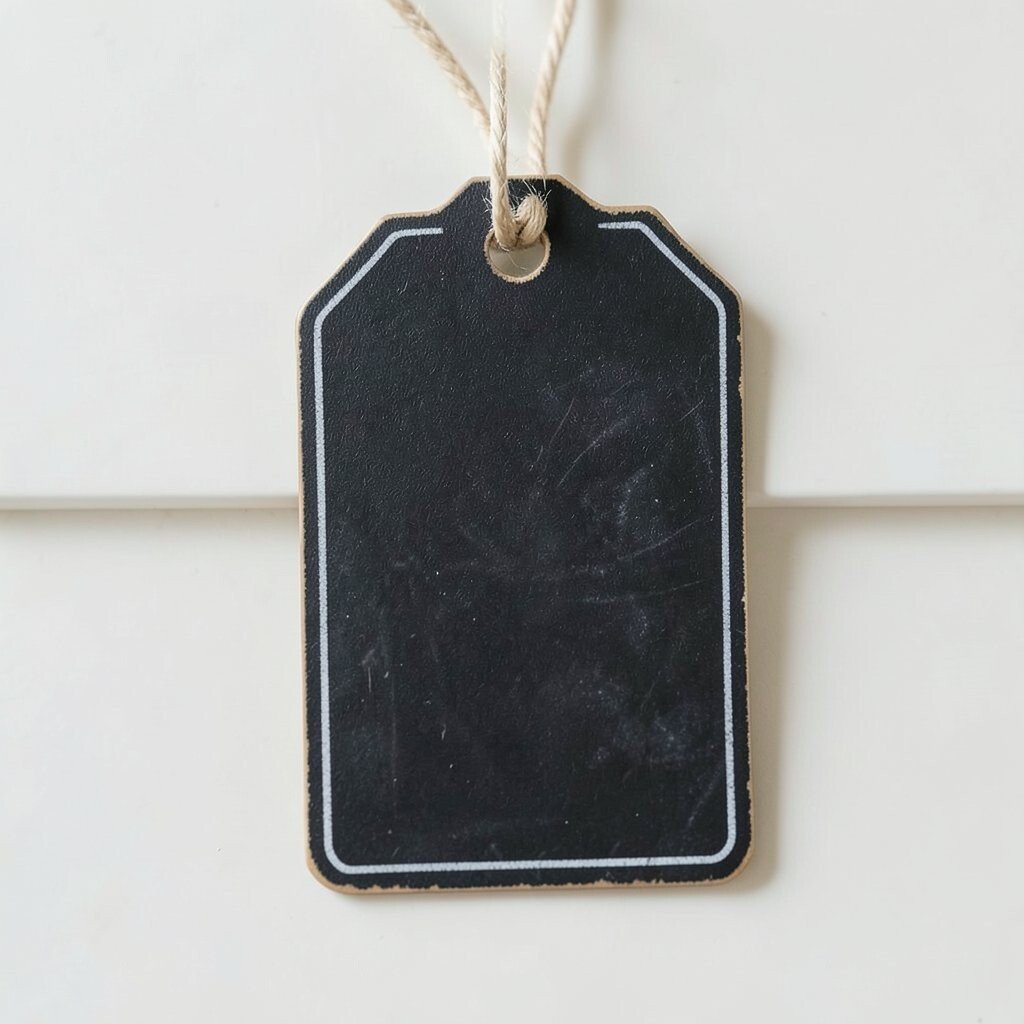
Create a chalkboard look using a dark cardstock rectangle and light letters that seem chalky. You can mimic chalk by using white paint pens or chalk markers.
Write your name large, then add a small doodle below, like a coffee cup or moon. The handwritten feel is warm, and it gives a slightly “live” vibe.
If you want a trendier twist, add a subtle gradient by rubbing a light layer of chalk dust effect. This works well for events where you might update your tag for different days.
9. Photo Strip Memory Lane
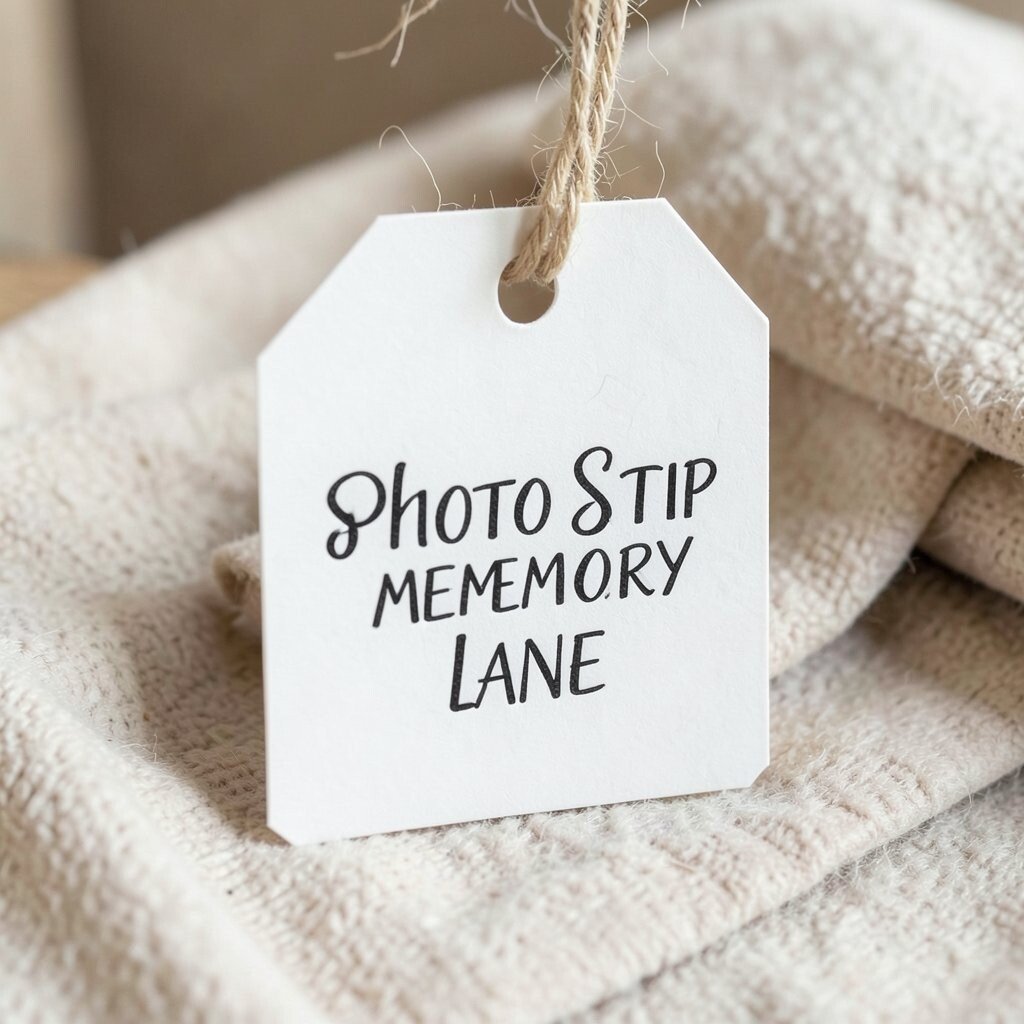
Print a narrow strip of tiny photos that match your interests, like a pet, a favorite place, or a team logo. Place your name on top in a simple white or dark rectangle for readability.
The visual story makes the tag feel heartfelt, and it helps strangers connect quickly. It is unique because it shows something real without needing a long explanation.
Keep photos small and consistent, and avoid busy backgrounds behind the text. For cost considerations, you can print just a few photos at home and reuse the same frame design.
10. Origami Corner With Name Fold
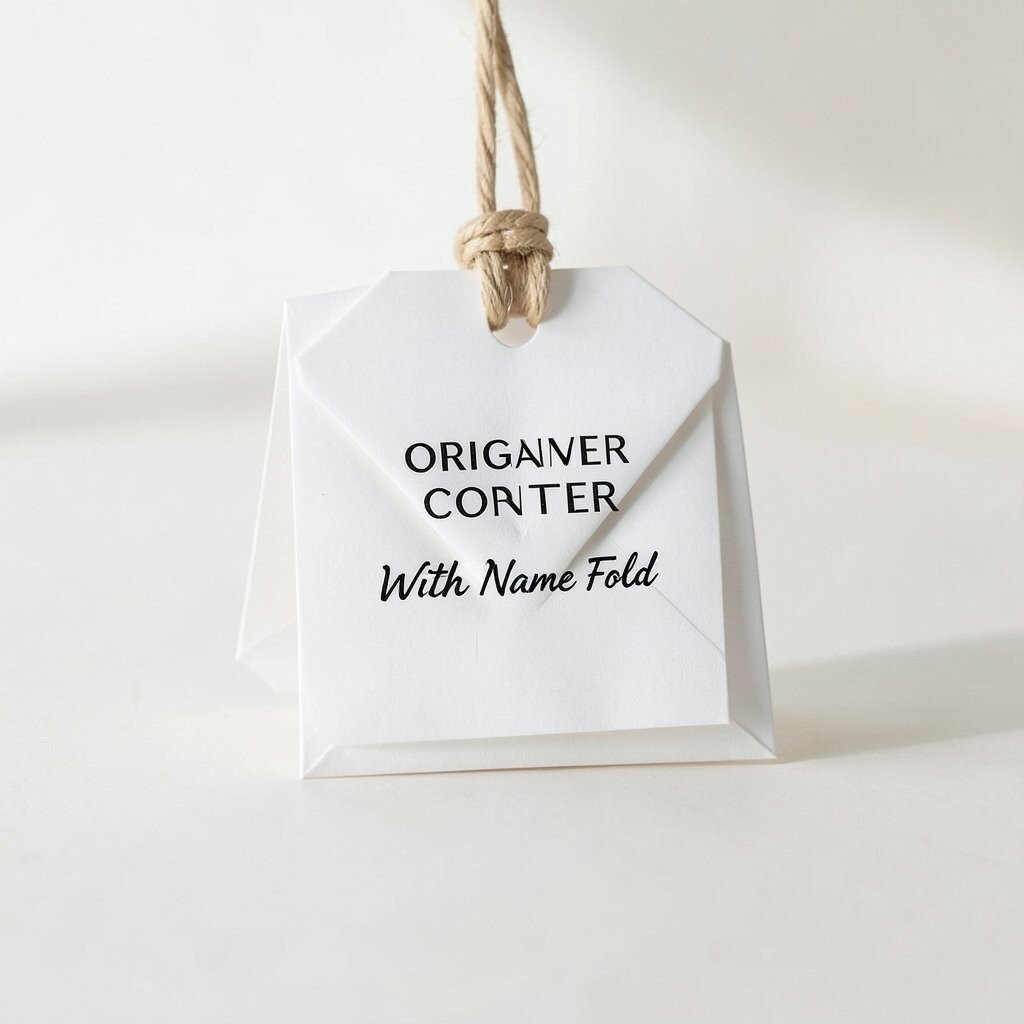
Fold a small card into an origami corner design, like a neat corner bookmark. Write your name on the folded part so it “peeks” when the tag is worn.
This creates a clean, crafty look that feels clever and handmade. People tend to compliment folded designs because they take a bit of attention.
Use thick paper so it holds its shape on clothing. Personalize it by choosing patterns like polka dots, star paper, or nature prints from a scrap sheet.
If you want extra durability, add a thin clear tape layer at the folds.
11. Color-Matched Thread Tassel Edge
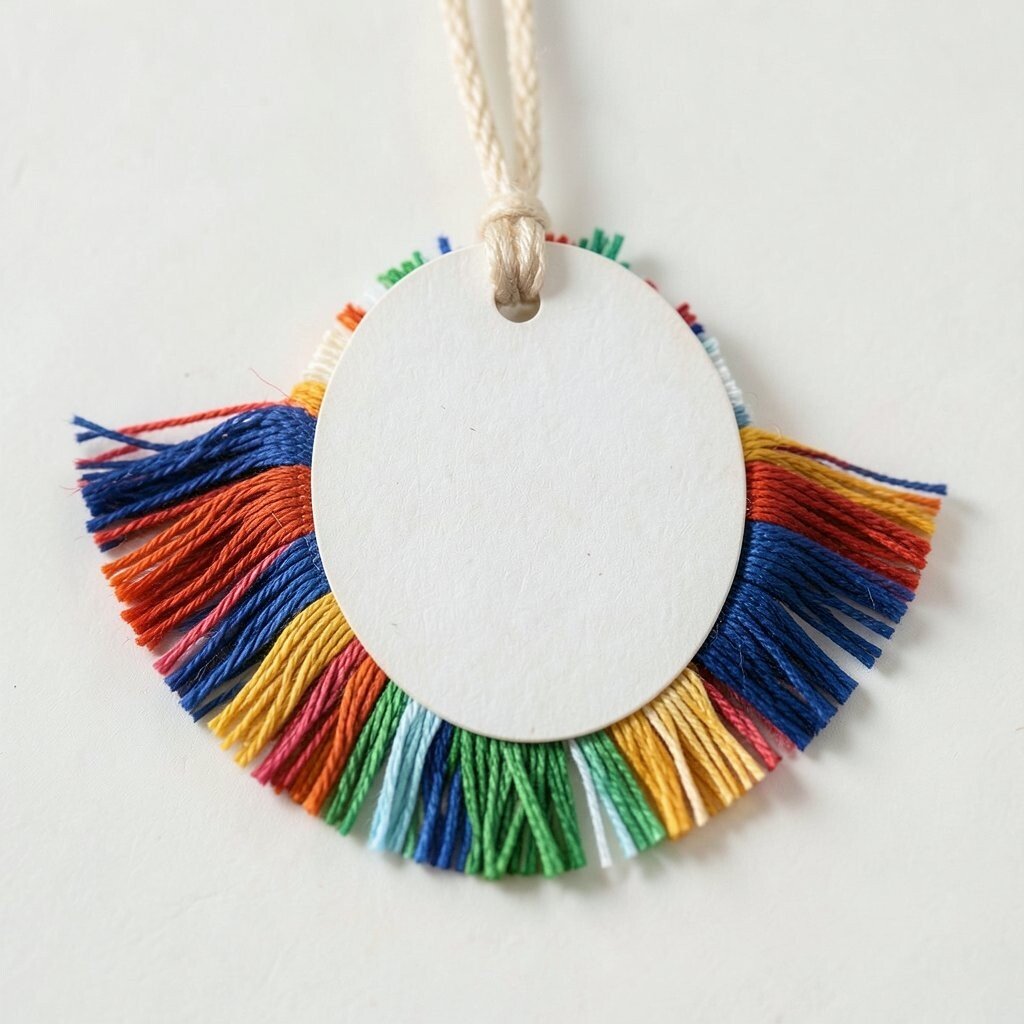
Make a simple rectangular tag and attach a short tassel made of embroidery thread to one side. Choose thread colors that match your favorite outfit or bag.
The tassel adds movement, which makes your name tag feel lively in pictures. It is a stylish detail that also helps your tag get noticed in a crowd.
Write your name in bold marker and leave space above the tassel so it stays visible. For budget friendly sourcing, cut thread from leftover skeins and tie them into a small bundle.
12. Transparent Sticky-Note Window With Layers
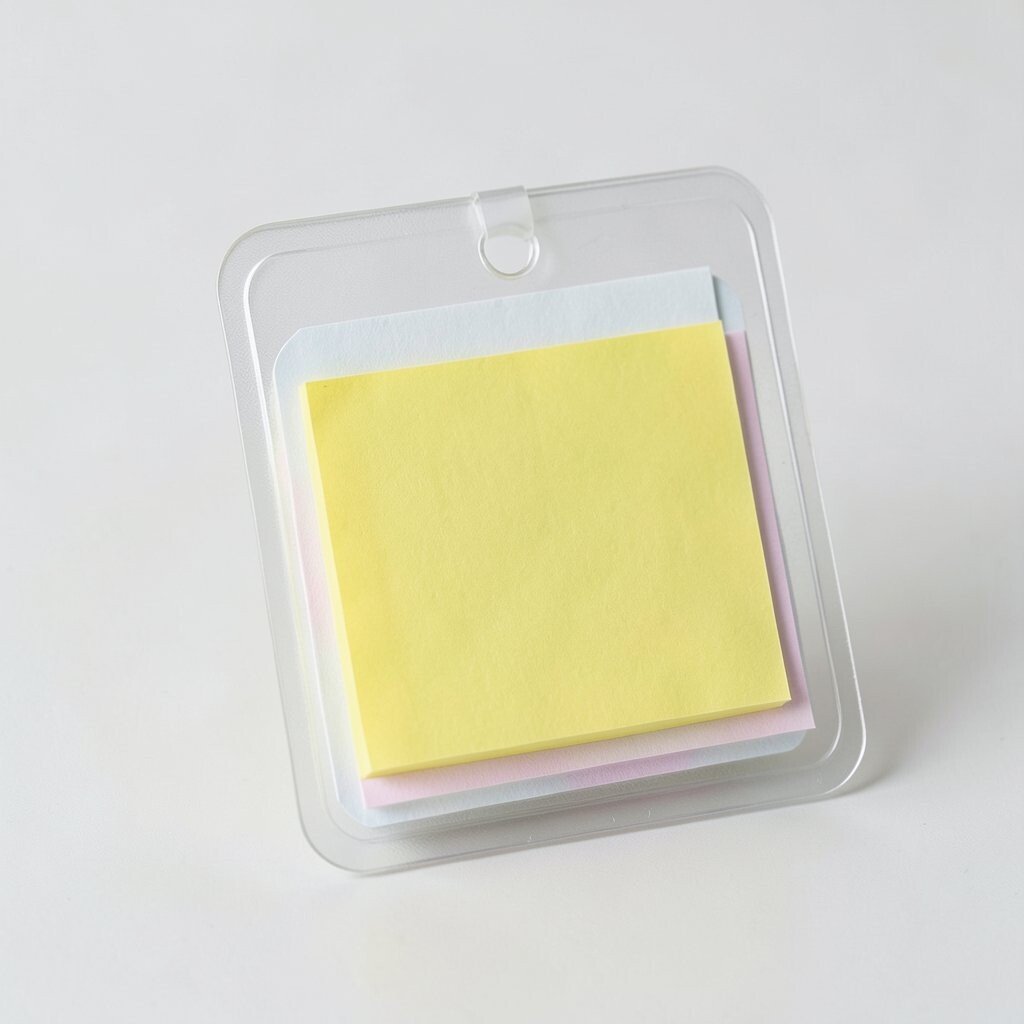
Use a clear plastic sleeve or a page protector, then slide in sticky notes layered behind your name. The notes create colorful blocks, while the clear cover keeps everything neat.
This style looks current because it feels like desk supplies and modern organization. It also lets you change colors quickly if you want a new look tomorrow.
Choose two or three sticky note colors max so the name stays readable. Personalize by writing a small “badge icon” like a star, heart, or lightning bolt in the corner.
13. Hand-Painted Watercolor Wash With Name Center
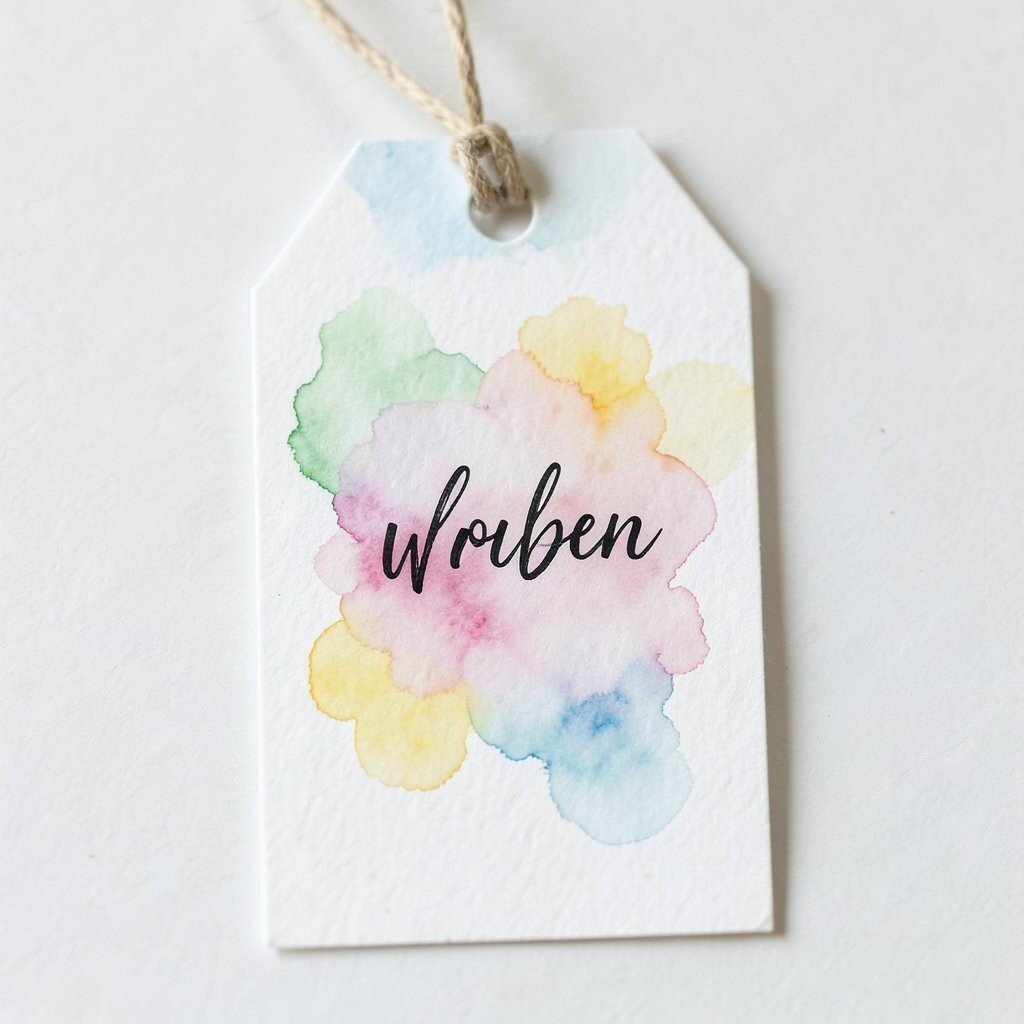
Paint a soft watercolor wash background, then place your name in the center using darker paint or a clean marker. Use gentle splashes, like light blues, warm peach, or leafy green.
This gives a calm, creative vibe and makes your tag look like a mini artwork. People love soft colors because they feel friendly and approachable.
Let the paint dry fully before writing so the letters stay sharp. If you need a practical upgrade, glue the painting onto thicker paper for stability.
14. Patterned Washi Tape Frame Around Plain Text
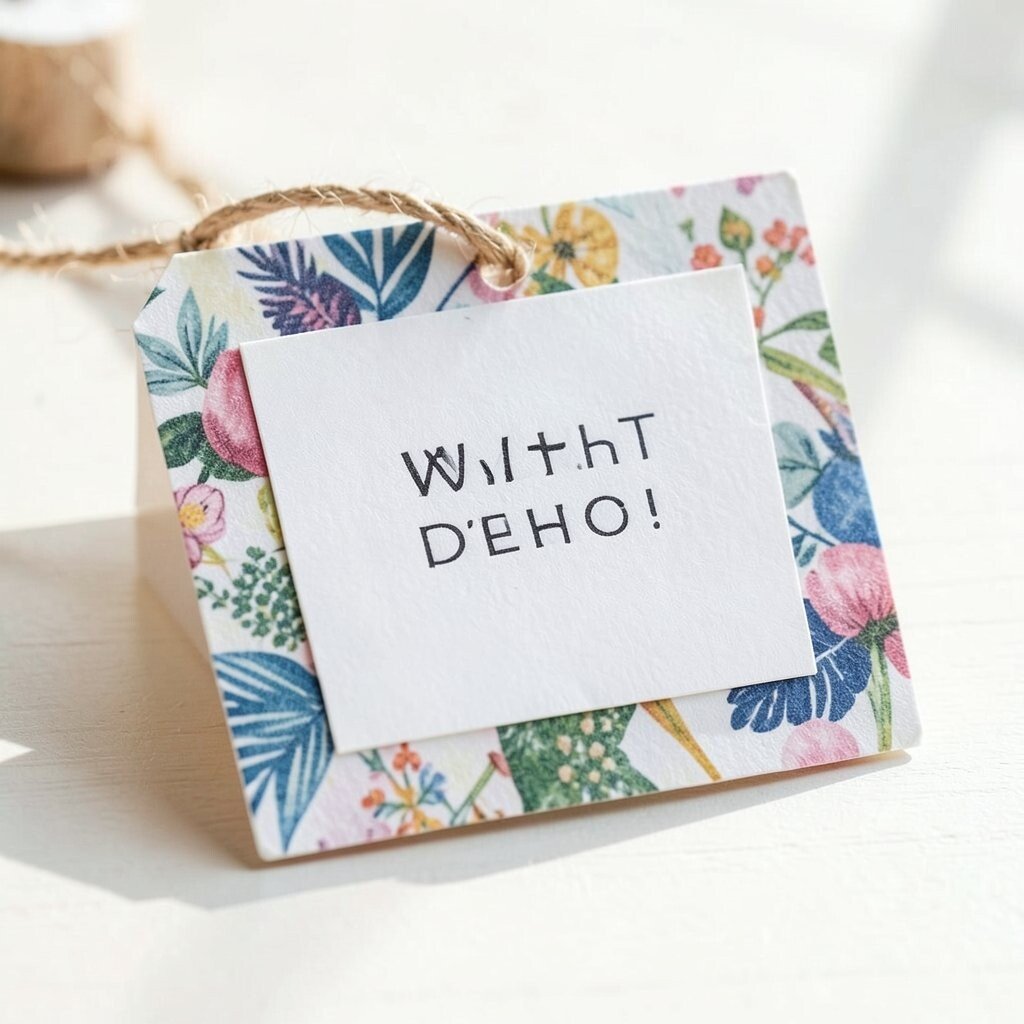
Start with plain white or kraft cardstock and cover the border with washi tape in matching patterns. Leave the name area clear so it stays super easy to read.
This is one of the easiest ways to personalize without buying many tools. It also fits a growing trend of using decorative tape for quick, stylish crafts.
Choose a tape theme like rainbows, polka dots, or geometric lines that match your mood. Cost is usually low because washi tape comes in packs and you can use small pieces.
For practicality, use a hole punch and strong string so the tag does not tear.
15. Typography-Only Tag With Tiny Accent Symbols
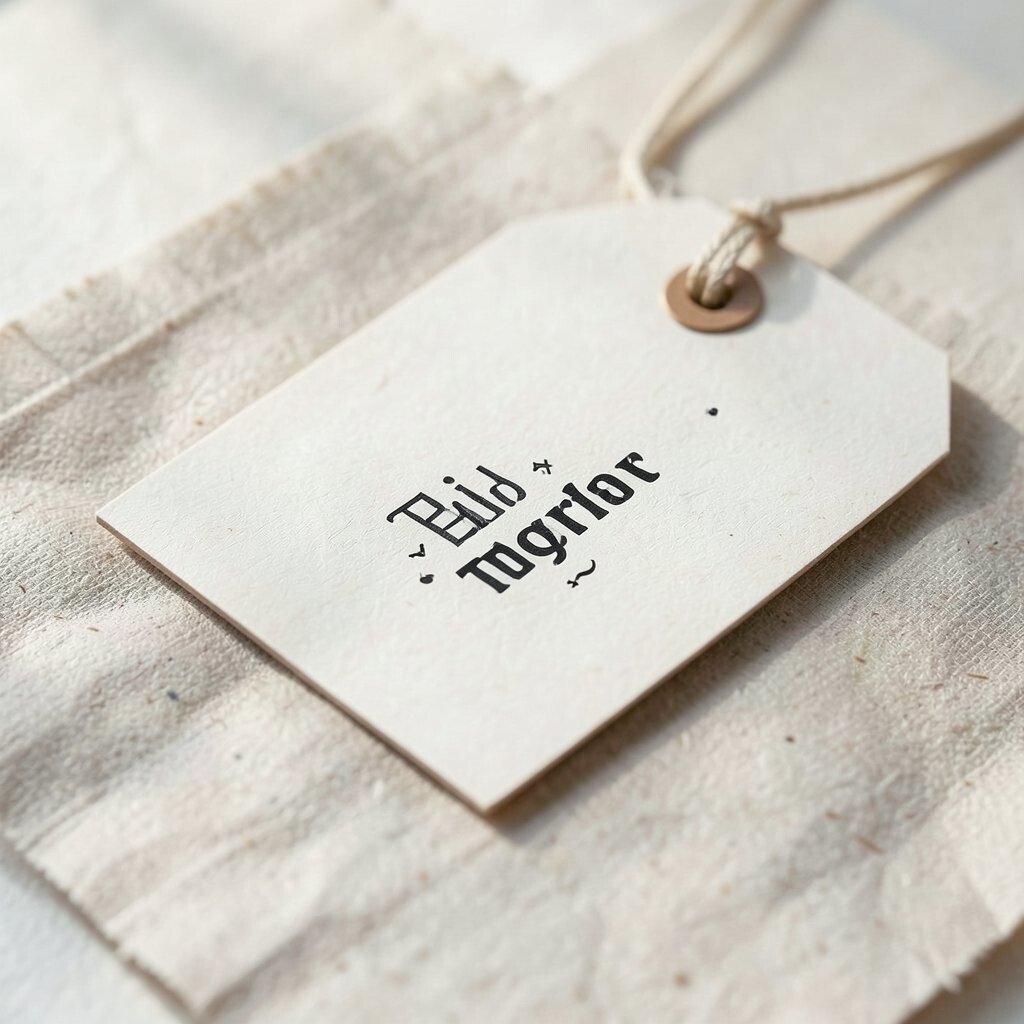
Make your tag simple by focusing only on typography, like using two font sizes for hierarchy. Add a tiny symbol next to your name, such as a leaf, arrow, or star.
The clean look feels professional while still giving personality through small details. This style works great for conferences because it stays readable and neat.
Try a modern combination like bold uppercase for your name and lighter lowercase for a nickname. Personalize by selecting letter spacing that feels like you.
16. Puzzle Piece Tag With Hidden Phrase
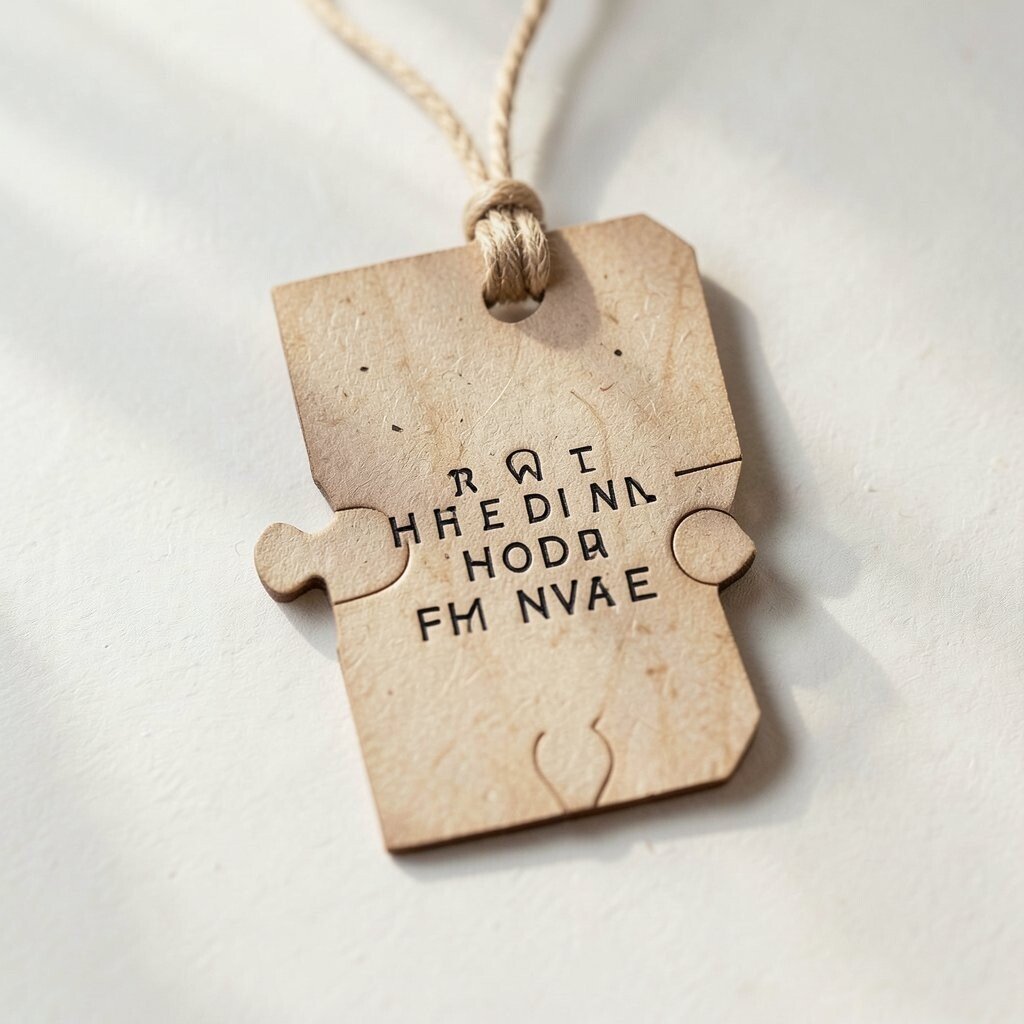
Cut a puzzle piece shape and write your name in the center, then add a small hidden phrase inside a notch. The hidden part can be a short joy, like “good vibes” or a favorite motto.
This is visually playful, and it makes people curious to ask about the detail. It is unique because it turns a name tag into a mini story.
Keep the phrase tiny but readable up close, not crowded. For cost considerations, puzzle shapes can be cut from cardstock and reinforced with clear tape.
If you are worried about durability, use a thin plastic cover sleeve.
17. Nature Leaf Press Tag With Real Texture
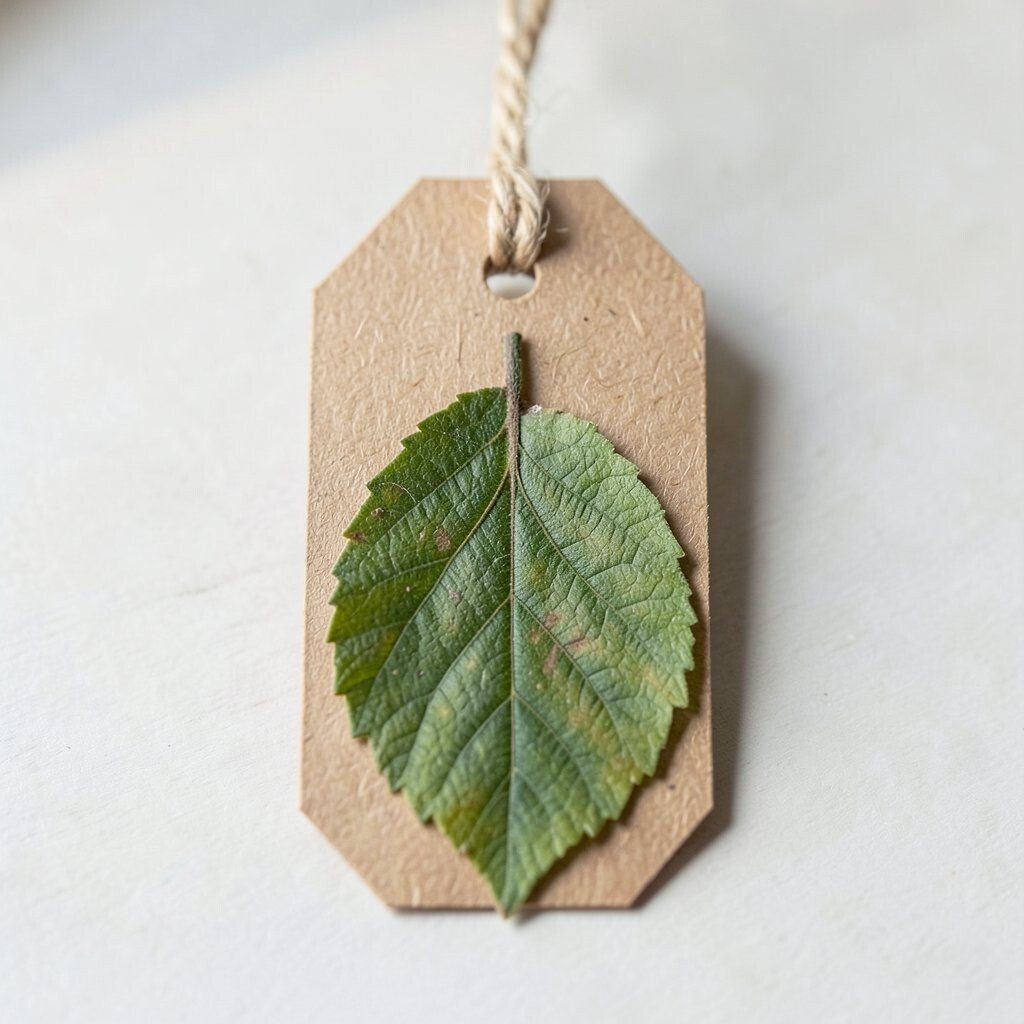
Use pressed leaves or faux leaf shapes to add texture behind your name. You can glue a leaf pattern gently, then write over it so the letters remain clear.
This gives a fresh, earthy look that feels calm and grounded. People often remember nature-inspired details because they feel connected to real life.
To personalize, choose leaves that match your local area or favorite plants, then color the edges with a soft marker. For practicality, seal everything with a clear craft coat so it does not smudge.
18. Retro Arcade Pixel Name Tag

Make your name using pixel-style letters by printing a pixel font or drawing chunky square letters. Add small pixel blocks as a border so it looks like game UI.
This style feels fun and modern, and it fits current gaming culture where pixel art remains popular. It also helps your name stand out in photos and group snapshots.
Keep the letters large enough that people can read them quickly from across the room. Personalize by using colors from your favorite game character or by adding a tiny “level” number.
Cost stays low if you print the pixel letters and use marker for minor touch-ups.
19. Hand-Sketched Map Tag Of “My Way”
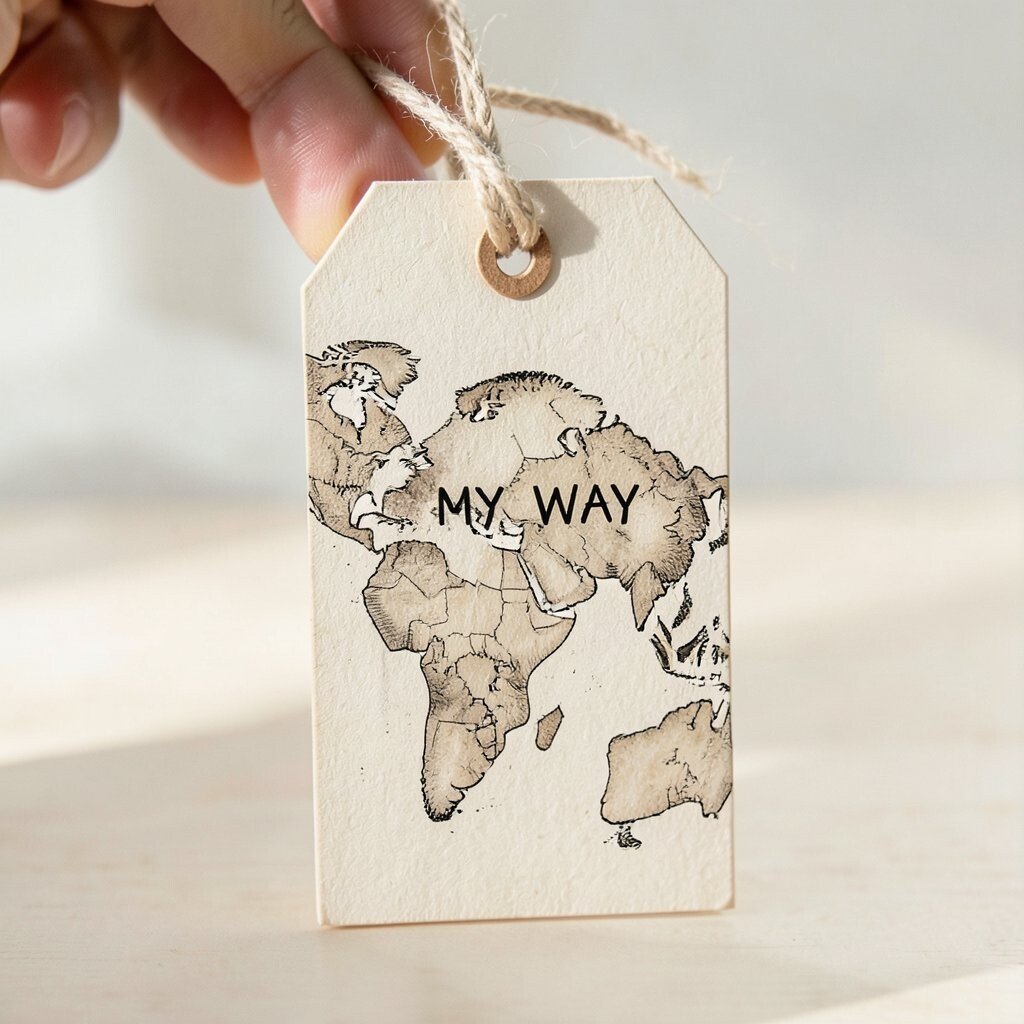
Draw a tiny map sketch that represents a place you love, like your walk to a café or a route to a park. Put your name in a bold label style like a sign on the map.
This feels meaningful and unique because it turns your identity into a mini route. It also gives people an easy topic to ask about, which makes networking feel less awkward.
Use simple lines and a few landmarks, then add small symbols such as a heart, bridge, or tree. For cost considerations, plain paper and a black marker are enough, and you can reuse the template for future events.
If you want it extra practical, laminate it or cover it with clear tape so it stays crisp all day.