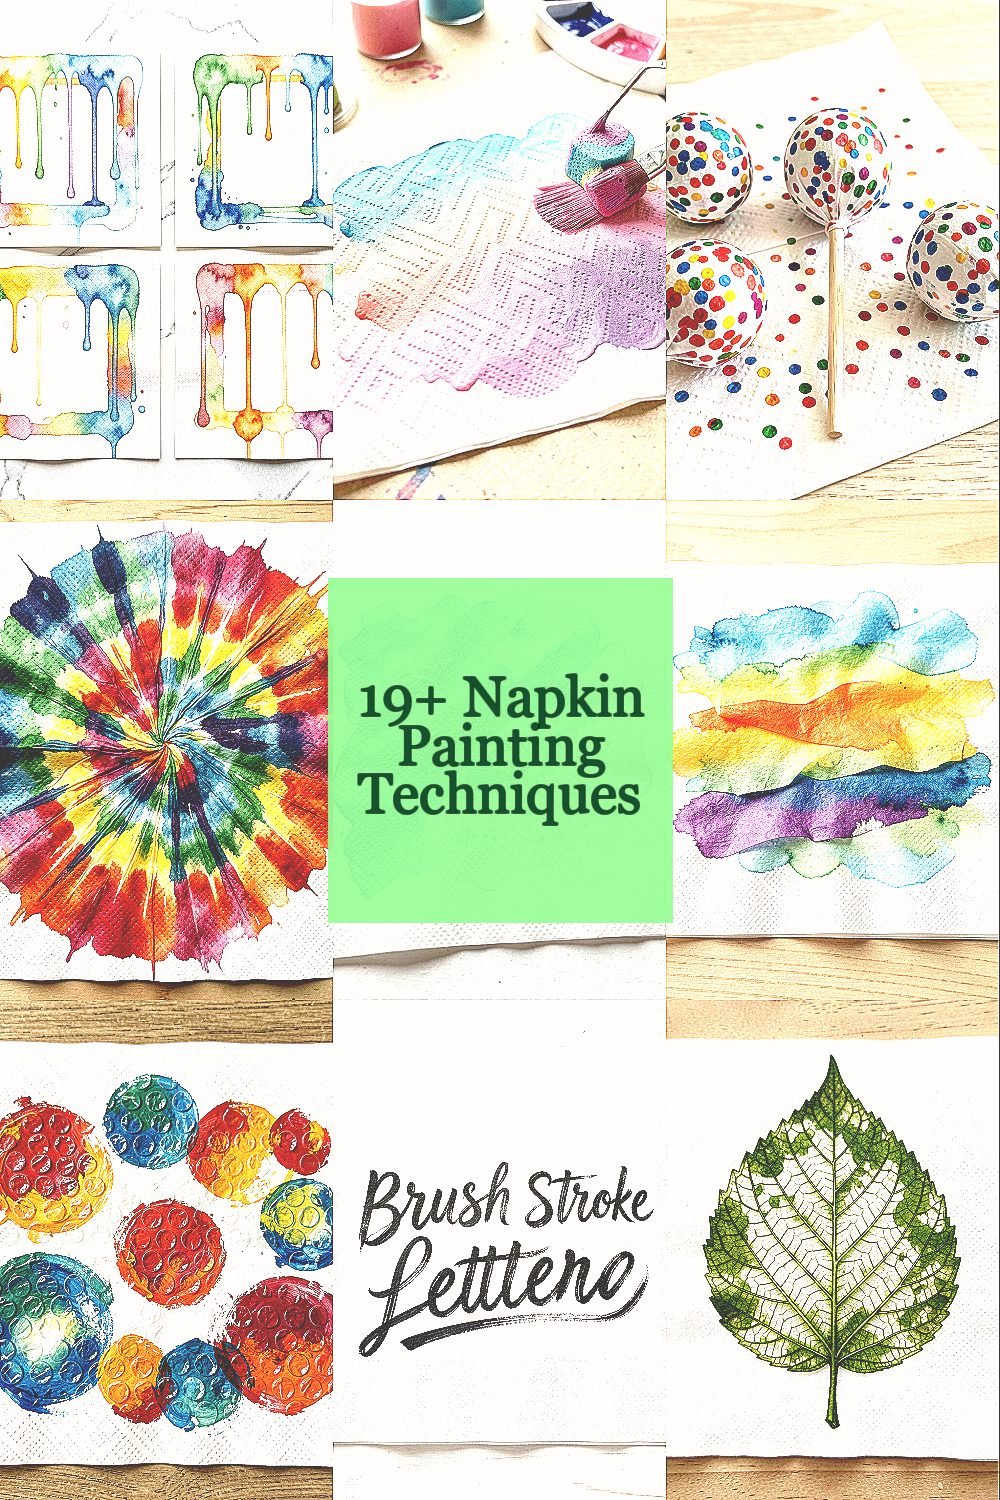
Painted napkins look simple, yet they feel like magic on the table. Grab your supplies and get ready for big style with a small mess.
1. Watercolor Drip Frames
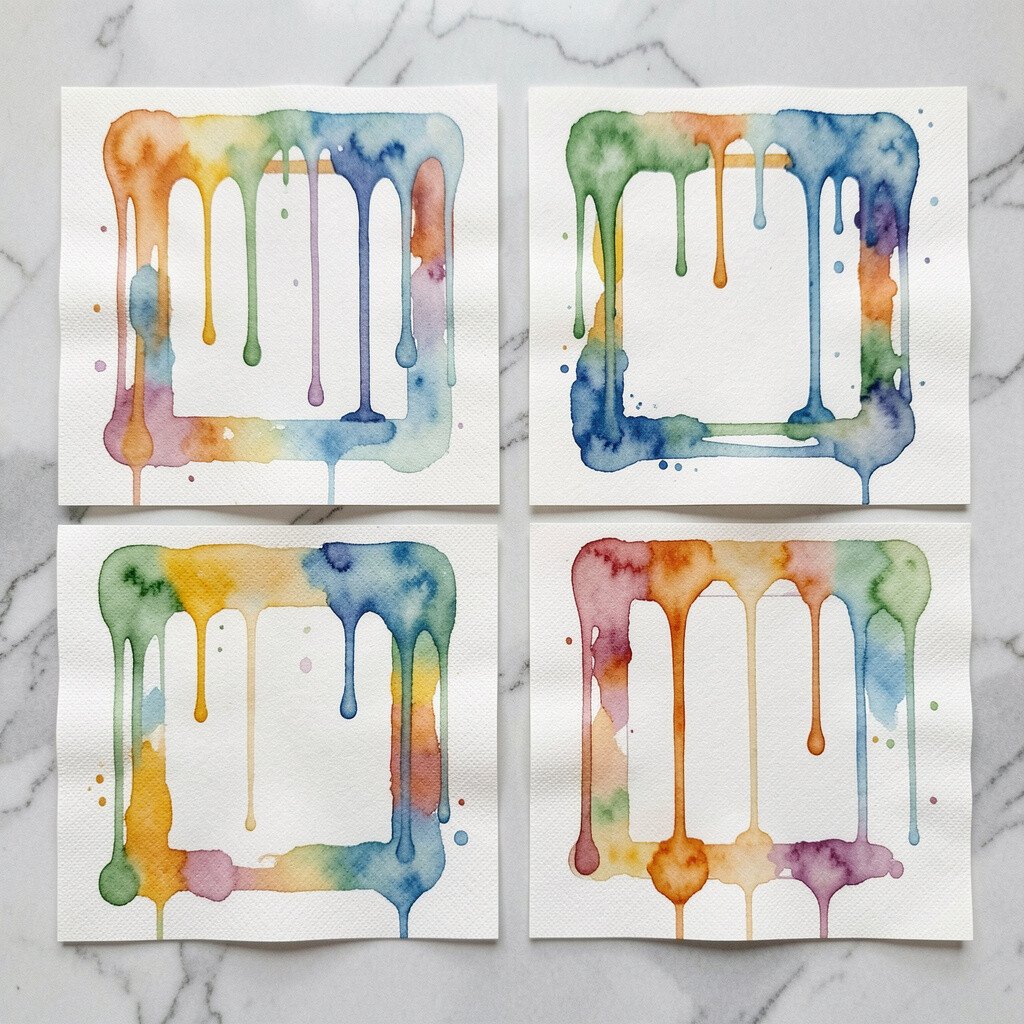
Set the napkin flat and let diluted paint hang like tiny curtains from the edges. The center stays lighter, so the frame looks soft and airy.
Choose two or three colors that match your event theme, like sage and blush for spring or navy and gold for evenings. Use a cotton swab to guide drips toward corners, which keeps the design neat. After it dries, place the napkins as a “panel” under plates or wrap them around favors for a quick upgrade.
2. Sponge Ombre Blending
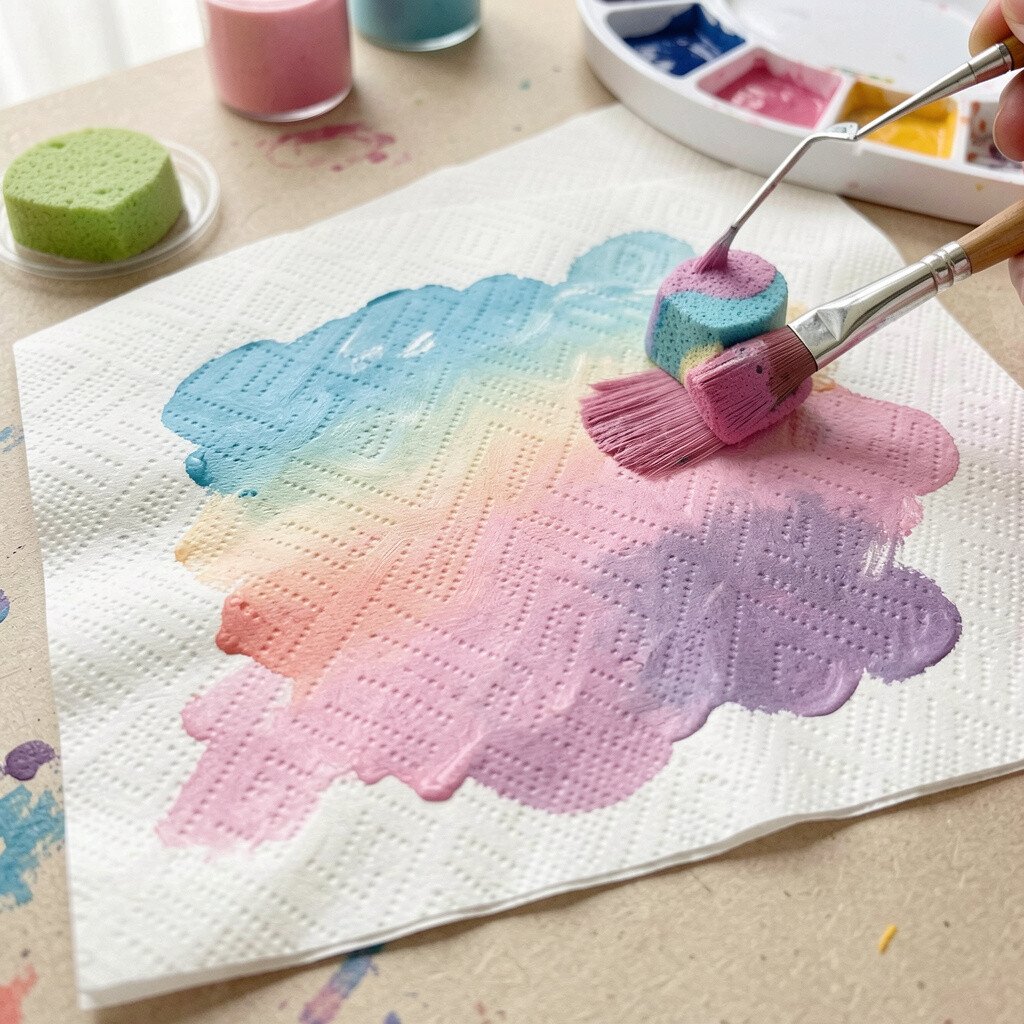
Lightly dampen a sponge and press it across the napkin in gentle layers. Each pass creates smooth color steps that fade from bold to subtle.
Start with the darkest shade near one edge, then blend outward using lighter paint mixes. This technique hides small mistakes because the gradient forgives uneven spots. For personalization, pair ombre shades with your party colors and let one corner stay almost white for a modern look.
For cost control, use craft paint instead of specialty watercolor and stretch it with water. A small sponge and a few inexpensive colors can cover several napkins if you plan your color order.
3. Stenciled Confetti Pops
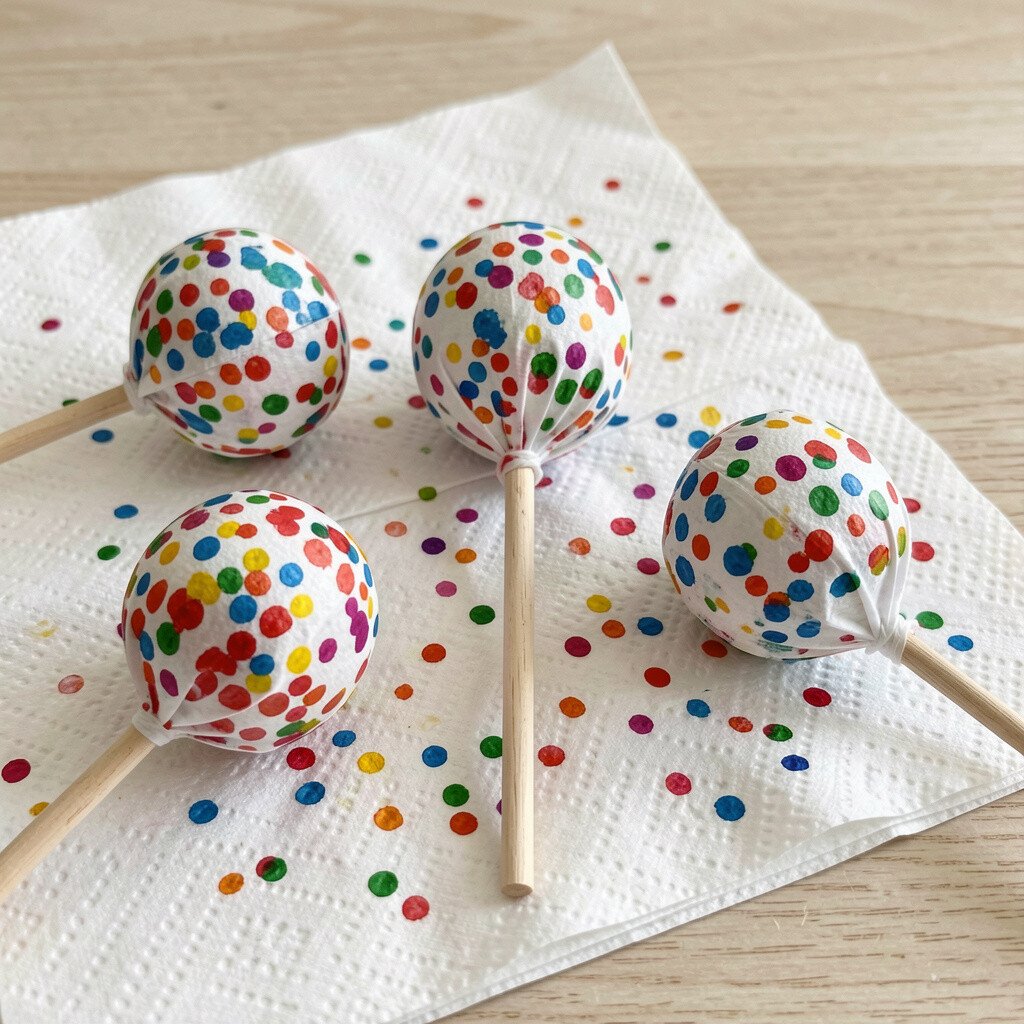
Lay a stencil over the napkin and dab paint through the openings with a sponge. Tiny shapes appear like party confetti, crisp and bright.
Pick a stencil theme that fits your gathering, such as stars, hearts, or tiny flowers. Keep your paint thick enough to avoid seep-through, and press straight down for sharp edges. Let the ink dry between color changes so different shapes stay clean.
To make the napkins feel unique, shift the stencil position on each one rather than lining it up the same way. Guests love a matching set that still feels custom. Use leftover acrylic craft paint for a budget-friendly way to get a bold, current look.
4. Balloon Tie-Dye Swirls
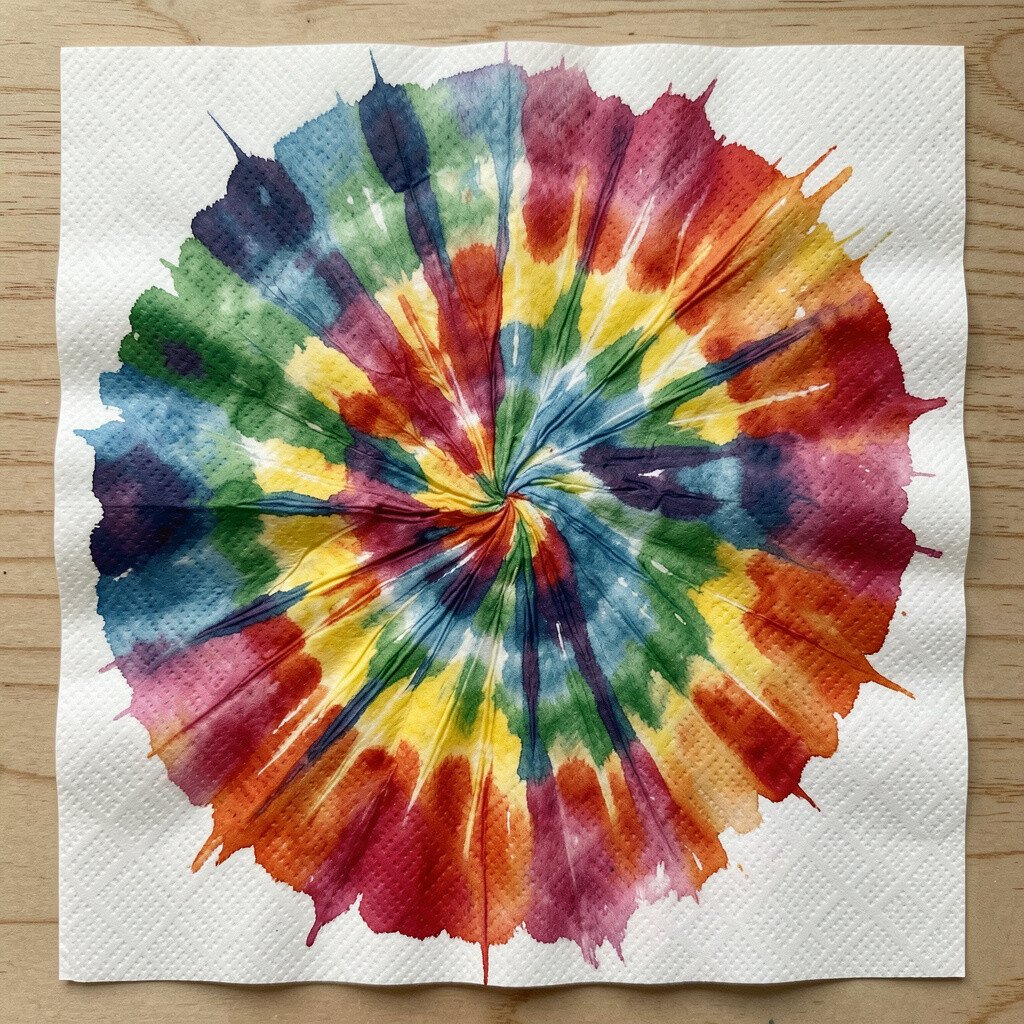
Twist the napkin gently like a small bundle and press diluted paint around the folds. When you unwrap it, swirl rings reveal themselves in a playful pattern.
Try warmer colors for birthdays and cooler tones for showers, then add a thin line of contrast color at the center. Use just enough paint to soak the napkin, not flood it, or you will lose the swirl shape. This method feels fast, and the result looks lively even with simple supplies.
5. Salt Sparkle Textures
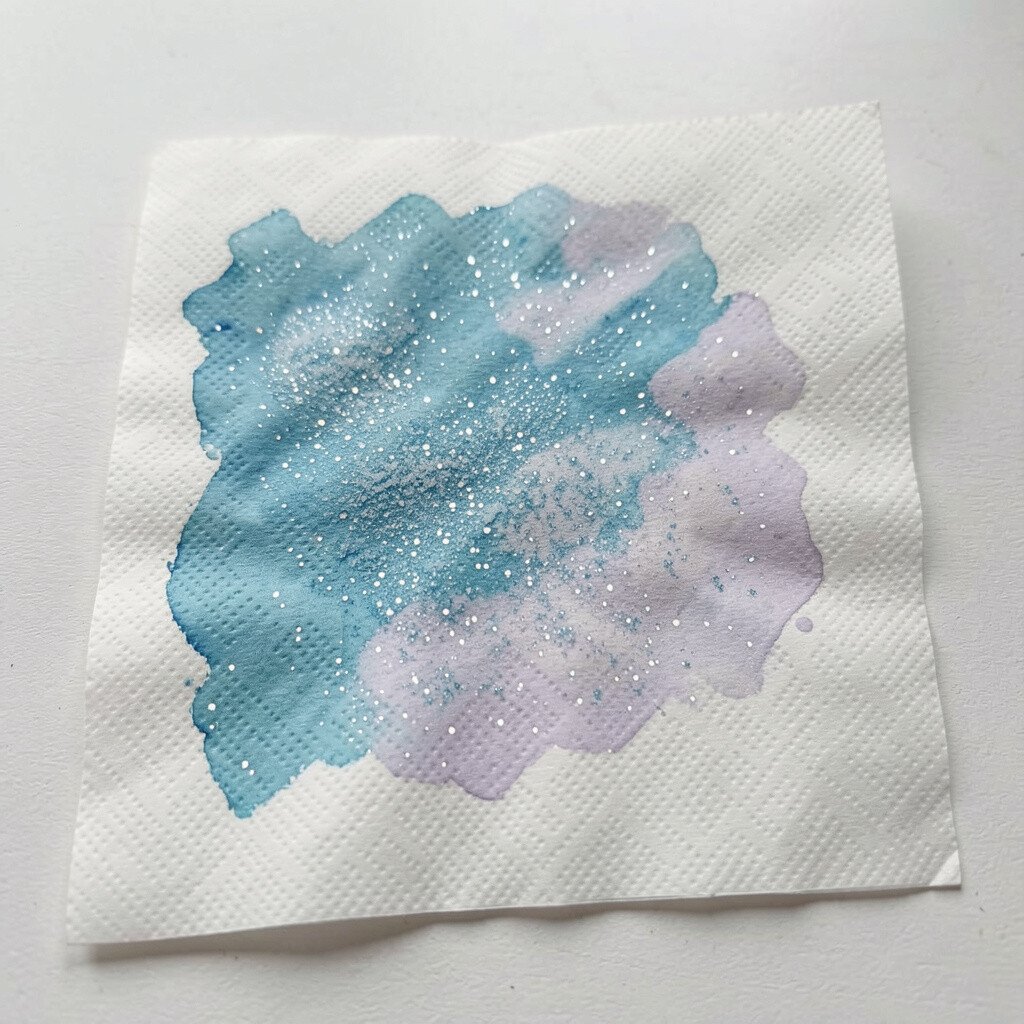
Spritz a little water onto the napkin and paint over it with watery color. While the paint is still damp, sprinkle coarse salt across the surface.
The salt pulls the paint into tiny crystals that look like glitter without the mess. After drying, brush off excess salt with your fingertips or a soft cloth. This adds a trendy, shimmery effect that photographs beautifully in daylight.
For personalization, mix salt textures by using both coarse and fine salt in different areas. Keep a small cup of water nearby to re-wet a section if it starts drying too soon. Using a thrifted salt shaker helps you control the sprinkle and reduces waste.
6. Tissue Paper Wash Layers
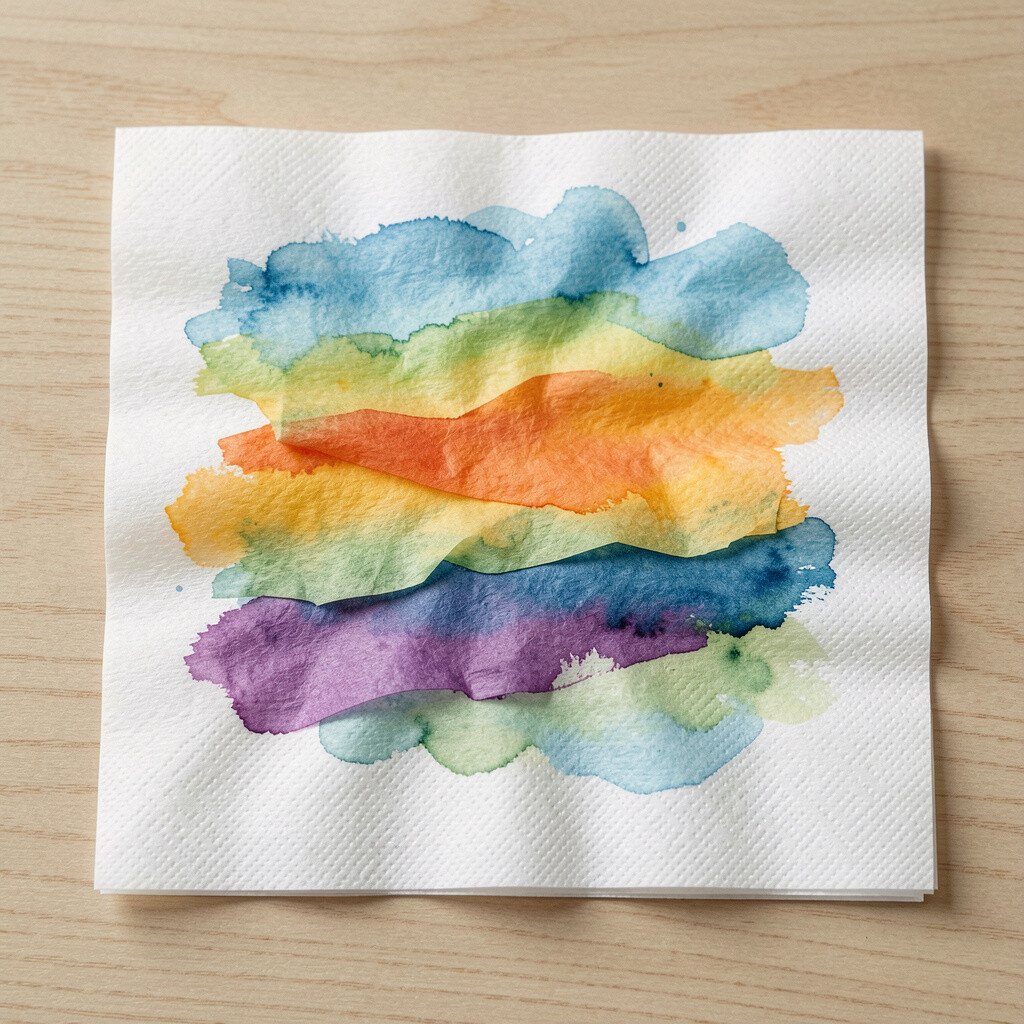
Paint one side of the napkin lightly, then add a small piece of tissue paper with a different color wash. The layers blend at the edges like watercolor flowers.
Use thin paint so it soaks and spreads naturally around the tissue. This technique makes a soft, dreamy look that pairs well with elegant events and calm color palettes. Try adding tiny leaf-shaped tissue pieces for a botanical vibe that still stays easy.
7. Bubble Wrap Print Spots
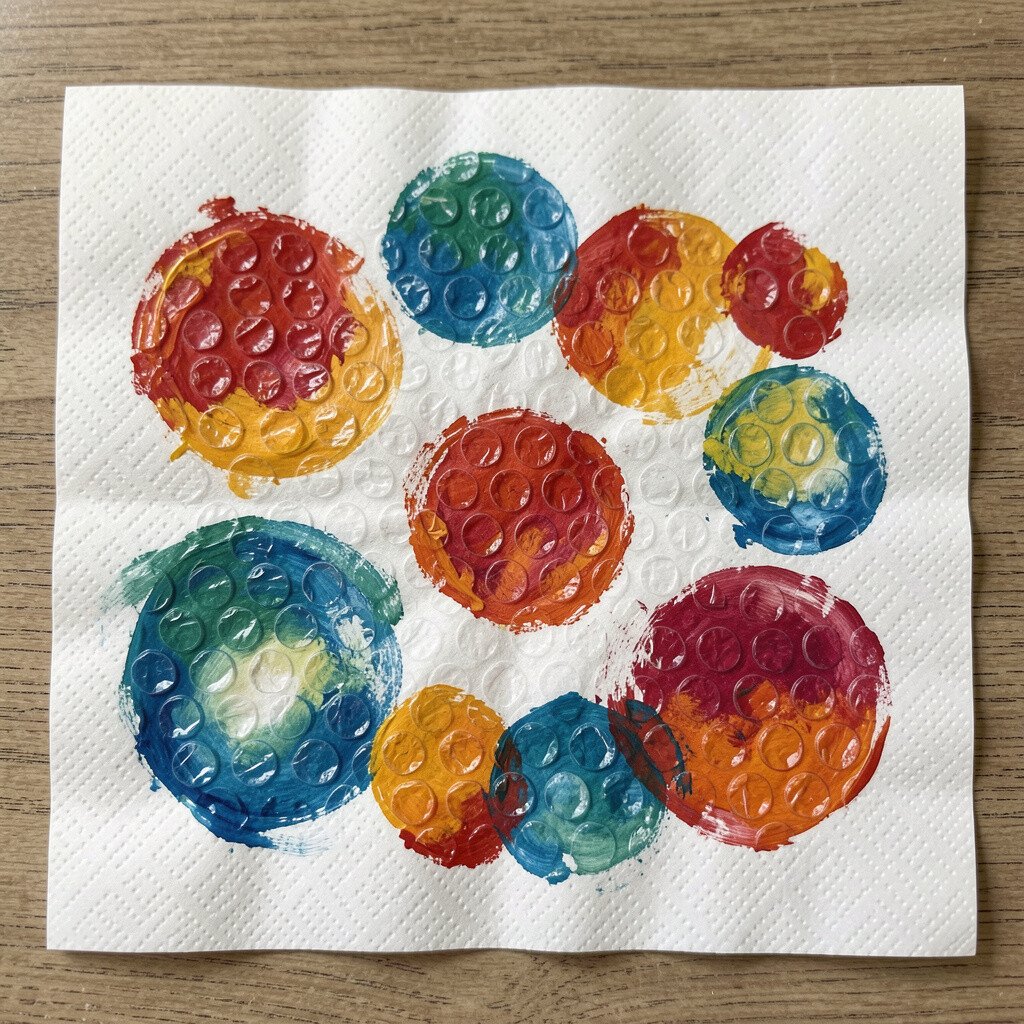
Press bubble wrap onto the napkin after applying a thin coat of paint. Lift it carefully to reveal bumpy circles and speckles.
Choose one base color and then add a second color for dots near the corners. Keep bubbles consistent by flattening the wrap each time and using the same pressure level. This gives a modern texture that feels unique without needing fancy tools.
It can also be budget-friendly because you probably already have bubble wrap from shipping. For personalization, rotate the bubble wrap and vary how much coverage each napkin gets so the set feels intentional.
8. Brush Stroke Lettering Accent
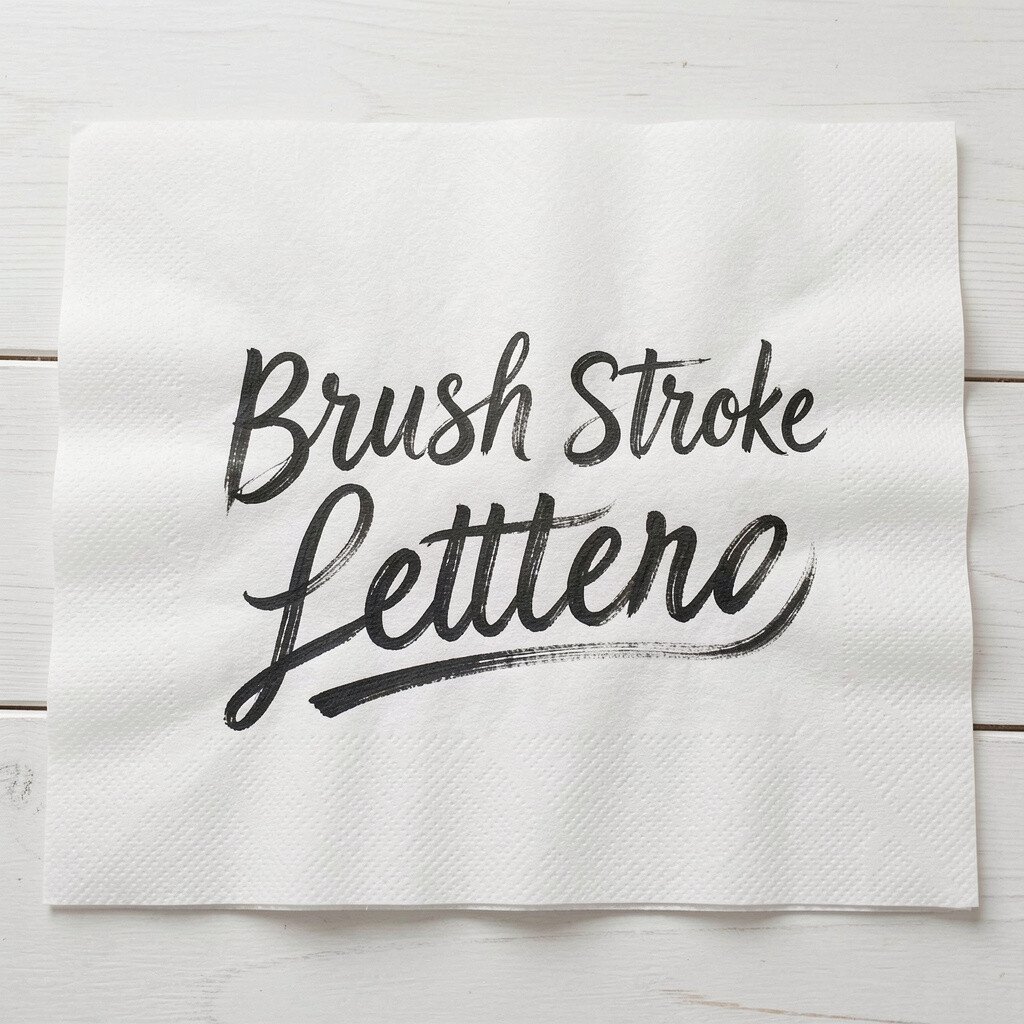
Paint simple letters or short phrases by hand using a small brush and bold color. Even messy lettering can look charming when it stays bold and clear.
Use thicker paint for the words and wipe the brush on a paper towel between strokes. This technique works great for names, dates, or a single event word like “hello” or “cheers.” Add a splash of color behind the letters with a quick dab so the message pops on the table.
9. Leaf Vein Transparency Study
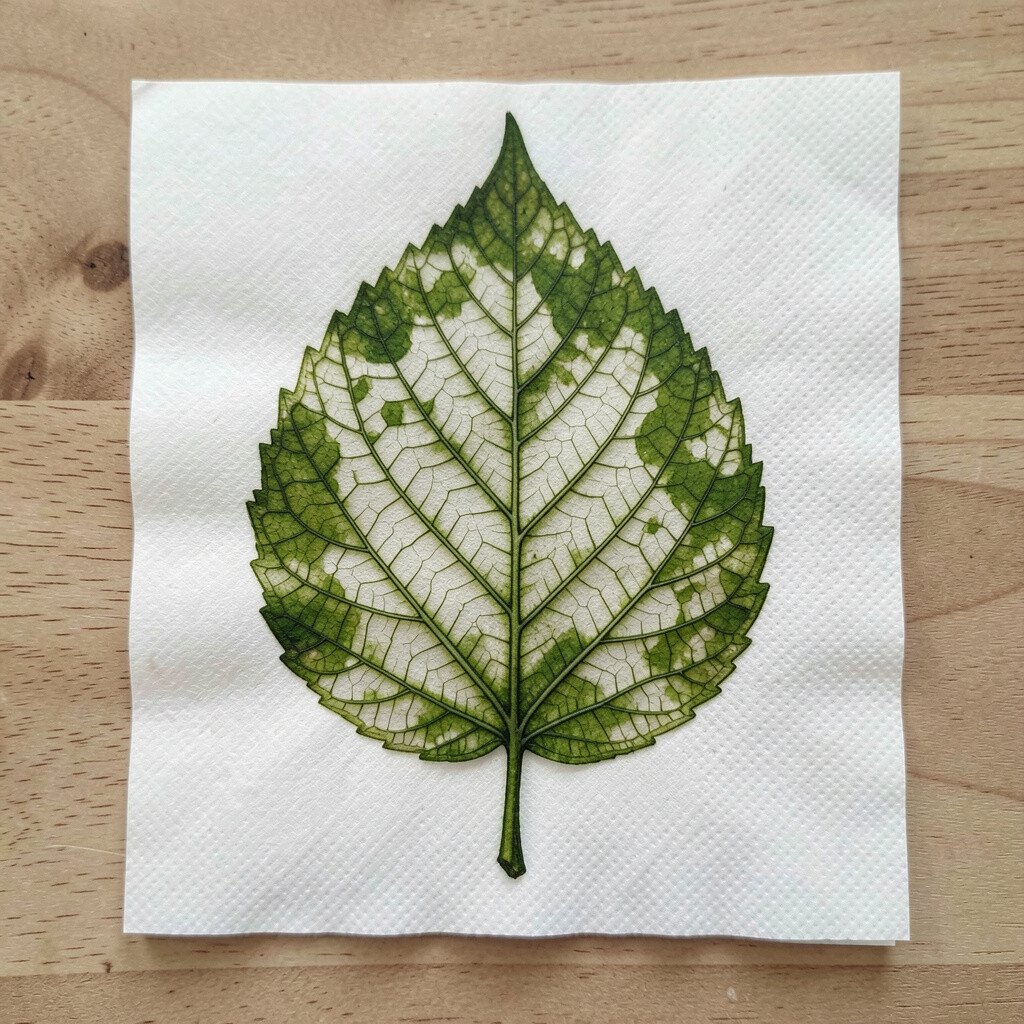
Place a real leaf under the napkin and paint over it lightly. The leaf veins transfer as faint lines that look delicate and natural.
Use light-to-medium paint so the napkin doesn’t tear and the pattern stays subtle. This technique is perfect for garden parties and cozy seasonal themes. Personalize it by using different leaf shapes for each napkin so every piece has its own story.
Since real leaves are free, your cost stays low, and you can build a whole set quickly during one outdoor walk. Let everything dry flat so the leaf pattern doesn’t smear.
10. Color-Blocked Corner Squares
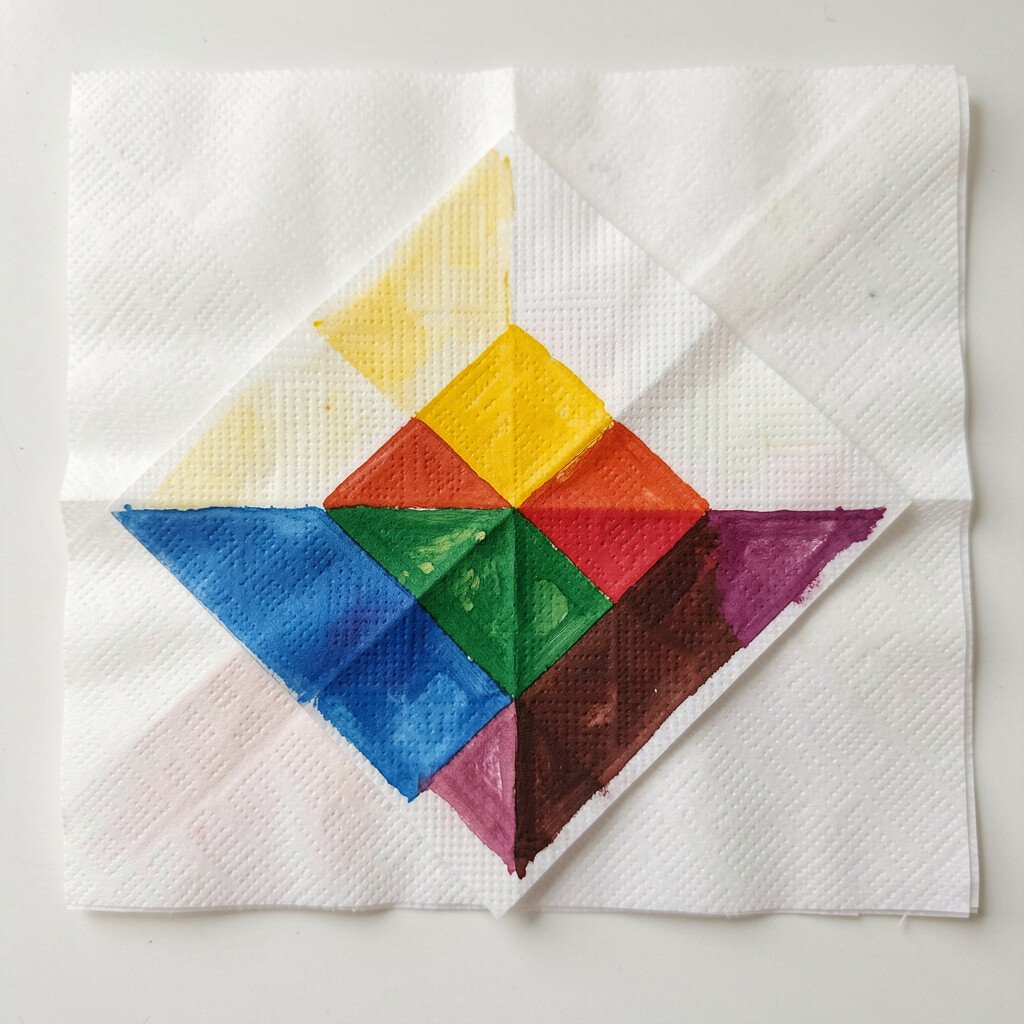
Paint simple corner squares or rectangles using painter’s tape as a guide. Remove the tape while the edges are still slightly wet for clean, crisp borders.
Choose two or three colors and keep the shapes large so they look bold from across the room. This gives a modern, current design that fits parties with minimal themes. For personalization, match the tape layout to your centerpiece colors and repeat the same corner style across the set.
11. Cotton Swab Dot Constellations
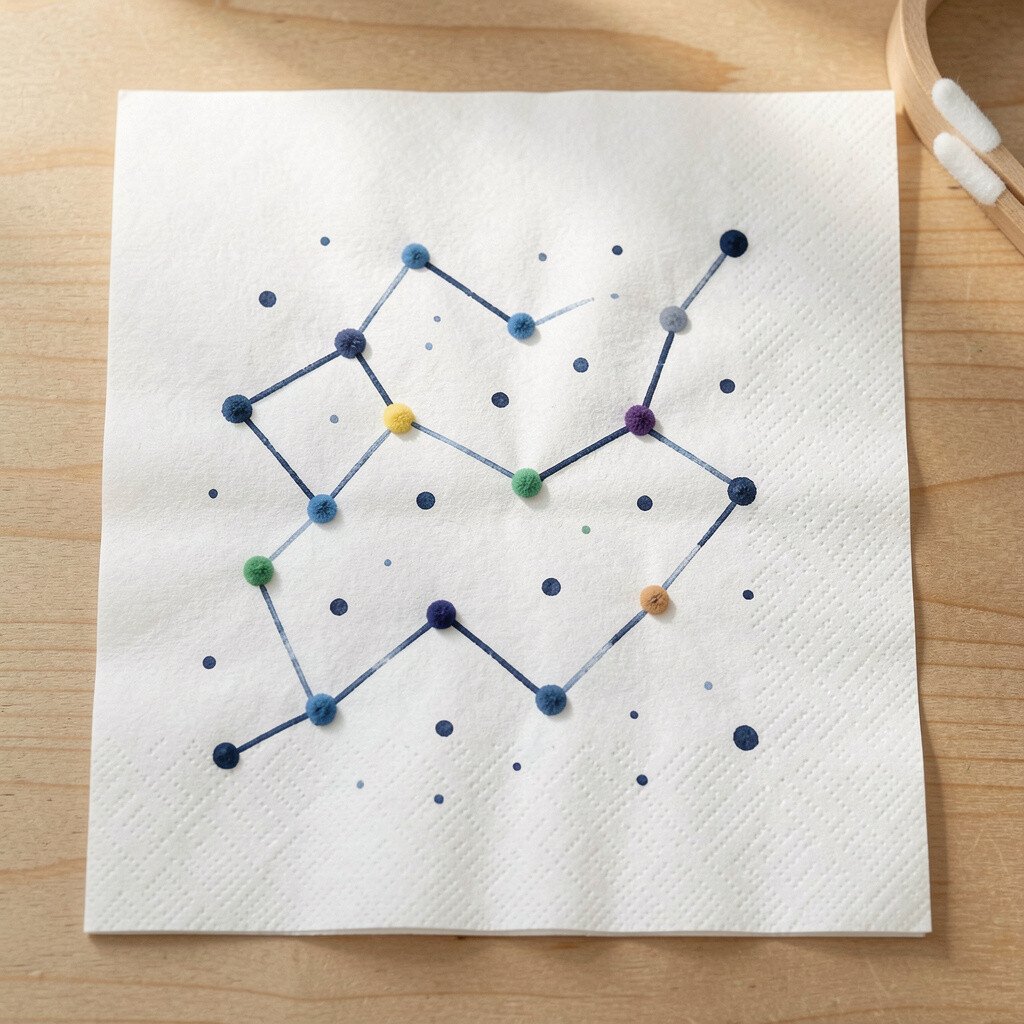
Dip a cotton swab into paint and dot tiny points across the napkin. Cluster dots like constellations, leaving space so the pattern looks light and airy.
Pick one main color for most dots and add a few metallic-looking accents for sparkle. This makes a fun night-sky vibe for astronomy-themed parties or anyone who loves dreamy details. To keep it neat, keep dots small and vary their sizes slightly so it looks organic.
For cost, cotton swabs are cheap and you can stretch paint by thinning it with water. Guests will love seeing a set of napkins that feels “mapped” without being complicated to create.
12. Water Spritz Marble Swirls
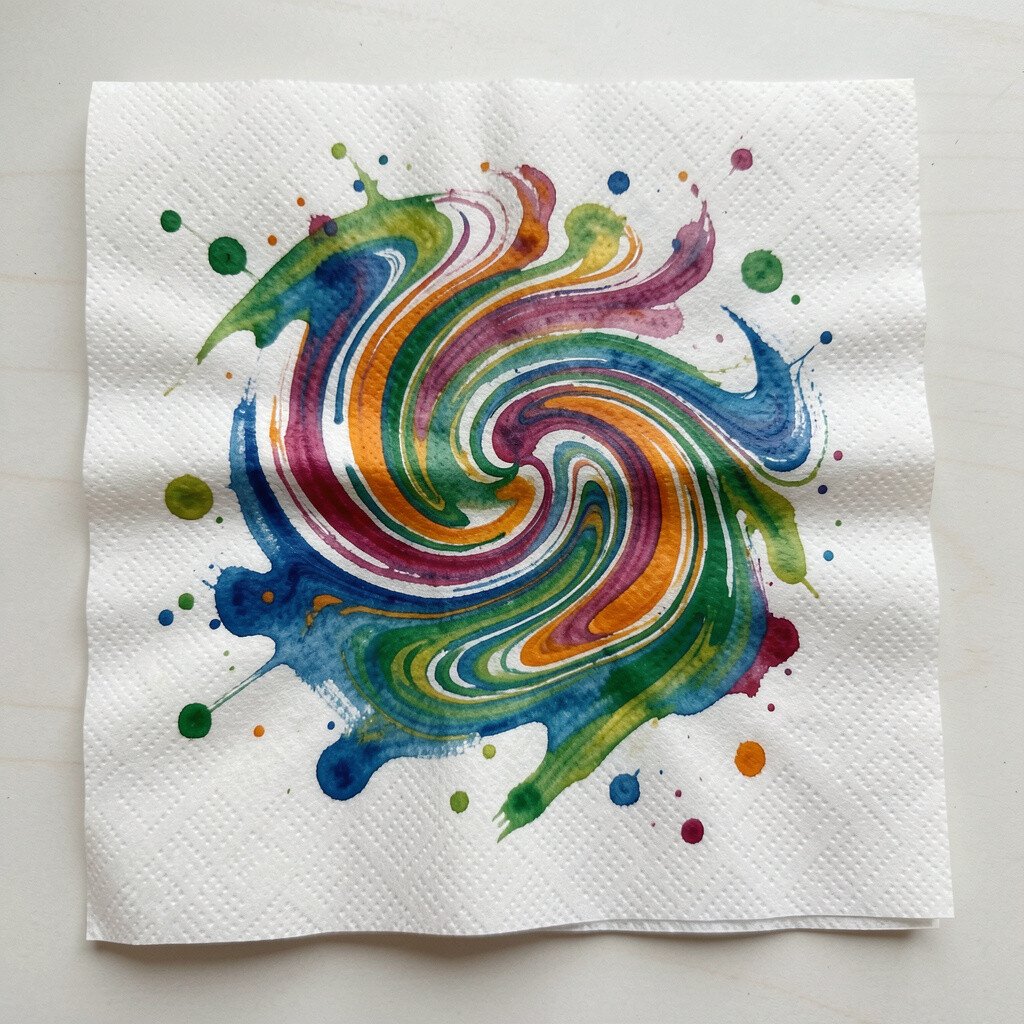
Spritz clean water across the napkin in random streaks, then drop paint in small amounts. The water moves the pigment into marble-like swirls.
Work in short bursts, because once the napkin starts drying the pattern can lock in. This technique looks fresh and modern and is great for events that want a contemporary art vibe. Personalize it by choosing event colors and adding one darker swirl near the center.
13. Faux Porcelain Crackle Look
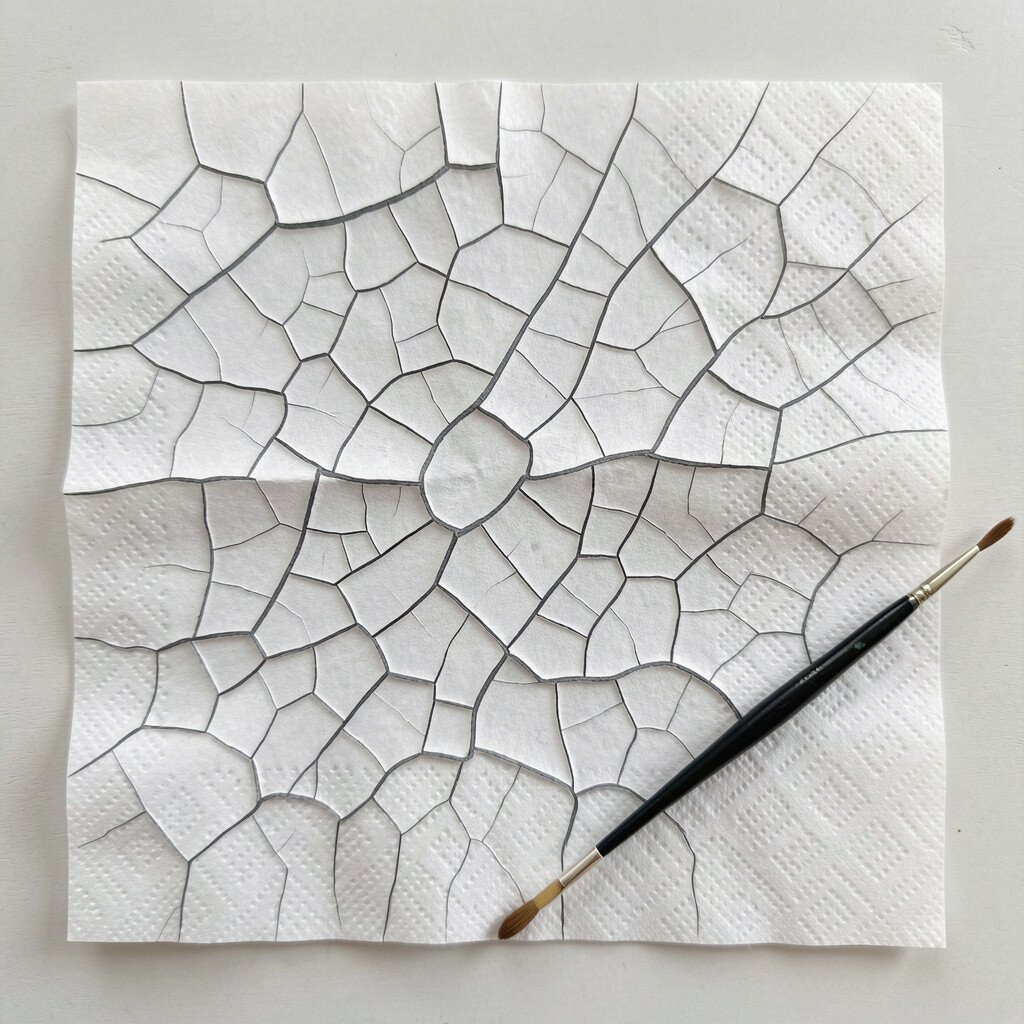
Paint the napkin with a solid base color, then add a thin layer of contrasting paint in broken strokes. Use a dry brush to nudge the paint so it forms tiny cracks.
The crackle effect feels like vintage porcelain and looks fancy even when you are using simple materials. Let the first layer dry fully before adding the crackle colors so the pattern stays sharp. This works beautifully for holiday dinners and elegant birthdays that need a refined touch.
For budget, use standard acrylic craft paint and mix a little water for smoother spreading. Try one base color per napkin so your table stays cohesive.
14. Rubbing Chalk Pastel Edges
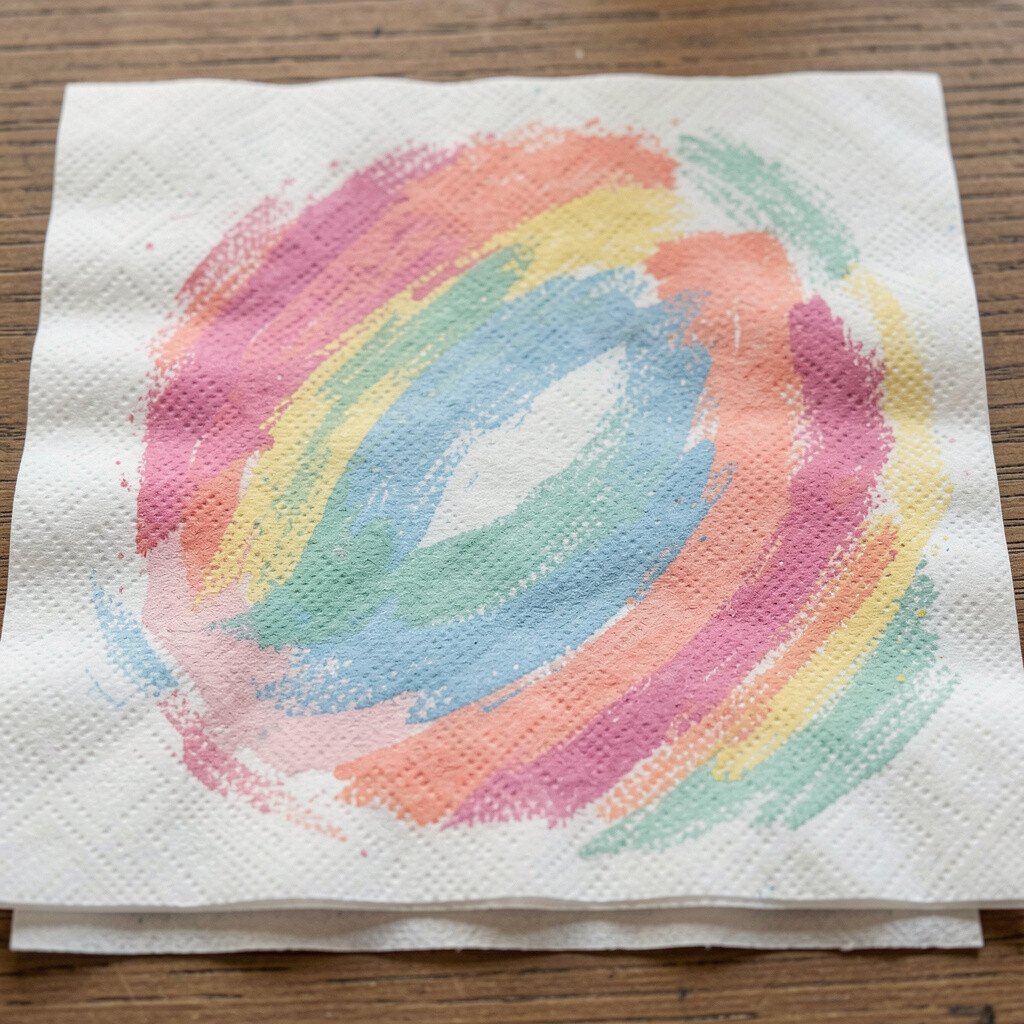
Use chalk pastels to rub color gently on the napkin edges before painting lightly over them. The pastel gives a soft, smudgy border that feels like artwork.
This technique adds a warm, handmade look and makes each napkin feel slightly different. Keep the paint thin so it blends with the pastel instead of overpowering it. For personalization, match the edge colors to your theme and keep the center mostly clean for a balanced look.
15. Spirograph Geometry Circles
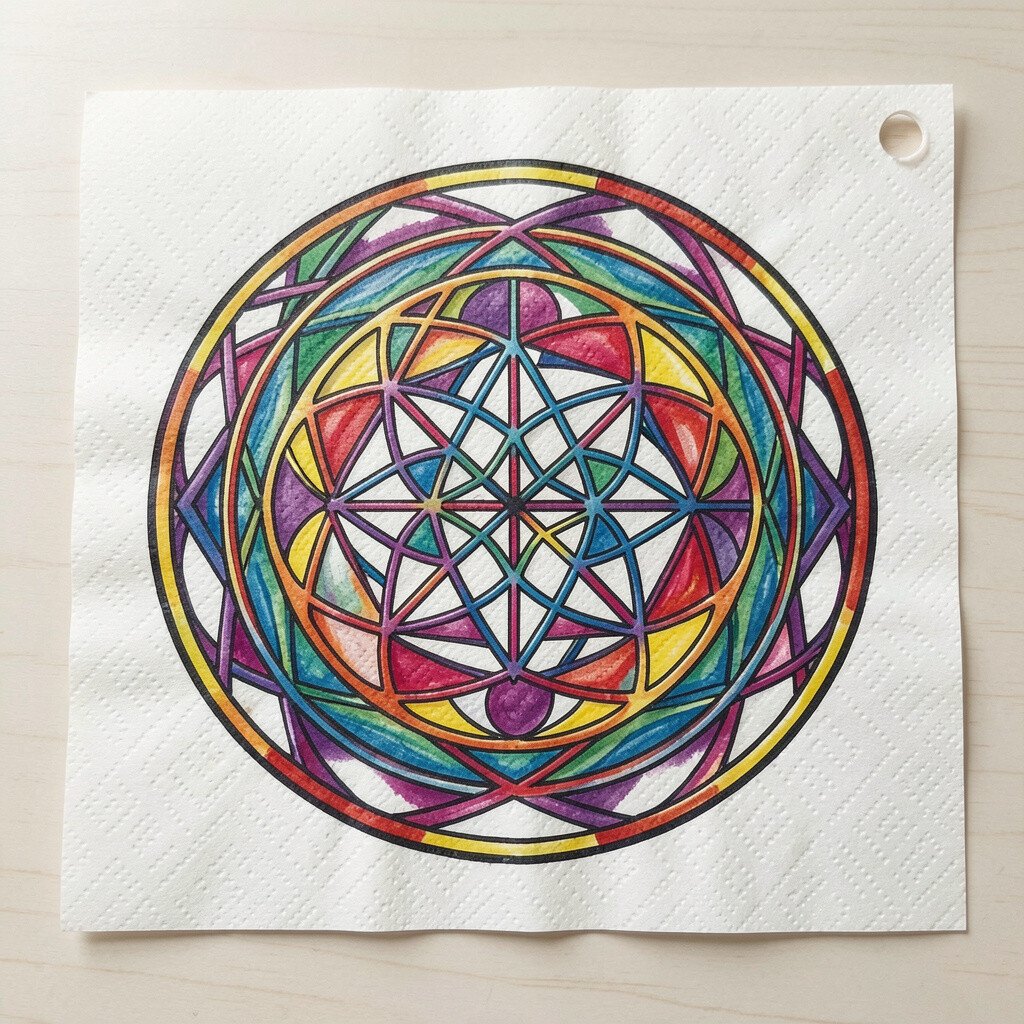
Draw simple circle guides lightly with pencil, then paint rings that follow the curves. Even freehand circles can look like spirograph art when you keep spacing even.
Use a narrow brush or even a sponge corner to fill each ring with a solid color. This makes a fun geometric style that feels trendy and modern. Personalize by stacking your event colors in a repeating order, so the whole set looks coordinated without being identical.
If you want extra polish, use a ruler for the guide circles and erase gently once fully dry. For cost, regular craft paint is enough, and you can reuse small cups to mix colors efficiently.
16. Bubble Foam Border Rings
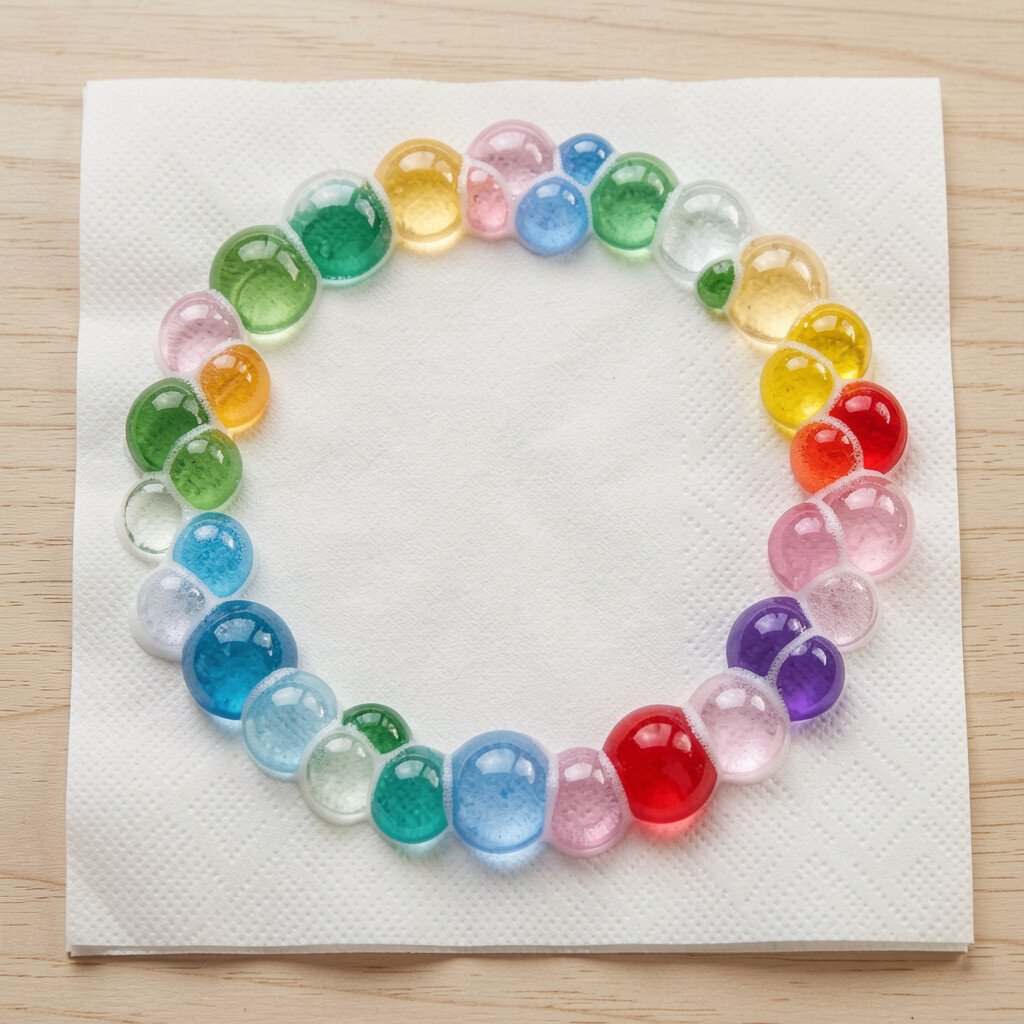
Make a quick foam by mixing dish soap with a little water, then dab foam along the border of the napkin. Add paint over the foam marks for bouncy, ring-like textures.
After drying, the border looks playful and frames whatever dish it touches. This method is great for kid-friendly events because it feels like art time. Personalize by alternating paint colors around the edges for a striped frame effect.
17. Splatter Starbursts With Toothbrush
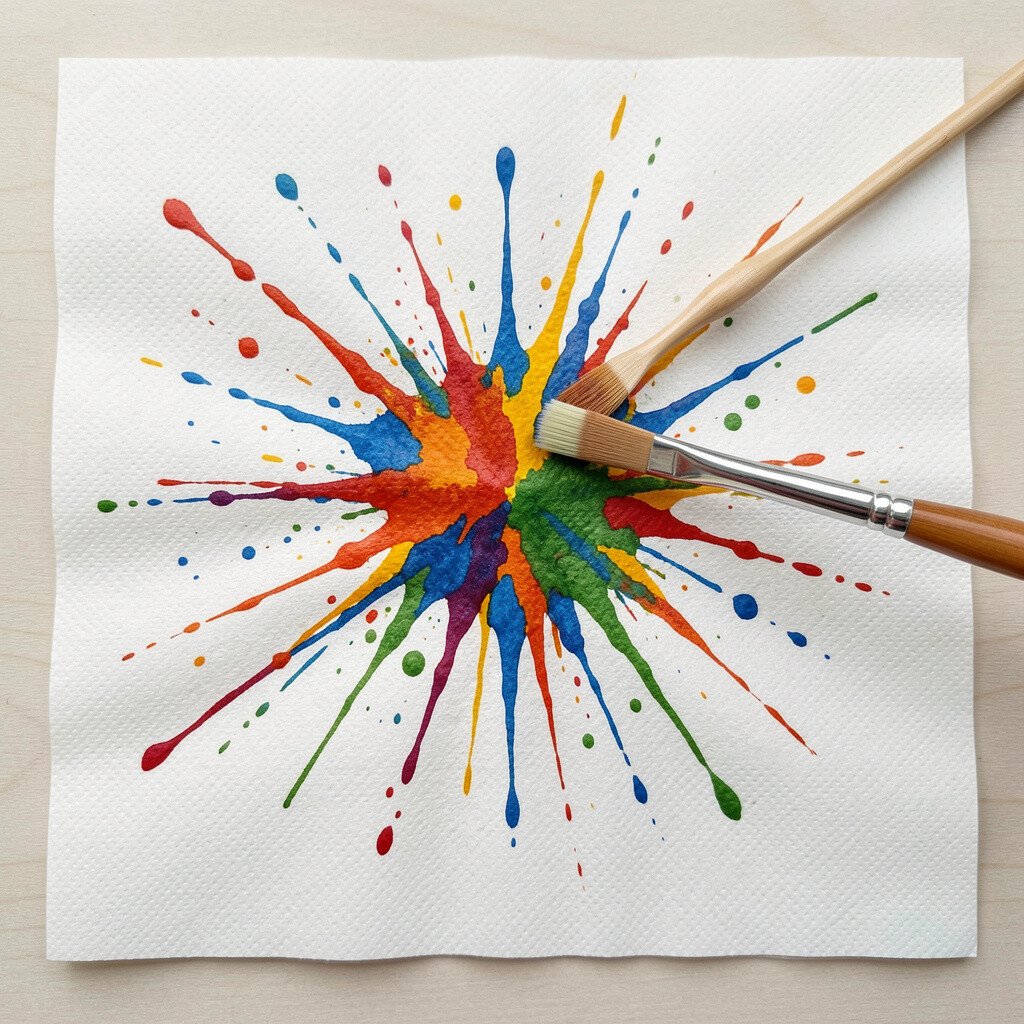
Load a toothbrush with paint and flick it over the napkin to create splatter bursts. Concentrate splats in the center for a starburst look, then soften edges with fewer flicks.
Use thicker paint for stronger dots and thinner paint for fine specks. This technique is energetic and works well for celebrations like graduation and game nights. For personalization, add one solid painted circle behind the splatter so it looks like a target or badge.
Cost stays low because toothbrushes are easy to replace and paint goes far in small splatters. Lay down a piece of scrap paper under the napkin so cleanup stays quick.
18. Masked Splits With Wax Paper Lines
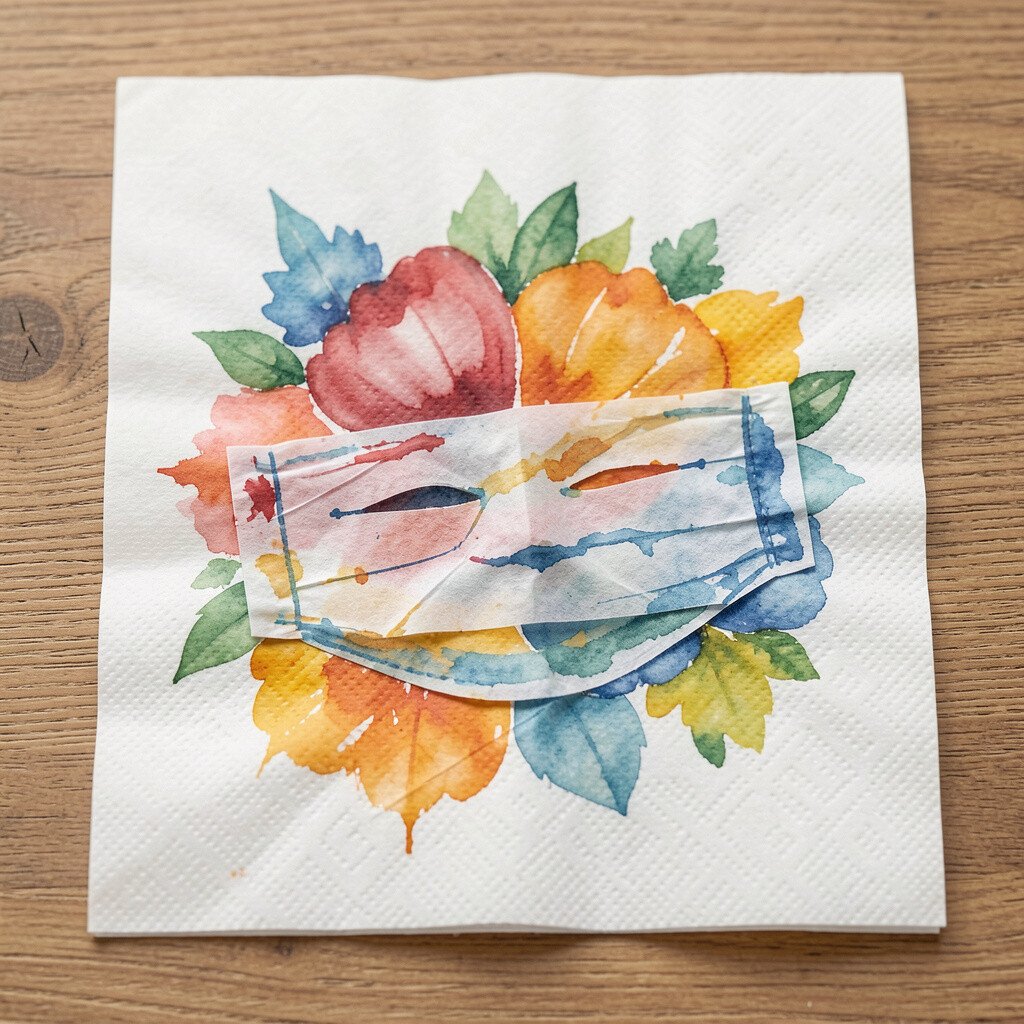
Place wax paper strips on the napkin, then paint over the whole surface. When you remove the wax paper, crisp lines appear where the paint didn’t reach.
This makes bold split designs that feel graphic and current. Keep the strips thin for delicate lines or thicker for a stronger look. Personalize by arranging the wax paper into diagonal paths that match your event banner colors.
Using wax paper is inexpensive, and it also protects your workspace. Let everything dry flat so the lines remain sharp and do not blur as paint settles.
19. Photo Transfer Silhouette Style
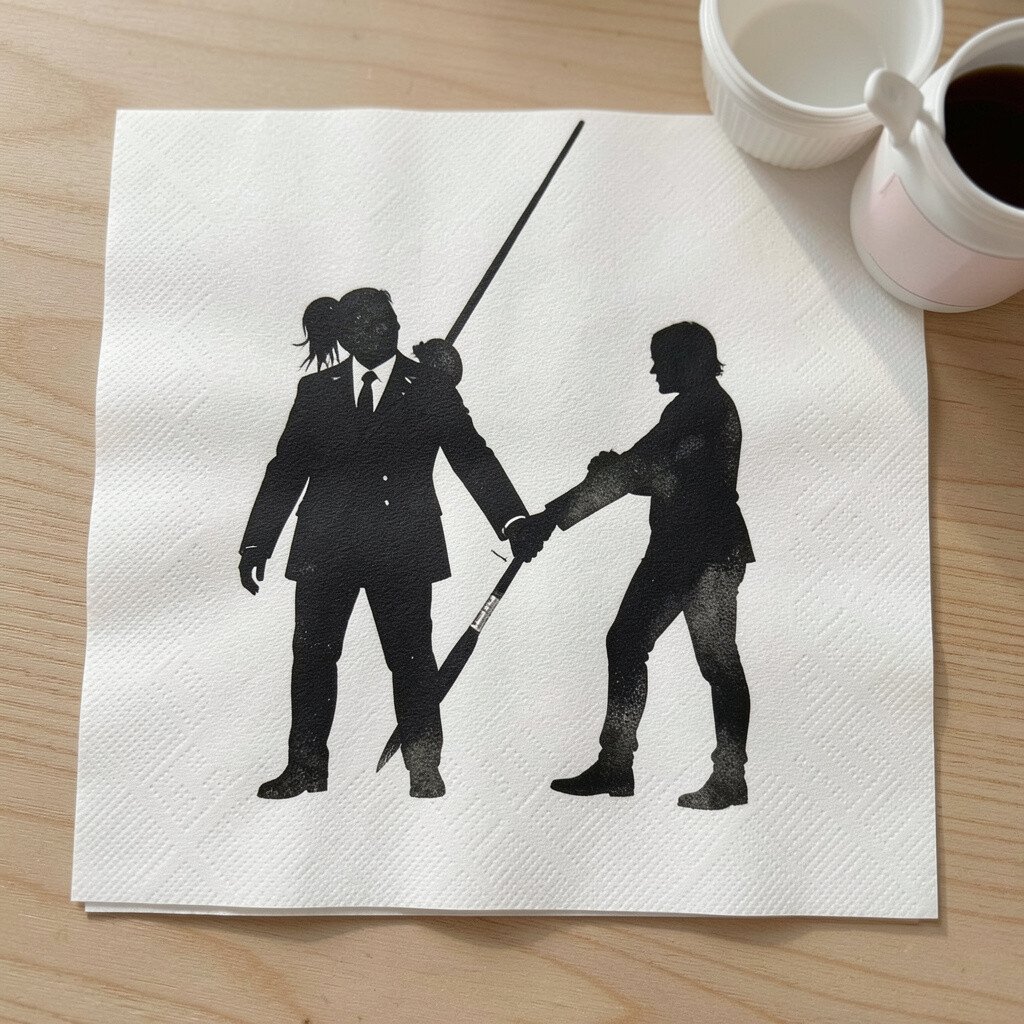
Create a silhouette by printing a small black image and transferring it as a light pattern onto the napkin. Paint around it with diluted color so the silhouette feels like it is floating.
This technique is perfect for personalized events because you can use a logo, a favorite icon, or a simple family silhouette. Keep paint light and slow so the transferred image stays clear. For best results, practice on one extra napkin first, since napkins absorb quickly.
Cost considerations are friendly because you can print at home and use basic paint supplies. The uniqueness comes from choosing imagery that matters to your group, like a pet portrait or a hometown landmark shape.
20. Metallic Leafing Dry Brush Highlights
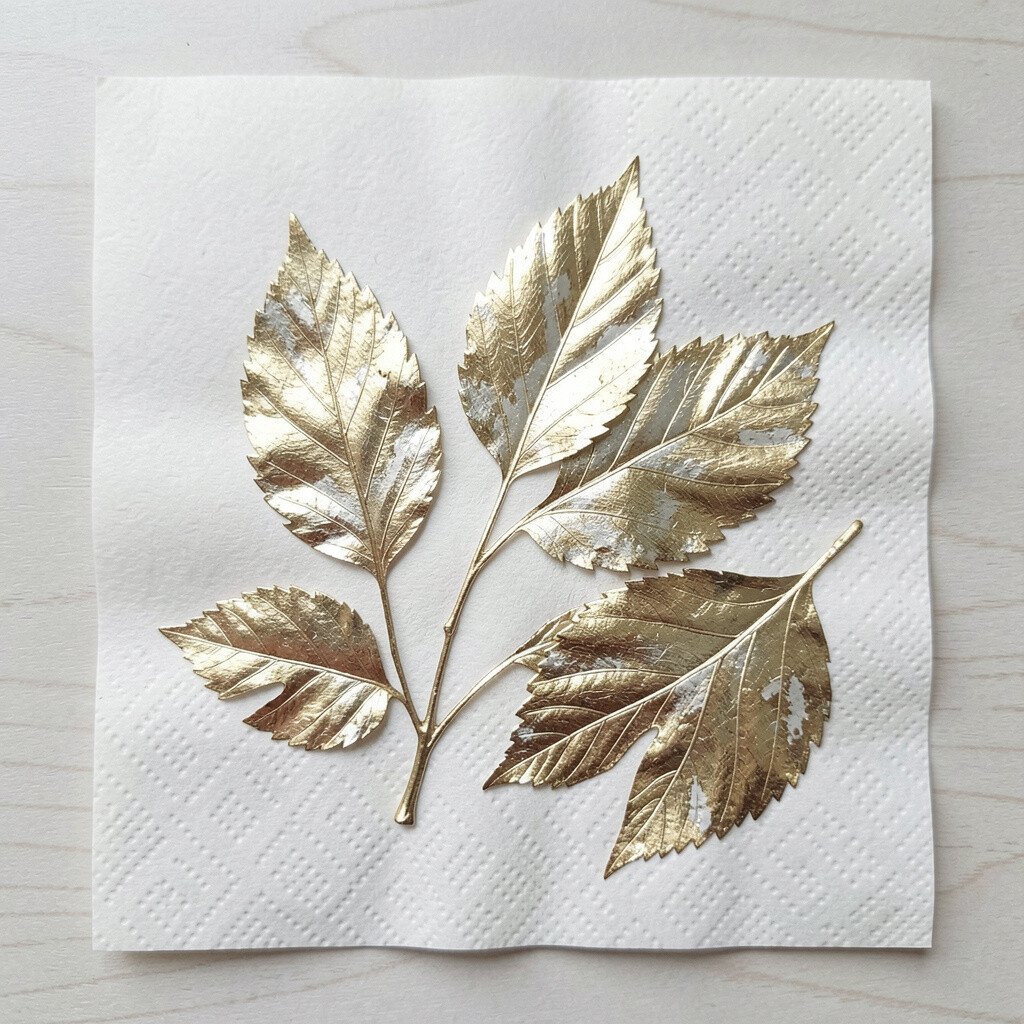
Brush metallic paint lightly across raised texture spots like crumpled edges or salt-treated areas. The shine catches the light and makes the napkin look like it has tiny highlights.
Use a dry brush with very little paint so you avoid heavy coverage that can smudge. This trend fits festive events because metallic accents make photos look brighter and more polished. For personalization, focus the metallic only on one section, like the corners or the center burst, so the rest stays soft.